Robobrew/Brewzilla Discussion

Homebrew Talk - Beer, Wine, Mead, & Cider Brewing Discussion Forum

Help Support Homebrew Talk - Beer, Wine, Mead, & Cider Brewing Discussion Forum:

This site may earn a commission from merchant affiliate links, including eBay, Amazon, and others.
Hey guys. Just checking in. I've not been brewing near as much lately. Kinda went crazy with it last year when I was home more. I've actually bought some commercial beer a few times lately, because I've been out of homebrew. Sad. At any rate, I brewed yesterday. It was just a 5 gallon batch with 12 lbs of Maris Otter, and some East Kent Goldings hops. I haven't really used these up much in the past, but bought a pound a few months ago. I used them on one previous batch, and really liked it. The Robobrew unit is still doing great.

Welcome back! I haven’t brewed much either. It takes a while for me to get through my 12 gallons of beer. Anyway, glad to hear you got back in the saddle and the Robobrew did it‘s job!
 
Can any 35L 120v users tell me what they usually get for boil-off on a 60min boil? BS has it at 0.7gal/hr, but sometimes my boil isn't very aggressive and I come up a bit short on my OG, so I'm thinking my average is probably lower. Curious what sort of mileage others are getting...
 
Can't help with the figures as a 240 v user. But do you have insulation around the robobrew? That will help, I also put some pipe insulation cable tied on the up pipe and on the recirculation tubing.
 
Can't help with the figures as a 240 v user. But do you have insulation around the robobrew? That will help, I also put some pipe insulation cable tied on the up pipe and on the recirculation tubing.

I've got the OEM neoprene jacket, but that's it. Good idea insulating the recirc system - that certainly couldn't hurt!
 
I've got the OEM neoprene jacket, but that's it. Good idea insulating the recirc system - that certainly couldn't hurt!
might save you burning yourself as well, I only cable tied it on the tubing, it clips on fine to the up metal pipe and can be taken off easily to wash it and access the pipe to clean that up if it gets sticky.
 
Can any 35L 120v users tell me what they usually get for boil-off on a 60min boil? BS has it at 0.7gal/hr, but sometimes my boil isn't very aggressive and I come up a bit short on my OG, so I'm thinking my average is probably lower. Curious what sort of mileage others are getting...
Mine is right around 0.6-0.7 gal/hr. I'll typically have one or two large nylon hop bags attached to the side and they may alter the boil off rate. I too don't get an aggressive boil but it hasn't been an issue with my final results.
 
Do you all leave the lid off for the boil? I did my second batch today and again had near-boil- over issues around the hot break and when adding hops. With only about 6-6.5 gallons of wort. But when I lifted the lid, the rising cloud receded quickly.
 
I have the lid on but use a condenser and less watts during the boil, but I'm rarely maxing the volume on guten 70 litre.

That said when I used the robobrew 35 I never used the lid during the boil and watched it like a hawk otherwise I'm sure I'd have had a boilover.
 
Do you all leave the lid off for the boil? I did my second batch today and again had near-boil- over issues around the hot break and when adding hops. With only about 6-6.5 gallons of wort. But when I lifted the lid, the rising cloud receded quickly.

Leaving the lid on during the boil will increase your chances of introducing sulfides back into the beer, potentially leading to off flavors. There's an interesting brulosophy exbeeriment on this topic. To answer your question though, no I don't leave the lid on during the boil, even though it will greatly increase the vigor of the boil. To me it's just not worth the risk of DMS.
 
Not sure about the leaving lid on causes trouble, not had a problem since using the condenser, most commercials are not boiling open vats of beer and have some form of steam hat. Brulosophy does some interesting experiments but not rigorous science. Much like a cosmetics commercial saying how good a job the public thought their product did.
But I don't think you can boil safely with a full batch and no condenser on the 35 litre.

I think when folks say leaving the lid on is bad they're talking about an actual lid that doesn't allow condensed water vapour to escape, and it has nowhere to go but to drip back into the kettle. A steam condenser wouldn't be the same thing. As for the brulosophy xbmt's, I hear ya and I agree. Definitely not rigorous science, but the analytics and blind triangle testing can provide some pretty interesting results!
 
Fascinating. Thanks for the responses. I was unaware of the alleged off flavors from boiling with a lid. The boil over potential alone is probably enough for me to keep lid off (my boil was plenty strong even with lid on - just more bubbing over with lid on).
 
Another question - After cleaning my 35L today (just pumped155 degree water through it for 30 minutes), while tilting it to empty the last bit of water out through the spigot, it looked like a small amount of water leaked from inside the very bottom section (that houses the pump and electronics). Anyone else ever see small amount if liquid appear to leak from that housing? (My unit works great, and did not leak at all during brewing or circulating water for cleaning).
 
Another question - After cleaning my 35L today (just pumped155 degree water through it for 30 minutes), while tilting it to empty the last bit of water out through the spigot, it looked like a small amount of water leaked from inside the very bottom section (that houses the pump and electronics). Anyone else ever see small amount if liquid appear to leak from that housing? (My unit works great, and did not leak at all during brewing or circulating water for cleaning).

Water definitely shouldn't be leaking into the bottom with the pump & electronics! Hopefully it came from somewhere else. If you can verify it's actually leaking into the housing underneath and your unit is under warranty I'd go that route. It may be fine for now, but if your board gets fried down the road you may be SOL...
 
Well, 16 days later I tried my first beer from my first brewzilla batch, and it was terrific! Just a pretty standard wheat, but definitely a success. Glad things are off to a good start.

And second batch (dark red ale) is on day 5 in the fermenter and looking pretty far along. Will probably bottle that one later this week.

Thanks for all the advice and insights.
 
Just got my 35 litre 3.1.1 and managed two brew days in a row. What a great little machine. Hit my numbers spot on with both brews. Having used a pot with basket and gas, this setup is awesom.

Version 4 out in December here in Australia.
 
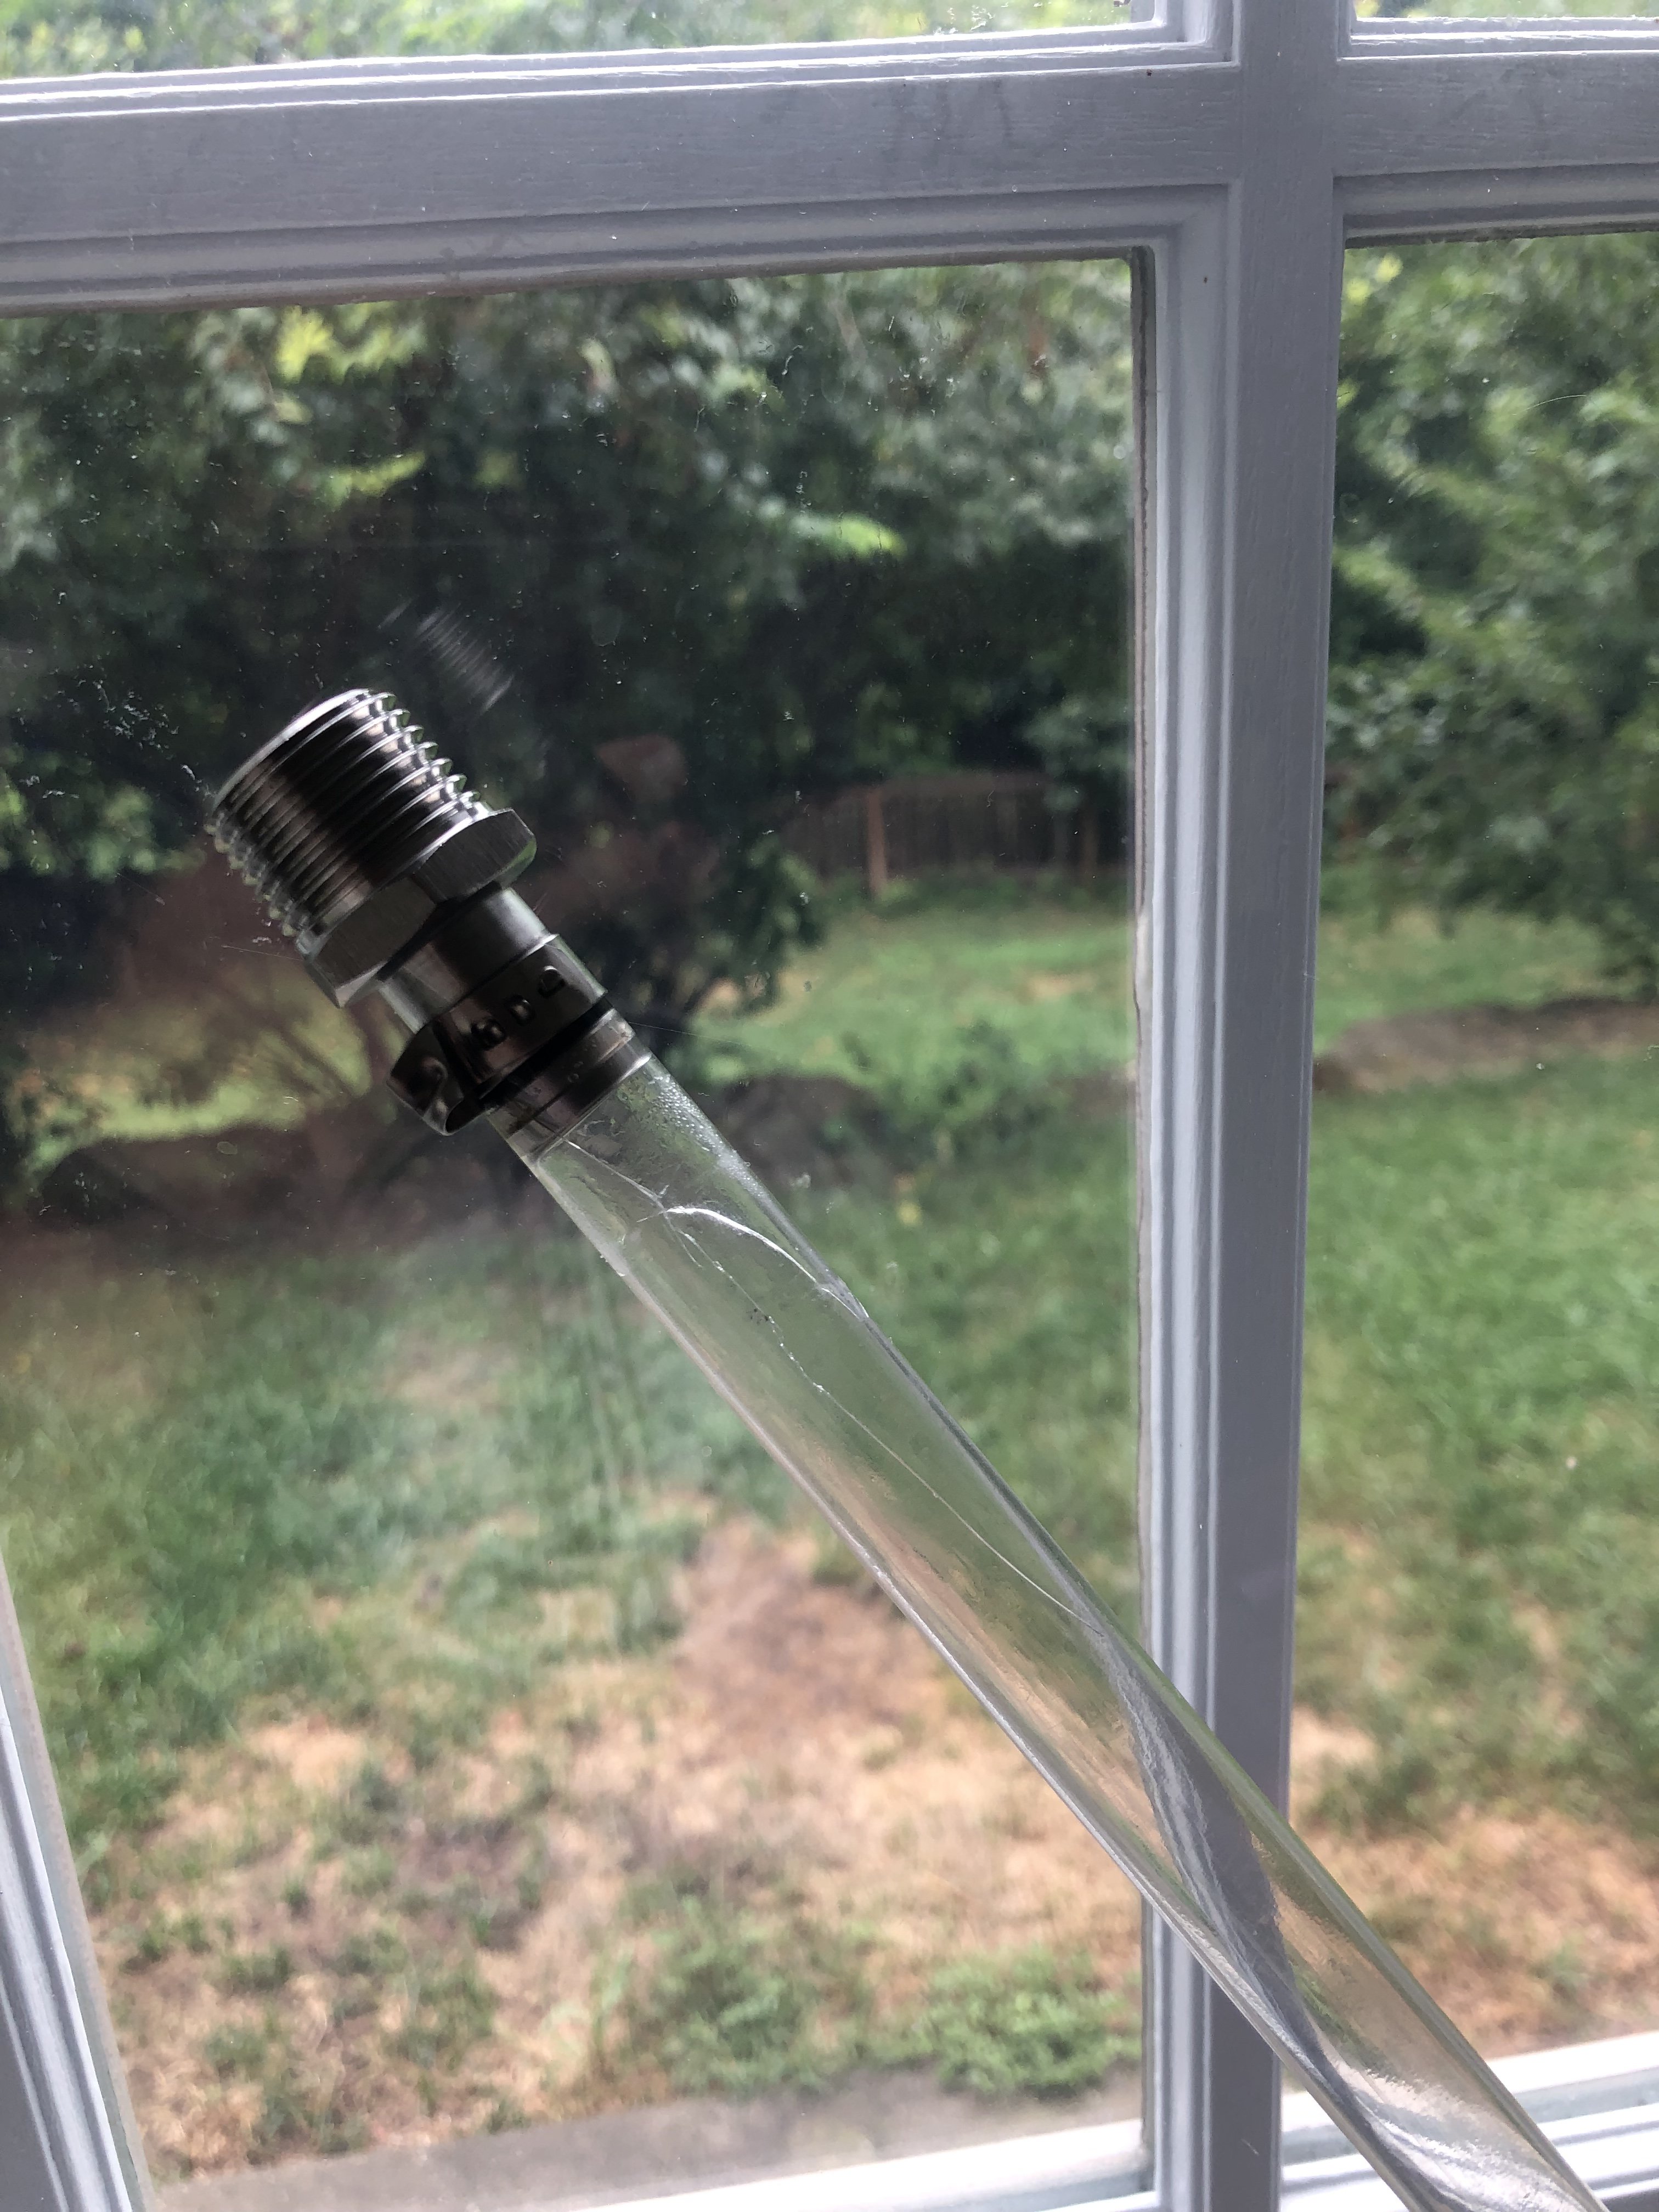
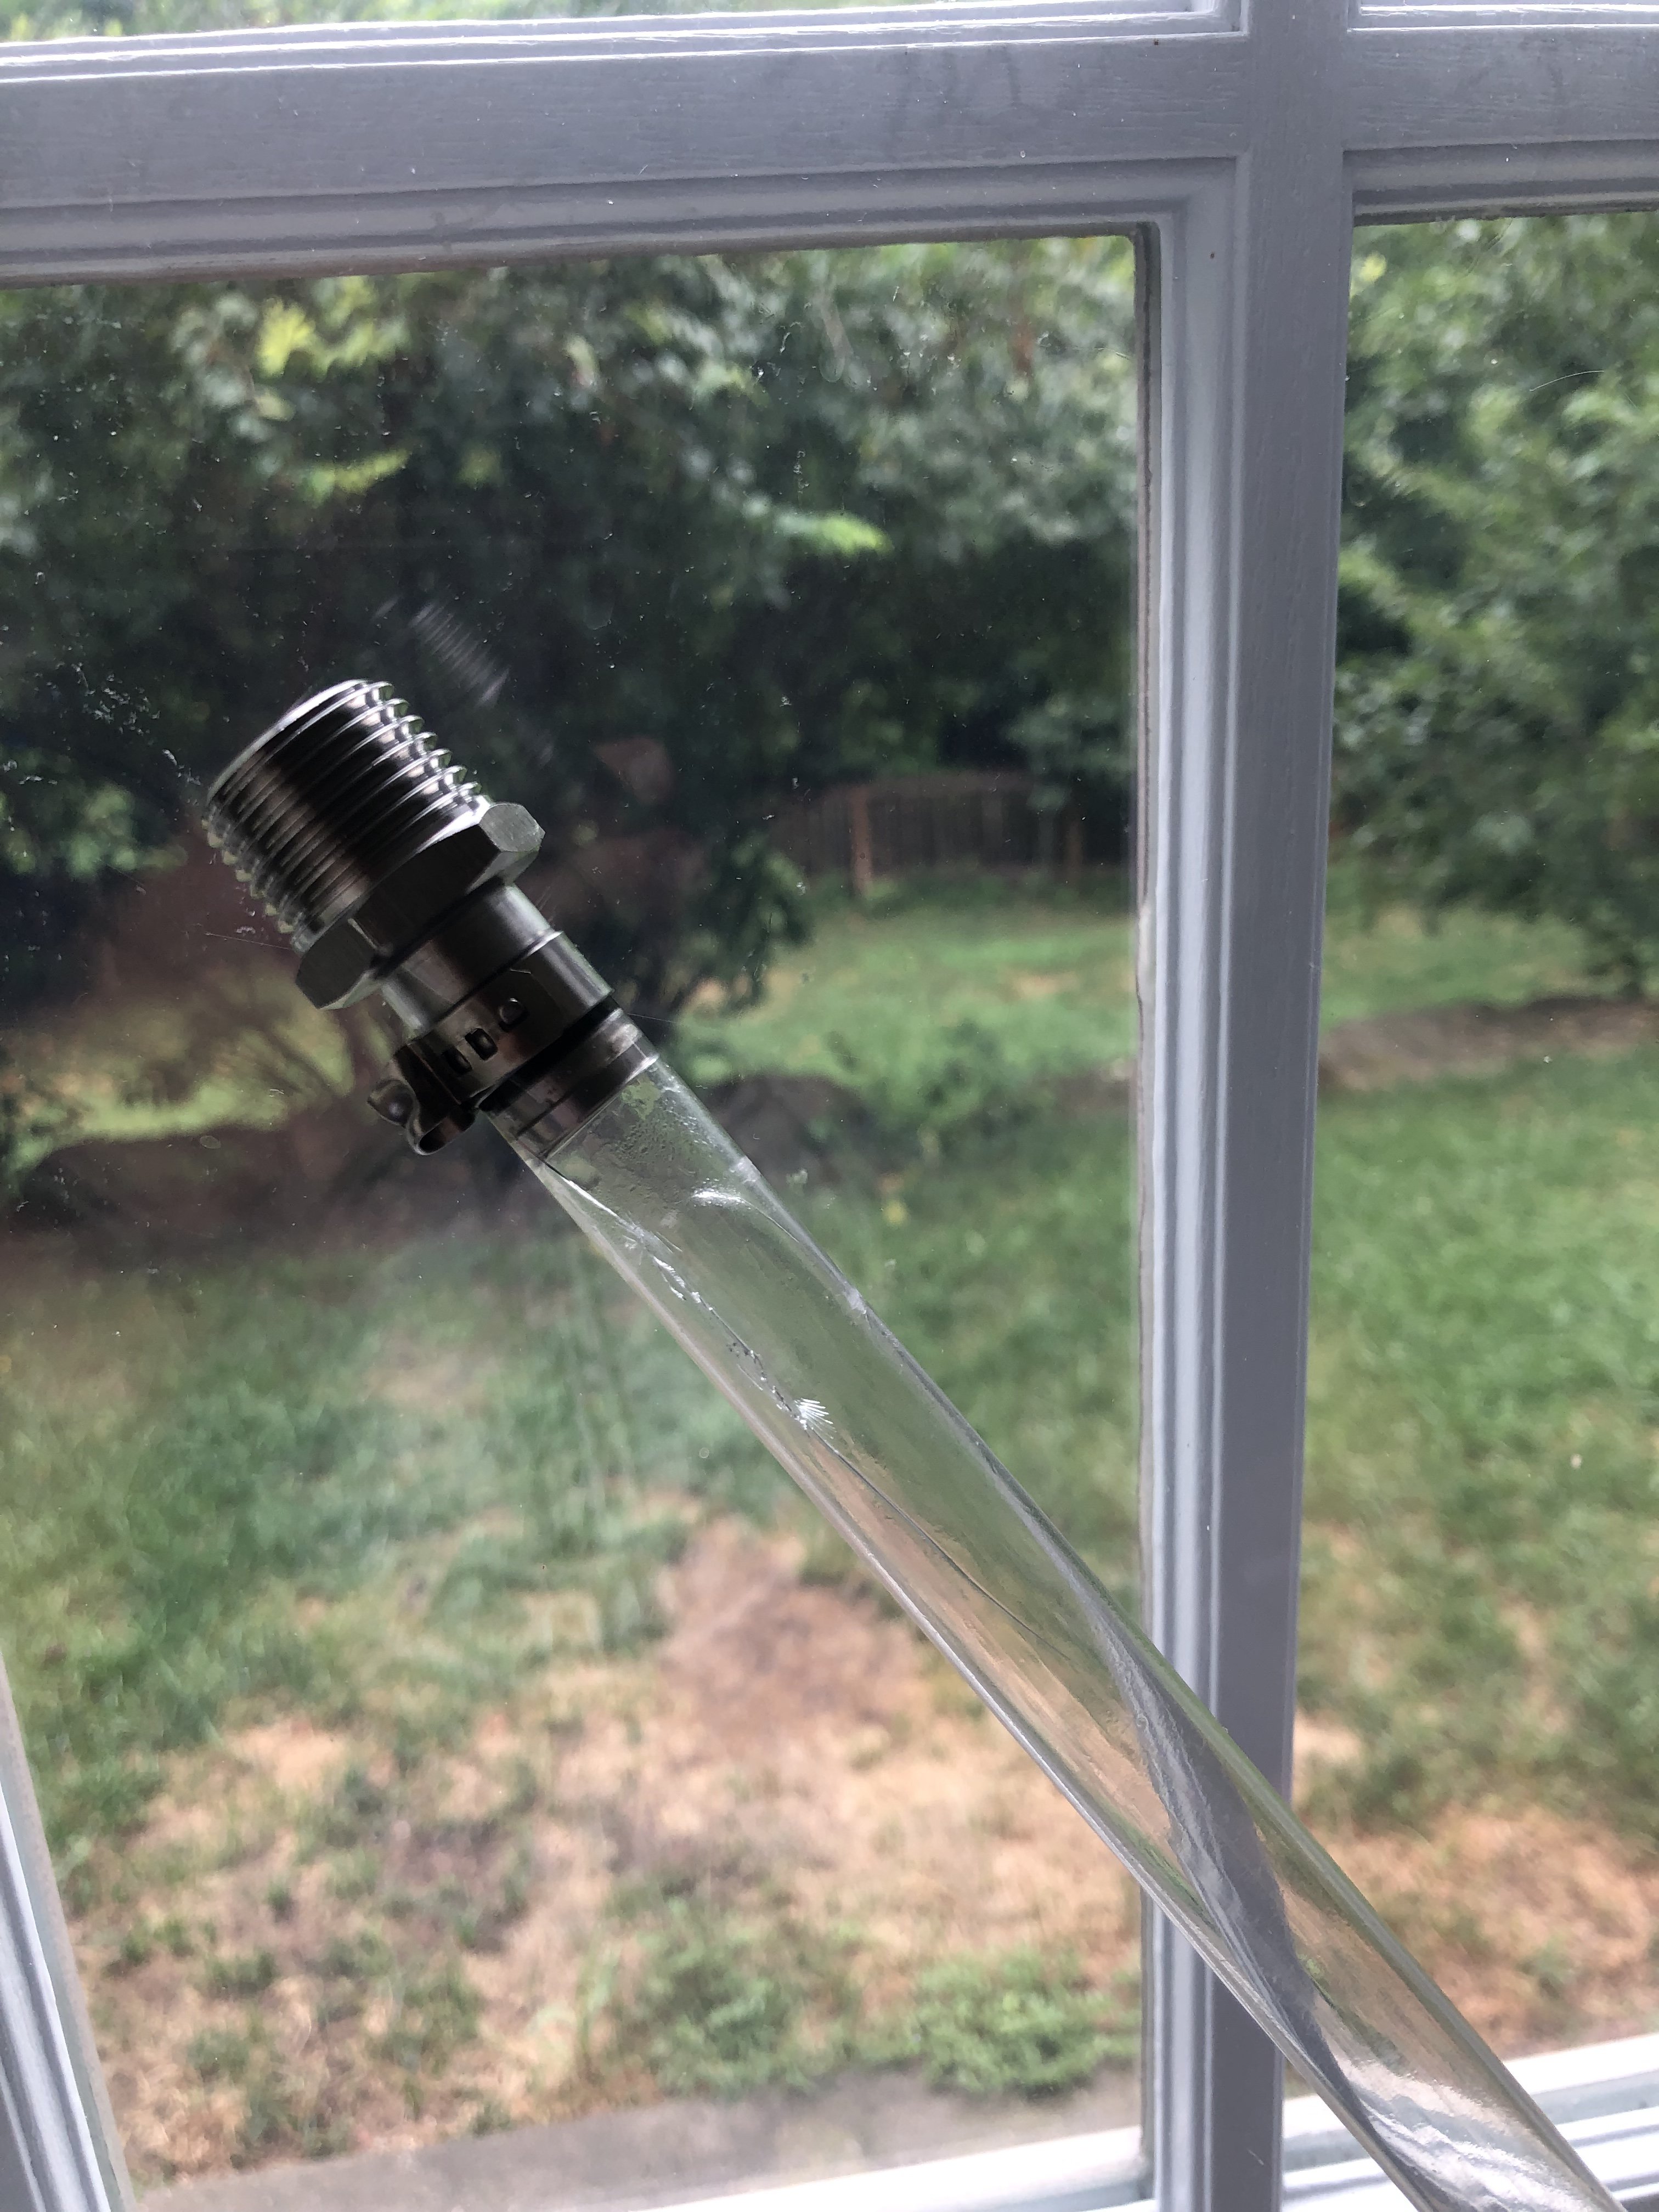
Well, my nifty poly sight glass upgrade lasted 2 whole brews.

Luckily I decided to test the pump just as I was getting started today and noticed some water beads on the sight glass. On closer inspection, it had pretty substantial cracking near the top bracket and was starting to leak. It was early enough in the brew day (5 minutes in) that I could still shut it down, transfer liquid to spare kettle, and swap out sight glass for the original metal pipe.

My guess is that swiveling the pipe overhang up top put too much pressure on the sight glass up against the bracket, causing the cracks. But whatever the cause, I won't be investigating it further. Metal pipe works just fine for me. =c)
6F461DCF-FA75-40B8-B9D8-63B9075EC1CA.jpeg
709EACA2-43D0-4ED9-A77C-0776F3CCD174.jpeg
2DACD3DC-12DB-489C-B140-F5FD11EC1D0F.jpeg


But other than that issue, brewzilla worked well for third brew. I did a reiterated mash because the recipe was for 18 lbs of grain. So I broke it up into an 10 lbs and 8 lbs mash before boiling. I again had some burnt/scorched material on the bottom, but this was a pretty thick wort (1.105)
 
Last edited:
Well, my nifty poly sight glass upgrade lasted 2 whole brews.

Luckily I decided to test the pump just as I was getting started today and noticed some water beads on the sight glass. On closer inspection, it had pretty substantial cracking near the top bracket and was starting to leak. It was early enough in the brew day (5 minutes in) that I could still shut it down, transfer liquid to spare kettle, and swap out sight glass for the original metal pipe.

My guess is that swiveling the pipe overhang up top put too much pressure on the sight glass up against the bracket, causing the cracks. But whatever the cause, I won't be investigating it further. Metal pipe works just fine for me. =c)

But other than that issue, brewzilla worked well for third brew. I did a reiterated mash because the recipe was for 18 lbs of grain. So I broke it up into an 10 lbs and 8 lbs mash before boiling. I again had some burnt/scorched material on the bottom, but this was a pretty thick wort (1.105)

I posted about the same sight glass issue about 300 posts ago. I can tell you, yours has split because the saddle is too small for the larger diameter of the polycarbonate tube. KegLand were adamant they had never seen that cause a split tube before, and whatever I had done had caused the tube to split. It took me a week of hassling before they relented and sent me a new sight glass. Obviously I went and bought a larger saddle to suit and it works fine now. I would be lost without the volume markings to help me sparge to my pre-boil volume.
 
I posted about the same sight glass issue about 300 posts ago. I can tell you, yours has split because the saddle is too small for the larger diameter of the polycarbonate tube. KegLand were adamant they had never seen that cause a split tube before, and whatever I had done had caused the tube to split. It took me a week of hassling before they relented and sent me a new sight glass. Obviously I went and bought a larger saddle to suit and it works fine now. I would be lost without the volume markings to help me sparge to my pre-boil volume.

I actually had read your posts. But it was after I already assembled my brewzilla + sightglass and assumed that if the saddle size was the problem, they would have just increased it/addressed it already.

But yeah, mine cracked right around the saddle. But I don't think the saddle is necessarily too small as much as the the poly tube gets too bent with the movement of the top pipe and in getting insulation jacket threaded under it. The bracket should just be made of something more flexible to allow for the movement/shifting that poly tube experiences. The bracket is too rigid for the poly tube, not necessarily too small.

But you are right that the sightglass is handy. I like to use it to monitor the color change in real time. Maybe I'll look into a larger saddle replacement. Which sucks because I just put in a morebeer order last night! Already had free shipping and could have easily added a other $13 sightglass.
 
Last edited:
I think I'm going to take the plunge next brew day and try to use the pump to circulate the wort through the chiller inside an ice bath.

Sanitizing the inside of the wort chiller concerns me, but the amount of waste water from my brewday yesterday was borderline unconscionable.

I don't use the stainless chiller that came with the Brewzilla anyway. So I may try running the wort through it.
I collect all the water runoff from my counterflow chiller into buckets and use it to clean the BrewZilla. So I don’t feel like I’m wasting any water.

I’ve not heard anyone run wort through their immersion chiller, usually it’s the cold water that gets run through it. I think it would heat your ice bath up real fast and lose all of its chilling capacity.
 
Maybe just a no chill technique.

I read the brulosphy write-up on his year-long xbeeriment with no chill. He determined it did make his beer worse.

If there was a way to no chill without impacting final product, that would definitely be my preference. I would be totally fine with just letting the wort sit in a sealed container for 1-3 days before pitching the yeast. KegLand makes no-chill cubes, but they seem

Is there a reverse-keg, designed to withstand large decreases in internal pressure? Seems like a modified keg lid could make that possible. Just have it go over the lip and put the gasket on the outside.

But circling back, you can use the brewzilla pump to push the wort through the chiller. I agree it may be hard to maintain cold temperatures enough for it to work.
 
Last edited:
Did your new fitting hold the tube looser? Did you determine that a loose fit was better or did the original one just clamp it too tightly? Just curious how much bigger to go when buying a new saddle.
With the new saddle fully tightened down, I can just move the tube a fraction, so it’s not fully tensioning down on the tube. I don’t recall what size that saddle is. I took my tube to the store and tried a couple of different sizes to find the size I preferred.

The polycarbonate tube has a wider diameter than the stainless tube it replaces. So the original saddle is too small for the polycarbonate tube and as I found out it’s very easy to split the tube with that saddle.
 
Last edited:
@Cloud Surfer and @GoodTruble
How did you take the stainless steel up pipe off?
I want to cut mine about 20 cm up from the kettle exit and fit a 3 way valve for a mod.
Would be a lot easier on the bench than on the guten.
The stainless pipe is attached via locknut on the BrewZilla, so you just undo the nut to pull the tube off.

Are you fitting a whirlpool port? I’ve got my 3 way valve here, and just waiting for a couple of other bits and I’ll be putting one onto my BrewZilla.
 
The stainless pipe is attached via locknut on the BrewZilla, so you just undo the nut to pull the tube off.

Are you fitting a whirlpool port? I’ve got my 3 way valve here, and just waiting for a couple of other bits and I’ll be putting one onto my BrewZilla.
I'll have a look to see if the Guten has a locknut ( I don't recall one on the outside ) was it underneath?

I'm already whirlpooling thru the tap in reverse having fitted a stainless steel elbow on the inside and a cap with some 8mm SS pipe coming thru, I started off just putting the recirc pipe on the tap outflow but then put the coolzilla in between and so comes out of coolzilla into the tap and then into the kettle.

I plan to have the three way part way up the SS tube, male to half inch connector with pipe having camlock on the end. This camlock can go to the coolzilla inflow or direct to the half inch ball lock with camlock that I'm swapping for the tap. The out flow of coolzilla will have half inch to camlock as well to allow it to be plugged in and out.

Have also just got a hop missile which I'm going to use as a trub filter at first and that will connect to the recirc tube at the transfer time so that the cold break will get caught as well. I reckon this will cut my kettle loss by a few litres and possibly in the ferment vessel as well with an even cleaner wort.

Later on I'll experiment using the hop missile as a hopback but that will need to be before the coolzilla and then probably direct into the ferment vessel at the correct chill temp.
Although if using kveik not sure how much cold break occurs at 40 celsius transfer temp so I could just put the filter after the coolzilla for those brewdays.

Planning a double batch with half french saison and the other half an all brett saison ferment to be ready in about a year after some aging on oak.
Also want to do an IPA and then a brut ipa with the sparge as a technical challenge.

I will take pictures of the mods once done.
 
I've had a look at the Guten and the stainless up pipe is welded to the " elbow " bit that enters the bottom of the guten. I'll have to delve inside to see if there's a screw fitting in there. Or just carefully use the metal cut off disk on the angle grinder, which I'm nervous about, but I'm fairly sure my junior hacksaw even with a new blade wouldn't handle it.
I assume that's a T three way so you can send flow in all directions?
 
Yes it’s a T three way valve so I can make the flow go anywhere or everywhere or no where.

I had to remove that elbow to attach the valve. It’s just held there by a nut. Maybe it’s that easy on your Guten.
 
I think I'll get it done today, so your up pipe was fitted to that elbow in the first place before you changed to the sight glass? Or did you swap in that elbow as part of the sight glass conversion?
 
That elbow is the original part on the BrewZilla and it has a male thread on top. So the original stainless pipe and replacement polycarbonate tube attach to it via a female nut. If you want to look at post 429 you can just see the bottom female nut on my tube. Obviously the three way valve has the same female connections as the tubes and it attaches straight into the elbow.
 
Back
Top