Yeah, apologies - I was trying to confirm what you meant in this case by "second row".
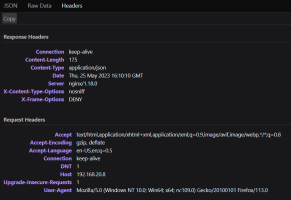
To test it, you'll need to look at the URL for the dashboard to get the ID of your controller internal to Fermentrack. For example, if the URL is
Code:
http://192.168.1.X/devices/6/dashboard/
then you would need to make note of the number "6". Then, use this to craft the URL of the endpoint that provides this data which will be something like:
Code:
http://192.168.1.X/api/panel/6/
(but replacing "6" in this URL with your device's ID). Don't forget the trailing slash! Post what you see here, and I can likely see what is going on.
The instructions are mostly trrhe same, aside from the assembly of the PCB itself (which has slightly different components). The controller can be flashed using Fermentrack, BrewFlasher, or BrewFlasher Web (just like the ESP8266) and you can use the same set of hardware. The advantages to the ESP32 come from the ability to use additional hardware, as well as having a board that I plan to support into the future. For a full comparison, you can take a look
here at the project documentation.
One thing to note -- the dream of the "solder free BrewPi" isn't here yet, as the ESP32's Bluetooth support doesn't yet fully work. Once Espressif releases the next version of the Arduino framework this is expected to be resolved, but that is still weeks/months away.


![Craft A Brew - Safale S-04 Dry Yeast - Fermentis - English Ale Dry Yeast - For English and American Ales and Hard Apple Ciders - Ingredients for Home Brewing - Beer Making Supplies - [1 Pack]](https://m.media-amazon.com/images/I/41fVGNh6JfL._SL500_.jpg)


