Pouring Wort/Agar plates! Fail!!!

Homebrew Talk - Beer, Wine, Mead, & Cider Brewing Discussion Forum

Help Support Homebrew Talk - Beer, Wine, Mead, & Cider Brewing Discussion Forum:

This site may earn a commission from merchant affiliate links, including eBay, Amazon, and others.

MajorJC

Too many hobbies... not enough time.
HBT Supporter
Joined
Aug 20, 2014
Messages
338
Reaction score
664
Location
Central Mississippi
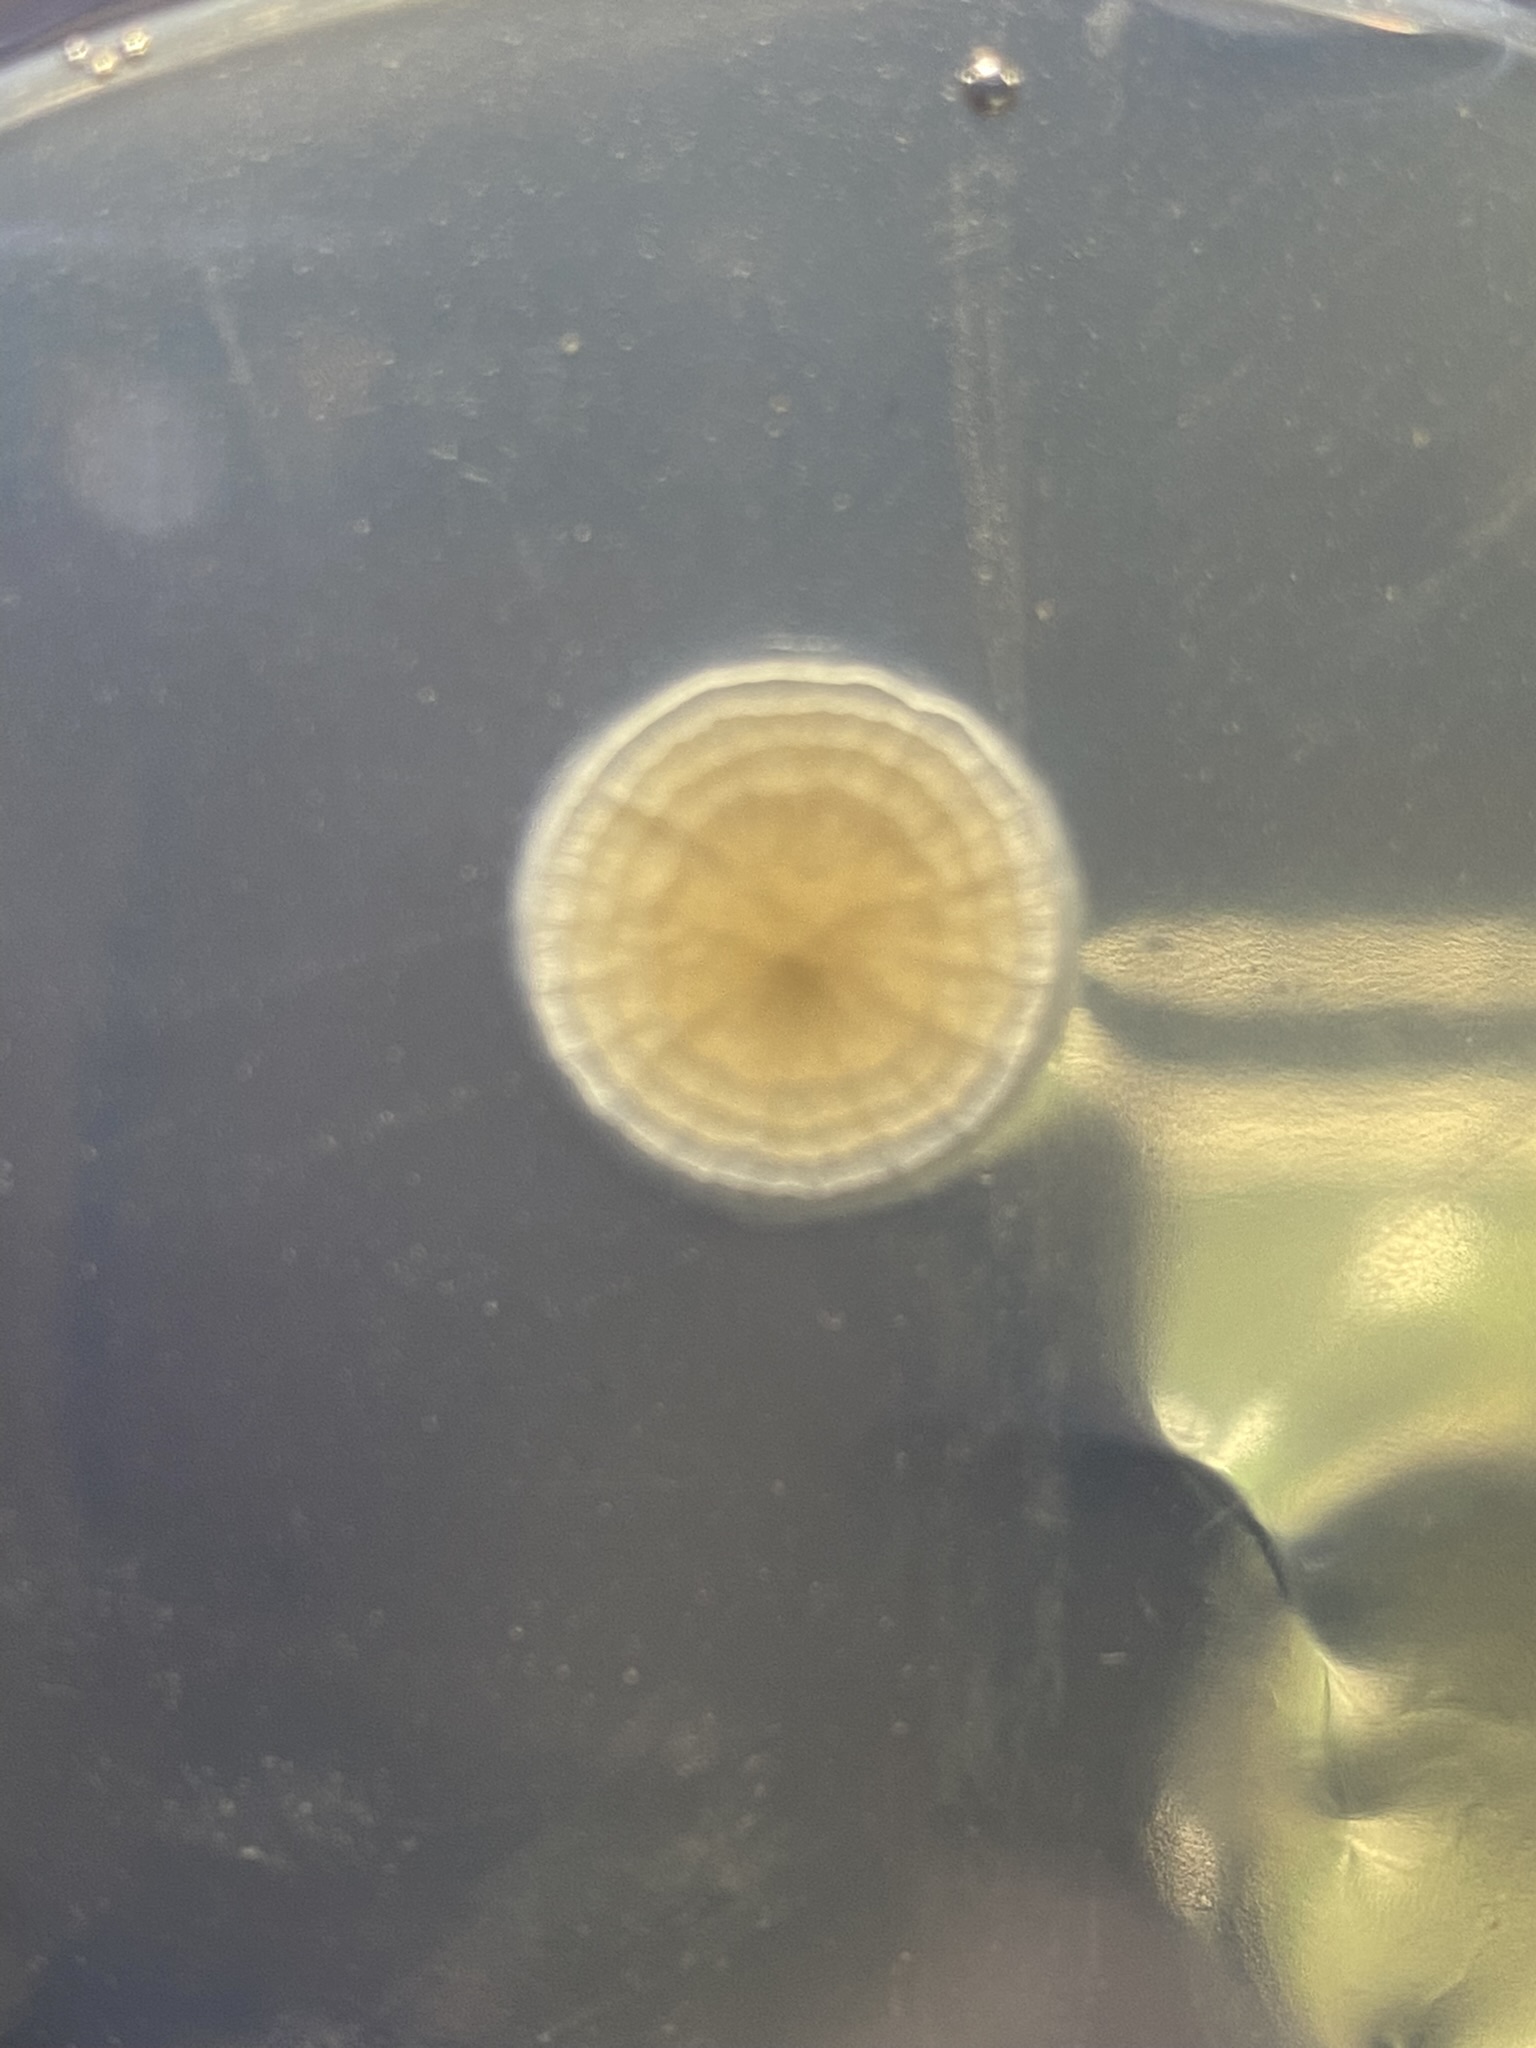
A couple of weeks ago I made my first attempt at pouring some wort/agar petri dishes.
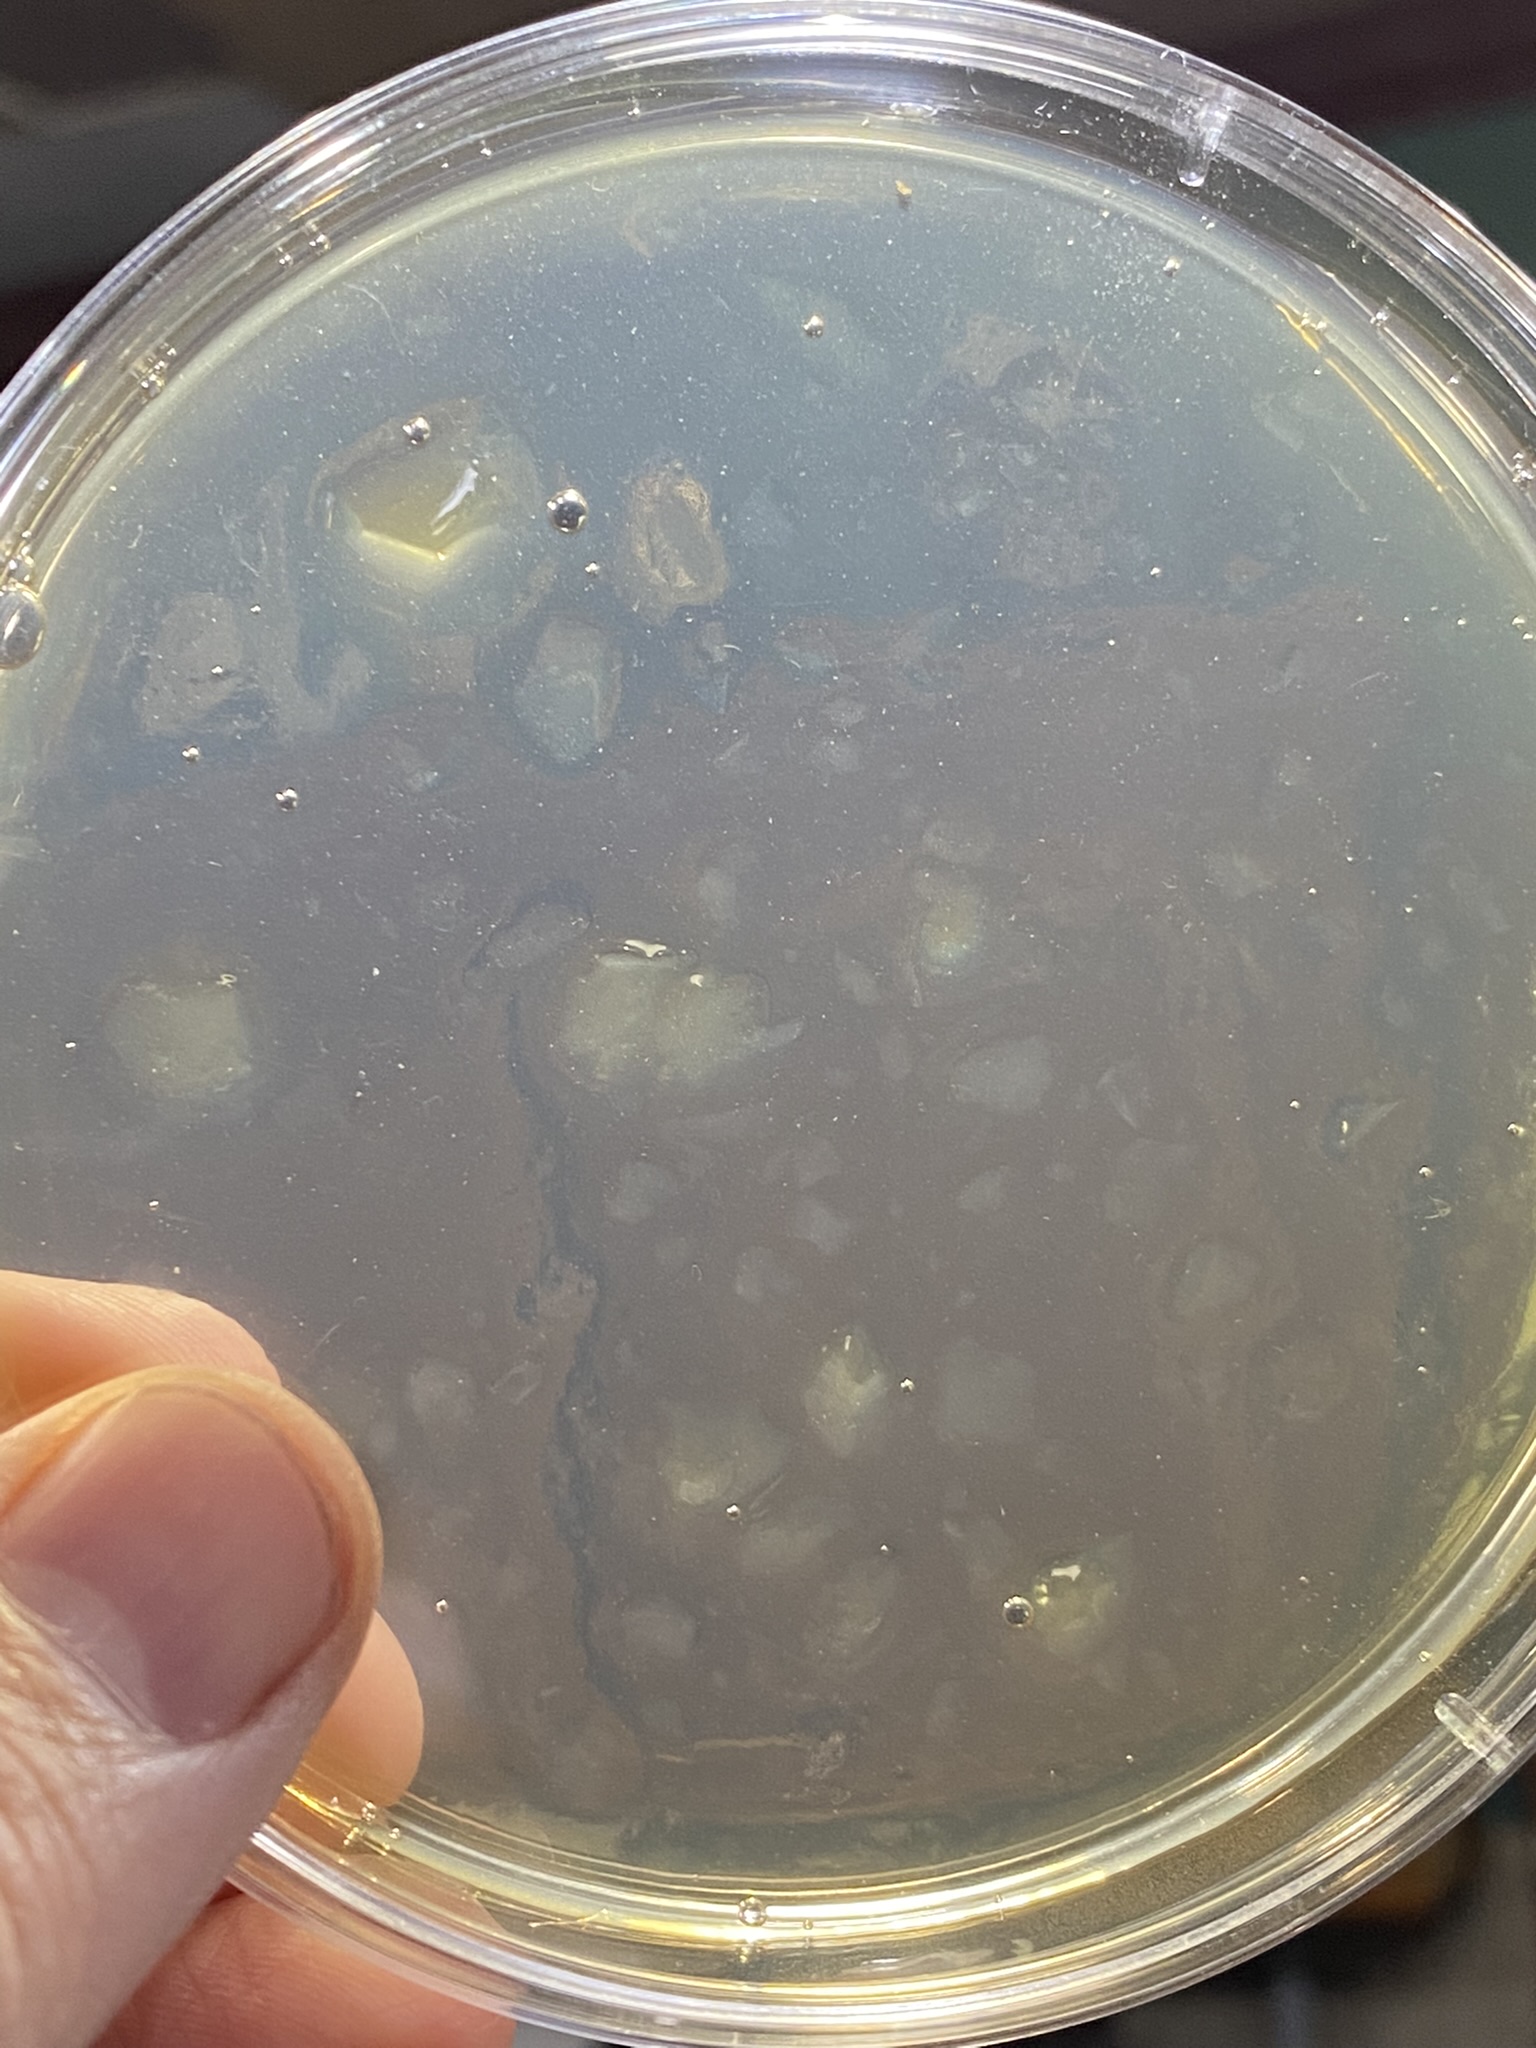
My first problem was letting the wort/agar cool down too much before pouring. I ended up with a lot of lumpy plates.
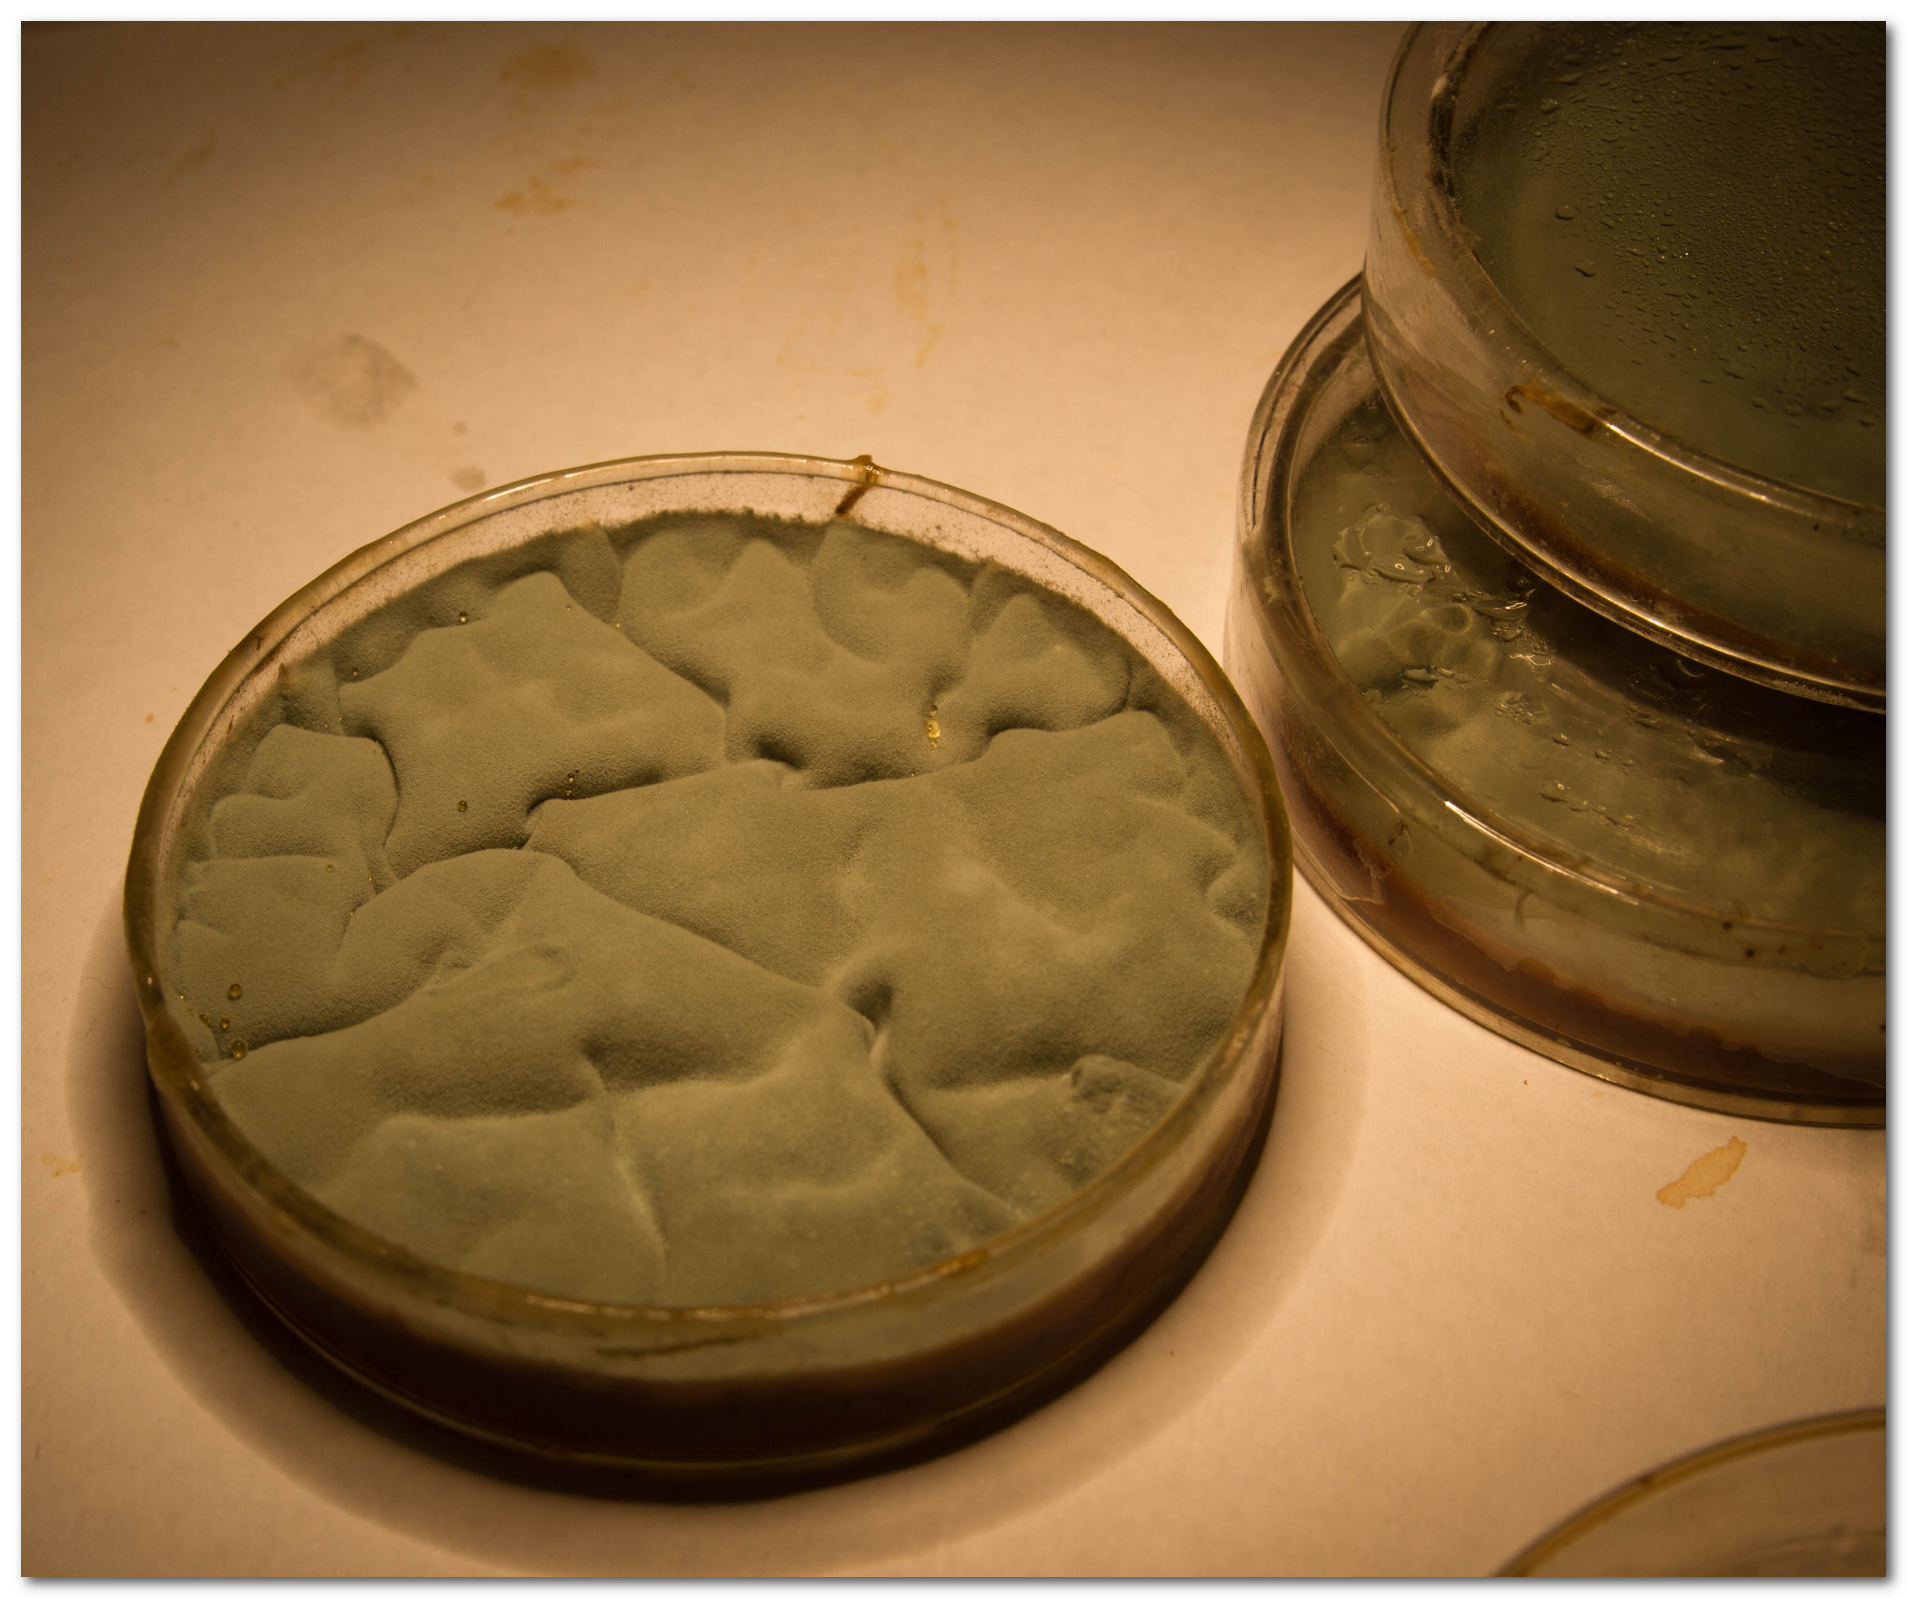
I then left them at room temp for the past two weeks to check out how contaminated they were.
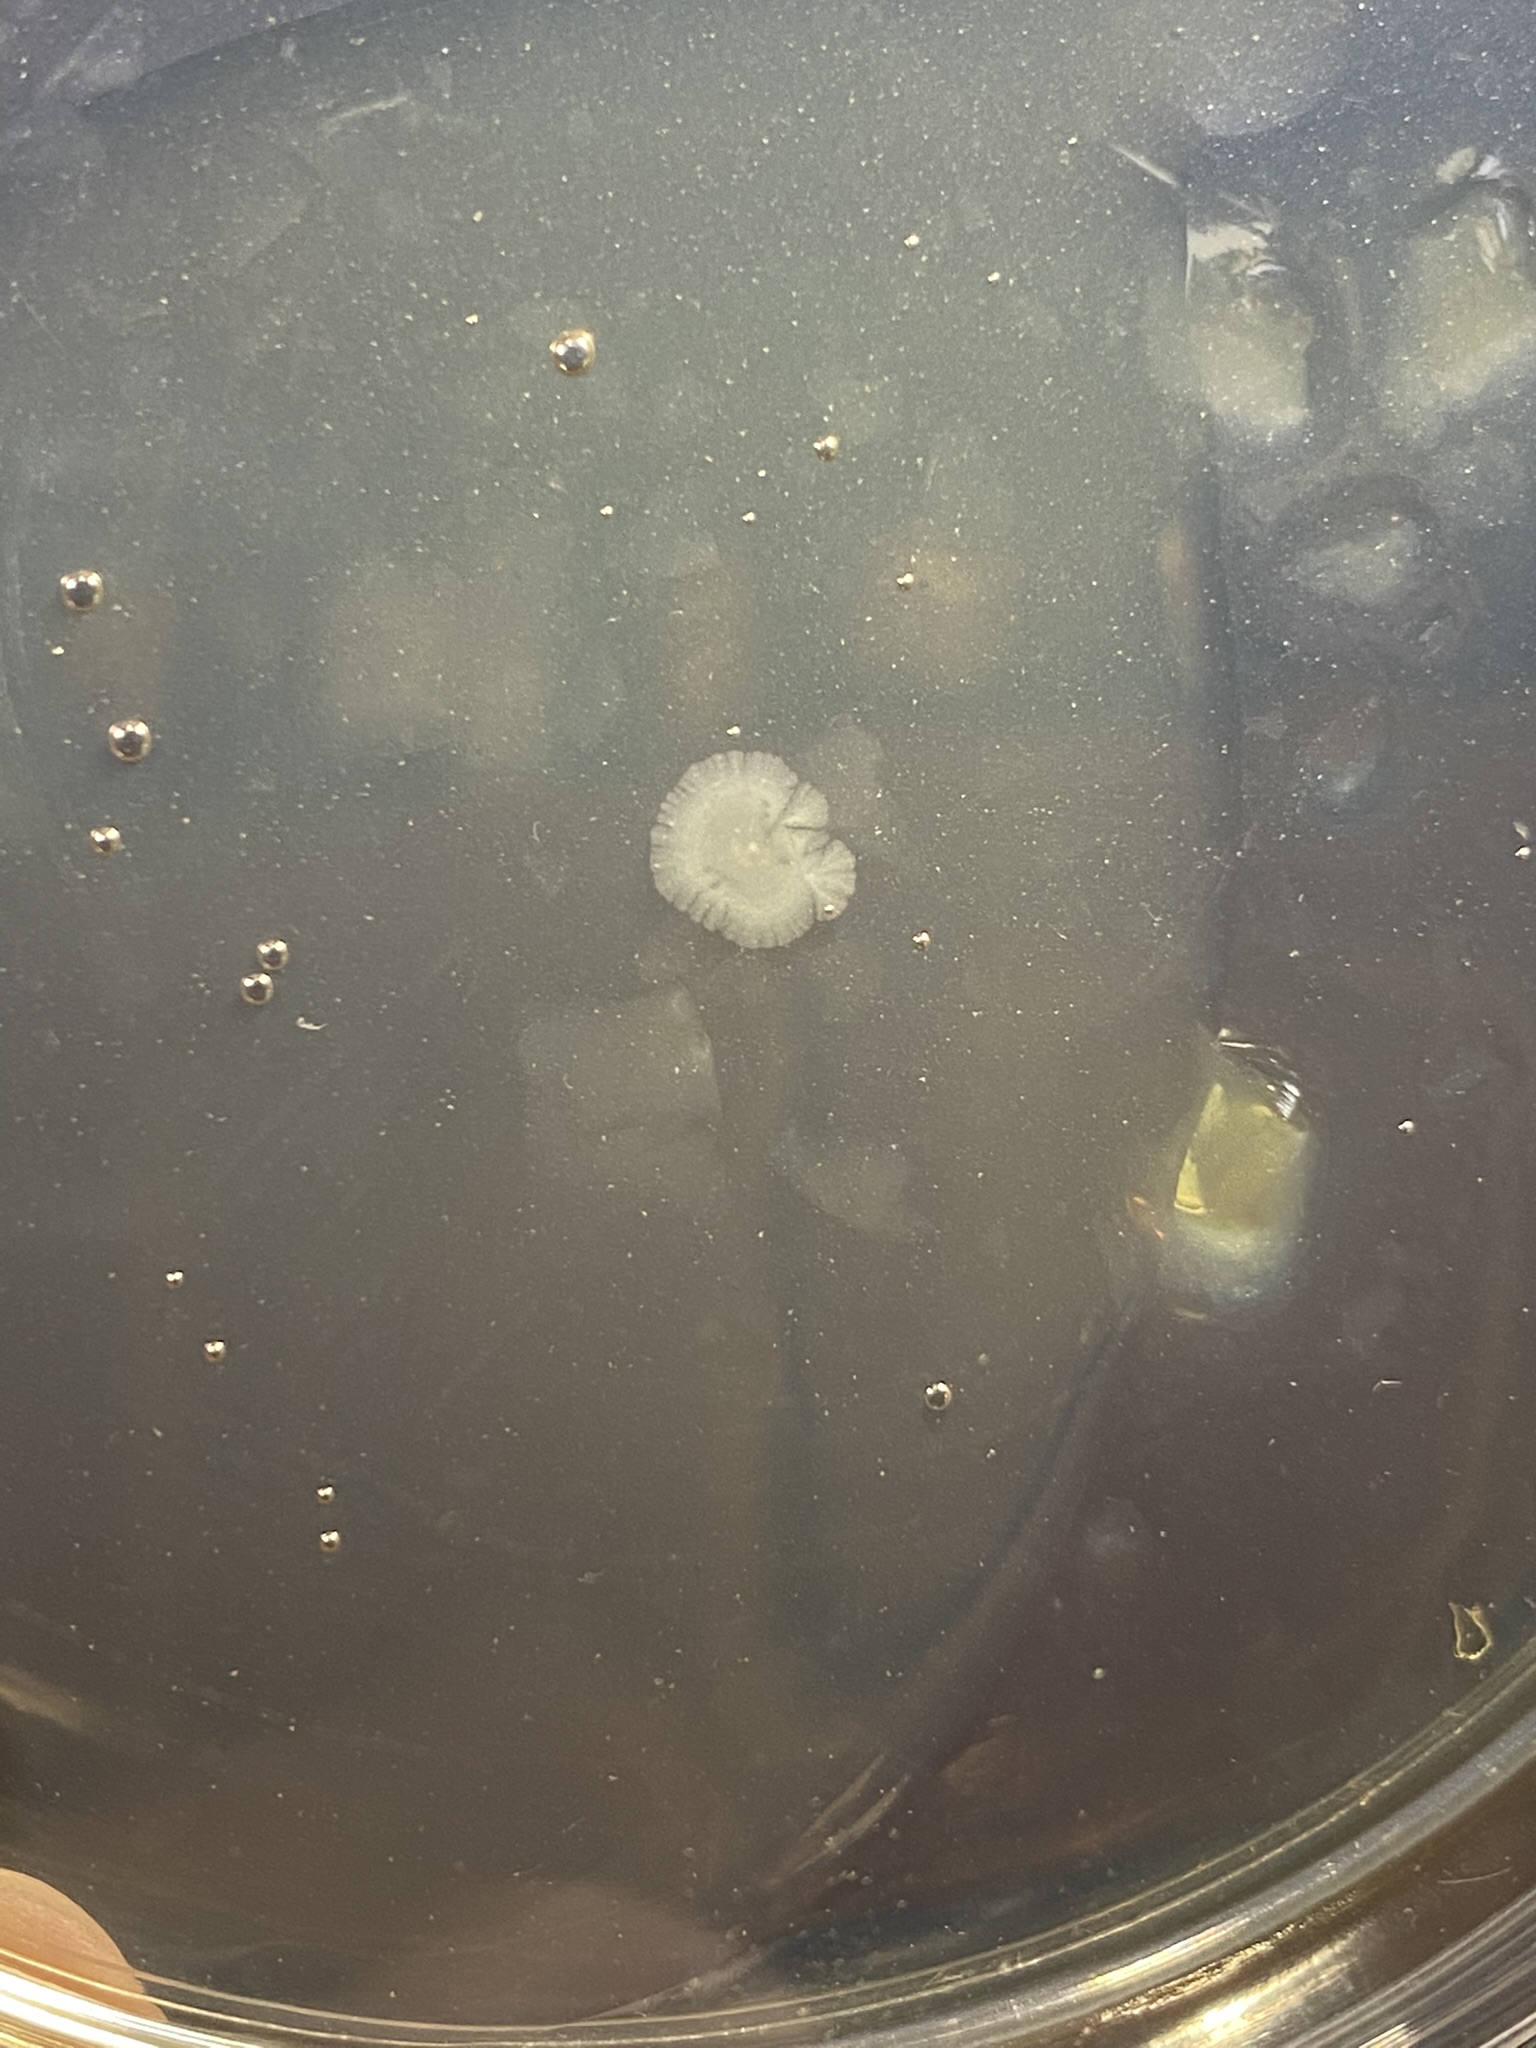
Only two out of the ten plates have no growth.
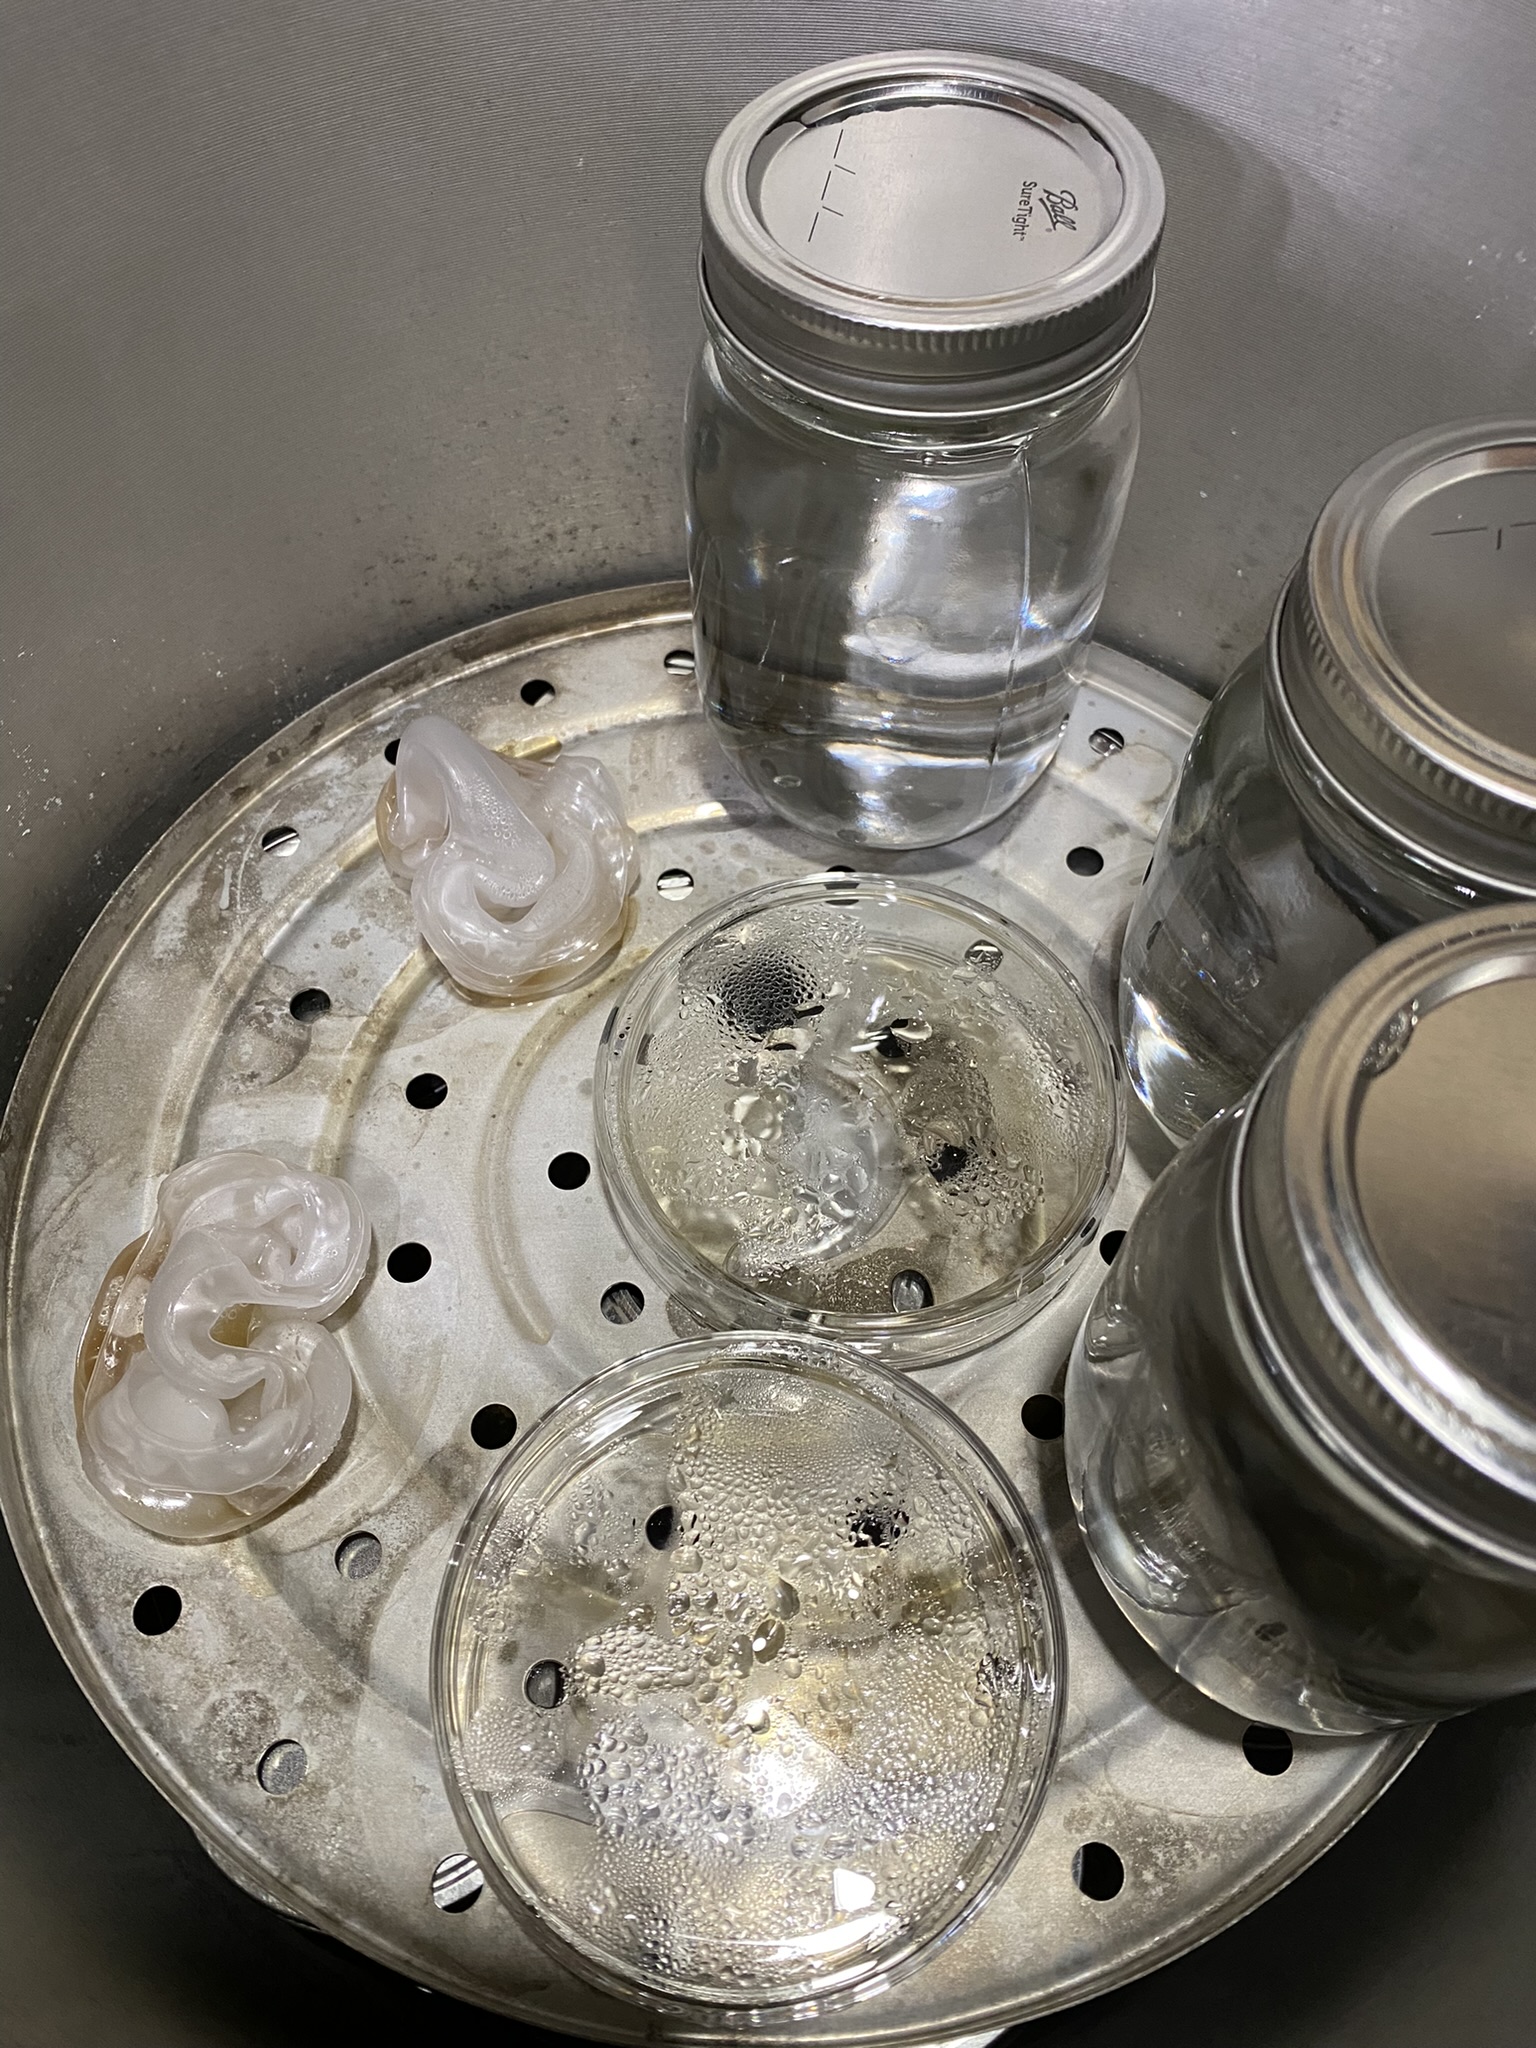
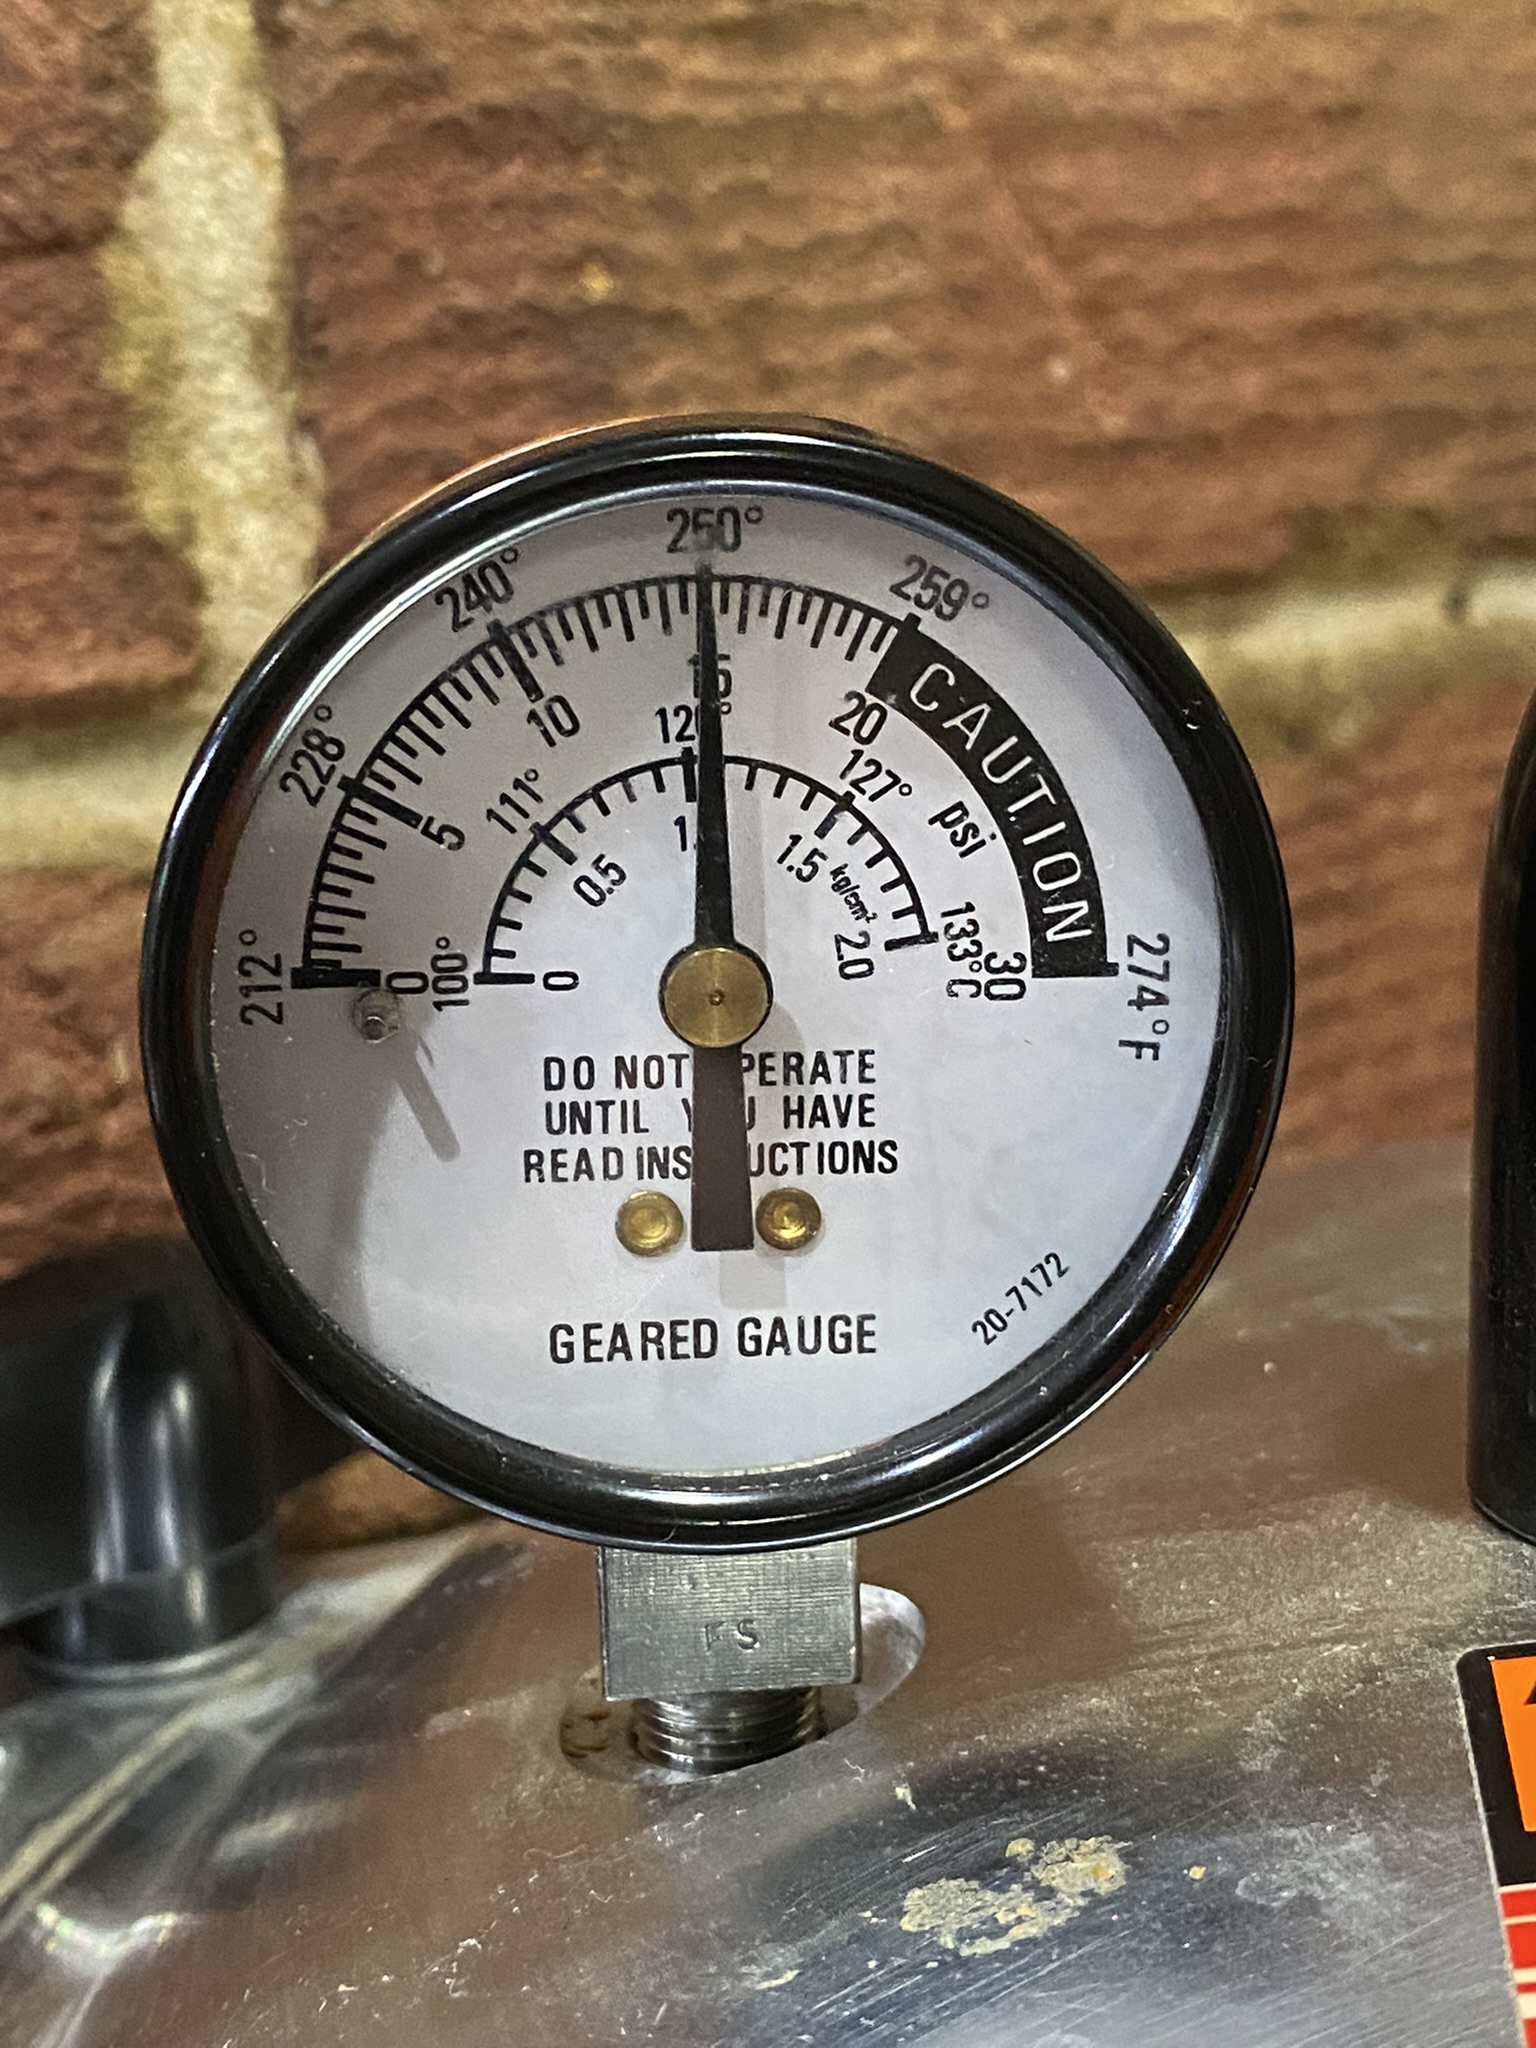
I've currently got those two plates in the pressure cooker with 12 quarts of water to make some sterile water and test the polypropylene petri dishes to see if they are pressure cooker safe.
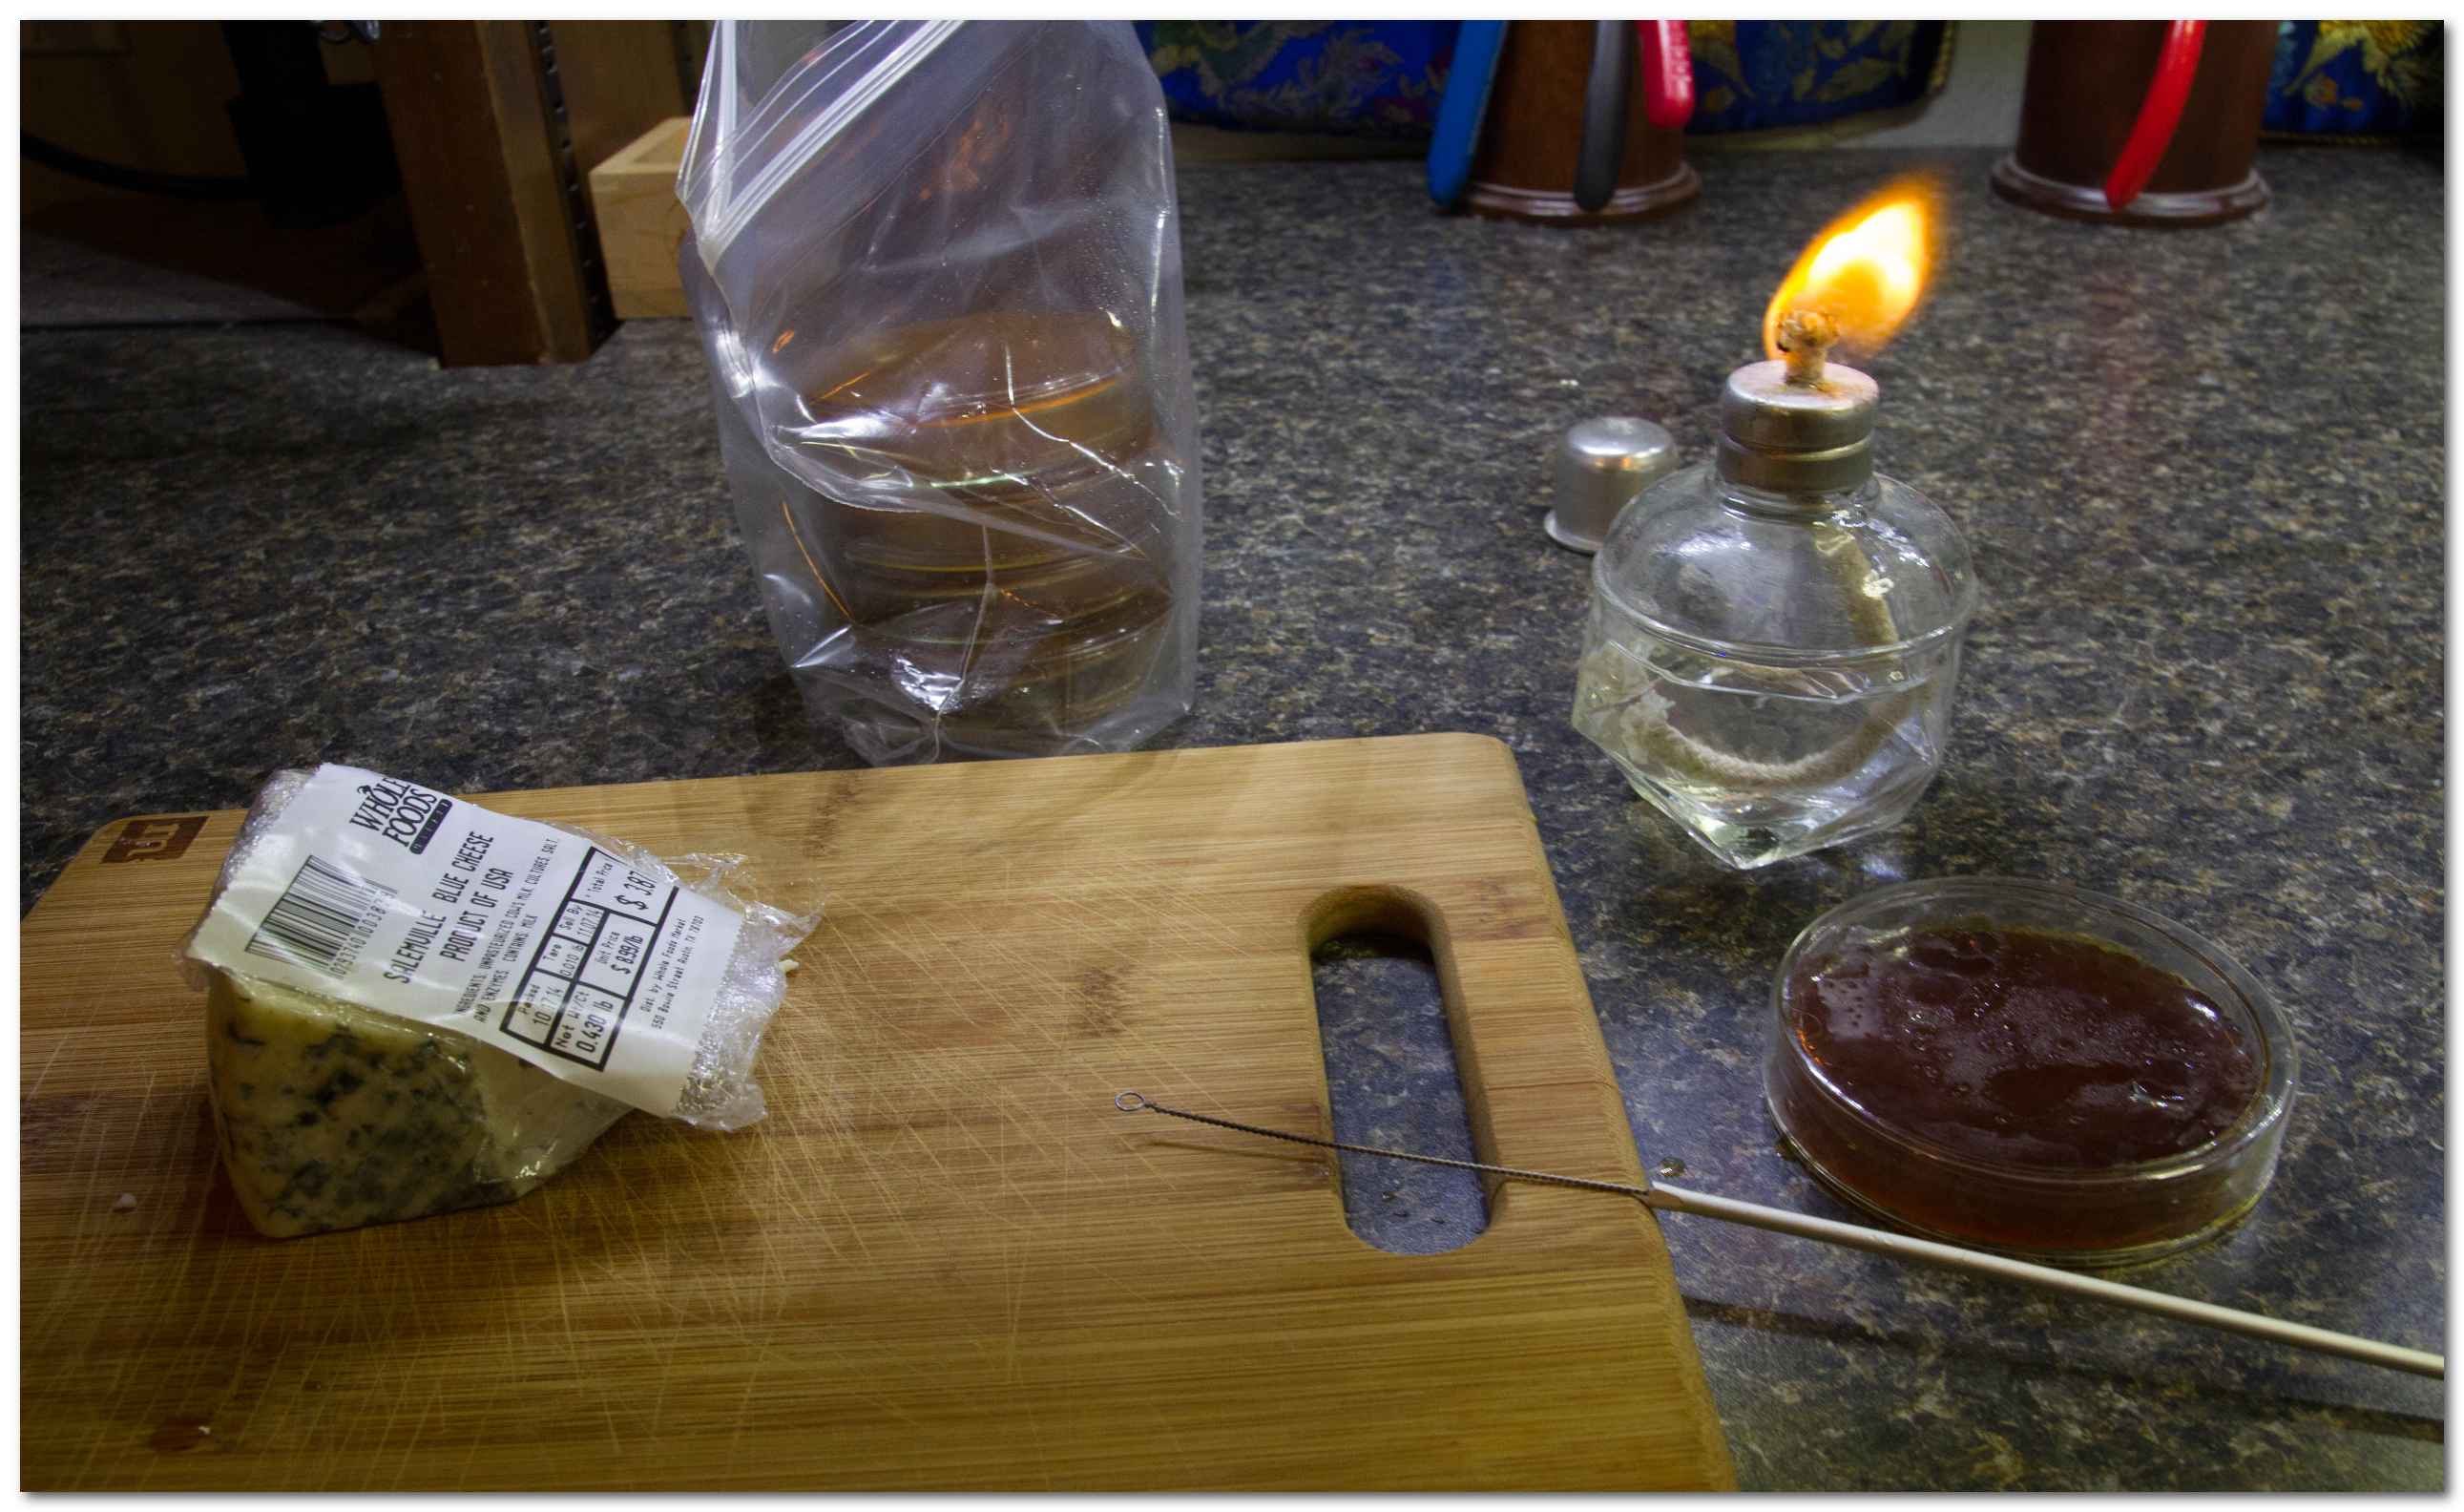
I've watched some video's since pouring these plates and I learned that I should have an alcohol lamp or Bunsen burner going near where I am working, both to create an updraft in the region to keep dust/contaminates from settling on my plates. Also to flame the rim of the container that I'm pouring from.
I also should have worn a face mask. I'm going to try again! I still have 10 of the sterile plastic petri dishes and I have some new borosilicate glass plates also.

Any tips from the pros here that do this type of stuff are welcome.

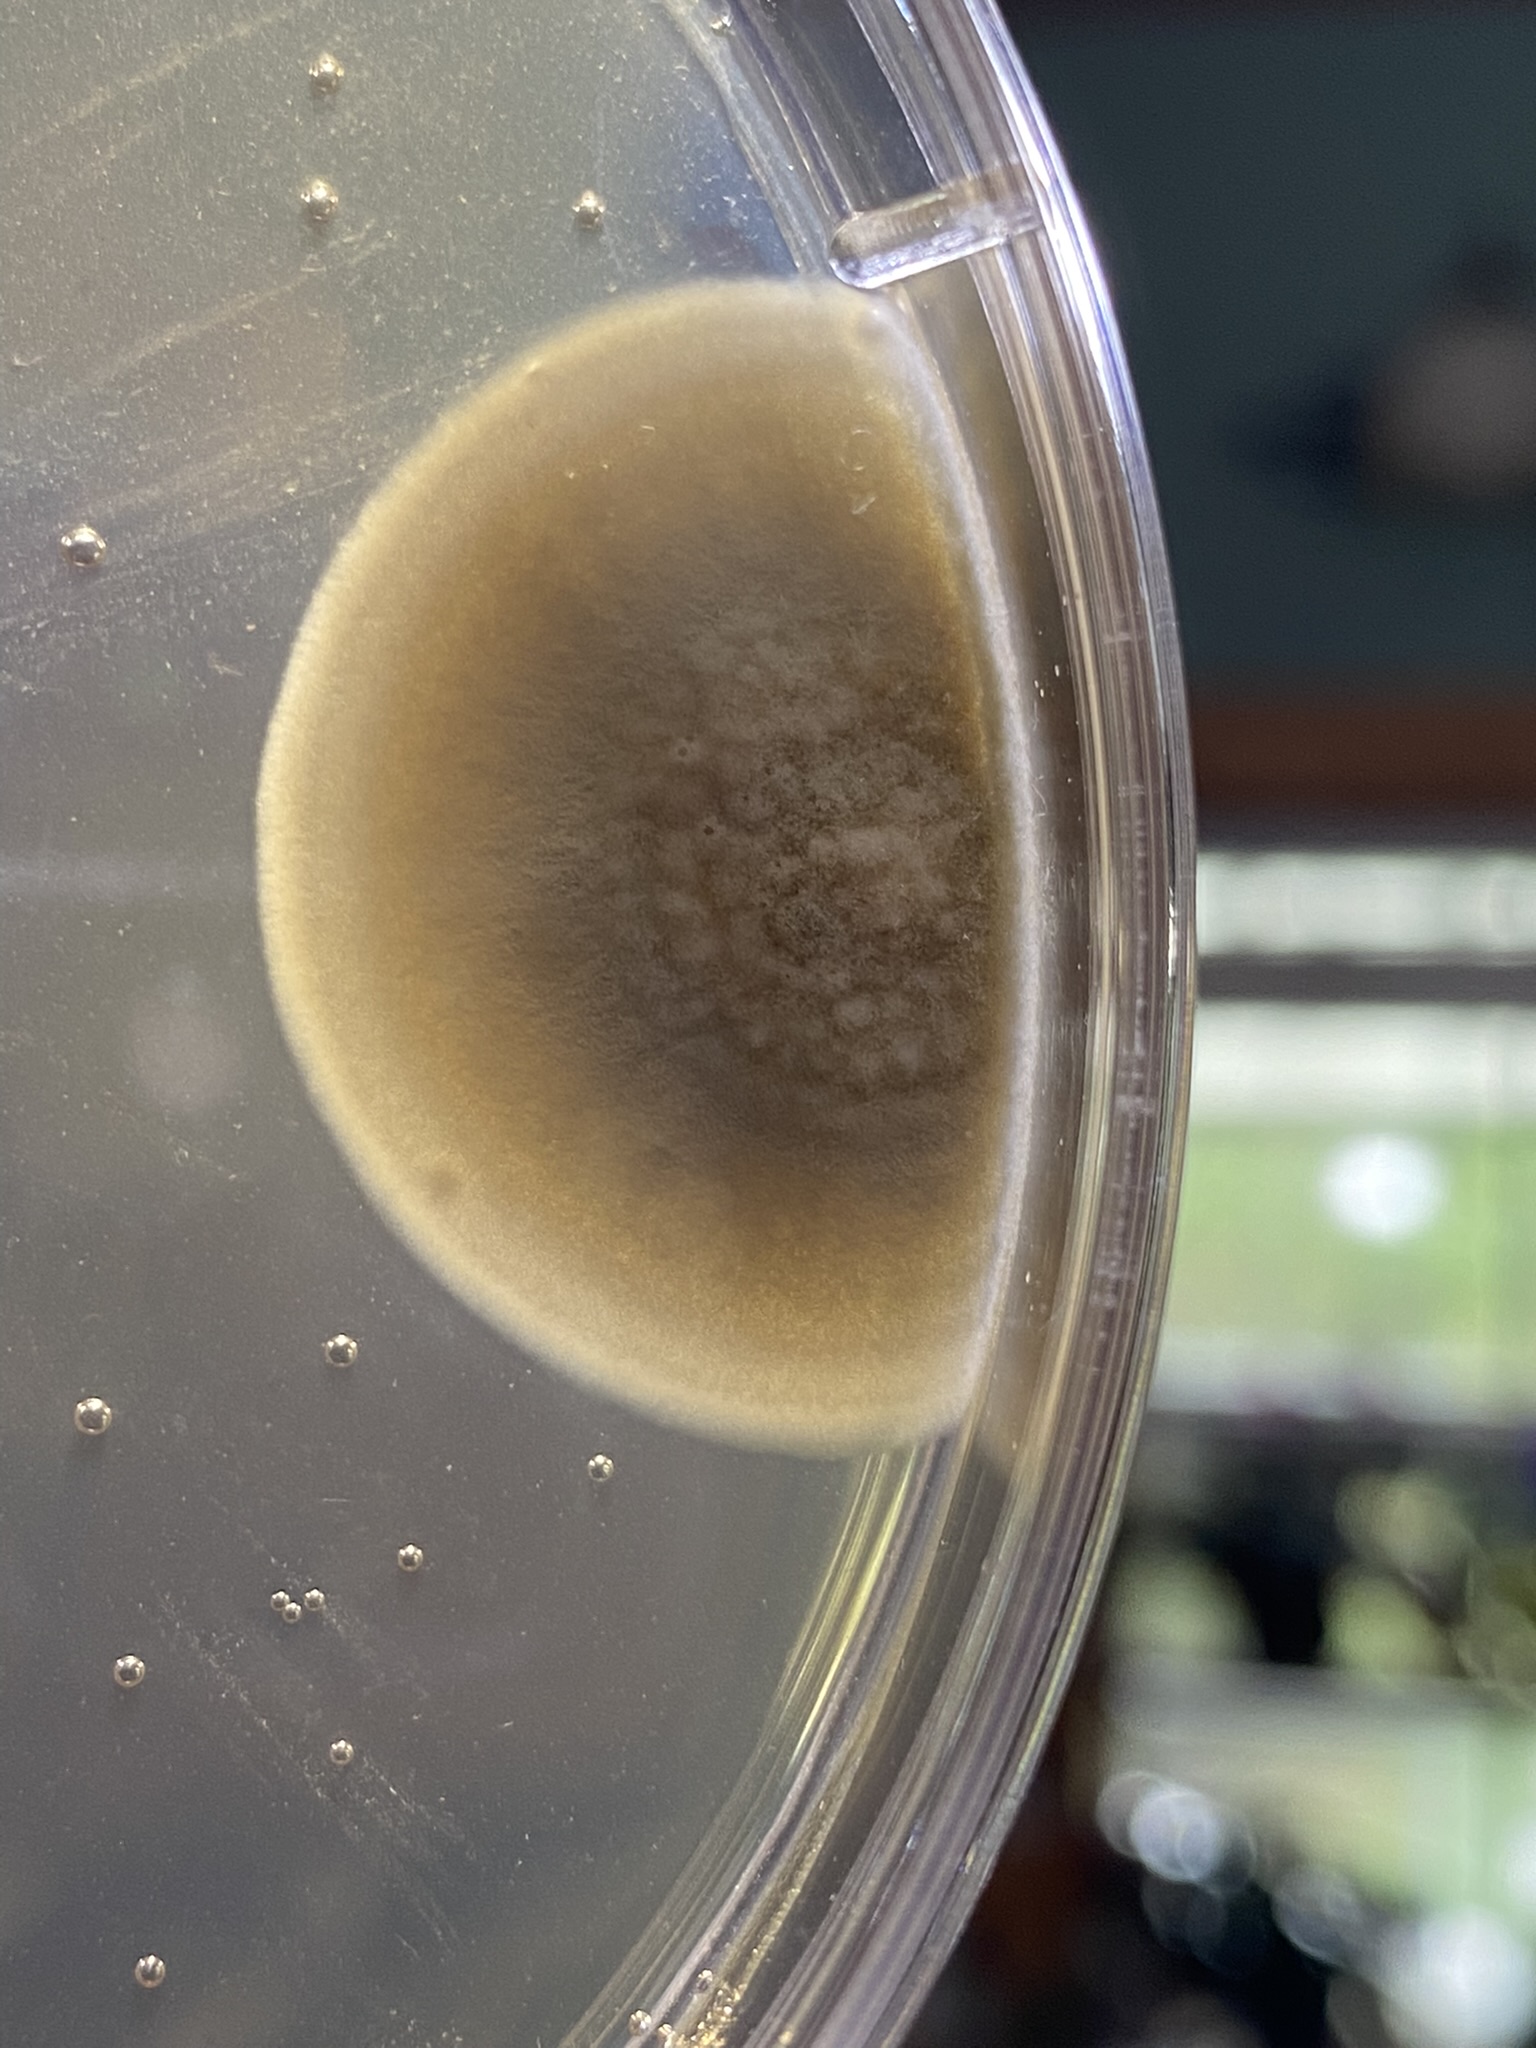
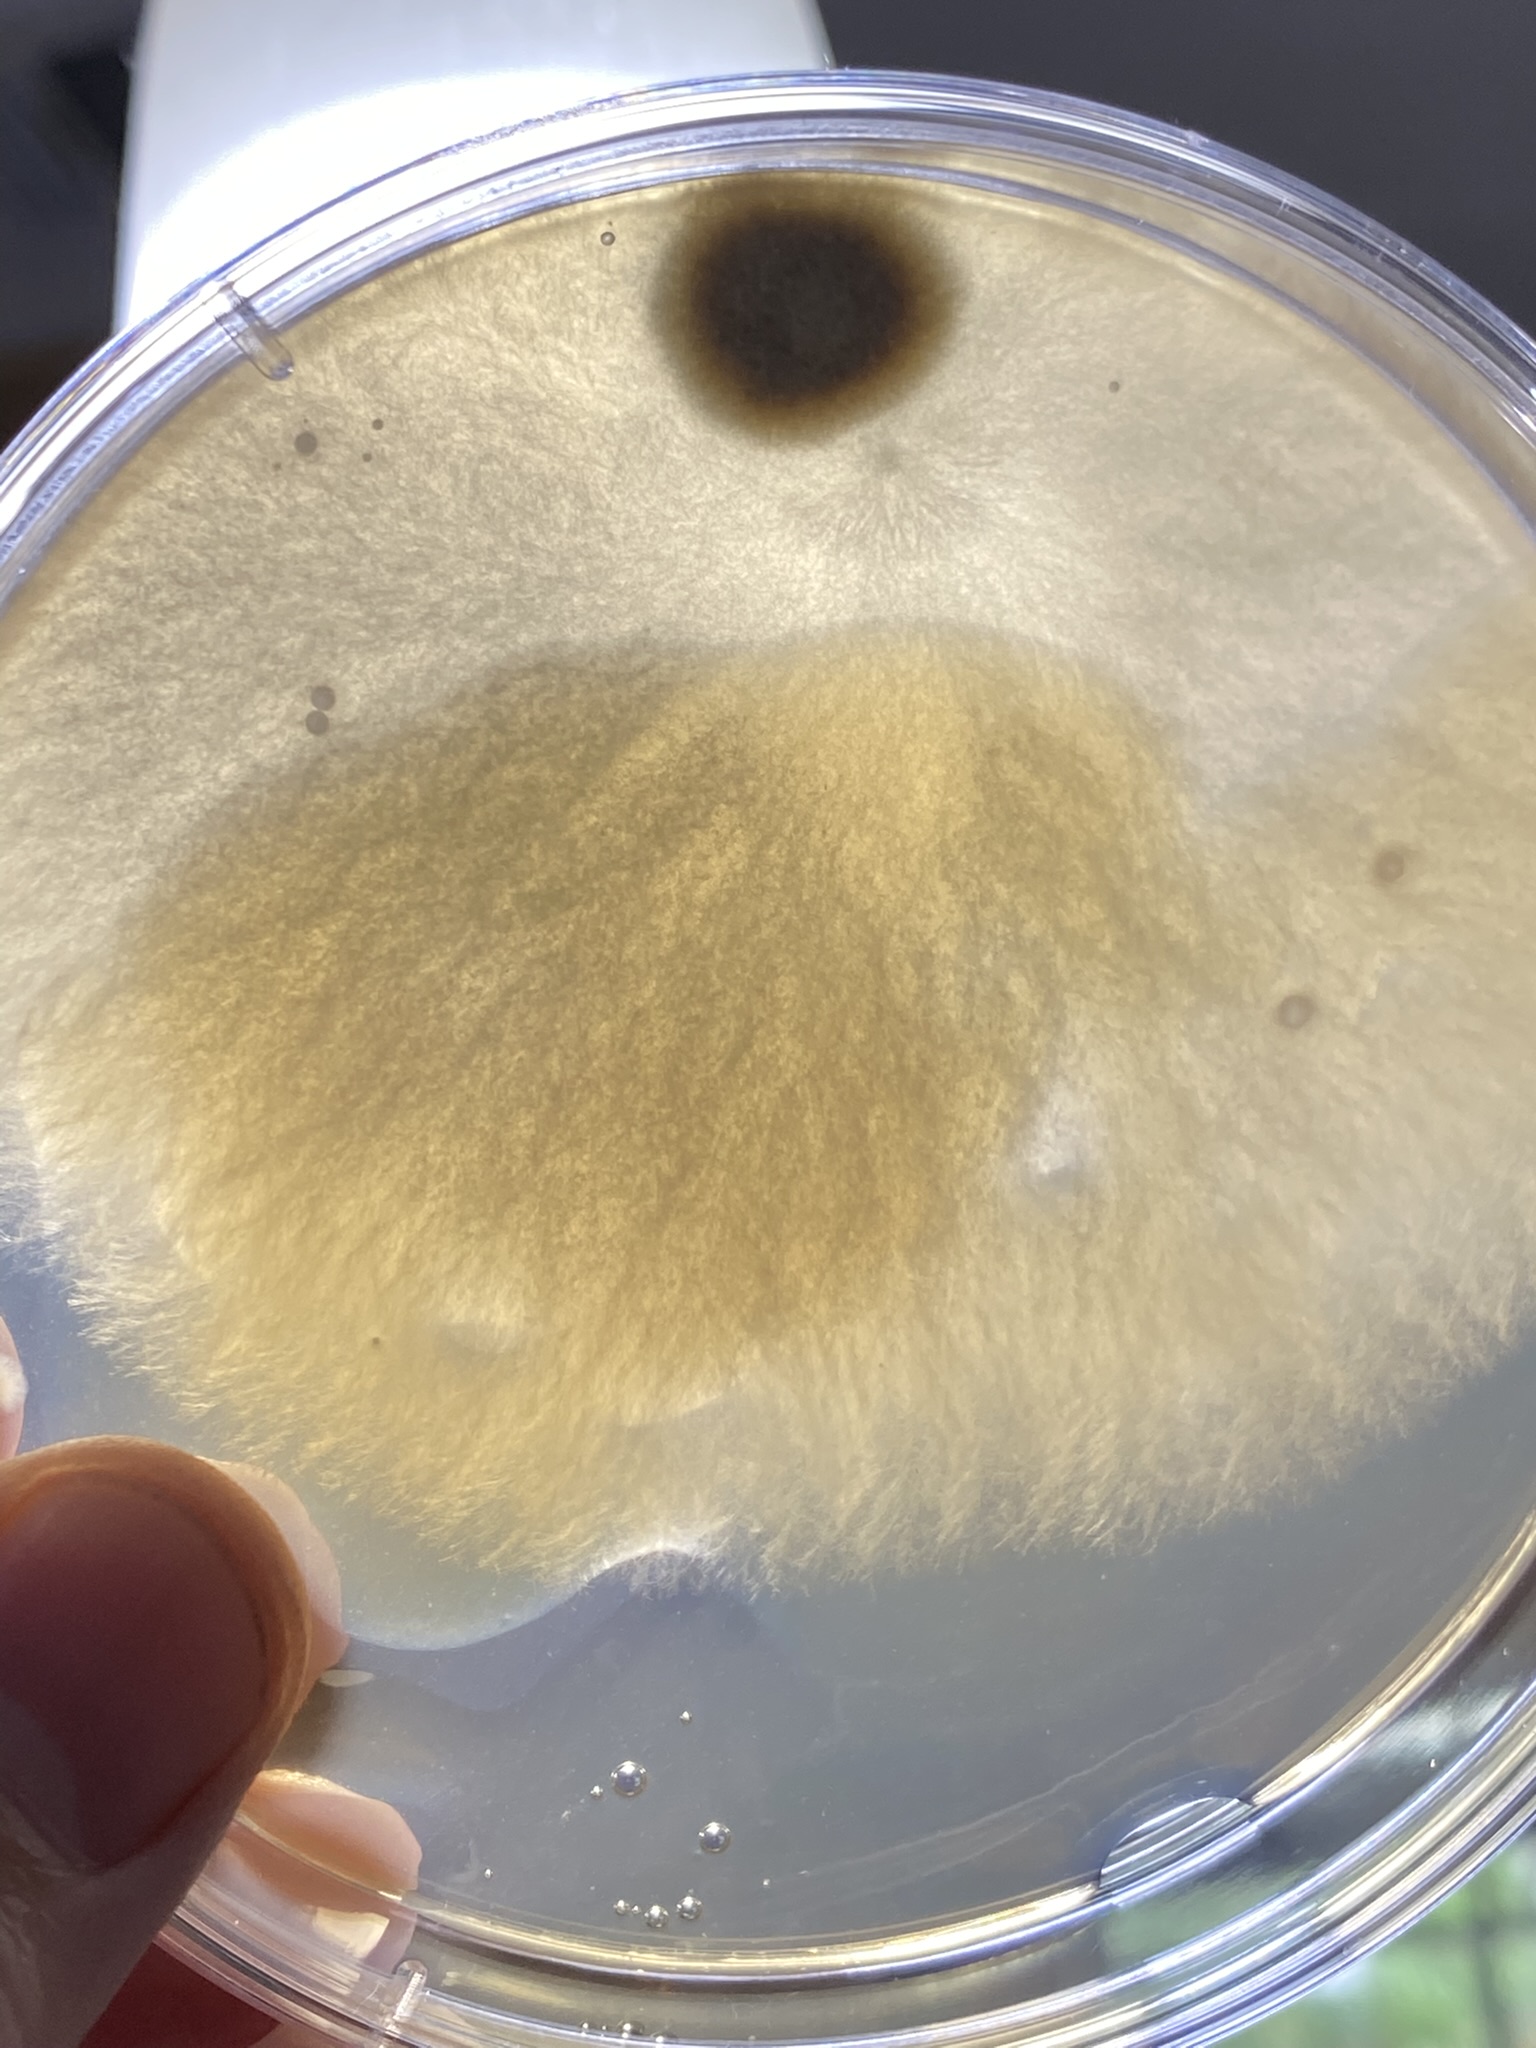
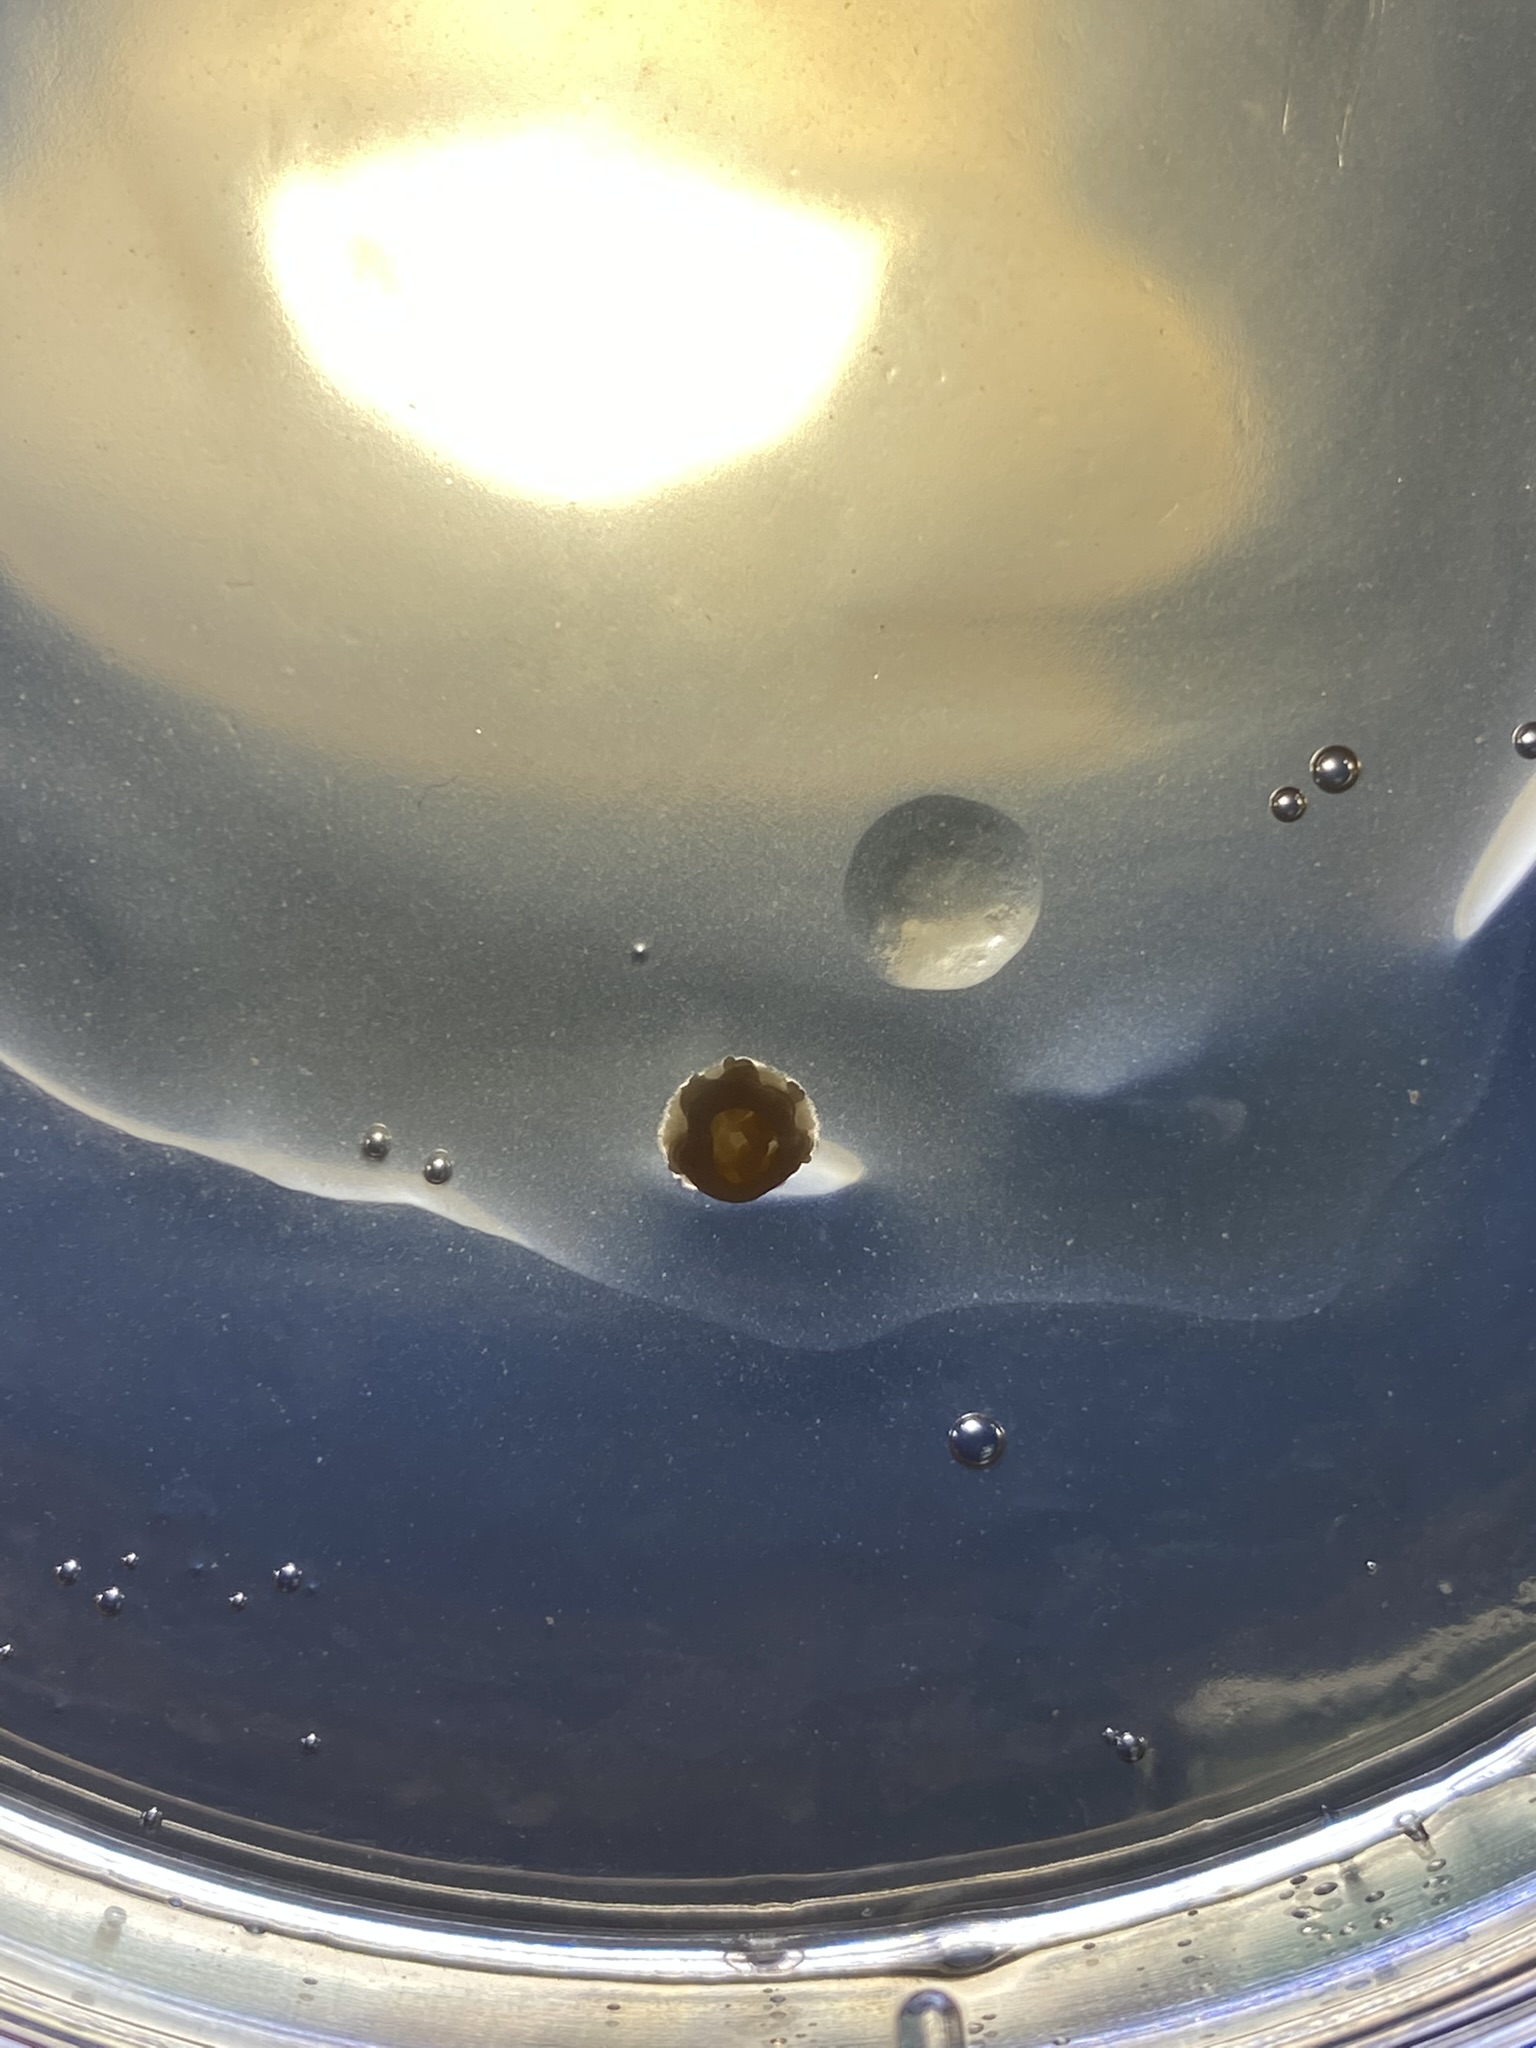
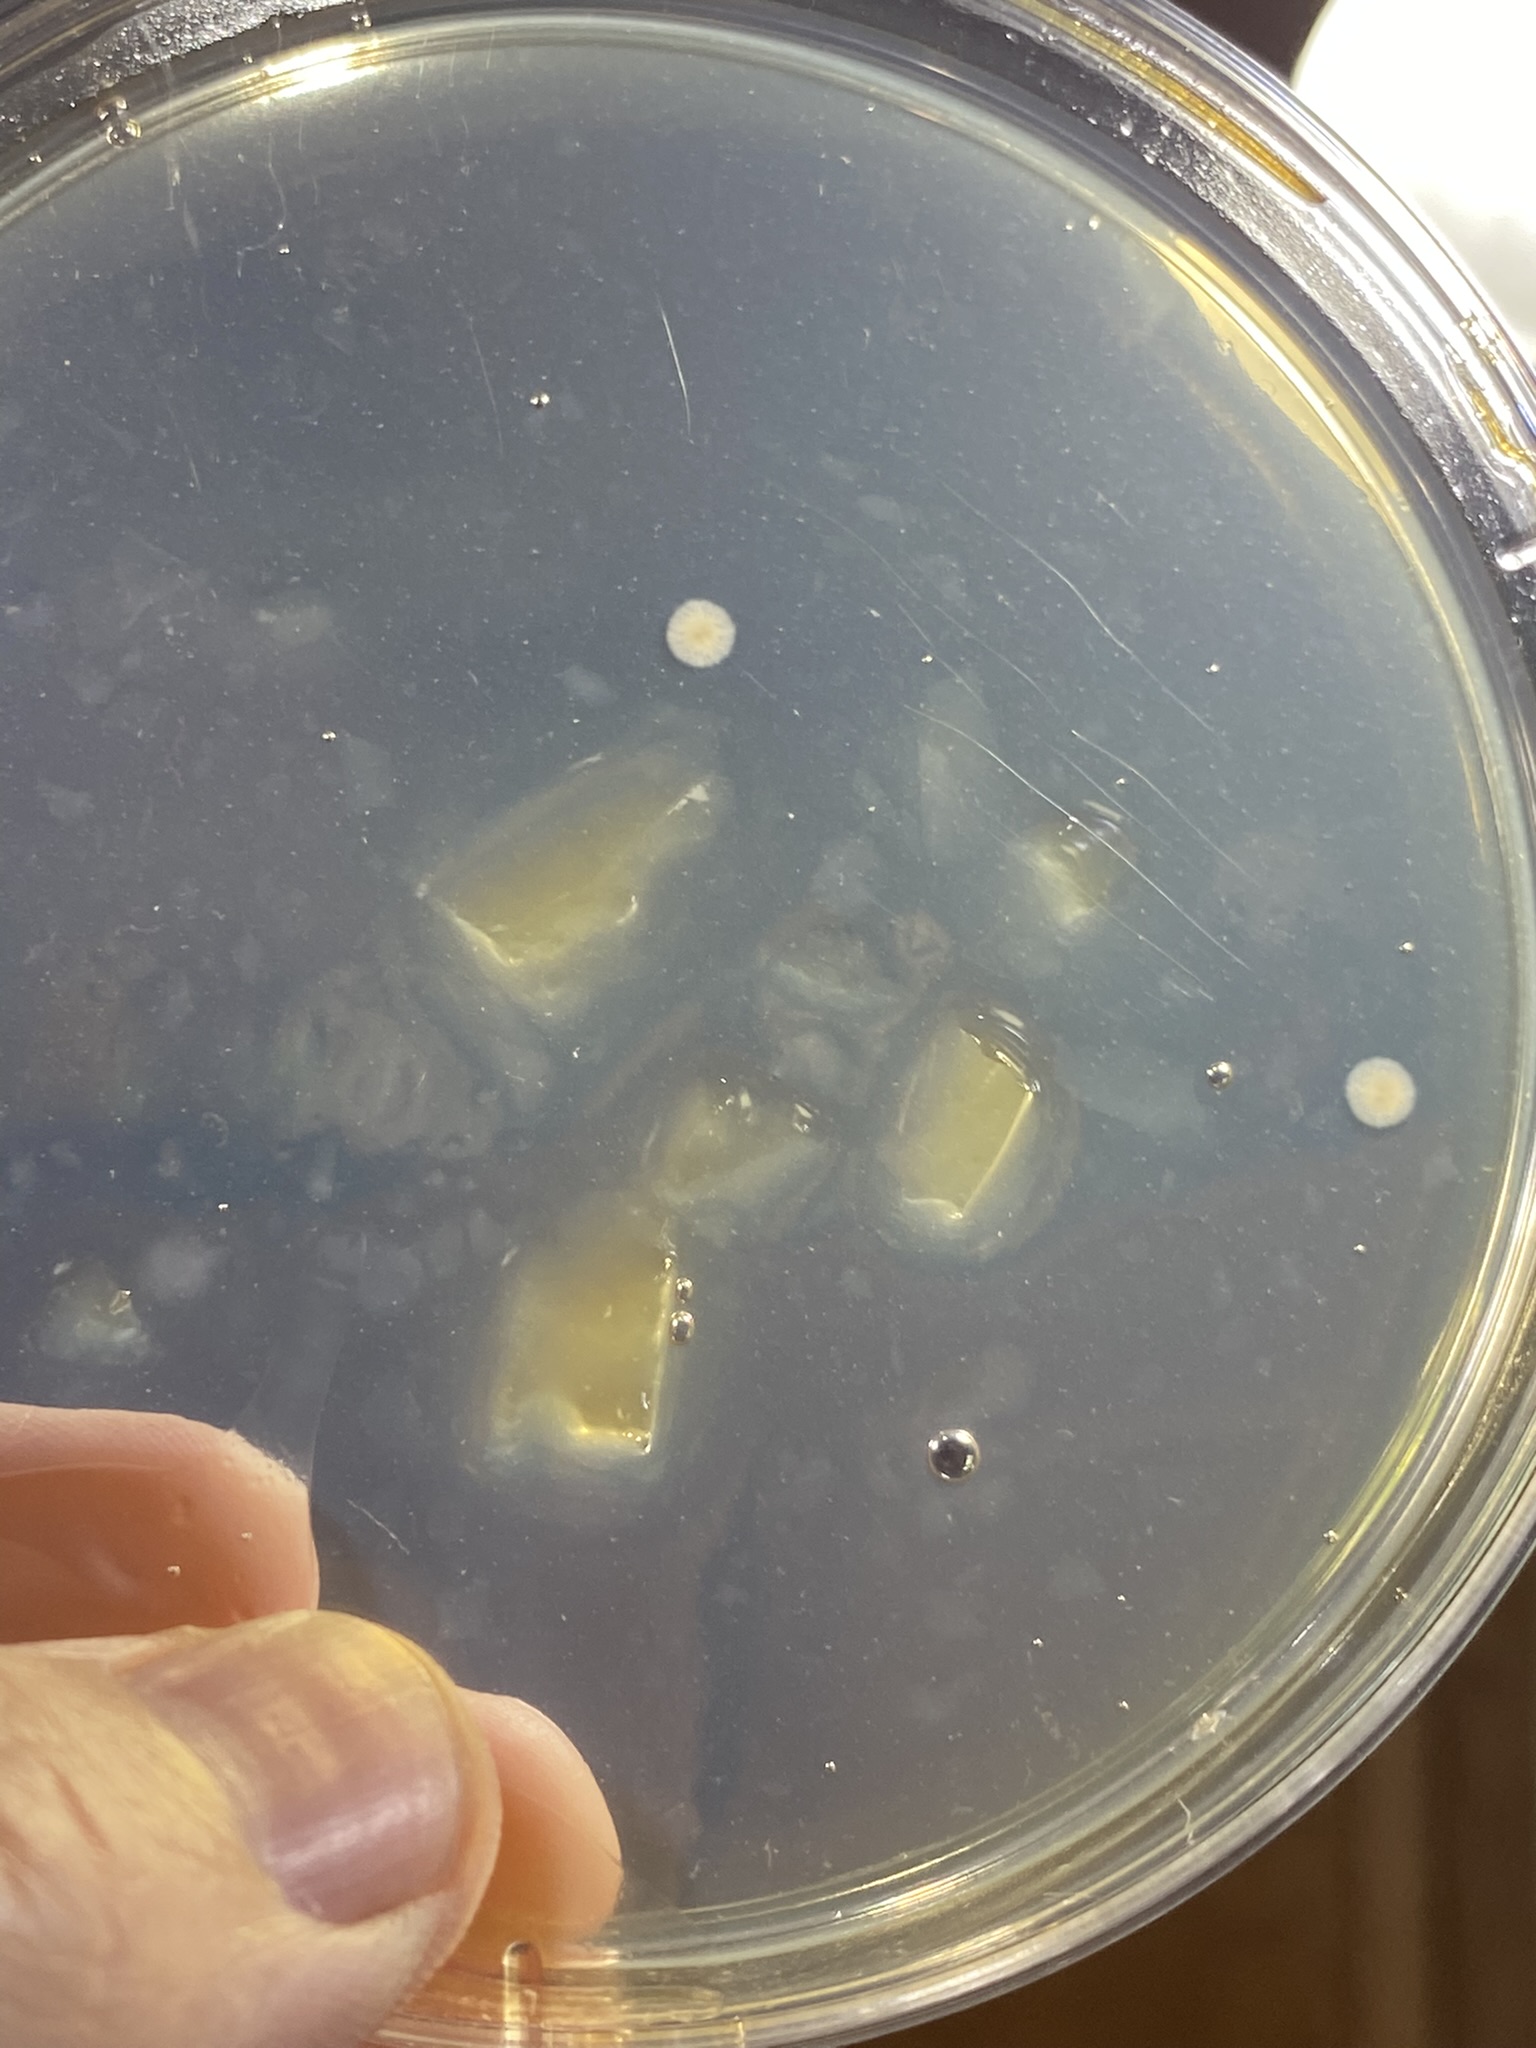
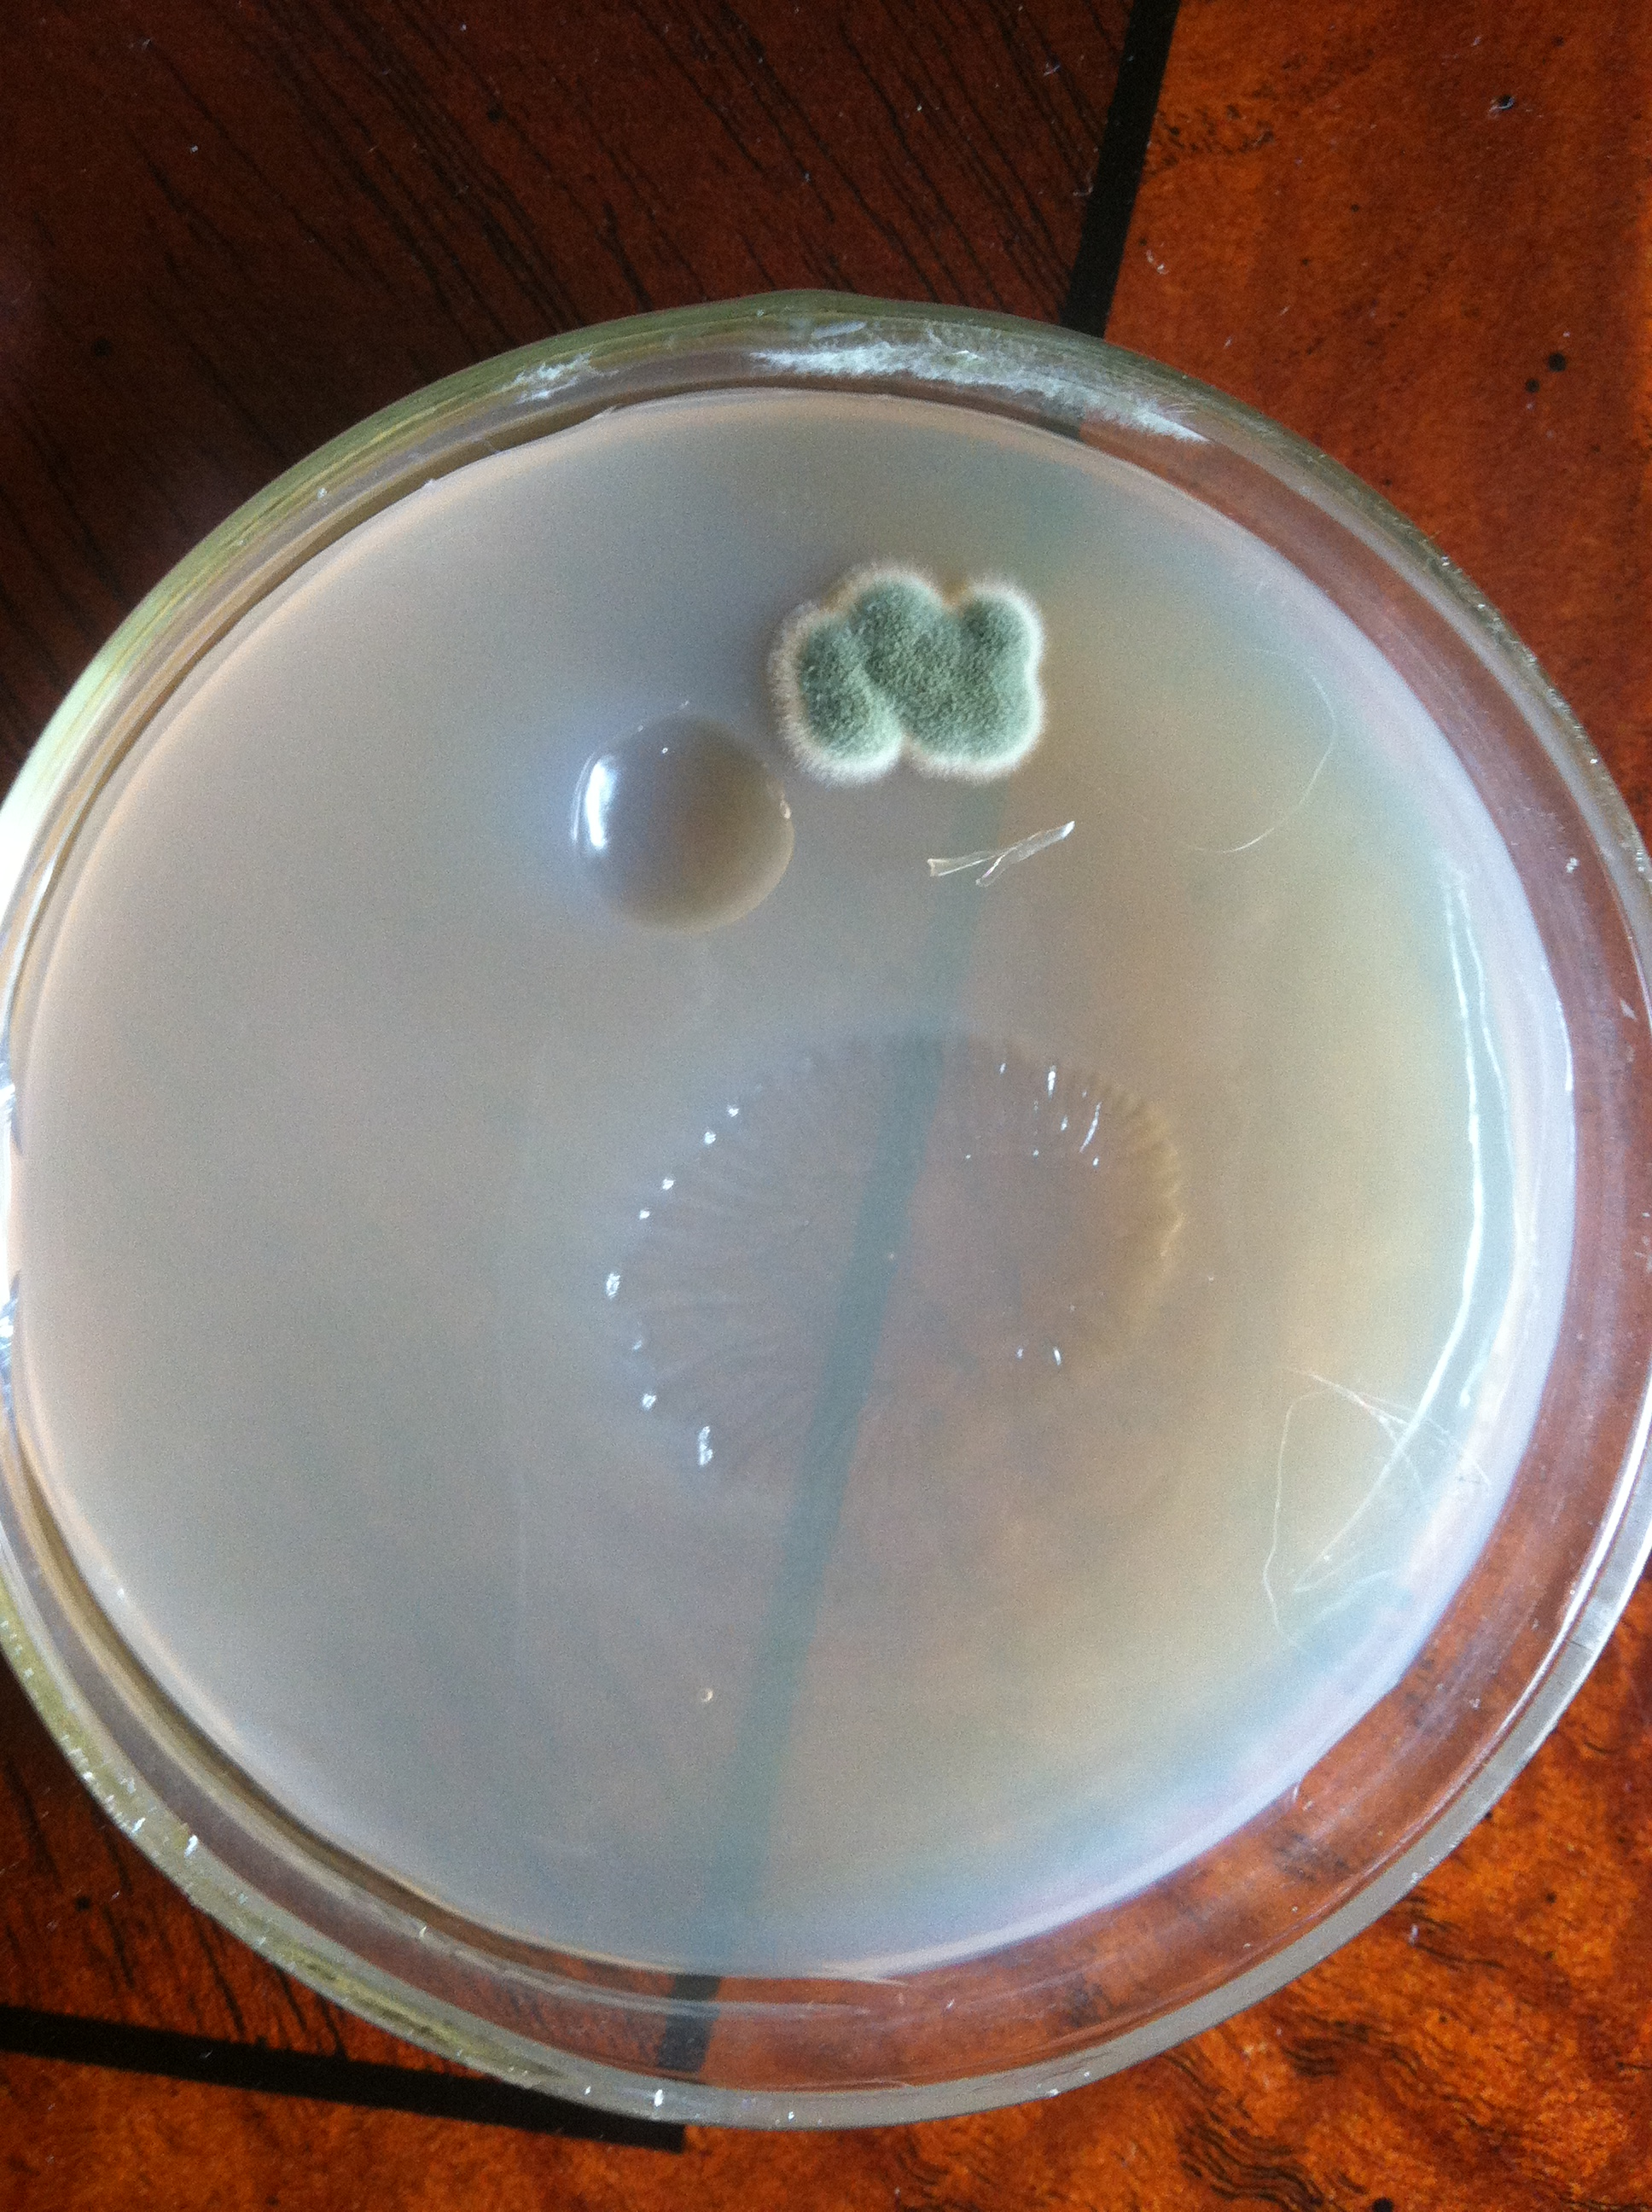
Here are the photos of my first attempt.

These two pictures are on the first dish.
IMG_9712.JPEG
IMG_9713.JPEG

The rest of these are one photo per dish.
IMG_9714.JPEG

IMG_9715.JPEG

IMG_9716.JPEG

IMG_9717.JPEG

IMG_9718.JPEG

IMG_9719.JPEG

IMG_9720.JPEG


These last two plates are the ones with no growth ... at least none that I could see.
IMG_9721.JPEG

IMG_9722.JPEG
 
Just use glass dishes?

It's been a while, but I believe when I used to do this, I filled the dishes BEFORE pressure-cooking. You need to get the plates up above the water level, so put something under your jar shelf to raise it (I'd just use lidless jars of water as support columns. This is referred to as "steam canning" and it's equally effective as putting them down into the water. Give it a try.

After that, to smear the plate, you'll want a steel innoculation loop and a alcohol burner near your work area. Put the loop into the flame before dipping into your culture source. Turn all fans off when working - you pretty much want the updraft from your lit burner right next to your work area. I never considered a mask, but seems like a great idea.

I did have one infection after smearing a plate - something in the air got in there. It can happen quickly! But I never had a plate (or slant) develop an infection after I brought it out of the canner.
 
You need to get the plates up above the water level, so put something under your jar shelf to raise it (I'd just use lidless jars of water as support columns. This is referred to as "steam canning" and it's equally effective as putting them down into the water.
Yep, you can't see it in the above picture, but I've got nine pint jars of water below that jar shelf and only 2 inches of water in the bottom of the pressure canner. I can veggies all the time and never have more than 2 inches of water in the canner per the manufacturers recommendations.

Sadly, some of the wort/agar from my melted plates ran down onto some of my sterile water jar lids.

IMG_9732.jpeg
 
Last edited:
if you're plating yeast, you need a LOT better then a face mask....

https://www.ebay.com/itm/3044736495...LL5hutQbB1Jk3SiWtSaMUsB2d8yc|tkp:BFBM3OT1iNdg
something like this, i did it a lot cheaper. but you need a serious HEPA filter to get sterile air, and you need parafilm to seal the dishes also. instead of flame, i find just bleach water works fine. (but i'm just going by my time growing mushrooms)

edit: and i'd imagine you're going to have to keep an eye on your first dishes and transfer them a couple times to new clean ones to seperate from contaminants...
 
if you're plating yeast, you need a LOT better then a face mask....
I did watch a couple of videos about building those laminar flow hoods, I'm not ready to pull that trigger yet.

I'm going to use the glass dishes and sterilize after pouring the wort/agar as suggested above. When I'm streaking the plates I'll turn off the fans and AC in the house and get in a nice clean corner with my alcohol lamp and an N95 mask and I may even bring home a pair of sterile gloves from the hospital.

Those shorty canning jars look really interesting too.
 
and for those mason jars, don't forget about tyvek envelopes for a sterile breathable lid solution!

(not sure if that's important for anerobic yeast, but works great for mushrooms)
 
yeah, i know the feeling! but back in 2004 or so, i scored two of these off ebay for like $30...i installed it on the side of a storage tote, got a blower. and it's a 'serious' positive pressure glove box.

https://www.ebay.com/itm/1124327918.../TYe013LD/5M1kUuvQd7pIVYY=|tkp:Bk9SR4LcnIrXYA

I've worked in glove boxes, with positive pressure nitrogen in there for good measure. Good times. I had a chance, should have kept it just for these sorts of pursuits.

But really, if you get an infected plate, it's gonna grow and you'll see it. That's the reason why plating is so effective - you can grow and see colonies easily.
 
that's when you transfer to a clean plate until it's pure?
If it's expected to be a clean plate or slant, don't use it (of course). If you're smearing trub from beer or something on a plate, and you do the smear correctly, you're likely to get different colonies. And yes, this is where you try to isolate a specific microbe on a different plate.

I'm no expert - I've done some of this in the past, but there are guys who know SO MUCH MORE about this than I do. Not sure how active the brew science forum is here, but this is starting to look like something that belongs there.

@smokinghole @14thstreet
 
Will I have to spend as much on equipment as I did to brew beer and make mead?

Nevermind, who cares about money, right? I'm headed to YouTube to dive into that rabbit hole now!

That looks delish!
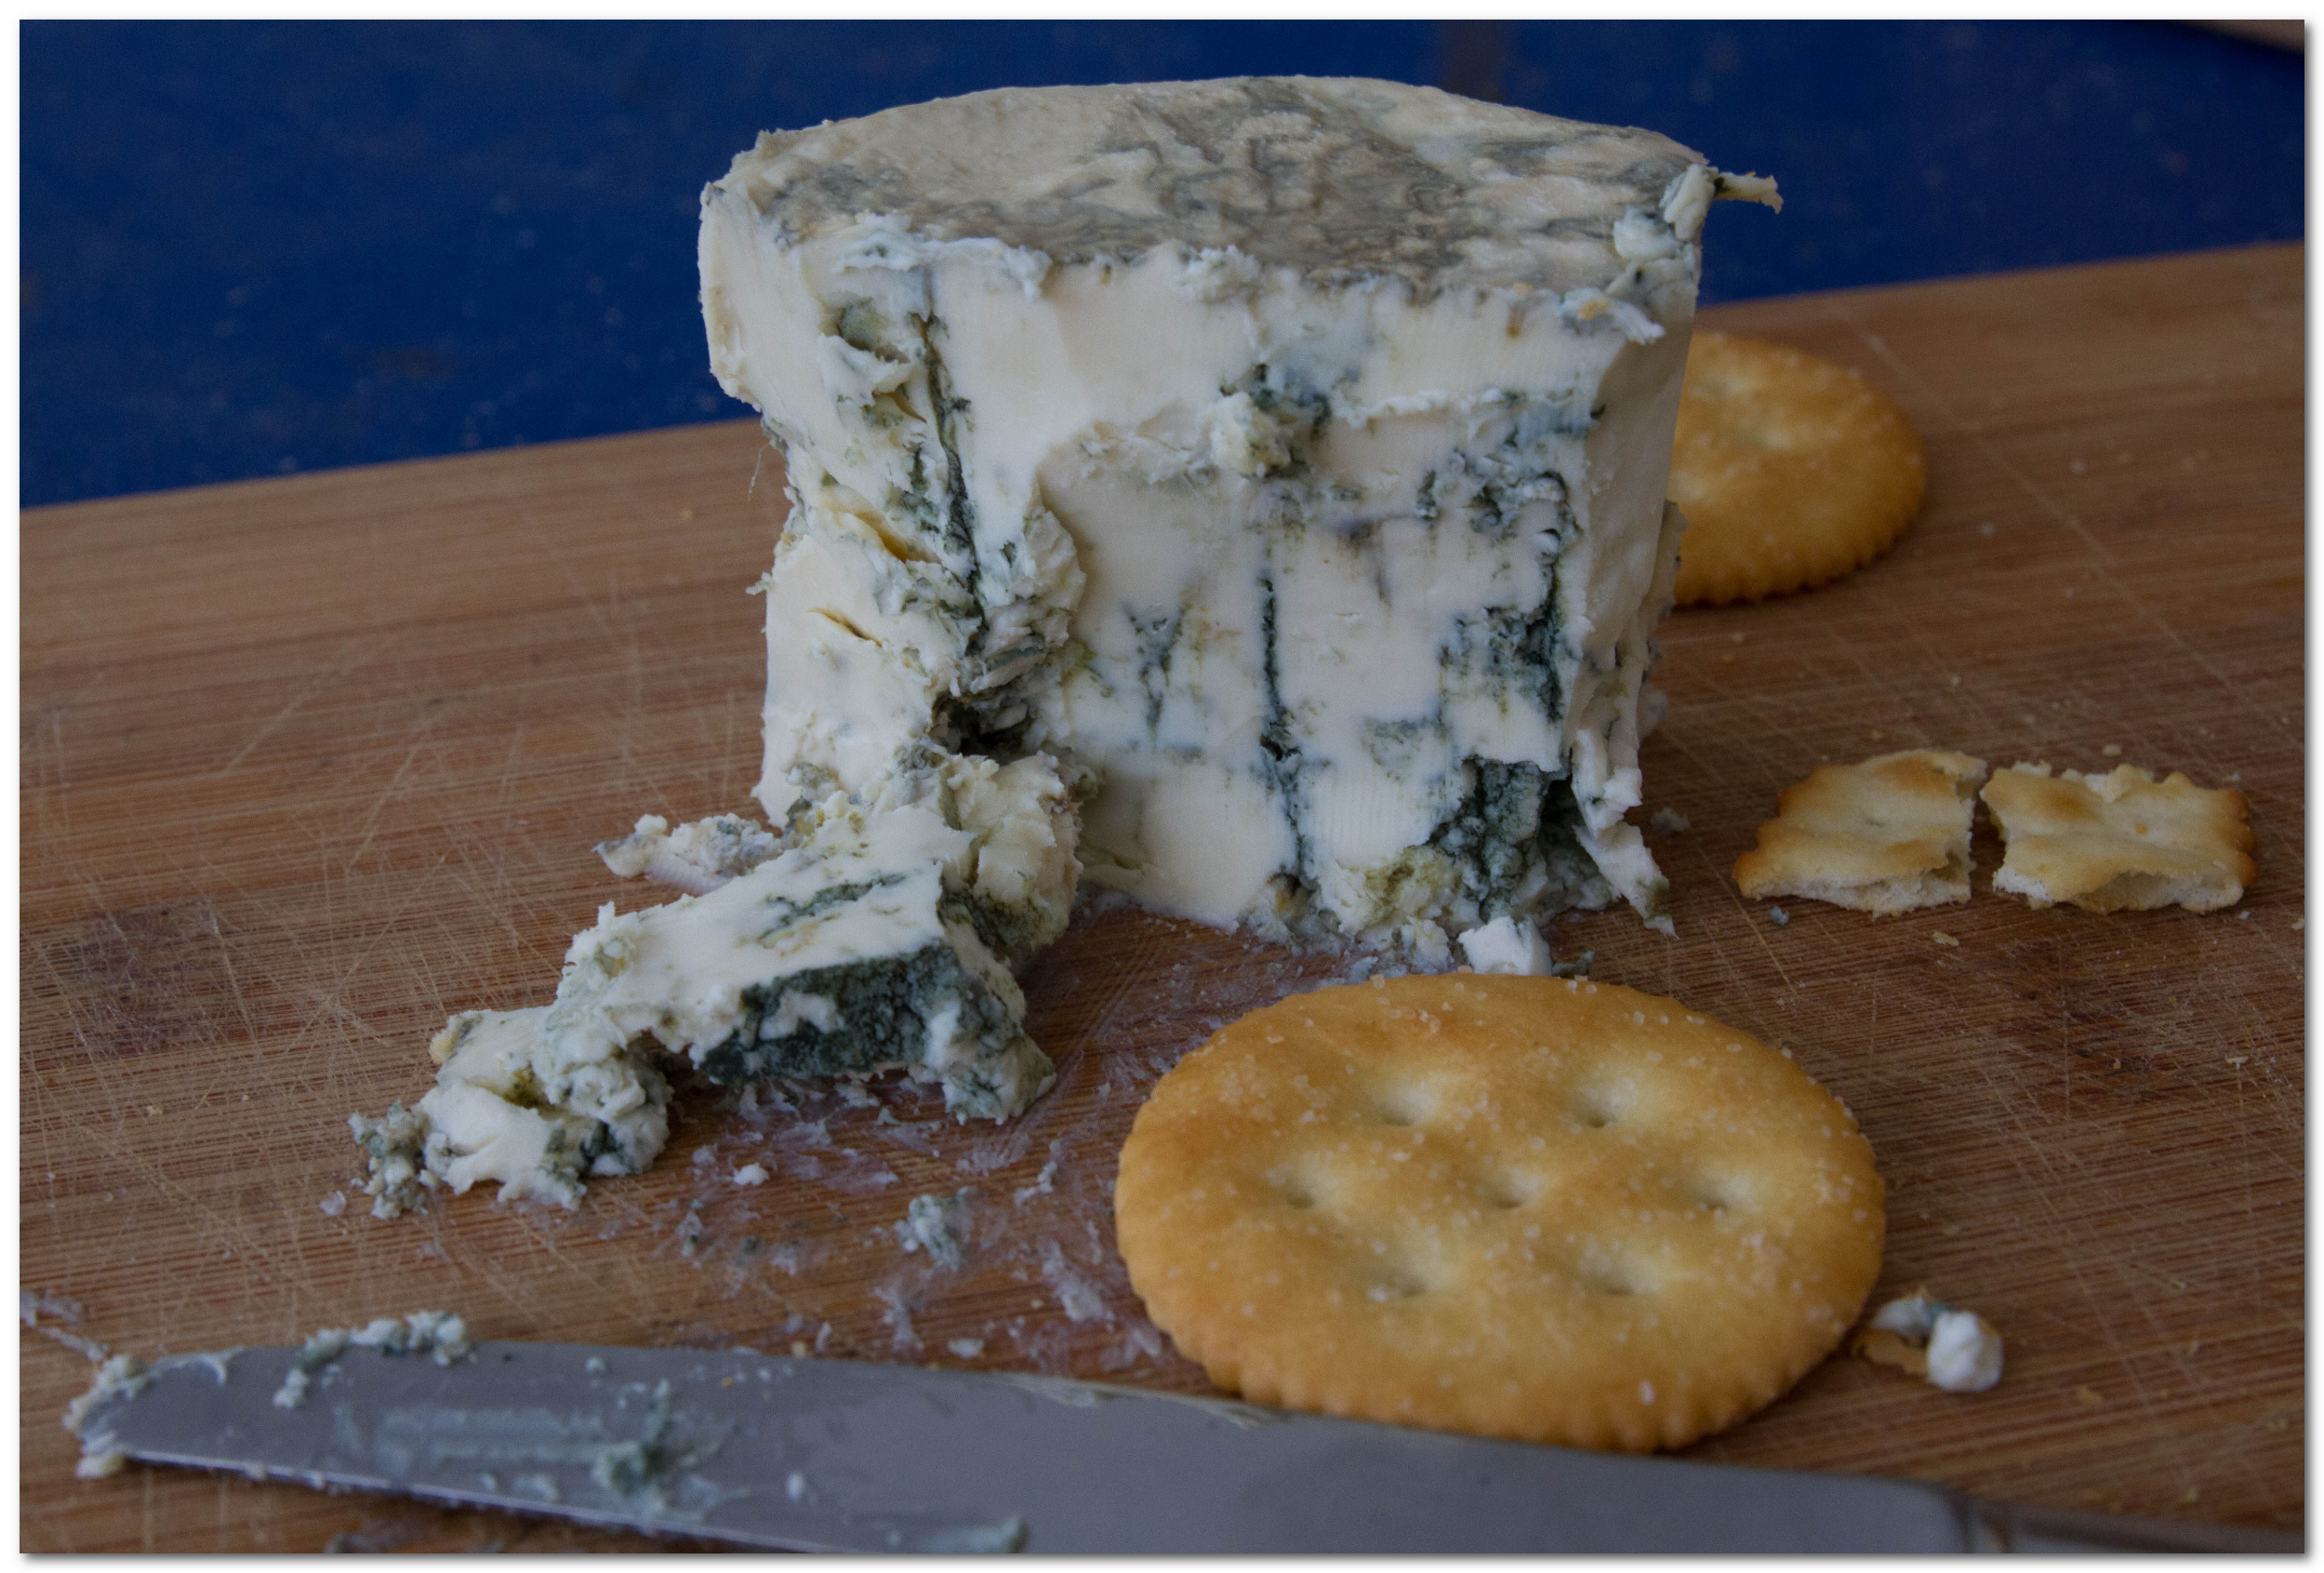
Making cheese is cheap, far cheaper than beer. It's also harder. However, some cheeses, such as blue (bleu, for you frenchies) are actually very simple.

Youtube might be a quagmire of random advice. I suggest getting the book by Ricci Carrol from cheesemaking.com. Take my word for it, you can make your own blue cheese, and lots of it. I make cheese all the time. BTW, we do have a cheese forum right here on HBT. Take a look around, you'll find it. I've made loads of cheese, and a good bit of blue. Here's one more pic, and then I'll stop hijaaking your plate thread.

1660958220852.png
 
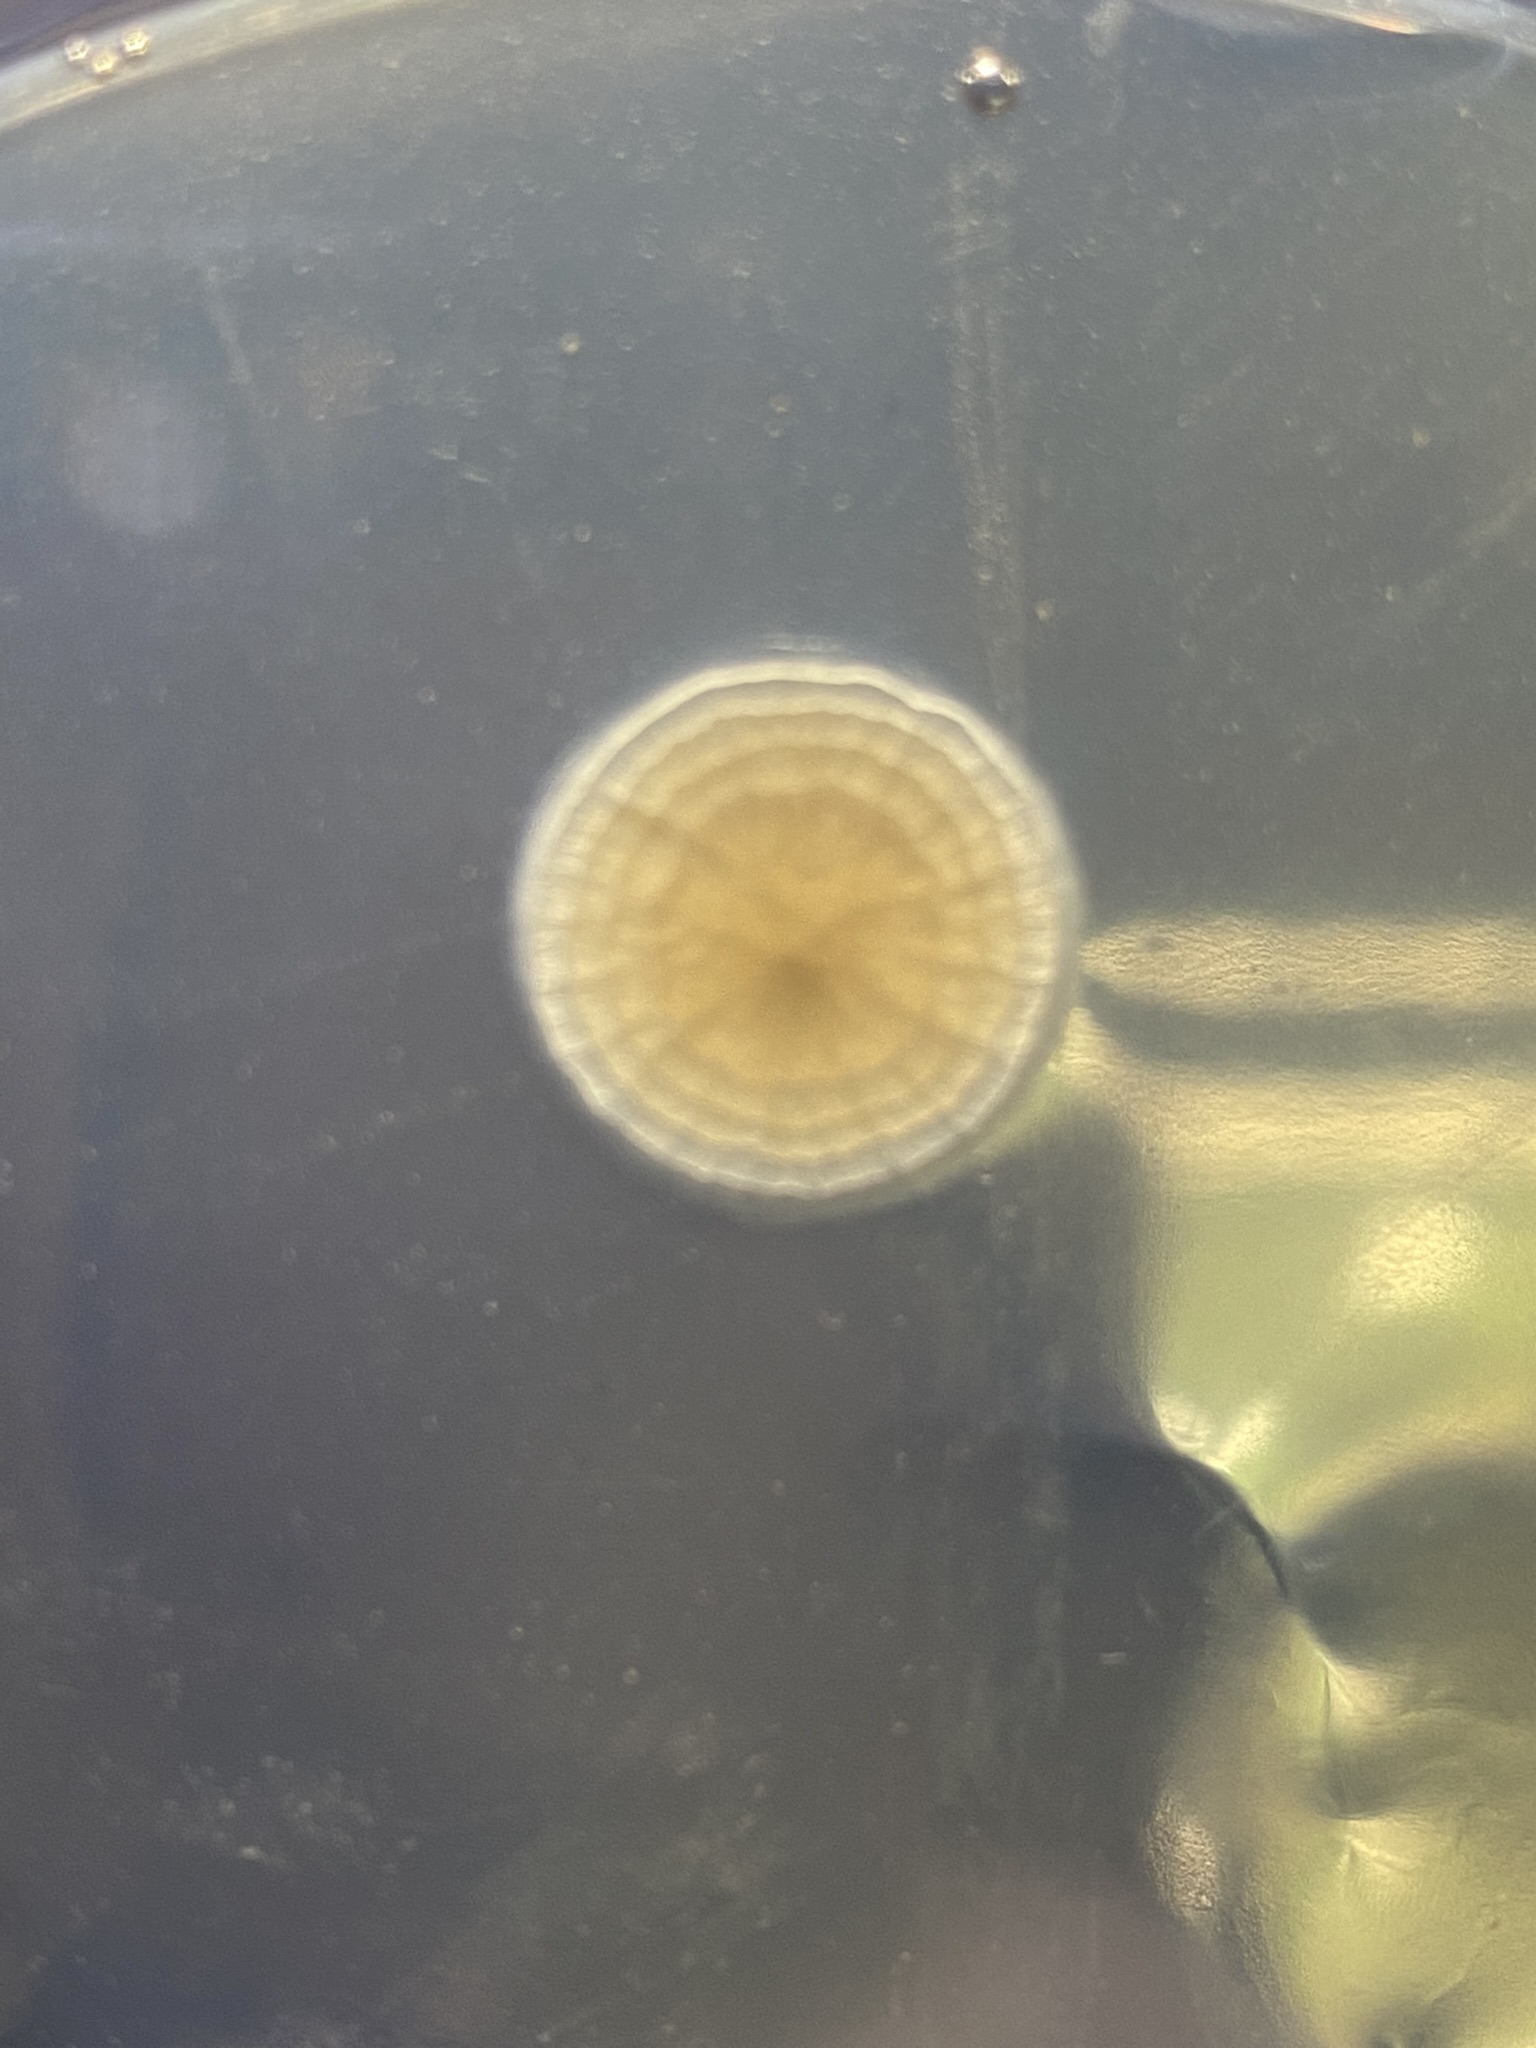
That first pic in your opening post looks like yeast to me. I would think you'd get a microscope before a hood so you could streak each of those and then choose a colony (if it looks like yeast) to prop a starter and give it a smell and maybe a taste.
 
I would think you'd get a microscope
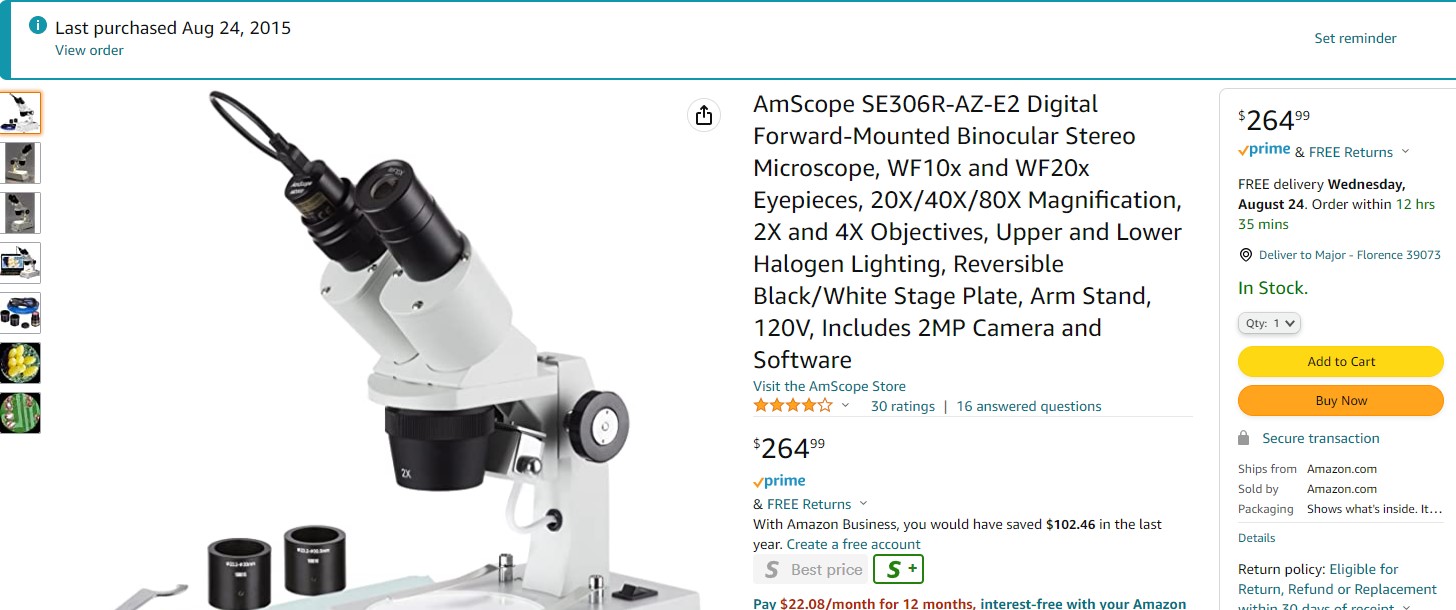
I actually did buy a microscope about 7 years ago so I could take photos of the laser cut serial numbers on SWMBOs diamonds and also photos of my coin collection.

I've also used it very successfully to solder those really tiny SMD resistors and capacitors and such.

However, I don't believe it is strong enough for identifying yeast.

Screenshot 2022-08-20 112617.jpg
 
That first pic in your opening post looks like yeast to me.

I thought the same thing, I didn't think about re-plating it or making a small starter from it to smell/taste. I was just thinking "Infection," and how poorly I prepared those plates. They have already been discarded. I'm preparing new plates this morning with my glass petri dishes.

IMG_9712.JPEG
 
Air's full of bugs. Before pouring plates run a Bunsen or something like a camping stove for at least 10-15 minutes in a clean draft-free area without sunlight. Work within the sterile envelope around the burner. The agar can be poured quite hot, >60°C. Hotter = more condensation inside the dishes generally. Ideally, you want to minimise condensation and get rid of any before storing the plates. Important to chill the agar plates for a day or so before use, to ensure the gel matrix firms up. Try not to prep more than about 1.5% agar. Too concentrated and it impedes diffusion of nutrients, starving yeast colonies prematurely. It's going to take at least a few attempts to get things working. Don't give up, it does work 👈
 
So is this right?

Mix 1.5g agar and 5g DME into 93.5g (ml) water.
I wouldn't add that much DME. I use my own nutritious home brewed wort. Try to keep it closer to 1% (w/v). Definitely <2%. 1-2% should smooth out measuring errors. Idea is to grow the yeast in a very controlled, calm manner. Too many resources, at this stage, is a bad idea.
 
Think you-all are overcomplicating this. Very little specialized equipment is needed to make a decent agar plate. But, you do need to appreciate that there's a big difference between the sanitation we use in brewing and sterile technique. I'll try to walk you through what I do at home. It's actually very close to what I would do in the lab, back in the day.

But first, maybe try and get a better sense of where you went awry on your sterile technique. Look at the contaminated plates, which I realize is difficult if they're in the trash. If the contaminants were all on the surface, then it's likely an issue with pouring. If you have buggies growing embedded in the agar, then your media and/or plates didn't start out sterile.

Personally, I don't take any stringent measures to work in a lab-clean environment. Just some basic common sense. Air has buggies. Fact of life. Absent working in a laminar flow lab hood, you're gonna have to live with that. And, guess what? Most folks in a lab pour their plates out on a bench top, not in a sterile environment. I certainly did.

How's that possible? Work smart. Find yourself a fairly clean area with a non-porous work surface, free of drafts. Avoid areas that are likely to be full of contaminants floating about and don't work in an area where you have a draft from a window or AC/heater air vent. If that's unavoidable, then turn off your AC or heater while you set up your plates. I work at my home office desk and time my pouring when the AC has cycled off.

Start with everything sterile. Make up your agar in a pourable, autoclavable (pressure cooker/canner) container. A glass bottle with a narrow neck and screw cap closure is going to work better for you than a canning jar. It's just hard to pour from a canning jar without some running down the side, which is going to greatly increase your chances of contaminating things. Another point in favor of that style of container is that you can reclose the bottle and still have sterile, usable agar for another day if you were careful. There's a very low chance of pulling that off with a canning jar. Just remember to keep that closure loose when you sterize it and to let your pressure cooker return to atmospheric pressure slowly, so you don't have explosive boiling of your agar.

Personally, I make the agar up ahead of time and let it sit around solidified until ready for use. I suggest you do the same. If something grows in the bottle, then you know you screwed up. If it stays clean, you're good to go.

Clean, sanitize, and sterilize your work area as best as you can. Do this before re-melting your agar. As I mentioned, I just use my office desk. Clear out some elbow room and wipe everything down with ethanol or a lysol solution. I'll often use a double wammy of starsan followed by high proof ethanol like ever clear. In the lab, we'd sometimes light it, but that's not wise at home. Probably overkill to sanitize and then finish off with ethanol, but I'd definitely err on the side of something better than just a brewing sanitizer alone.

Make sure the plates are actually sterile. Disposable plates are not autoclavable, as you now know. Buy them pre-sterilized if you can and store the stack with the plates in an inverted position. Dust has contaminants and dust settles down. Take out the plates you intend to use and reseal the sleeve. No dilly dallying and work in your cleaned work area.

I'd go as far as suggesting you hold your breath, as your own breath is likely the biggest source of contaminants if you're doing it right. Breath off to the side when you have to. That's a fairly important tip that applies to all the steps where you are working in the open. As covid has made most folks aware, even a normal breath carries aerosols with contaminants.

Wear disposable gloves. Probably wipe them down with starsan and/or ethanol, since gloves out of a box aren't sterile.

If in doubt about the sterility of your plates, give the plates a rinse with a bit of the everclear and shake off the excess. Put the lid down on your work area, face up, and prop the bottom of the plate on it, inverted, to dry. No drafts, no sudden movements, and no breathing when you have anything exposed. That desk chair you're probably sitting on is full of contaminants and you make a cloud with every movement. You can breath again (off to the side) when the plate is inverted, but try to not breath directly at anything you're working on. When they're dry, slide the bottom onto the lid, leaving the plates inverted. Tada. You now have (mostly) sterile plates. If you have pre-sterilized plates, skip this and just set your plates out on your work area, inverted.

When ready to plate, just loosen the cap on your bottle of agar (in a clean area since it will likely suck in air) and pop it into the microwave to melt. Heat until it's fully melted. Bring it to just a boil. Make sure that cap is loose. Do keep an eye on it or you'll have a helluva mess in your microwave.

Take your molten, near boiling, agar to your work area, where you have your plates ready to go. The hotter the agar is when your pour the plates, the more it will cover your lapses in technique. That said, there's no need to sprint or rush from the microwave to your work area.

Wearing your sterilized gloves, take the bottom of a plate and set it face up adjacent to the lid and pour your plate. Put the lid on as soon as possible, while everything is still hot. Repeat for each plate, but cover one before you go to the next. You'll get condensation. We'll deal with that later, but get the lid on as soon as you can. Leave the lid on until the agar sets.

Now that you've let the agar plates set, flip them over so they're sitting on their lids. Lift the bottom and prop it on your cleaned work surface and the inverted lid and let them finish cooling. This will also let some of that condensation on the lid dry out. Again, no drafts; no sudden movements; no breathing in the direction of the plates. Gently back away.

When everything is all cooled, set the inverted, propped up plates back in their lids. Your plates should stay inverted through this whole process. You can now relax.

Stack up your plates and leave them inverted. Put them off to the side for a couple days to dry out a bit and see if you managed to keep them sterile.

Tada. You have plates. Pat yourself on the back and have a beer.

I'll describe streaking plates and how to make your own loop for streaking plates with what you have lying around the house in another post.
 
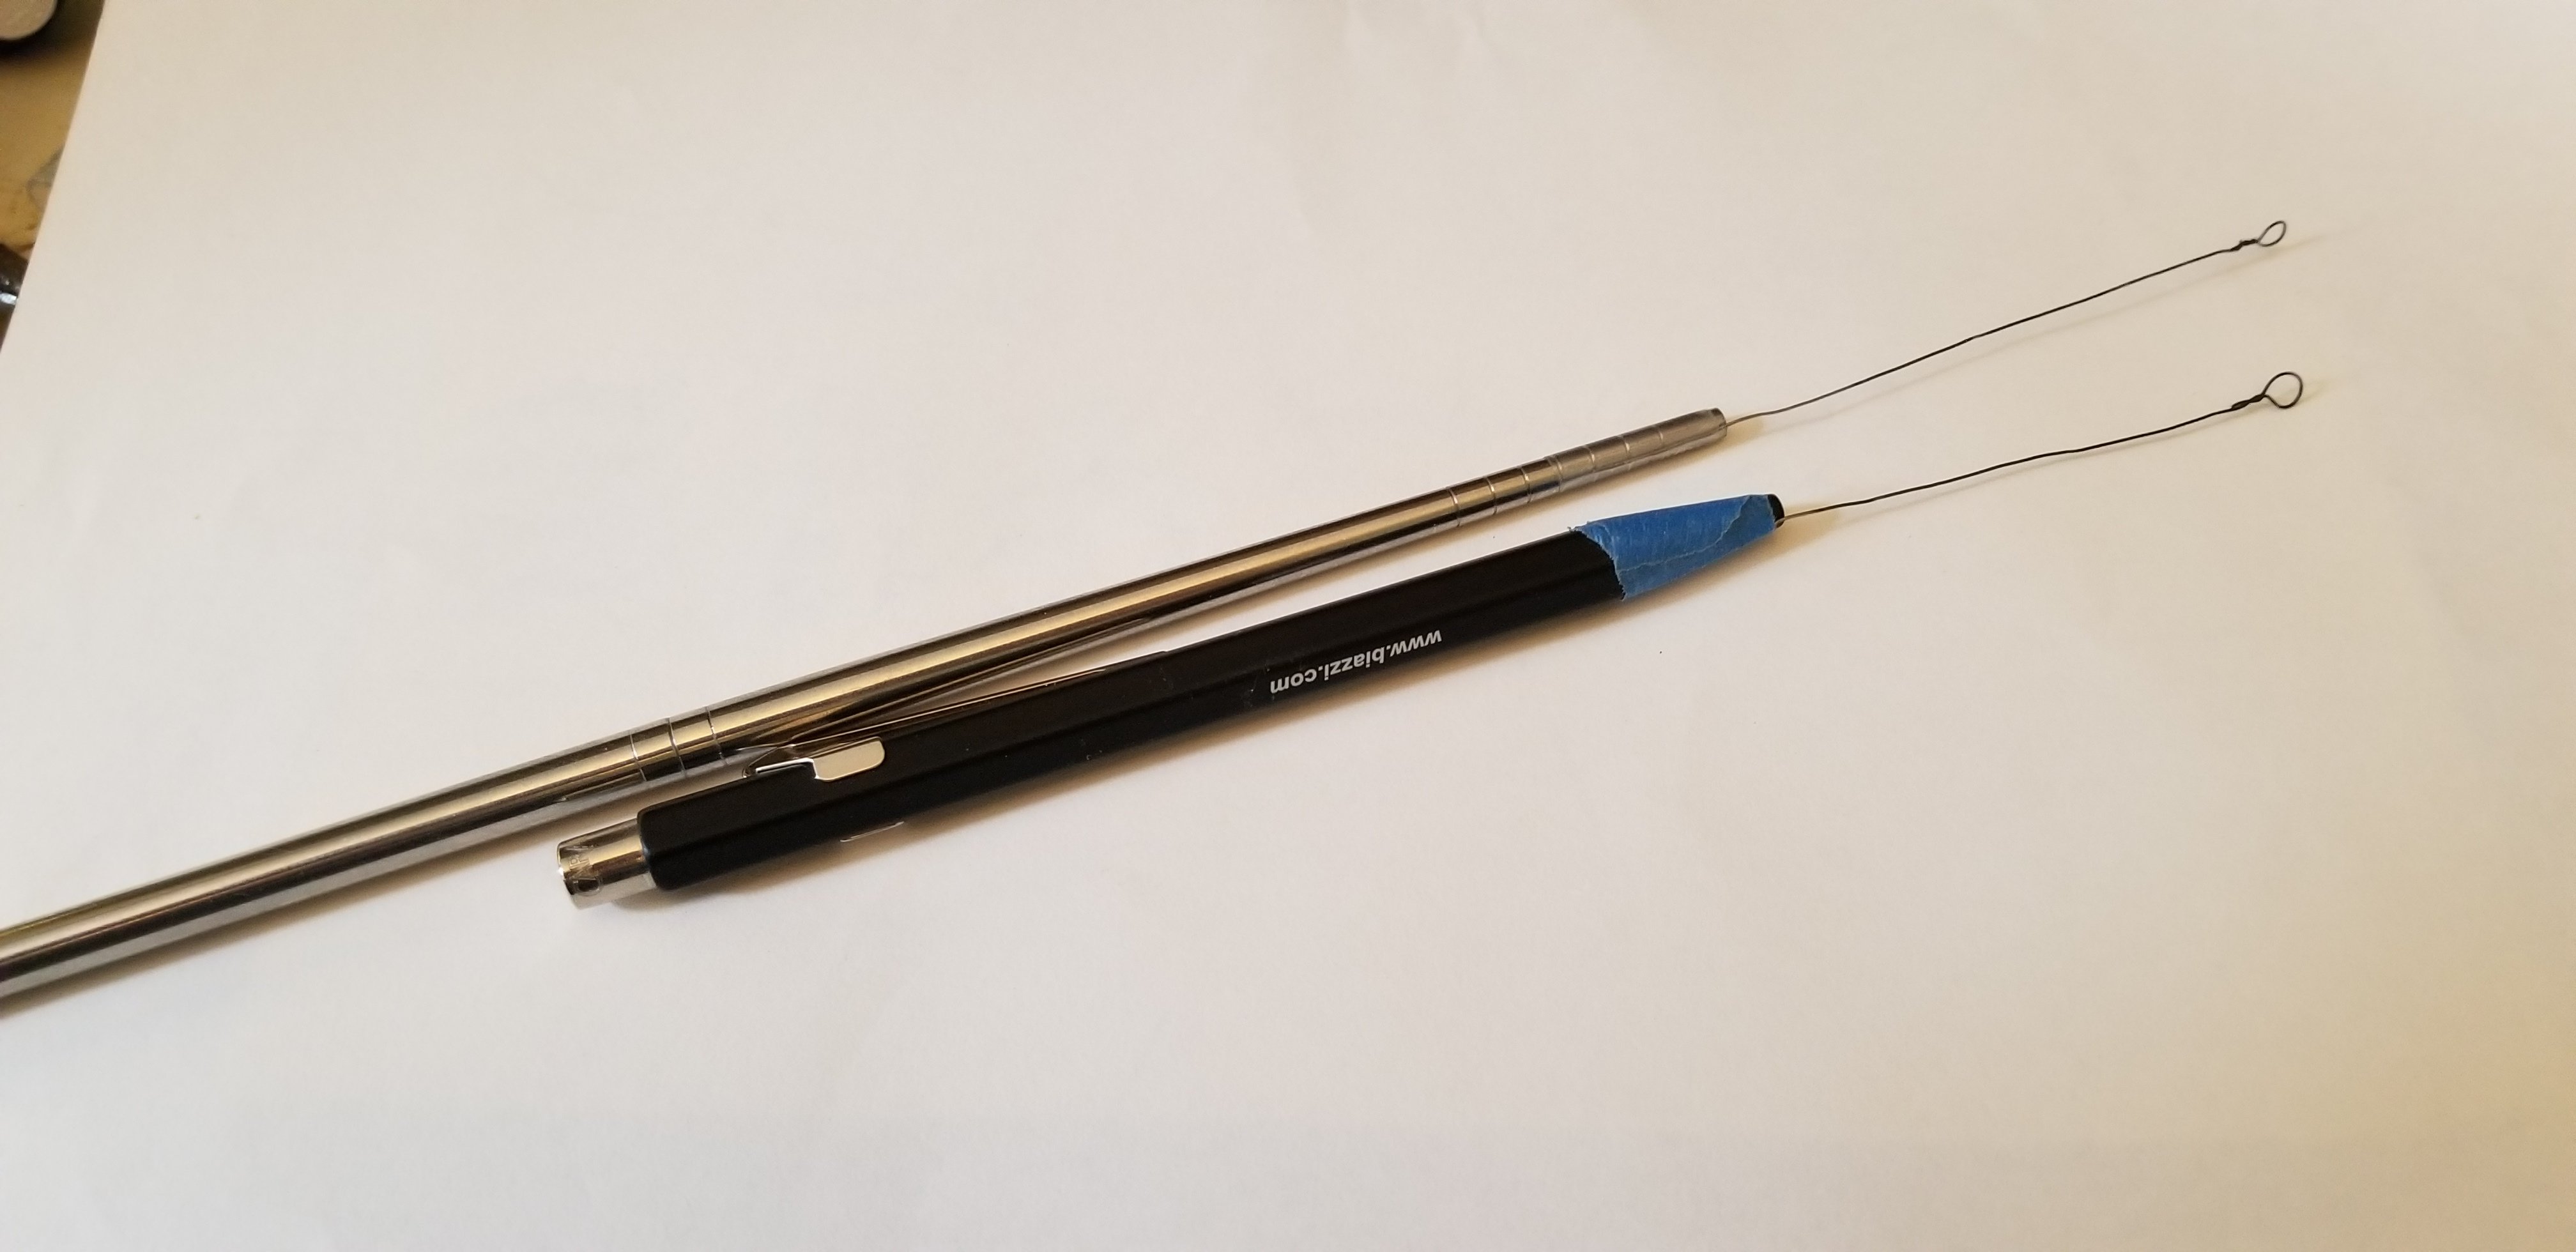
Here are two homemade loops for streaking plates. I've chosen metal objects for the handle, as that handles heat and sanitizing/sterilizing better than plastic. And, I happen to like a bit of weight in the handle. Personal preference. Anything non-porous will do. One is a metal chopstick and the other is a metal pen.

Find a twisty tie you have lying about and remove the wire. In a lab, we'd have a platinum wire, but it's not at all necessary here. Your diy loop won't hold up forever, but twisty ties are free, and you'll just make a new one when you need to. Clean it up with some isopropyl alcohol or whatever. No need to be obsessive, since your going to burn off any residue. Straighten out the wire as much as you can. Twist a little loop at the end. No need to hit any spicific size, but go for a small loop. If you find you're digging into the agar when you streak the plates, make it over with a larger loop and/or kick up the percentage of agar in your plates. The pics should give you a sense of the size you're looking for.

Get out a lighter and using pliers or something to hold one end, flame that sucker until you burn off any residue from the twisty tie. Let it cool a sec and do the same for the end you were holding.

Tape it to the handle. No need for anything specific. I've got painters tape on one and scotch tape on the other.
20220821_115828.jpg
Done. You now have a loop and it cost you nothing.
 
Dexters_laboratory.jpg


first, maybe try and get a better sense of where you went awry on your sterile technique. Look at the contaminated plates, which I realize is difficult if they're in the trash. If the contaminants were all on the surface, then it's likely an issue with pouring. If you have buggies growing embedded in the agar, then your media and/or plates didn't start out sterile.

I actually did notice that one of my little colonies was growing under the agar on one of the plates. All of the rest of them were on top of the agar.

It's just hard to pour from a canning jar without some running down the side, which is going to greatly increase your chances of contaminating things.

I discovered this fact the hard way! After pouring the first few plates I poured my MEA (malt extract agar) into a sanitized 200ml beaker and stuck it in the microwave to heat it back up. Pouring from the pour lip of the beaker made things much easier and is probably why none of my slant tubes were contaminated.
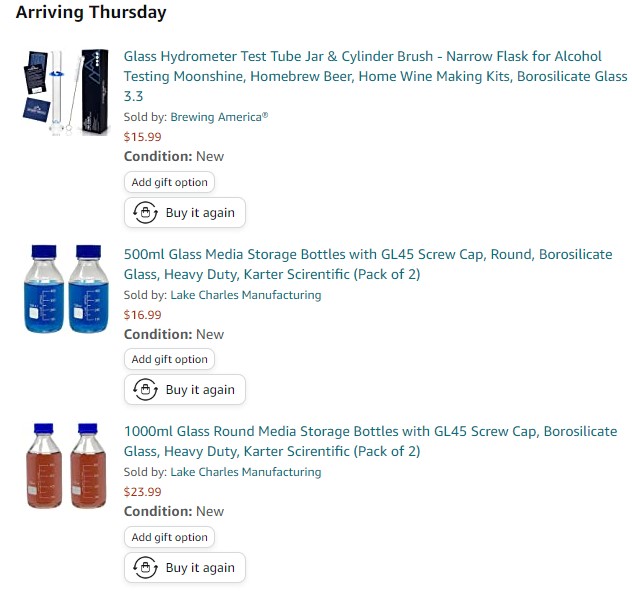
I just took a look at some of those media storage bottles on amazon. They are kind of pricy, I'm wondering if a recycled Bragg vinegar bottle would hold up in the pressure canner. Then again, even if they hold up through the sterilization and microwaving process, I'd hate for a cool draft while walking to the plating area to cause my bottle to crack and spill hot MEA on me.

Tada. You have plates. Pat yourself on the back and have a beer.

I've read several articles on pouring plates and watched a few YouTube videos on the subject, but I've got to tell you, your reply is the best step-by-step description of how to prepare for and pour these plates that I have found. :mug: Thank you for taking the time to give me such a detailed guide. I have read through your reply three times already to try to get things fixed in my mind.
 
As far as streaking the plates, I'm not sure I can add a ton over what you can readily find on the internet. But again, hold your breath when you have the plate open. Start with the plate inverted. Just like you stored them. Wearing gloves, lift off the bottom, streak the plate, and return the streaked plate to the inverted lid. Grow them out inverted.

Bunsen burner is unnecessary. Your basic lighter will do the trick. Obviously, work on a clean and sterile surface in a draft free area, just like when you made the plates. Make sure any ethanol you used to wipe down your work area has fully dried before you break out the fire or you're going to set off the fire alarm and have a bad day. Get your culture ready. Flame the loop just before you do anything. Touch it briefly to somewhere in the middle of the agar plate to cool it off, then dip it into you inoculum or starter. Holding the loop at a low angle reasonably close to parallel to the surface of the agar, with as light a touch as you can manage, steak in a zigzag pattern going from the perimeter in towards the center as you zigzag (but stop before you get to the center). If you're digging into the agar, go more parallel to the agar's surface, try for a lighter touch, or kick up the percent of agar next time. (Sometimes, giving the looped end itself a bit of a curved shape, so that the tip will be more parallel to the surface can help.) Flame, rotate the plate some, cool the loop in the middle again, and streak a second time, dragging the loop a couple times through your first area of zigzag and then continuing to zigzag it a bit more, drifting towards the center of the plate, but not going back into your first section to further dilute/spread out the cells. Lather, rinse, repeat with as much space as you have to work with. You can find diagrams of the pattern all over the internet.

BTW, sterile toothpicks are a perfectly workable alternative to a loop, but they do require a more gentle touch. Plenty of folks prefer a toothpick for streaking. But, you will need a fresh toothpick for each pass. Just wrap some up in aluminum foil and drop the bundle into your pressure cooker somewhere it won't get immersed the next time you are sterilizing something.

And, if you just suck at streaking plates and don't mind using a bunch of supplies, serial dilution is also an option. I can take crack at describing how you'd do that at home, if anyone has a need. Streaking is easier though, once you get the hang of it.
 
View attachment 778433


I actually did notice that one of my little colonies was growing under the agar on one of the plates. All of the rest of them were on top of the agar.


I discovered this fact the hard way! After pouring the first few plates I poured my MEA (malt extract agar) into a sanitized 200ml beaker and stuck it in the microwave to heat it back up. Pouring from the pour lip of the beaker made things much easier and is probably why none of my slant tubes were contaminated.
I just took a look at some of those media storage bottles on amazon. They are kind of pricy, I'm wondering if a recycled Bragg vinegar bottle would hold up in the pressure canner. Then again, even if they hold up through the sterilization and microwaving process, I'd hate for a cool draft while walking to the plating area to cause my bottle to crack and spill hot MEA on me.


I've read several articles on pouring plates and watched a few YouTube videos on the subject, but I've got to tell you, your reply is the best step-by-step description of how to prepare for and pour these plates that I have found. :mug: Thank you for taking the time to give me such a detailed guide. I have read through your reply three times already to try to get things fixed in my mind.
 
No worries. There is a bit of art to it and it's kind of hard to convey in text. Not difficult, once you get the hang of it, but maybe not easy to put into words or convey even in a video. I learned by watching and being critiqued in person.

Yes, those bottles are pricey. I'll admit I'm still using an old media bottle from my lab days. But pourable bottles of that general shape are everywhere. Finding one with a screw cap that can handle the temps of autoclaving and can also go in a microwave may be a challenge though. I was looking around our kitchen just now and there plenty that seem a suitable shape. I'm dubious about most of the screw caps though. Dunno. You may need to use your imagination.
 
Yes, those bottles are pricey. I'll admit I'm still using an old media bottle from my lab days. But pourable bottles of that general shape are everywhere. Finding one with a screw cap that can handle the temps of autoclaving and can also go in a microwave may be a challenge though. I was looking around our kitchen just now and there plenty that seem a suitable shape. I'm dubious about most of the screw caps though. Dunno. You may need to use your imagination.

Yeah, I too just looked at some bottles I have on hand in my kitchen and garage. I decided to just place another order on amazon. I also ordered one of those thinner test jars that allow hydrometer testing with smaller samples. (150ml)

Screenshot 2022-08-21 184822.jpg
 
Bunsen burner is unnecessary. Your basic lighter will do the trick.
Ideally you want something that gets hot enough to burn 'clean' and, if big enough, like a Bunsen or small camping stove, help to keep the air clean. Important considerations for the novice not working in a lab environment. A continuously burning flame is a little bit like a third hand, too, compared to a lighter. I don't recommend people stop breathing when streaking plates. They should be relaxed enough to breathe shallow. If it's a problem, facemasks work in both directions, of course.
 
Last edited:
I'm going to respectfully disagree about a bunsen burner acting as an air cleaning device. No harm, but no help. Frankly, I'd be concerned that a larger burner like a camping stove would cause a draft, in addition to being a fire hazard indoors. But, you do you and if it works for you, great. I don't want to get drawn into an argument.

But, you're spot on with the mask as an alternative to controlling your breathing, assuming you actually have a well-fitted mask. Most folks don't, but it will at least keep you from breathing directly on your work area.
 
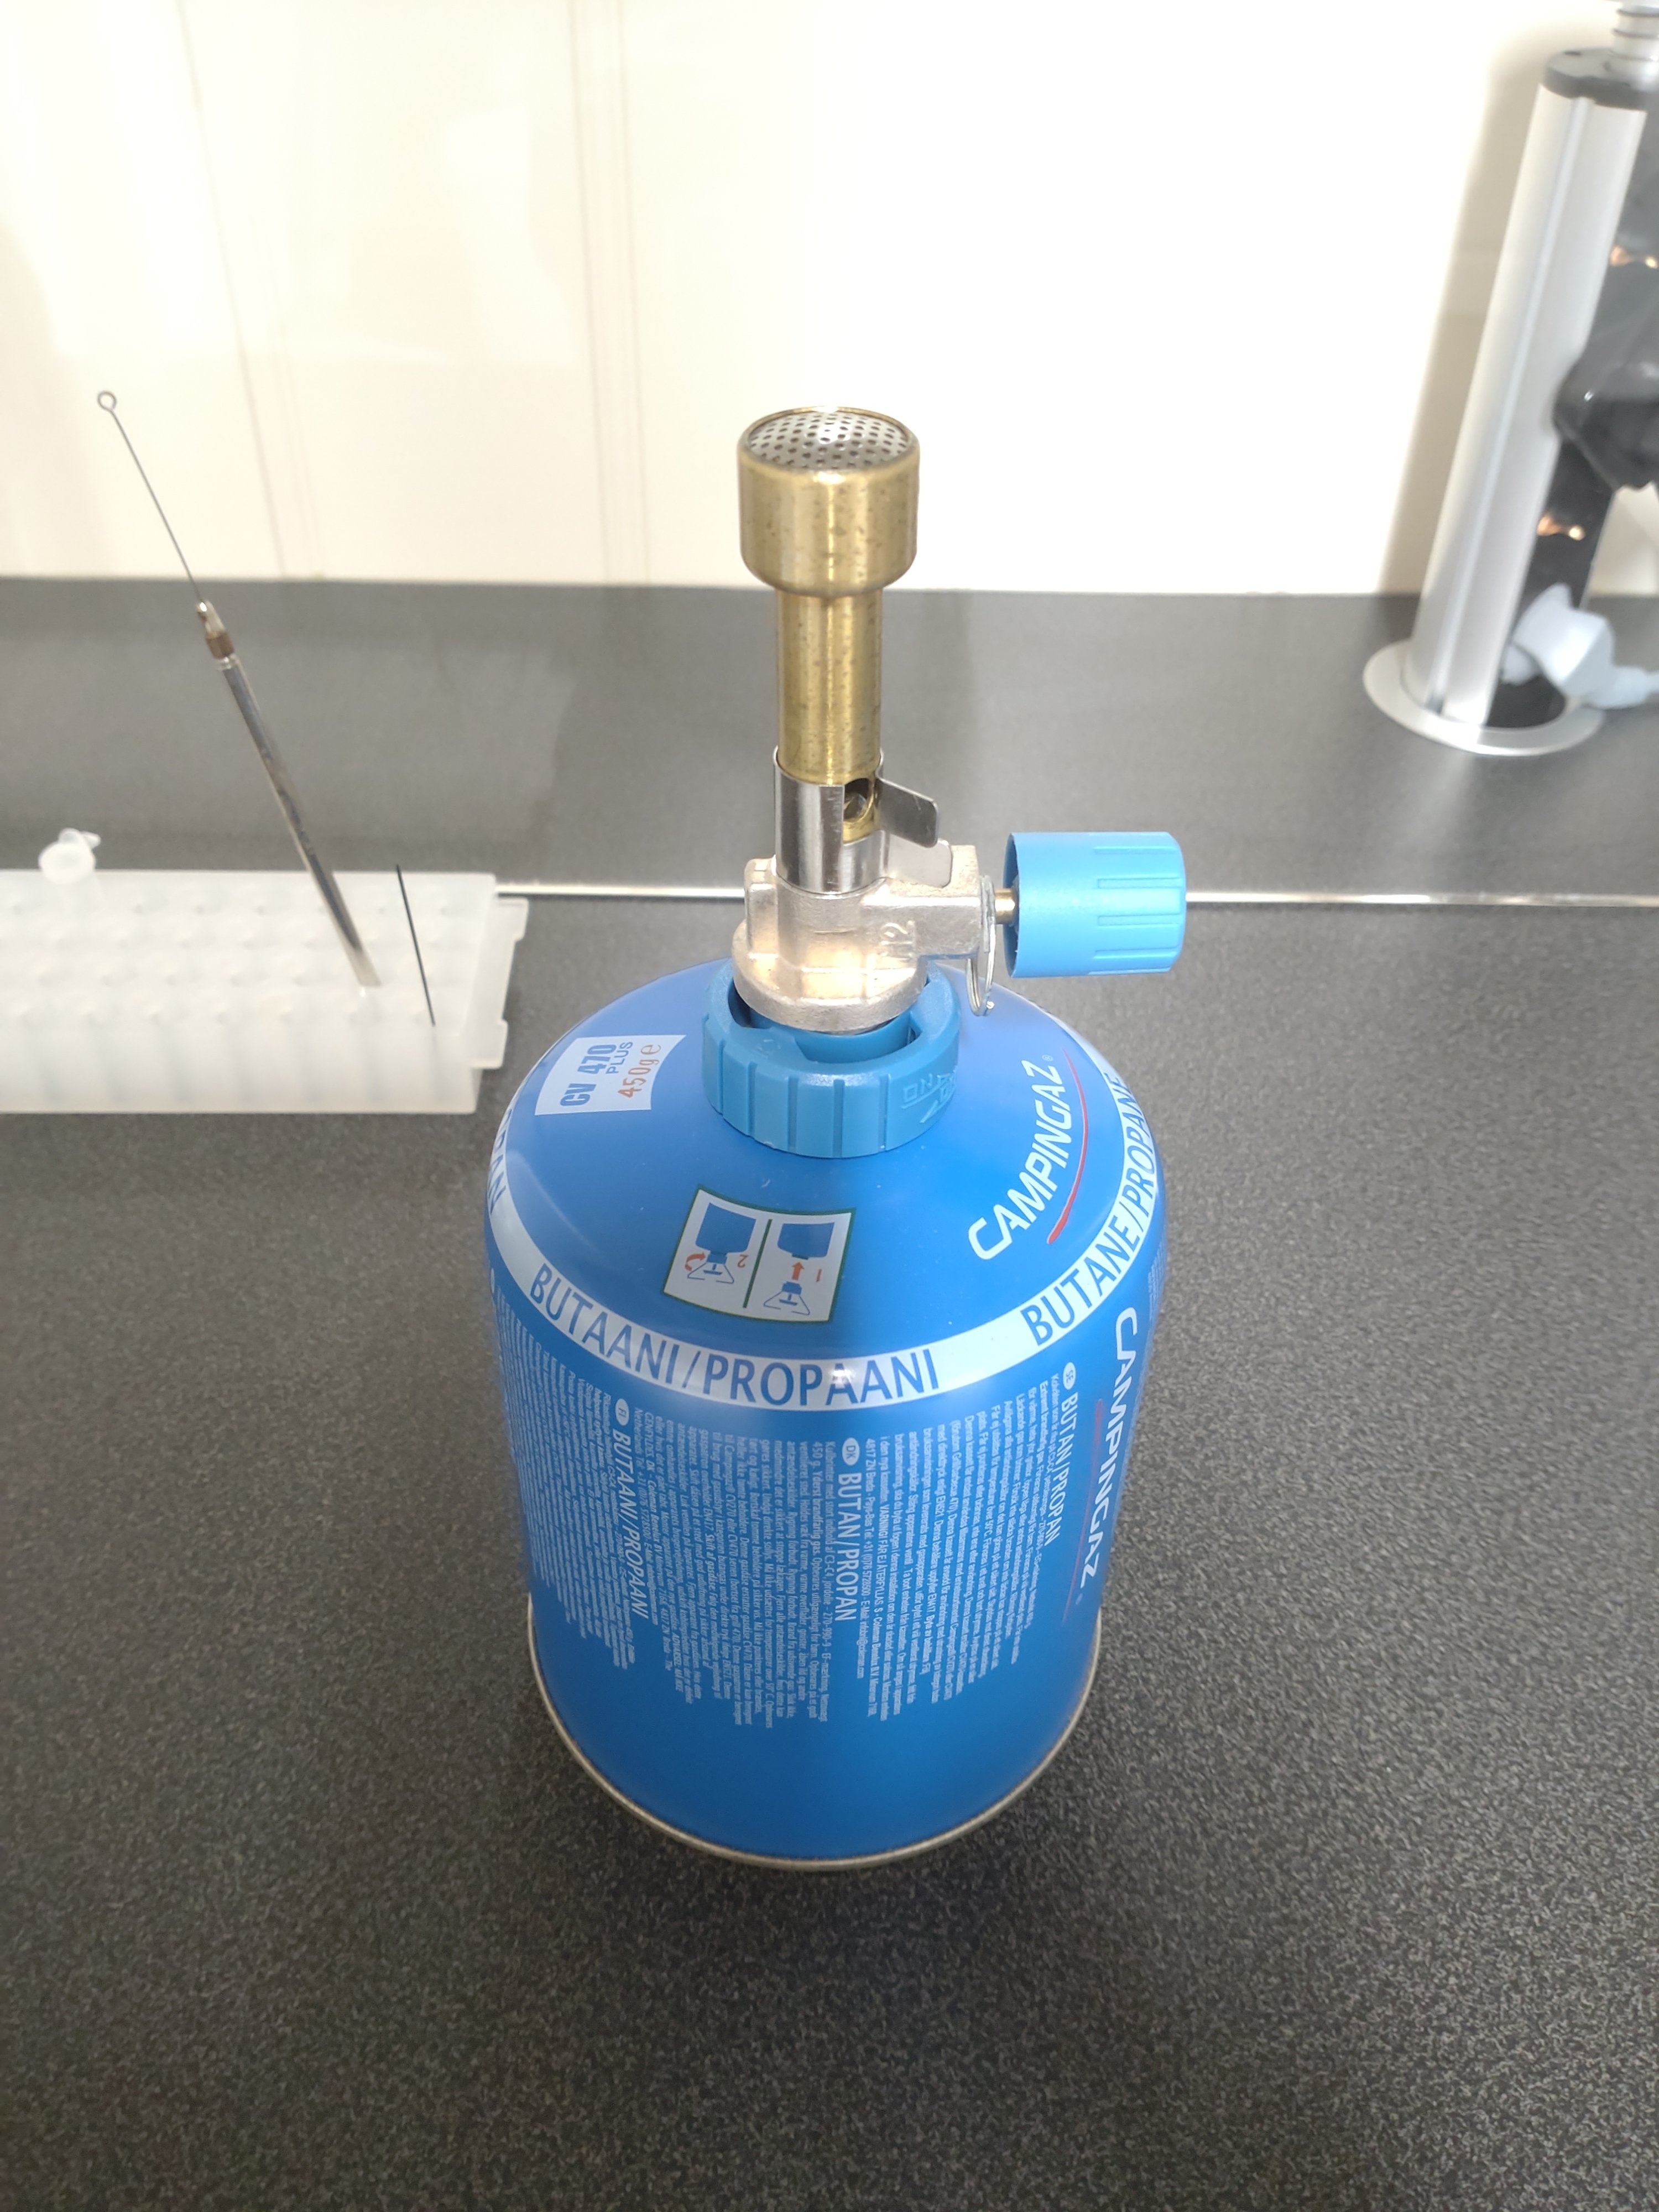
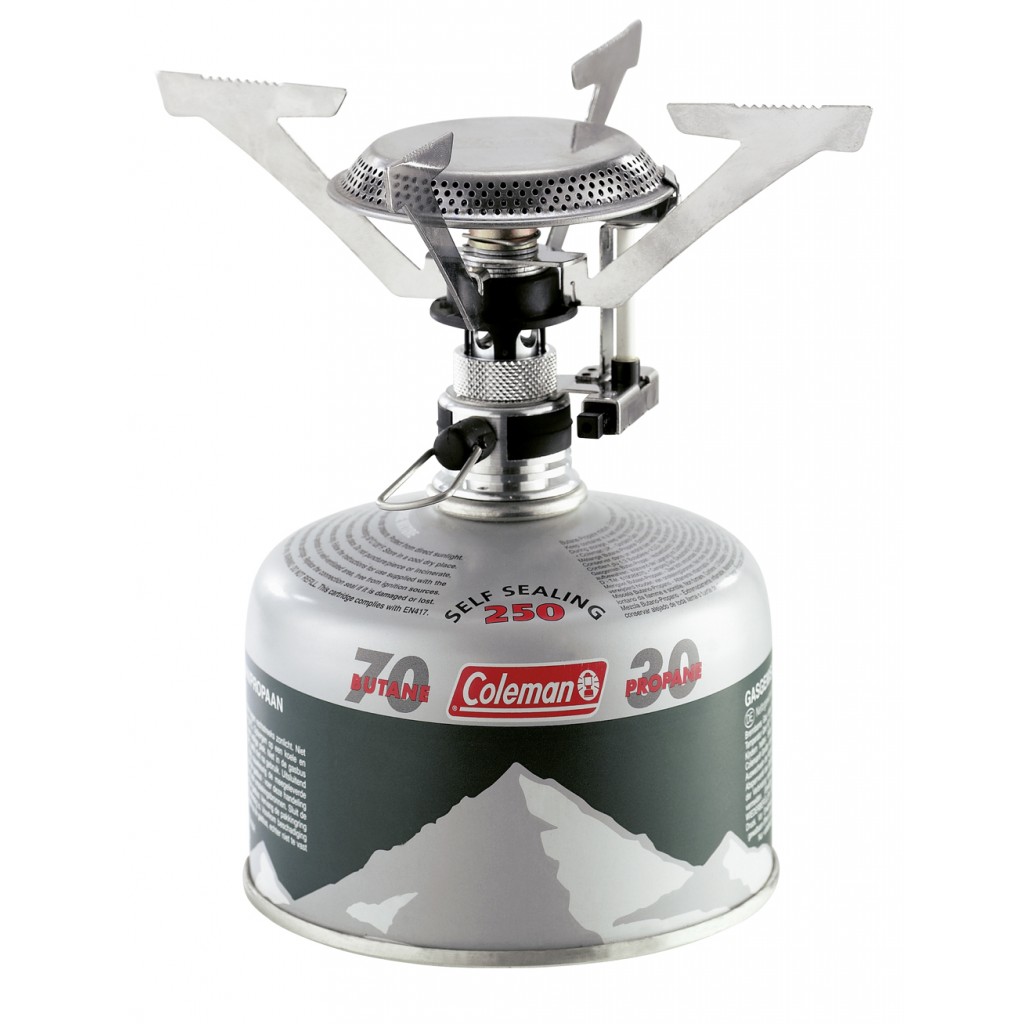
A Bunsen burner is basic good aseptic technique. A small camping stove represents no more risk than Bunsen. Here's my 'wireless' Campingaz Bunsen:

DSC_0512.JPG


And a small camping stove:
f1_power_pz.jpg
 
Campingaz Bunsen:
I like the looks of that Campingaz Bunsen.

I'm going to respectfully disagree about a bunsen burner acting as an air cleaning device.

Not that I think it will actually "clean the air," but I agree with working near a lit flame. More to create an upward air current that keeps anything from settling on the items that I'm trying to keep sterile, than to clean the air. Also, being hands free is a huge bonus to me. Flicking my Bic every time would get very tiresome.

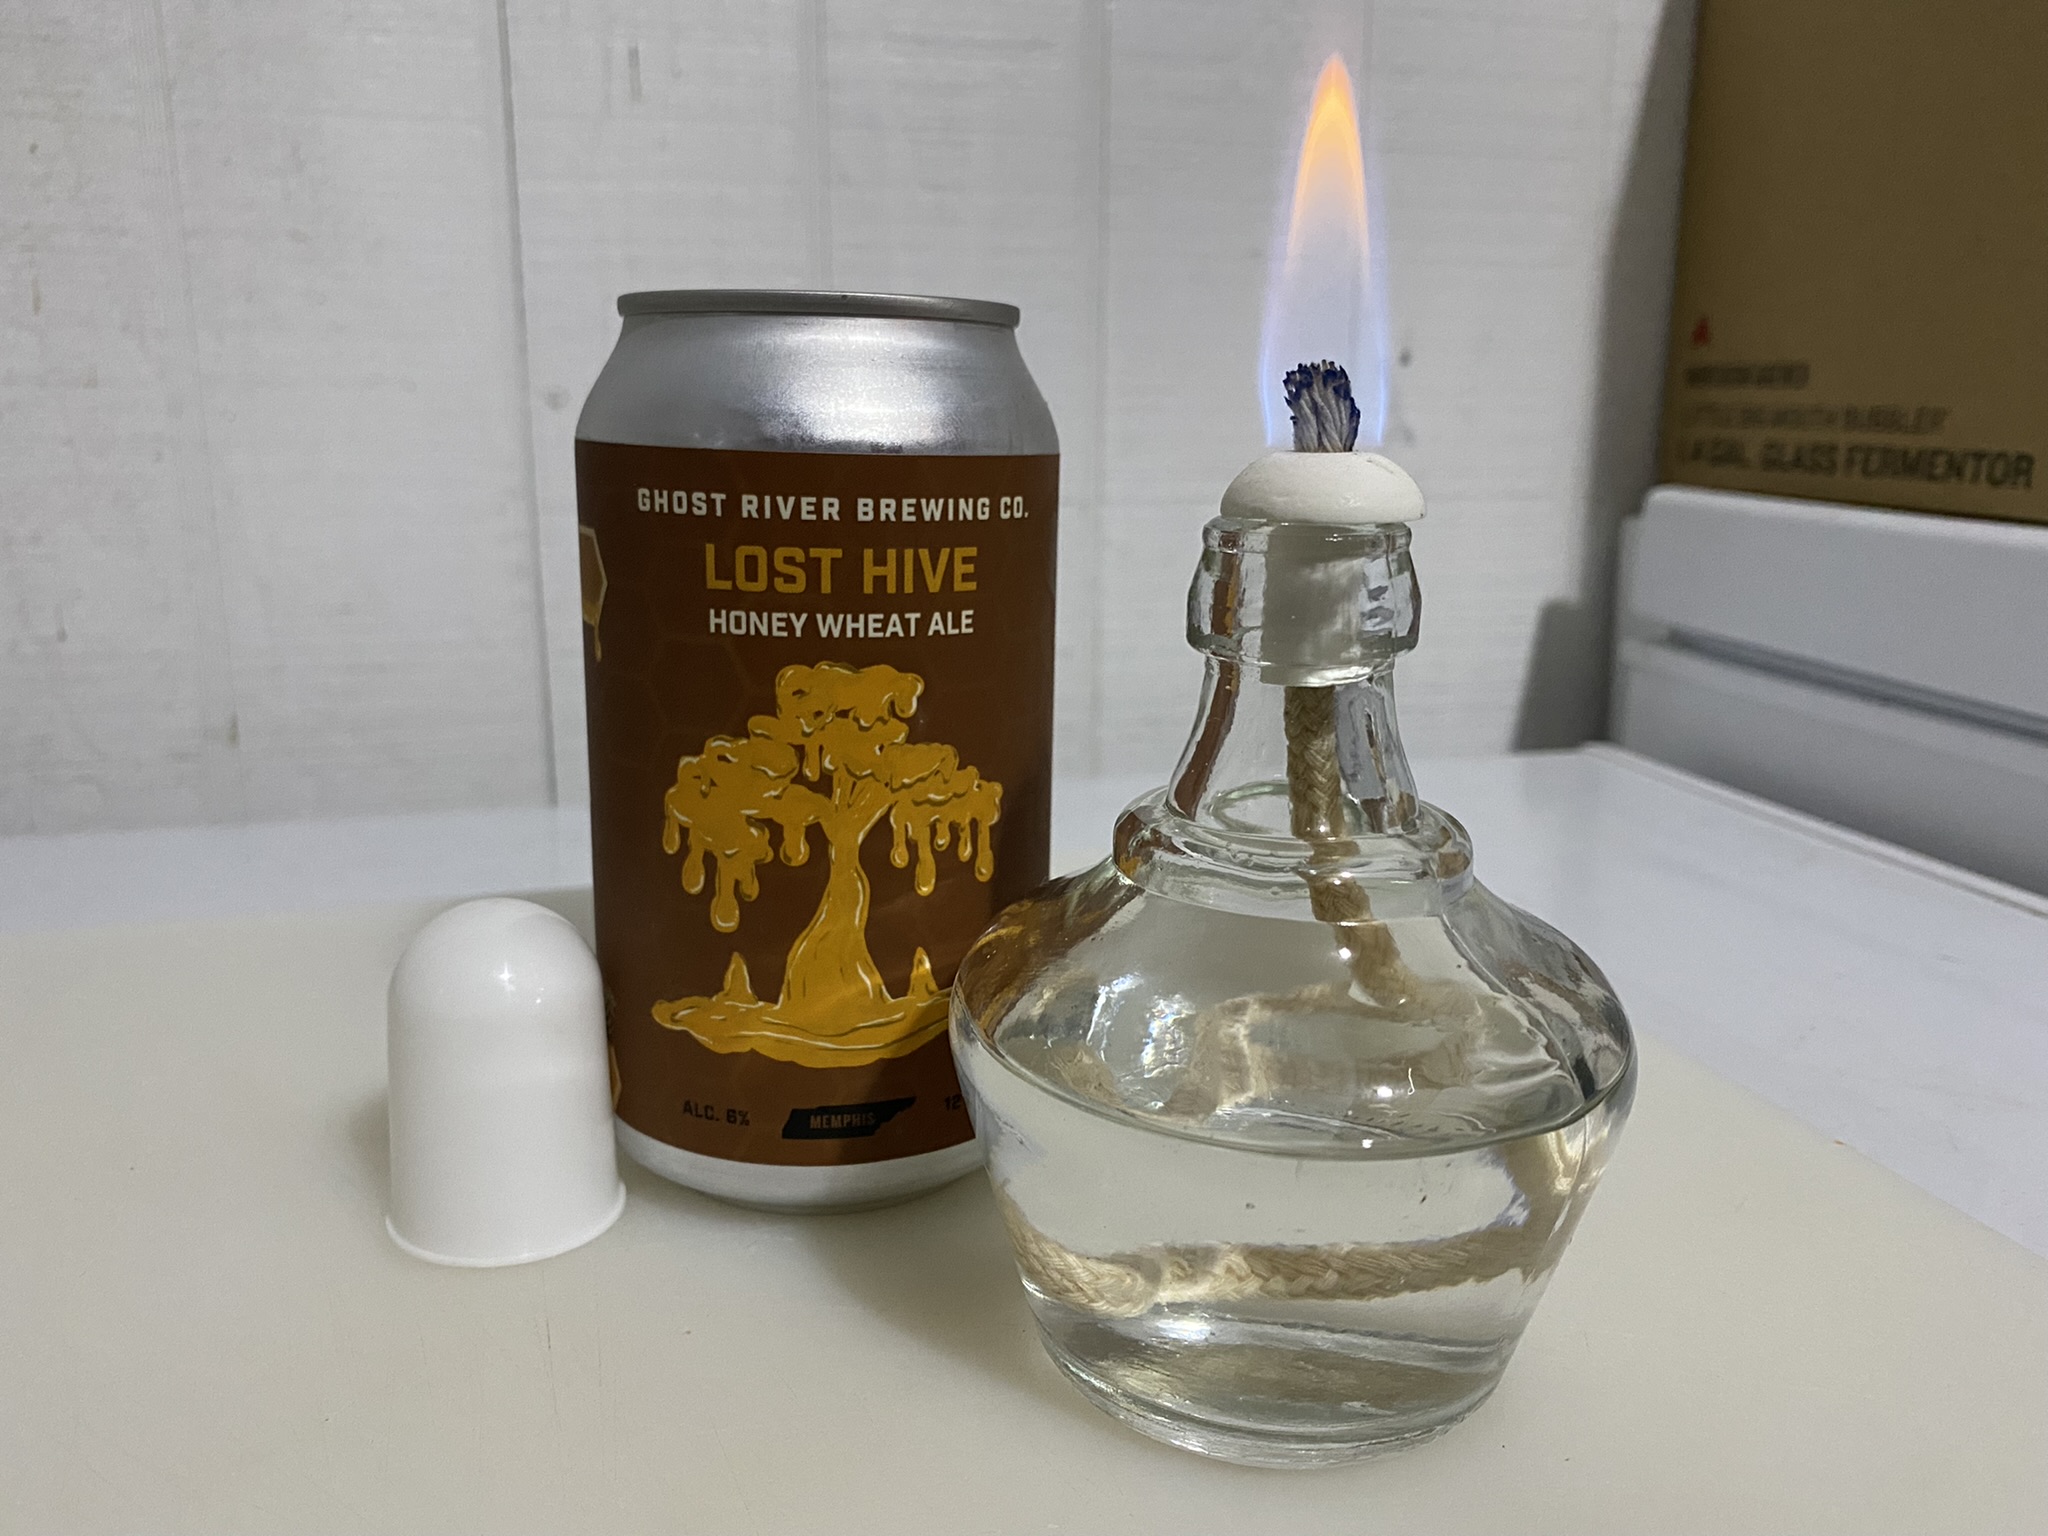
I went with the spirit lamp, aka alcohol lamp, over the Bunsen type burner because the alcohol burns cleaner and a little cooler than propane.
I'm burning Everclear here.
I've read that methanol will have an invisible flame, ethanol will have a blue flame, and isopropyl will have a yellow flame.
I believe the orange/yellow tip of my flame is due to the burning of other gasses in the atmosphere along with the ethanol.
(Beer in photo for size reference)
IMG_9774.jpeg
 
Technically the back of the hand or wrist usually. I ran out of gloves about the time covid started and have been going commando ever since.
I use a alcohol burner so the flame is not too far off the work surface. Seems your setup with the camp stove burners would help keep the flame away from the working area.
 
I'm going to respectfully disagree about a bunsen burner acting as an air cleaning device. No harm, but no help. Frankly, I'd be concerned that a larger burner like a camping stove would cause a draft, in addition to being a fire hazard indoors. But, you do you and if it works for you, great. I don't want to get drawn into an argument.

I agree with you on the camp stove. That seems a bit overkill. Ooof. But I have no idea really.

When you say you don't want to get drawn into an argument, what I hear is you have no evidence to support your comments that others are wrong - you just want to say they are wrong, and then they should just accept that without comment. You might not be familiar with how these forums (fora?) work.
 
Back
Top