TX_Brewing
Well-Known Member
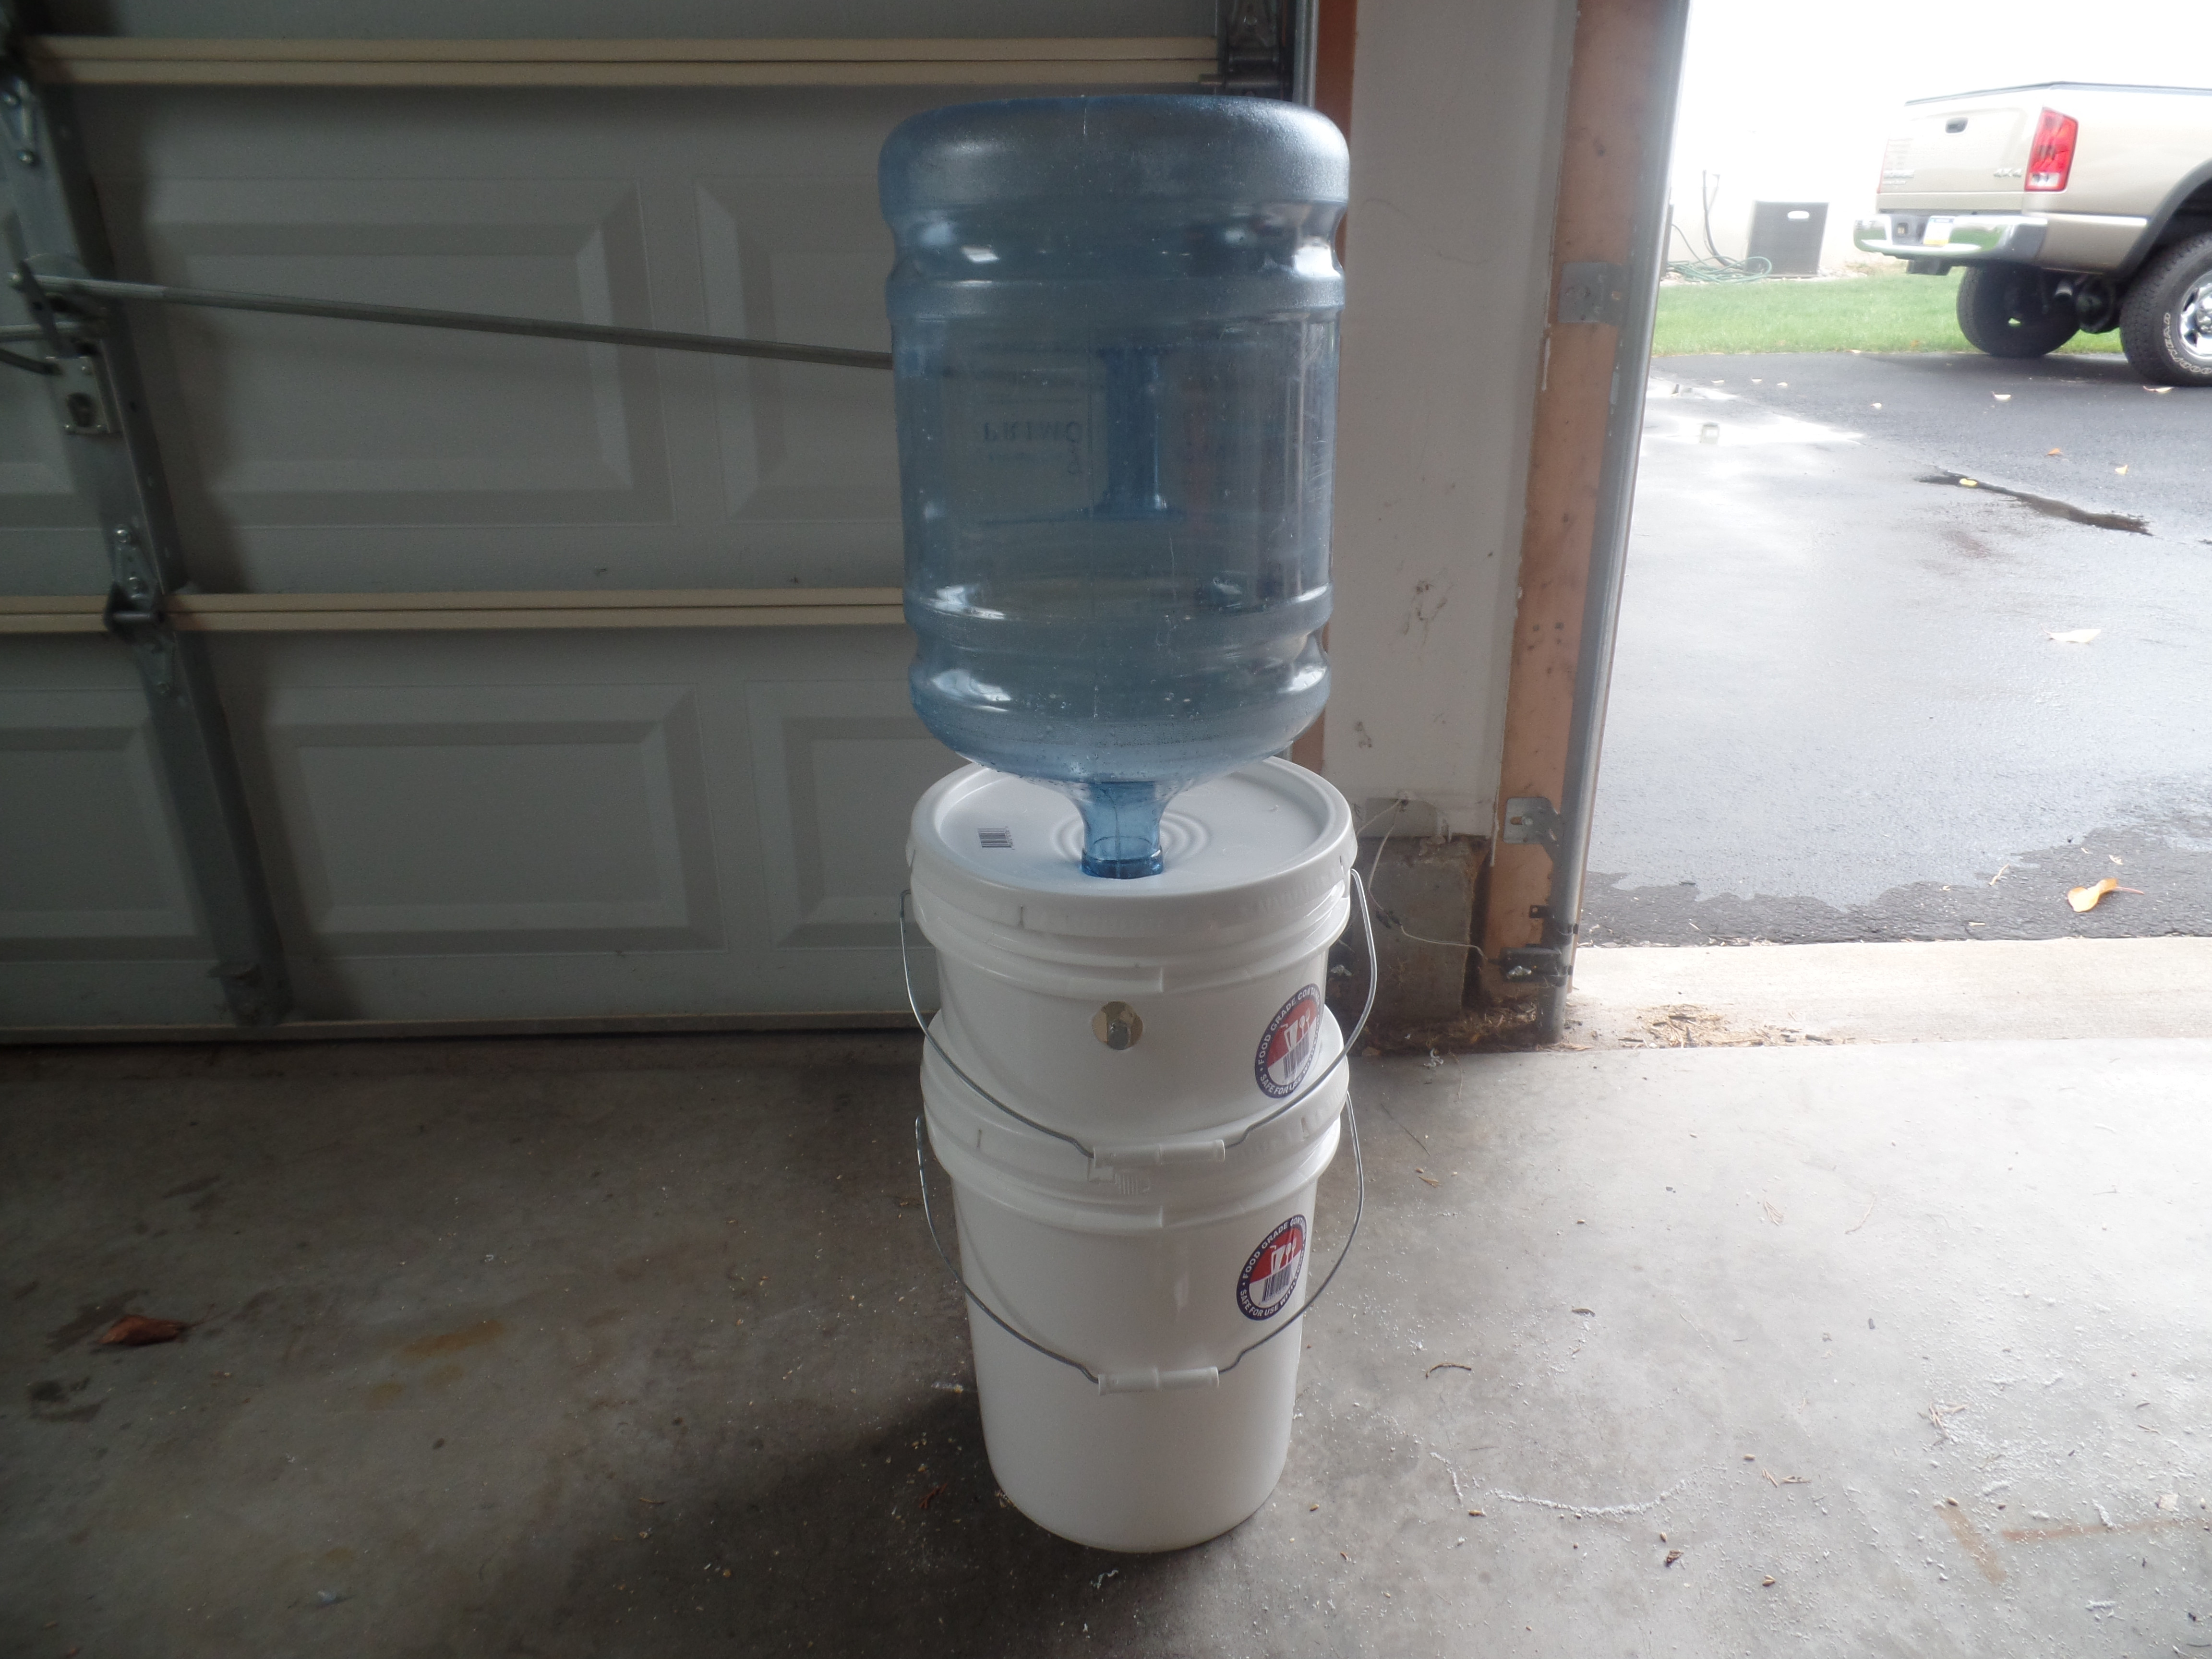
My new ugly junk! Kinda nice isn't it?
Built in a few hours. Total cost : 0 dollarz
Mods please move this post, it is off topic as it is certainly not ugly junk!!
Seriously, nice job!!


My new ugly junk! Kinda nice isn't it?
Built in a few hours. Total cost : 0 dollarz
Rather than post the bolt size, the easiest and surest thing to do is to take the handle bolt from your mill to the hardware store. Buy a bolt with this threads 3-4 " long, cut the head off the bolt and insert into drill chuck.
Other variations include putting a socket in your drill to drive the bolt.
Think I've got a bolt and socket bit that is compatible, but my cordless drill makes a sad, dying sound when I start milling. I saw a link to HF you posted a few years back for a drlll, but it's gone now. Think this one will get it done?
http://www.harborfreight.com/power-...ty-variable-speed-reversible-drill-61741.html
I saw a link to HF you posted a few years back for a drlll, but it's gone now. Think this one will get it done?
http://www.harborfreight.com/power-...ty-variable-speed-reversible-drill-61741.html
")


I saw a link to HF you posted a few years back for a drlll, but it's gone now. Think this one will get it done?
http://www.harborfreight.com/power-...ty-variable-speed-reversible-drill-61741.html
Guys I have read a good number of these posts. There's no way I'm going to be able to read nearly 200 pages. I did try searches and all that but my target is somewhat generic (drill, thread, etc..)
I am looking for the thread size of the crank handle retainer. I found posts that say "just take it to the hardware store" which is a fine bit of advice. The problem is I will be headed to brew at my buddie's house and I want to bring what I need to motorize. If you look @ Kansas and find the place furthest from everything paved - that's where he lives. A trip to a hardware store is a good hour round-trip. So, any assistance there avoiding one or more of those trips will be highly appreciated. I'll tip a beer in your direction.
Thank you.If my memory serves me right (I tossed the receipt) I used a 5/16" bolt that was either 2 or 2.5 inches long. Just make sure it's long enough to stick out to get a driver on the bolt.
Good luck!
Thank you.
I'd read in passing (I think) somewhere that this was M8 so that's 0.3125 vs 0.3150 ... likely close enough not to matter. Less than 1/128" difference and that in a Chinese casting.
Or I could bring both. Bolts are cheap - the rest of what I wanted to do cost a couple bucks but I'll live.
Ideally I'd like to not have to go anywhere once I get there. That's best case. If I have to go somewhere I'll try my best to bring the shaft with me but the body is bolted down pretty securely.If you are unsure at all, bring the mill to the hardware store and test fit the bolt...you really want the proper size bolt and thread pitch. These are cheap chinese castings, likely a bit screwed up already, don't make things any worse with a bolt that is "close enough".
Don't ask how I know....I have broken this bolt twice now and have had a helluva time drilling and cussing it out of the mill.
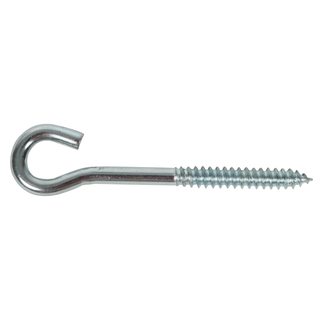
Buy one of these:
Stick it in your drill. Hook it through the eye bolt that the mill already has installed. Mill grain.
It's not a good long term solution, because you will start to wear through the metal of the eye bolt. When you can, replace the eye bolt with a good quality one, and carry on as you were.
The original eye bolt should be good for many batches, just not indefinitely.
This is how I run my mill, and it compensates well for off-center drilling that seems to be standard on the shaft of these mills.
Thanks ... definitely gonna buy both. No matter what the Chinese intended I think having a choice will be a good idea.Mine needed an m8 bolt and is the weston grinder
I did that many moons ago. Somehow the "triangle" bolt and the J bolt jot bound up. It spun out of my hands, while I was not paying attention of course, and jacked me in my jaw. No thank you sir.Buy one of these:
Stick it in your drill. Hook it through the eye bolt that the mill already has installed. Mill grain.
It's not a good long term solution, because you will start to wear through the metal of the eye bolt. When you can, replace the eye bolt with a good quality one, and carry on as you were.
The original eye bolt should be good for many batches, just not indefinitely.
This is how I run my mill, and it compensates well for off-center drilling that seems to be standard on the shaft of these mills.
I'm sure there's some engineering term for that flexible connection - but one way or another a flexible connection is needed. It might be your arms or a tube as you've tried. Wailing and gnashing of teeth await the person who tries a rigid mount.All the above methods work, as I've mentioned I've snapped a couple bolts thru careless unattended operation...like propping my drill with a broomstick and bunjee.
I have it rigged for the last dozen or so brews with heavy tubing clamped to the mill output shaft with a socket clamped in the tubing, and a bolt head out facing of the drill.
I'm not sure there's a "best" way to do that. I've done it before for other things.The BEST way w/ credit to RM-MN is to simply dress the output shaft with a grinder to engage a six point socket...wish I thought of that long ago while hacking a repair whilst the strike water was heating.
Very strong yet plenty of slop to account for the precise Chinese manufacturing.
Ps if somebody could PM me how you do that neat @some-HBT'r I'd be most appreciative. Can't figure that out duh
Cheers

Another happy user! Did a hand grind of Cream of Three Crops for 5.5 pounds of 2-row, and got 75% efficiency, after constantly being in the 60s. Set up the drill, and I'm good! Thanks for all the hints and tips!
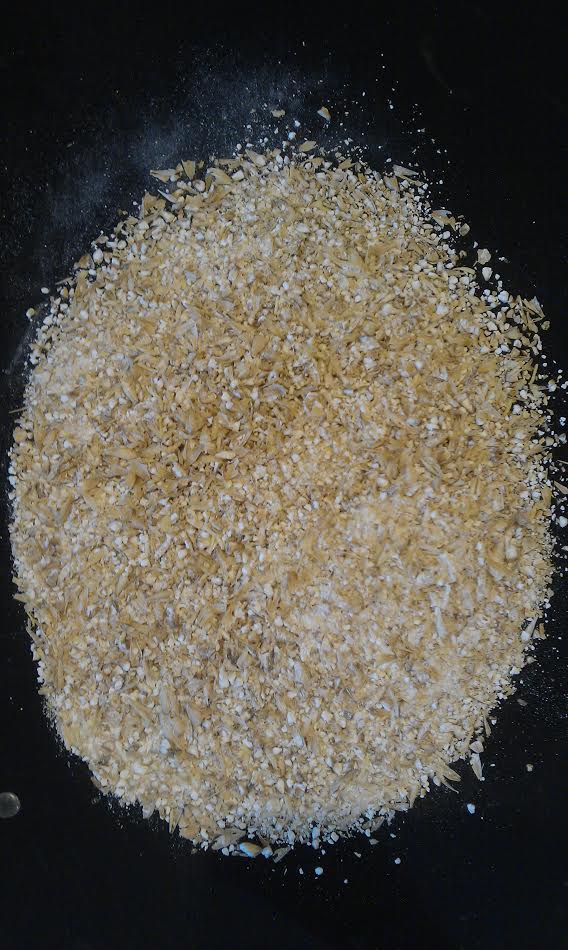
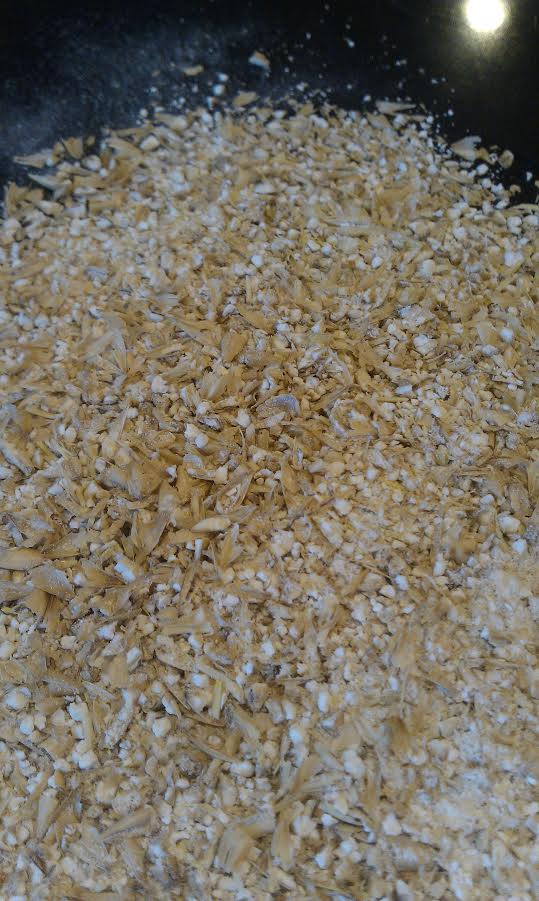
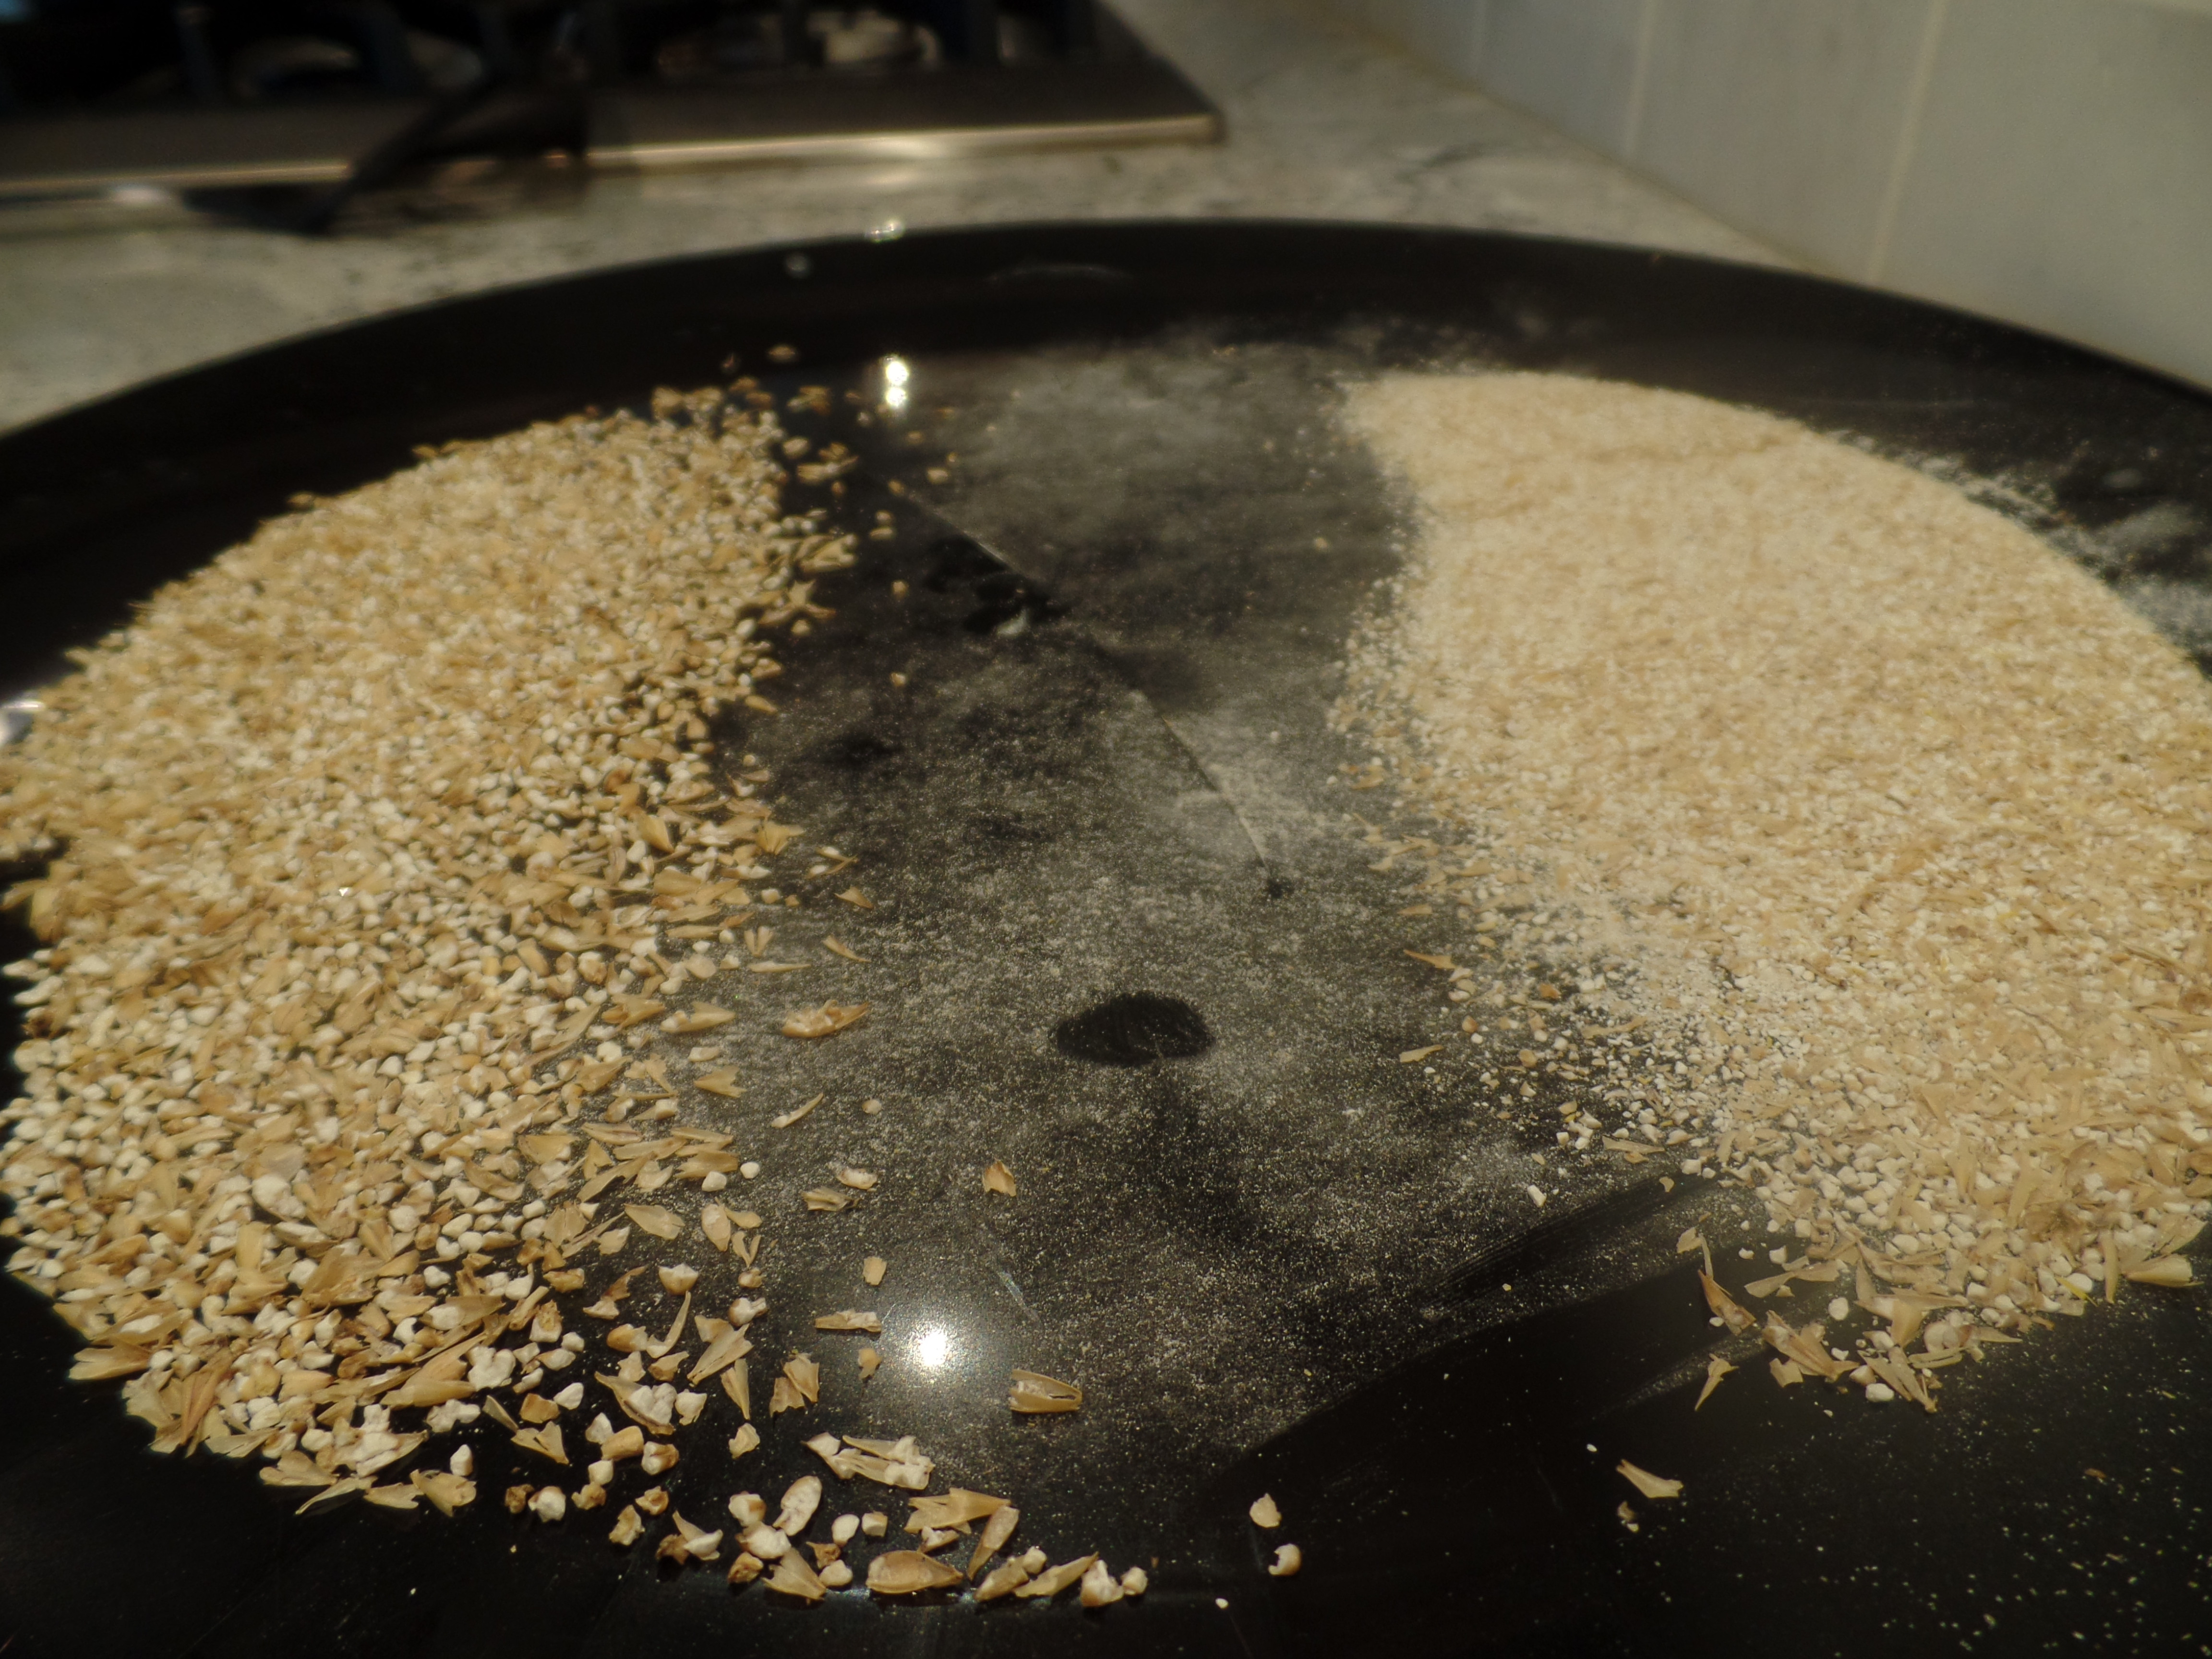
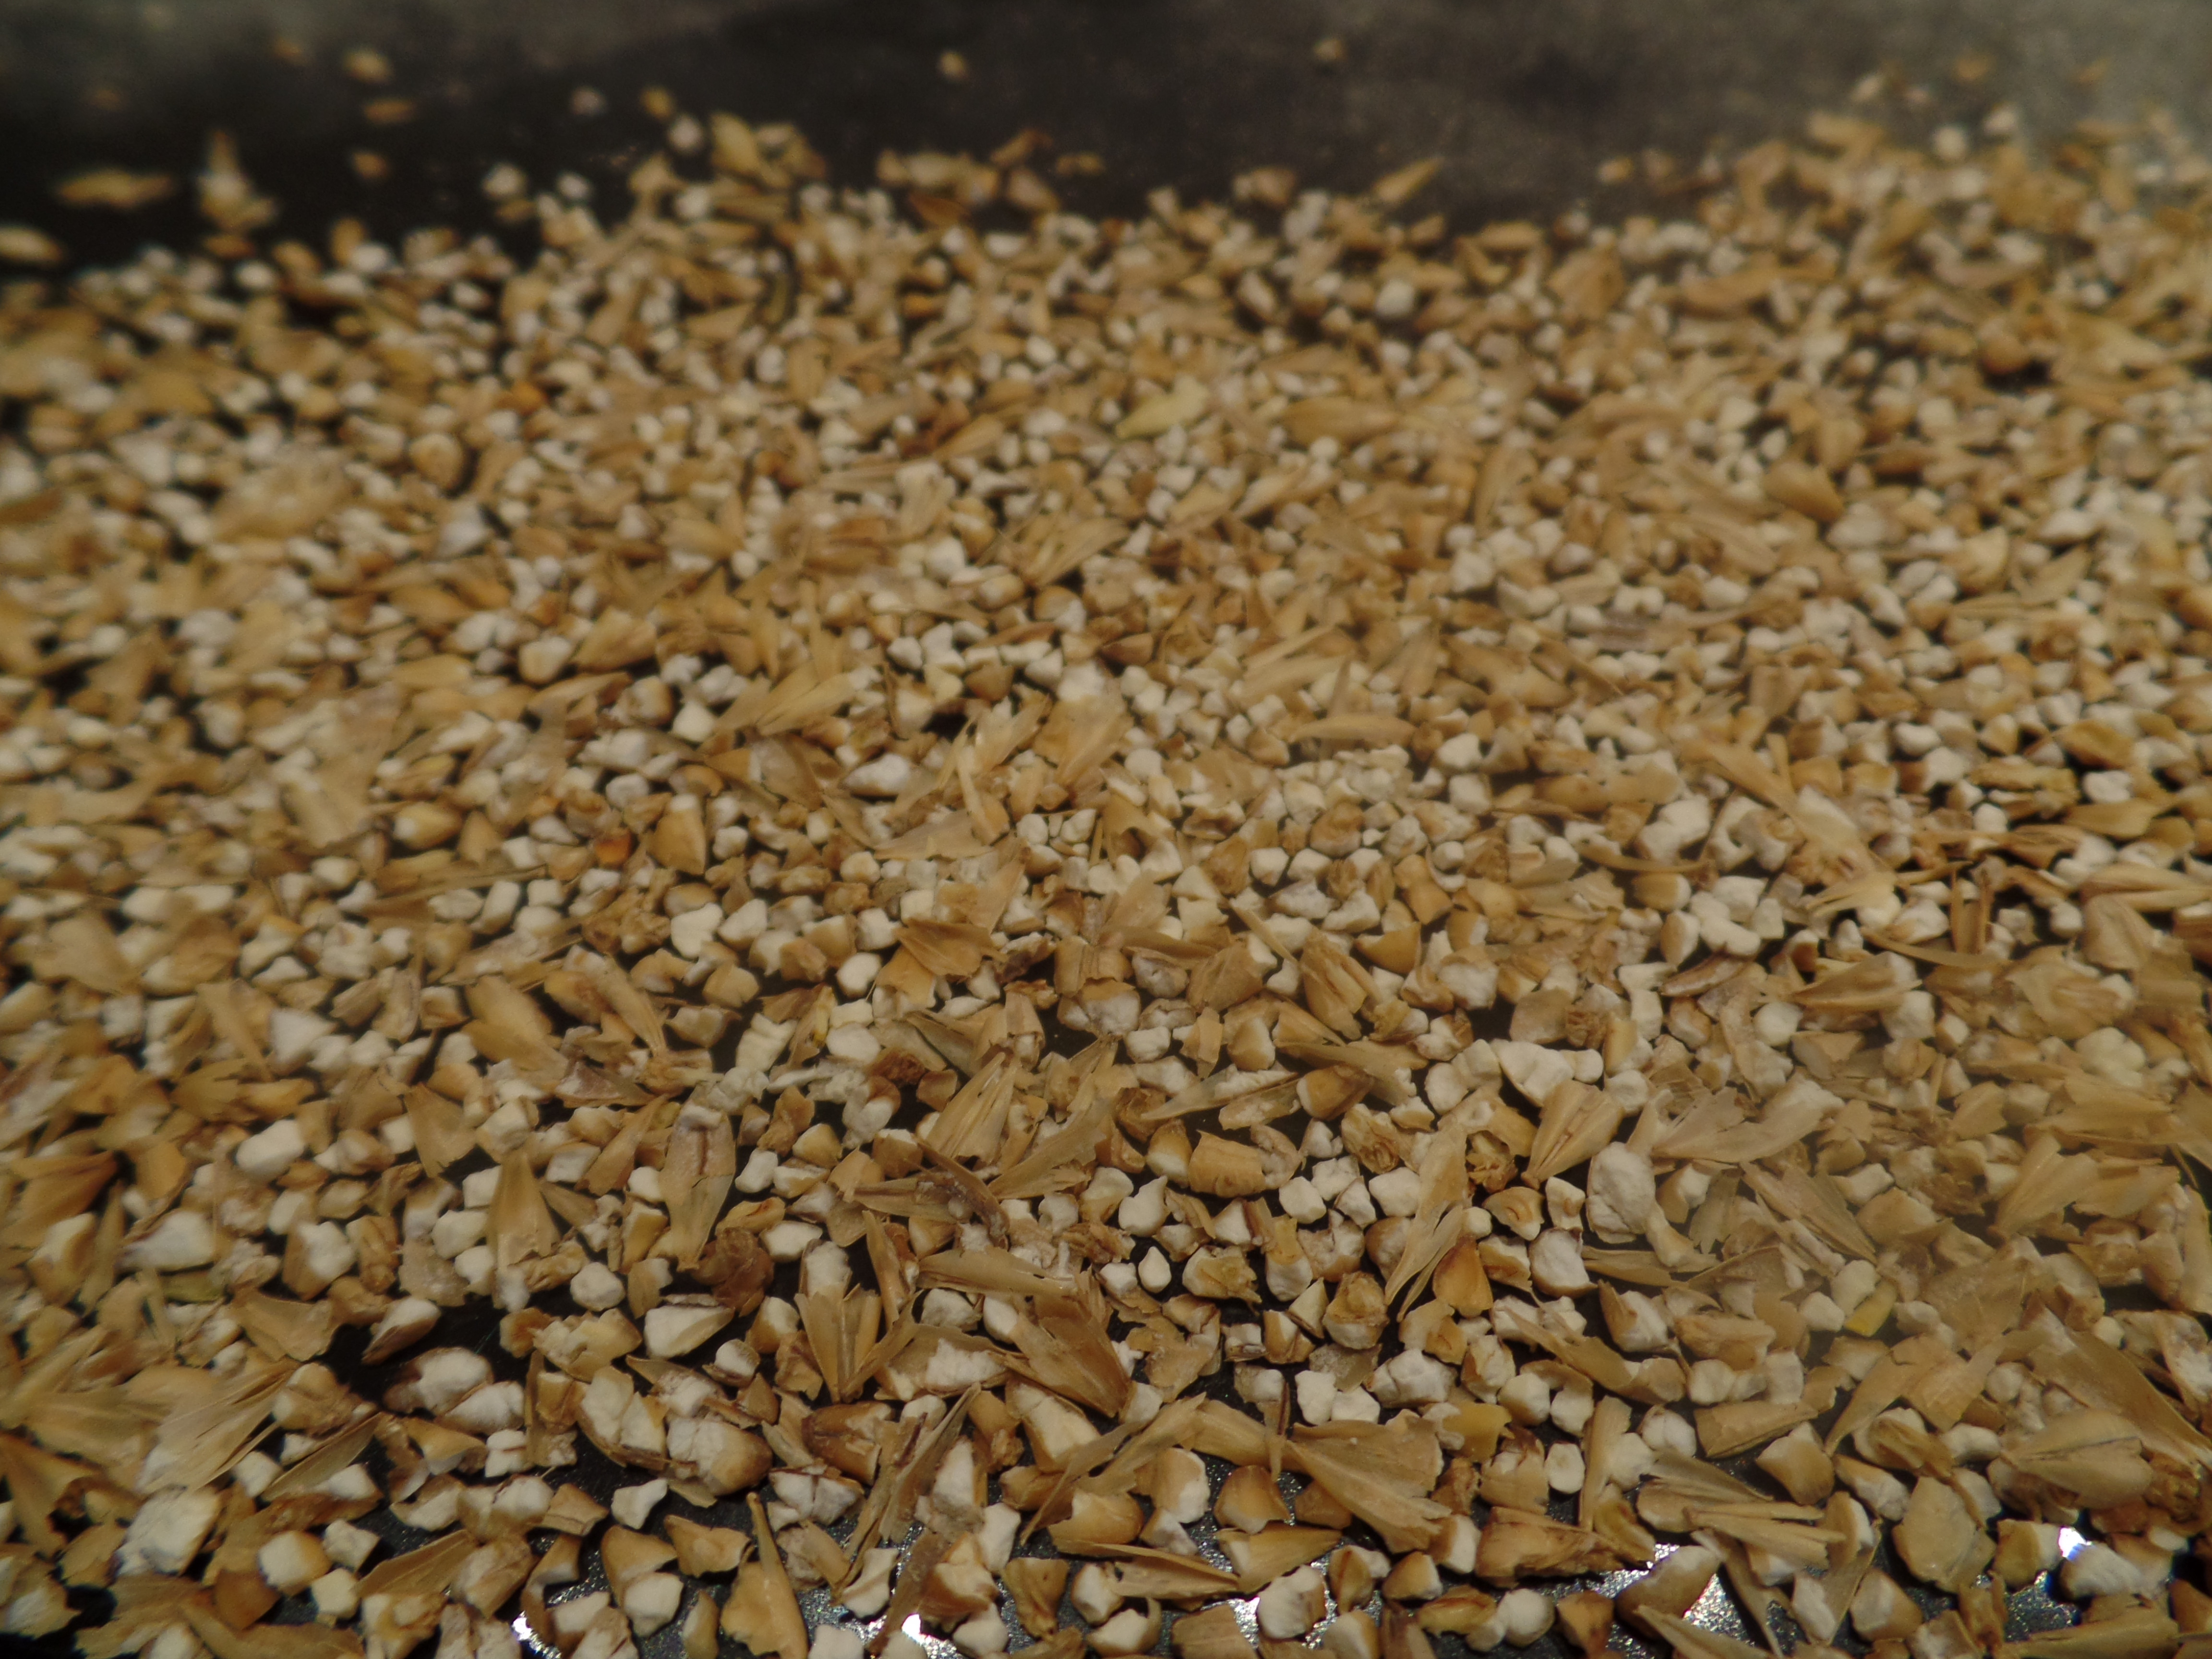
Is this too fine of a crush for "BIAB in a Cooler"? I see lots of mangled husks but I also ran the drill full out. Does that become less of a factor at slower speeds?
EDIT: Hey my American friends....see the post #?
Not too fine at all IMO, I crush finer. Almost looks like you may have a few uncrushed kernels, do you?
1976? 1776 yea


![Craft A Brew - Safale BE-256 Yeast - Fermentis - Belgian Ale Dry Yeast - For Belgian & Strong Ales - Ingredients for Home Brewing - Beer Making Supplies - [3 Pack]](https://m.media-amazon.com/images/I/51bcKEwQmWL._SL500_.jpg)


