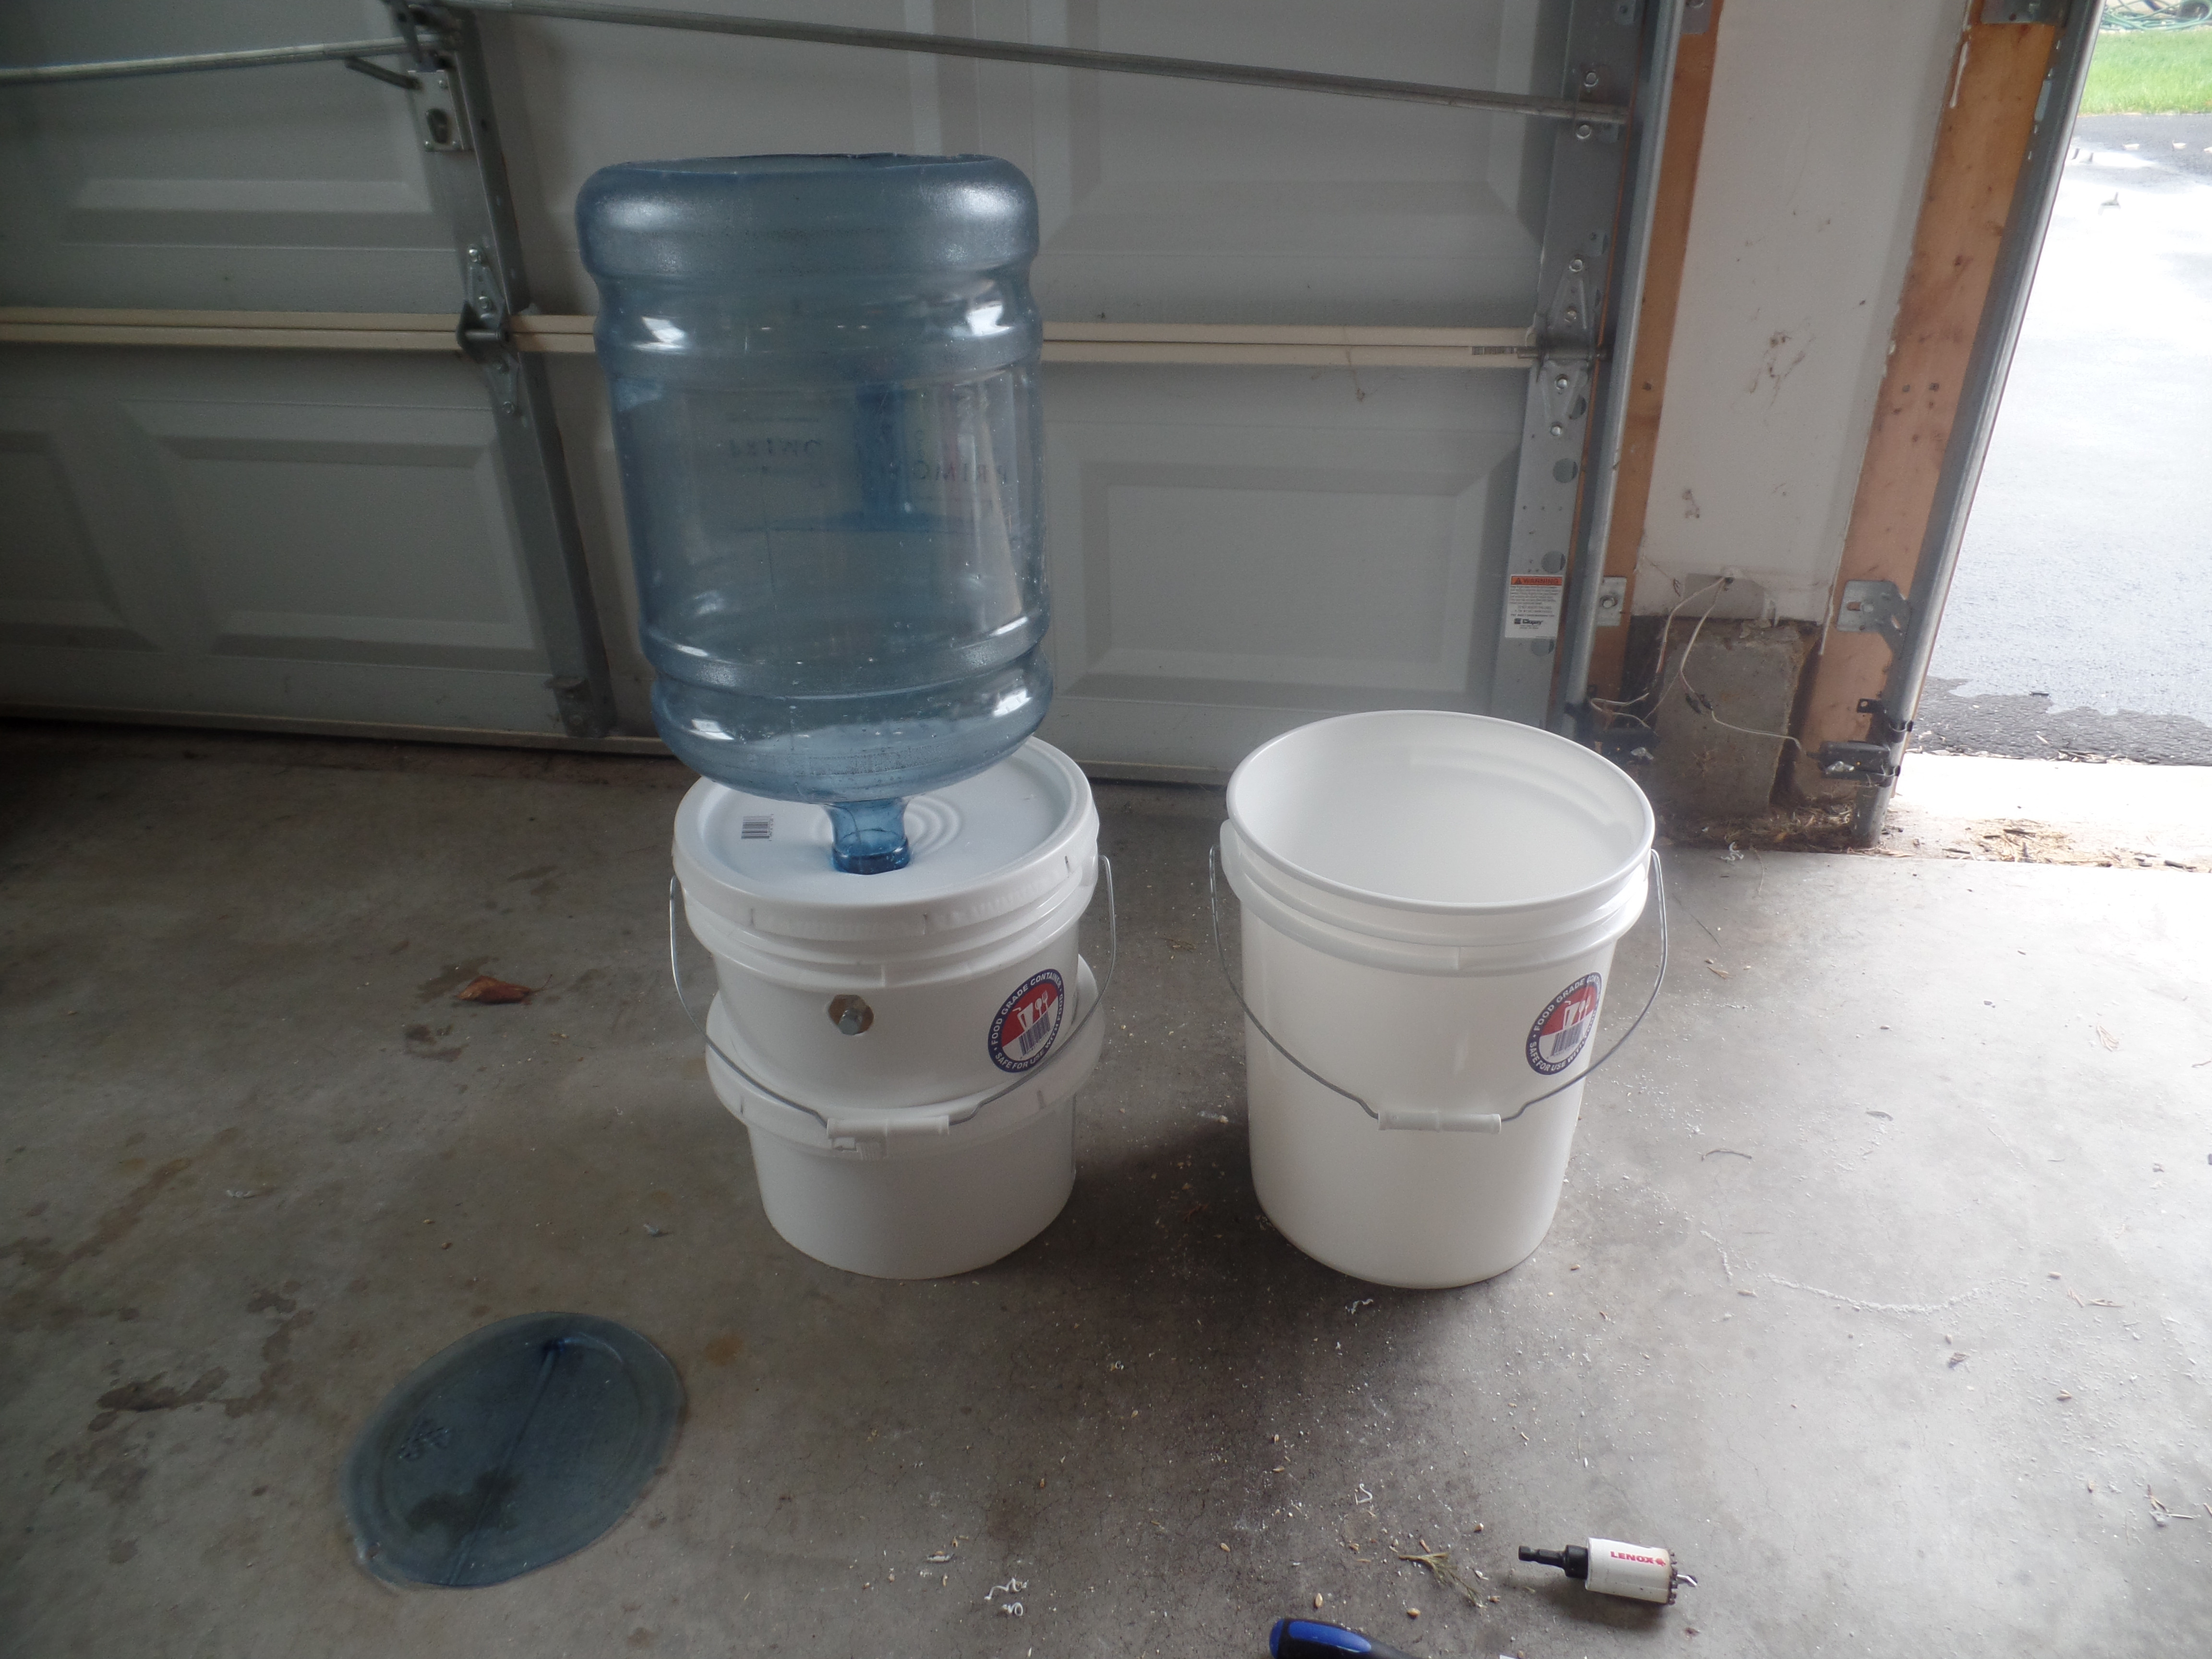
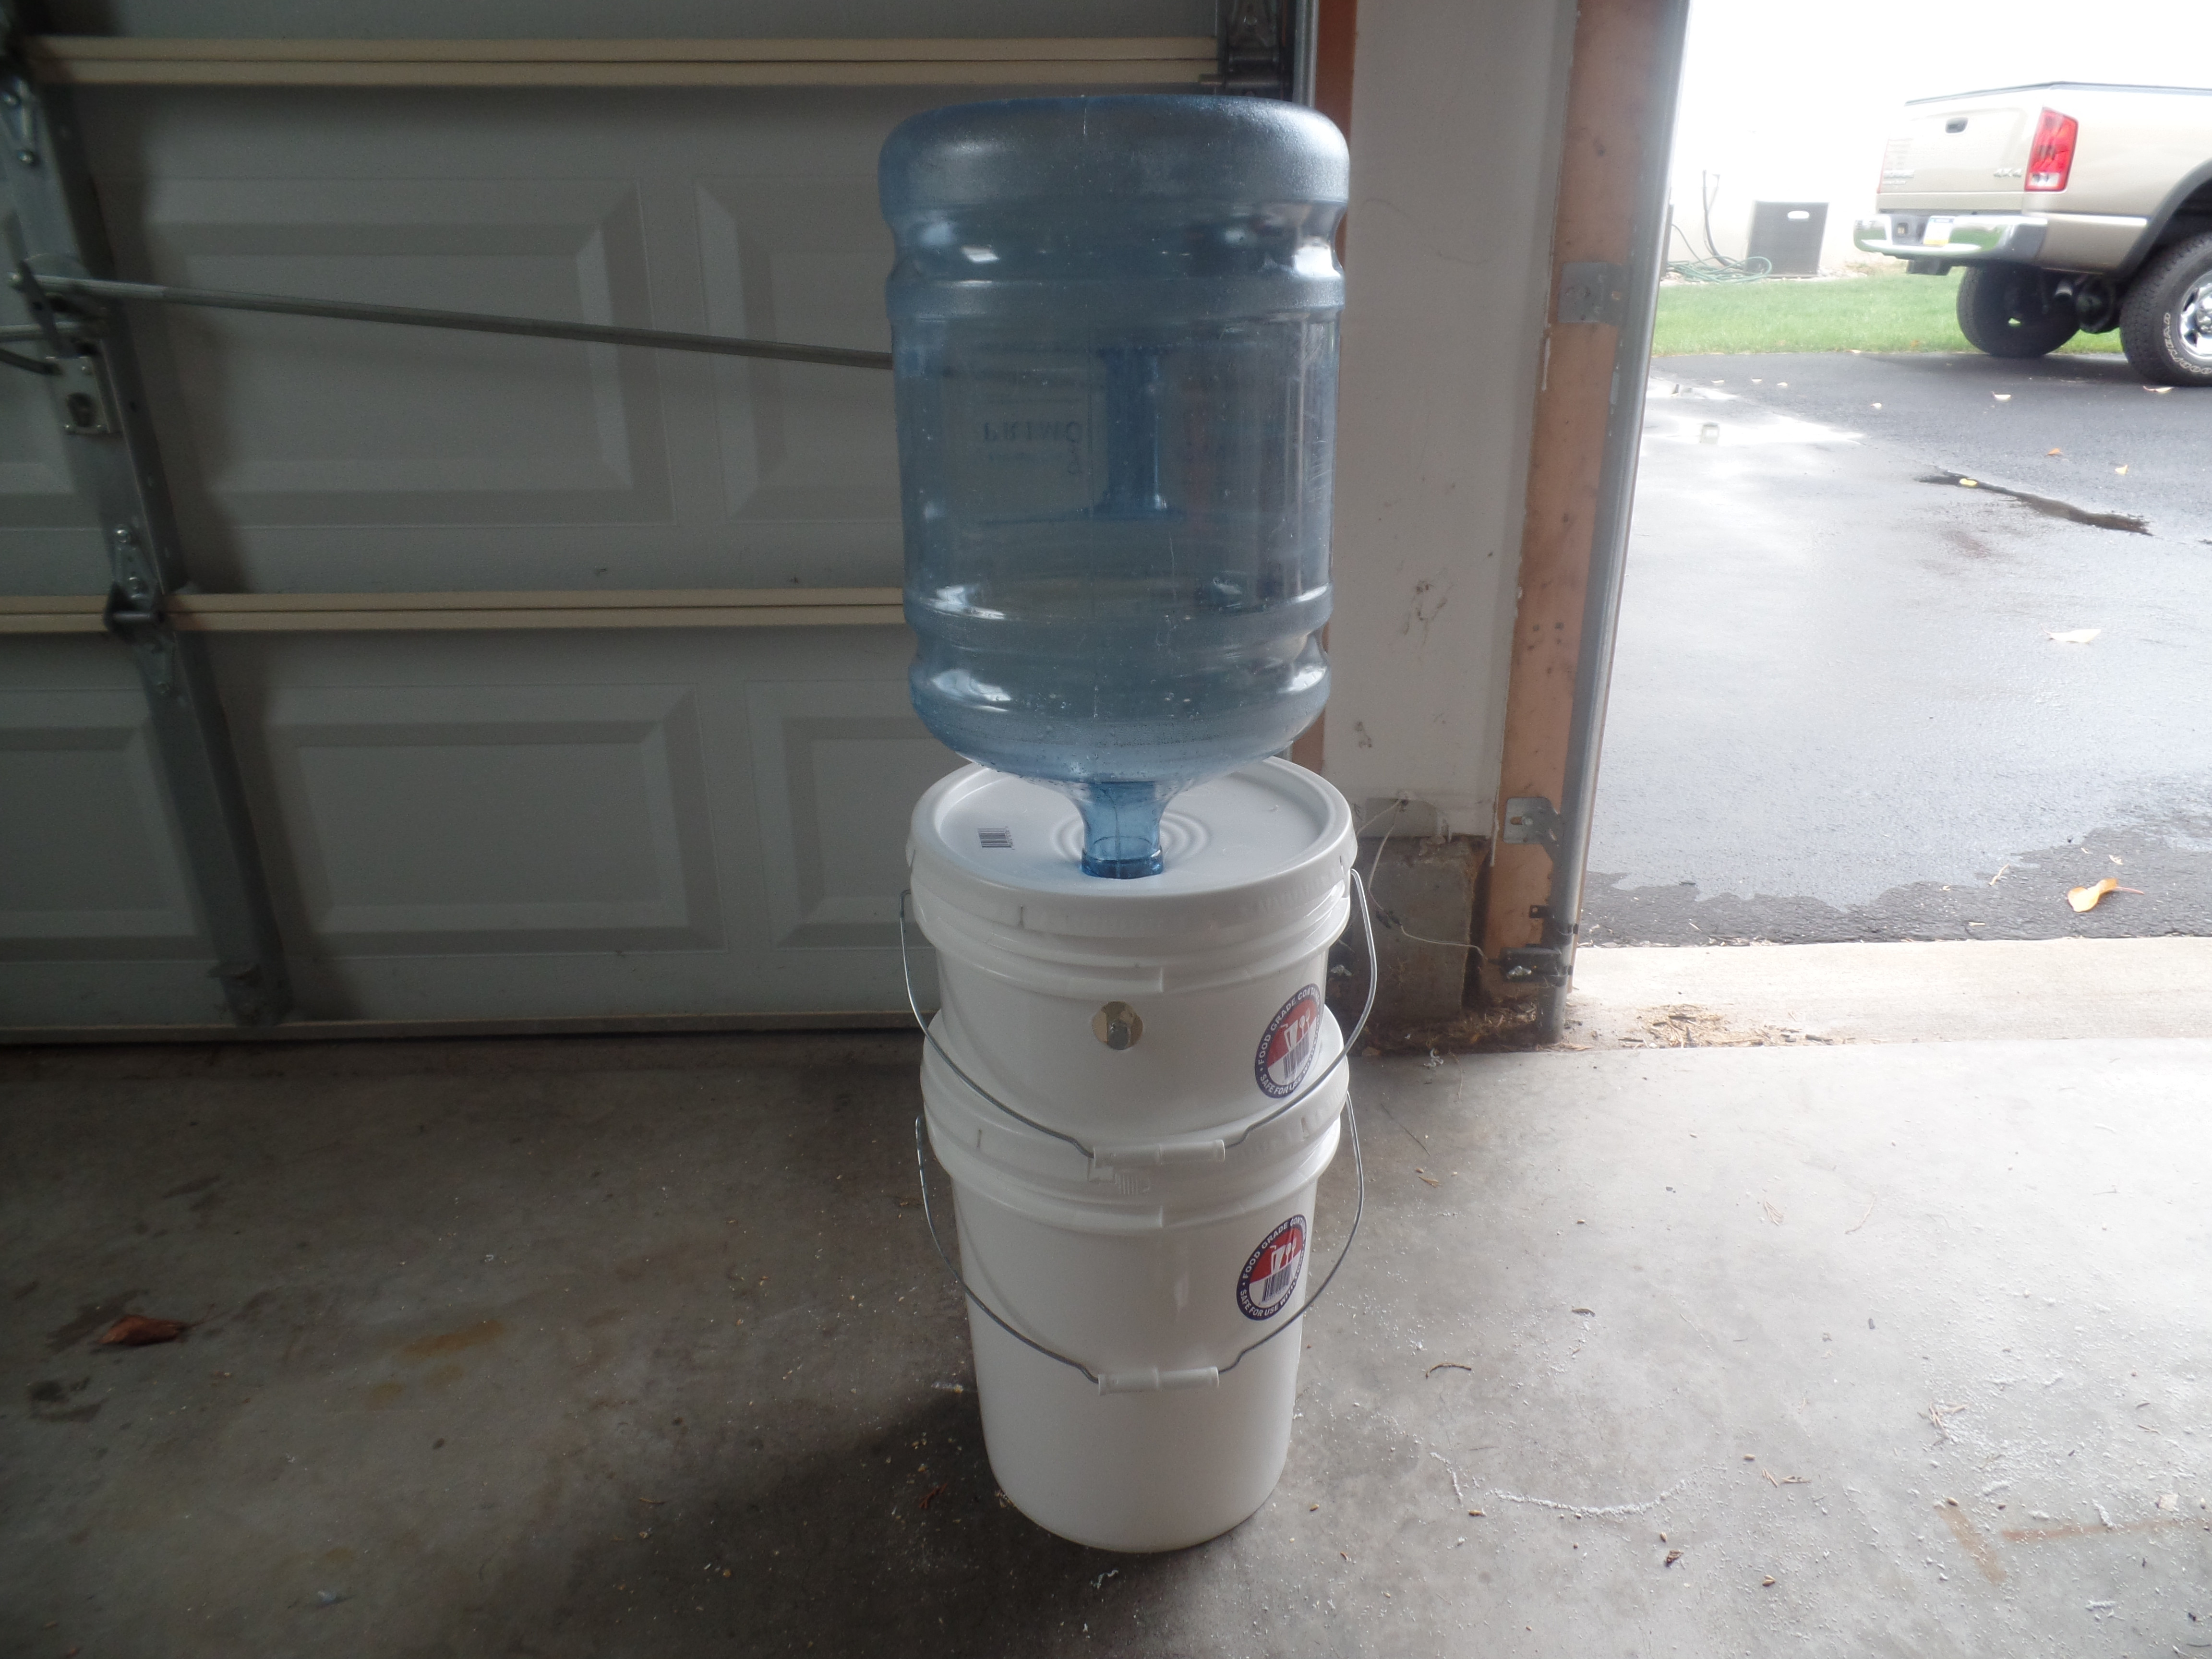
My Ugly Junk- Corona Mill Station...

Homebrew Talk - Beer, Wine, Mead, & Cider Brewing Discussion Forum

Help Support Homebrew Talk - Beer, Wine, Mead, & Cider Brewing Discussion Forum:

This site may earn a commission from merchant affiliate links, including eBay, Amazon, and others.
Guys I have read a good number of these posts. There's no way I'm going to be able to read nearly 200 pages. I did try searches and all that but my target is somewhat generic (drill, thread, etc..)

I am looking for the thread size of the crank handle retainer. I found posts that say "just take it to the hardware store" which is a fine bit of advice. The problem is I will be headed to brew at my buddie's house and I want to bring what I need to motorize. If you look @ Kansas and find the place furthest from everything paved - that's where he lives. A trip to a hardware store is a good hour round-trip. So, any assistance there avoiding one or more of those trips will be highly appreciated. I'll tip a beer in your direction.

If my memory serves me right (I tossed the receipt) I used a 5/16" bolt that was either 2 or 2.5 inches long. Just make sure it's long enough to stick out to get a driver on the bolt.

Good luck!
 
If my memory serves me right (I tossed the receipt) I used a 5/16" bolt that was either 2 or 2.5 inches long. Just make sure it's long enough to stick out to get a driver on the bolt.

Good luck!
Thank you.

I'd read in passing (I think) somewhere that this was M8 so that's 0.3125 vs 0.3150 ... likely close enough not to matter. Less than 1/128" difference and that in a Chinese casting.

Or I could bring both. Bolts are cheap - the rest of what I wanted to do cost a couple bucks but I'll live.

If you are unsure at all, bring the mill to the hardware store and test fit the bolt...you really want the proper size bolt and thread pitch. These are cheap chinese castings, likely a bit screwed up already, don't make things any worse with a bolt that is "close enough".

Don't ask how I know....I have broken this bolt twice now and have had a helluva time drilling and cussing it out of the mill.
Ideally I'd like to not have to go anywhere once I get there. That's best case. If I have to go somewhere I'll try my best to bring the shaft with me but the body is bolted down pretty securely.
 
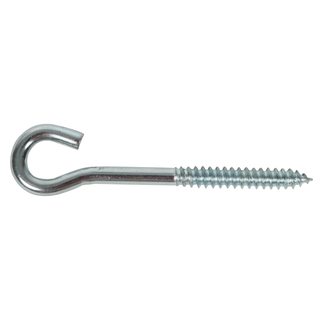
Buy one of these:

a2syNm.jpg


Stick it in your drill. Hook it through the eye bolt that the mill already has installed. Mill grain.

It's not a good long term solution, because you will start to wear through the metal of the eye bolt. When you can, replace the eye bolt with a good quality one, and carry on as you were.

The original eye bolt should be good for many batches, just not indefinitely.

This is how I run my mill, and it compensates well for off-center drilling that seems to be standard on the shaft of these mills.

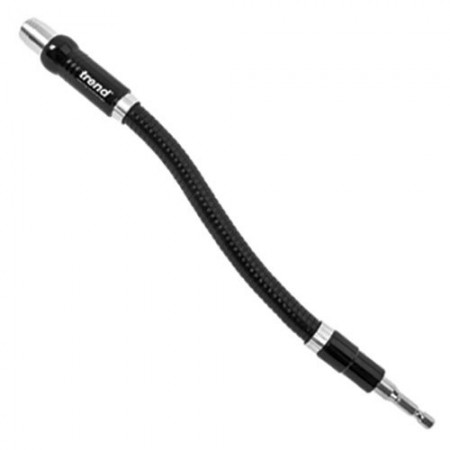
This is what I did. I did though grind the threads off and create flats so my drill could get a better grip. I am probably 20 batches into my first eyebolt. I probably should replace it soon... maybe.
 
Mine needed an m8 bolt and is the weston grinder
Thanks ... definitely gonna buy both. No matter what the Chinese intended I think having a choice will be a good idea.
Buy one of these:

Stick it in your drill. Hook it through the eye bolt that the mill already has installed. Mill grain.

It's not a good long term solution, because you will start to wear through the metal of the eye bolt. When you can, replace the eye bolt with a good quality one, and carry on as you were.

The original eye bolt should be good for many batches, just not indefinitely.

This is how I run my mill, and it compensates well for off-center drilling that seems to be standard on the shaft of these mills.
I did that many moons ago. Somehow the "triangle" bolt and the J bolt jot bound up. It spun out of my hands, while I was not paying attention of course, and jacked me in my jaw. No thank you sir. :D

Being off-center is a good point though. Here's how I intend to deal with it:
ef1b41fc-177c-456f-9b58-f3f3ae0369ca_400.jpg

... JB welded to the bolt. Then one of these:
snap-fmd-1_main_600x450.jpg

(cheap Harbor freight versions of course)

These should allow a nice flexibility while avoiding any of the jaw-busting fun I had as a younger man.
 
All the above methods work, as I've mentioned I've snapped a couple bolts thru careless unattended operation...like propping my drill with a broomstick and bunjee.

I have it rigged for the last dozen or so brews with heavy tubing clamped to the mill output shaft with a socket clamped in the tubing, and a bolt head out facing of the drill.

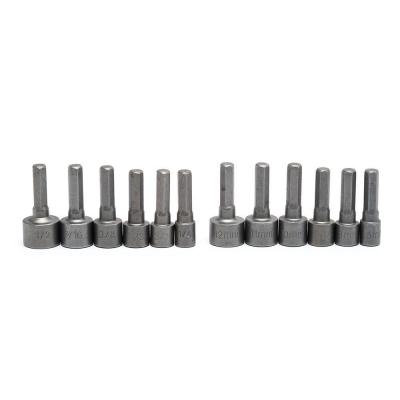
The BEST way w/ credit to RM-MN is to simply dress the output shaft with a grinder to engage a six point socket...wish I thought of that long ago while hacking a repair whilst the strike water was heating.
Very strong yet plenty of slop to account for the precise Chinese manufacturing.

Ps if somebody could PM me how you do that neat @some-HBT'r I'd be most appreciative. Can't figure that out duh
Cheers
 
All the above methods work, as I've mentioned I've snapped a couple bolts thru careless unattended operation...like propping my drill with a broomstick and bunjee.

I have it rigged for the last dozen or so brews with heavy tubing clamped to the mill output shaft with a socket clamped in the tubing, and a bolt head out facing of the drill.
I'm sure there's some engineering term for that flexible connection - but one way or another a flexible connection is needed. It might be your arms or a tube as you've tried. Wailing and gnashing of teeth await the person who tries a rigid mount.

The BEST way w/ credit to RM-MN is to simply dress the output shaft with a grinder to engage a six point socket...wish I thought of that long ago while hacking a repair whilst the strike water was heating.
Very strong yet plenty of slop to account for the precise Chinese manufacturing.

Ps if somebody could PM me how you do that neat @some-HBT'r I'd be most appreciative. Can't figure that out duh
Cheers
I'm not sure there's a "best" way to do that. I've done it before for other things.

The last time I got out a pair of vice-grips and set them (closed) to the size I wanted (in this case it would be 1/4".) The reason I used vice grips is because I first grabbed my calipers and then in the ensuing fun I dropped them. Bad Brewer! No beer! I thought about a crescent wrench but those "adjust" far too easy. The vice grips were staring me in the face.

I then proceeded to grind two opposing flats to fit in the jaws. This is MUCH easier with a bench grinder. Once that was done there was no real easy way to grind the other four faces perfectly, I just eye-balled it, ground a little, and checked against a socket (or you could use a 1/4" chuck) and my vice grips.

There's a happy medium between hard enough not to twist off and so hard that it will snap. If you can find real grade 8 fasteners it will take longer to grind but be much more durable. Quench often and don't let the metal blue when you grind. Do you *need* grade 8? Absolutely not. It's overkill BUT consider the pennies you will spend on that versus the frustration of snapping that carefully ground piece off on brew day. At a minimum get grade 5. Don't buy cheap un-graded.

Better yet, make two of these.

If you use two nuts against the auger mechanism, if it breaks it will likely break where you can unscrew it with a wrench.

If you could find a mandrel to install 8mm threaded inserts, I'll bet that would work real nice.
 
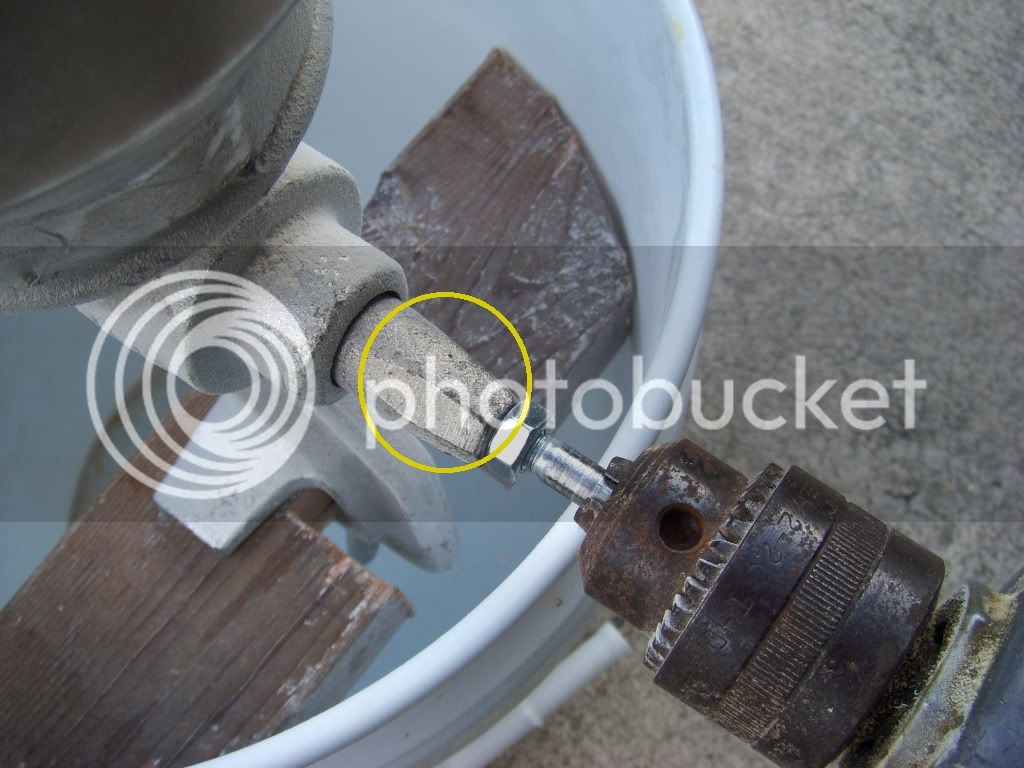
Maybe I wasn't clear. I believe RM-MN actually ground some better flats in the cast iron mill shaft to roughly accept a large 6 point deep socket. No bolt is used at all, the entire 5/8" shaft is shaped to roughly engage a large socket. The chinese started the process, you just need to finish it. Area of shaft circled below...

 
Another happy user! Did a hand grind of Cream of Three Crops for 5.5 pounds of 2-row, and got 75% efficiency, after constantly being in the 60s. Set up the drill, and I'm good! Thanks for all the hints and tips!
 
Another happy user! Did a hand grind of Cream of Three Crops for 5.5 pounds of 2-row, and got 75% efficiency, after constantly being in the 60s. Set up the drill, and I'm good! Thanks for all the hints and tips!

It's amazing the difference the hand cranking vs the drill goes. I did my first two batches hand cranking the corona, took about 45 minutes to grind everything and a sore arm. Add the bucket, lid, big hopper and drill, two minutes and a grind that any guy who spent $300 on a three roller mill would be envious of...
 
The corona with the proper adjustments and a drill chew through 15lb of grain in less than 2 min's....it's a thing of beauty to watch it and bask in the steady 75% BIAB efficiency I now get! So glad I went this route rather than the hundreds of $$ on a fancy boy mill :)
 
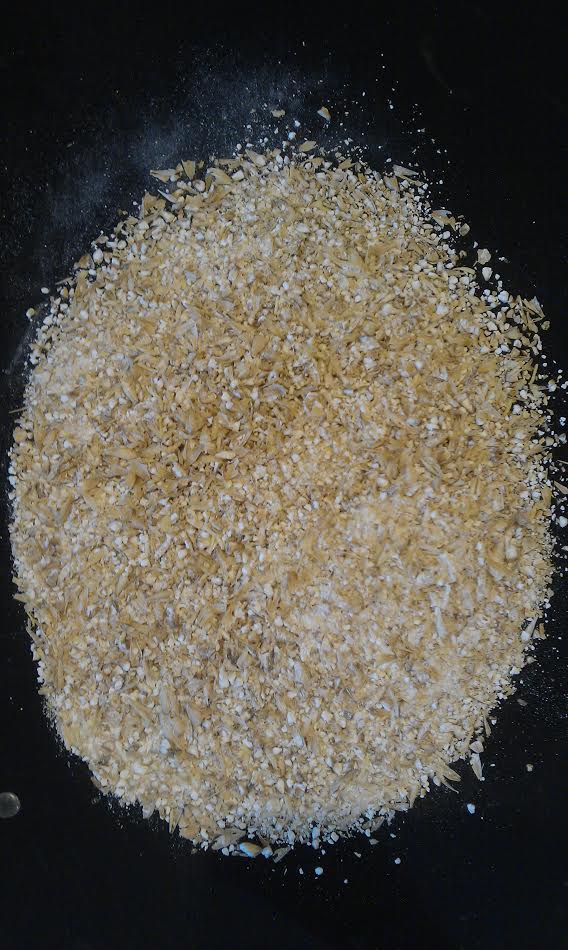
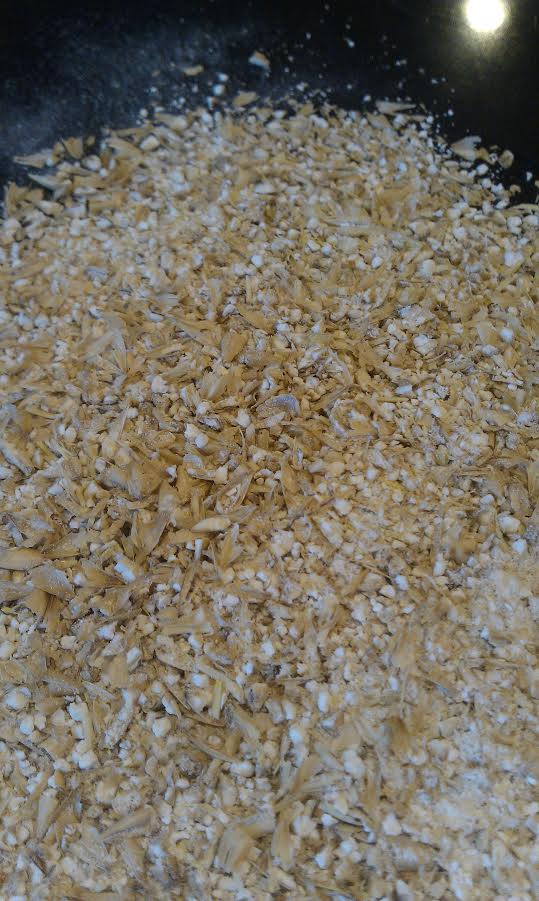
Is this too fine of a crush for "BIAB in a Cooler"? I see lots of mangled husks but I also ran the drill full out. Does that become less of a factor at slower speeds?

EDIT: Hey my American friends....see the post #? :D

5NJXKyU.jpg


E1YoQSz.jpg
 
Is this too fine of a crush for "BIAB in a Cooler"? I see lots of mangled husks but I also ran the drill full out. Does that become less of a factor at slower speeds?

EDIT: Hey my American friends....see the post #? :D

5NJXKyU.jpg


E1YoQSz.jpg


Not too fine at all IMO, I crush finer. Almost looks like you may have a few uncrushed kernels, do you?

1976? 1776 yea
 
Not too fine at all IMO, I crush finer. Almost looks like you may have a few uncrushed kernels, do you?

1976? 1776 yea
I picked through the entire crush and didn't find any hulls intact. My main concern is (and always has been) the notion that shredded husks add astringency to the final product. I know that this is a Hillary vs. Trump kinda topic and has been poo-poo'd by most of the Corona Mill advocates so I am not really that concerned.

John
 
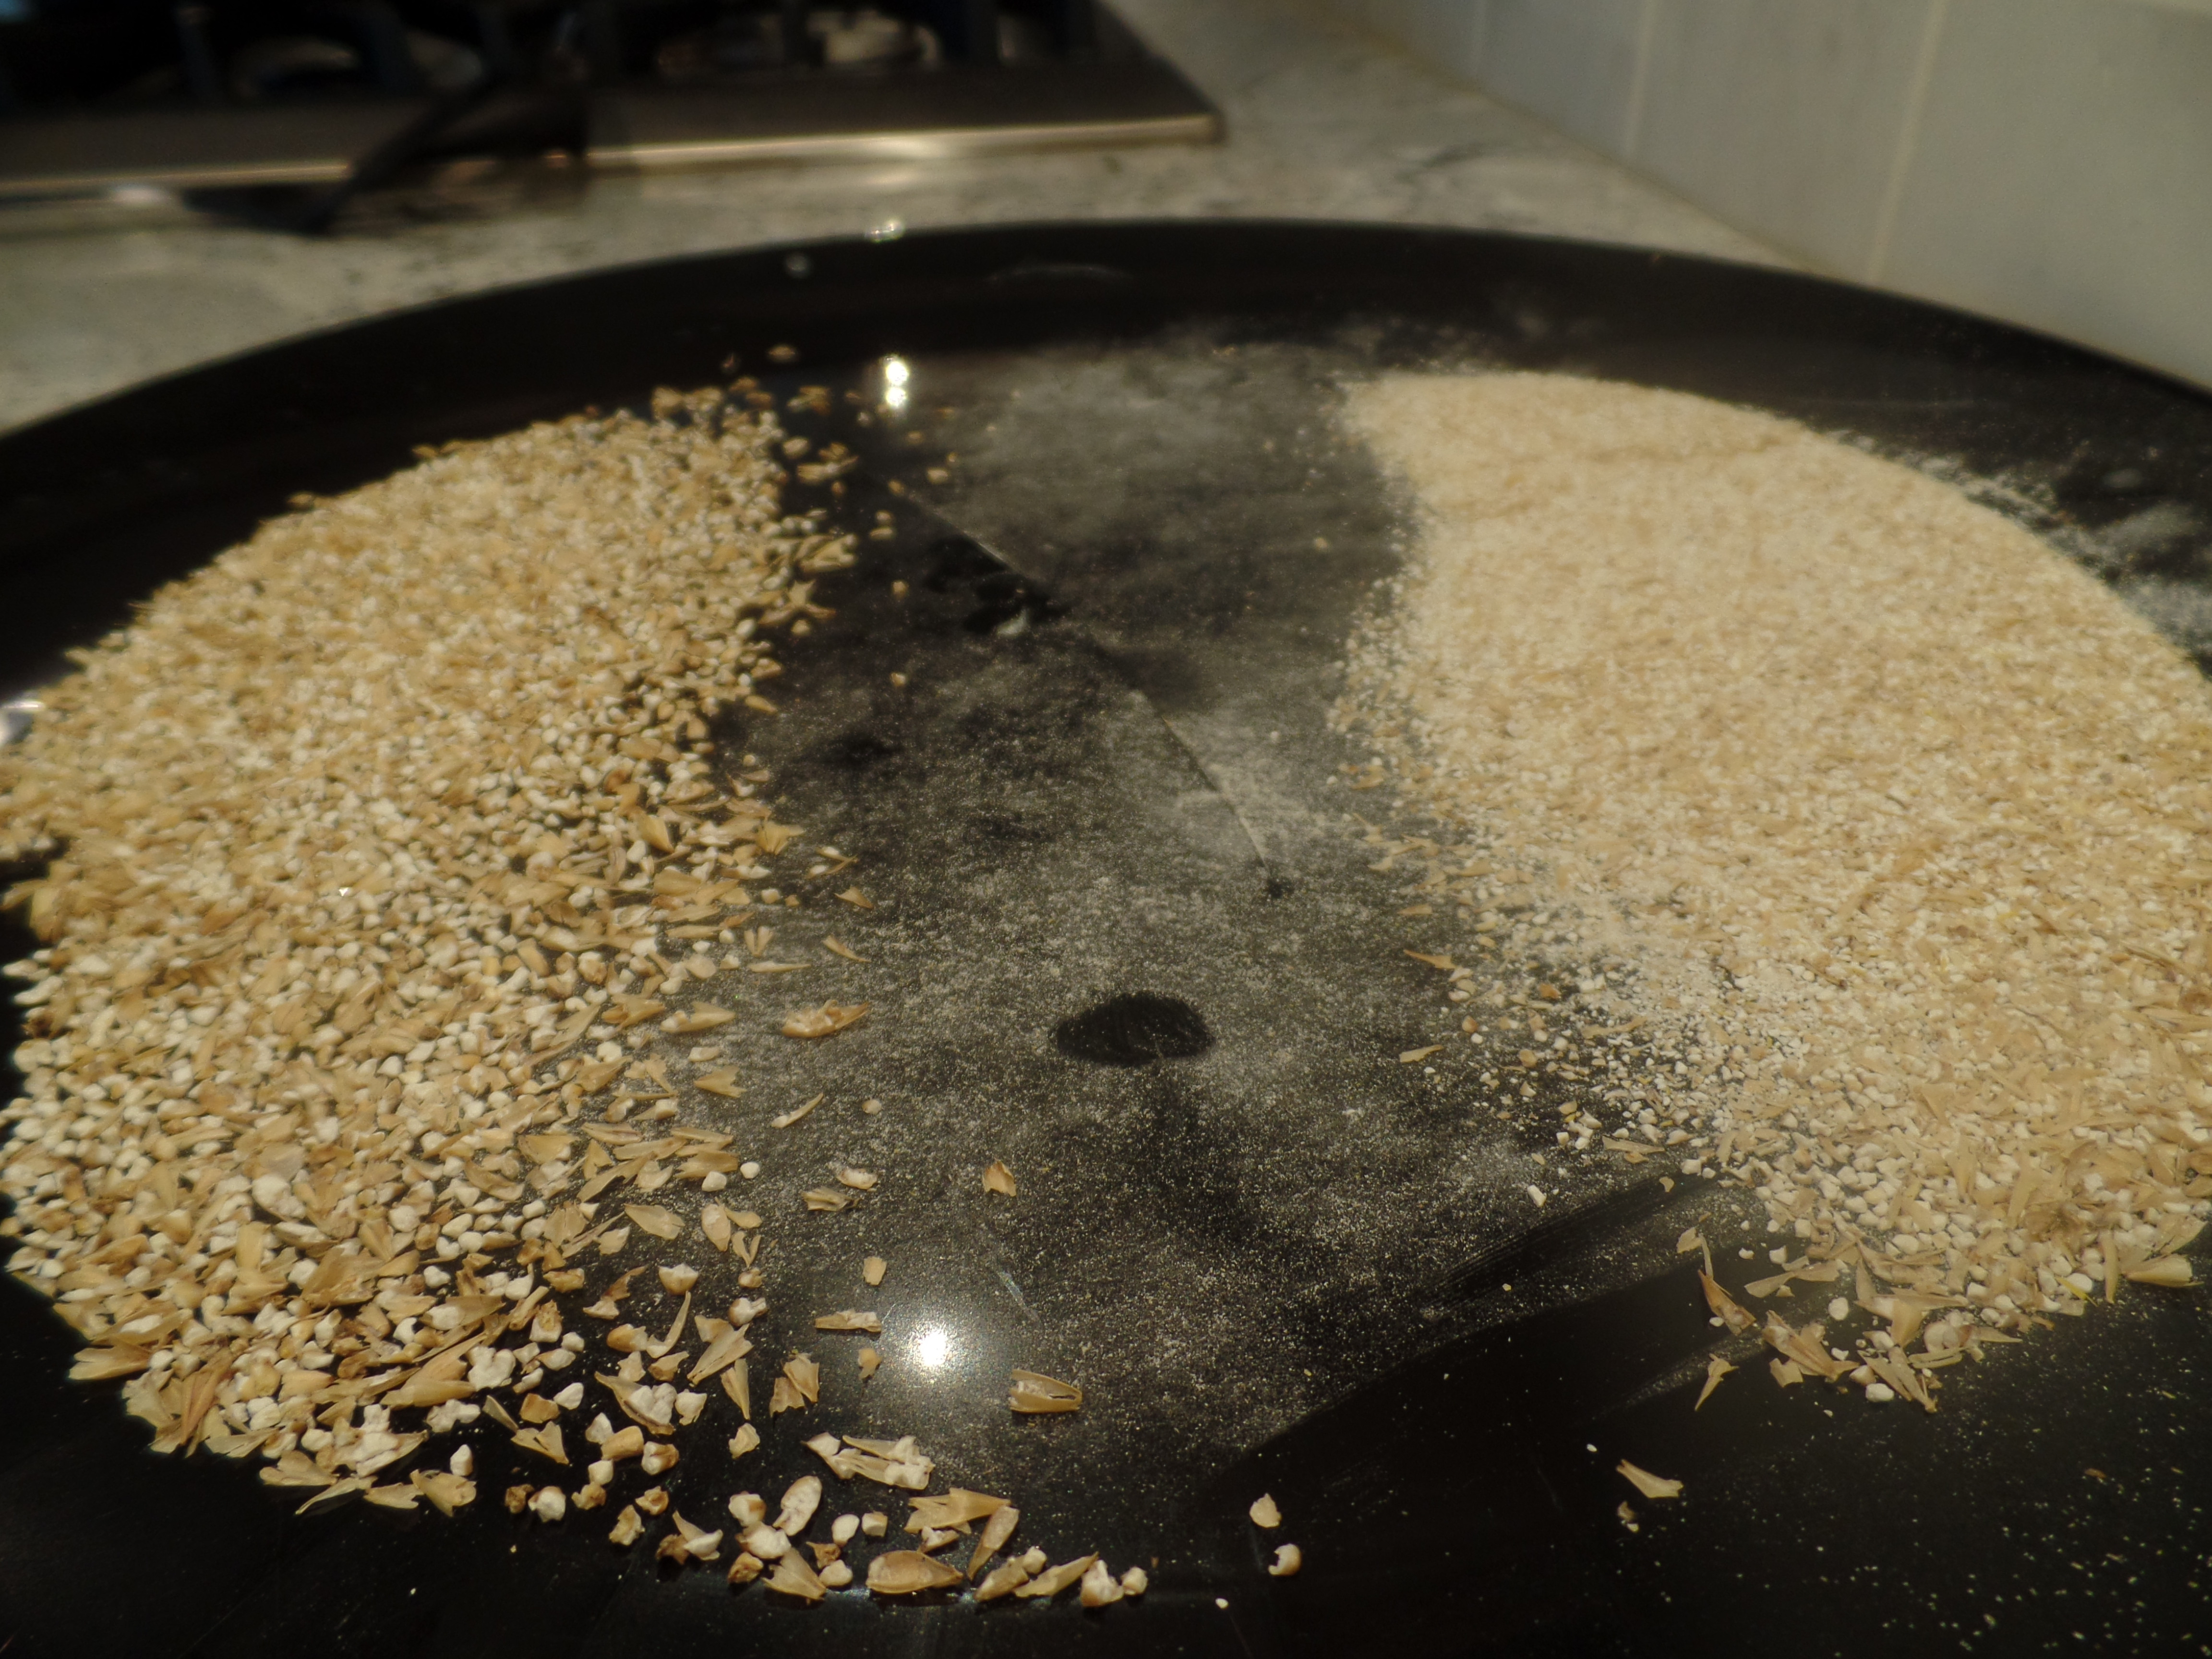
Just to check myself, I ran the output through a strainer. In the first pic, you can see the separation of what was passed through the strainer on the right vs. what remained in the strainer on the left.

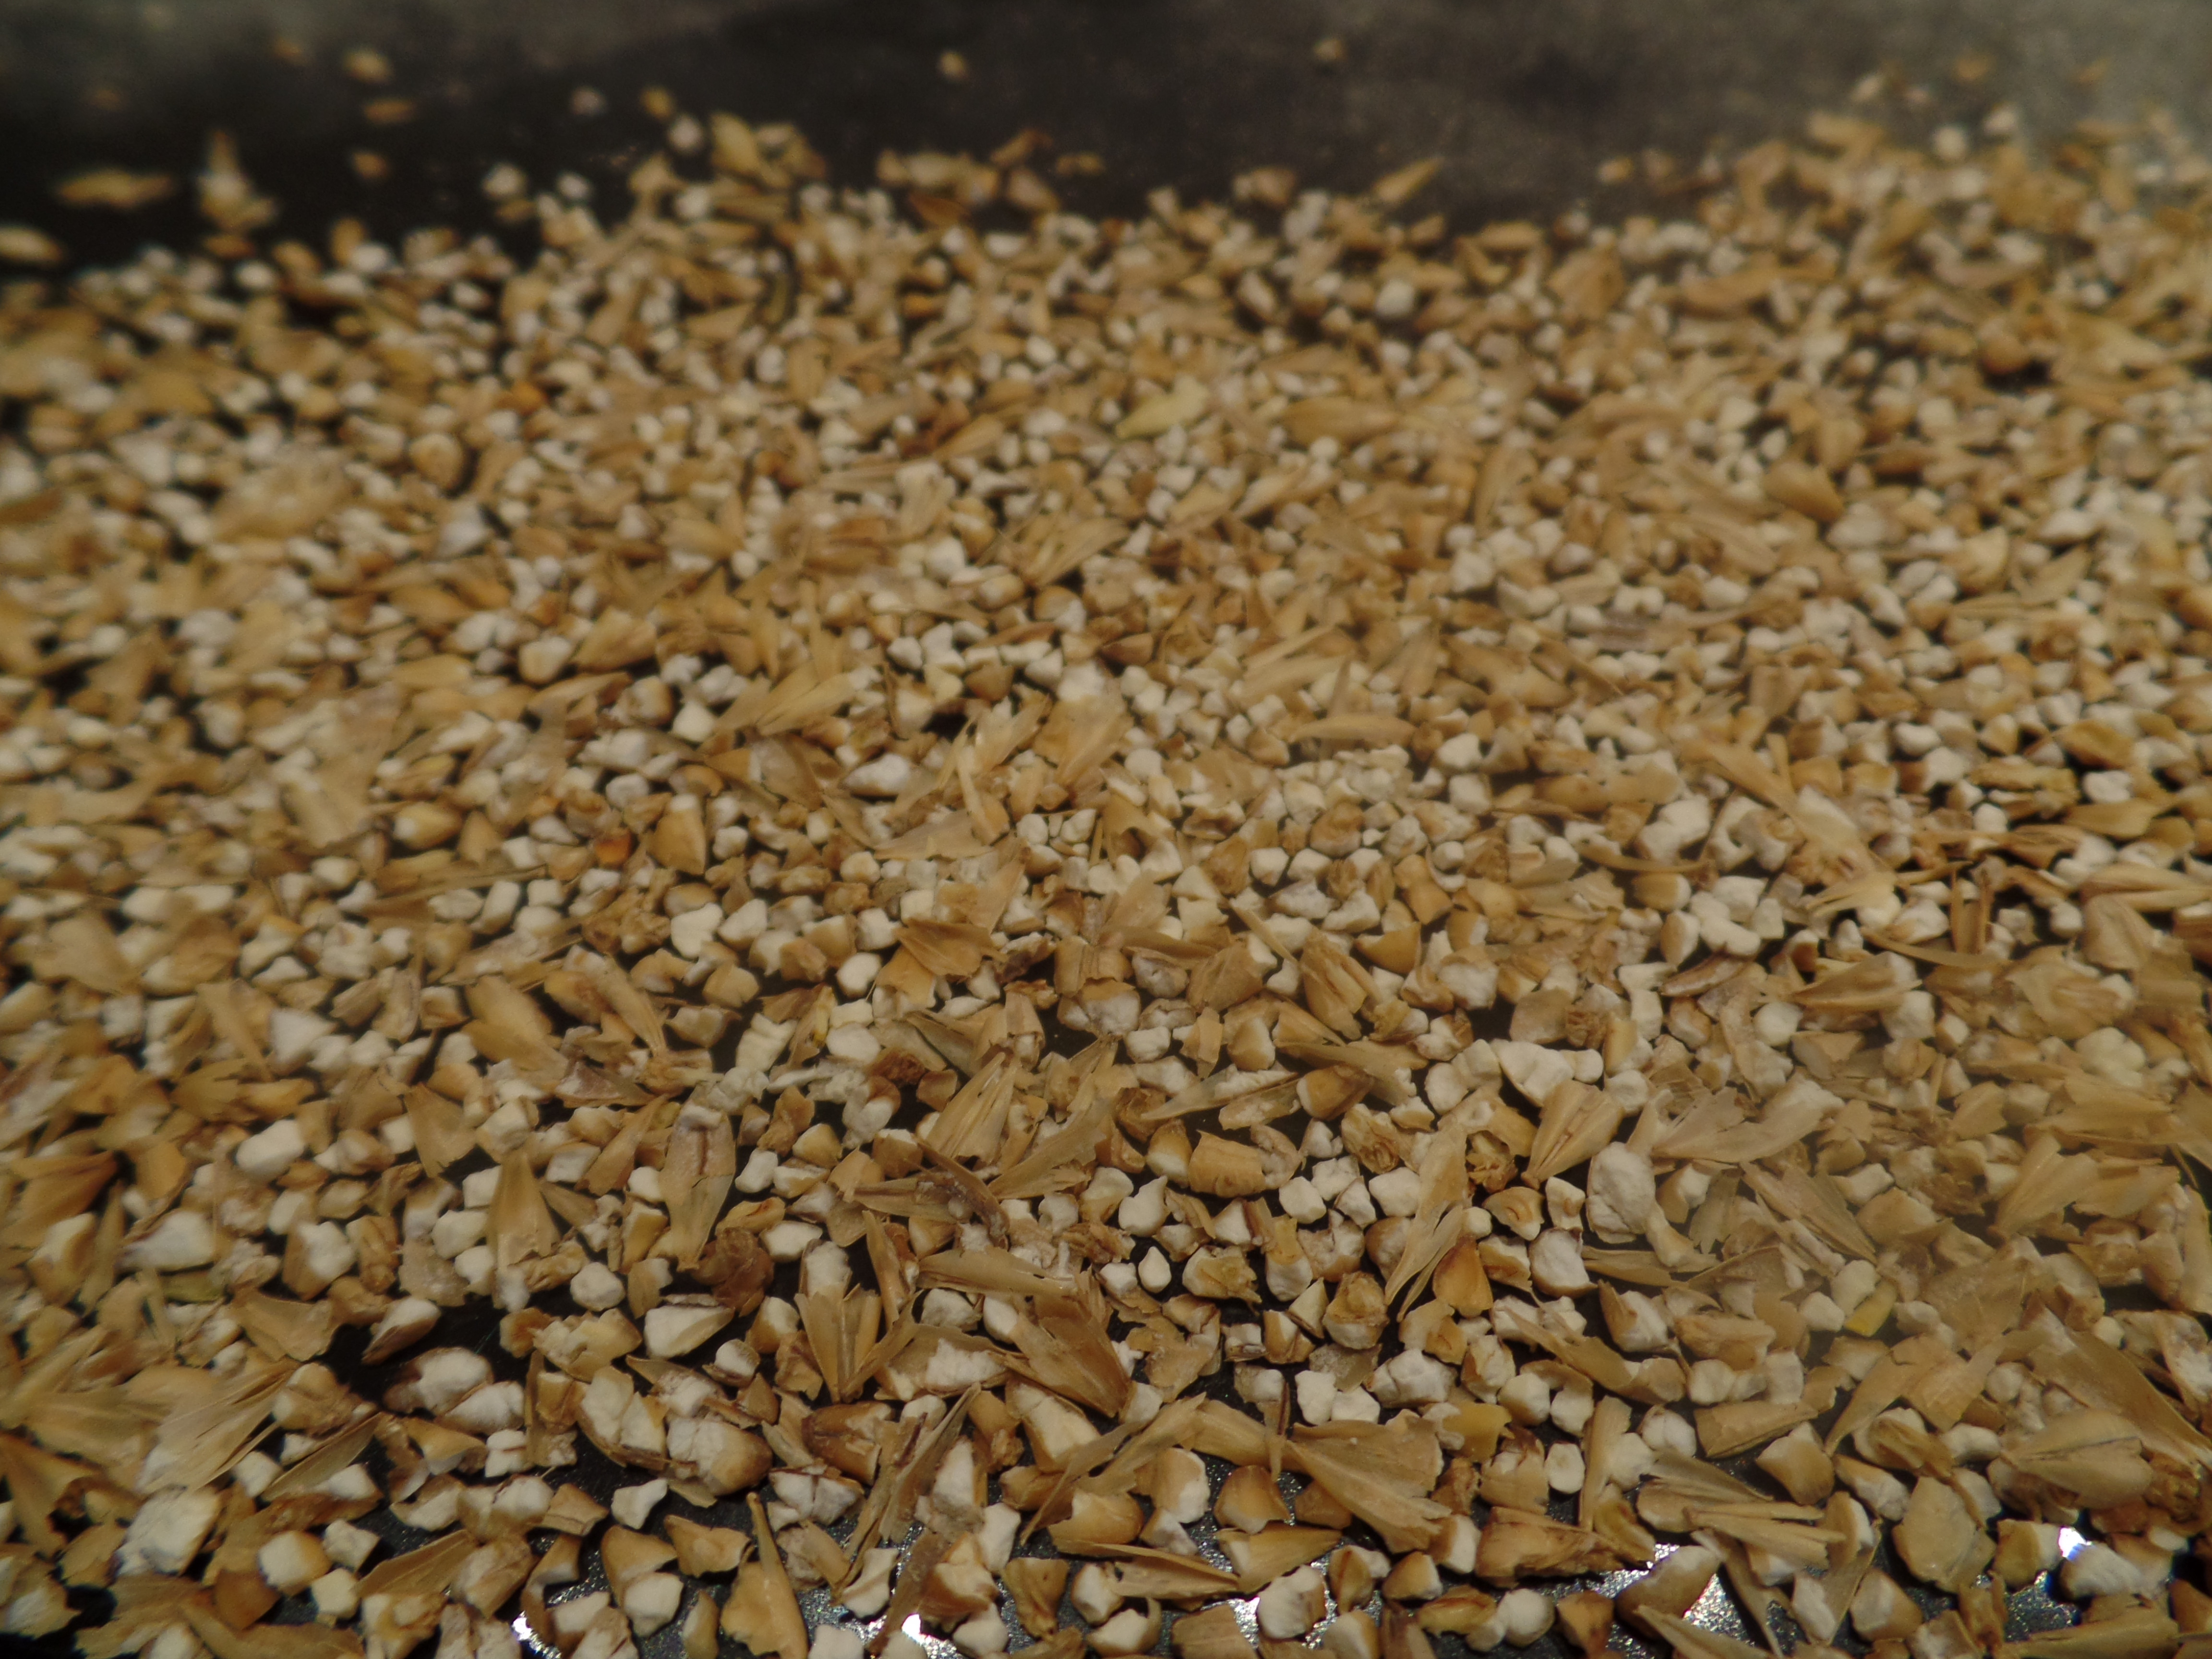
The second pic shows a cloesup on what remained in the strainer which should contain the uncrushed grains. I couldn't find any at all.

BTW...some of the larger husks shown at the bottom right of the first pic are from my giving the plate a shake to flatten everything out. They did not pass through the strainer.

qtHUVoR.jpg


I3eWSWO.jpg
 
We're in business! I went with the bucket-in-a-bucket design with one small mod.

Left bucket has the bottom cut out along with the center of another lid that acts like a skirt to support it on top of the right bucket. Crush and just lift off the top bucket and you are left with a bucket full of crushed grains. :)

lzlUjTh.jpg


p5uJdya.jpg
 
Great thread, if admitted a bit long winded. I did my homework, and brewed today with a shiny new single bucket mill station.

View attachment ImageUploadedByHome Brew1481011770.861936.jpg

View attachment ImageUploadedByHome Brew1481011800.631674.jpg

View attachment ImageUploadedByHome Brew1481011840.848304.jpg

3 gal bottle for a hopper, 10#s no worries, the hopper and bucket could probably handle 15#s. that might be about capacity on the single bucket design.

Gap set at .025" with the plate tooth depth (measure it if you doubt me PITA) actual gap (estimated) at .030" it's a corona after all.

View attachment ImageUploadedByHome Brew1481012305.268392.jpg

View attachment ImageUploadedByHome Brew1481012346.223290.jpg

Beat my calculated OG, real great brew day. Thanks for all the tips and hints, everybody. My not so ugly mill will serve me well for the foreseeable future.

Later Dick bags,

IZS
 
Great thread, if admitted a bit long winded. I did my homework, and brewed today with a shiny new single bucket mill station.

View attachment 379586

View attachment 379587

View attachment 379588

3 gal bottle for a hopper, 10#s no worries, the hopper and bucket could probably handle 15#s. that might be about capacity on the single bucket design.

Gap set at .025" with the plate tooth depth (measure it if you doubt me PITA) actual gap (estimated) at .030" it's a corona after all.

View attachment 379589

View attachment 379590

Beat my calculated OG, real great brew day. Thanks for all the tips and hints, everybody. My not so ugly mill will serve me well for the foreseeable future.

Later Dick bags,

IZS
I made one almost just like yours IZS. The difference between yours and mine was that I cut the bottom off of the bucket housing the mill. I then cut out all but the seal part of an old lid I had. So I put the cut out lid on an empty bucket and the mill bucket sits snugly in. I mill my grains and lift off the mill bucket and have my grains in my bucket ready for when I need it.
 
I made one almost just like yours IZS. The difference between yours and mine was that I cut the bottom off of the bucket housing the mill. I then cut out all but the seal part of an old lid I had. So I put the cut out lid on an empty bucket and the mill bucket sits snugly in. I mill my grains and lift off the mill bucket and have my grains in my bucket ready for when I need it.


There's two basic bucket methods. In one method one cuts out the bottom of the bucket, so the mill is mounted in a bottomless bucket that is placed in a second bucket to collect the milled grains.

In the other method, the mill is mounted in a bucket with the bottom intact, and the mill and bucket are both lifted to pour the milled grains into the brew vessel.

Advantage of the first method is that it is easier to have your milled grains in a separate bucket to dump while brewing. BUT, once you lift the mill and bottomless bucket off the milled grain, you need a place to set the bottomless bucket or a pile of grain dust falls on the floor....perhaps a third bucket idk....of course if your outside maybe one doesn't care idk.

The advantage of a single bucket is that the grain and dust is always enclosed and is potentially a lot less messy, an upside for a basement brewer like myself.

Both ways work well depending on your needs...for me the three bucket system indoors would make me crazy....ymmv

Fwiw, I always add the grain to the run in one pour and begin stirring immediately. I have heard of others who add a little and stir....not needed IME and just more work lol.
 
There's two basic bucket methods. In one method one cuts out the bottom of the bucket, so the mill is mounted in a bottomless bucket that is placed in a second bucket to collect the milled grains.

In the other method, the mill is mounted in a bucket with the bottom intact, and the mill and bucket are both lifted to pour the milled grains into the brew vessel.

You forgot the third method - mounting the mill to a piece of wood and then setting that on top of any unmodified bucket. I didn't like the idea of cutting up a bucket or permanently mounting the mill inside one, so I built this. I like that I can take it off the bucket and it stands up on its own.

0523151426.jpg


P1120937.jpg
 
horseinmay,

That is far too nice for this thread :) One also needs some carpentry skills to build it, I don't have a hole saw that large lol.

I like it...Does it mark its territory with grain dust wherever it is set down after milling?
 
Every time I use my mill in a bucket, I laugh at the folks who paid hundreds of dollars for their 3 roller mills.

me too :) especially when they talk sht to me about how they have used both, and there $250 mill is "so much more superior" to my corona mill. How the crush is so much better and adjusting is so easy. I just laugh and laugh as i look at my $15 reciept, and my 82% eff., and think of all the stuff i got with my remaining $235 from not buying a barley mill. then i laugh and laugh some more
 
There's two basic bucket methods. In one method one cuts out the bottom of the bucket, so the mill is mounted in a bottomless bucket that is placed in a second bucket to collect the milled grains.

In the other method, the mill is mounted in a bucket with the bottom intact, and the mill and bucket are both lifted to pour the milled grains into the brew vessel.

Advantage of the first method is that it is easier to have your milled grains in a separate bucket to dump while brewing. BUT, once you lift the mill and bottomless bucket off the milled grain, you need a place to set the bottomless bucket or a pile of grain dust falls on the floor....perhaps a third bucket idk....of course if your outside maybe one doesn't care idk.

The advantage of a single bucket is that the grain and dust is always enclosed and is potentially a lot less messy, an upside for a basement brewer like myself.

Both ways work well depending on your needs...for me the three bucket system indoors would make me crazy....ymmv

Fwiw, I always add the grain to the run in one pour and begin stirring immediately. I have heard of others who add a little and stir....not needed IME and just more work lol.

Hey whatever works for you. After actually using the single bucket setup, I don't see why you're all so obsessed with the capacity limits of the single bucket design. It looked to me like 15 to 20 pounds would mill just fine. Everybody has their our style I guess, after all it's brewing, there must be 8 or 9 ways to skin any particular cat.
 
Not obsessed with one way or the other.....I'm all for what works.....

Sorry if my post came across one sided, really just trying to provide information, that's what it's all about

Cheers and thanks.
 
Here is my old mill... i've had it for a good 5-6 years now, still chugging along! this was thrown together.... one day i'll have it setup a bit different... but works so well, i have no complaints, other then the grain dust... but that's it.

20161202_214843 by Noah Scott, on Flickr
 
My ugly junk (weston) corona mil, little paint buck just sitting there for pic. Now I need to guess on brewhouse efficiency. Using BF I set it @ 65% from on-line crush, so maybe start at 70%.

UJ1.jpg


UJ2.jpg
 
Sooooo....

Hypothetically, lets say some mice may or may not have popped into a corona mill. Is there any way to clean this thing? It's cast iron right, so I should be able to take it apart, scrub it, and toss it in the oven to dry sterilize? Can it be oxyclean soaked?
 
Sooooo....

Hypothetically, lets say some mice may or may not have popped into a corona mill. Is there any way to clean this thing? It's cast iron right, so I should be able to take it apart, scrub it, and toss it in the oven to dry sterilize? Can it be oxyclean soaked?

Should not be a problem. Take apart and scrub clean with with a bristle brush. Many of these mills are galvanised and I'm not sure how it will react to caustic chemicals.

Besides. Milling takes place before the boil. After boiling anything that might cause trouble in your wort is long dead. Cleanliness and sanitation only really becomes an issue after your wort has cooled to pitching temps.
 
Sooooo....

Hypothetically, lets say some mice may or may not have popped into a corona mill. Is there any way to clean this thing? It's cast iron right, so I should be able to take it apart, scrub it, and toss it in the oven to dry sterilize? Can it be oxyclean soaked?

Might be the best beer you ever brew..... Should be no problem cleaning with scalding hot water only and drying...
 
Wash it with hot water and soap; rinse well and put it in a warm oven to dry and heat sanitize.

Mouse poop is like caraway seeds, no big deal....mouse pee is another story, that reeks!!!!

There is likely occasional traces of mouse poop or bird poop in grain already from the farm field it came from. Natural product :)
 
View attachment ImageUploadedByHome Brew1487449416.245830.jpg Thanks to all who have contributed to this DIY. You have all seen this version already. I trimmed a little more off of the water jug then I was able to slide the bottom back on to make a hopper cover. No big deal. Glued a hunk of scrap to it for a handle. Large paint stir sticks fit snugly to create bucket to bucket spacers. Otherwise nothing really innovative to add. Thanks again all. Cheers.

1D618539-1DBB-4EB1-924A-1F575B2E79C1_zpshnvu27k8.jpg


3F0B6383-A4C3-43A8-9A7B-8974C85BE067_zpsnul1nzix.jpg

11ACE7F5-EA50-40C7-82FD-68C651759C42_zpsb9rcxsgm.jpg
 
Last edited:
Thanks for the idea. Bolt needed was i believe a 5/16 though unfortunately the threading makes the bolt sit a little cockeyed but it works.

Ended up sitting the mill a little too high up in the bucket and had to cut the lid to get it to seal but perhaps thats even a good thing (gives me more room inside). I love the all-in-one nature of it as its just 1 complete piece to store.

A little simple for a decent DIY woodworker who has done things like make my own gear (rack and pinion) driven drill press but i'm generally a function over form kinda guy anyway so this works fine. And only took like 10-20 minutes to put together.

Question...is it normal/fine that the grinding faces of the plates stick/grind together with no grain in them no matter how loose i make them? (i'm hoping when i get grain in there it'll hold the plates apart). I'm concerned about the metal grinding together and grinding flakes into my milled grain (not to mention wearing the plates right out).

bhyTG23.jpg
36GAwOw.jpg

WemiYN8.jpg
 
Back
Top