JSBULL
Member
- Joined
- Jul 19, 2018
- Messages
- 15
- Reaction score
- 24
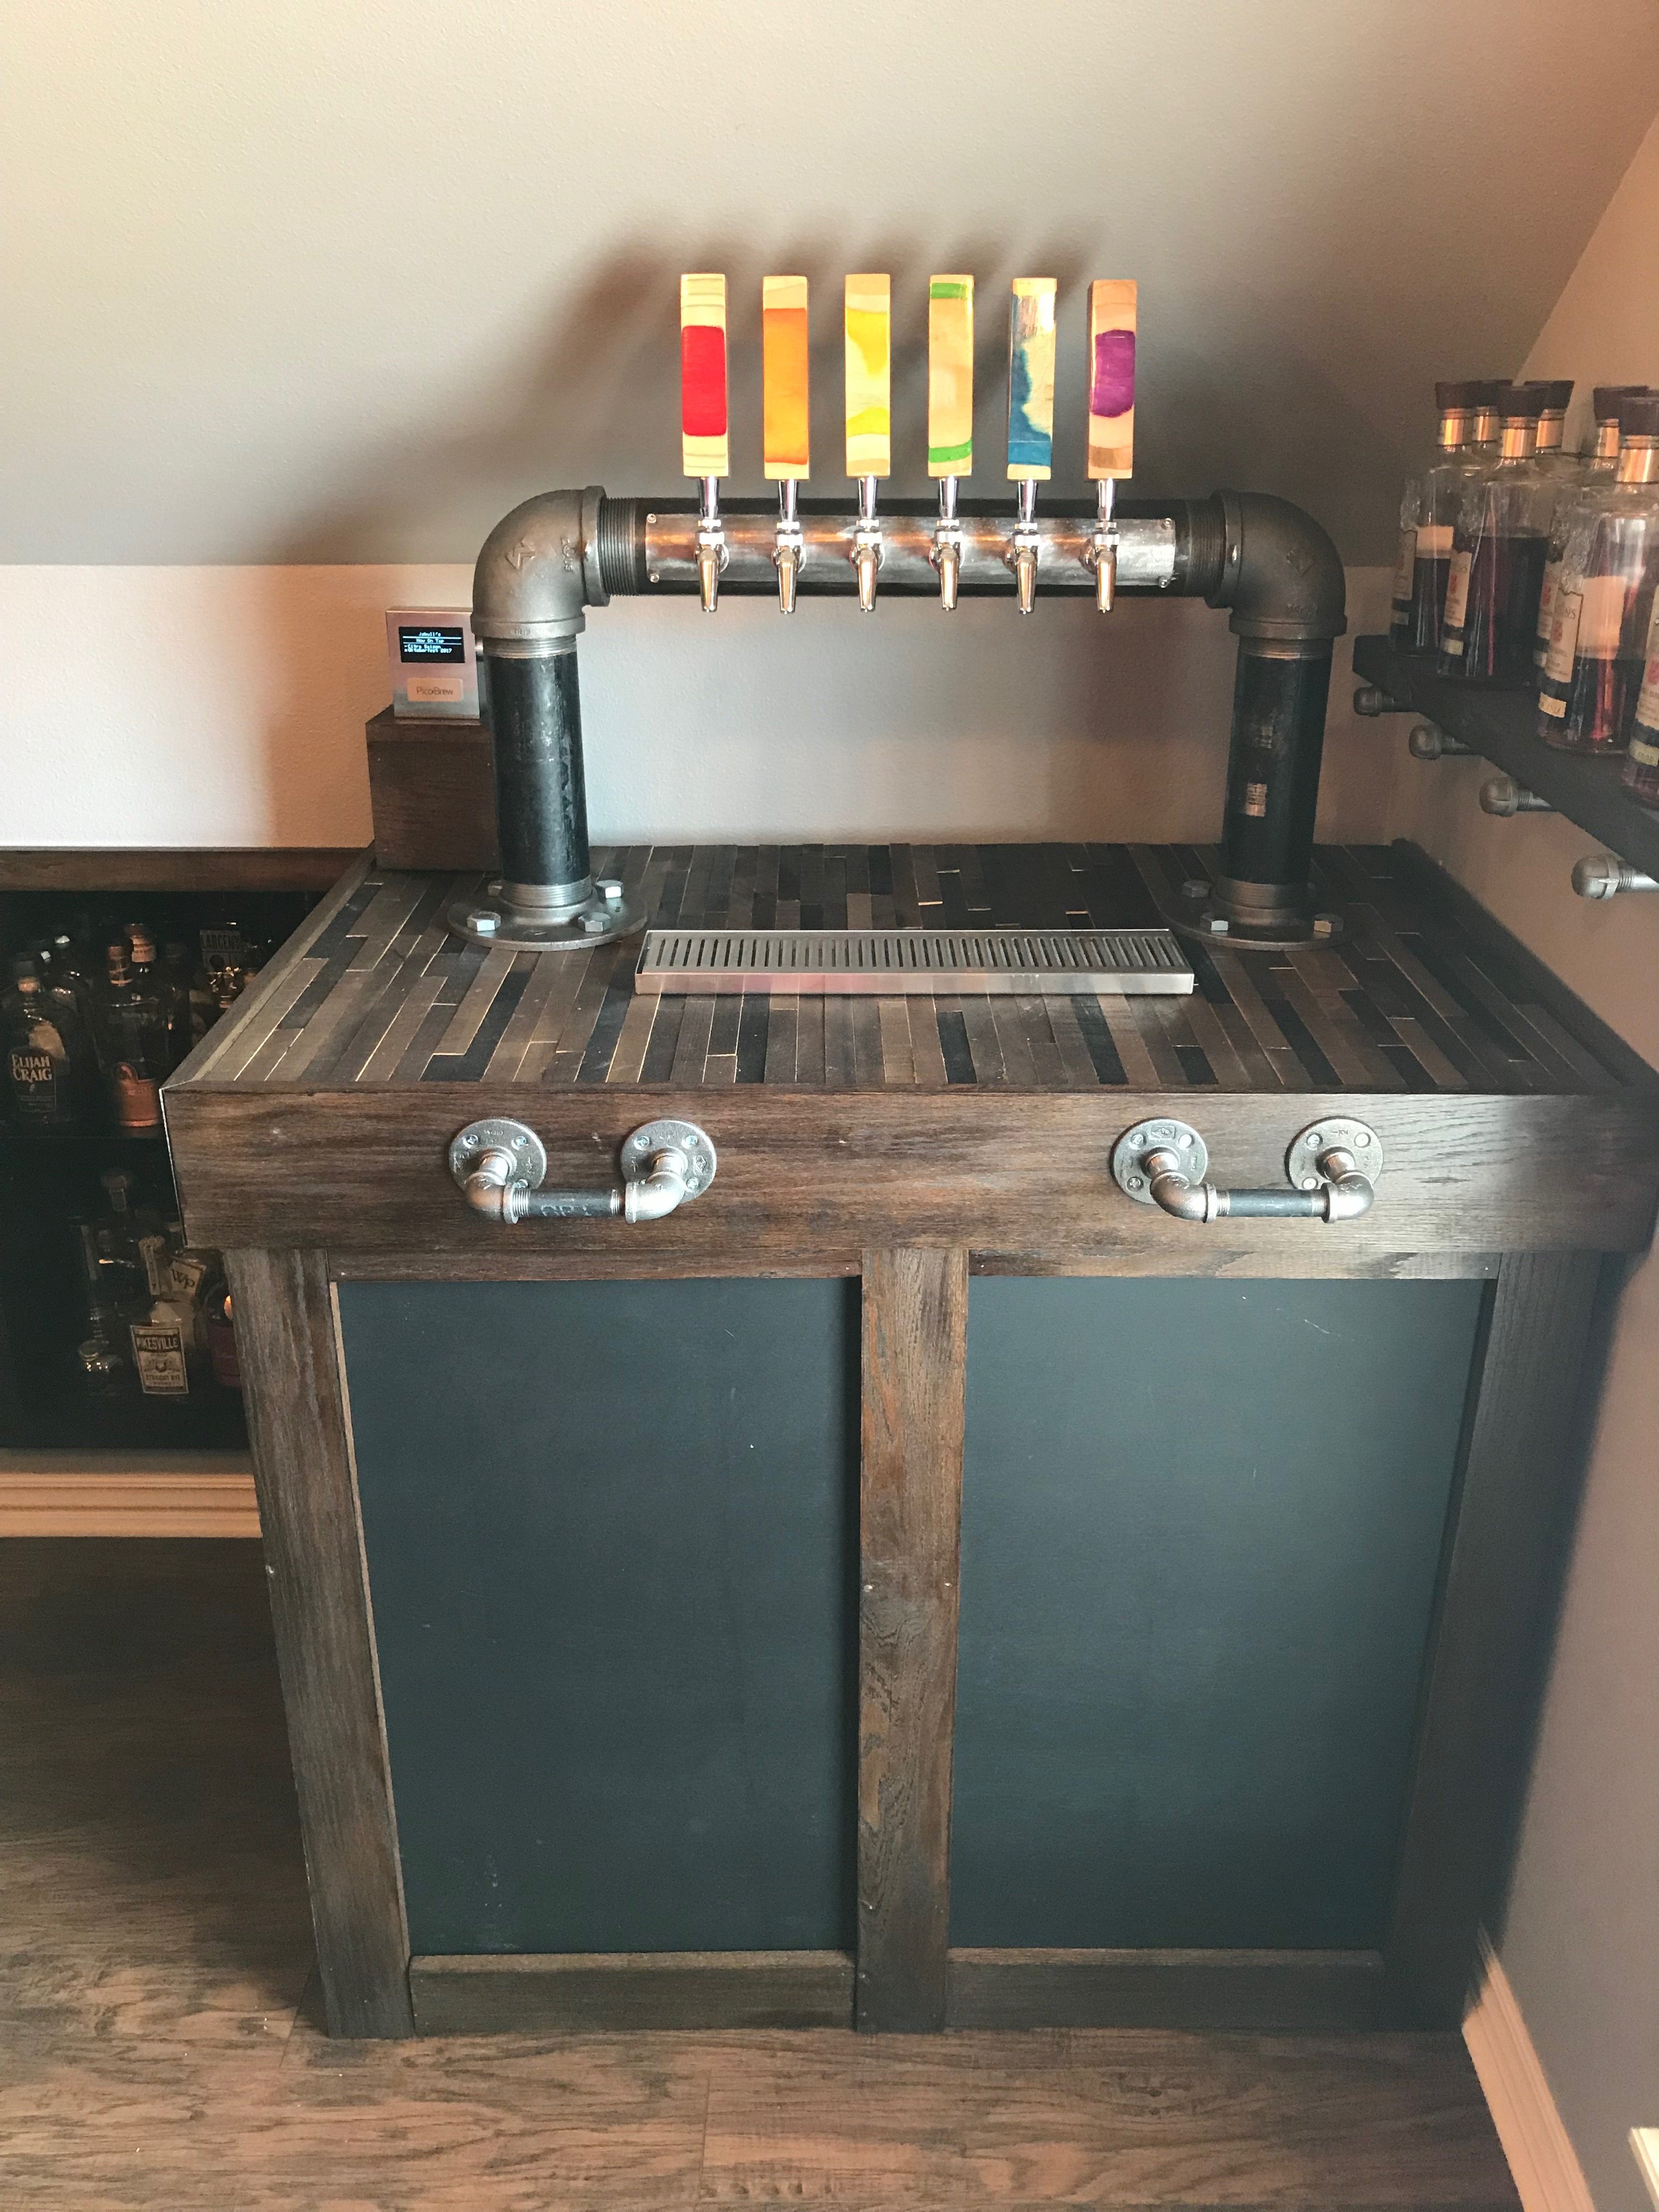
Well, this was my first metalworking and first woodworking project. I'm surprised the wife approved it, but it turned out well. Here's how it all went down.
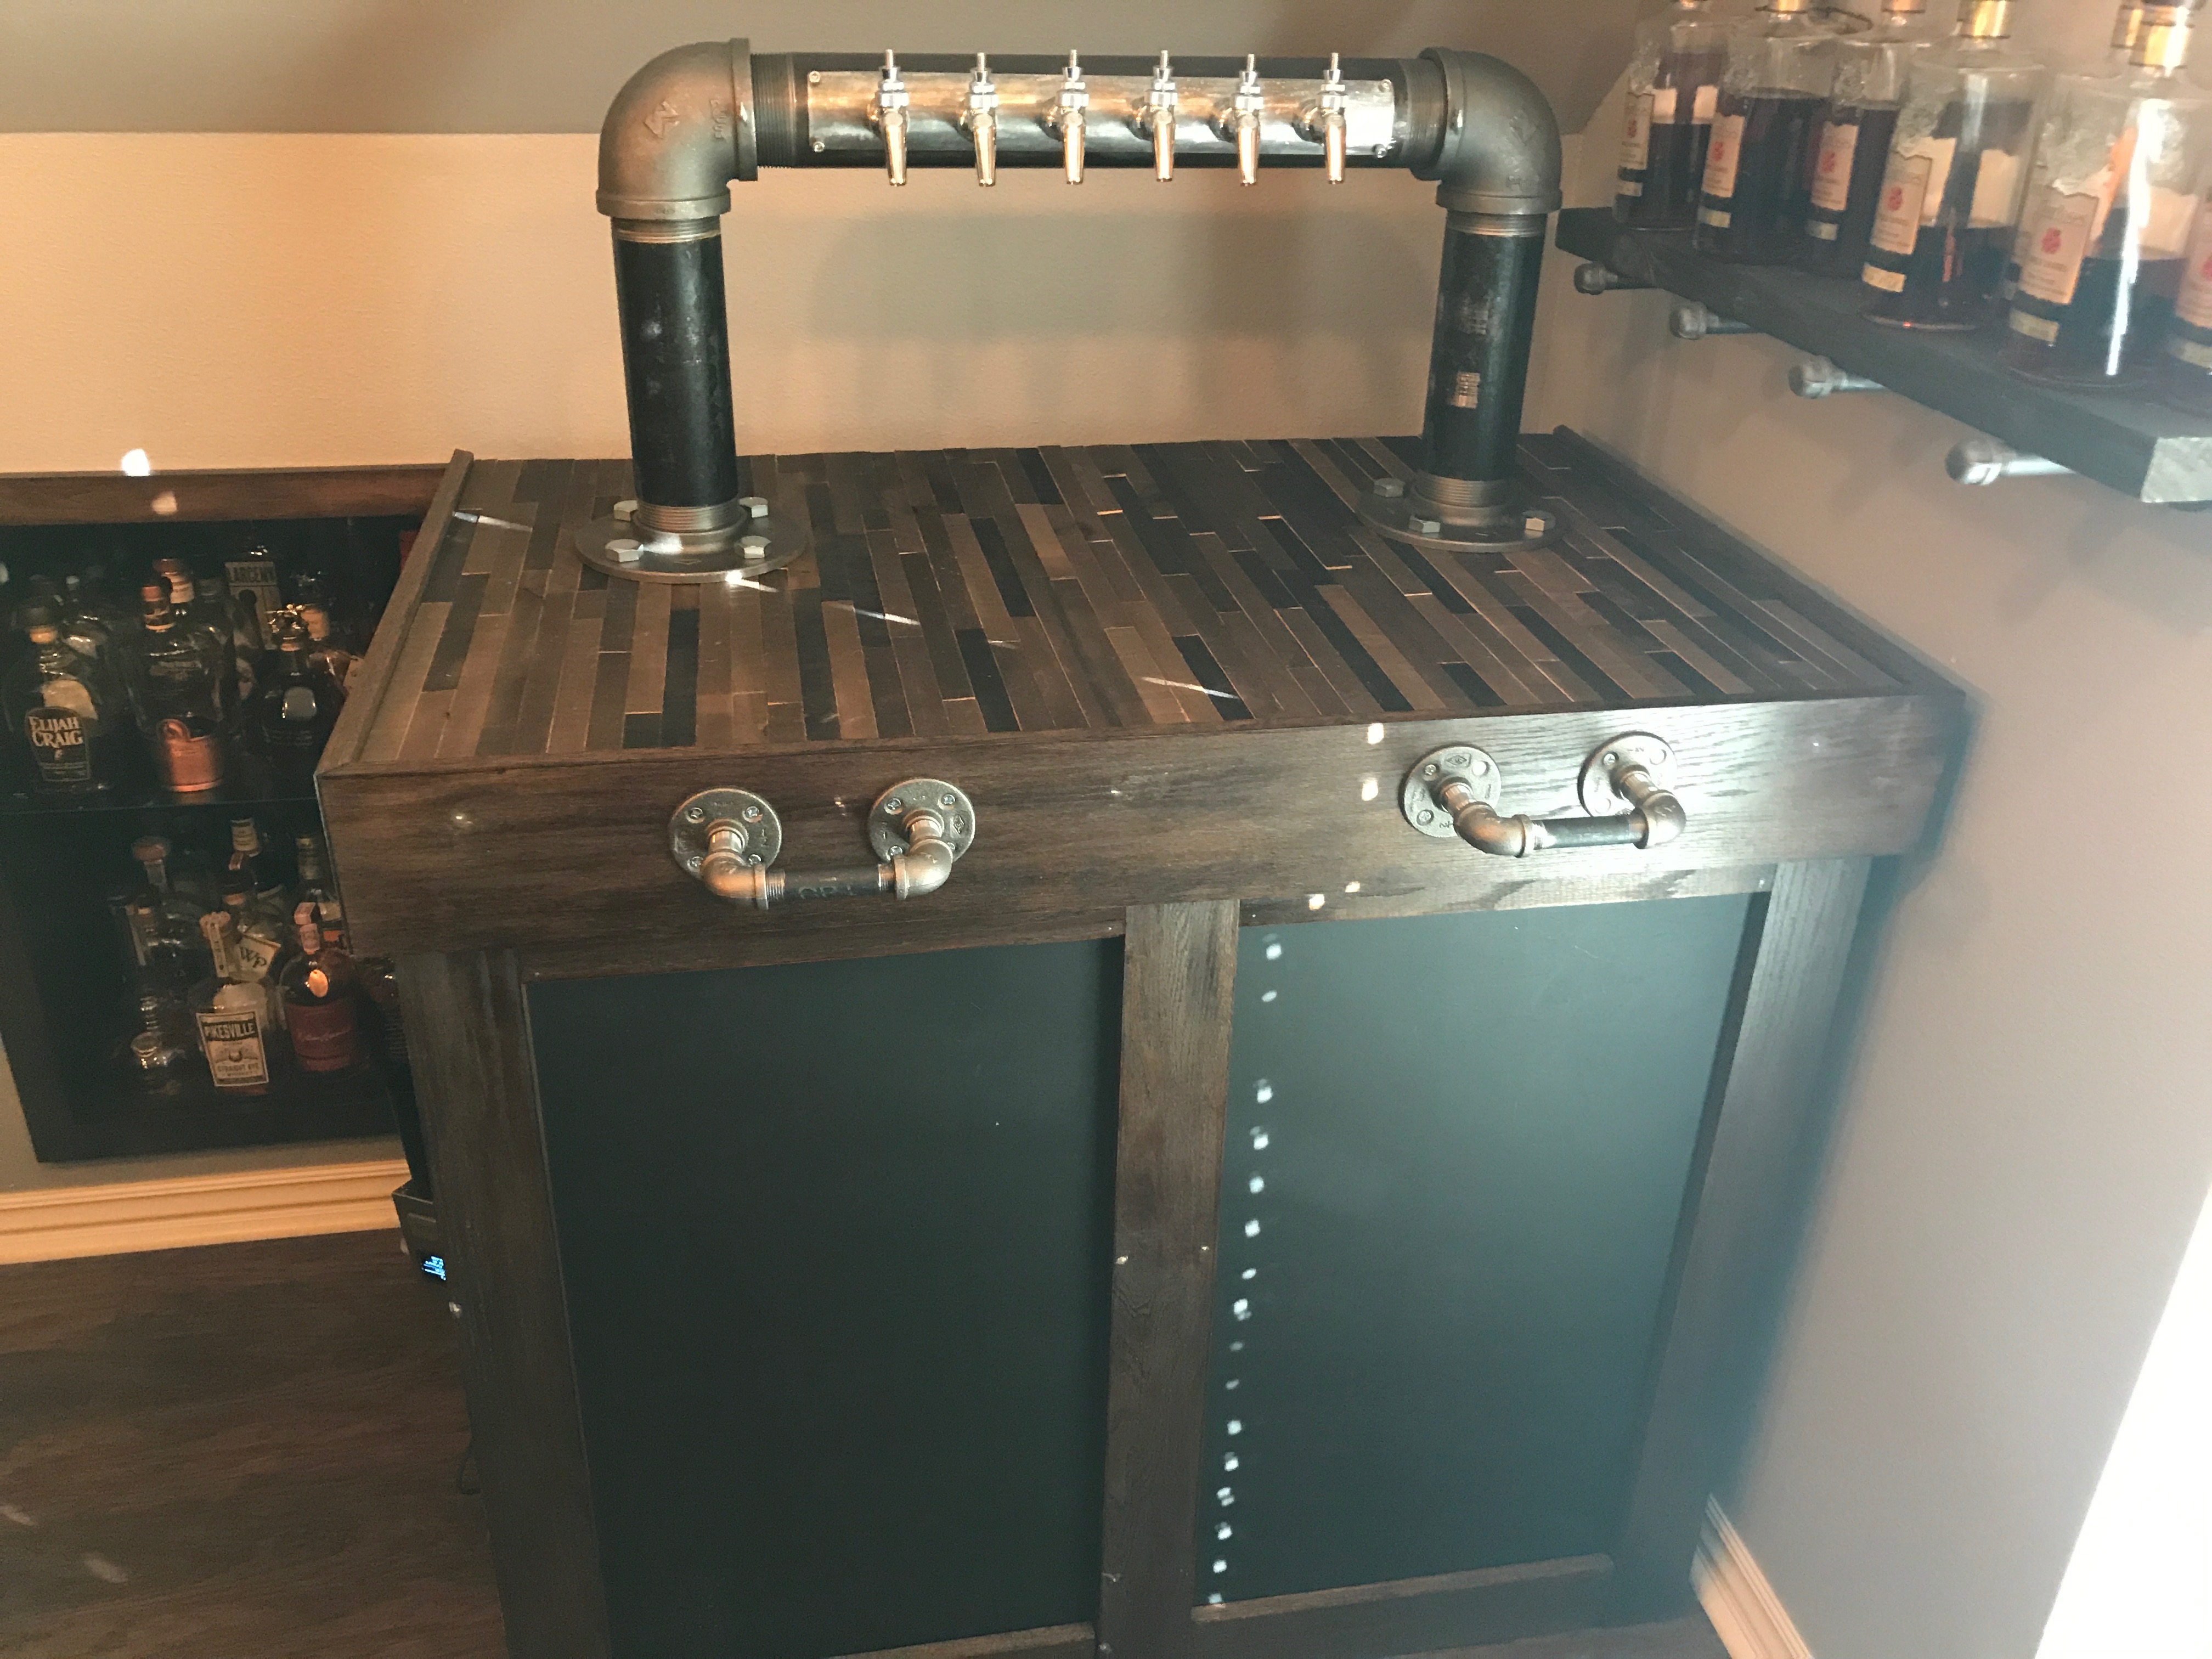
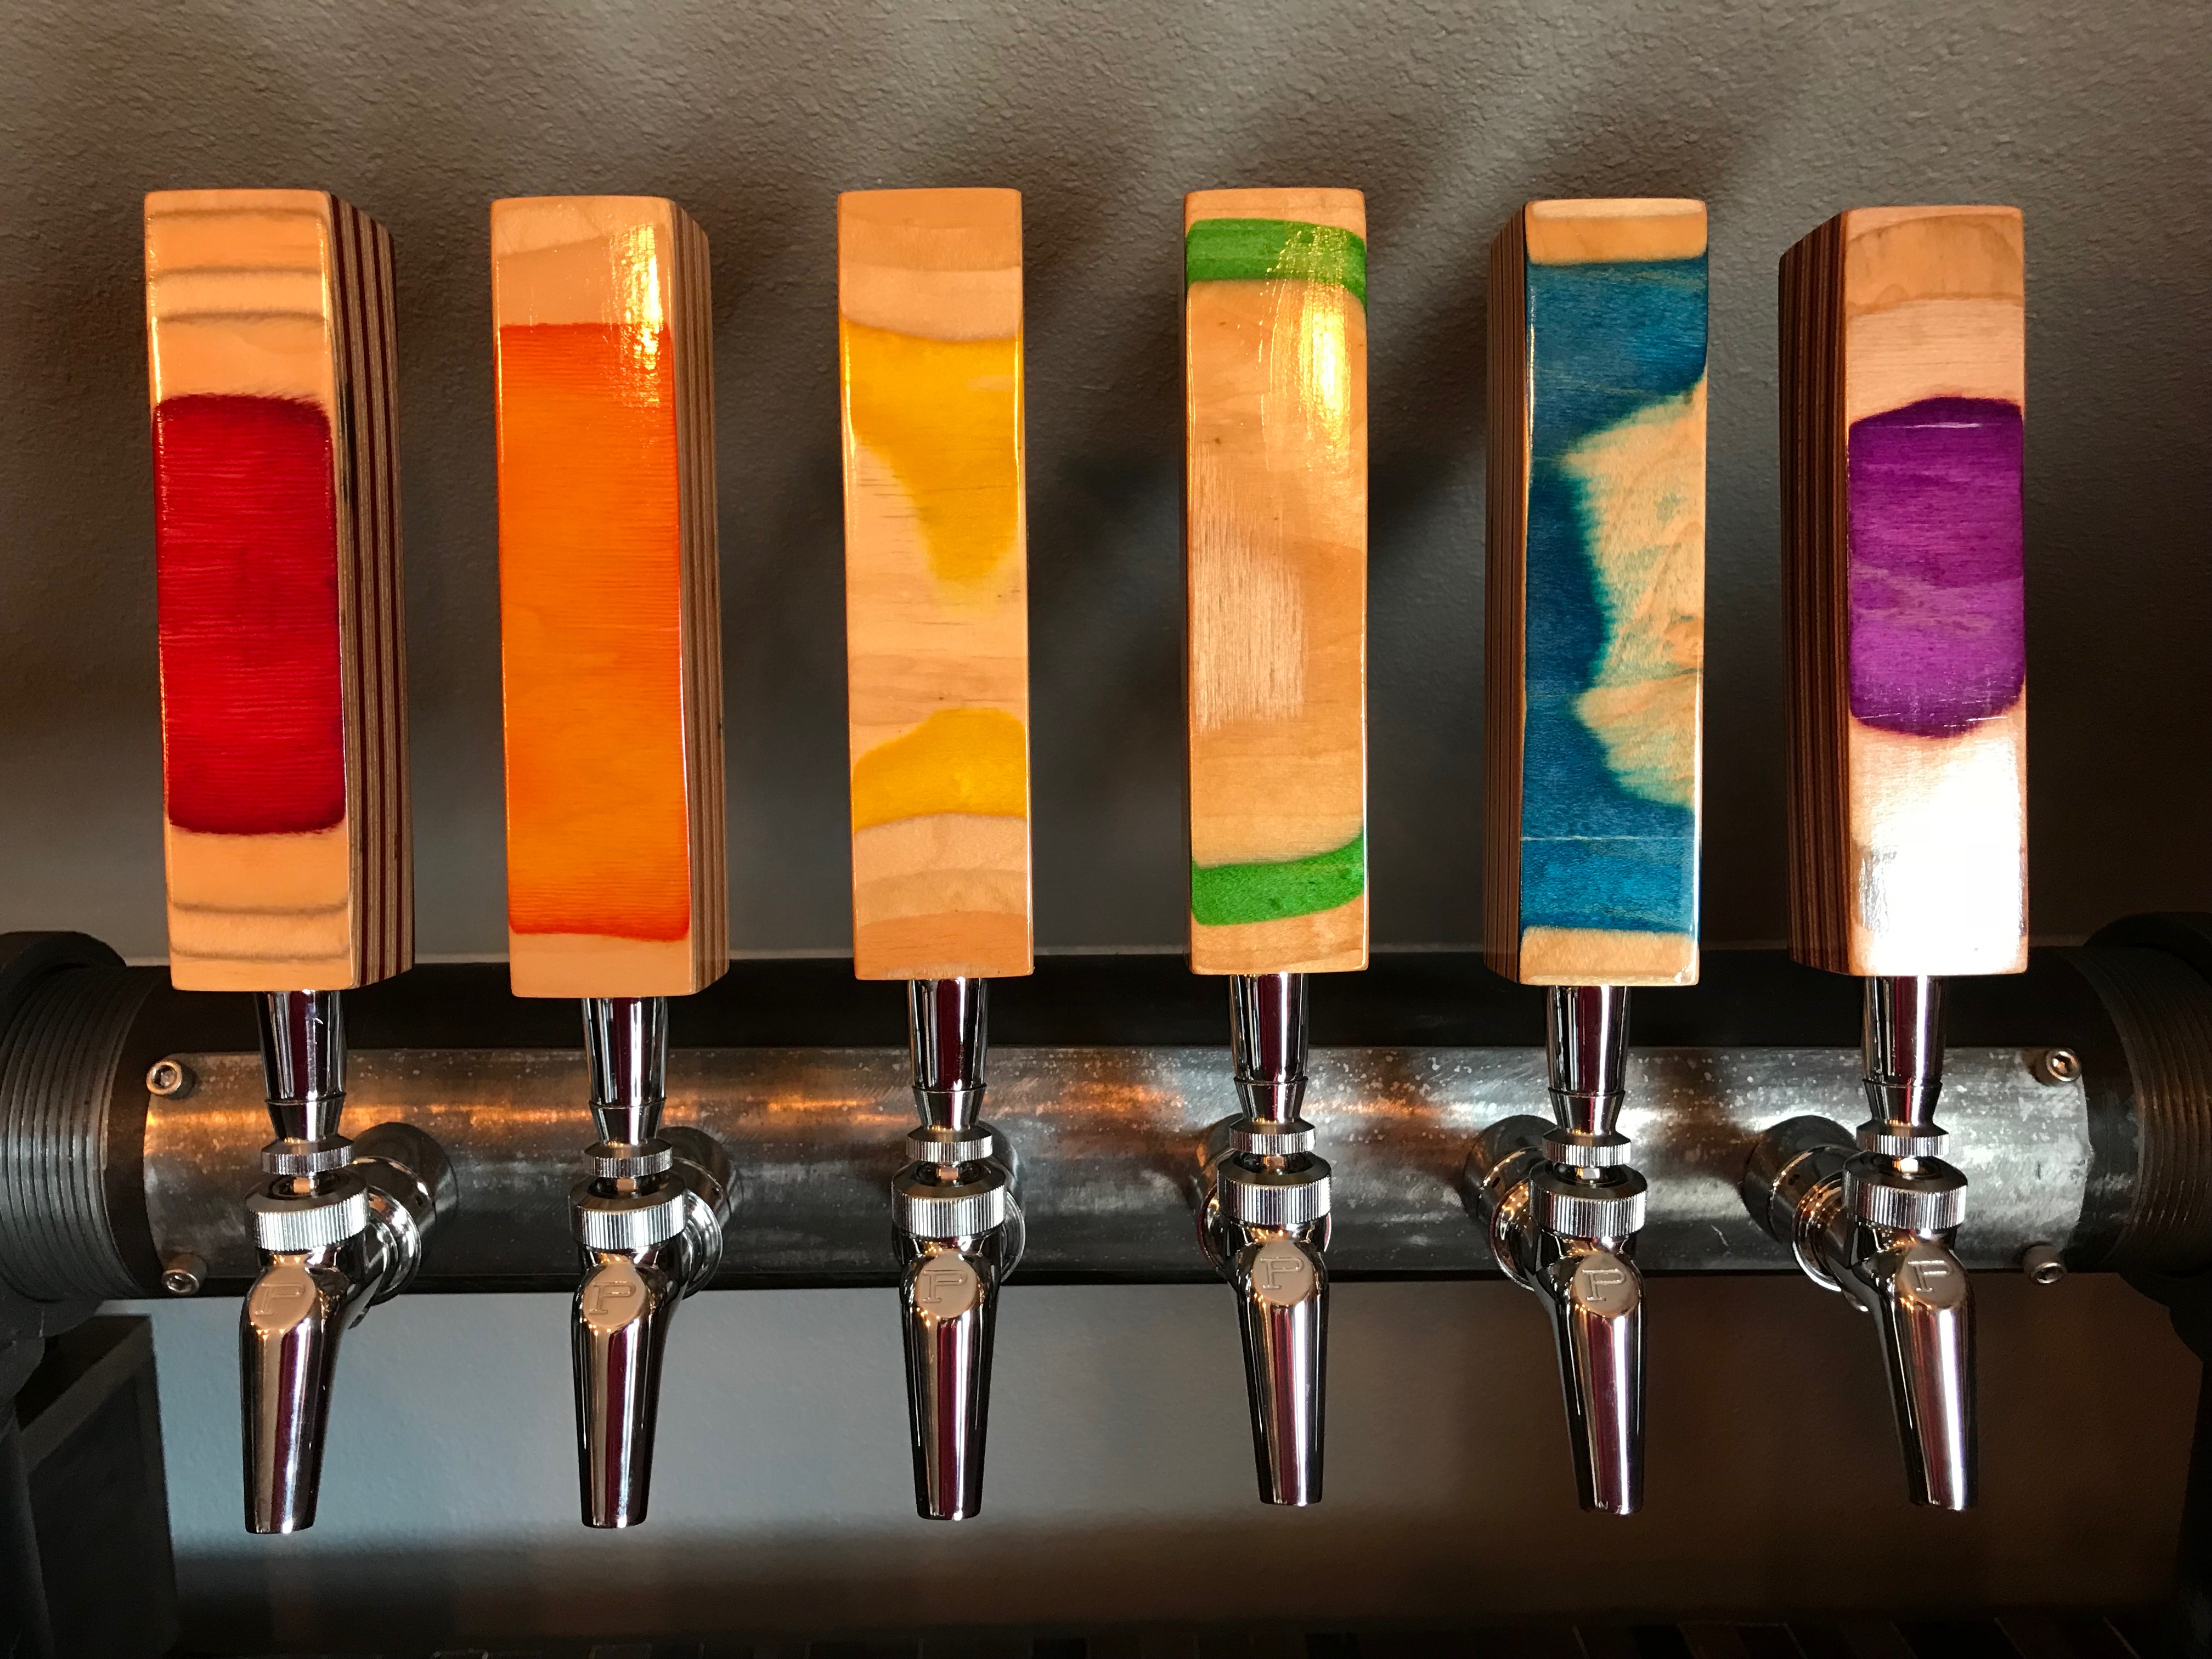
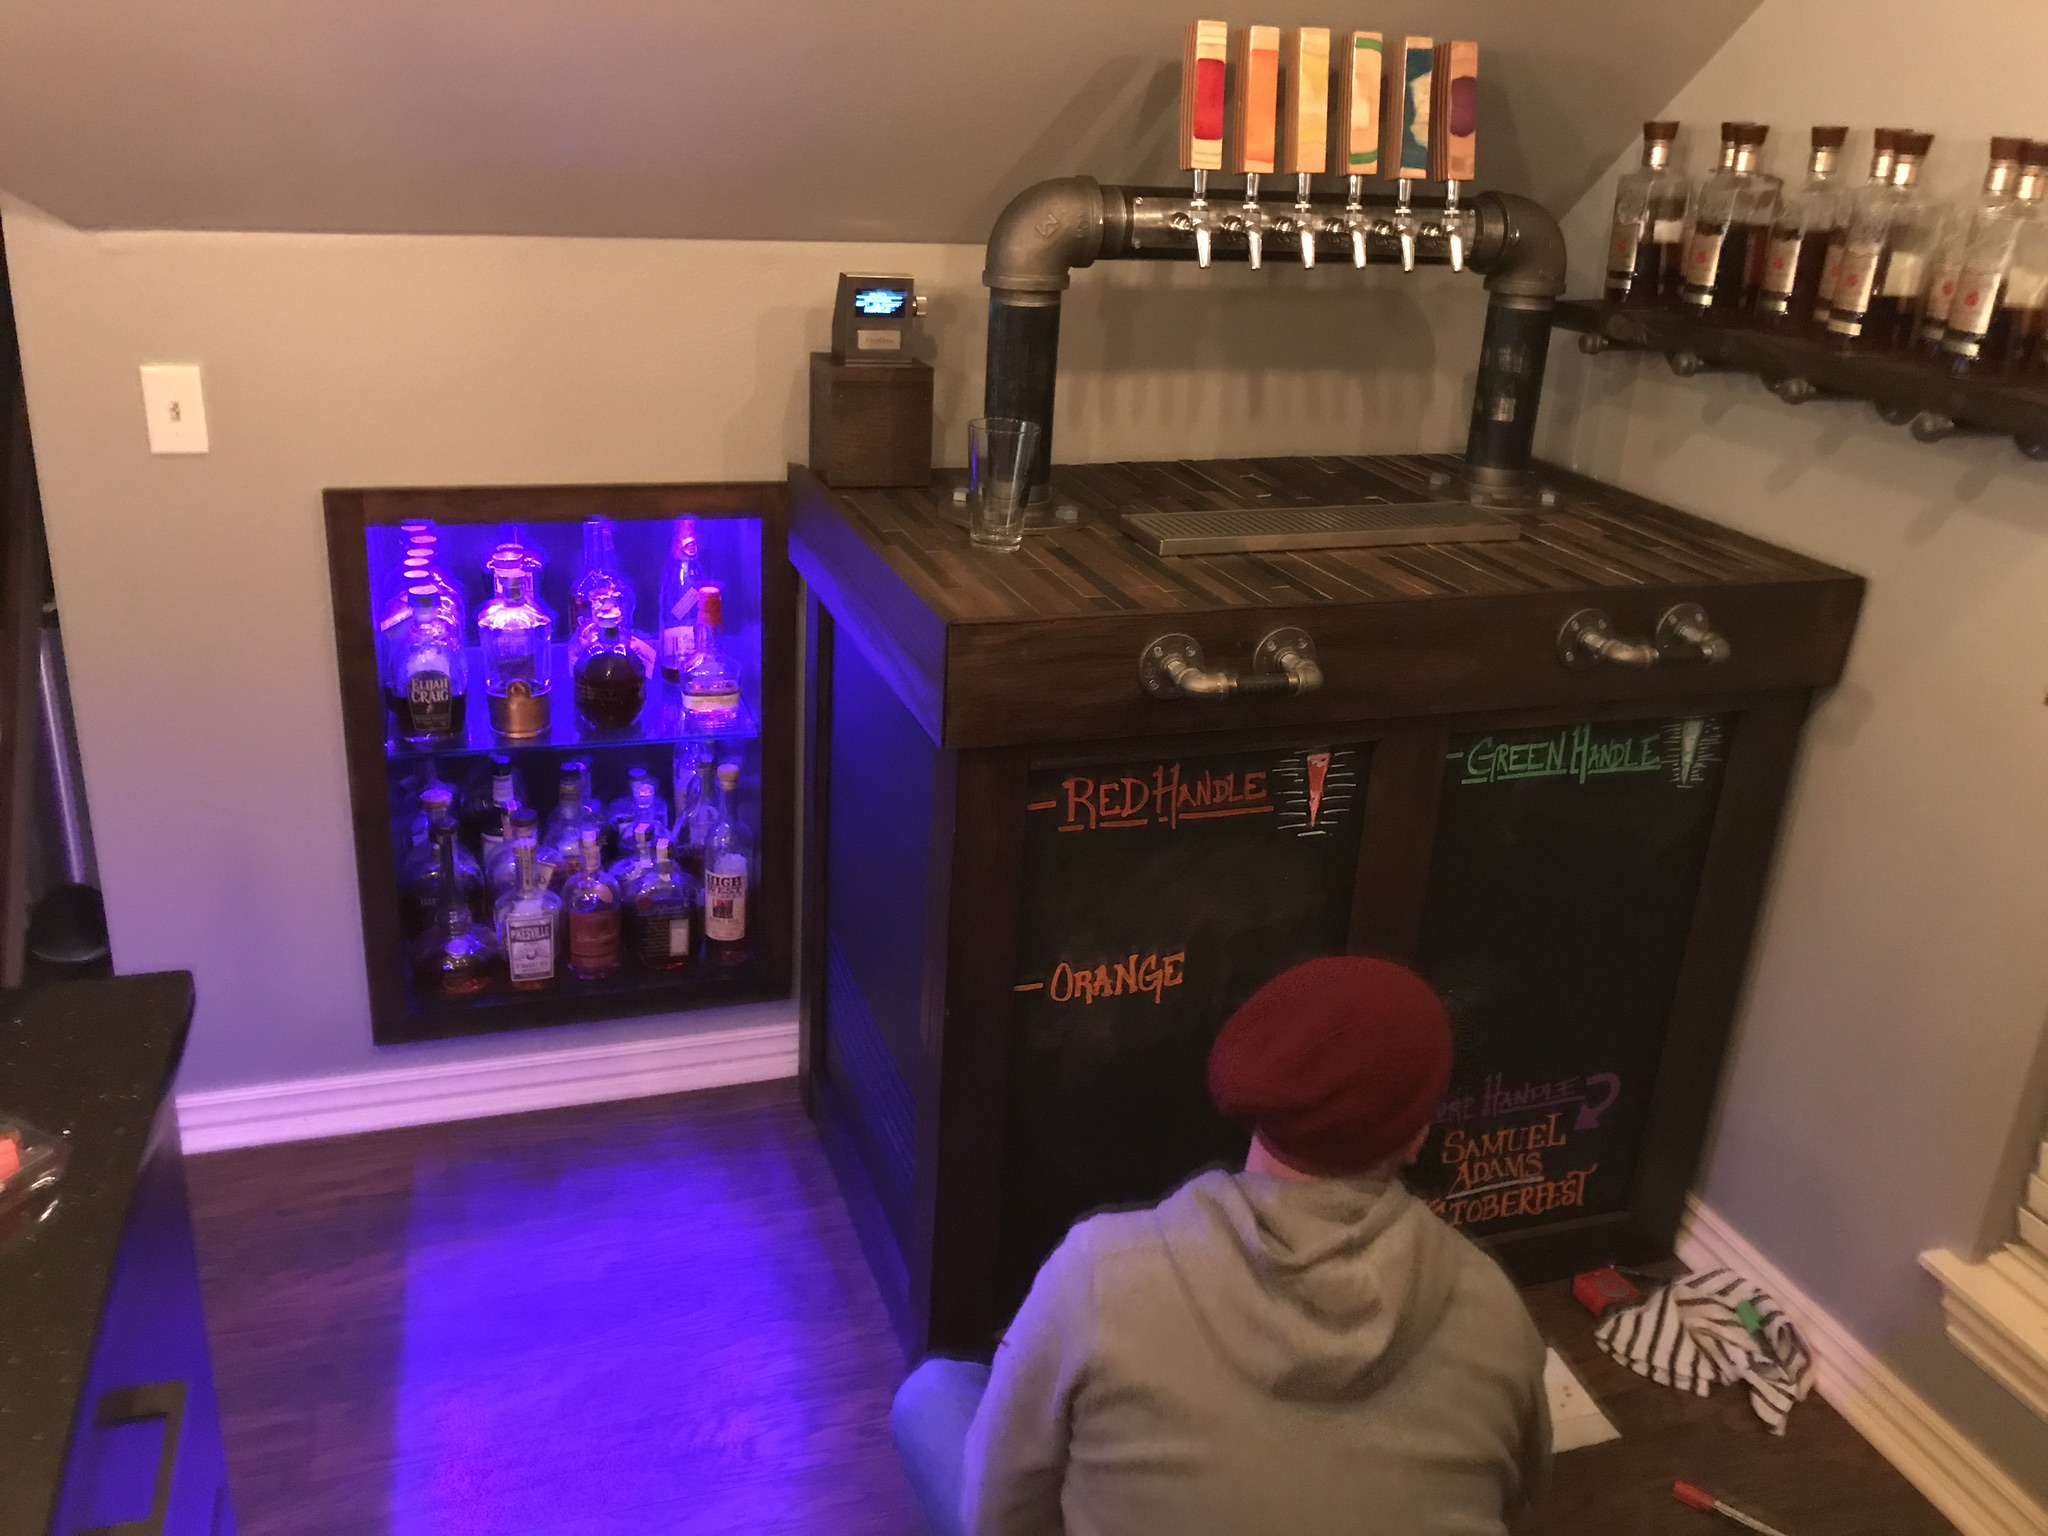
First, the finished product:

So, I started by making a rolling base. I later had to find a way to cut it off because the swivel wheels hit the trim work and created issues. I replaced it with 2 small furniture dollies, which work wonderfully. So, my advice would be to do that up front. They are cheap at Harbor Freight and super easy.

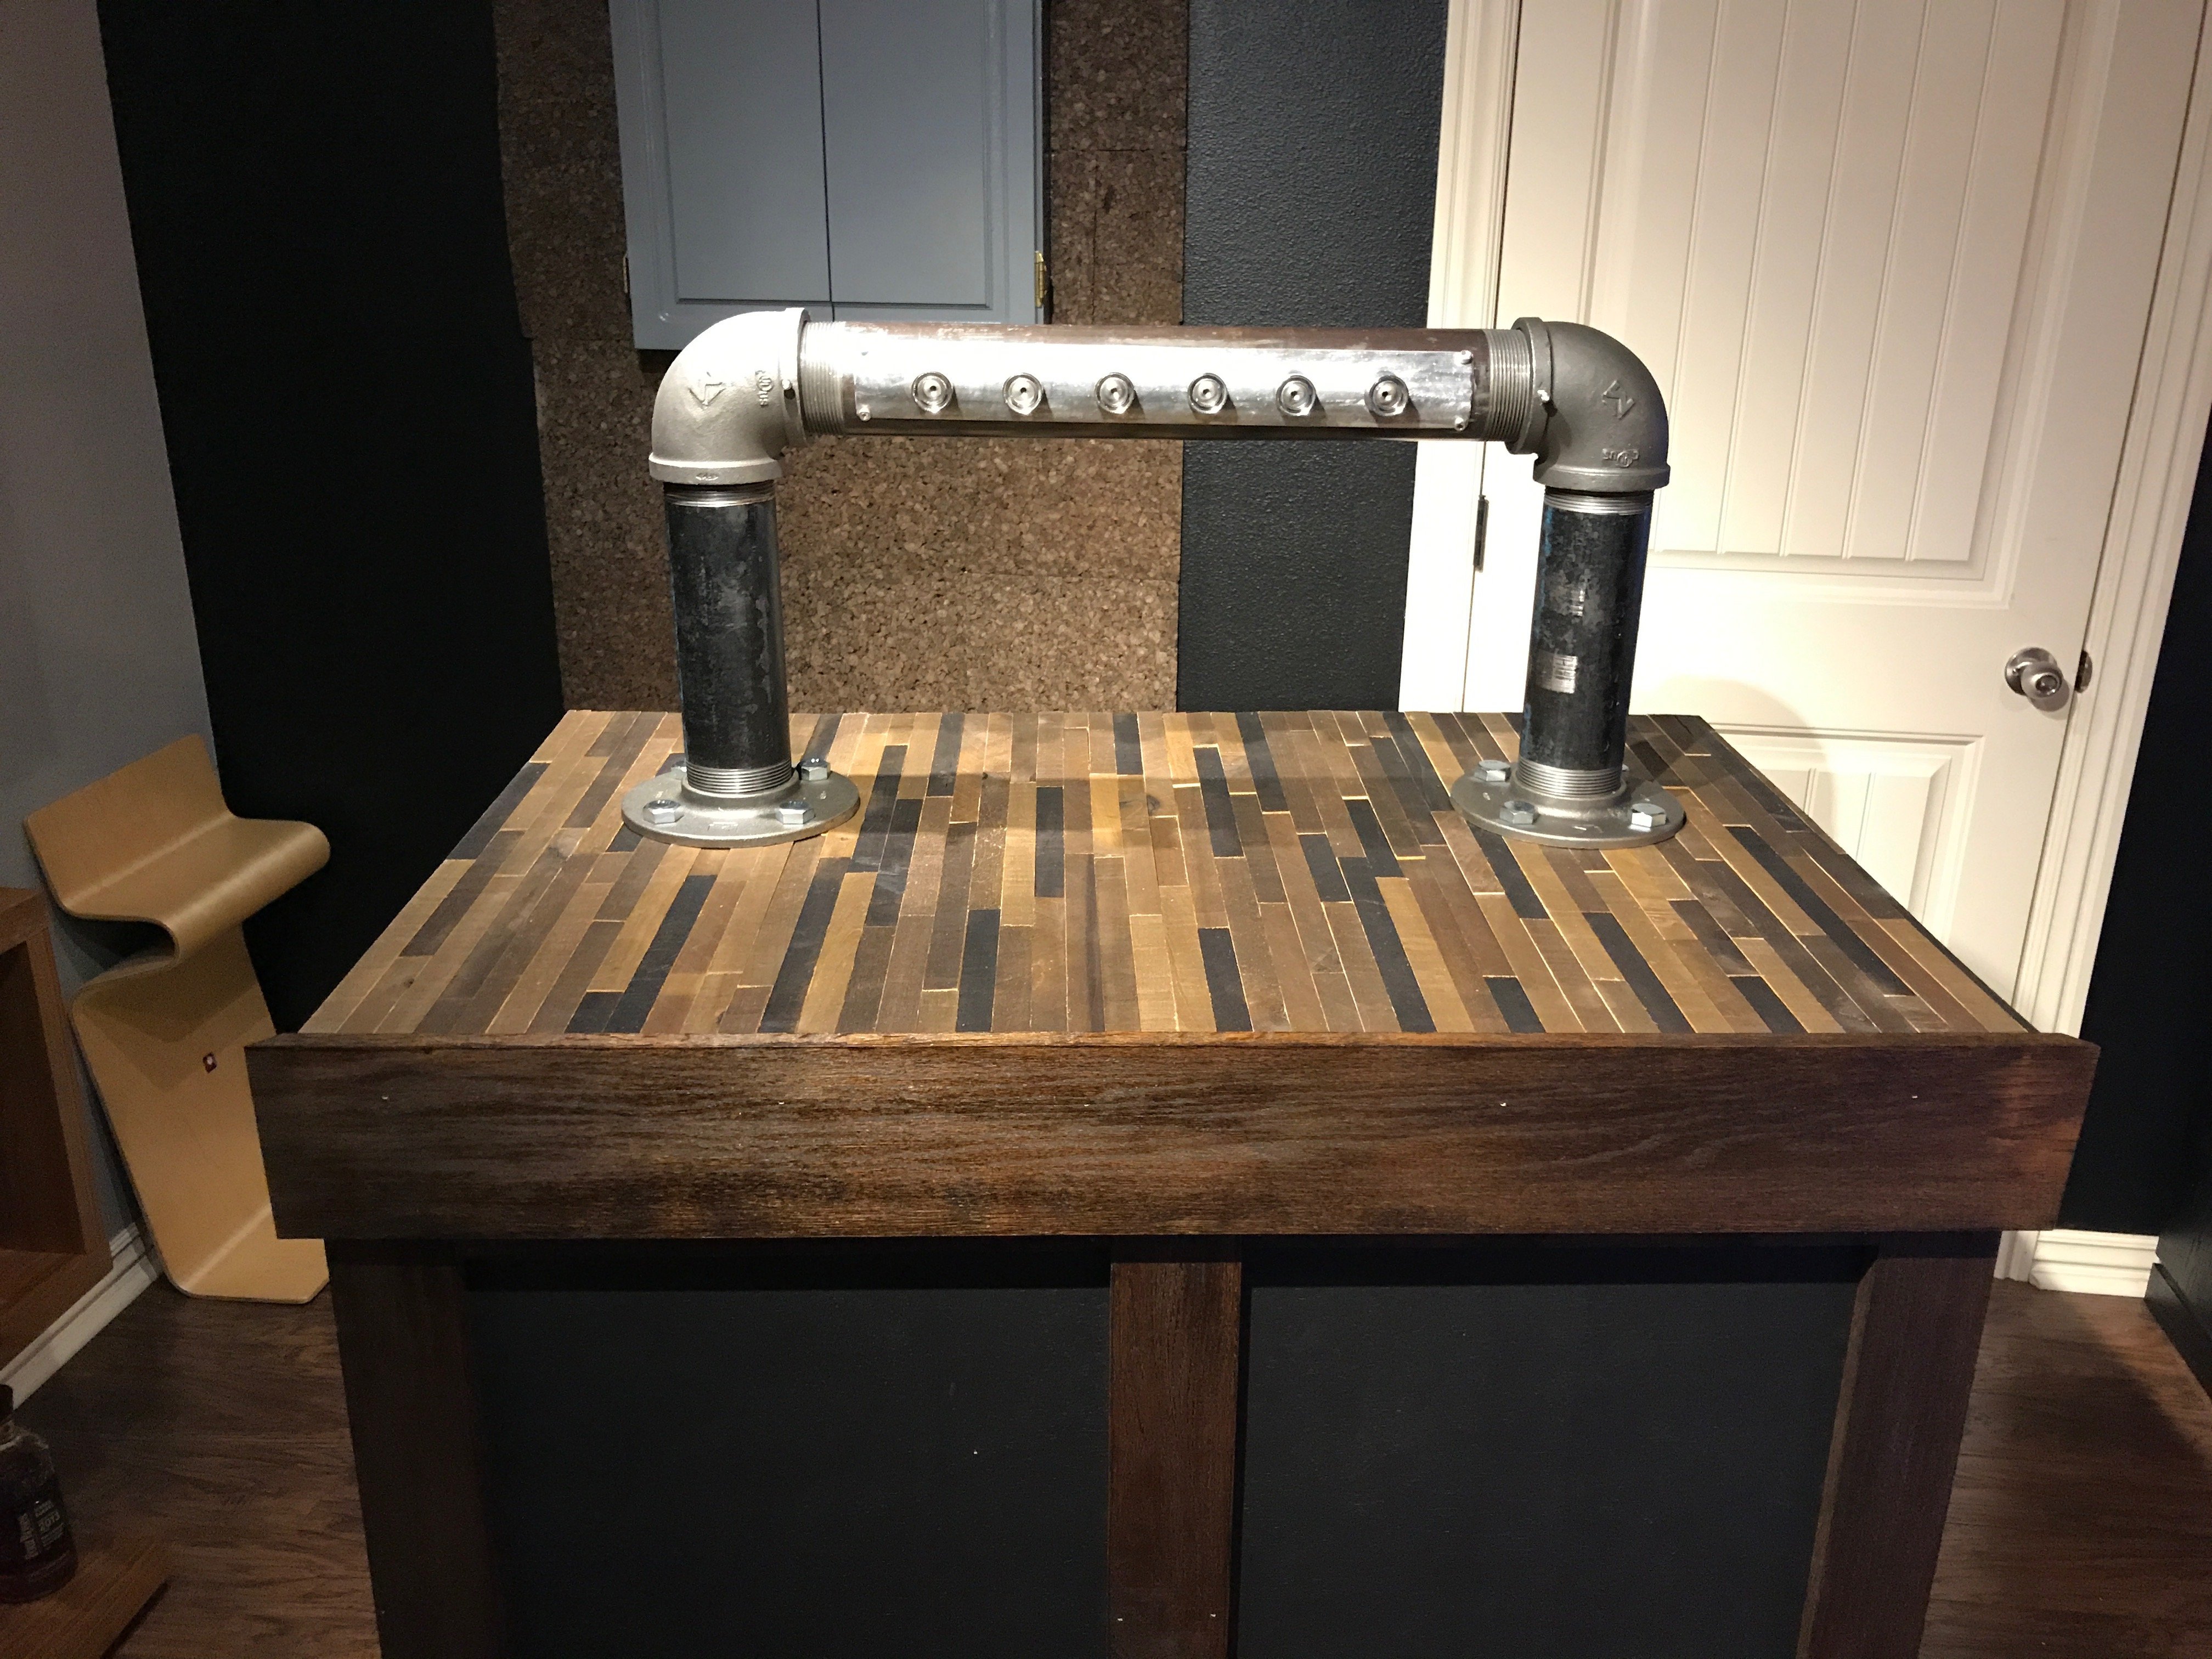
I then bought some 2" black pipe and fittings from Grainger (expensive) and cut a rectangle section out of the long piece. I found an old muffler pipe that was scrap at a friend's place, ground it clean and cut it in a size just larger than the slot in the pipe. I had to tap the pipe and drill the cover to fit properly. It was a hair away from not fitting, but I got lucky.
Note that to cut the pipe, we tried a plasma torch first, but went with a grinder in the end to get a better (smoother) cut.
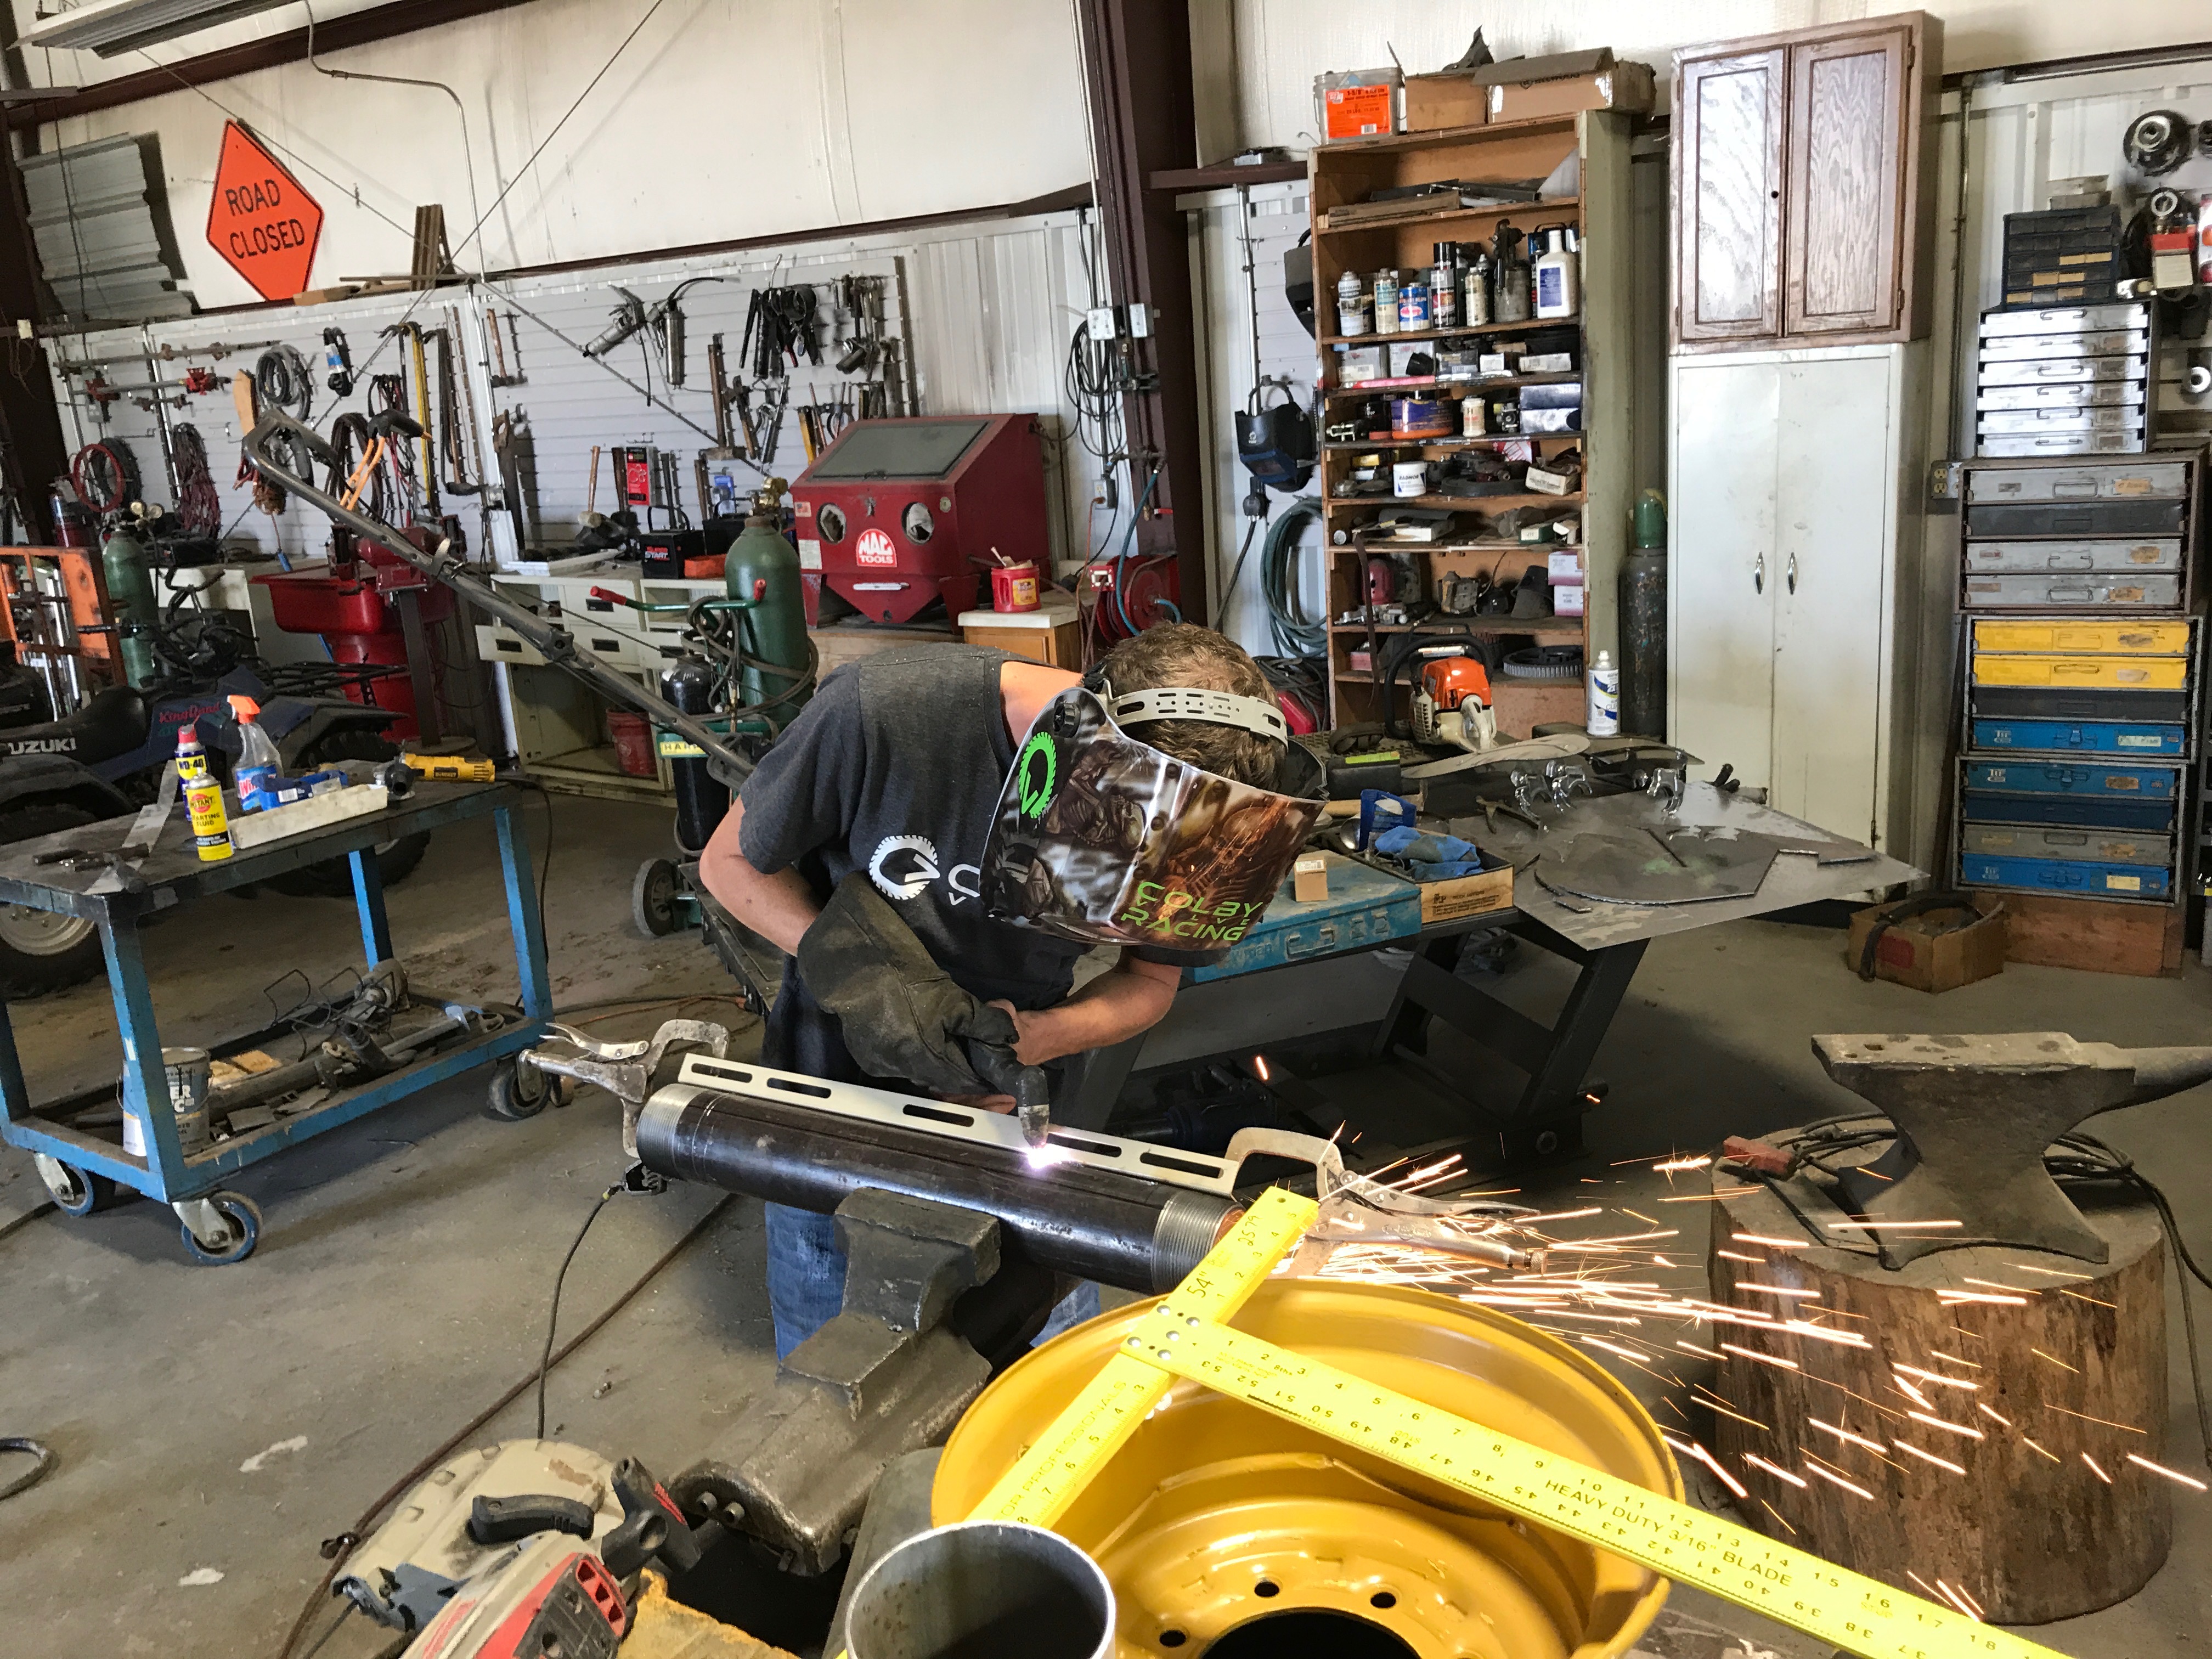
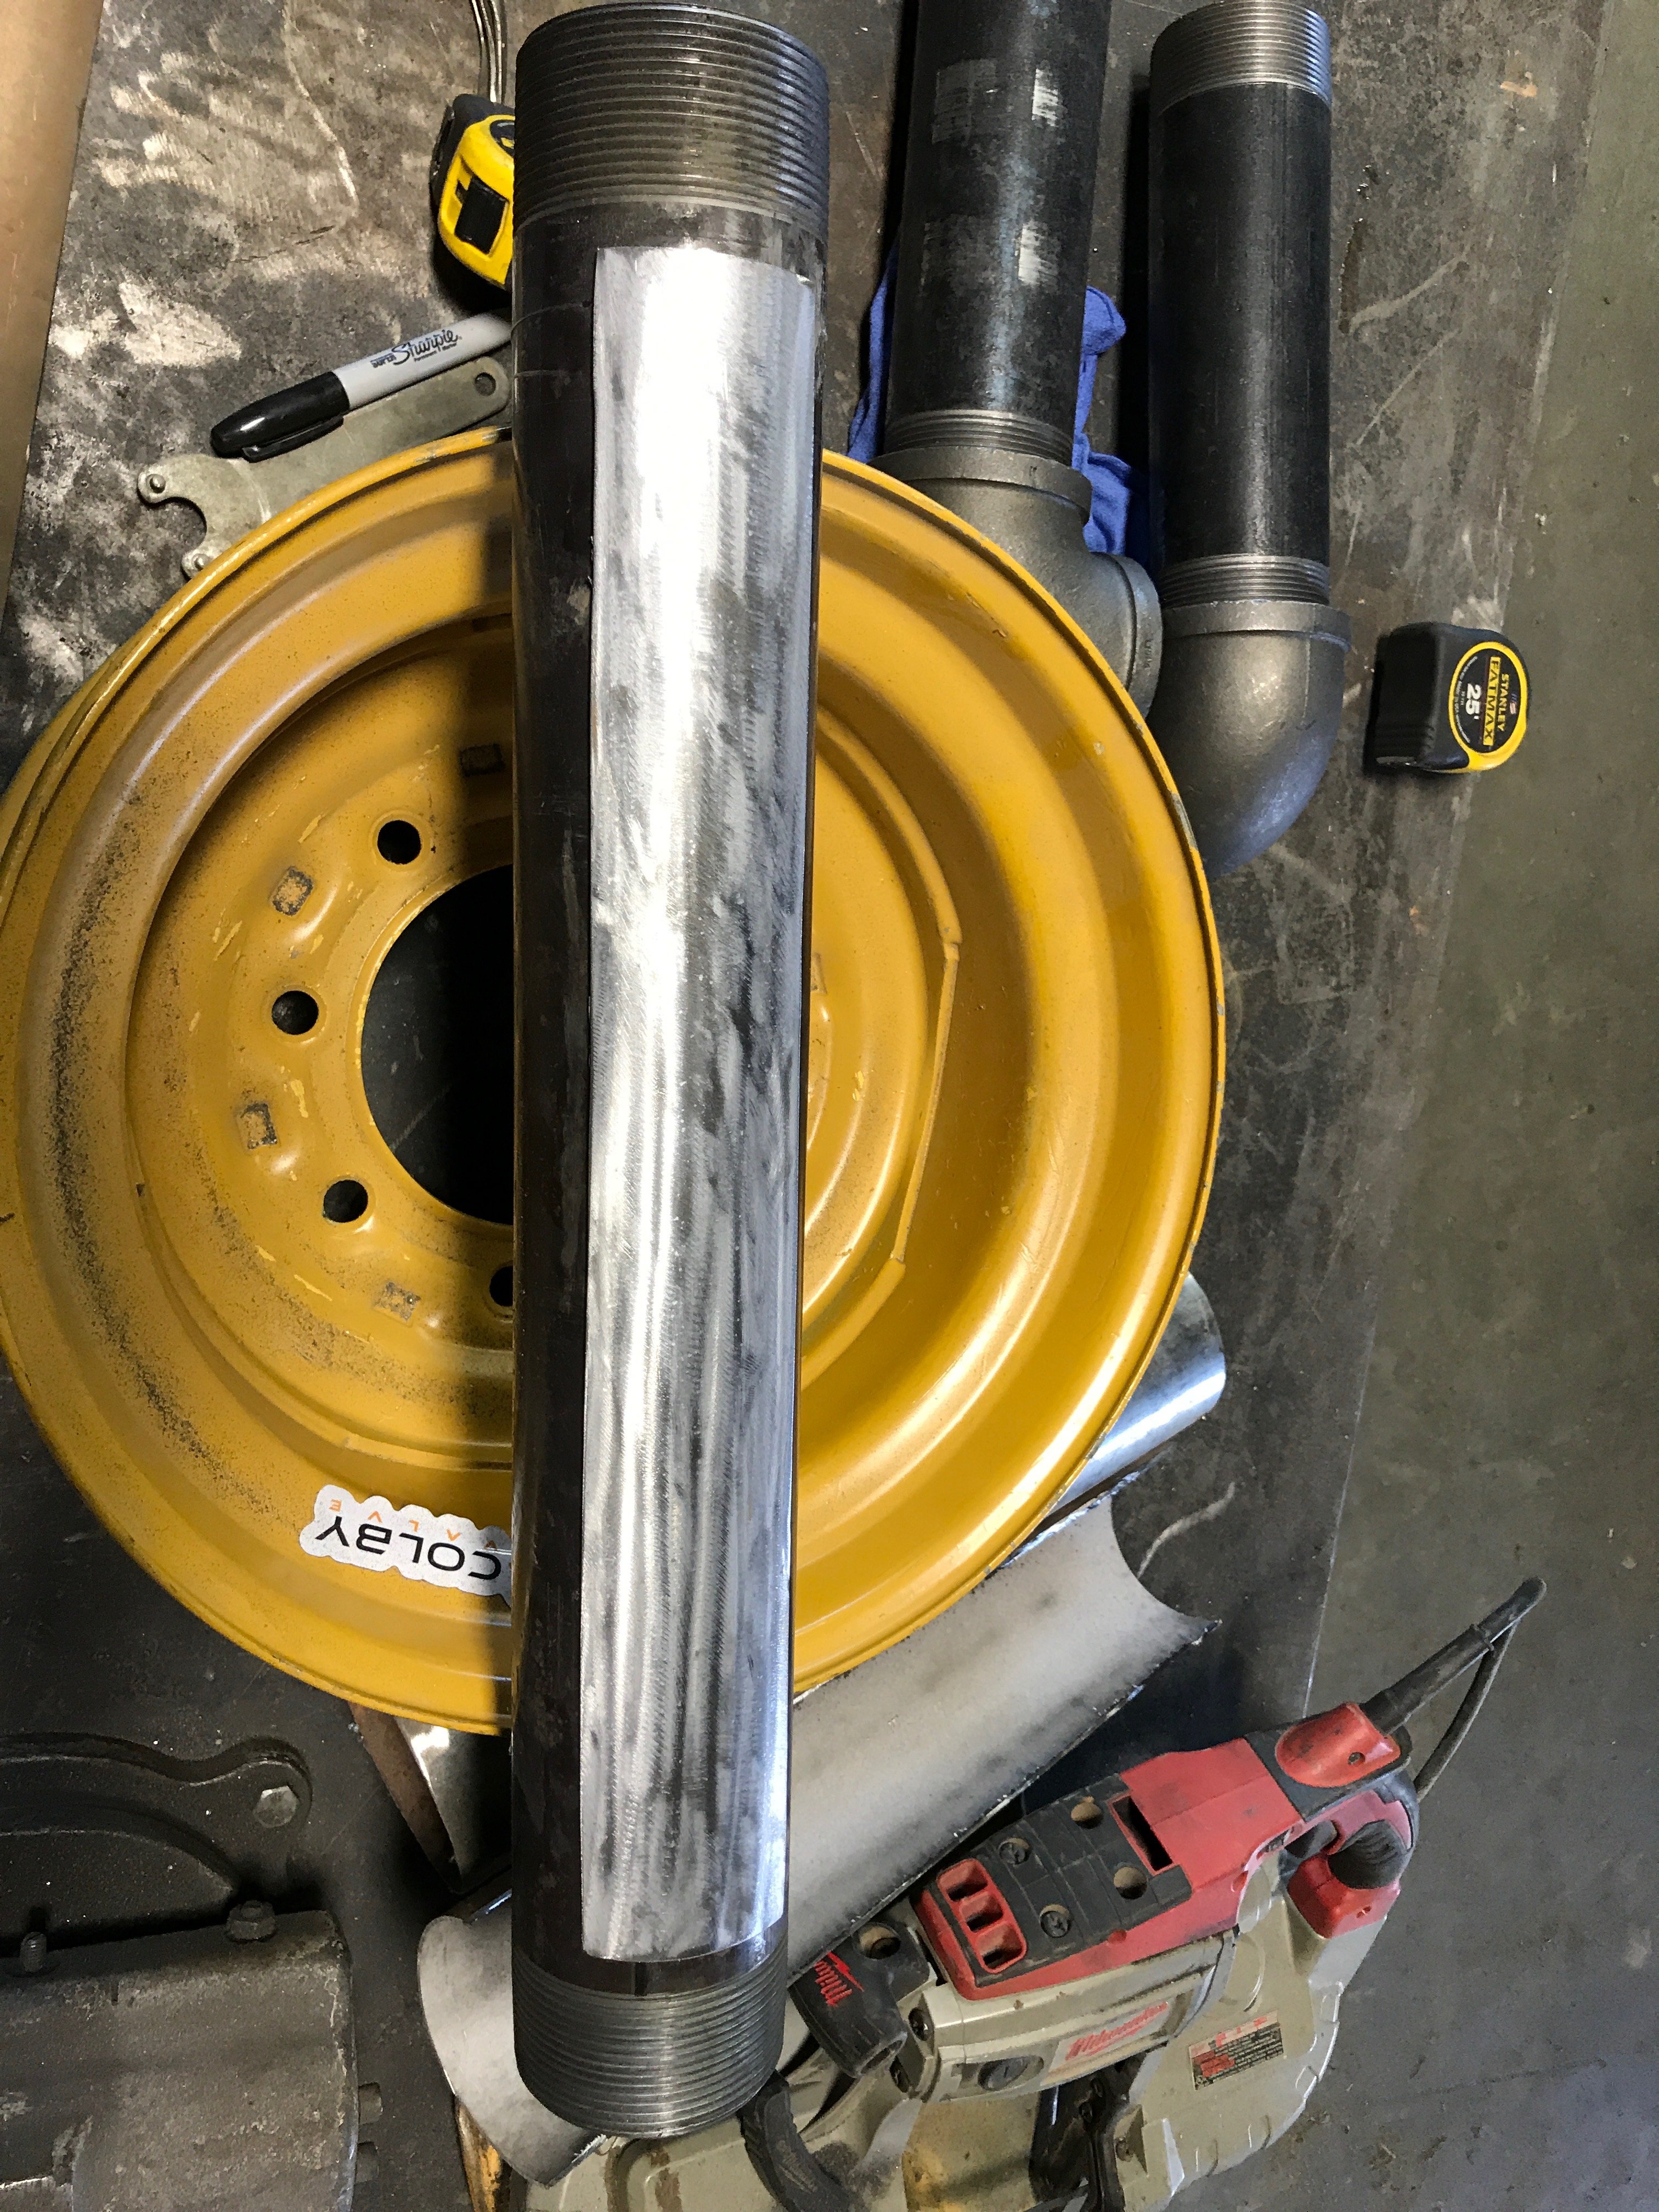
Following the cutting, I used a drill press and carefully drilled the holes in the cover for my faucets.
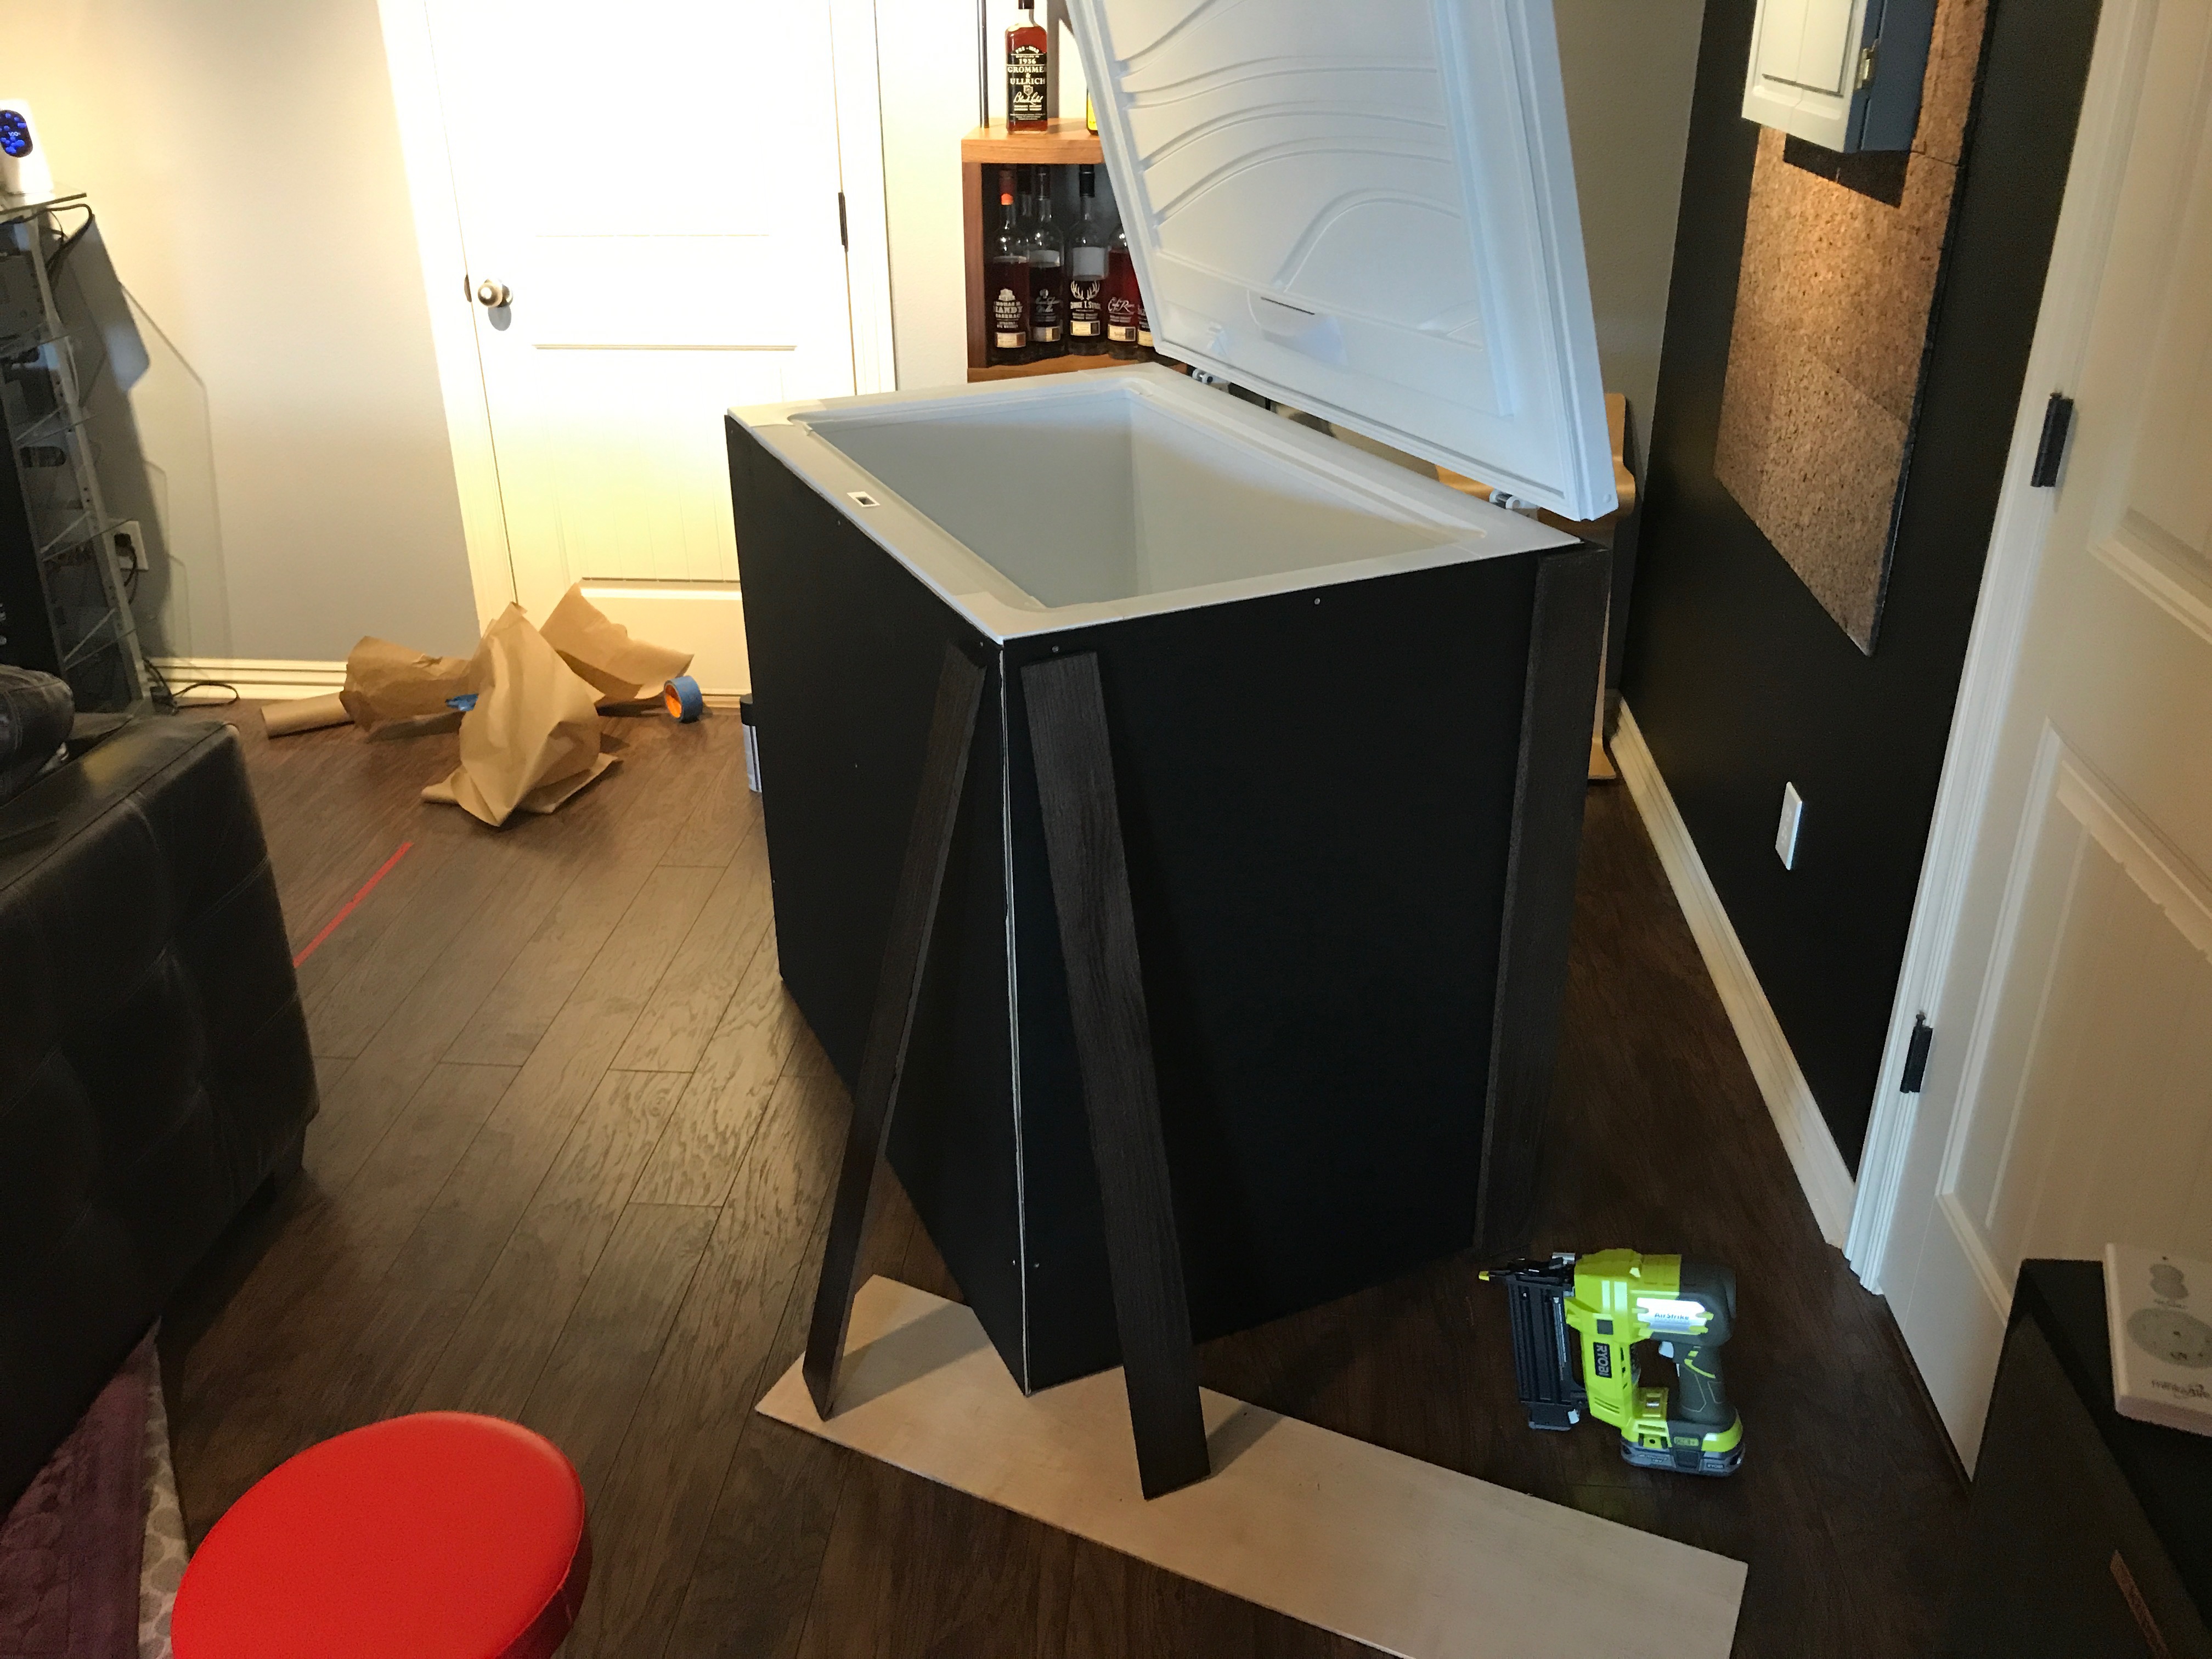
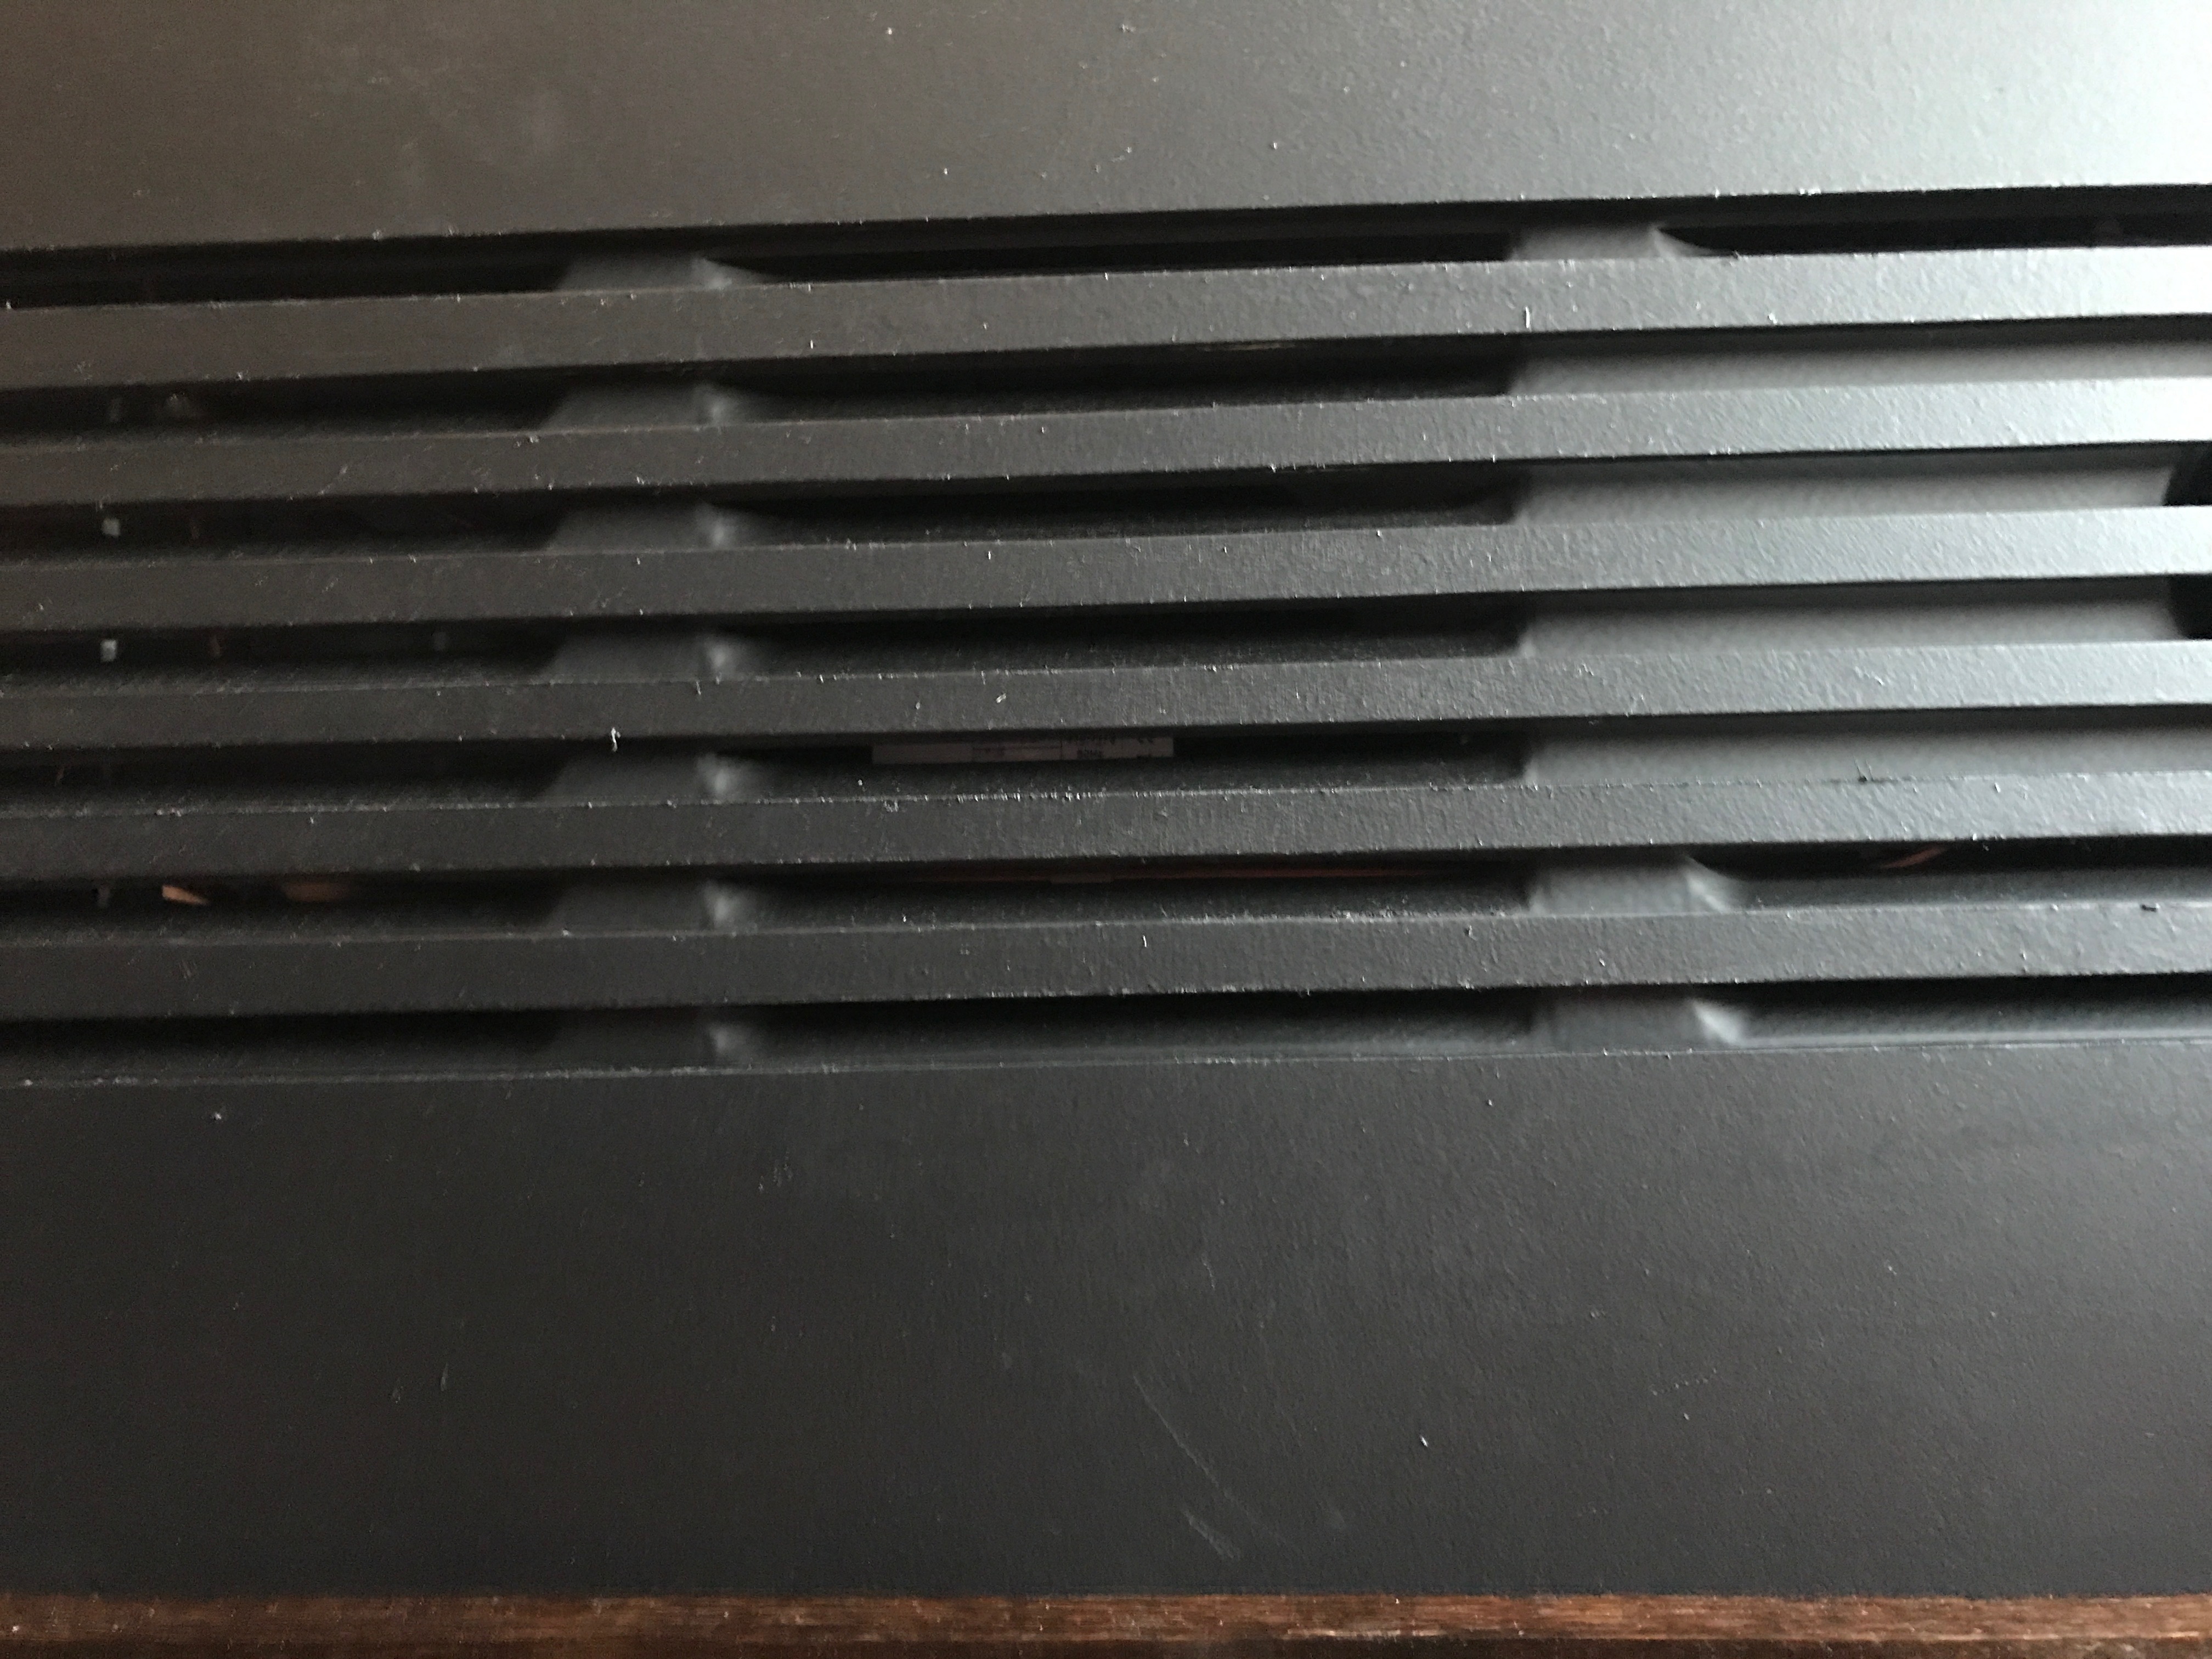
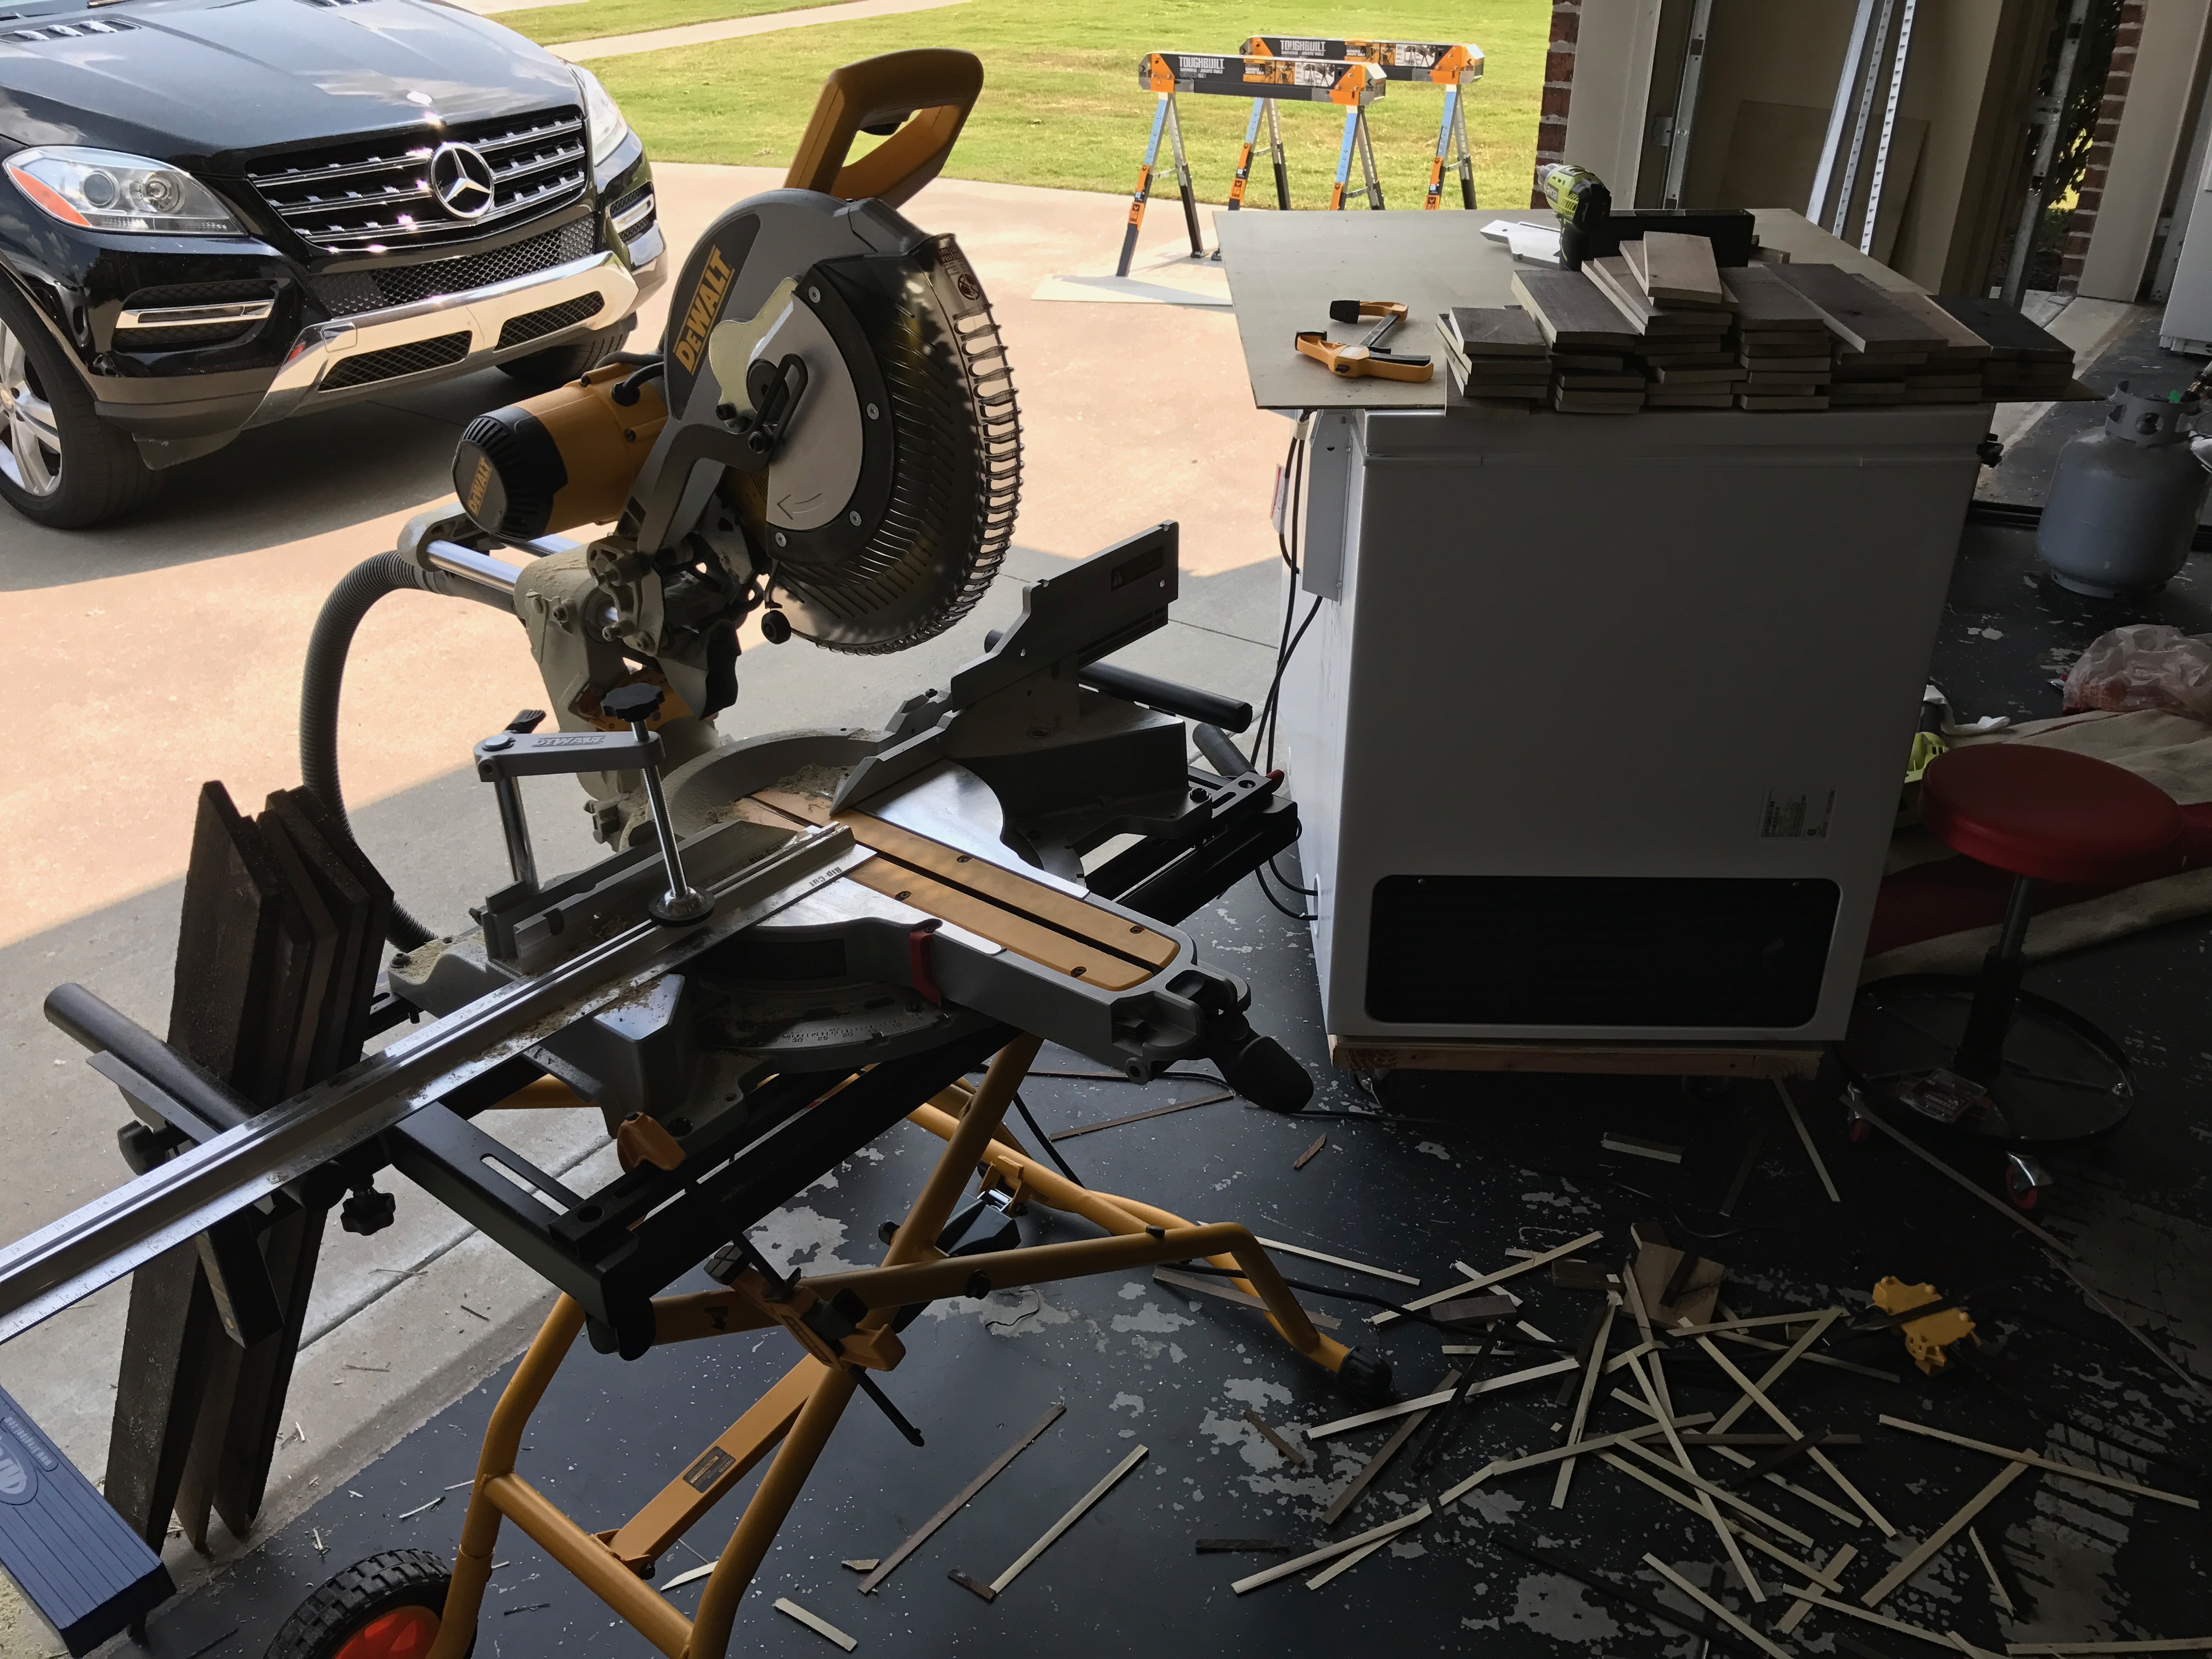
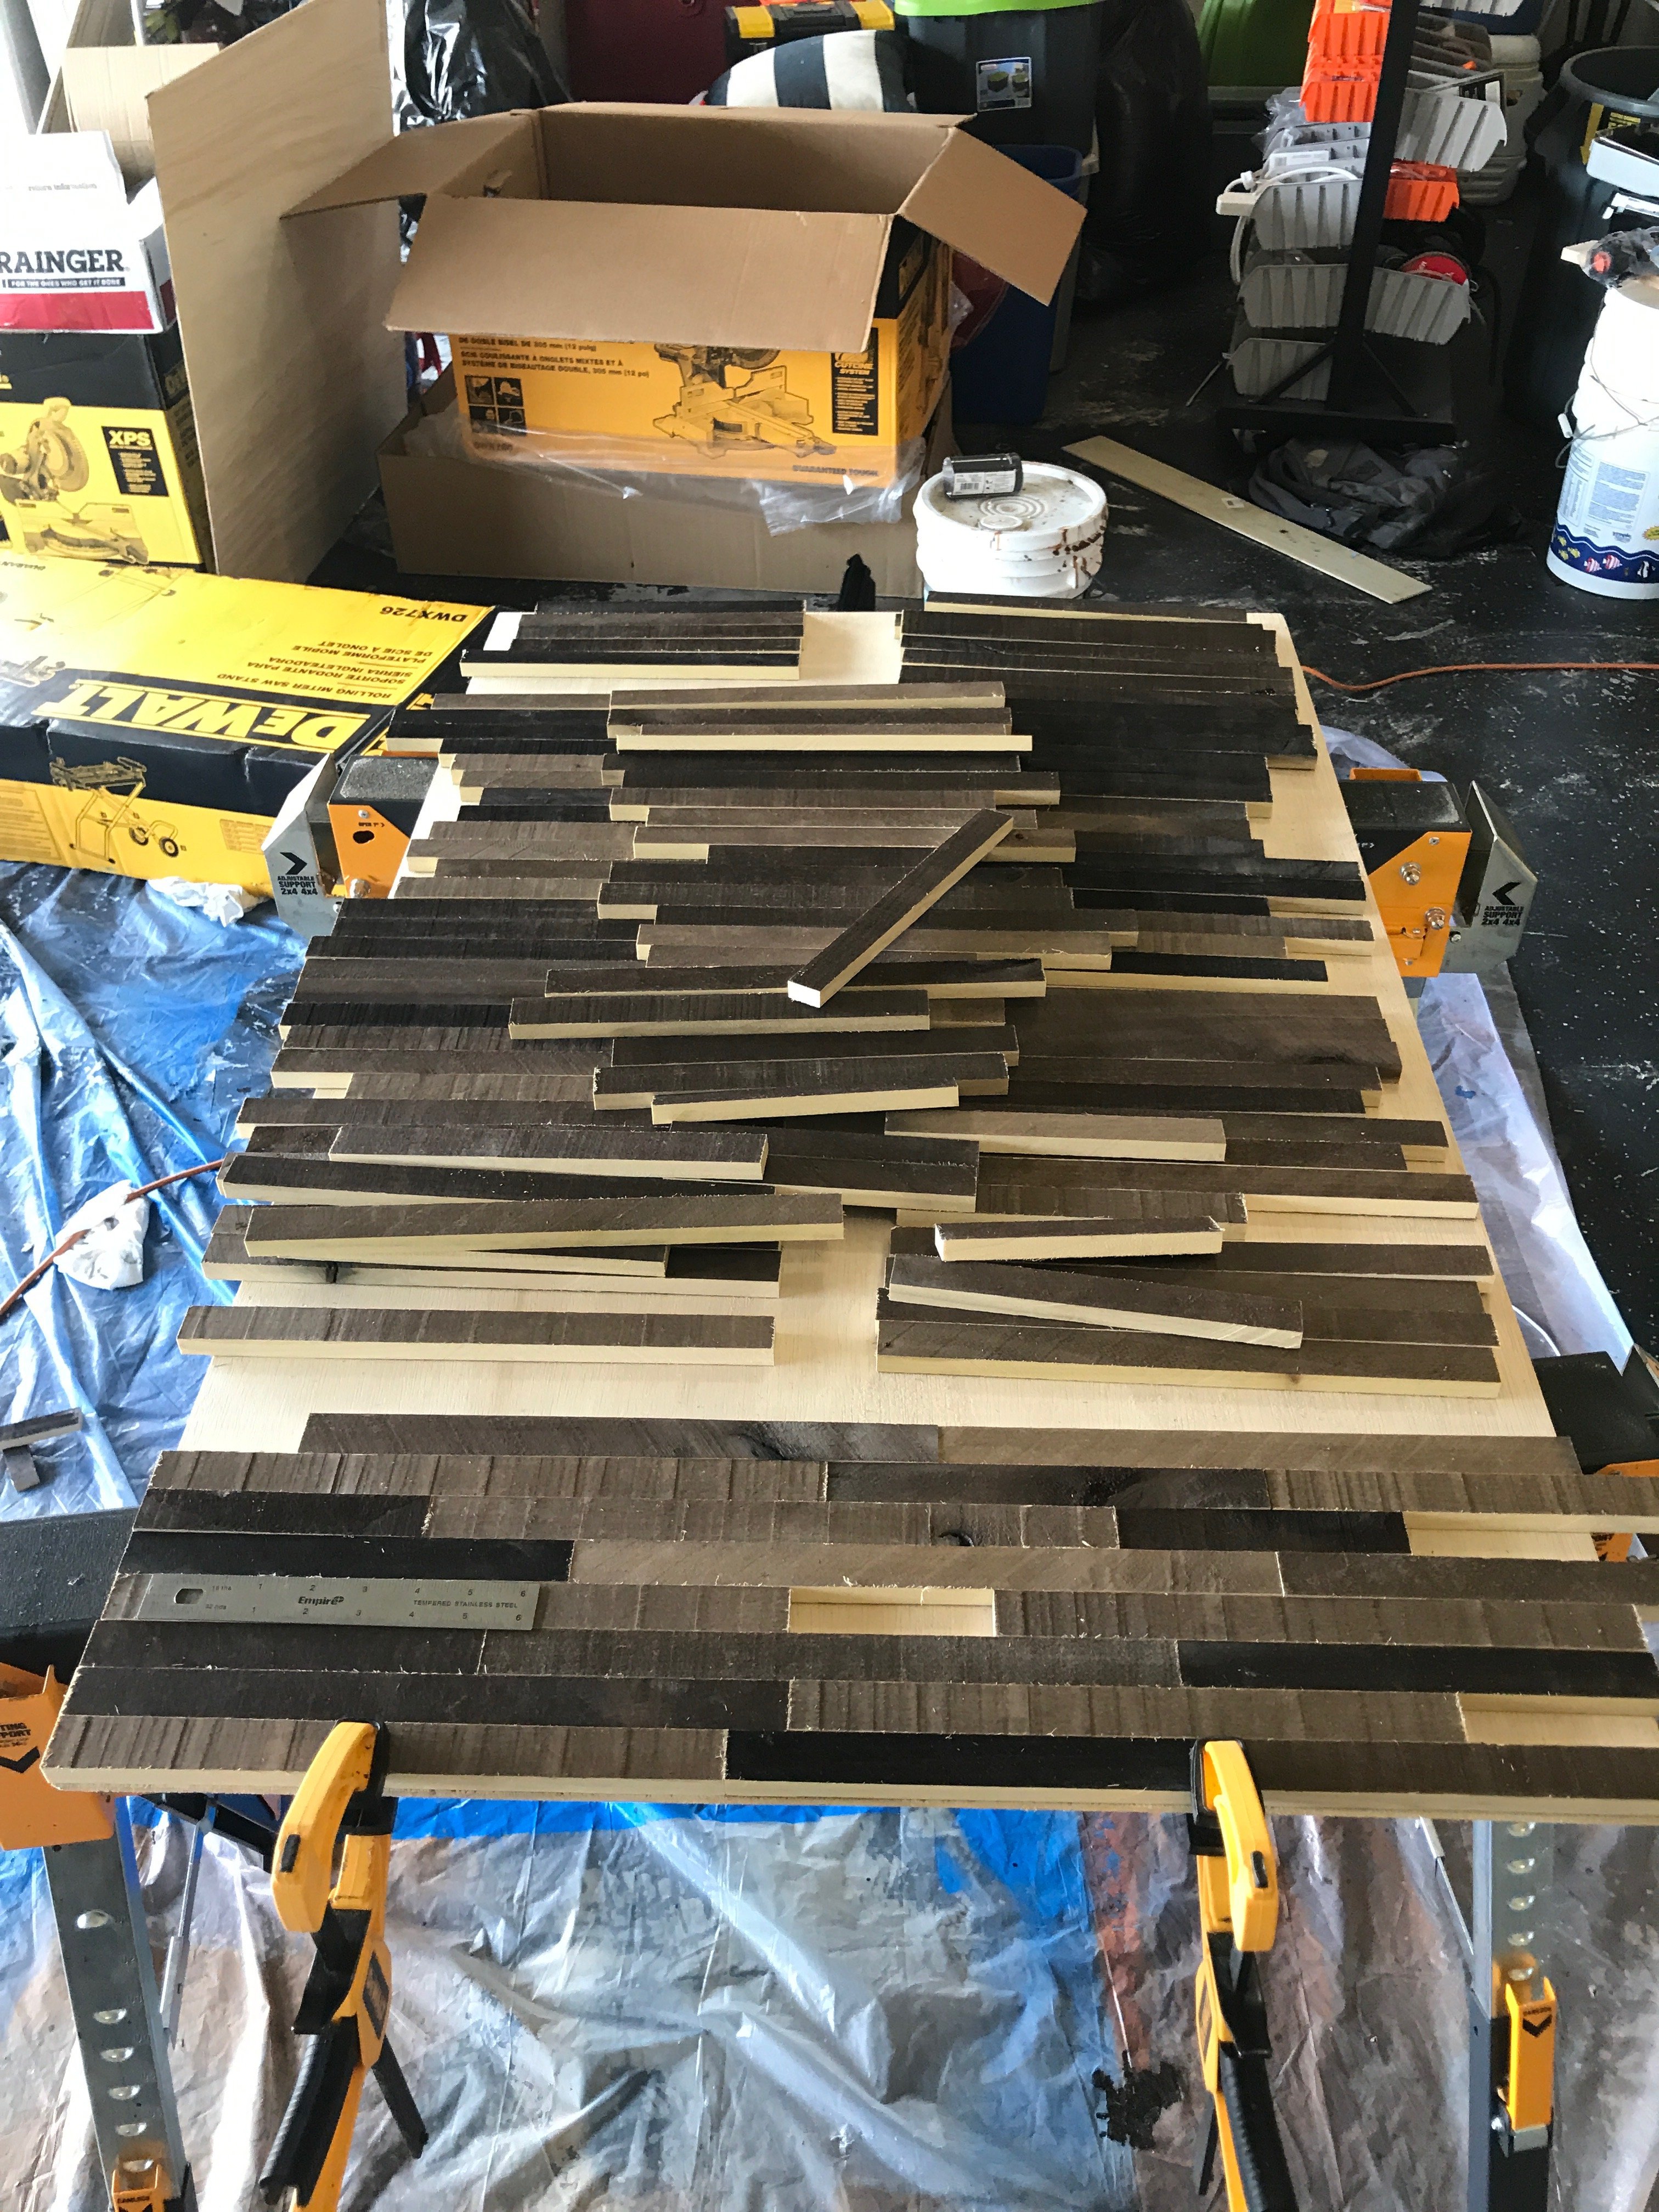
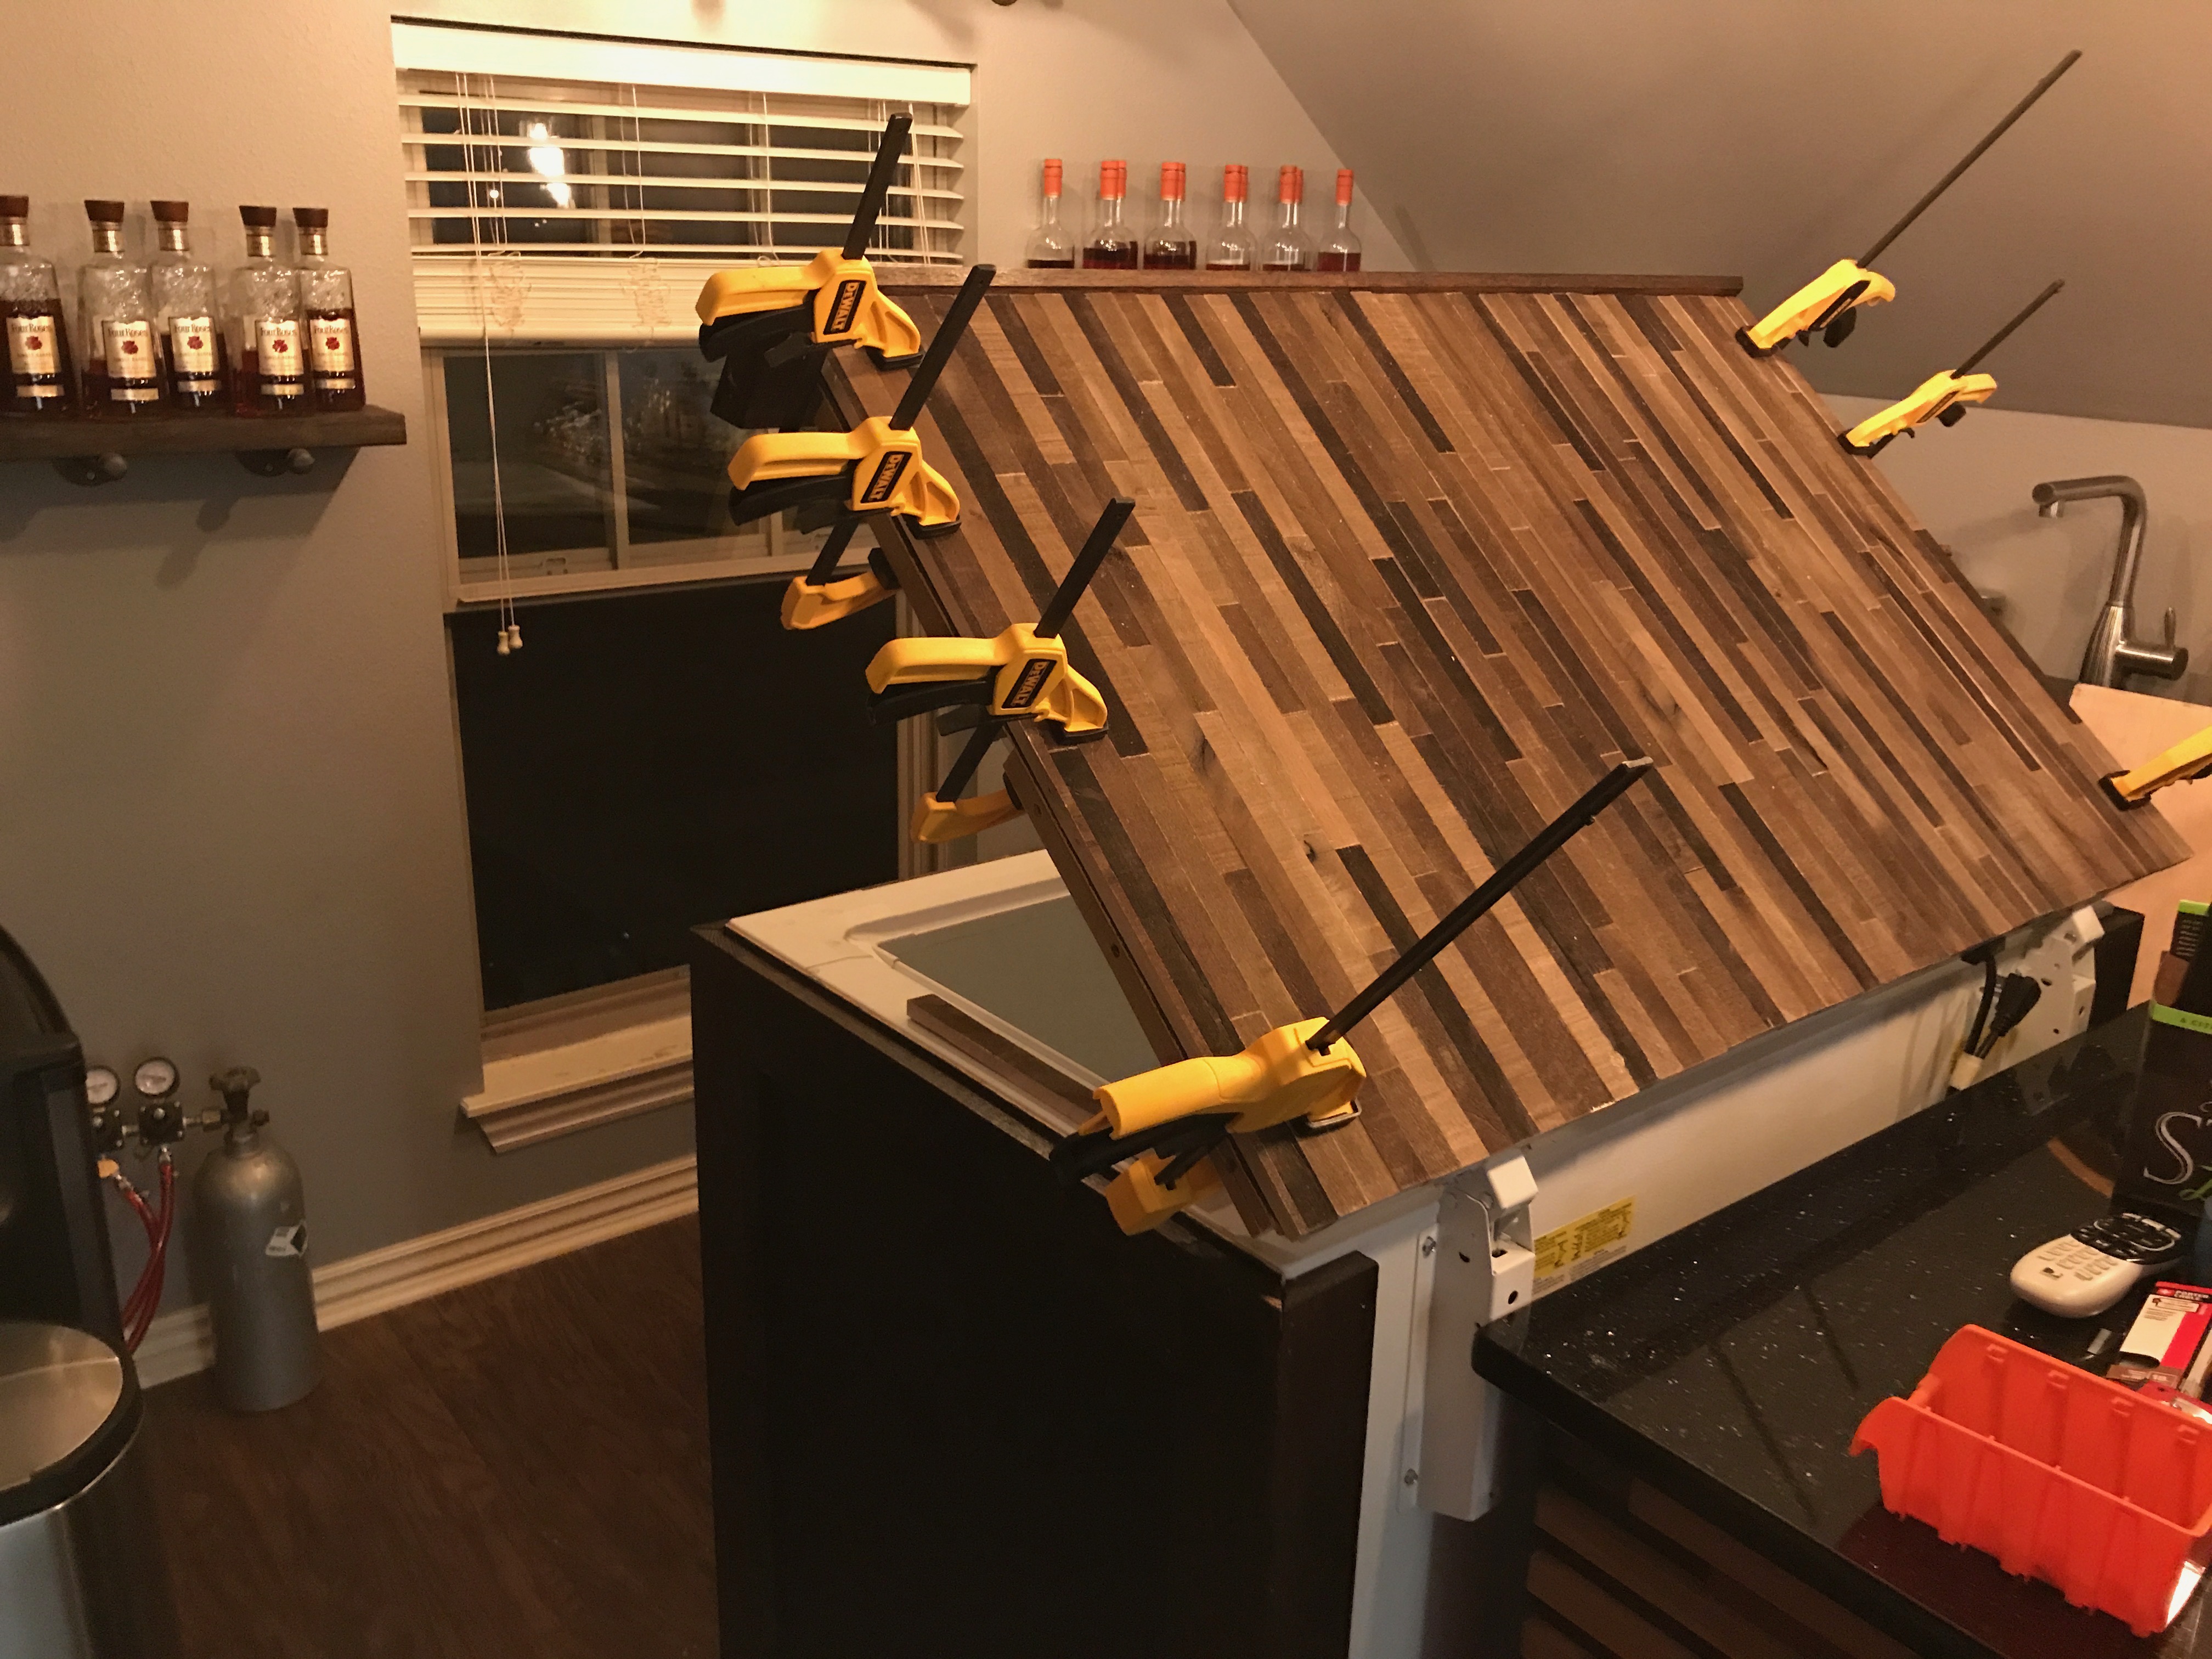
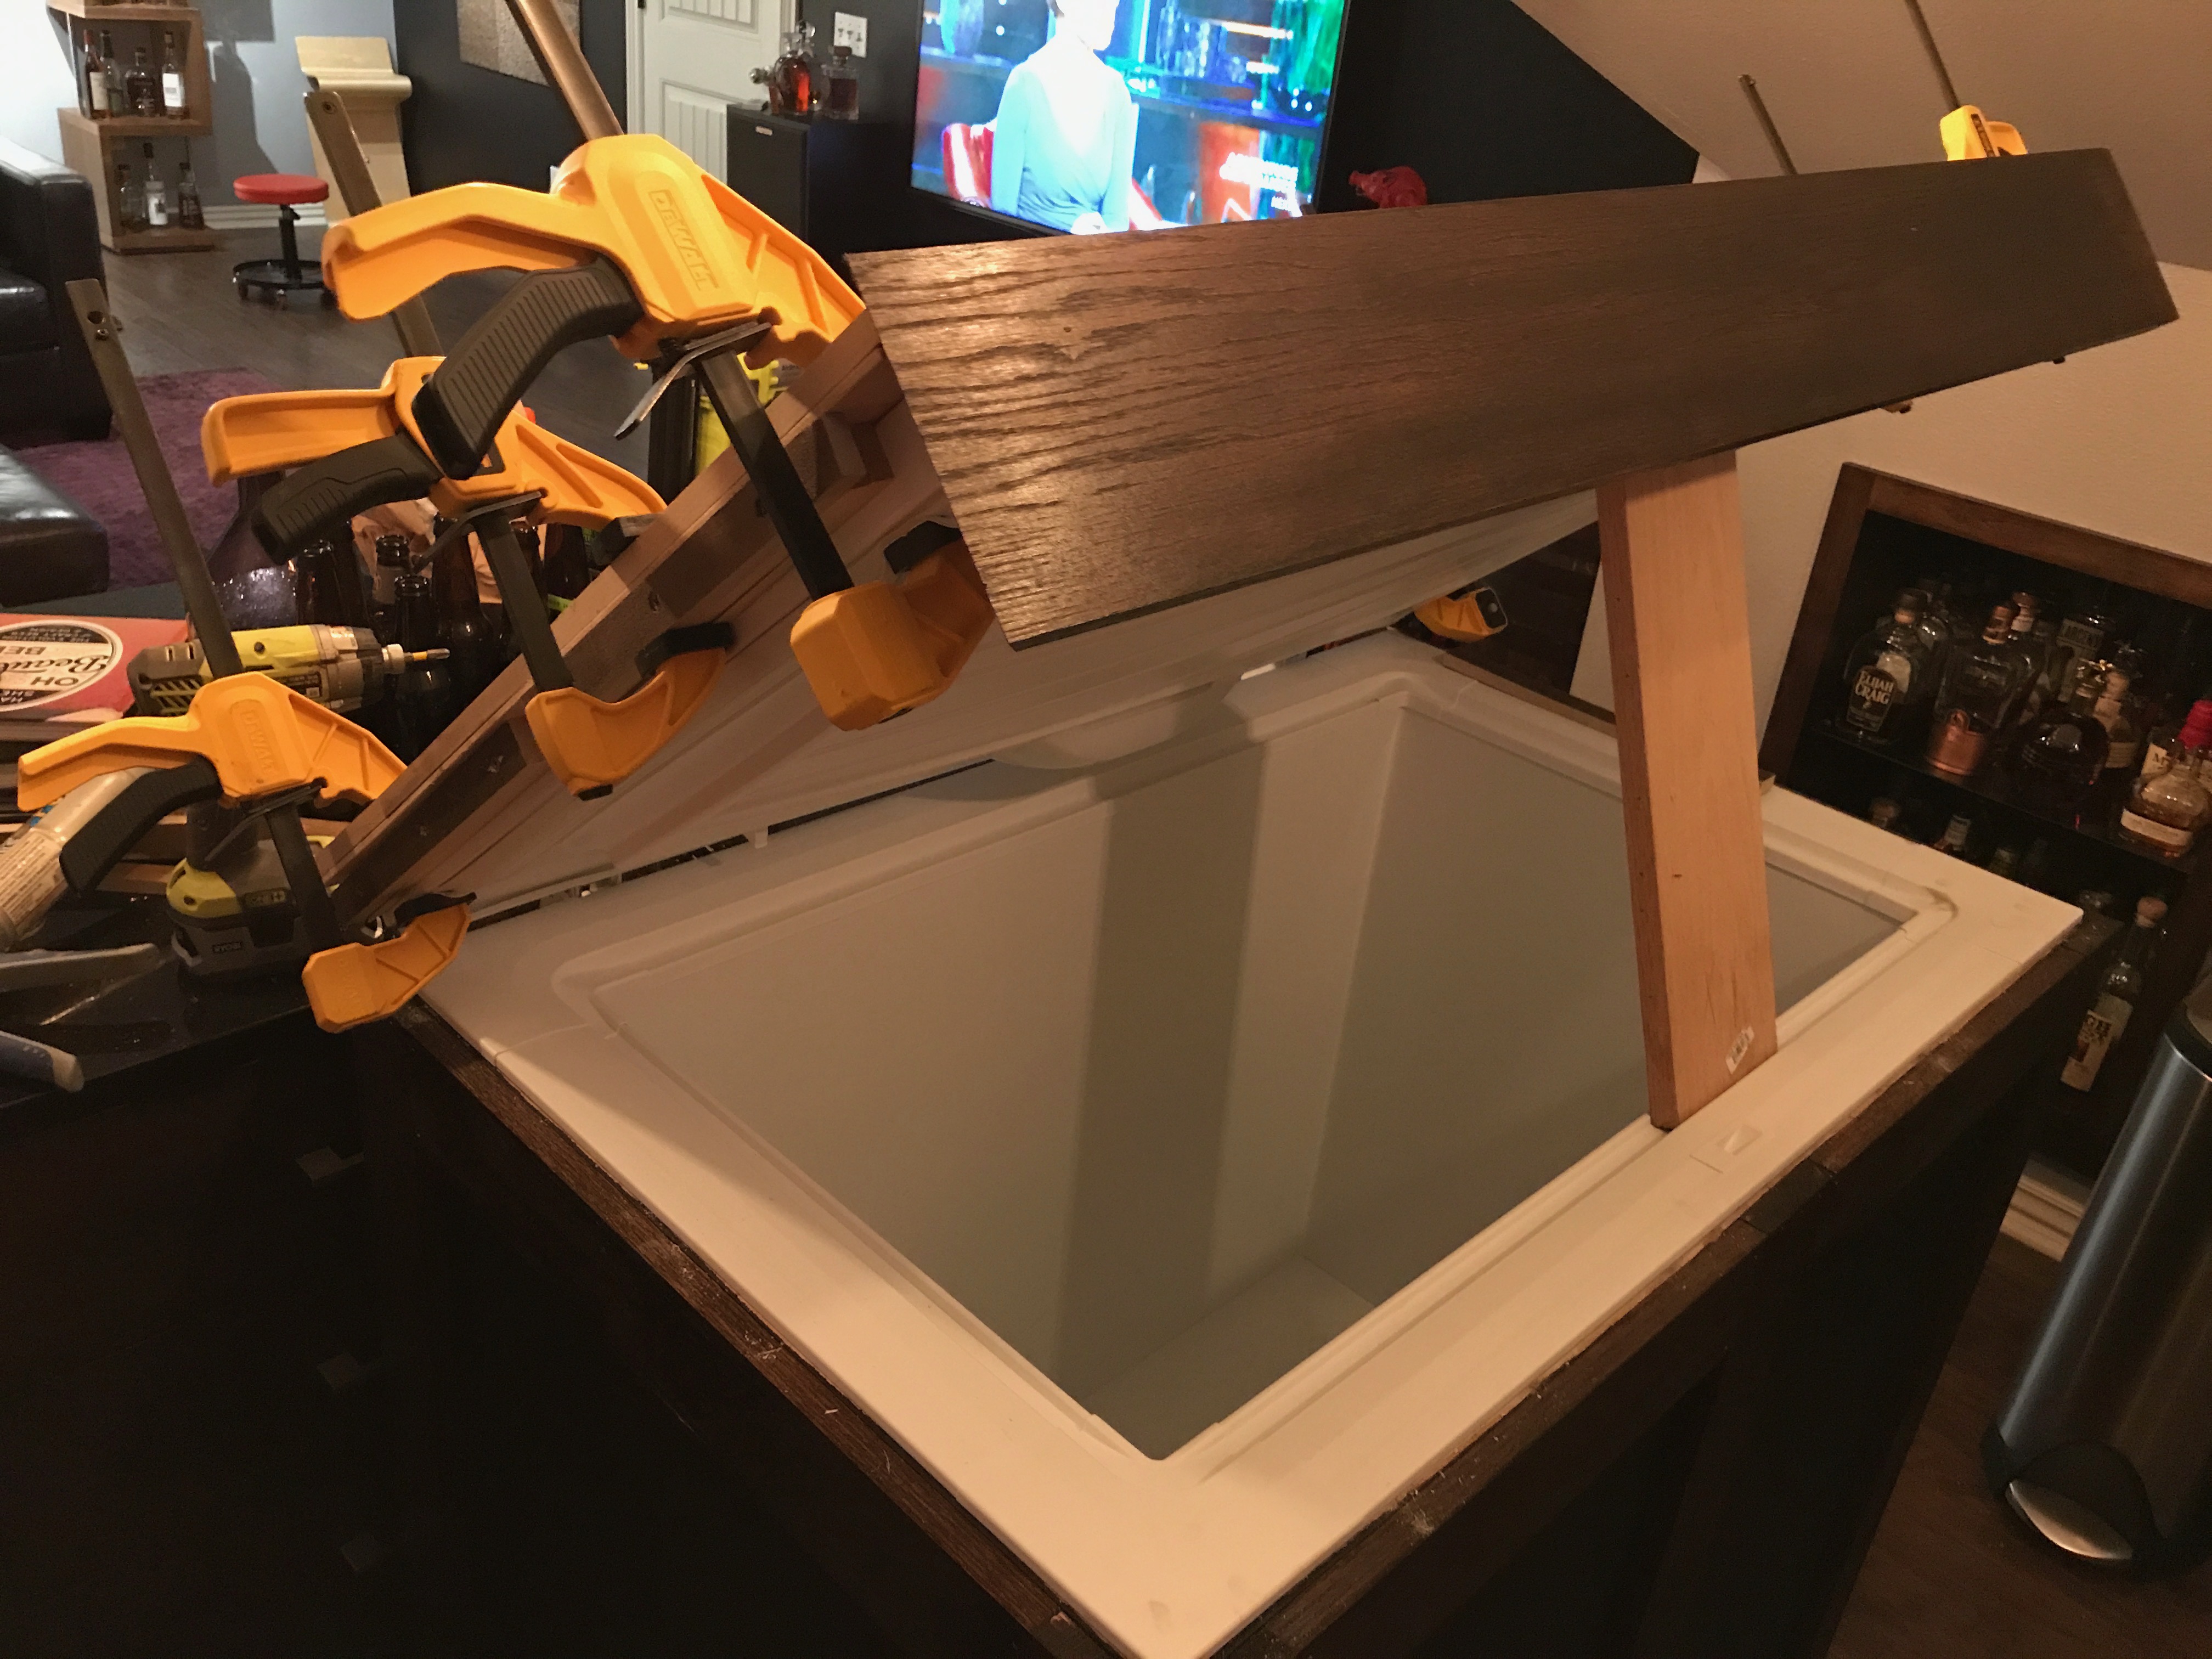
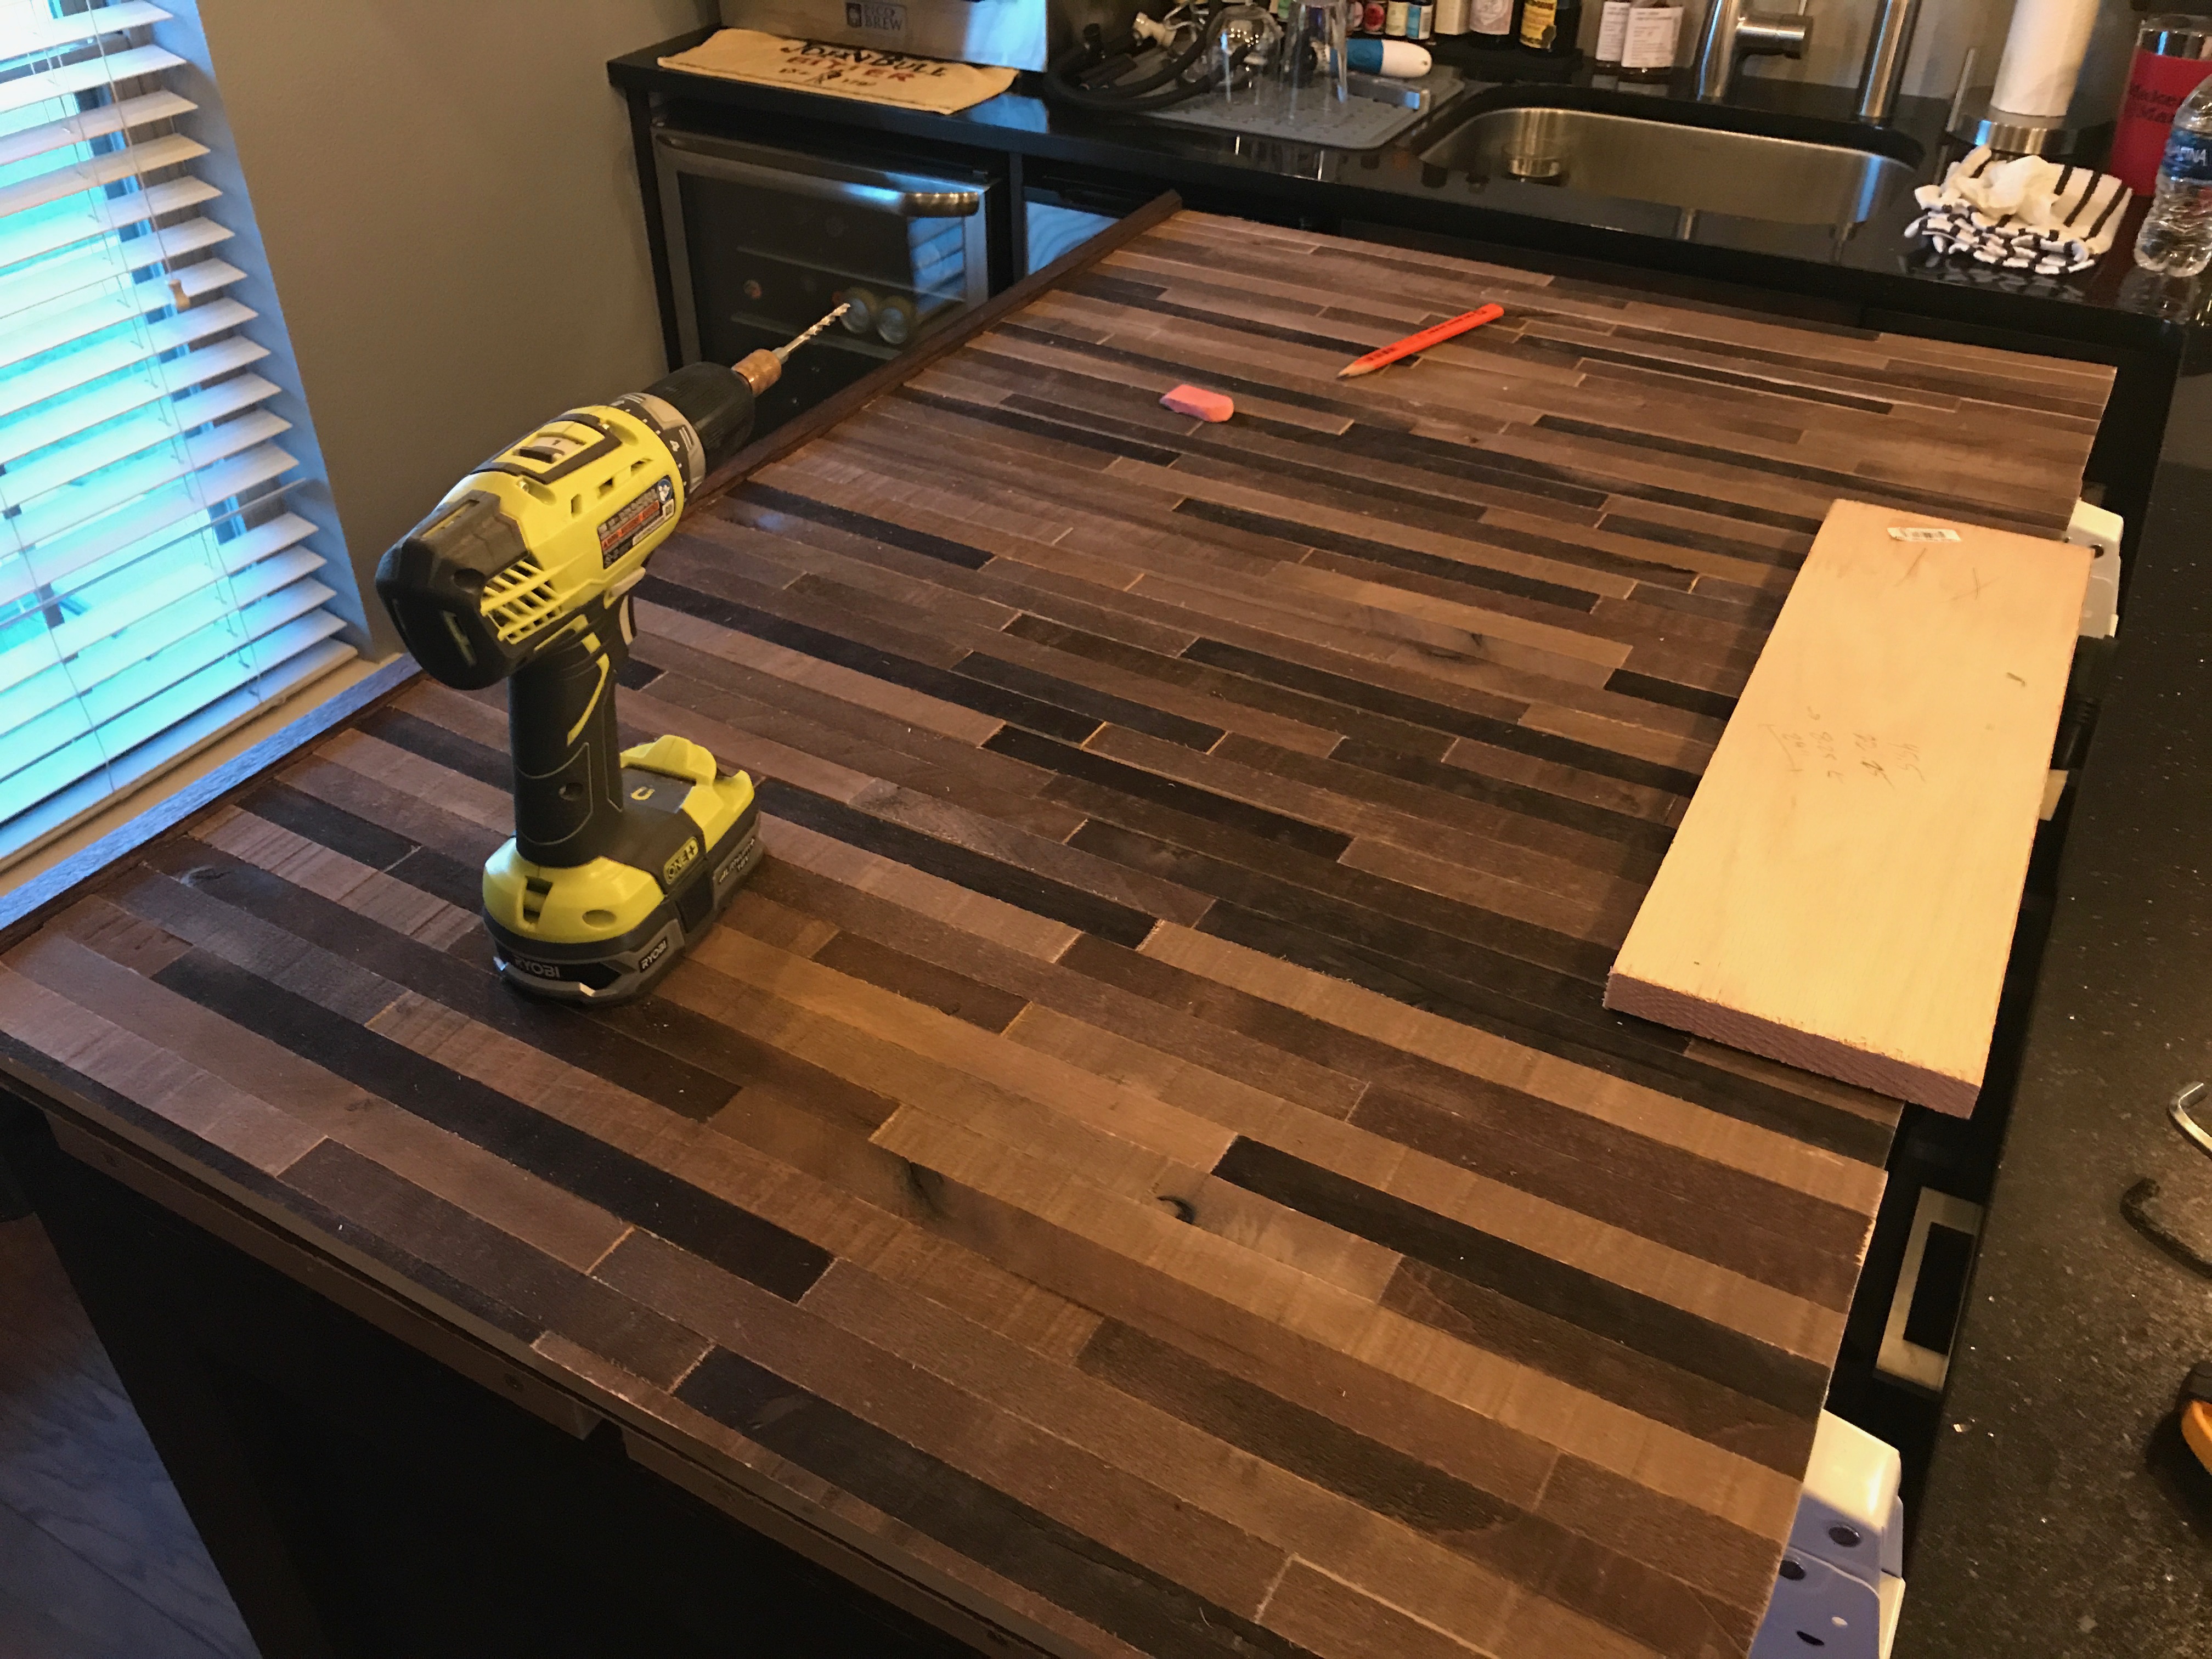
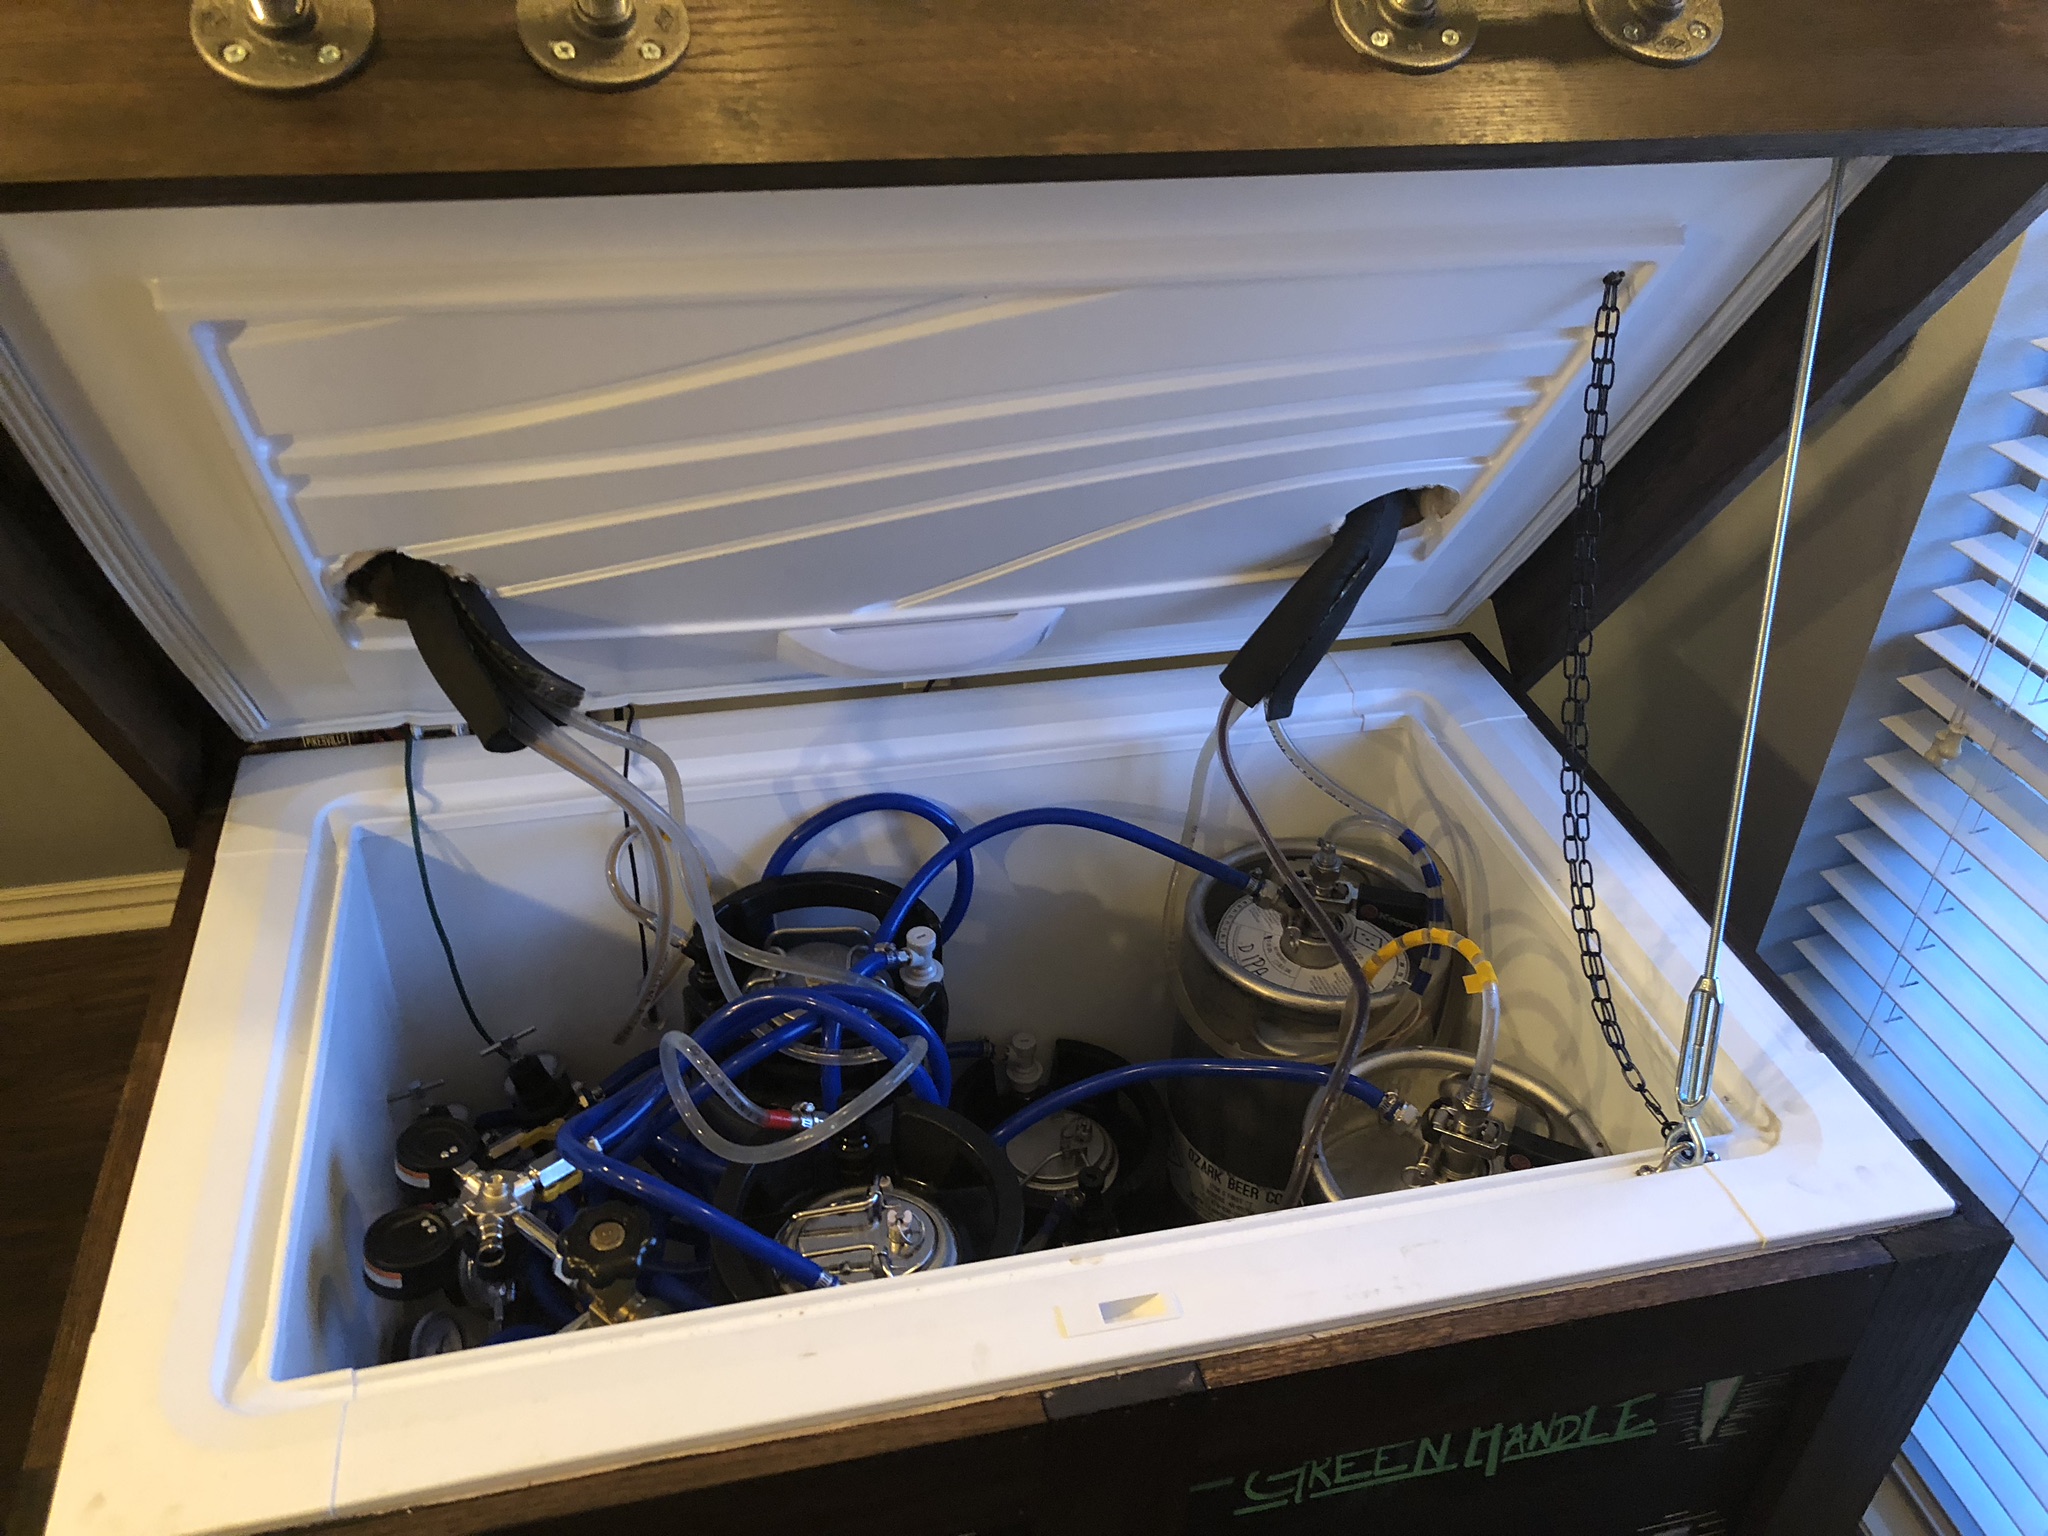
Then the woodwork started. I did pretty simple cuts and staining for the trim. I used birch plywood for the panels and painted it with chalkboard paint. I glued and used small screws to attach the birch to the freezer, then attached the trim. My brother-in-law helped me route paths in the birch for the ventilation. By some miracle, the routed slots lined up perfectly with the vent slots.


(Continued in next post)
First, the finished product:

So, I started by making a rolling base. I later had to find a way to cut it off because the swivel wheels hit the trim work and created issues. I replaced it with 2 small furniture dollies, which work wonderfully. So, my advice would be to do that up front. They are cheap at Harbor Freight and super easy.

I then bought some 2" black pipe and fittings from Grainger (expensive) and cut a rectangle section out of the long piece. I found an old muffler pipe that was scrap at a friend's place, ground it clean and cut it in a size just larger than the slot in the pipe. I had to tap the pipe and drill the cover to fit properly. It was a hair away from not fitting, but I got lucky.
Note that to cut the pipe, we tried a plasma torch first, but went with a grinder in the end to get a better (smoother) cut.


Following the cutting, I used a drill press and carefully drilled the holes in the cover for my faucets.
Then the woodwork started. I did pretty simple cuts and staining for the trim. I used birch plywood for the panels and painted it with chalkboard paint. I glued and used small screws to attach the birch to the freezer, then attached the trim. My brother-in-law helped me route paths in the birch for the ventilation. By some miracle, the routed slots lined up perfectly with the vent slots.


(Continued in next post)






![Craft A Brew - Safale S-04 Dry Yeast - Fermentis - English Ale Dry Yeast - For English and American Ales and Hard Apple Ciders - Ingredients for Home Brewing - Beer Making Supplies - [1 Pack]](https://m.media-amazon.com/images/I/41fVGNh6JfL._SL500_.jpg)


