
satph
Well-Known Member
I'm also planning to use an STC1000+ for the same purpose, e.g. to control my 600 bottle wine cabinet. Thus far, I've just been using its built in mechanical thermostat, but I'd like to have a digital confirmation of temp. BTW, do you have the probe in a wine bottle, or is this in the open air in the wine fridge?
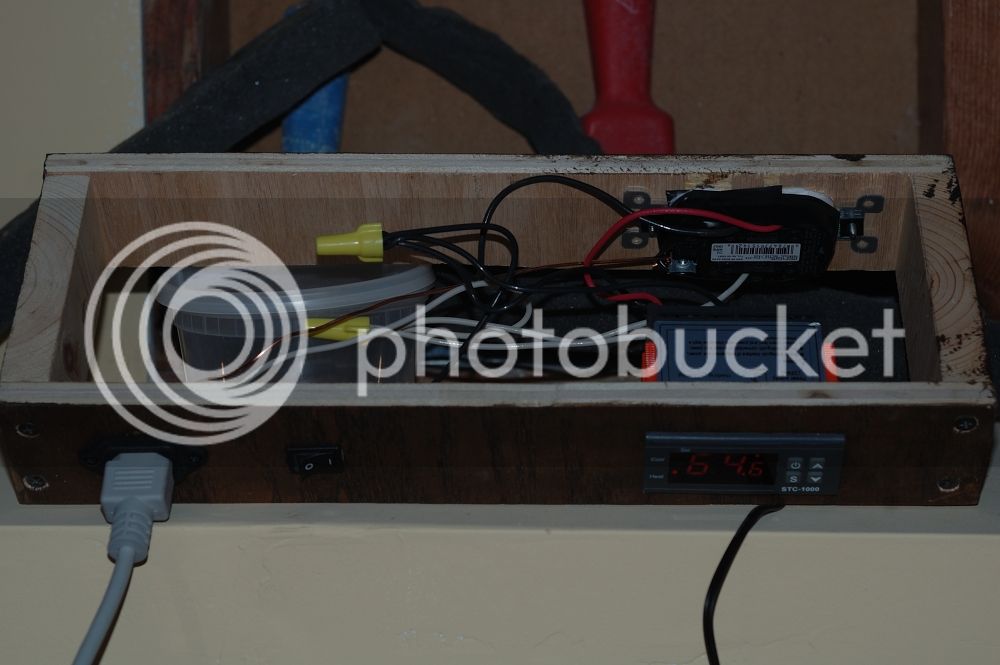
I turned the setting screw on the wine fridge to the lowest setting. I put the probe in a water bottle like this one:
Here are two pictures of my setup.
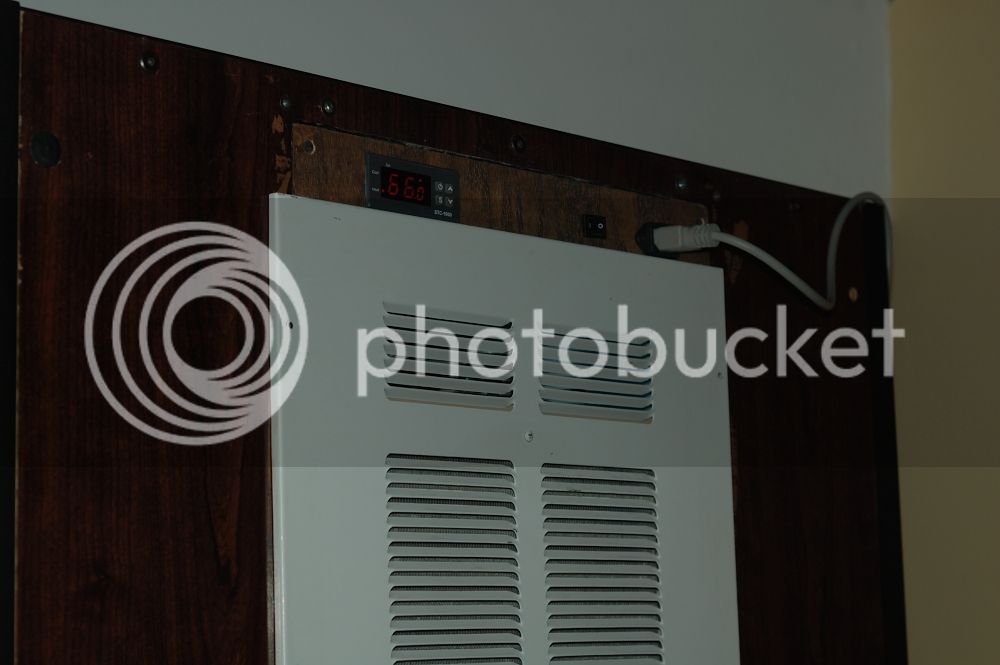
For now I set the hysteresis at 1°F to force a longer cycle time, but I'm going to swap out the STC-1000+ and reflash the unit to see if I can get the delay to work again.


![Craft A Brew - Safale S-04 Dry Yeast - Fermentis - English Ale Dry Yeast - For English and American Ales and Hard Apple Ciders - Ingredients for Home Brewing - Beer Making Supplies - [1 Pack]](https://m.media-amazon.com/images/I/41fVGNh6JfL._SL500_.jpg)


