I just made an upgrade to my unit. First it can be a no-sparge or sparge system. My HLT is a 10gal beverage cooler on a rolling cart (not pictured). The sparge water can be gravity fed or I can use the wort pump. I simply raise the inner MT to control the draining of the wort and I can immerse it again if I want. It uses a 110v electric hoist mounted in my garage (makes emptying the grain easy!). I've had the base system for a couple of years now and it is simply a 10gal MT with the bottom cut out and a perforated false bottom. The MT sits inside a 15gal BK. I fill the BK using the sight glass, heat the strike water and then lower in the MT and turn on the pump. As I pour in the grain, I let the recirculating water wet the grain kinda like a hydrator in production brewery.
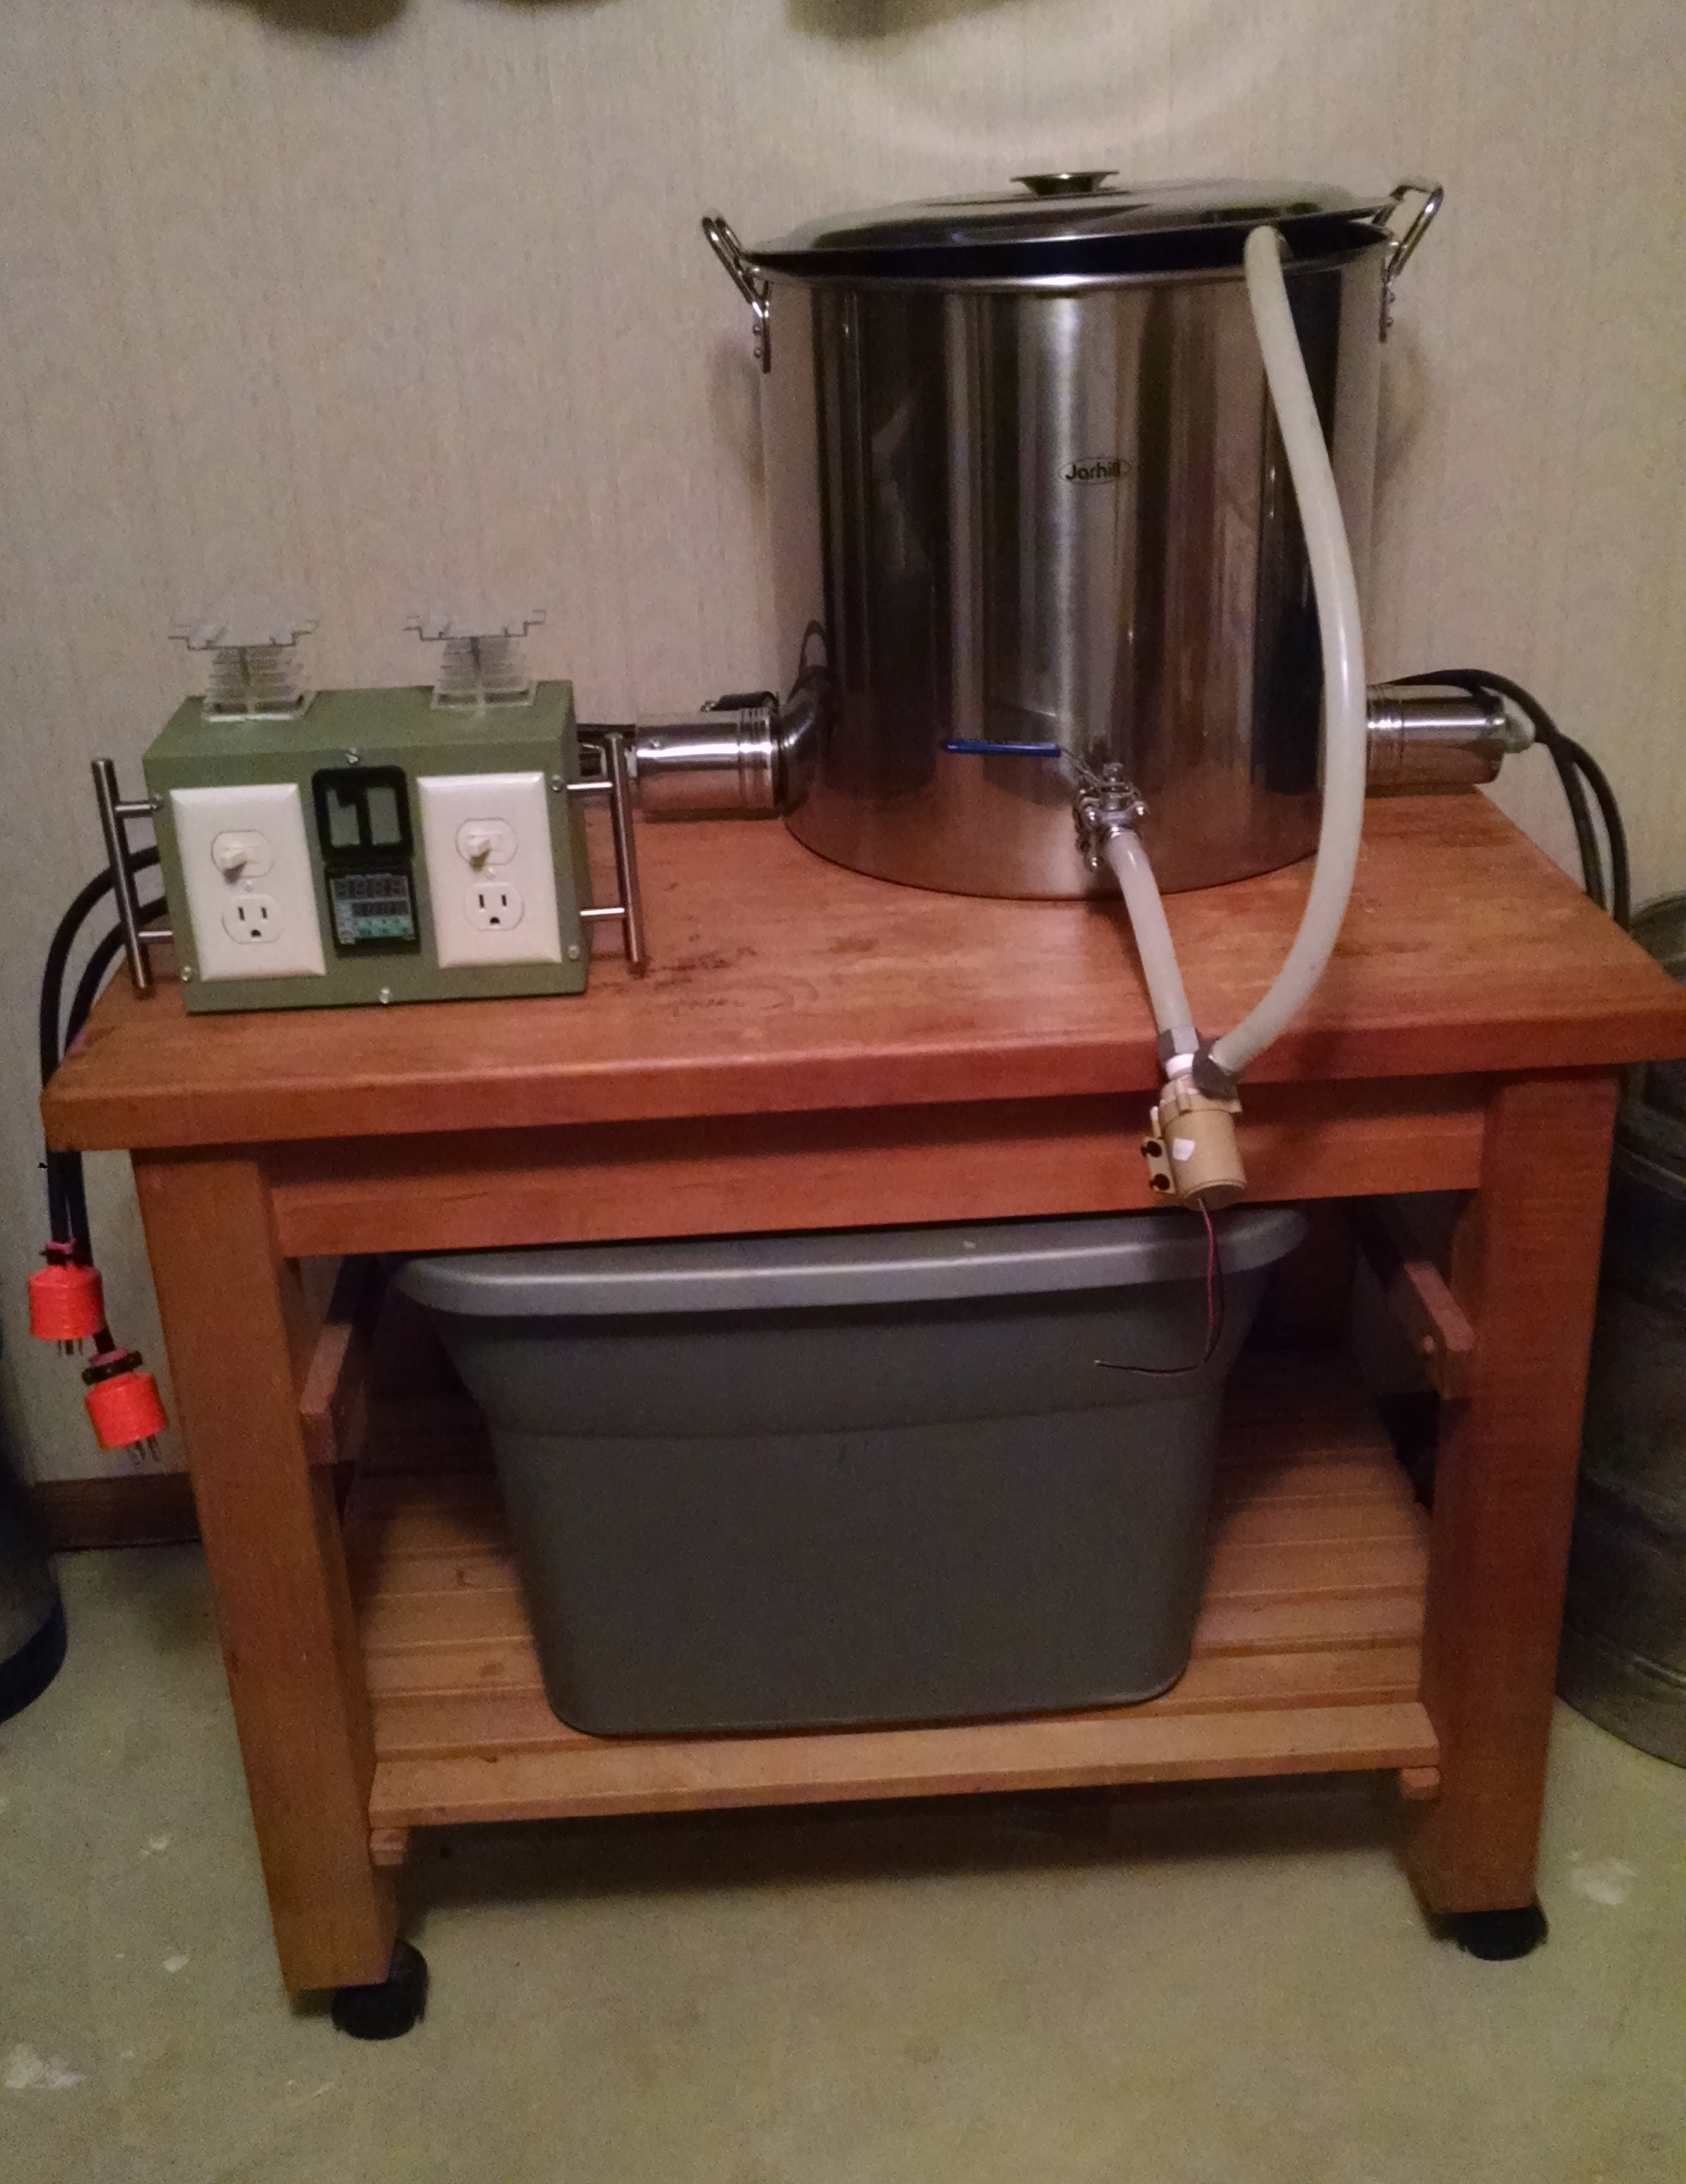
The "upgrade" is the pump cart with the RIMS PID. Before, I was using a rolling tool cart that had everything mounted and two 10gal beverage coolers on top. I was also using an Auber Sous Vide PID but that recently stopped working. The cart with everything mounted worked great, but it was bulky and between it and the single burner brew stand, I was always tripping over a power cord or a beer hose hose or a propane hose. The heat exchanger is something I've had a while. The 1" PVC is easy to work with, sturdy, light and cheap. BTW, I was looking for a more "elegant" way of mounting the RIMS tube (from BobbyM), but it made removal for cleaning more cumbersome. So, I used the clamps and they have not failed me yet. BTW, I realize the RIMS tube is on upside down, but that is just for the photo")


The "upgrade" is the pump cart with the RIMS PID. Before, I was using a rolling tool cart that had everything mounted and two 10gal beverage coolers on top. I was also using an Auber Sous Vide PID but that recently stopped working. The cart with everything mounted worked great, but it was bulky and between it and the single burner brew stand, I was always tripping over a power cord or a beer hose hose or a propane hose. The heat exchanger is something I've had a while. The 1" PVC is easy to work with, sturdy, light and cheap. BTW, I was looking for a more "elegant" way of mounting the RIMS tube (from BobbyM), but it made removal for cleaning more cumbersome. So, I used the clamps and they have not failed me yet. BTW, I realize the RIMS tube is on upside down, but that is just for the photo


![Craft A Brew - Safale S-04 Dry Yeast - Fermentis - English Ale Dry Yeast - For English and American Ales and Hard Apple Ciders - Ingredients for Home Brewing - Beer Making Supplies - [1 Pack]](https://m.media-amazon.com/images/I/41fVGNh6JfL._SL500_.jpg)