• Please visit and share your knowledge at our sister communities:
  • If you have not, please join our official Homebrewing Facebook Group!

    Homebrewing Facebook Group

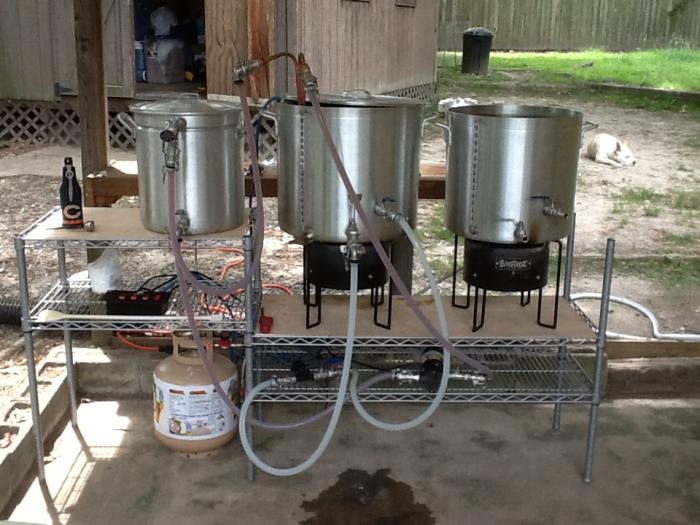
Show us your sculpture or brew rig

Homebrew Talk

Help Support Homebrew Talk:

This site may earn a commission from merchant affiliate links, including eBay, Amazon, and others.
Thanks Wbarber69 for the idea it does look good!

Good looking set up Vetter I bet it will make fine beer good luck with AG. To tell the truth you are probably a smarter man then me. Keeping it simple, clean and cheap. The one think I learned from my build is if it has marine, RV, or brewing in the title it will cost three times as much.
 
Does it utilize a Pid loop via milliamp signal?

Do what???:confused: J/K

It does have PID but not auto tune you have to manually set it up.

From the web page:

https://www.oscsys.com/projects/brewtroller/getting-started

BrewTroller uses Maxim DS18B20 1-Wire digital temperature sensors to monitor various temperatures in your brewing system. These sensors connect via a 1-Wire communication bus that uses a single data wire along with signal ground and bus power.
Each heat output can be configured to use On/Off or PID Mode. On/Off control simply turns off an output if the setpoint has been reached and turns on the output if the temperature falls below the setpoint. A hysteresis value is used to create a deadband and avoid rapid cycling of the output. The hysteresis will cause the output to remain off unless the value drops below the setpoint by more than the hysteresis value.

In PID mode the output operates with Pulse Width Modulation (PWM). You define the cycle time for the output (for example 1s) and the PID controller will control the duty cycle between 0-100%. At 75% power for a 1s cycle time the output will be turned on for 750ms and then off for 250ms, repeatedly. This functionality was designed to be used with electric heating elements in vessels and provides fine control of vessel heat.
 
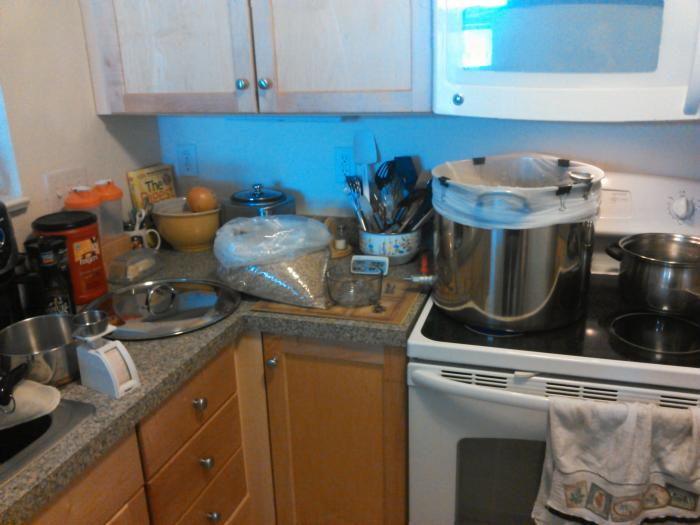
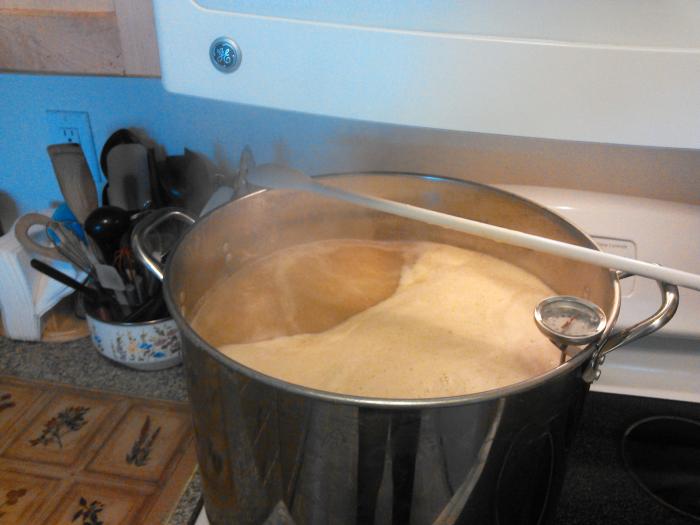
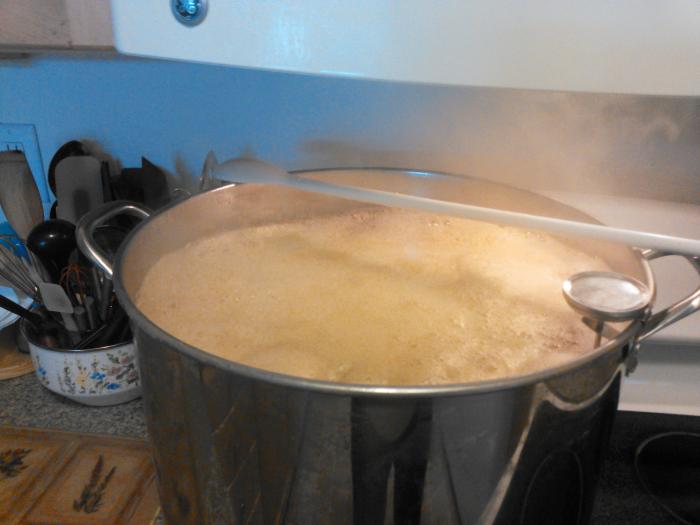
Here is my rigs. BIAB style

NCM_0013.jpg


NCM_0035.jpg


NCM_0038.jpg
 
Open ArdBir is project for process automation for “all grain” beer production with a single vessel (BIAB/RIMS) system.

https://m.facebook.com/pages/Open-Ardbir/606829852720387?_rdr

The micro controller “Arduino Uno” is the core of the automation process and can be used in both a fully automatic or manual mode. The controller automates all the phases from mashing in the grain to boiling the wort, this includes any required hop additions.

The controller delivers all these capabilities in a simple easy to follow and logical manner for beginner and advanced home-brewers alike. The system interacts and can be programmed via 4 Push Buttons, and an LCD feeds back all the relevant information the user needs in all the phases, whether used while setting or running the system.

A shield was developed in order to connect a Temperature Probe; SSR relay for controlling a heating element; Pump Relay; Signal Buzzer; along with the LCD display and 4 Push Buttons.

Enjoy
Davide


Could you explain the third photo? It looks like a way to distribute your sparge water but I don't understand the rod and metal bar that goes across.
 
ImageUploadedByHome Brew1400178312.364606.jpg

I put this together on the fly last night with some scrap wood. Fly sparging is incredible!!


Sent from my iPhone using Home Brew
 
Here's my current set-up. I've kept it pretty simple since moving to all-grain. I made a simple fly sparge arm using PEX tubing my builder threw in the dumpster and I included a pic by itself if anyone is interested in replicating the design. I'm waiting on my Stout system to arrive this summer so I can make the switch to electric, but this basic system has made 11 great beers so far.
ImageUploadedByHome Brew1400335792.261520.jpgImageUploadedByHome Brew1400335823.880031.jpgImageUploadedByHome Brew1400335842.026764.jpg


Sent from my iPhone using Home Brew
 
Here's my current set-up. I've kept it pretty simple since moving to all-grain. I made a simple fly sparge arm using PEX tubing my builder threw in the dumpster and I included a pic by itself if anyone is interested in replicating the design. I'm waiting on my Stout system to arrive this summer so I can make the switch to electric, but this basic system has made 11 great beers so far.
View attachment 199945View attachment 199946View attachment 199948


Sent from my iPhone using Home Brew


Nice! Well done on the spare arm! I was thinking of building something very similar. And a little off topic; I like your granite countertops. Lol. We have almost the exact same ones in our house.


All work and no beer make me a dull boy...
 
Here's my current set-up. I've kept it pretty simple since moving to all-grain. I made a simple fly sparge arm using PEX tubing my builder threw in the dumpster and I included a pic by itself if anyone is interested in replicating the design. I'm waiting on my Stout system to arrive this summer so I can make the switch to electric, but this basic system has made 11 great beers so far.

That's the same sparge device I came up with, except I put the holes in the bottom, and a T near the bottom of the center post for the water to enter from. I also made a cross member to go across the top of my mash tun, and the center post of the device goes through a hole in the cross member, so I can adjust the height of the sprinkler to be right at the top of the grain bed.
 
Here's my current set-up. I've kept it pretty simple since moving to all-grain. I made a simple fly sparge arm using PEX tubing my builder threw in the dumpster and I included a pic by itself if anyone is interested in replicating the design. I'm waiting on my Stout system to arrive this summer so I can make the switch to electric, but this basic system has made 11 great beers so far.
View attachment 199945View attachment 199946View attachment 199948


Sent from my iPhone using Home Brew

So do you just place the sparger right in top of grain?
 
It's hard to see the brass pipe clamp I have around the pex tubing in the first and second above pics while brewing but the wood piece across the MT is there so that I can adjust and lower the sparger. I just snapped the pic below to better see the setup
ImageUploadedByHome Brew1400355670.671821.jpg
ImageUploadedByHome Brew1400355734.471109.jpg


Sent from my iPhone using Home Brew
 
Just out of curiosity what size square tubing is every body using for their rigs, dimensions and thickness would be greatly appreciated. Trying to decide whether to go steel or wood.
 
Just out of curiosity what size square tubing is every body using for their rigs, dimensions and thickness would be greatly appreciated. Trying to decide whether to go steel or wood.

One inch steel tubing is what we used..plenty strong enough.
 
Just out of curiosity what size square tubing is every body using for their rigs, dimensions and thickness would be greatly appreciated. Trying to decide whether to go steel or wood.

I used 1 inch square for some portions and 1 inch angle for others. the thing hasn't collapsed on me yet so I think it is strong enough...
 
So this is my first post on HBT been hiding out getting ideas from the never ending supply of knowledge here. Over the last few months (well since the beginning of the new year) I have been slowly but surely getting everything I need to start brewing. Now unlike most folks (I'm sure most of y'all started out with extracts) I am diving head first and going straight to all grain. These pictures hopefully show most of the items I have as of right now. ImageUploadedByHome Brew1400649351.096234.jpg

Sorry for the crappy cell pictures !

ImageUploadedByHome Brew1400649464.074270.jpg

I have 72 brand new bomber bottles and have kept over 100 craft beer bottles that I need to clean and de-label ( that's going to because fun one... Part of the experience lol)

The water filter I build from a thread off HBT wish I remembered who first came up with it. Cheers to you!

I still need a few things silicone tubing, camlocks, and a wort chiller ( still trying to decide CFC or Plate Chiller) if anyone has comments or suggestions or advice or 2 cents about what I have so far and what else I would need I'd greatly appreciate it. There are some things I haven't listed. But didn't feel the need to bore y'all to death completely!
Thanks!


Sent from my iPhone using Home Brew
 
I dove in and bought a plate chiller first. A CFC is way easier to keep clean.
 
Thanks for your replies, you wouldn't happen to recall the gauge of the tubing would you?[/QUOTE

If I were doing 1" square tube, I would go 1/8" or 10 gauge. I built mine out of 1 1/2" x 1/8" angle and it worked great. Cheap and good enough. :rockin:

Mine is over engineered by design. I used 2" x (1/8" thick) box tubing. It is an absolute beast as far as I'm concerned. Serious overkill for the 20 gallon kettles. My guess is that it could support 3x that amount.
 
I too did the 2 inch 1/8 square tubing. I could probably park a truck on my brew stand...


Sent from my iPad using Home Brew
 
Here is my currently manual, gas/electric hybrid HERMS. I've used it twice so far and love it. The only thing I'm frustrated with is long chilling times (30+ minutes) causing poor cold break.

photo (2).jpg
 
Here is my currently manual, gas/electric hybrid HERMS. I've used it twice so far and love it. The only thing I'm frustrated with is long chilling times (30+ minutes) causing poor cold break.

yeah, I gave up on my IC a long time ago. In addition to a long chilling time, I noticed that the hose connections always leaked a little and I was afraid water may drip into my BK and contaminate my wort. I now use a 40-plate heat excchanger. I also use my old 10-gallon Coleman beverage dispensing cooler as an ice reservoir. I fill it with 3 bags of ice and water and then recirculate through the heat exchanger with my 2nd pump. My wort comes out so cold that I have to turn the flow down very low. Three bags of ice has been perfect for the job and cost me less than $3.

They are more difficult to clean, but the result is so much better. When I'm finished, I run 180F+ water through the exchanger. Sometimes I pump some StarSan through it, but the hot water is normally enough. Before I brew again, I run another round of hot water through it or use my pump sprayer to pump Star San through until it runs out the other end. I even bought a 20-plate chiller to use as a backup or a prechiller, but so far, I have not needed it. I need to figure out a use for that thing.
 
Back
Top