sloanfamilydsm
Well-Known Member
Your pics are upside down.

Your pics are upside down.


Here are some images of the rig I built. My main goal was to have on board storage and as much as possible in one place. After many many hours of research on this forum, and others, this is the final
My version of the Hop Spider.


Welderbyday - looks awesome! What size are the two large kettles? Are they Concord brand?


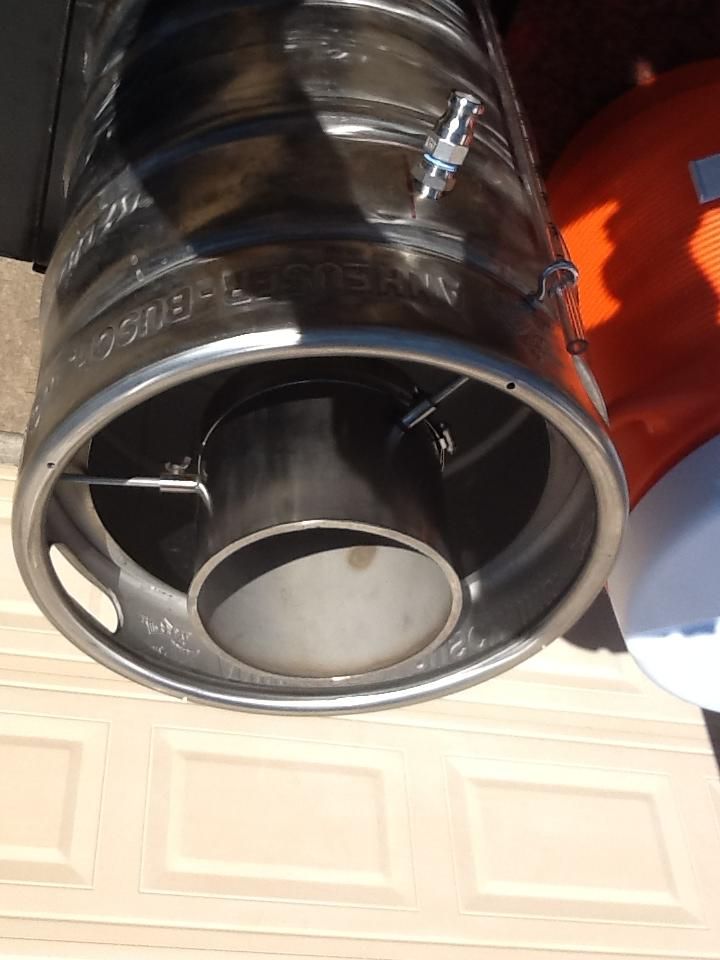
Hear is My 5 gallon system going to go bigger in time.
Hear is My 5 gallon system going to go bigger in time.
Hear is My 5 gallon system going to go bigger in time.
Nice, has that TP-Link wireless bridge worked well for you? I have the netgear bridge and it loses connection from inside the box during brews, really annoying. I have to leave the door open on the box during brewing, which kinda defeats the purpose of buying a NEMA enclosure. If that TP-Link bridge works with the box closed, I'm gonna get one.
Sent from my iPhone using Home Brew
Hear is My 5 gallon system going to go bigger in time.
 , done with struts, burners mounted, now waiting for the hardware for the plumbing and figure out how to mount the 2 chuggers.... took me all week with about 3 hrs everynight after work, can't wait to pop her cherry

Used it for the first time yesterday. I think the thermometer in the mash is too low. It made 10 gallons of beer anyhow. I added a cover for the pump motor as suggested by another member.
Used it for the first time yesterday. I think the thermometer in the mash is too low. It made 10 gallons of beer anyhow. I added a cover for the pump motor as suggested by another member.


![Craft A Brew - Safale BE-256 Yeast - Fermentis - Belgian Ale Dry Yeast - For Belgian & Strong Ales - Ingredients for Home Brewing - Beer Making Supplies - [3 Pack]](https://m.media-amazon.com/images/I/51bcKEwQmWL._SL500_.jpg)


