• Please visit and share your knowledge at our sister communities:
  • If you have not, please join our official Homebrewing Facebook Group!

    Homebrewing Facebook Group

Frozen yeast bank procedure

Homebrew Talk

Help Support Homebrew Talk:

This site may earn a commission from merchant affiliate links, including eBay, Amazon, and others.

Tony B

Stony Ridge Brewing
HBT Supporter
Joined
Feb 2, 2024
Messages
510
Reaction score
1,712
Location
San Diego Ca
Frozen Yeast Bank SOP

In another thread, I was asked by a member to write down my process for creating a frozen yeast bank.

This is the SOP I have established through my own research and experience. I'm definitely not promoting this as the only way or best way, but it works for me. With cleanliness and sanitization being of utmost importance in every step, I have had excellnt results and no infections.


Equipment, items required

  1. 2-5 Liter Erlenmeyer flask Borosilicate or Pyrex
  2. Stir plate. Optional but recommended. About $20 on Amazon
  3. 10+ 15ml plastic vials. Test tubes or centrifuge. Screw top recommended. About $13 on amazon depending on quantity.
  4. Stock pot
  5. Accurate scale
  6. 1 qrt freezer bags
  7. Sealable container large enough to fit 10 vials +
  8. Aluminum foil
  9. Small mason jar
  10. Bottle isopropyl alcohol
  11. 10 ml Syringes. Sterile
  12. Starsan
  13. Spray Bottle
  14. Thermometer
  15. Funnel. Optional
  16. Heat resistant gloves or pads.


Ingredients

  1. Yeast pack. Liquid or dry
  2. DME.
  3. Yeast nutrient
  4. Olive oil. Optional
  5. Glycerin
  6. Water


SOP


This process takes 2-3 hours over the course of 5-6 days.


Day 1


I usually brew on Friday night or Saturday morning, so I start this process on Monday or Tuesday night. If making starter from frozen vial, see note at end.

  1. Make a 1.5L, 1.037ish starter with lab packaged yeast. I use 151g of DME and with boil off, end up with about 1.5L of 1.037 wort.
  2. Remove yeast from fridge.
  3. Collect about 1.7L water in Flask. Pour 3/4 of the water into stock pot and leave remainder in flask. Drop stir bar into flask if using stir plate. Loosely cover top of flask with starsan sprayed foil. Set flask and stock pot on separate burners. Heat flask at medium low and pot at medium high. Add 151g DME to pot while water is still cool and stir until dissolved. Stir well while heating and during boil.
  4. At start of boil add 1/8 tsp yeast nutrient and 1-2 drops of olive oil to pot.
  5. Boil pot and flask 10 minutes.
  6. After boil is complete, carefully pour wort from pot into flask. I use a sanitized funnel here. Use gloves or pads with hot containers.
  7. Set pot in sink and fill about 1/3 with cold water.
  8. Set flask in pot. Add ice to pot just above wort volume in flask. Don’t let flask float.
  9. Cool wort in flask to room temp, swirling flask to speed up cooling. I usually use my judgment as to when it’s cool, but a sanitized thermometer could help with this.
  10. At room temp, with sanitization in mind, remove foil from flask and pitch yeast into flask.
  11. Replace foil. Secure but not crimped too tight.
  12. Set flask on stir plate. Use lowest speed to maintain vortex. This will allow CO2 to escape. If not using stir plate, swirl vigorously and often over sink.
  13. Allow yeast to propagate for about 48 hours.


Day 2


Cryo preservative. This is used to prevent ice crystals from forming and destroying yeast cell walls durring freezing.

  1. Zero scale with small mason jar.
  2. To jar add about 100 ml water. Note weight. Add 25% of water weight in glycerin.
  3. Seal jar and set in stock pot with enough water to about half height of jar. Don’t let jar float.
  4. Put lid on pot and bring to a boil and boil for 10 minutes.
  5. Turn heat off and leave to cool until next day.


Day 3
Move flask to refrigerator to crash.


Day 4

  1. Ready all necessary supplies and equipment.
  2. Will need a bowl or open container to fill with Starsan solution. Spray bottle of Starsan solution. Small bowl or measuring cup. Vials. Vial holder. Syringe. Small flask or jar. Isopropyl alcohol. Sealable container that holds 10+ vials+ .
  3. Remove flask from fridge and gently pour off (decant) 95% of liquid. Try to pour off as much as you can without losing yeast.
  4. Swirl flask to put remaining liquid and yeast into a slurry.
  5. If vials are not sterile, fill a container with Starsan solution and sanitize vials and caps/ lids.
  6. Set 10+ vials in rack/holder for filling.
  7. Shake up cryo-preservative.
  8. Open sterile syringe and jar of cryo-preservative.
  9. Add about 75ml yeast slurry to small, sanitized bowl or measuring cup.
  10. Keep remaining slurry in flask or in separate, sanitized container for next batch and return to fridge.
  11. Use graduated syringe to add 6ml yeast slurry to each vial and top with 6ml cryo-preservative. Seal each vial with sanitized lids/ caps.
  12. Gently shake vials to mix slurry with cryo-preservative.
  13. Fill sealable container with sealed vials and isopropyl alcohol. Seal lid and place in freezer. Save alcohol container. The alcohol helps to ensure a slow and even freezing of the vials.
  14. Freeze for 24-48 hours.
  15. Discard remaing yeast slurry and cryo-preservative.


Day 5/6

  1. Remove container of vials/ isopropyl alcohol from freezer.
  2. Use sharpie to label 1 qt ziplock bag with strain type/ information.
  3. Pull vials from alcohol and dry with paper towel. Add vials to ziplock bag.
  4. Place bag with vials in freezer.
  5. Return alcohol to original container for later use. Funnel helps here.


*Making a starter from frozen vial

  1. Revome vial from freezer
  2. Follow day 1, starter method.
  3. When wort is cooled, vial should be thawed. Gently shake to ensure good mix and pitch into flask.


Ive found that it definitely takes 48hrs to fully propogate enough yeast from the small amount in a vial. I make a 1L ( 101g DME) starter for Kveik yeast, a 1.5L starter for standard ale yeasts and haven't yet tried a lager yeast, but would plan on either a 2L ( 202g DME) starter or 2 step starter for that.
I pour the entire starter into my 5-6 gallon batch of wort.
 
Last edited:
Wow, thank you very much for the detailed write down!

I wasn't expecting so much attention to detail.

I think I got actually everything at home that's needed, except for the vials.

Your Sir, just laid the foundation stone for a new private yeast bank!

Thank you very much!
 
Wow, thank you very much for the detailed write down!

I wasn't expecting so much attention to detail.

I think I got actually everything at home that's needed, except for the vials.

Your Sir, just laid the foundation stone for a new private yeast bank!

Thank you very much!
No worries. I started this early on in my brewing ( still pretty early on, really) to save money and it’s been that and more. Another way to be involved in the process.
 
My schedule is a bit off this week, but I’m planning to brew a warm/ pressure fermented lager this weekend and so made a starter of 34/70. I pitched a full pack into a 1.5L starter about an hour ago. It’s already taking off. I forgot how much faster it goes with a full yeast pitch.
I will probably crash this tomorrow night, make my vials on Saturday afternoon and brew a batch either Saturday night or Sunday morning with the remainder.
🍻
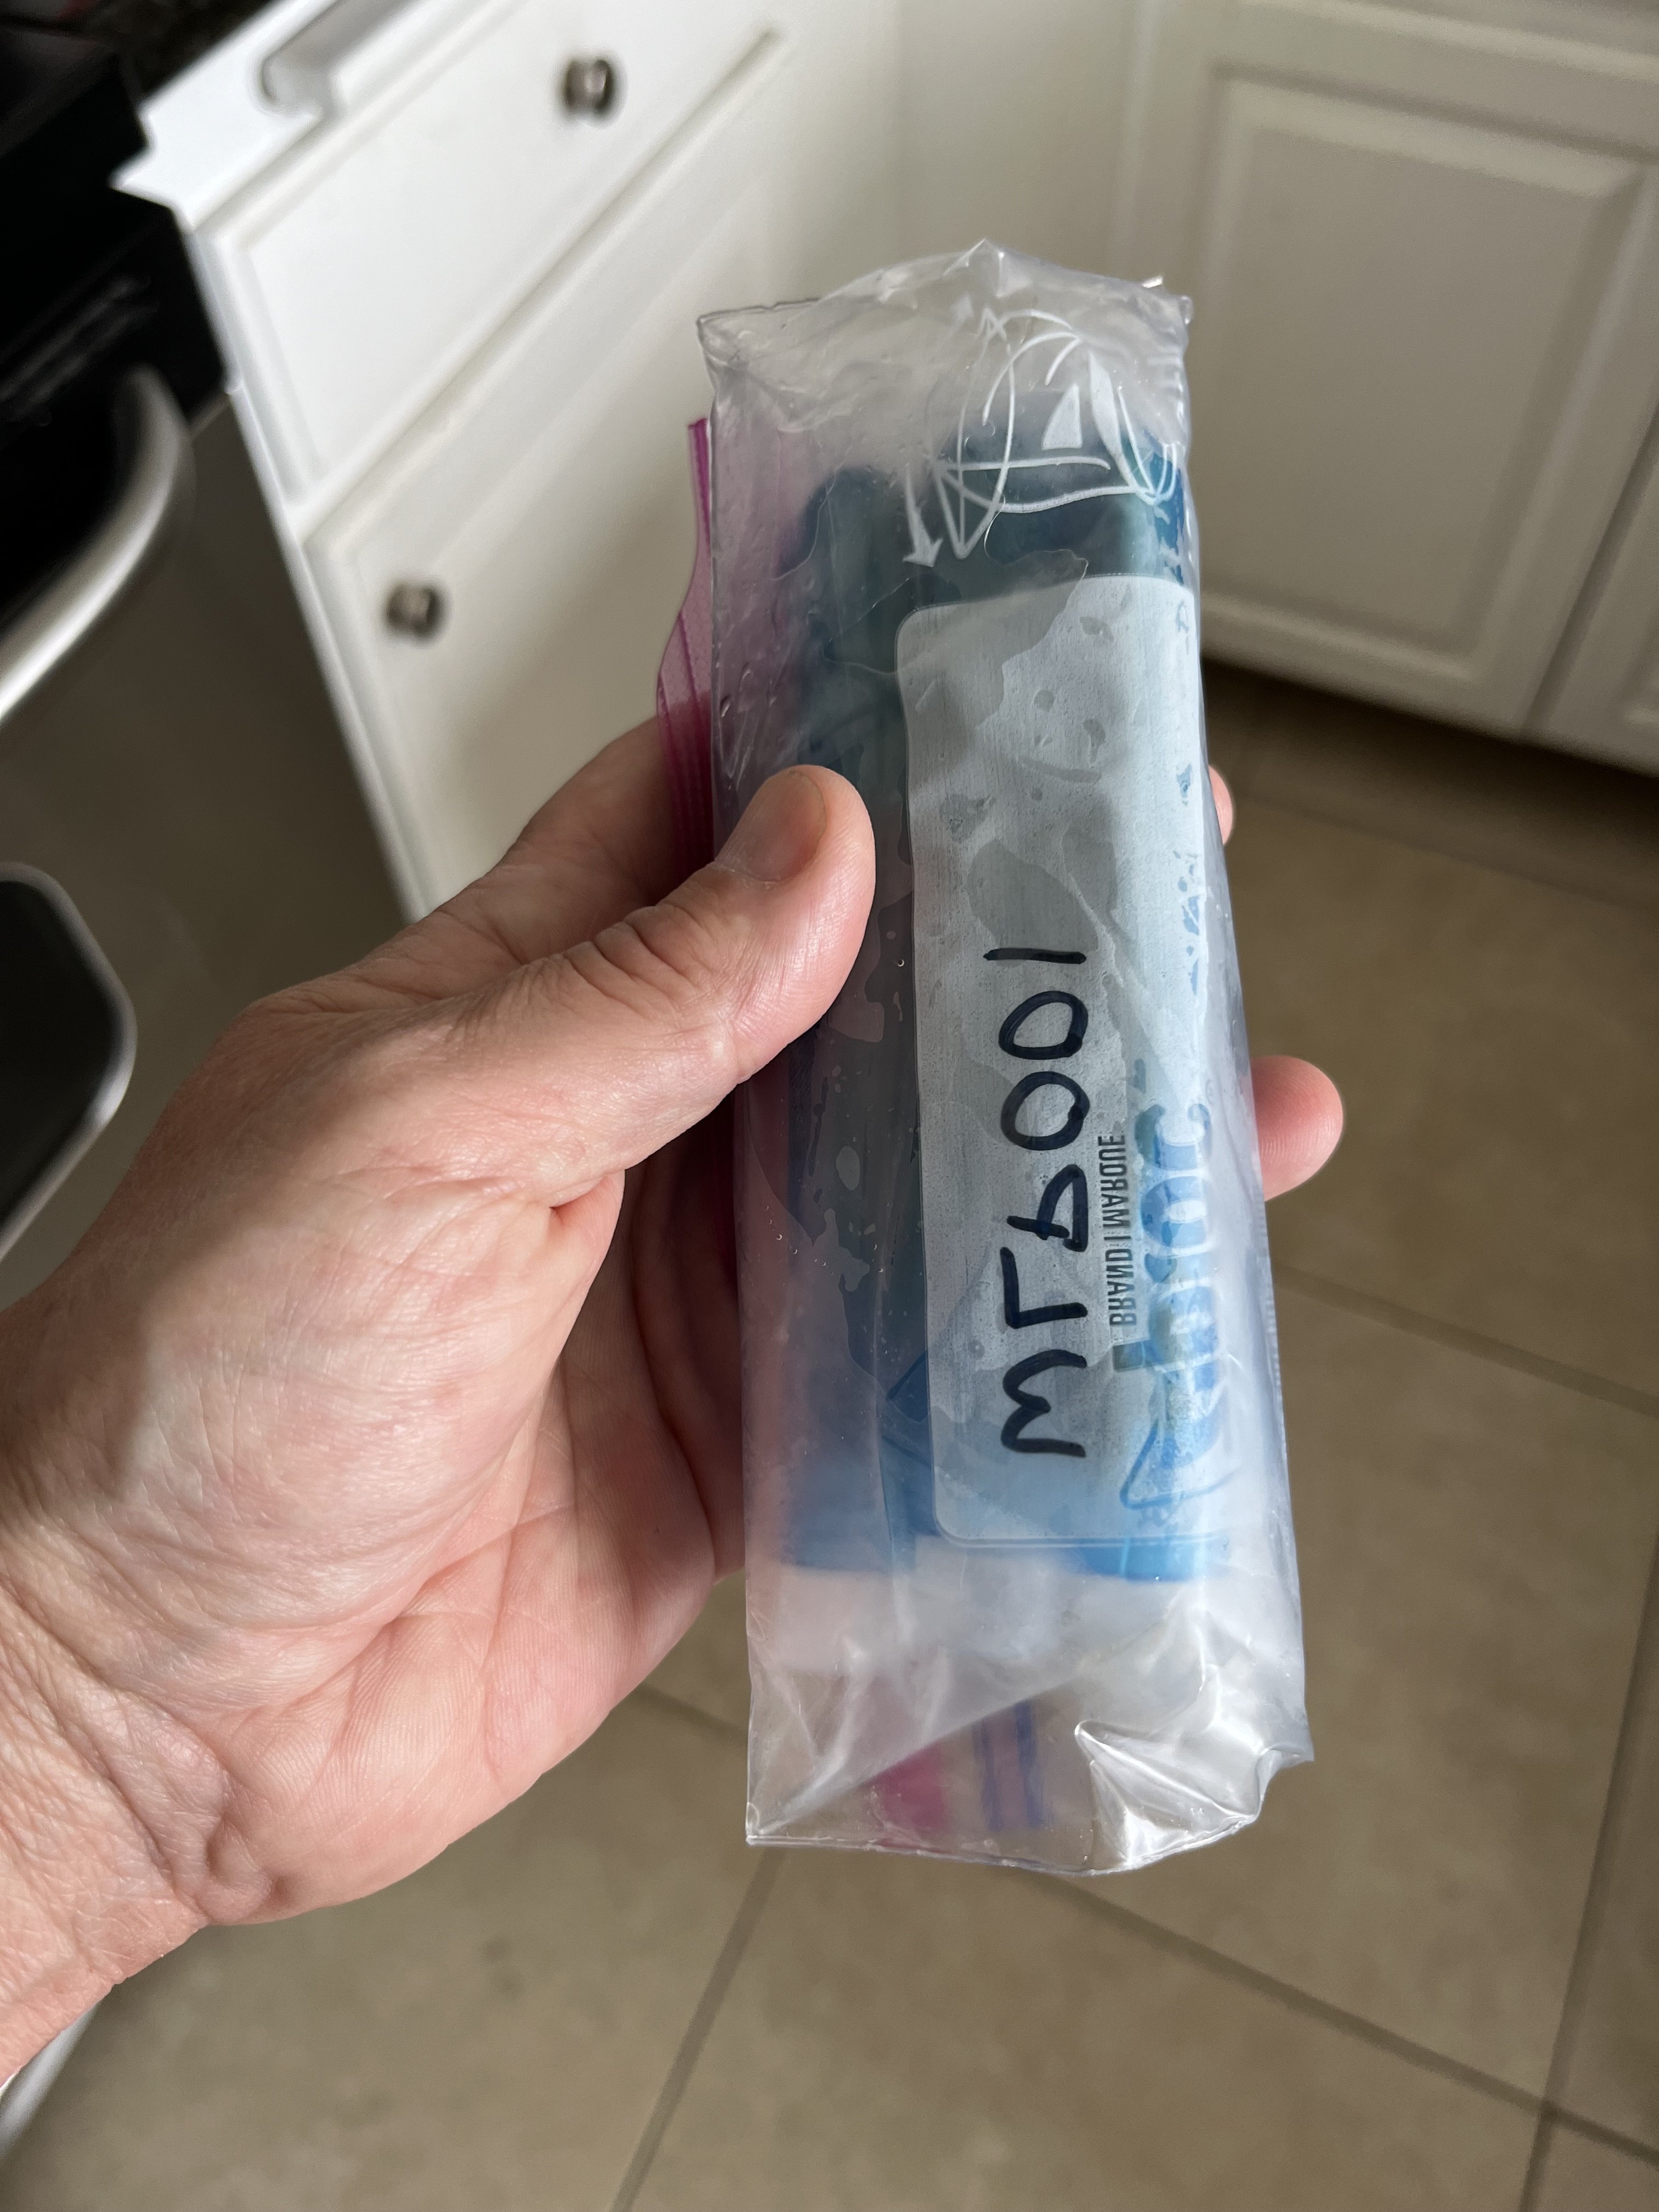
IMG_2115.jpeg
 
Last edited:
What kind of viability can you expect with this method? How long can I store it without taking age into consideration and what rate should I use? I assume the viability calculations from the various tools for fresh yeast packs include a higher rate of yeast death than frozen would?

Also do you have a glycerin you recommend? Any specifics I should look for regarding food grade and odorless/tasteless etc?
Great questions. I was using a yeast calculator when getting started, but really just guessing at cell counts and viability as I have no way of determining that. I have made vials of wlp-029 kolsch, wlp-001 Chico, omega lutra and wlp- 529 hornindal. I have made starters from frozen vials of all but the kolsch with the method above and had what I’m assuming is plenty of yeast propagation because my fermentations have taken off and finished quickly.
As for glycerin, I just bought what was on the shelf at the local CVS. I think it might be a plant based version. I’d have to check when I get home.

Hers a link to the yeast calculator I was using…
http://www.brewunited.com/yeast_calculator.php
 
This is so great, thanks! I'm just about to embark on this.

Does anyone keep any sort of tracking spreadsheet or anything?
 
This is so great, thanks! I'm just about to embark on this.

Does anyone keep any sort of tracking spreadsheet or anything?
I keep a detailed brewing notebook, but keep kicking myself for not having a yeast notebook. It’s on my list of things. For now it’s in my head.
Best of luck in your yeast bank. 🍻
 
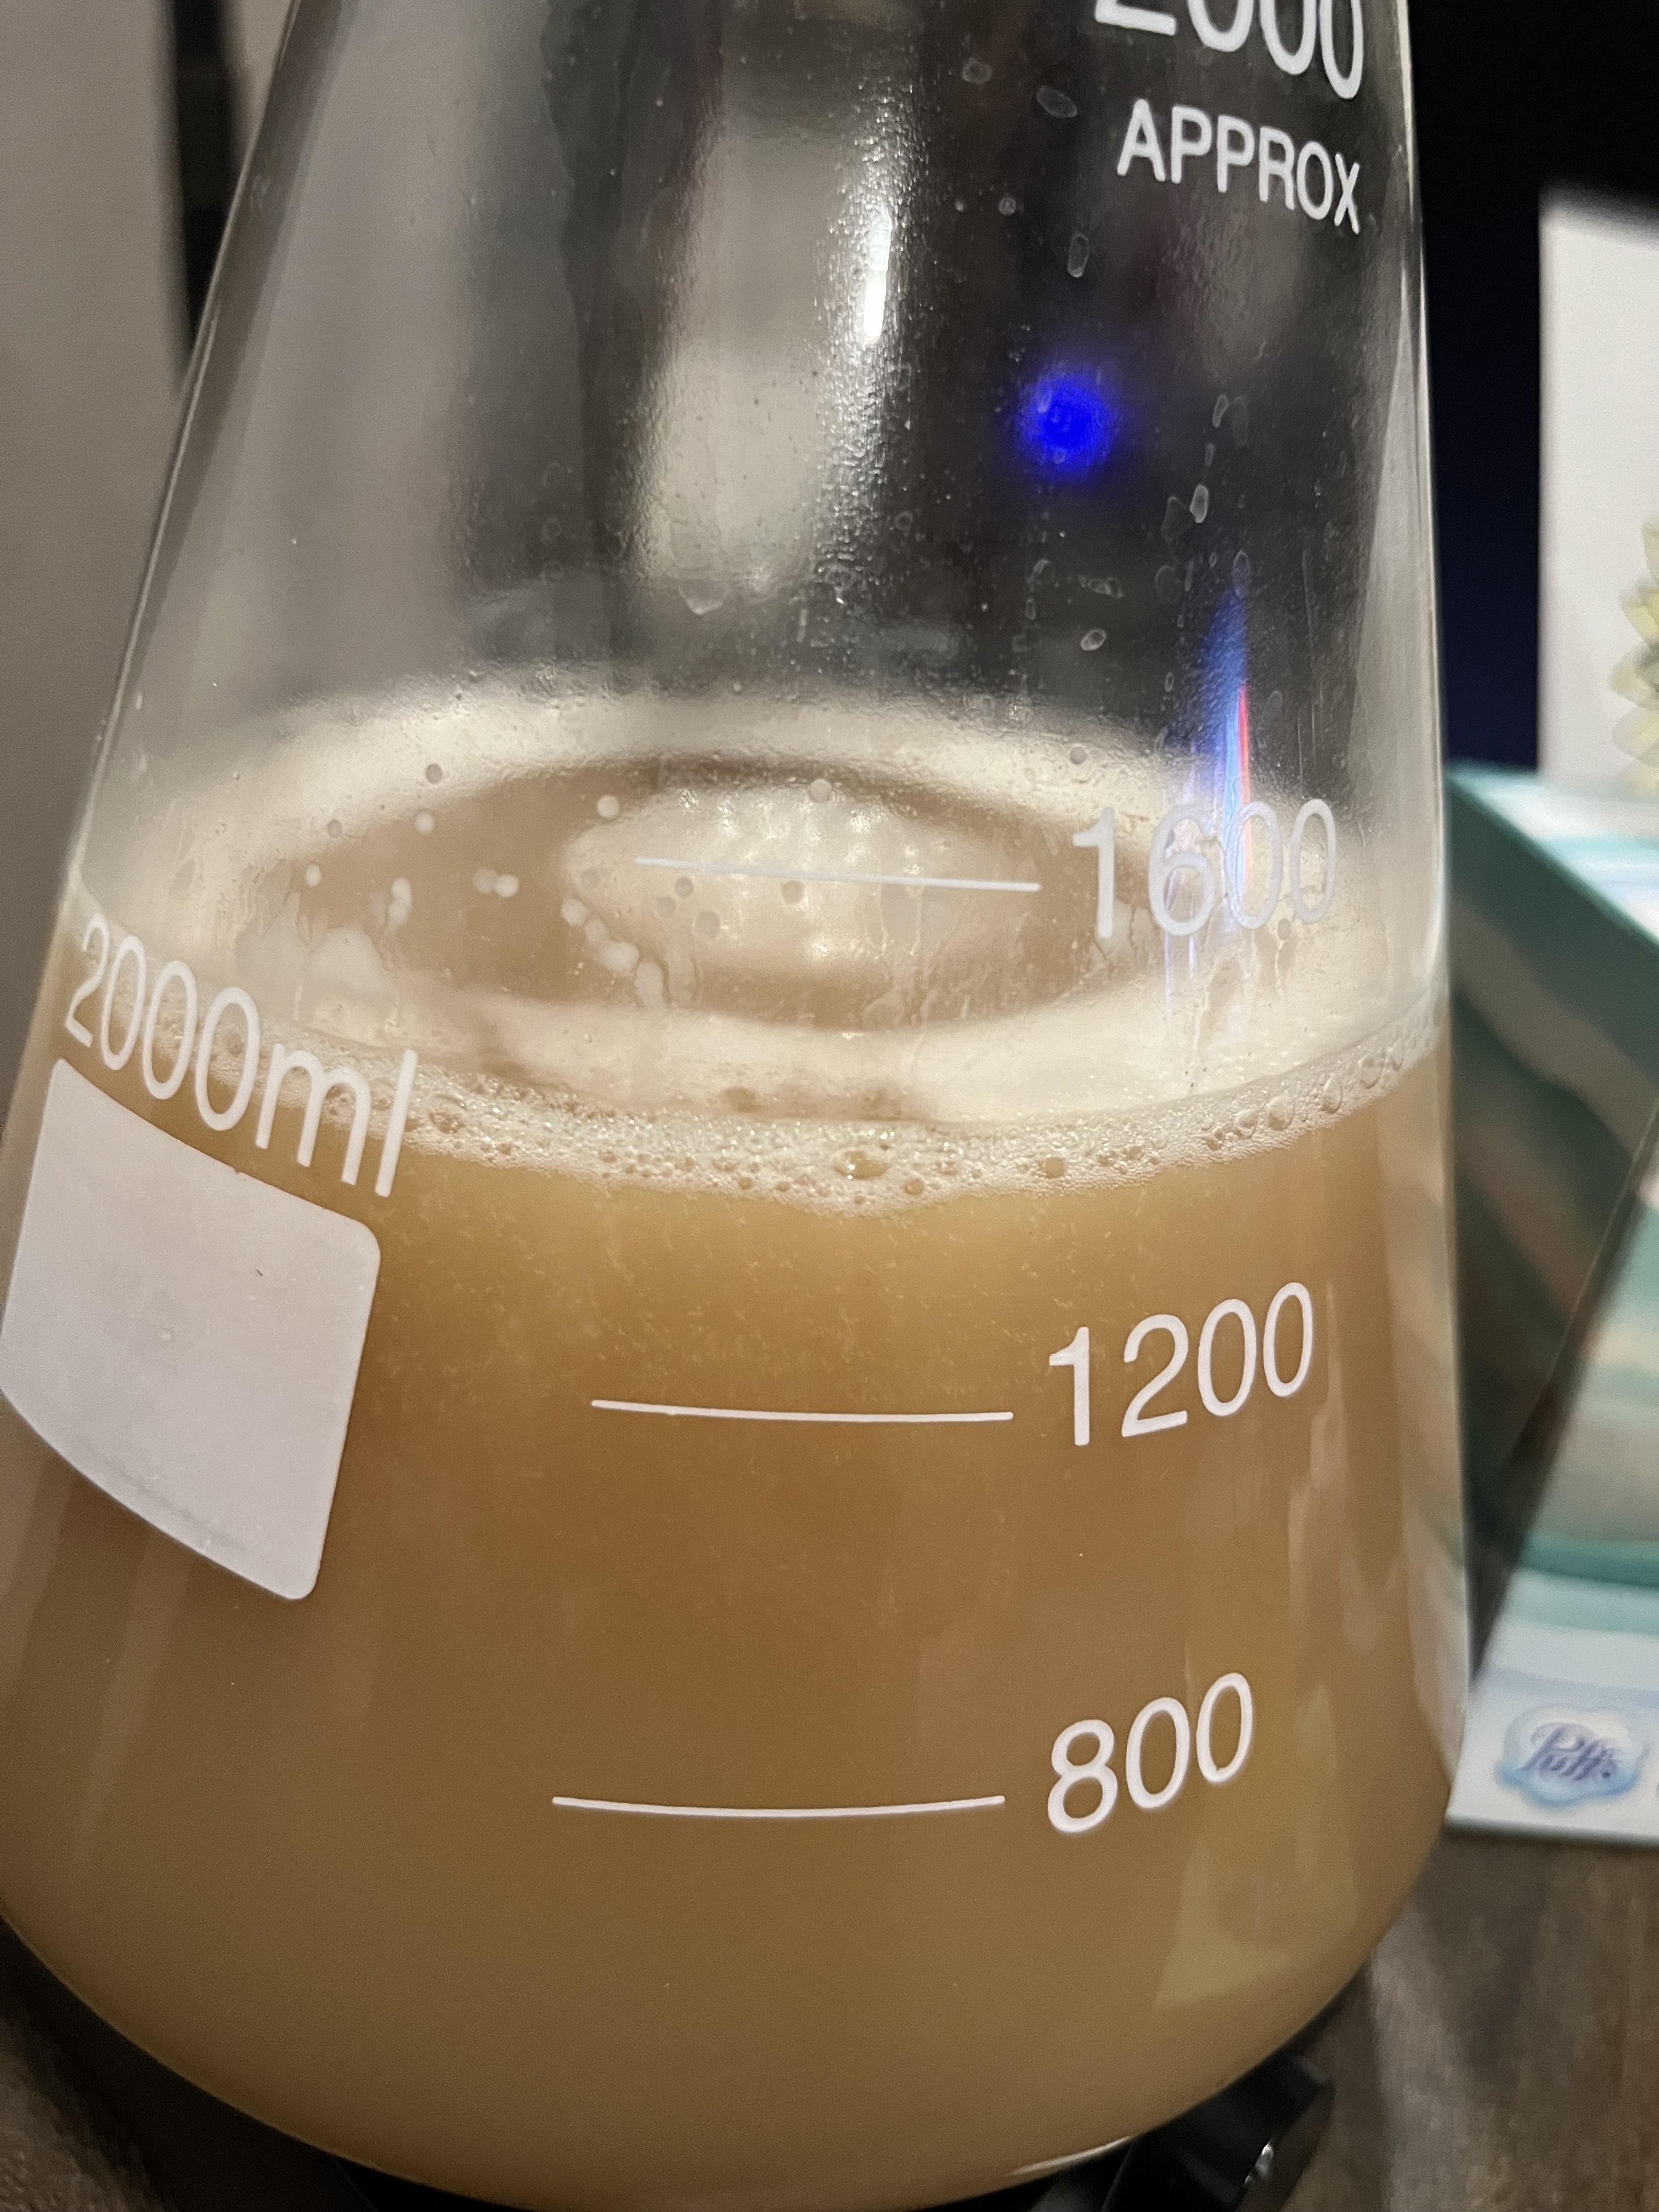
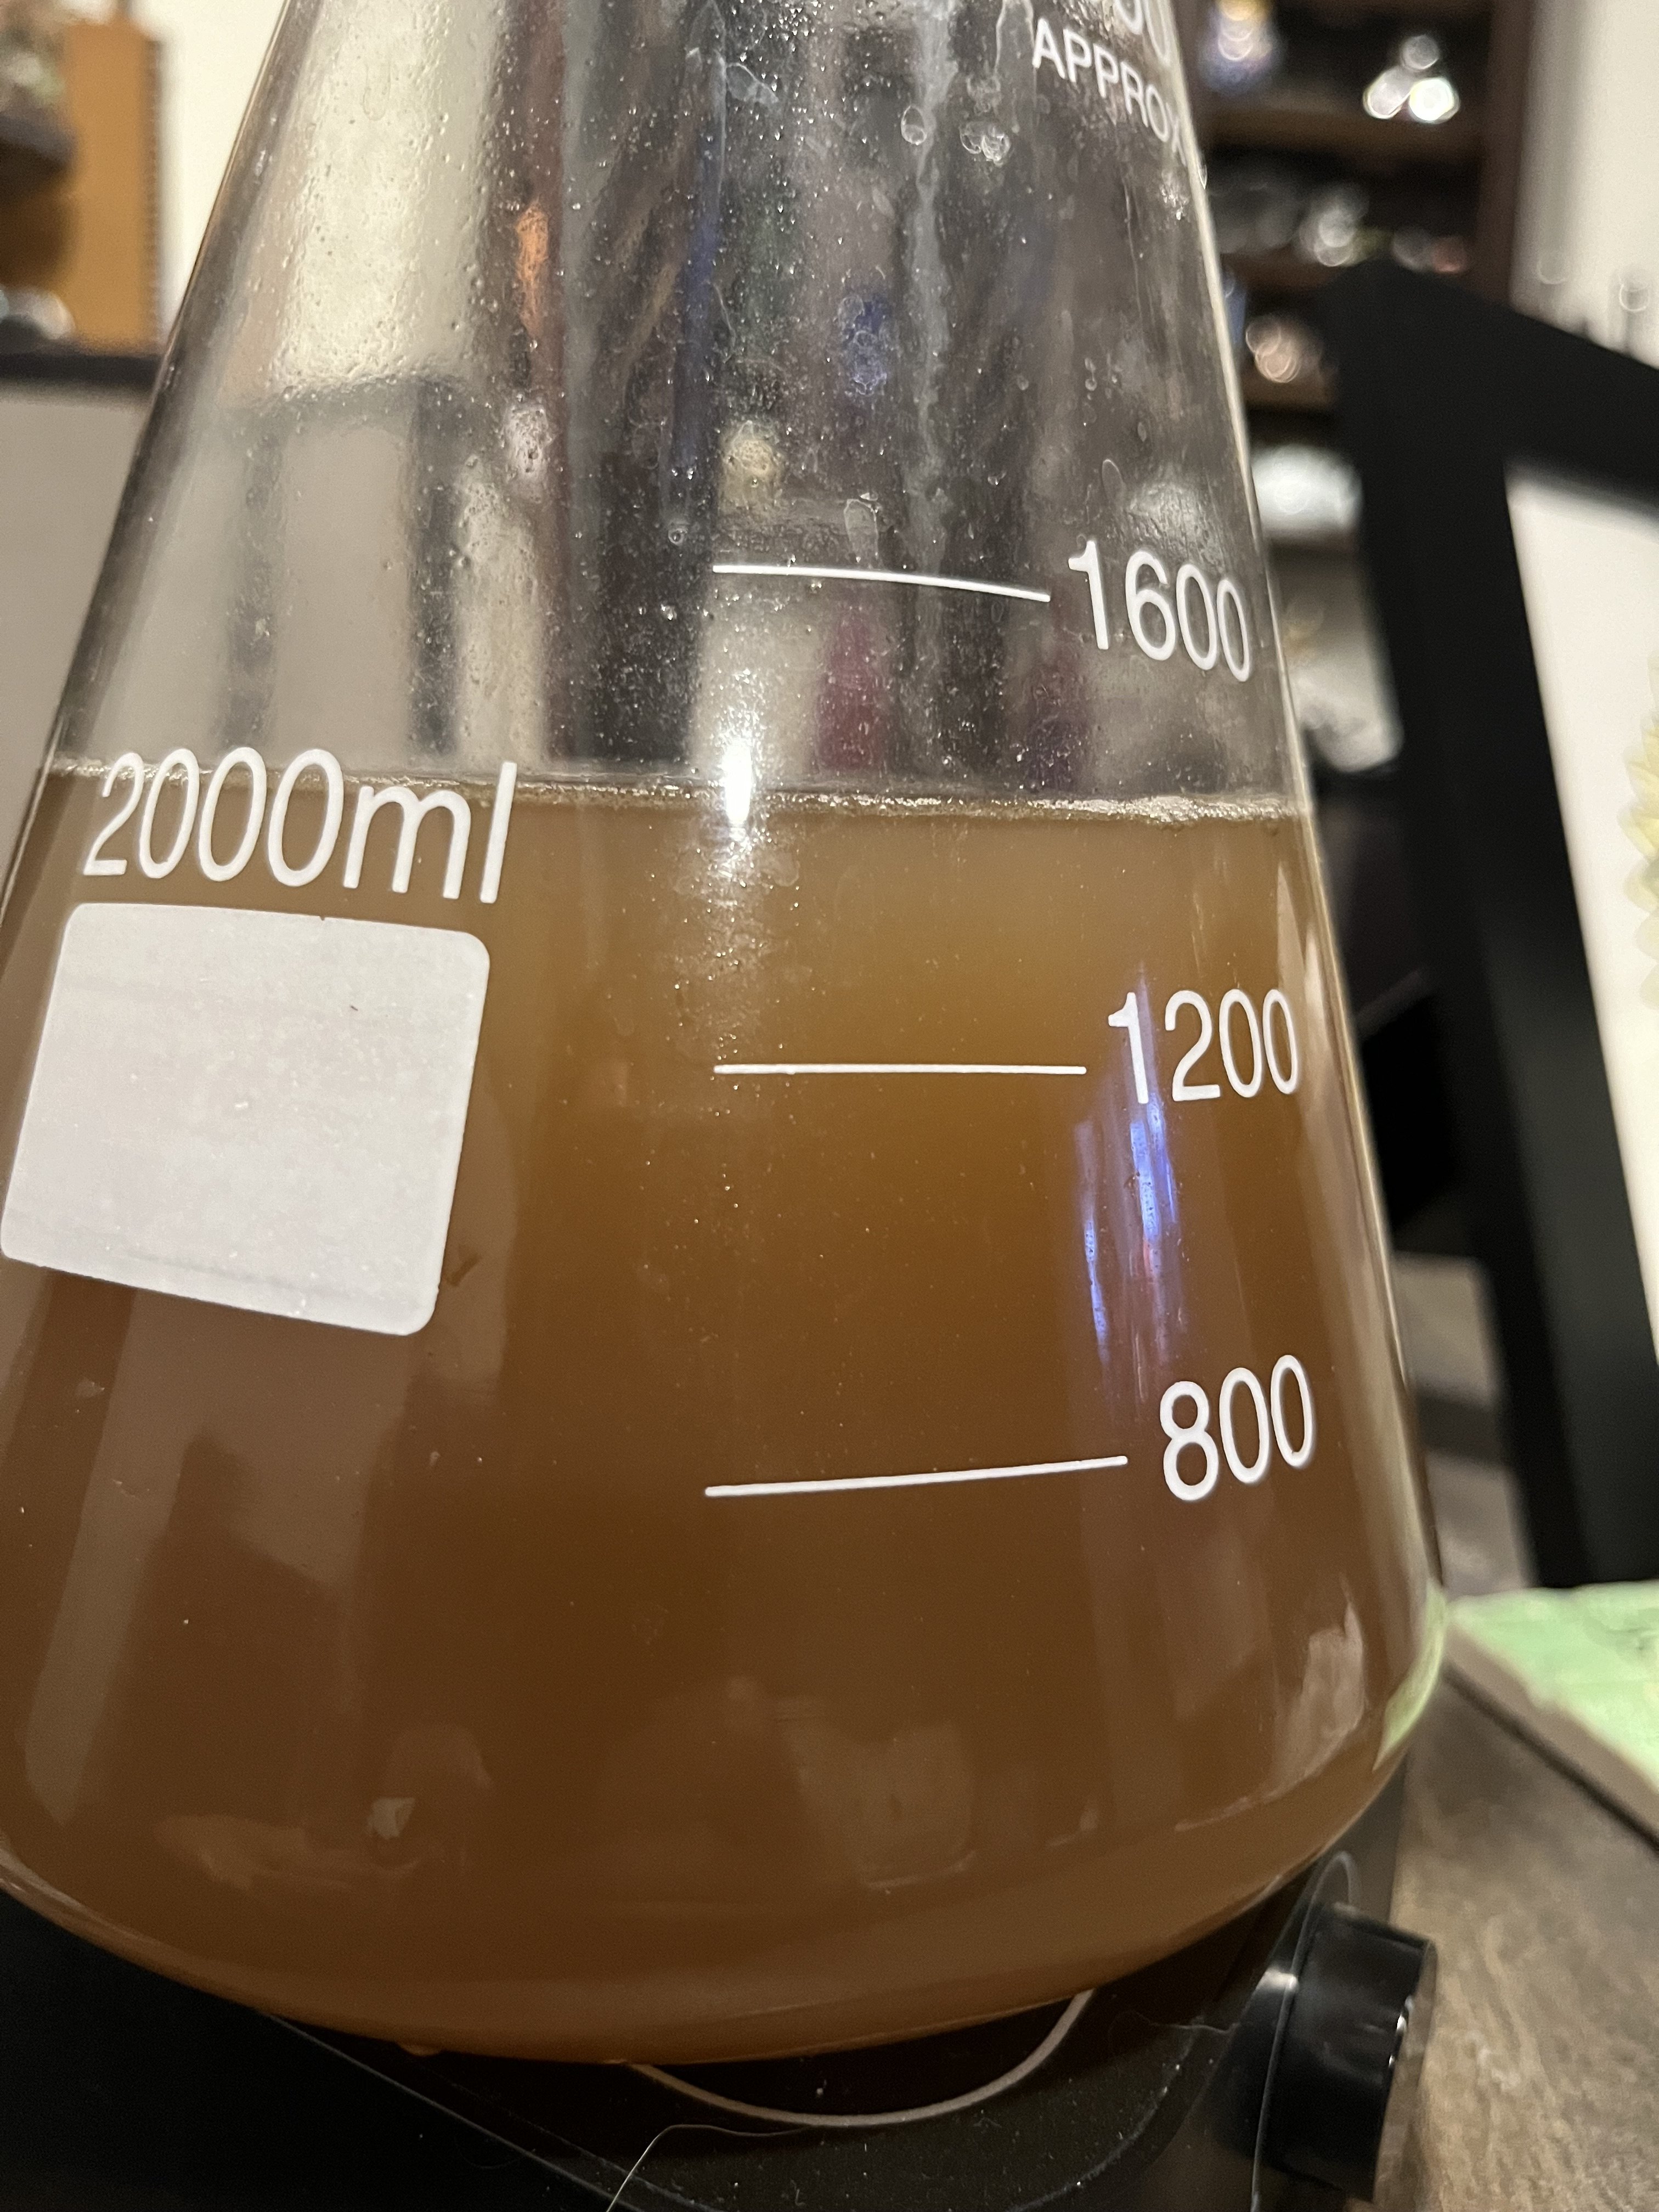
I just pitched a vial of WLP001 for a batch of WC IPA I’m planning to brew on Friday night. I only had 143g of DME in the bag that was already open and decided to roll with it rather that opening a new bag for 8 grams. My ~1.5L starter, should yield an OG of 1.035. I’m ok with that. 🍻
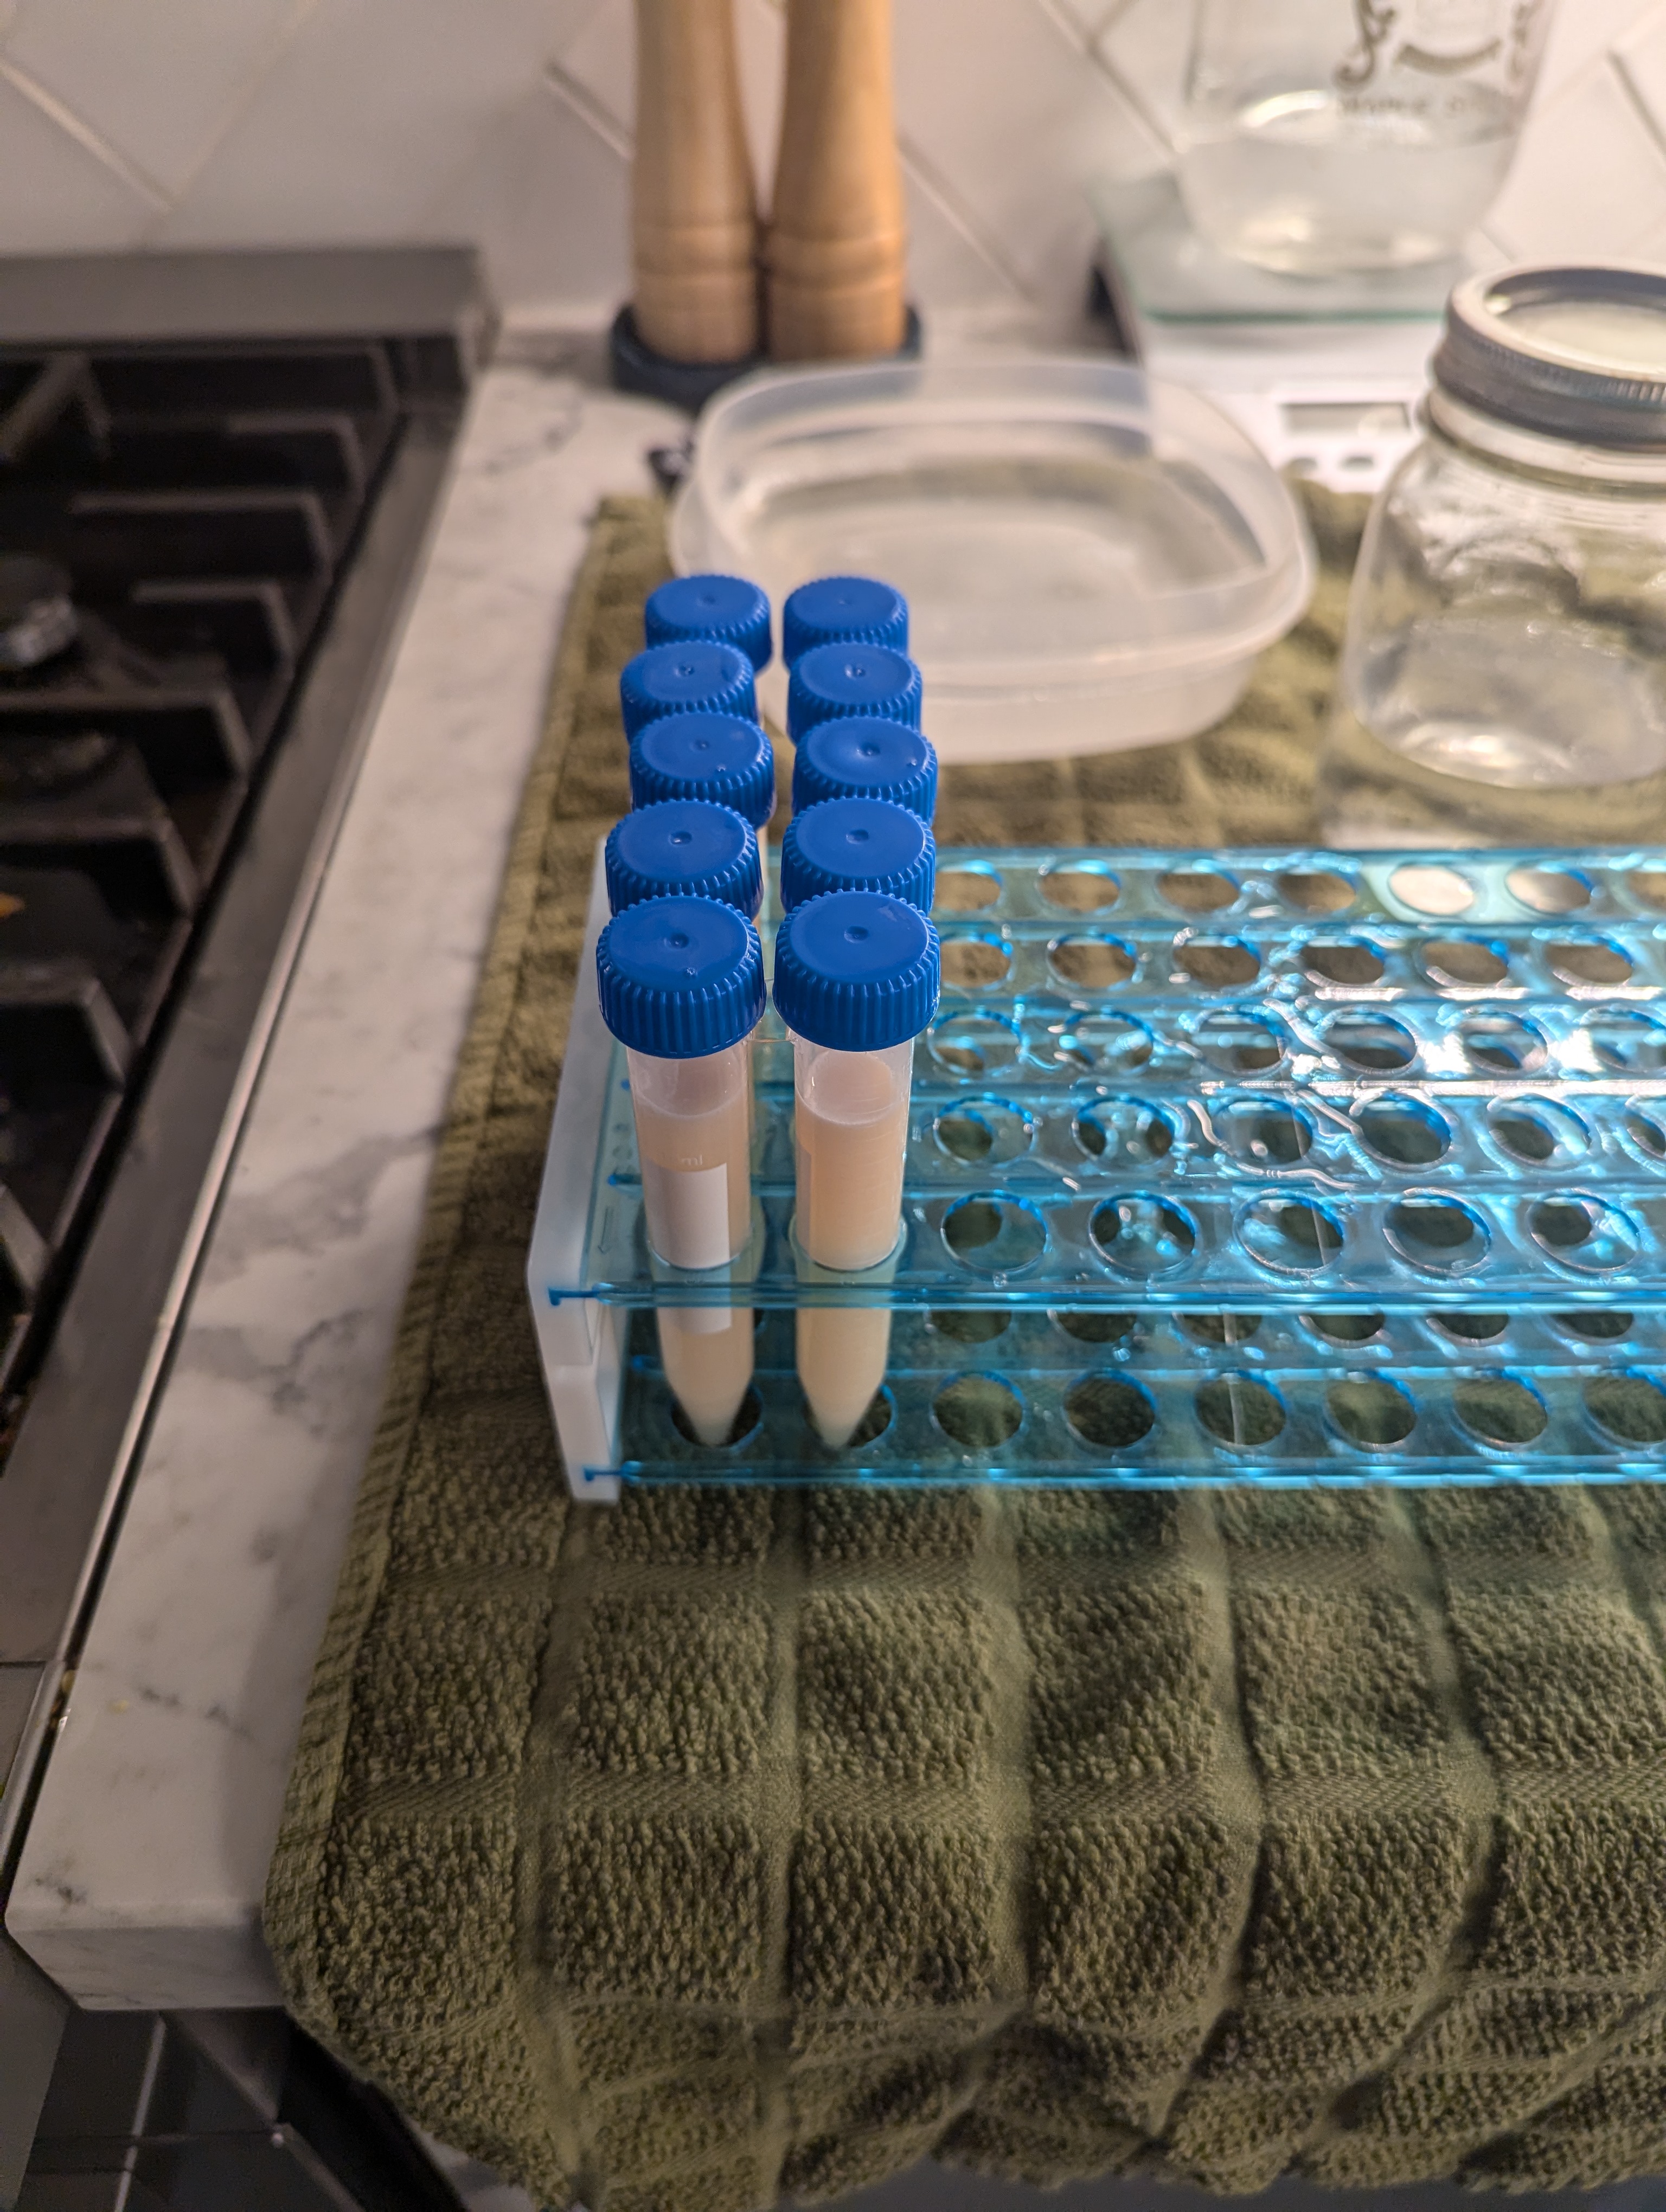
IMG_2172.jpeg
 
Last edited:
This thread is amazing! I've always wanted to have a little yeast lab as a hobby now that I don't homebrew much anymore. In fact, I'm about to start wild yeast captures this weekend, both for the brewery and an article I'm writing for Montana Craft Beer Connection. I'll create a separate post to share that with everyone here. But the point with my post here is that this technique here is going to save me a huge headache of constantly maintaining cultures. Thank you so much for sharing!
 
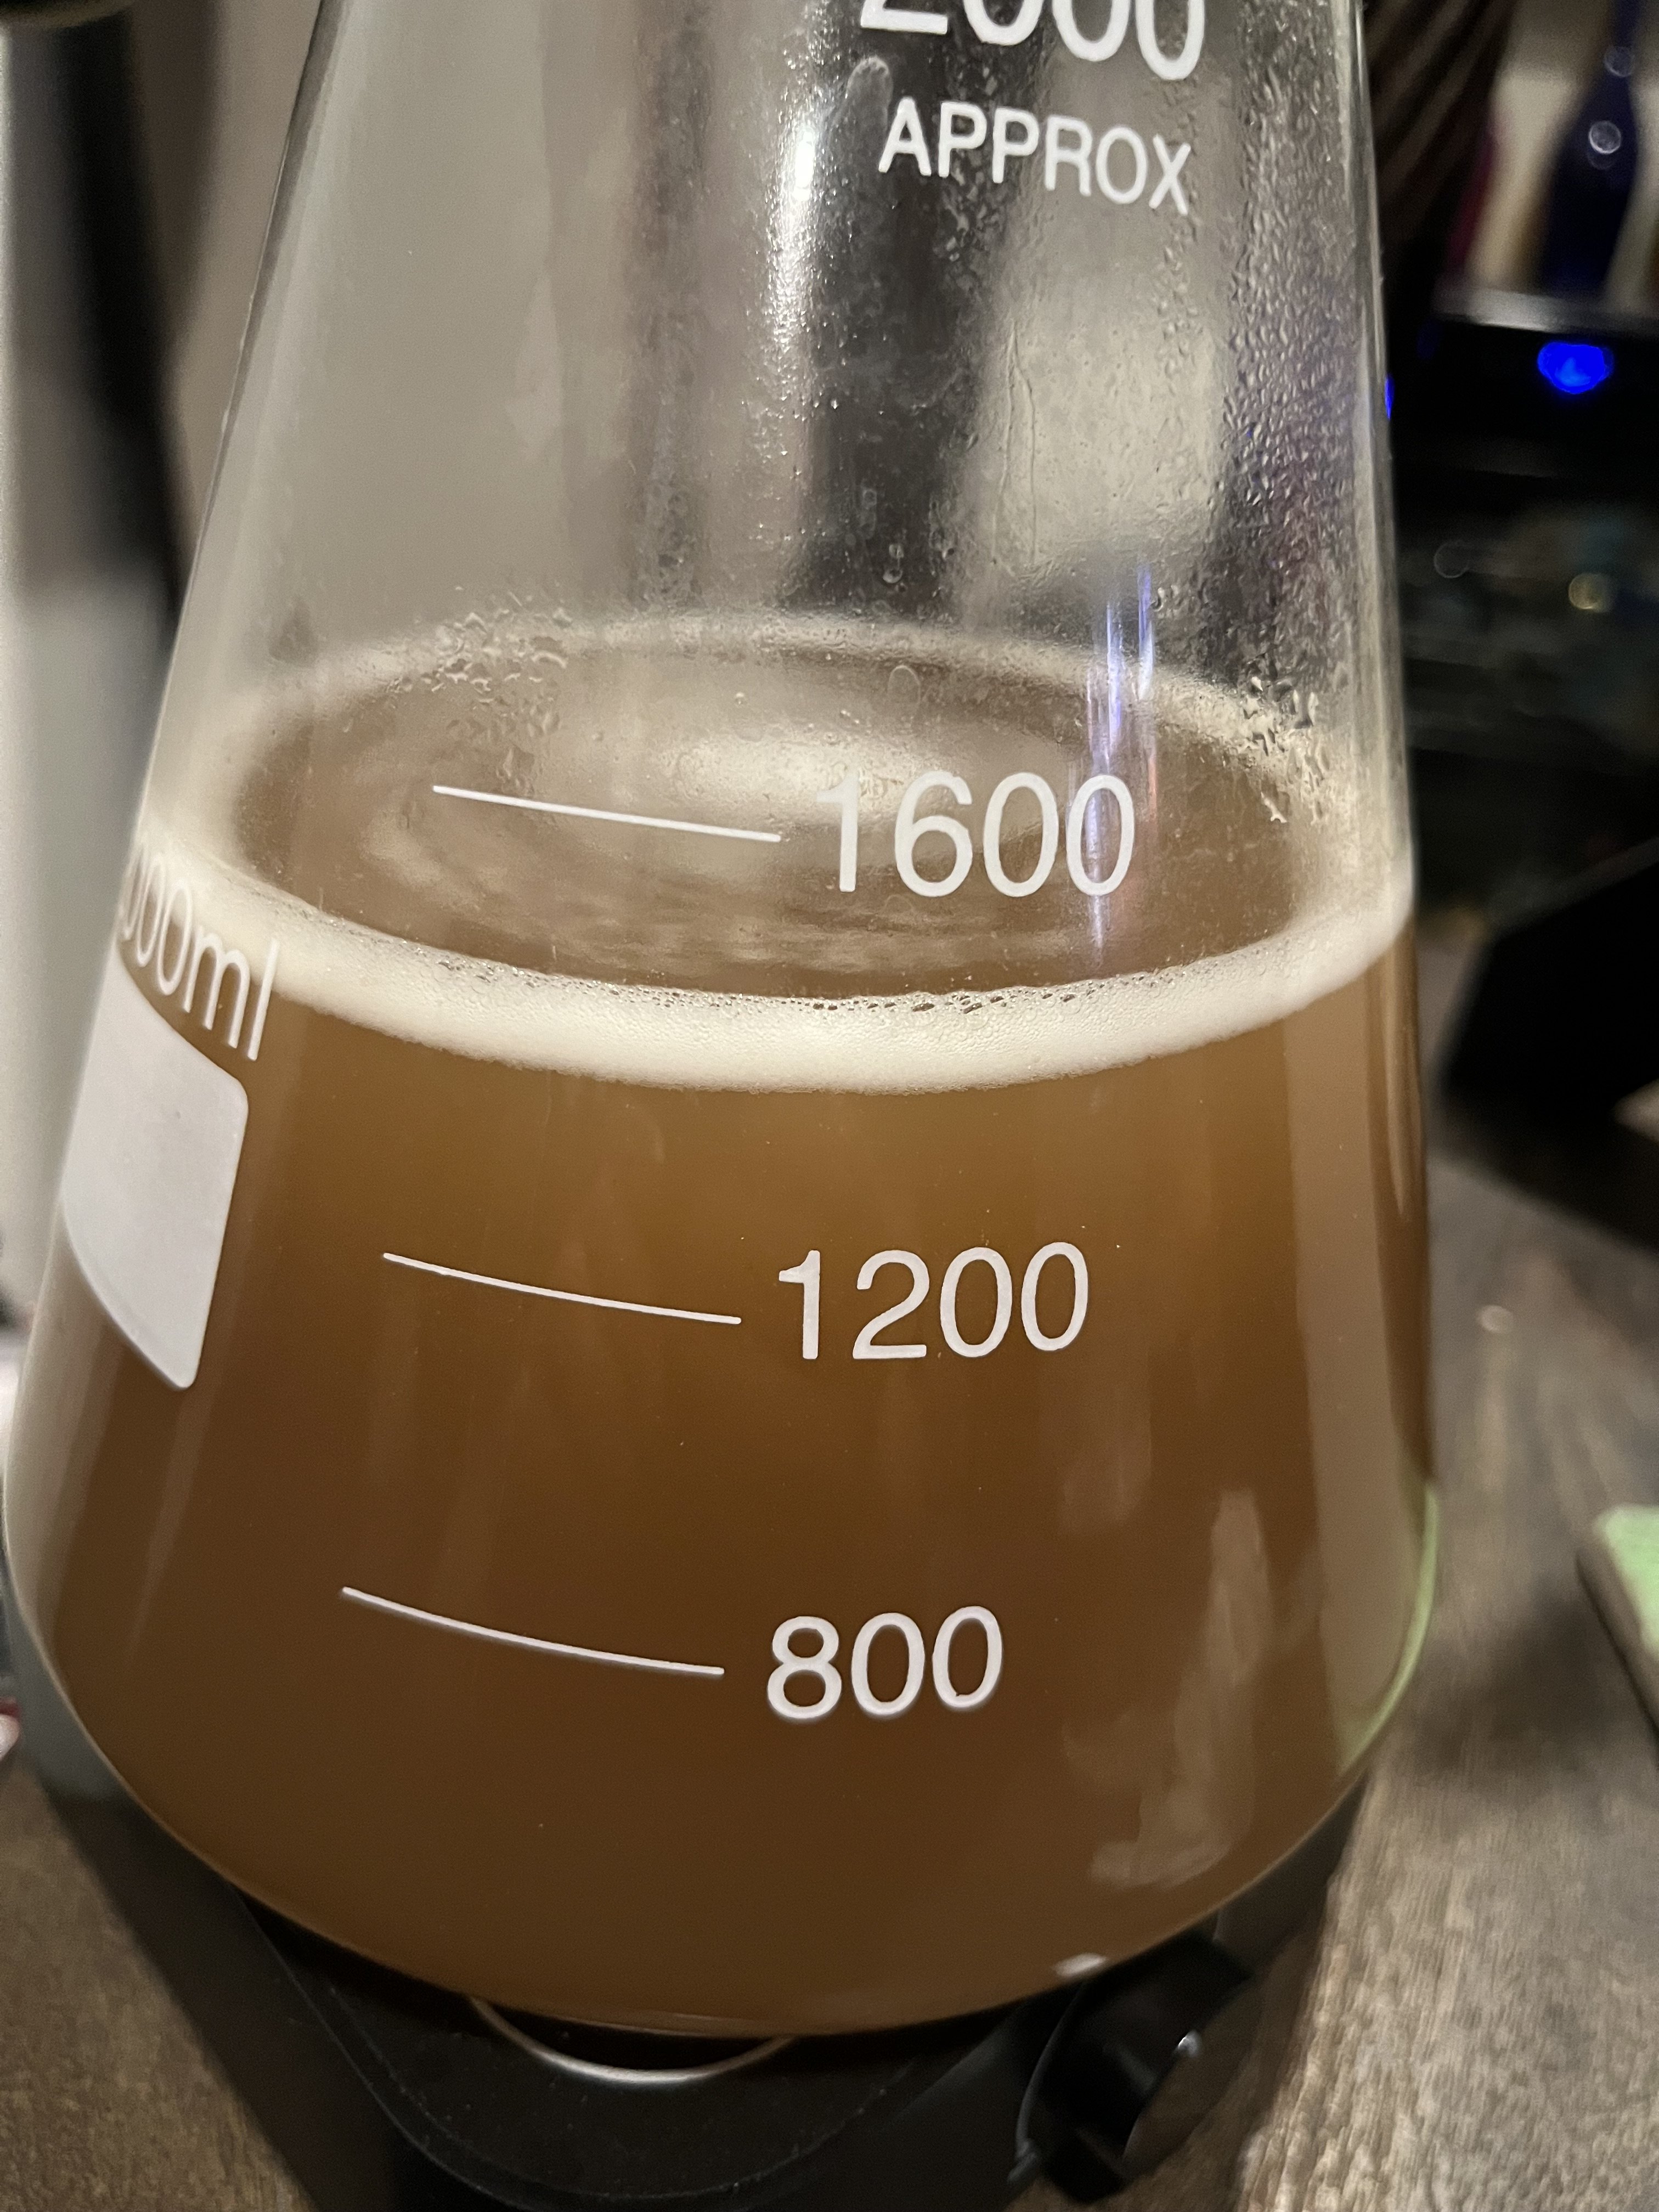
This is a bit over 24 hours after pitching the vial of WLP001. It’s just beginning to form a krausen. Usually by this time with Kveik yeast it would be at high krausen. Different strains will take more or less time to fully propagate. Please take all of the timelines I mentioned in the SOP as a guideline. The overall process may be condensed or prolonged depending on how one goes about the process and how the yeast respond
IMG_2181.jpeg
 
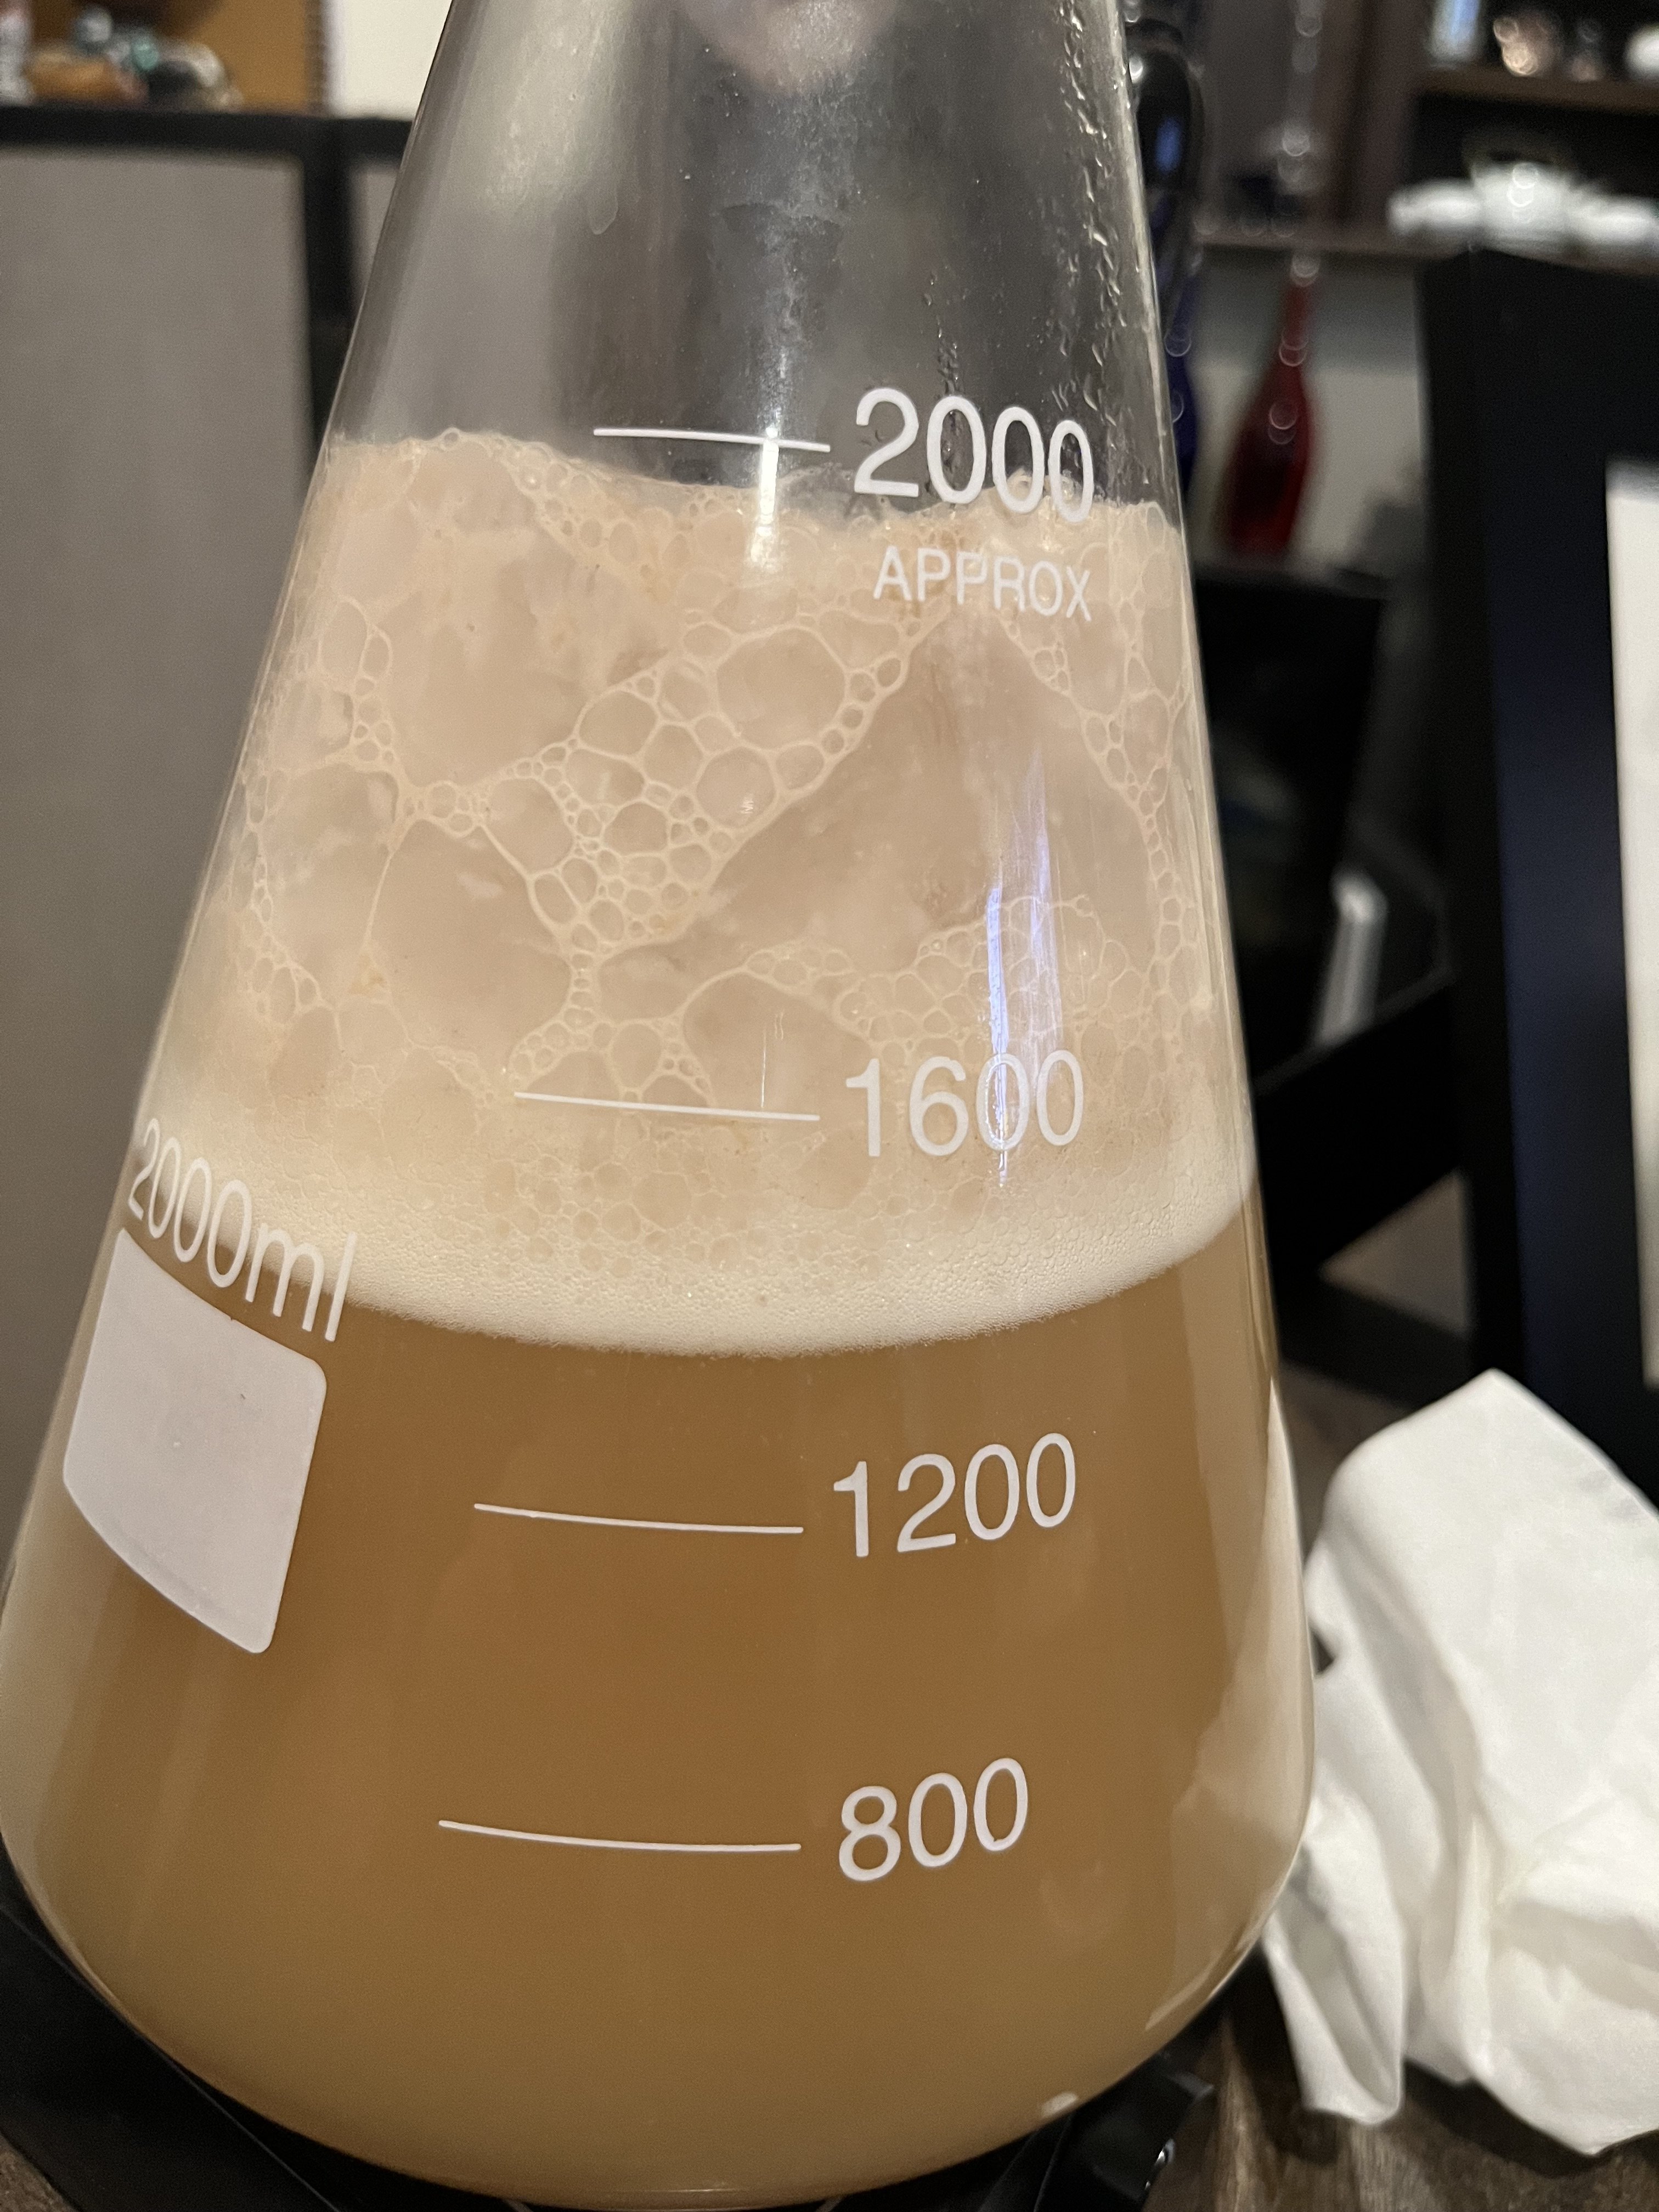
This is just under 48hrs after pitching the vial of WLP001. I’d have no issue pitching this into a 5-6 gallon batch of wort, but it’s been a long week and I’m going to wait until tomorrow to brew. 🍻
IMG_2184.jpeg
 
That is a great write-up, Thanks.

The only thing I have to add(and I have not tested with the alcohol, so I don't know how it would react) I bought a thermal label printer, labels perfect to fit on the vials, and easy to add a QR code linking to the manufacturer's page on the yeast along with any other info.. https://www.amazon.com/dp/B09FL2Z63L/ Just make sure to put the labels on before freezing, or condensation will keep the labels from sticking..

I also 3D printed a holder for the vials I had to fit into one of the harbor freight knock-off pelican cases that does enough to keep temps from fluctuating around the vials.
 
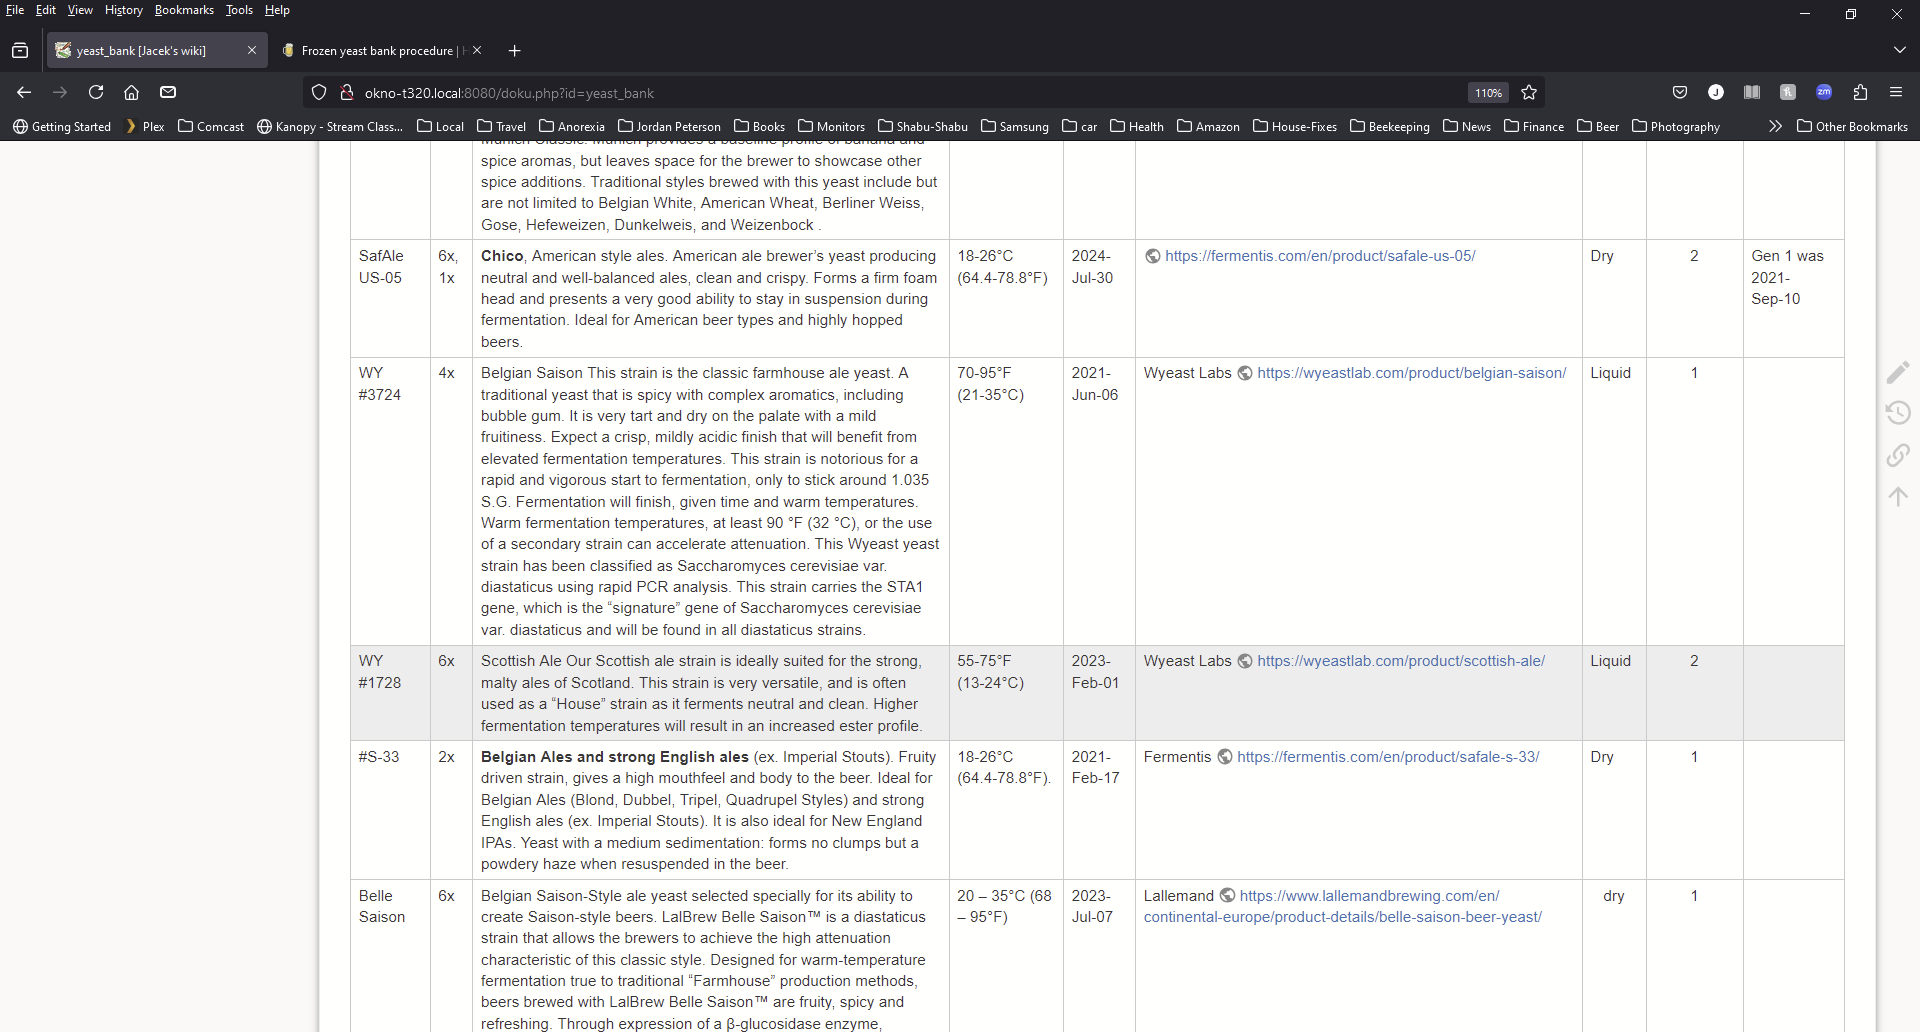
I am using similar procedure. Just made 2 qt starter from last 2 tubes of S-33 frozen in 2021. 1 qt will make 5-6 tubes (15ml) of frozen S-33 2nd generation, 1 qt will go to the new batch.

1723985860492.png
 
I pitched that starter yesterday around 2:30pm. I didn’t see any airlock activity before bed, but it was going to town when I got up this morning.
On a separate note, I was thinking the next time I’m planning to make vials of a lager yeast I might order some of the 50ml vials and do like 20ml slurry to 20ml cryo preservative. Just to get a bigger jump in propagation when I want to use one for a batch.
 
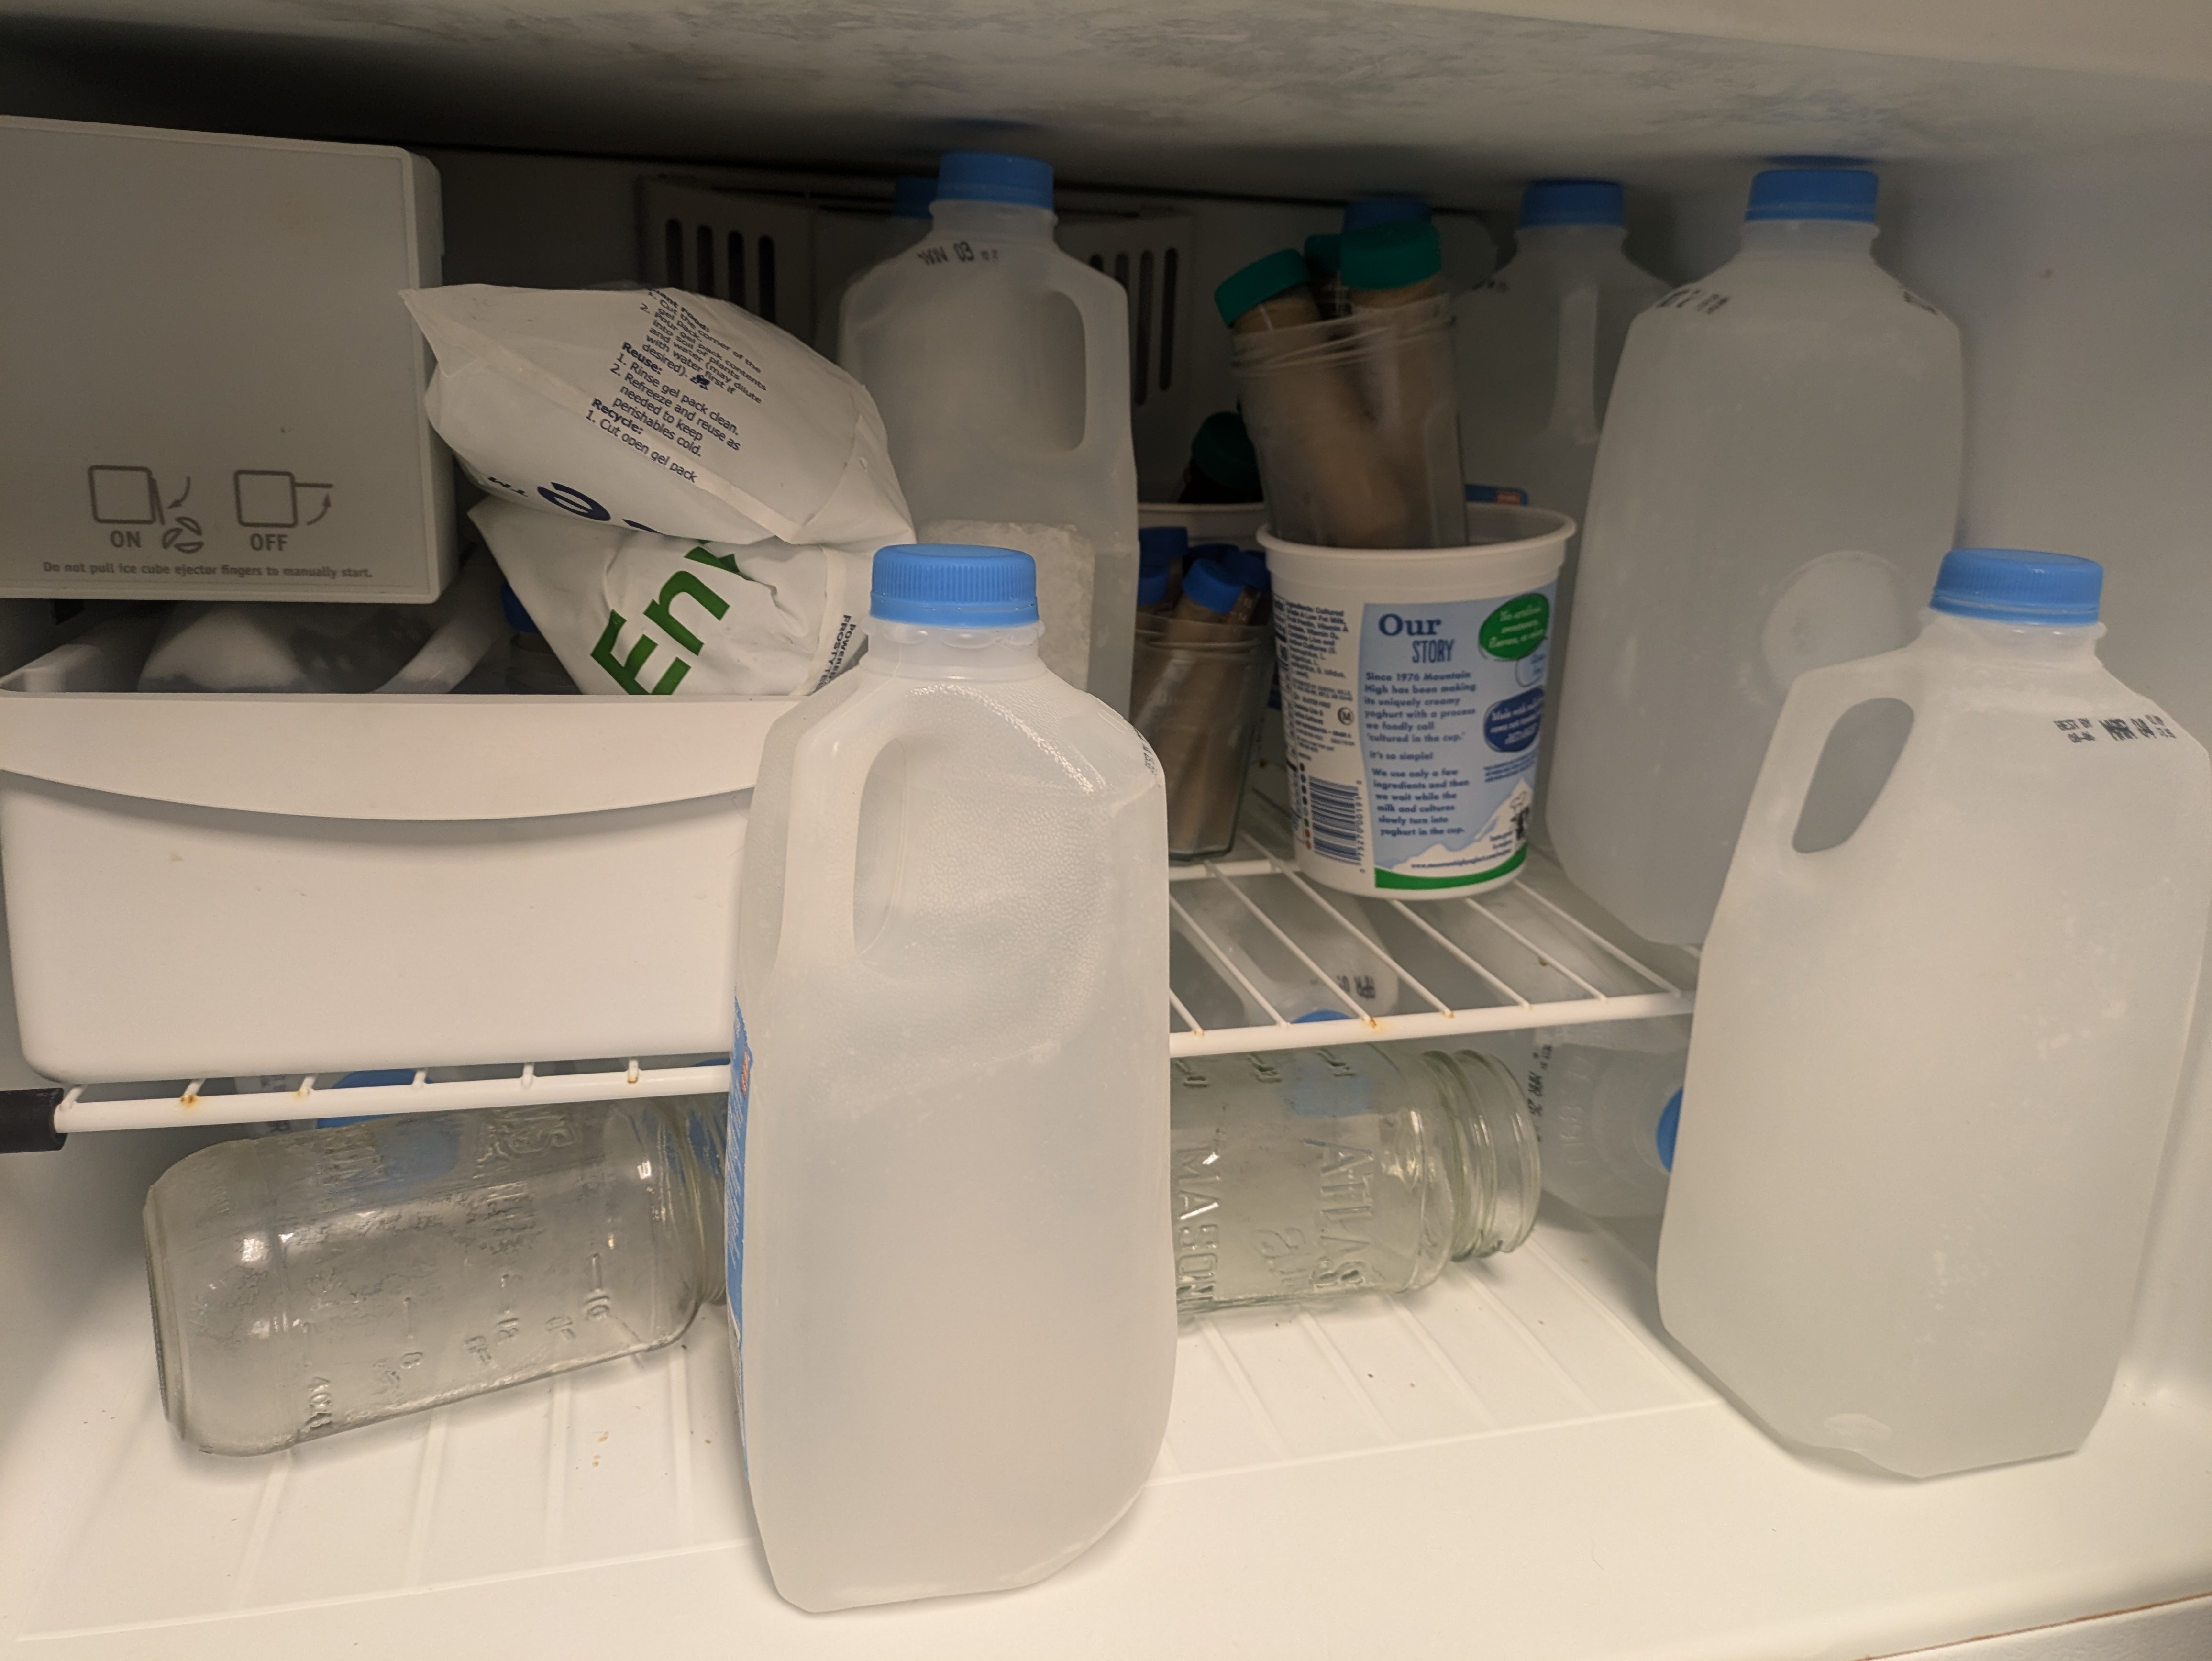
TonyB, thanks for documenting and the emphasis on sterilization and cleanliness!!! I’ve got a 22cubicft refrigerator which holds 5 cornies for conditioning. The freezer holds the Wigglebutts Brewery Yeast Ranch.
The process is as TonyB describes and works great! With liquid yeast price increases this step was an easy decision. My go to yeast WLP002 recovers beautifully. I’ve also got WLP 800 & 830, Fermentis BE 256 and I can see WLP 001 added to the herd.
I freeze 15 & 50 ml vials, the 50’s are from clean slurry (no dry hop & modest ABV) like a pils.
Take the leap!

1724001919590.jpeg
 
Last edited:
If you would like a visual representation of the process, I made a video of my freezing approach. It is very similar to Tony's.
I have this video now bookmarked. I always thought starting a frozen yeast bank was going to be a complicated process however your video dispels that thinking completely. Great job of detailing the process, just one question though. With regards to the 50ml vials you use, are they a specific type made for heat resistance? I wasn't sure if the heat from the pressure canner would melt them and the caps, or can pretty much any standard type be used?
 
Thanks. I did not want to take any thunder away from Tony's post but a visual reference is why I make all of my videos. I think it gives some confidence to see others' doing unknown tasks.

You want polypropylene vials. They are good to ~320F which is higher than the 250F pressure cooking temp.
This is the whole idea of this website. Sharing information to make home brewing more accessible to all. I am certainly no expert and appreciate others chiming in with their own procedures and experience. I haven’t had a chance to watch your video, but will do soon.
🍻
 
Thanks Tony B and Bassman2003, very understandable instructions. I have 3 liquid strains on order to start my yeast bank. One difference I see in your methods is making a starter first or just using the fresh yeast from the container. I was thinking of doing the latter. Making perhaps 5 tubes of each. I bought 15 ml tubes. Also seems like the amount of glycerin is different. Is there a range, percentage that should be used?
 
Thanks Tony B and Bassman2003, very understandable instructions. I have 3 liquid strains on order to start my yeast bank. One difference I see in your methods is making a starter first or just using the fresh yeast from the container. I was thinking of doing the latter. Making perhaps 5 tubes of each. I bought 15 ml tubes. Also seems like the amount of glycerin is different. Is there a range, percentage that should be used?
TBA, making the tubes straight from the original pouch is a fine idea. I make a starter first because I generally add new strains to my yeast bank as I’m preparing to brew a batch, so in order to have a proper pitch and bank some yeast, I build a starter first.
As for the glycerin, if I remember correctly, the info I read advised to use a 25% glycerin solution by weight. Not sure exactly how accurate that is, but it’s worked for me. The idea with that and using isopropyl alcohol in the freezing process is to prevent ice crystals from forming and destroying the yeast cell walls.
Best of luck in your yeast bank! 🍻
 
I will see what the dates are on the pouches and if they are not super fresh I will make at least a small starter before banking.
 
This is so great, thanks! I'm just about to embark on this.

Does anyone keep any sort of tracking spreadsheet or anything?
I’ve kept a running spreadsheet of all my frozen samples (approx. 30 separate yeasts). Some are multiple samples. They’re stored in 50ml centrifuge vials inside a soft-sided Thermos lunch box. There are frozen gel packs inside and outside the Thermos box to prevent thawing during defrost cycles of the freezer.

With two Thermos boxes of frozen yeast vials plus a metric crap ton of saved hops, there’s no empty space in the freezer section of the beer fridge. But my biggest problem is actually using the yeasts that I’ve frozen. I have a really bad habit of always wanting to use yeast strains I haven’t tried before. So my ‘bank balance’ keeps growing, but I never make any ‘withdrawals.’
 
Last edited:
Thanks Tony B and Bassman2003, very understandable instructions. I have 3 liquid strains on order to start my yeast bank. One difference I see in your methods is making a starter first or just using the fresh yeast from the container. I was thinking of doing the latter. Making perhaps 5 tubes of each. I bought 15 ml tubes. Also seems like the amount of glycerin is different. Is there a range, percentage that should be used?
I use 25% Glycerin + 25% wort + 50% Yeast slurry. That is what I settled on in researching the topic.
 
From my understanding, wort/beer is the best medium to store yeast for this purpose. Water does not have anything for the yeast. Wort has pretty much everything they need. What you are asking the yeast to do is take a long nap and hope they do not die along the way :)
 
From my understanding, wort/beer is the best medium to store yeast for this purpose. Water does not have anything for the yeast. Wort has pretty much everything they need. What you are asking the yeast to do is take a long nap and hope they do not die along the way :)
I’ve always used glycerin (30 ml) mixed with sterile water (70 ml) to make a 30% glycerin solution. I add equal amounts of thick yeast slurry and 30% glycerin/water solution to a 50 ml centrifuge tube for freezing.

The mixture results in a 15% glycerin mix which coats the yeast cells to prevent cell damage due to freeze/thaw cycles. The glycerin is food safe and doesn’t require decanting after thawing, so the whole tube gets chucked into the Erlenmeyer flask with starter wort when it’s time for propagating.
 
I’ve started doing this with 50ml tubes but haven’t used one yet. Most mine are save yeast cake. But I have a question. I do 20ish ml each of yeast and my glycerin solution with some room for expansion. When using a yeast calculator for my starter do I enter 20ml or 40ml for my starting slurry? I’m assuming 20ml but wanted to check.
 
I’ve started doing this with 50ml tubes but haven’t used one yet. Most mine are save yeast cake. But I have a question. I do 20ish ml each of yeast and my glycerin solution with some room for expansion. When using a yeast calculator for my starter do I enter 20ml or 40ml for my starting slurry? I’m assuming 20ml but wanted to check.
My assumption would be 20 ml as well. The glycerin and water are simply solutes for the slurry and don’t provide anything that would otherwise be a growth media for yeast.
 
I’ve always used glycerin (30 ml) mixed with sterile water (70 ml) to make a 30% glycerin solution. I add equal amounts of thick yeast slurry and 30% glycerin/water solution to a 50 ml centrifuge tube for freezing.

The mixture results in a 15% glycerin mix which coats the yeast cells to prevent cell damage due to freeze/thaw cycles. The glycerin is food safe and doesn’t require decanting after thawing, so the whole tube gets chucked into the Erlenmeyer flask with starter wort when it’s time for propagating.
Just going by the "Yeast" book by Chris White and others' experiences.
 
Back
Top