
WhamFish
Well-Known Member
- Joined
- May 29, 2014
- Messages
- 141
- Reaction score
- 18
Hi everyone,
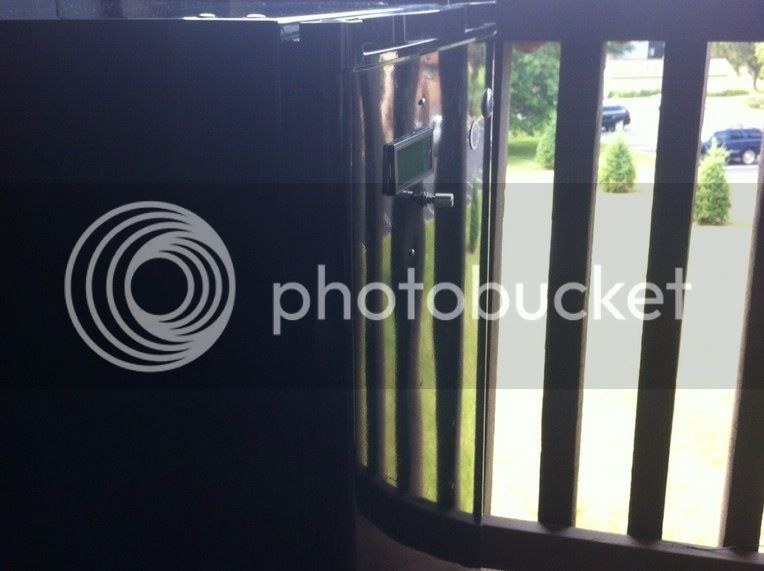
I ordered all the parts a couple of months ago and have been waiting for a good used mini-fridge to come across Craig's list. I finally got one earlier this week at a good price so I started my BrewPi build. It took me three full evenings after work to put it together and get software going (1 night making box for Arduino, Rasberry Pi and SSRs, 1 night hacking up the inside of the fridge and 1 night installing software). Here are a few pics of the project and some notes on problems I faced and solutions I found. If I had it to do again I might do some things differently but they would be mostly changes for aesthetics. So far I love how the thing works. I may end up making another just cause two may be better than one")
So I'll have to go back and take some pictures of the inside of several of these boxes but I'll show the project in its nearly finished state first. This is a carboy full of water running a test fermentation to explore the rate of cooling/heating and the temperature ranges I can achieve.
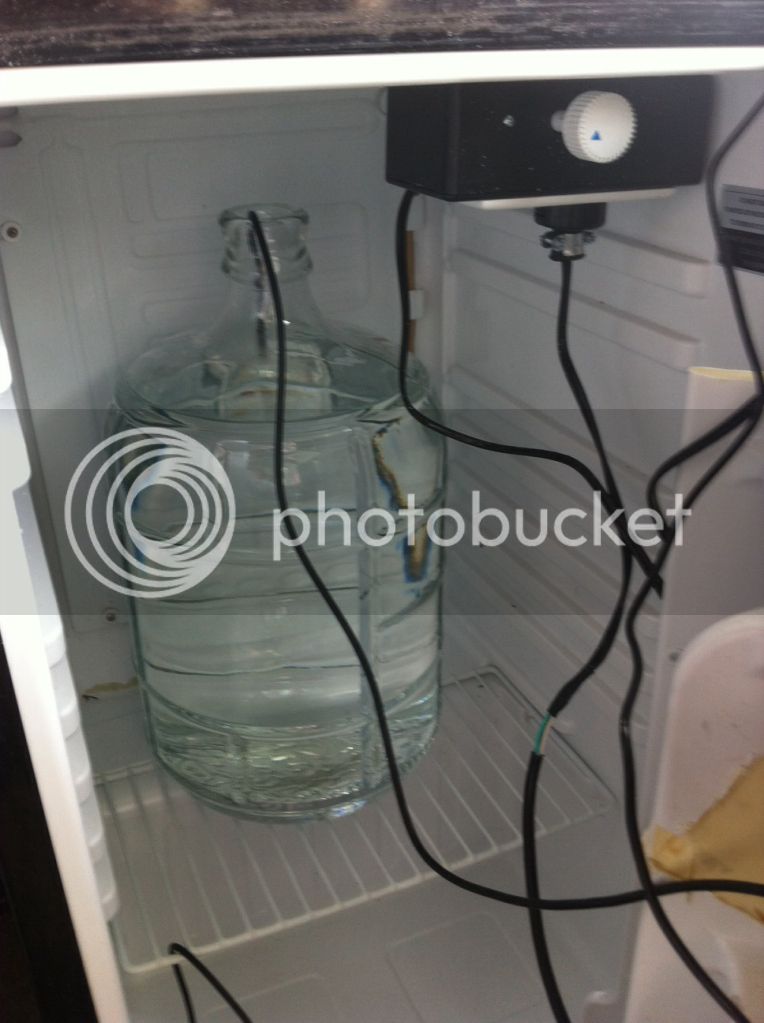
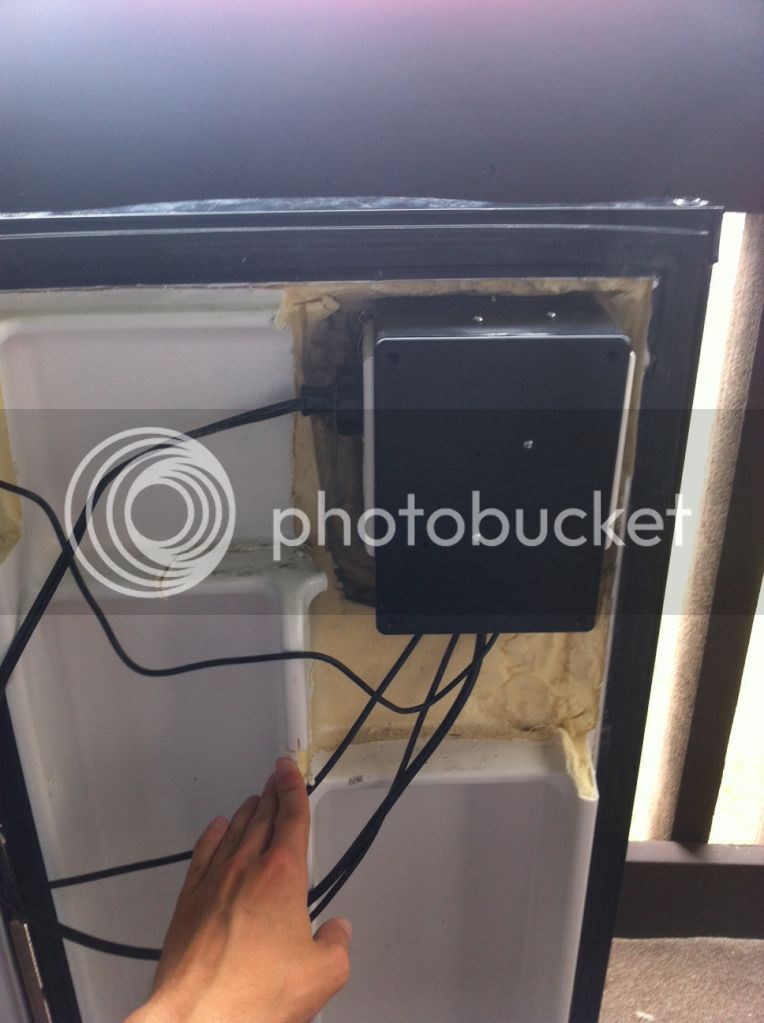
This is a dorm room style GE fridge with no freezer section. Just a compressor attached to a cooling element in the back of the fridge. Electricity comes into the fridge through wires at the top right corner. Originally there was a small white box here with a knob housing a thermostat that let you set the relative temp of the fridge. I pulled that box off and installed this larger box with a wall outlet in it. The thermostat with knob is in there too but now connected to a plug that comes out the back of the box.
This wall outlet is "always on"
So then I built a box to house the LCD, the Raspberry Pi, Arduino and SSRs .
This box plugs into the other box and has a wall outlet on the left and right that are connected to the 2 SSRs. So the fridge thermostat now plugs into this box. On the left and a heat pad plugs in on the right.
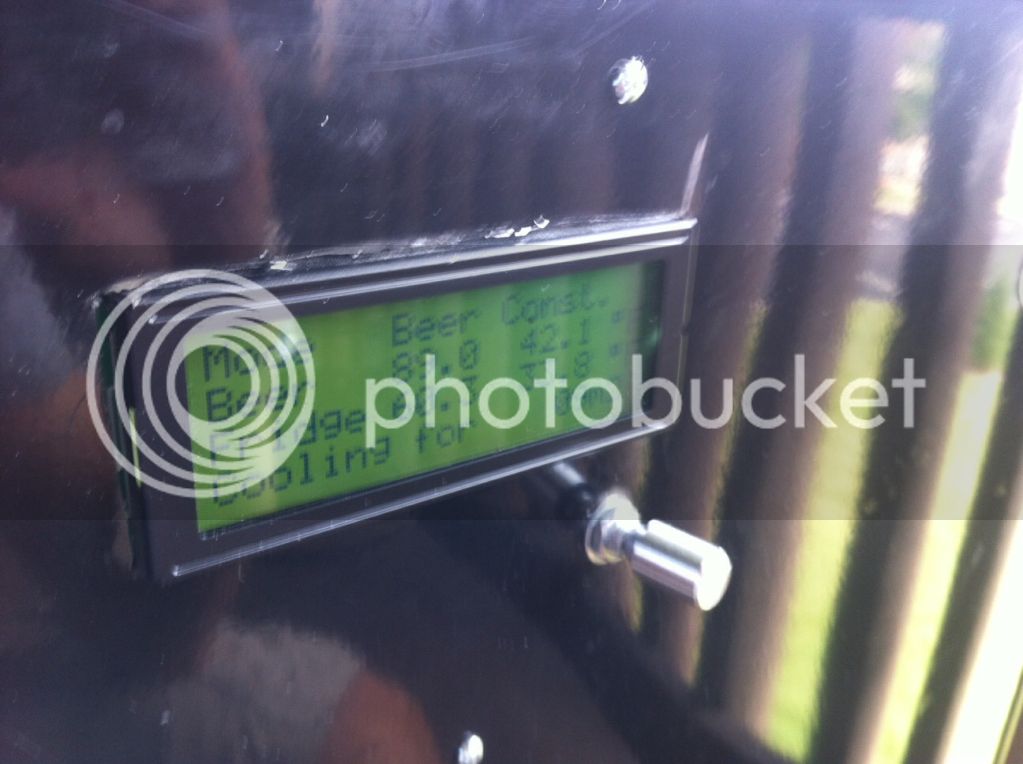
I cut a slot out of the front of the fridge for the LCD to stick through and the control knob.
So I can take the BrewPi out of the fridge with just one screw if I want to use it to control something else. Like my mash tun for example.

Then I spent a very long evening programming the thing. I found the BrewPi setup very easy but getting the thing working on my WiFi was a nightmare. I finally got it working but used code from several sources. I could not get the code from the BrewPi wiki to work for my WiFi, nor did any of the rasbian Wifi tutorials I found elsewhere since most did not employ a static IP. I cobbled together my own code after reading up on what everything meant.
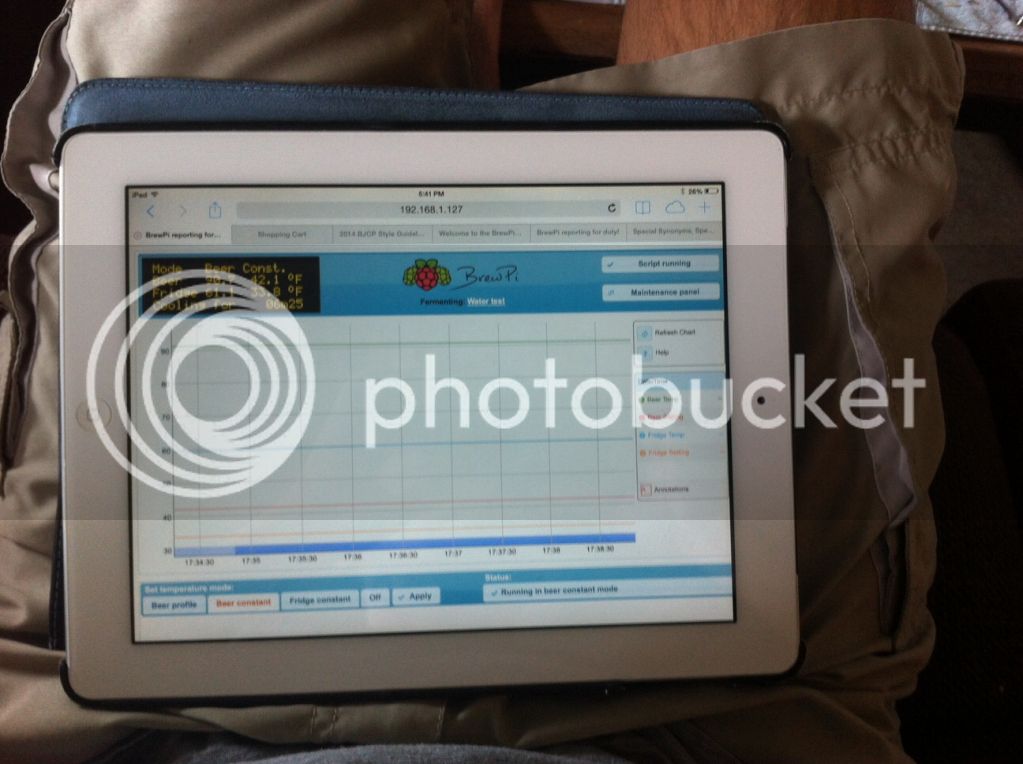
Now I can control it from my iPad
I ordered all the parts a couple of months ago and have been waiting for a good used mini-fridge to come across Craig's list. I finally got one earlier this week at a good price so I started my BrewPi build. It took me three full evenings after work to put it together and get software going (1 night making box for Arduino, Rasberry Pi and SSRs, 1 night hacking up the inside of the fridge and 1 night installing software). Here are a few pics of the project and some notes on problems I faced and solutions I found. If I had it to do again I might do some things differently but they would be mostly changes for aesthetics. So far I love how the thing works. I may end up making another just cause two may be better than one
So I'll have to go back and take some pictures of the inside of several of these boxes but I'll show the project in its nearly finished state first. This is a carboy full of water running a test fermentation to explore the rate of cooling/heating and the temperature ranges I can achieve.
This is a dorm room style GE fridge with no freezer section. Just a compressor attached to a cooling element in the back of the fridge. Electricity comes into the fridge through wires at the top right corner. Originally there was a small white box here with a knob housing a thermostat that let you set the relative temp of the fridge. I pulled that box off and installed this larger box with a wall outlet in it. The thermostat with knob is in there too but now connected to a plug that comes out the back of the box.
This wall outlet is "always on"
So then I built a box to house the LCD, the Raspberry Pi, Arduino and SSRs .
This box plugs into the other box and has a wall outlet on the left and right that are connected to the 2 SSRs. So the fridge thermostat now plugs into this box. On the left and a heat pad plugs in on the right.
I cut a slot out of the front of the fridge for the LCD to stick through and the control knob.
So I can take the BrewPi out of the fridge with just one screw if I want to use it to control something else. Like my mash tun for example.
Then I spent a very long evening programming the thing. I found the BrewPi setup very easy but getting the thing working on my WiFi was a nightmare. I finally got it working but used code from several sources. I could not get the code from the BrewPi wiki to work for my WiFi, nor did any of the rasbian Wifi tutorials I found elsewhere since most did not employ a static IP. I cobbled together my own code after reading up on what everything meant.
Now I can control it from my iPad
