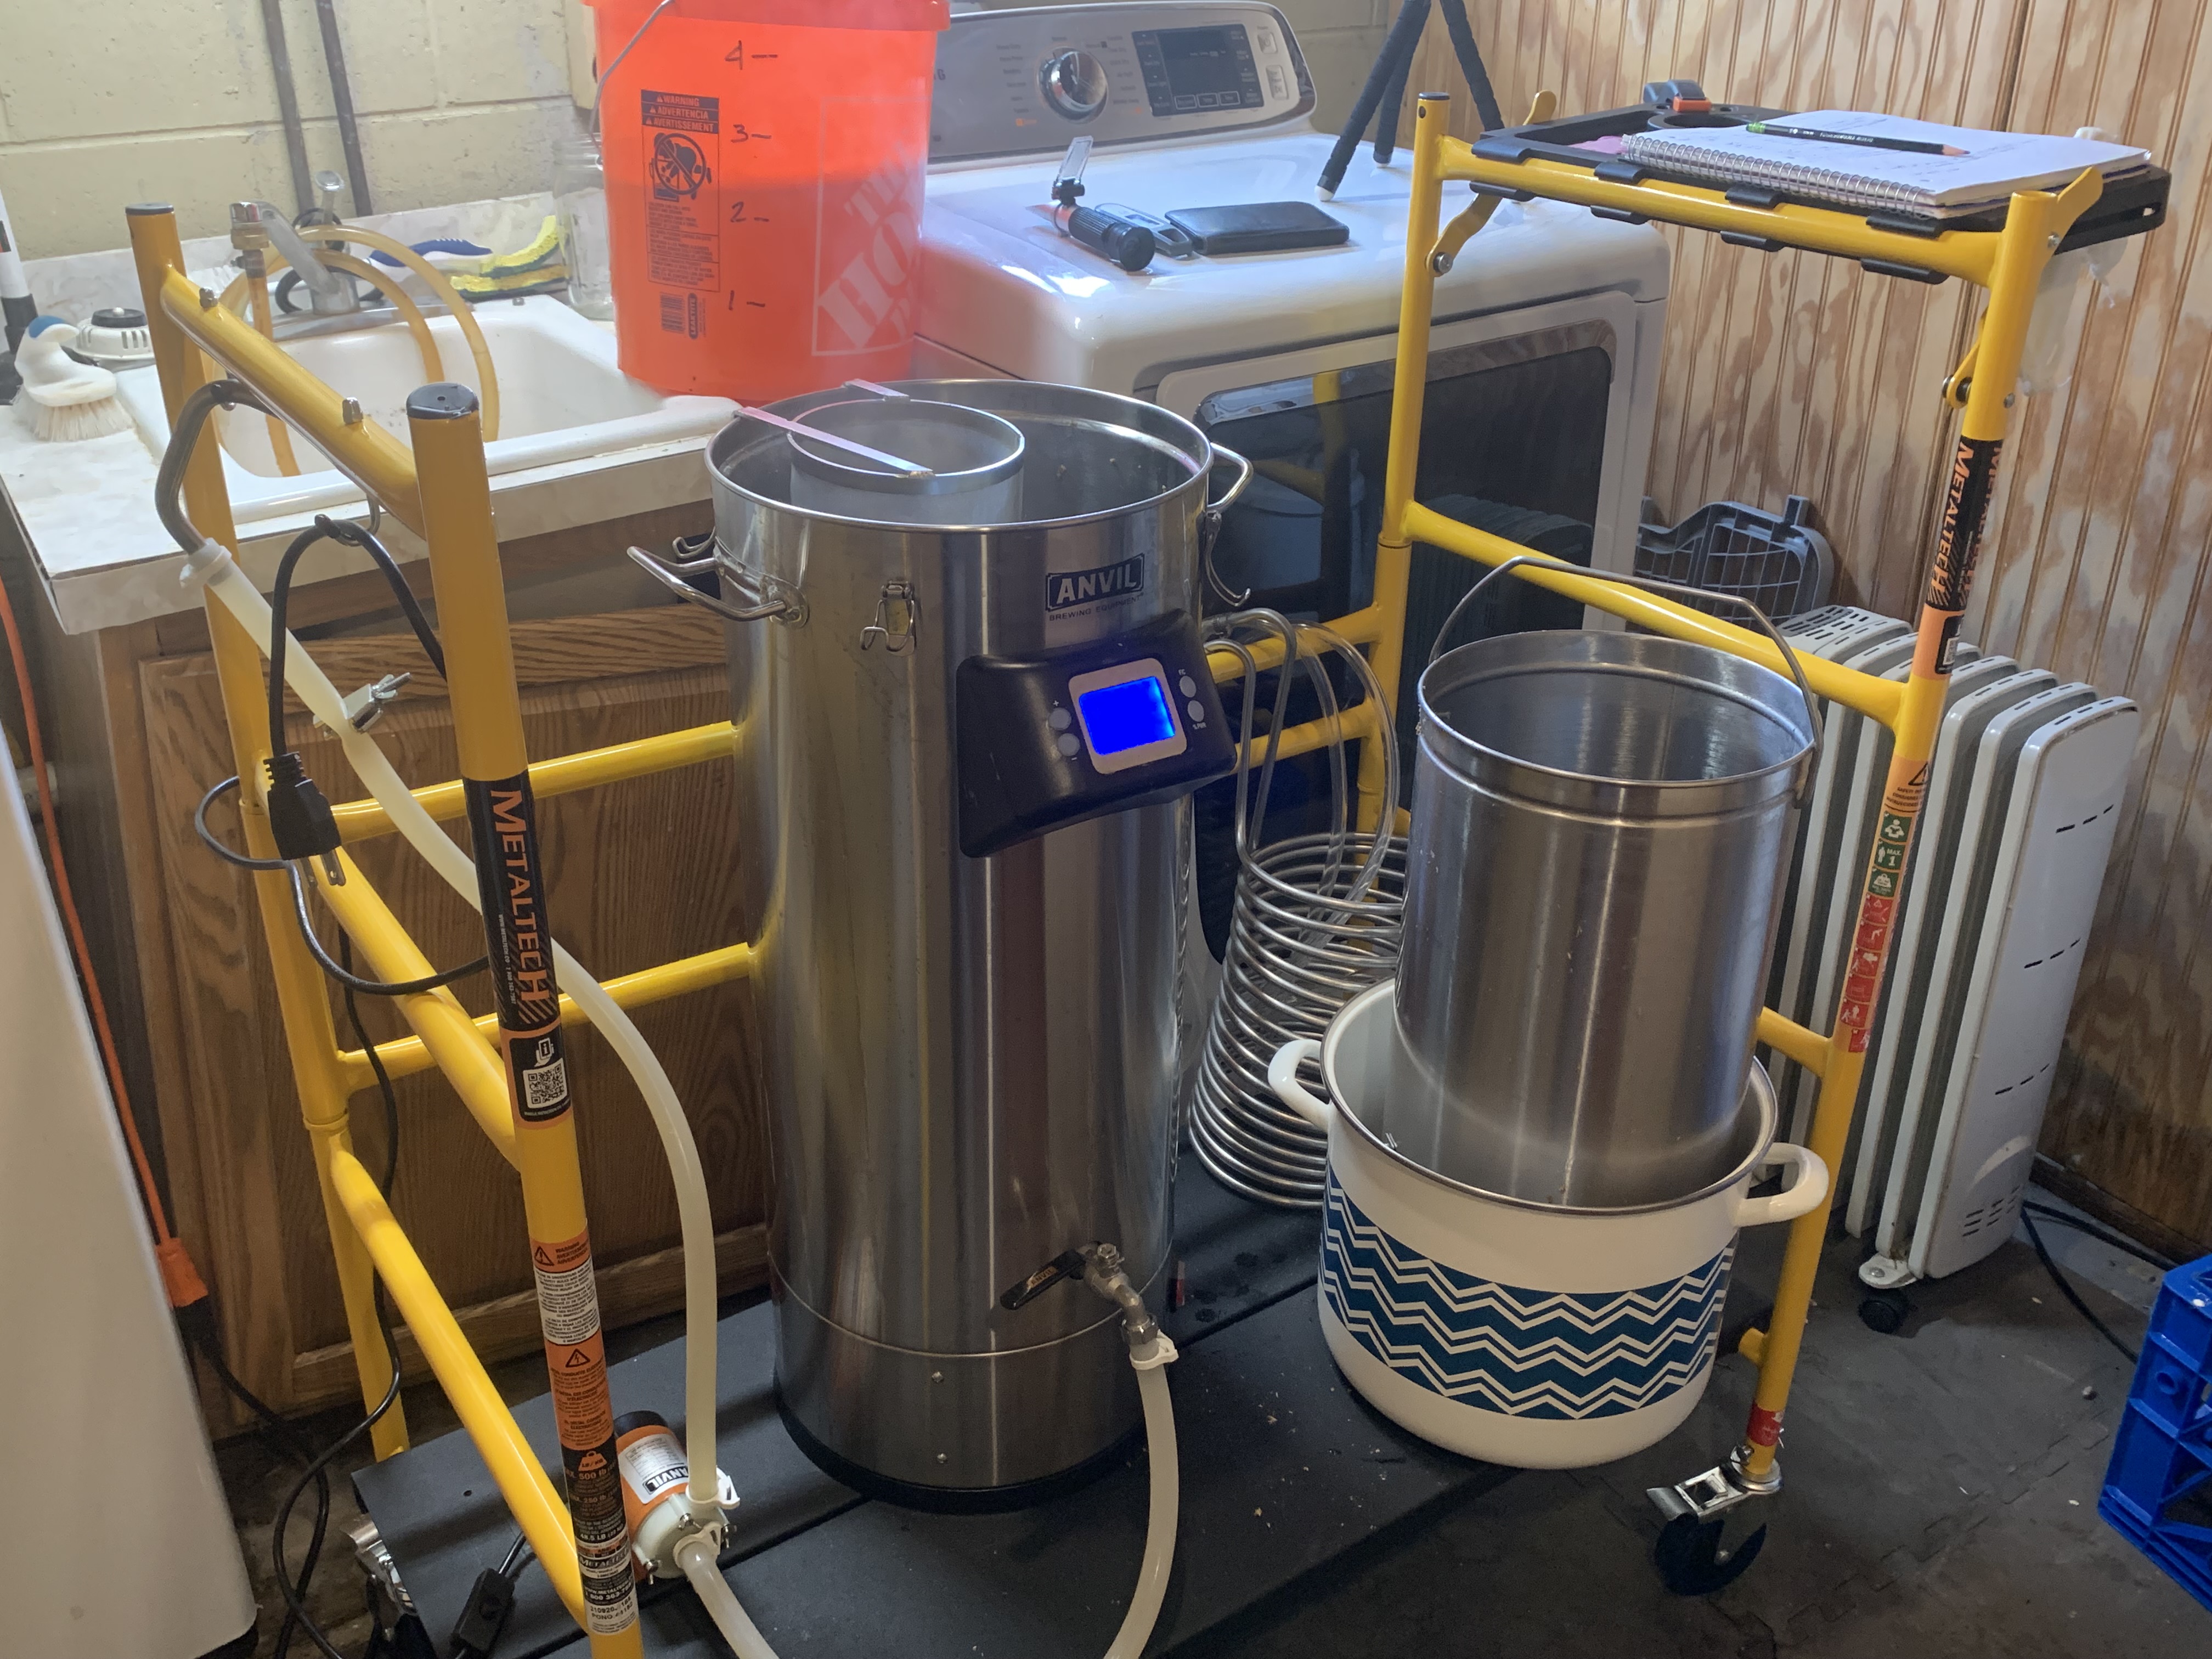
Is it possible to use the chiller and hop basket at the same time? Looks like an interference issue.
If not, I guess you remove the hop basket before adding the chiller? Then leave the chiller in there for a few minutes to sterilize?
If not, I guess you remove the hop basket before adding the chiller? Then leave the chiller in there for a few minutes to sterilize?
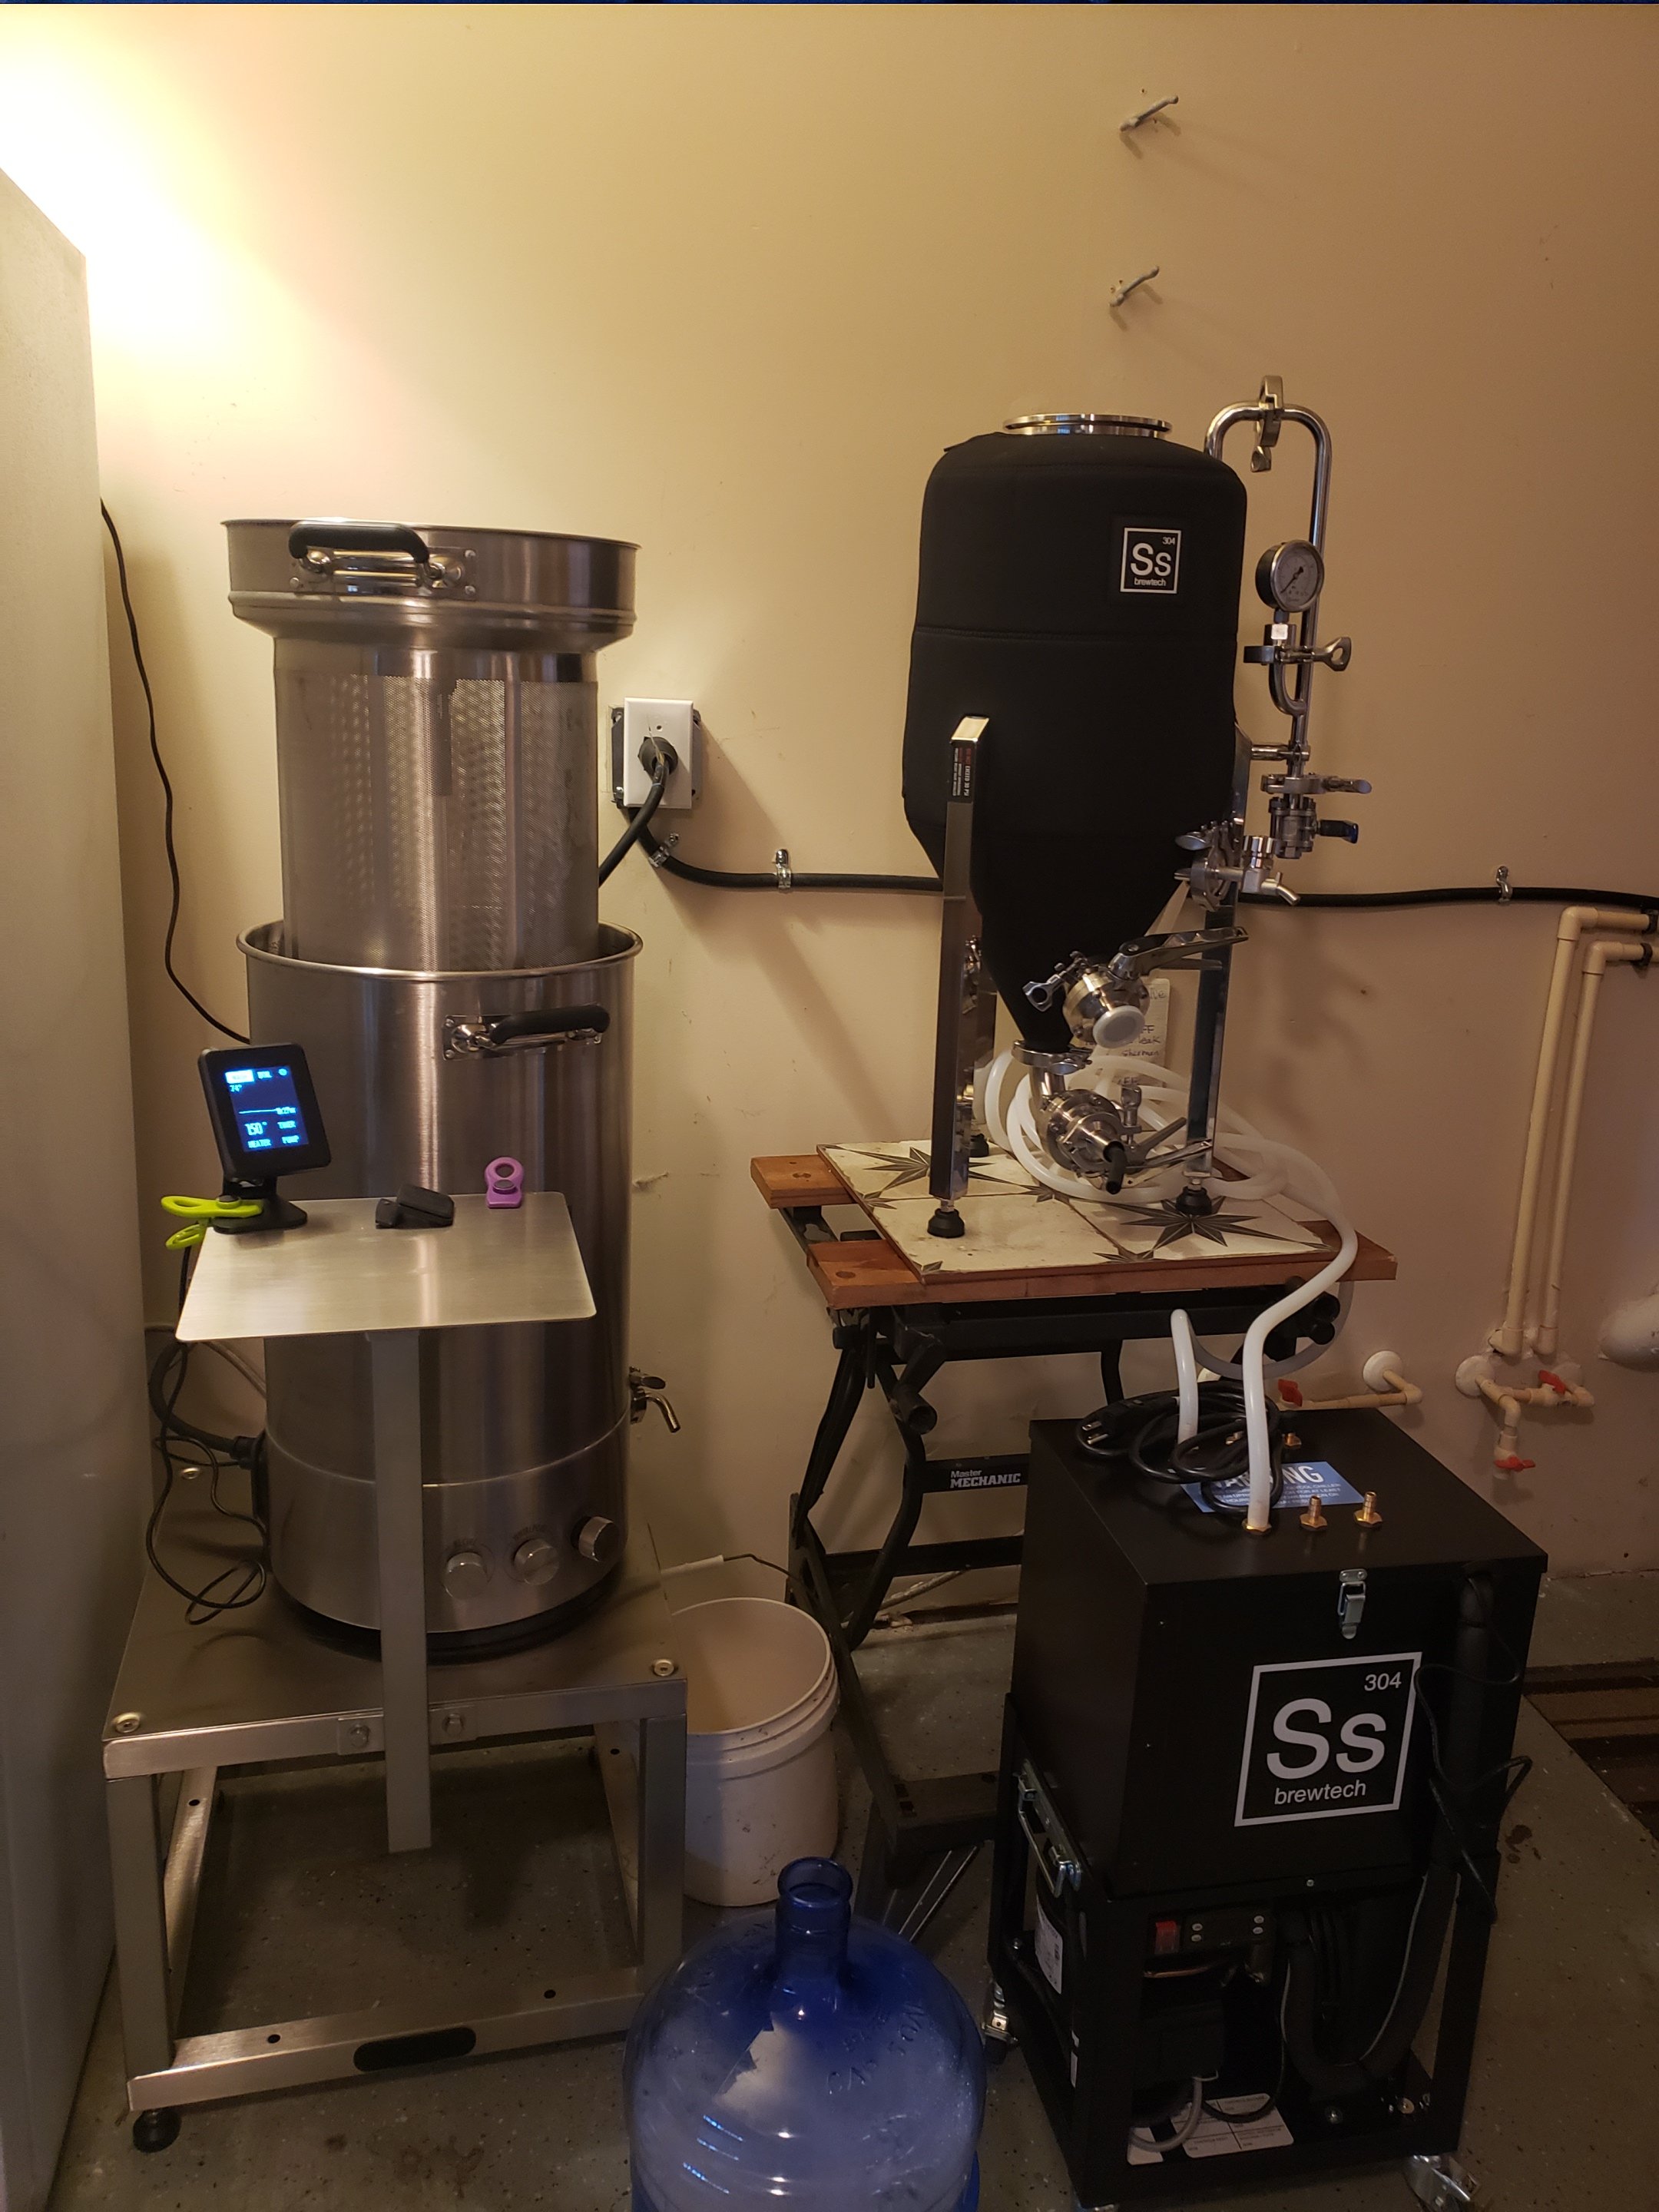
Thumbs up on SVBS. Yes to the brew cube, casters on the legs, etc. Hop spider and chiller work great to. Just purchased another 7gal brew bucket to facilitate back to back 5 gal batches.View attachment 834773


")