
rosienej
Well-Known Member

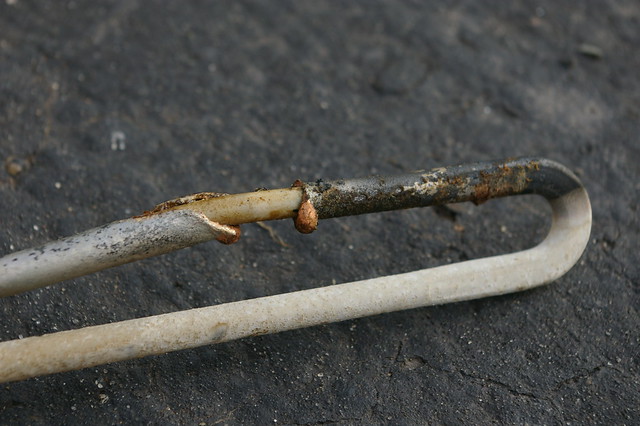
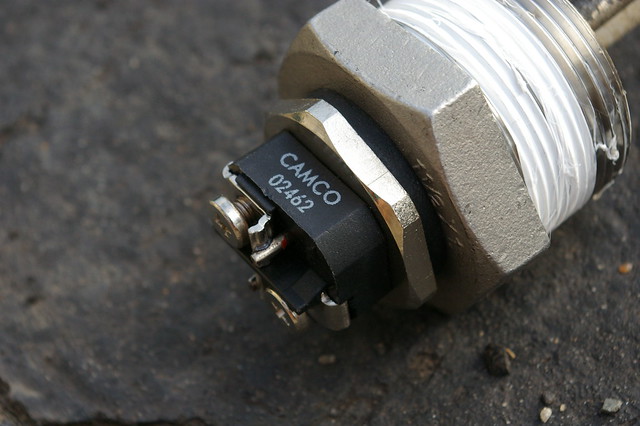
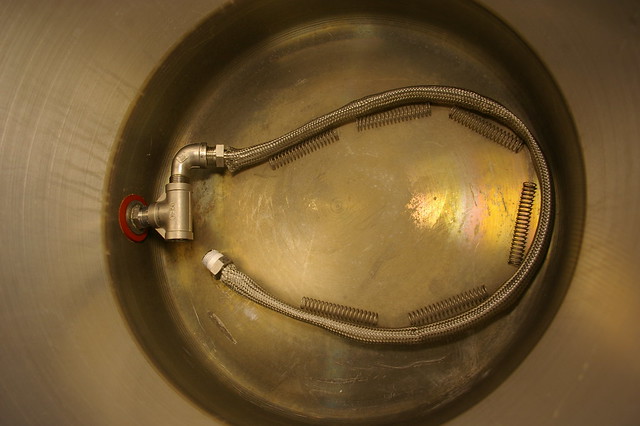
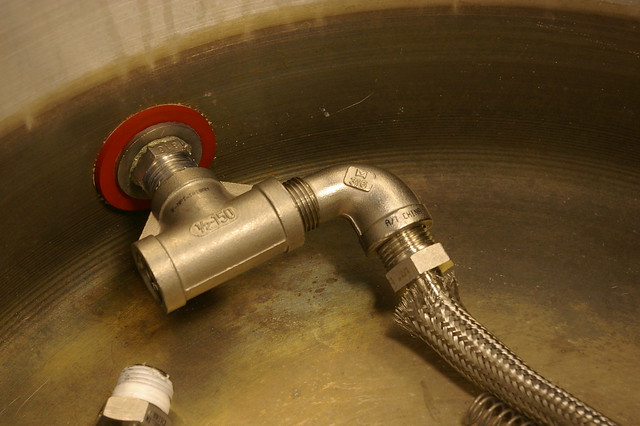
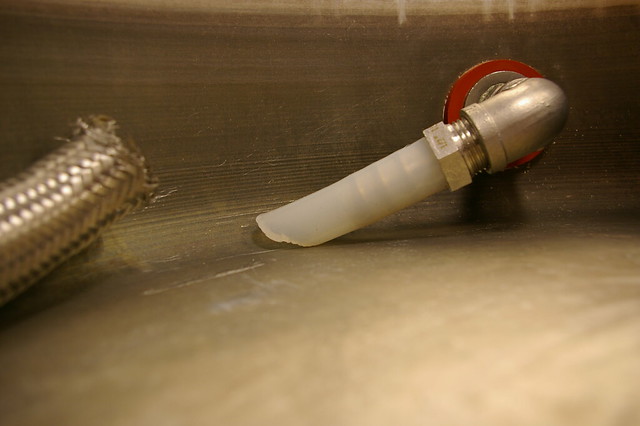
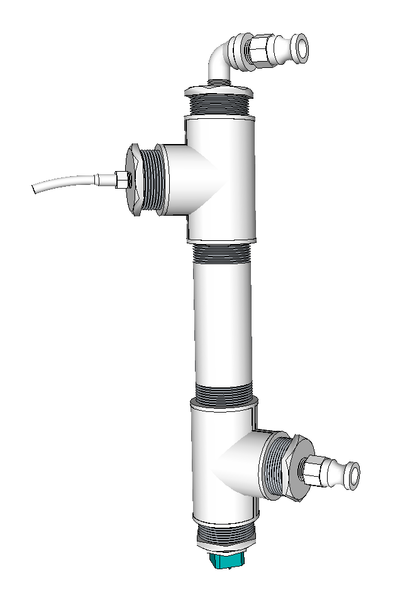
As built...

and

Here are the parts...
Parts from McMaster-Carr
1 1 each 4550T141 Extreme-Temperature Heat Tape 13 Watts/Square Inch, 8 ft Length, 624 Watts, 120 V today $69.07 each 69.07
2 2 each 4464K51 Type 304 Stainless STL Threaded Pipe Fitting 1/2" Pipe Size, Tee, 150 PSI today $7.18 each 14.36
3 1 each 4813K124 Standard-Wall Type 304/304L SS Threaded Pipe 1/2" Pipe, 0.84" OD, 18" L, 13/16" Thread Length today $18.65 each 18.65
4 2 each 4464K234 Type 304 Stainless STL Threaded Pipe Fitting 1/2" Pipe Size, Square Head Plug, 150 PSI today $3.21 each 6.42
5 1 roll 9379K92 Ultra-High Temp Foil-Faced Insulation Strip 1/2" Thick, 2" X 12' today $11.39 roll 11.39
Merchandise total
$119.89 Of one section. I used two for a total of 1200 watts..


")
