
- Joined
- Nov 18, 2008
- Messages
- 2,058
- Reaction score
- 25
Ed do you have a picture of it? Also how did just adding a sight glass make it work better. Or did it make it easier for you to know it was working well.
Wow, if you thought about it then someone else has too or already done it. Or however that saying goes.
The overall length of the site glass is about 6.5", there is about 3.5" of glass and it is about 3" in diameter. Here is a picture of it mounted in my RIMs tube:
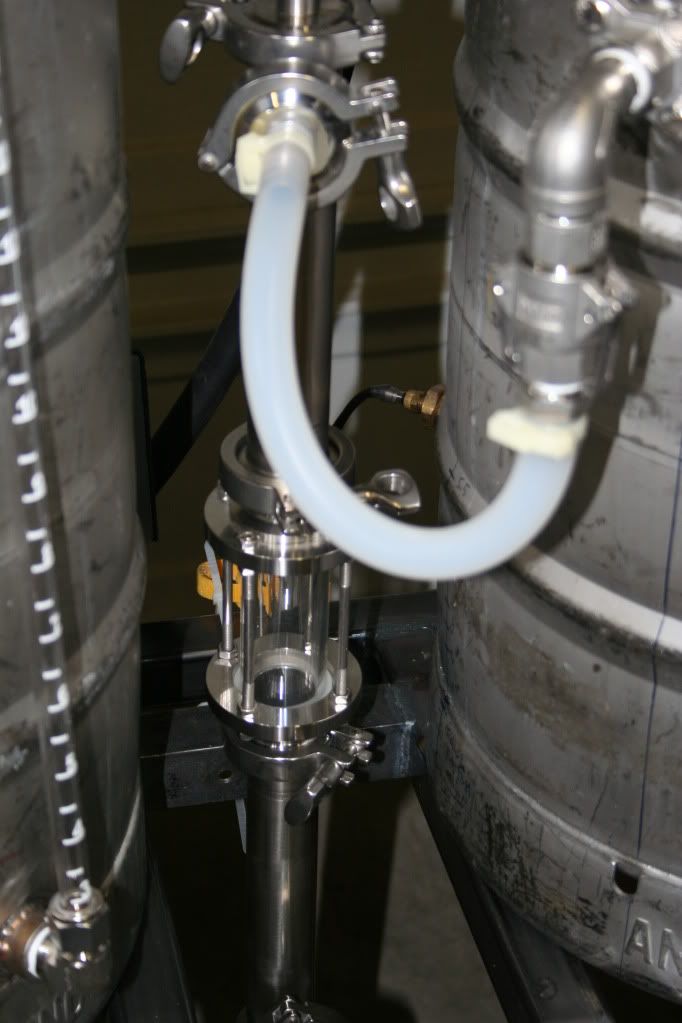
Ed


