4/3/2016 update
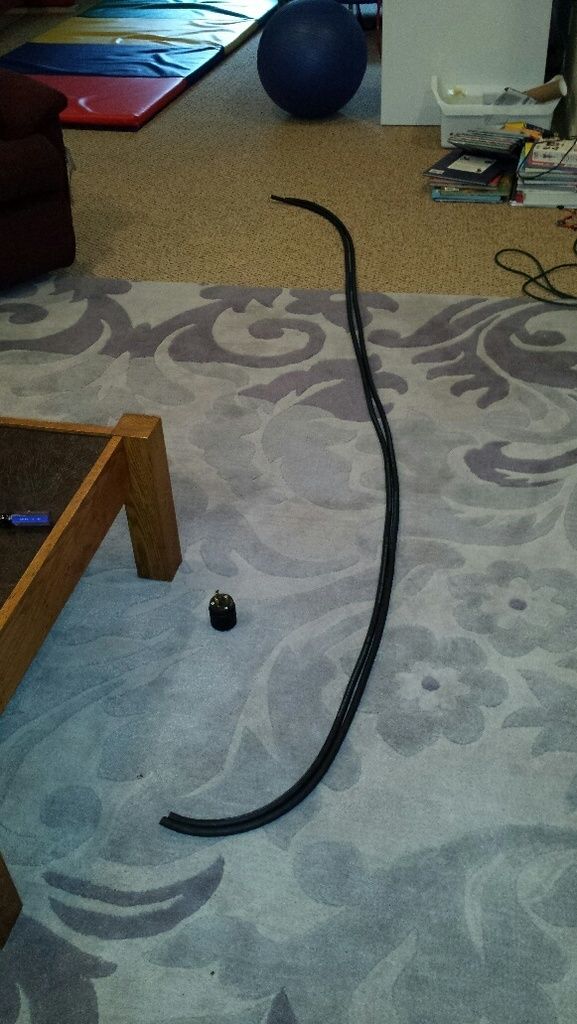
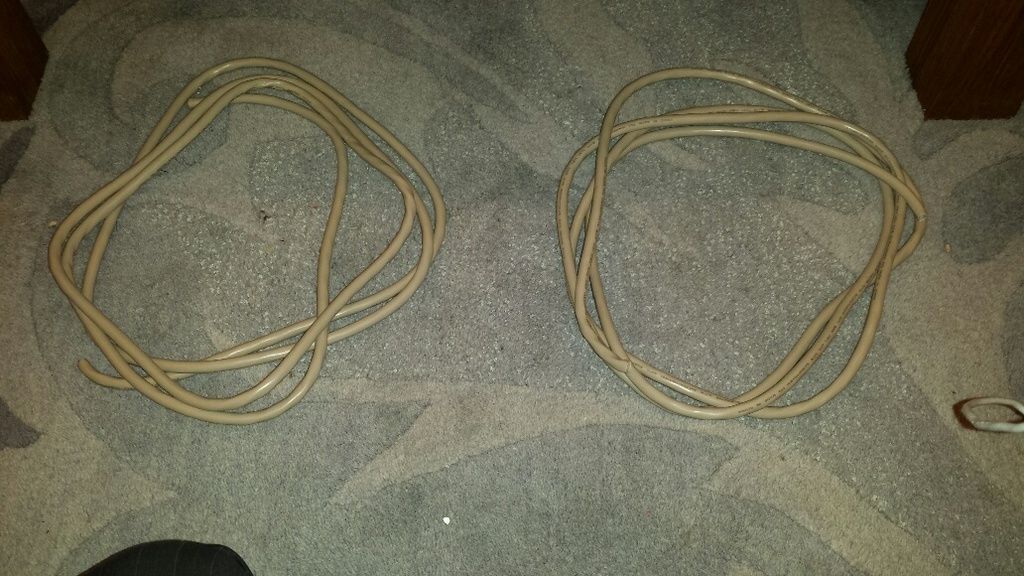
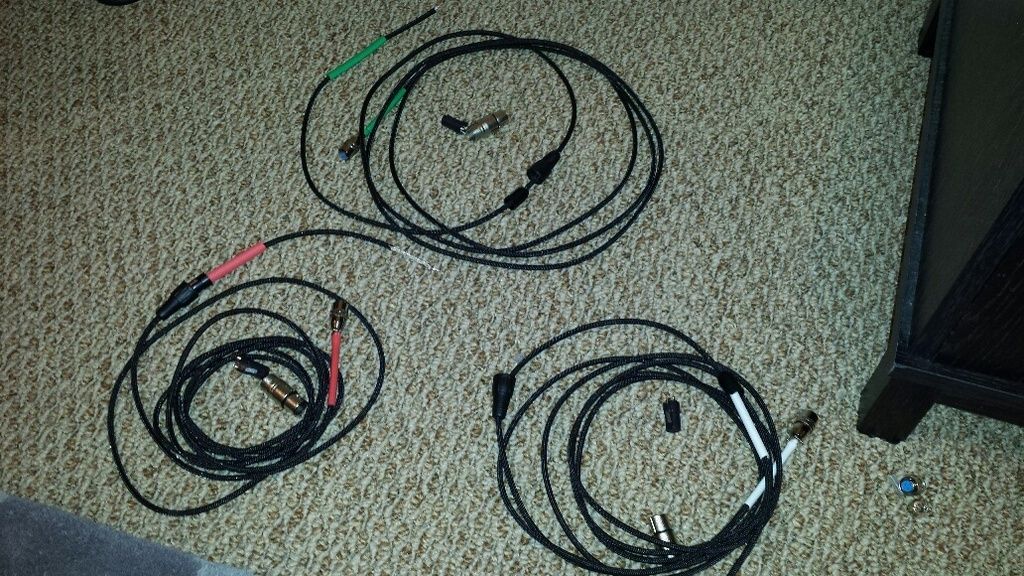
time to make cords for the heating elements. so cord cut to length:
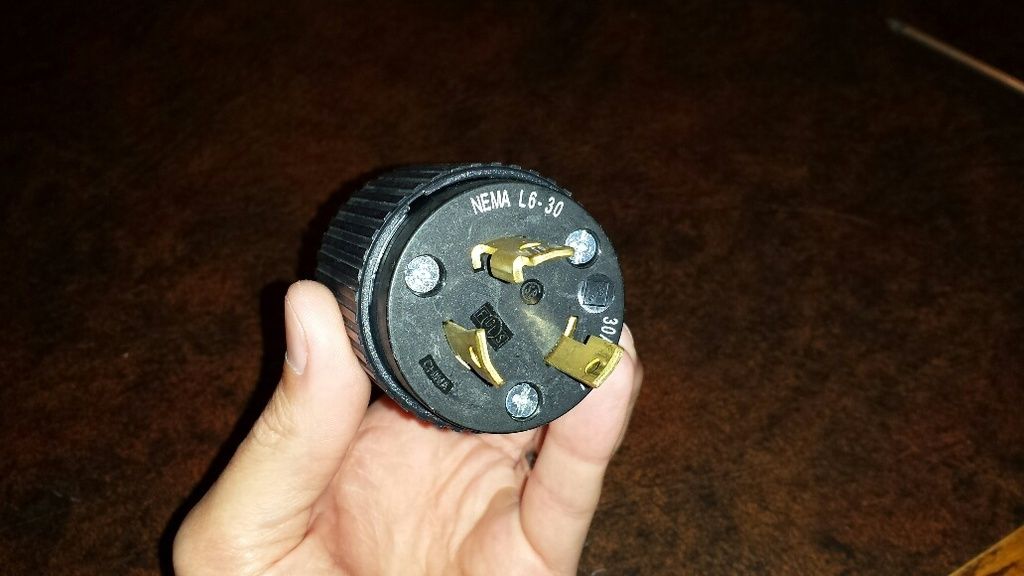
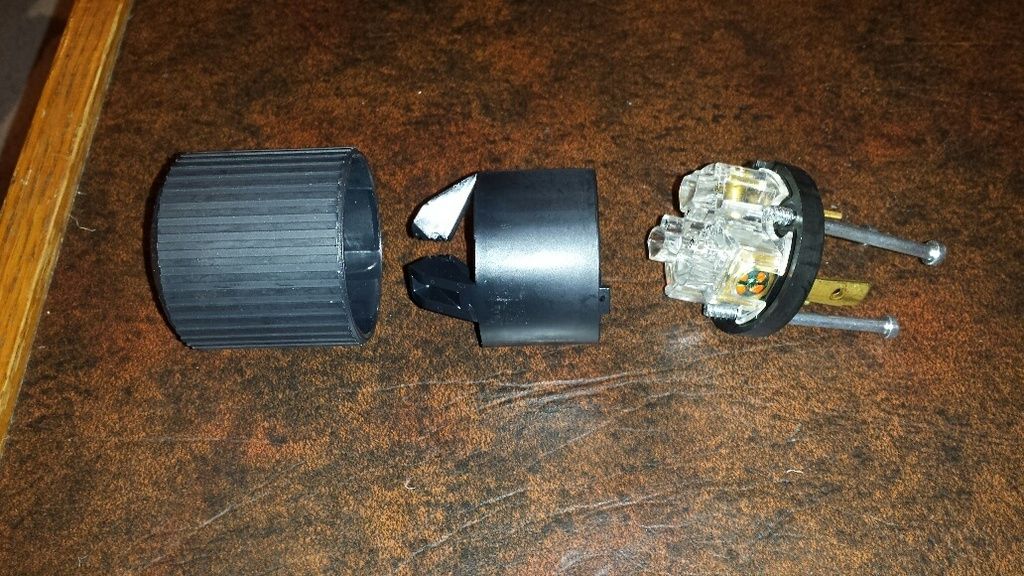
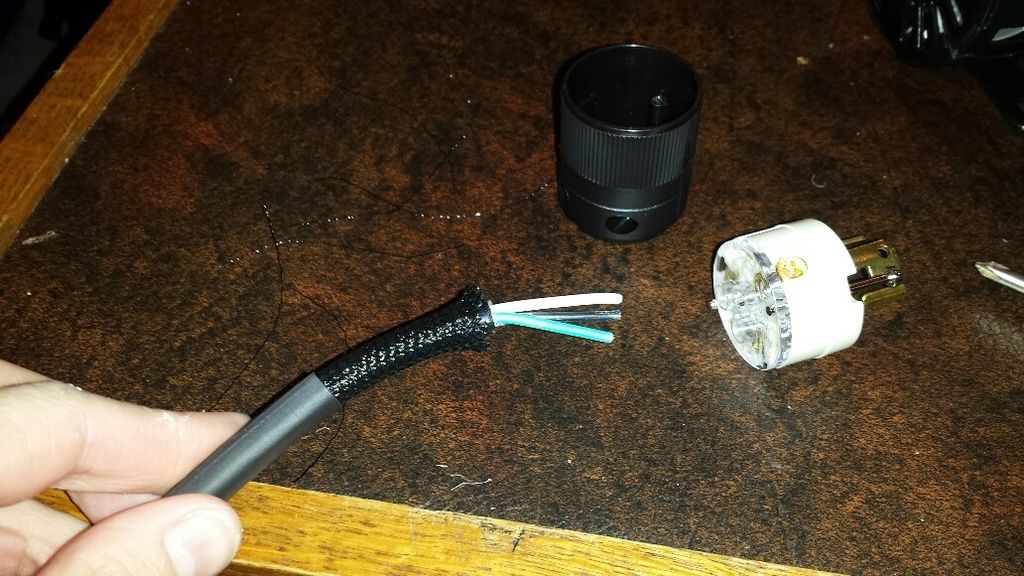
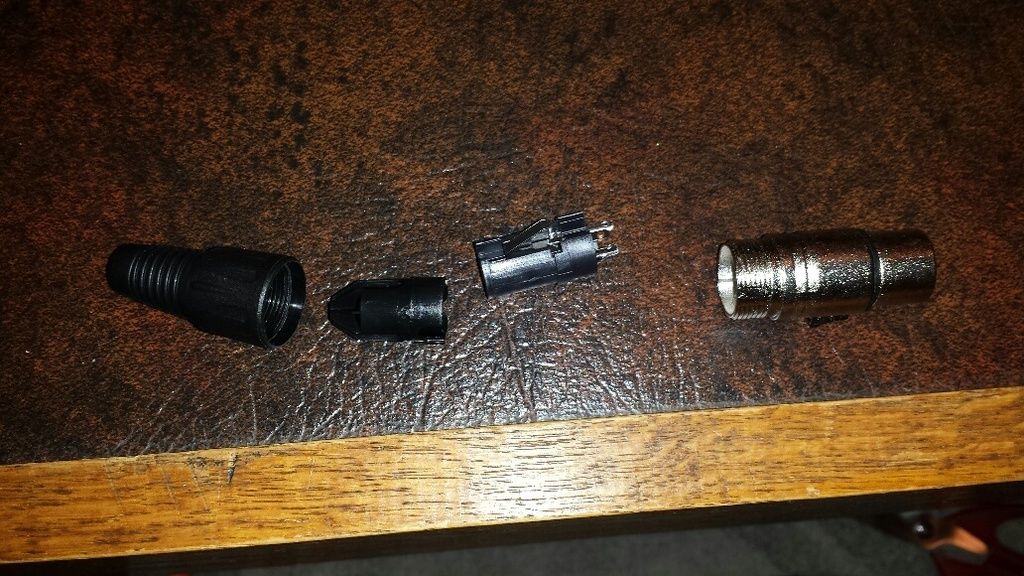
i don't need them to be the same length but they can be interchanged if they are the same, why not. l6-30 plug:
the plug disassembled:
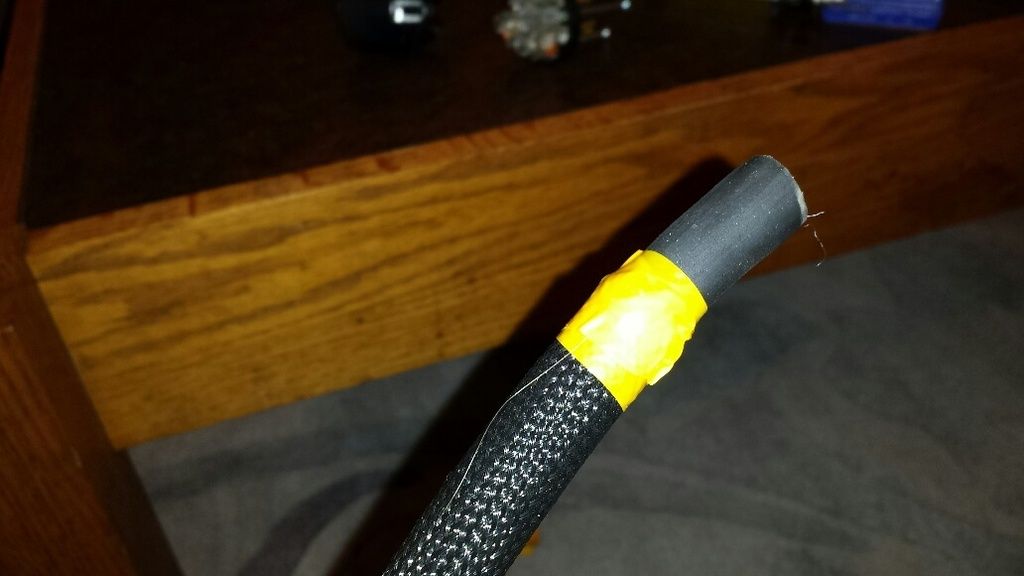
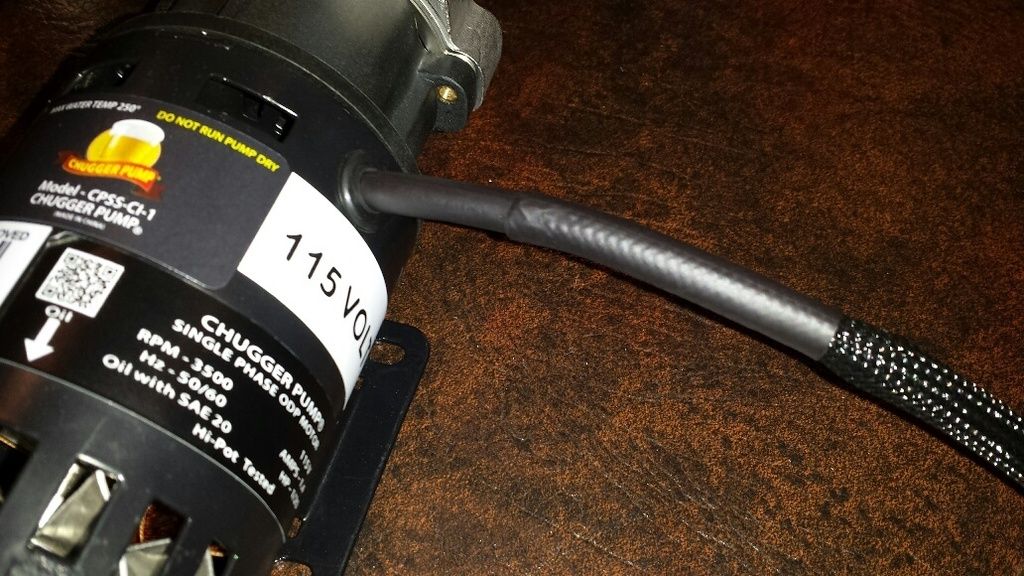
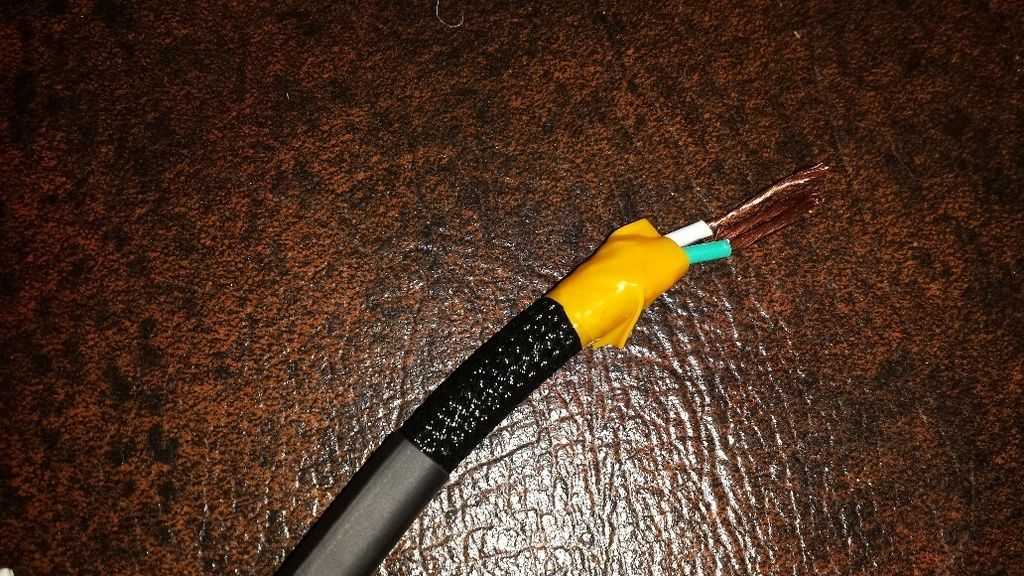
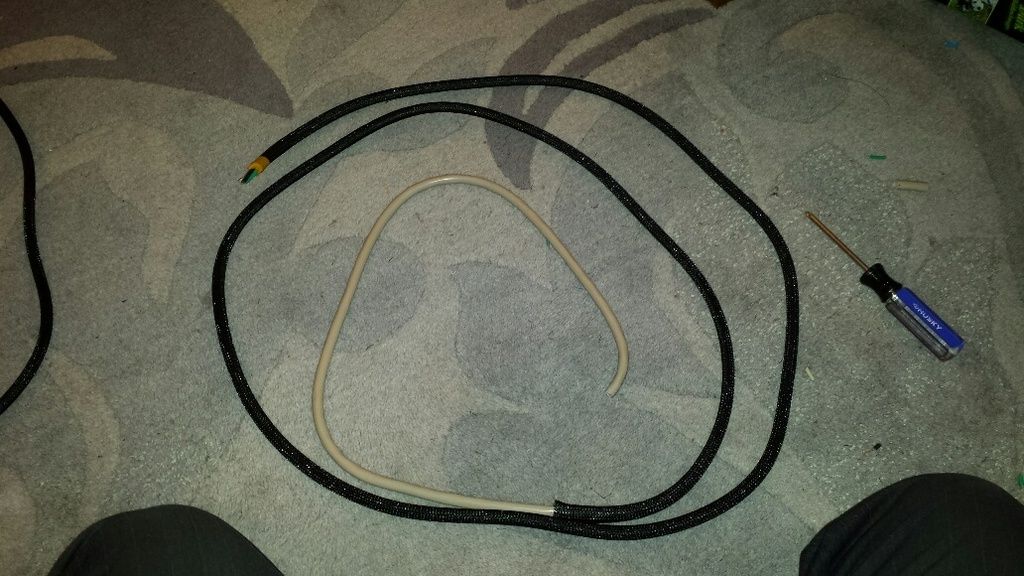
braided sleeving installed over the cord. the yellow electrical tape holds the end of the sleeving so it is easier to slide the plug cover and cord grip on to the cord:
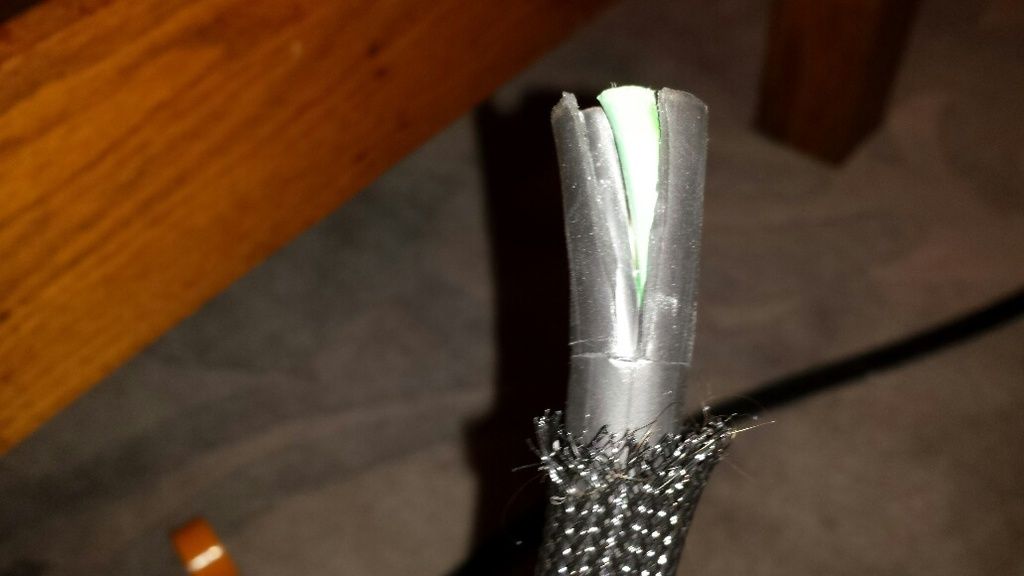
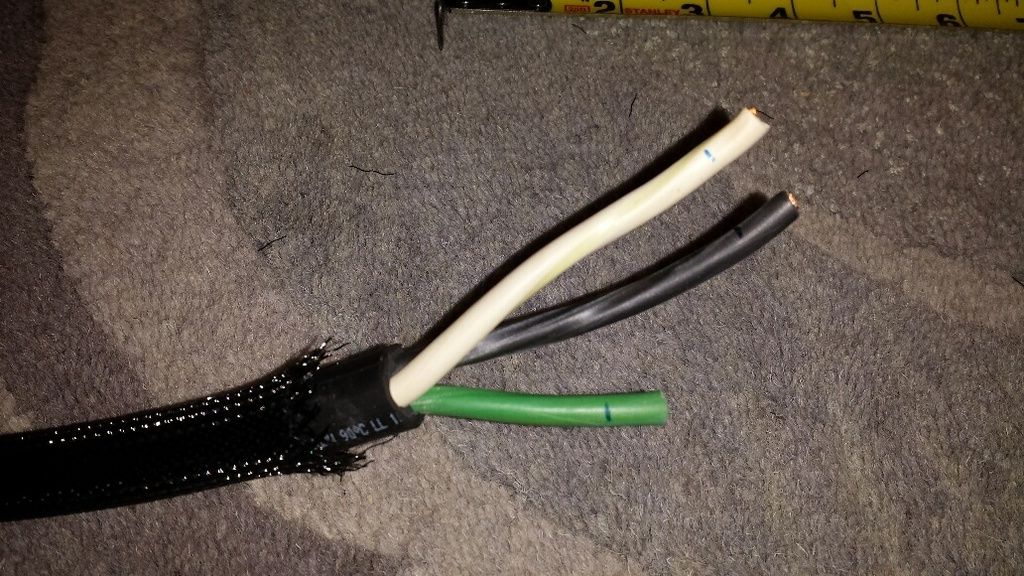
stripping off the outer jacket:
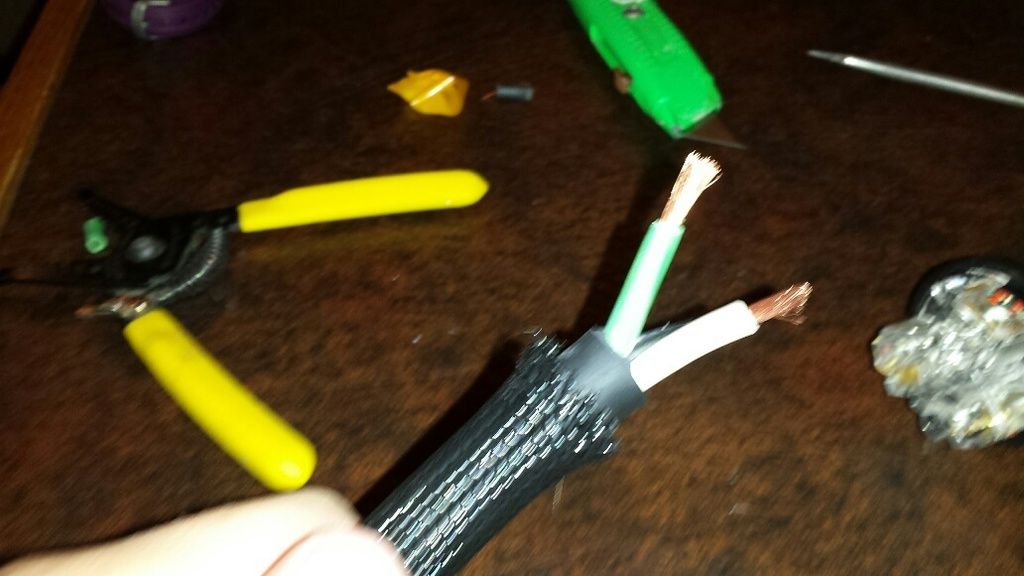
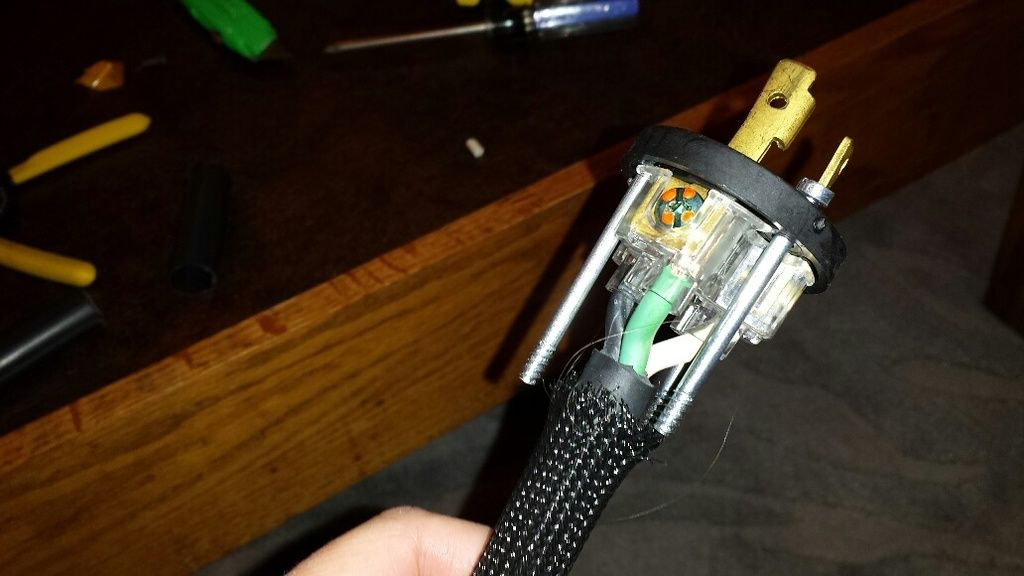
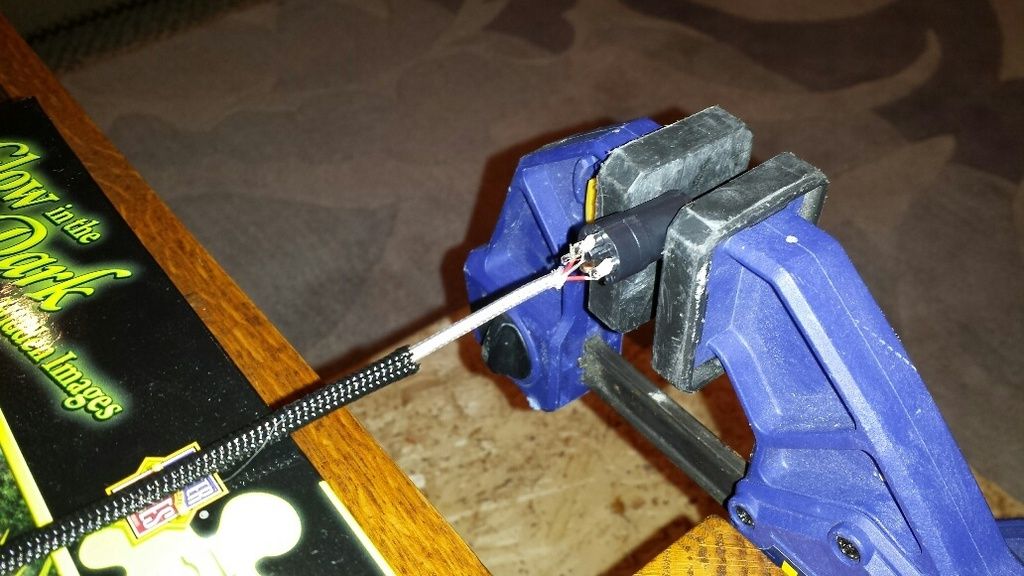
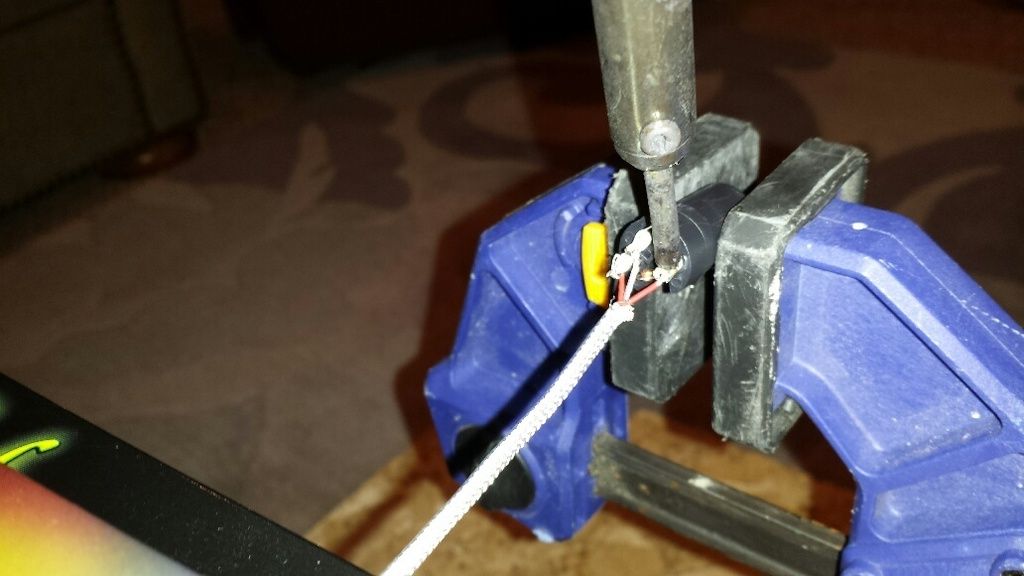
outer jacket stripped of and conductors dressed (and blurry):
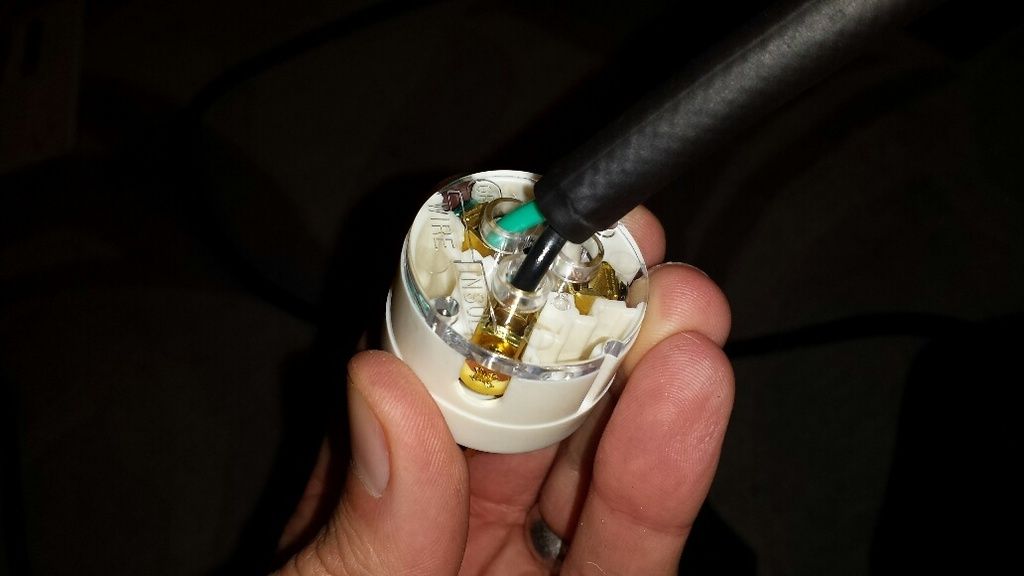
conductors clamped down and temp tape removed:
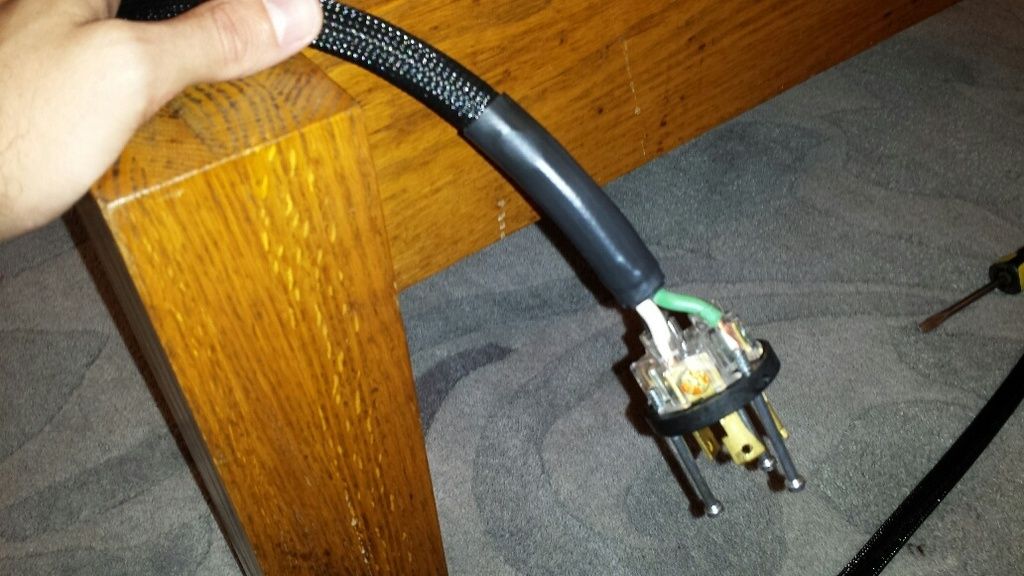
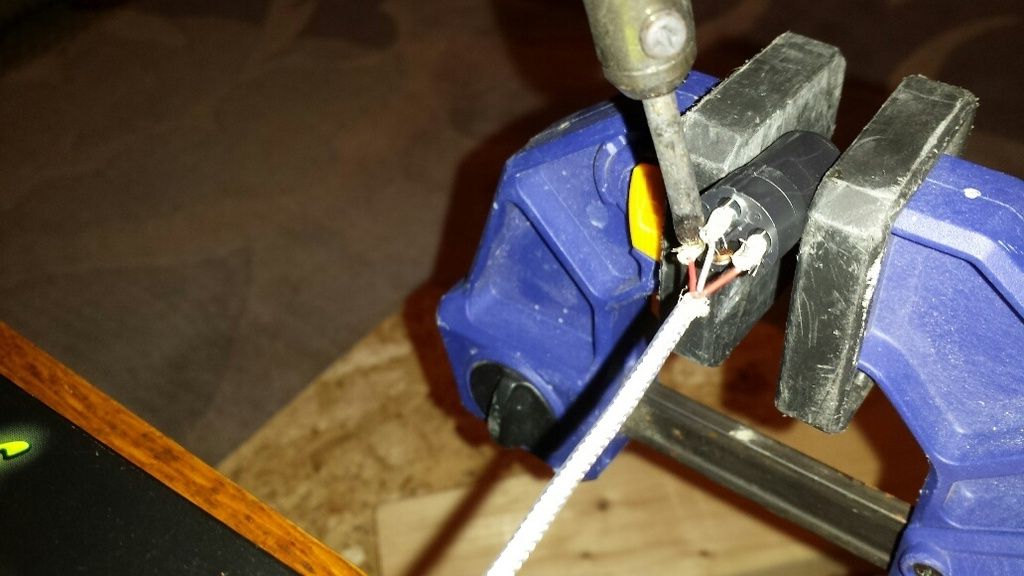
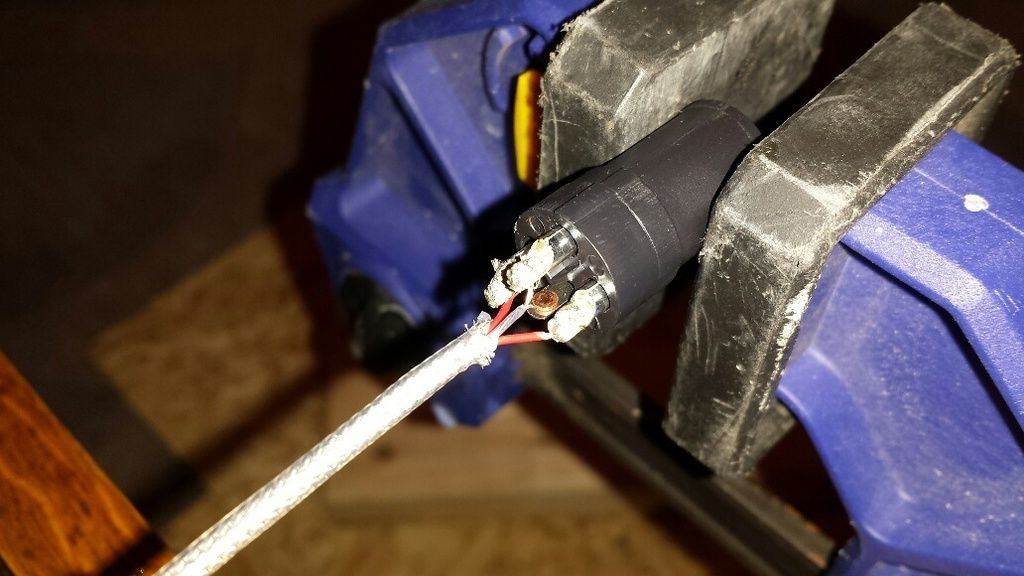
heat shrink tubing applied:
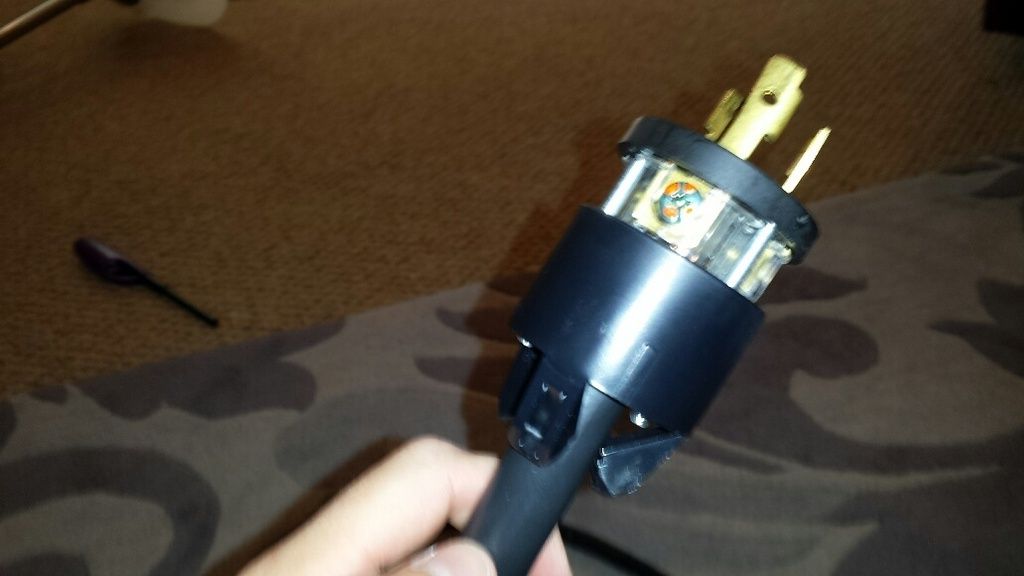
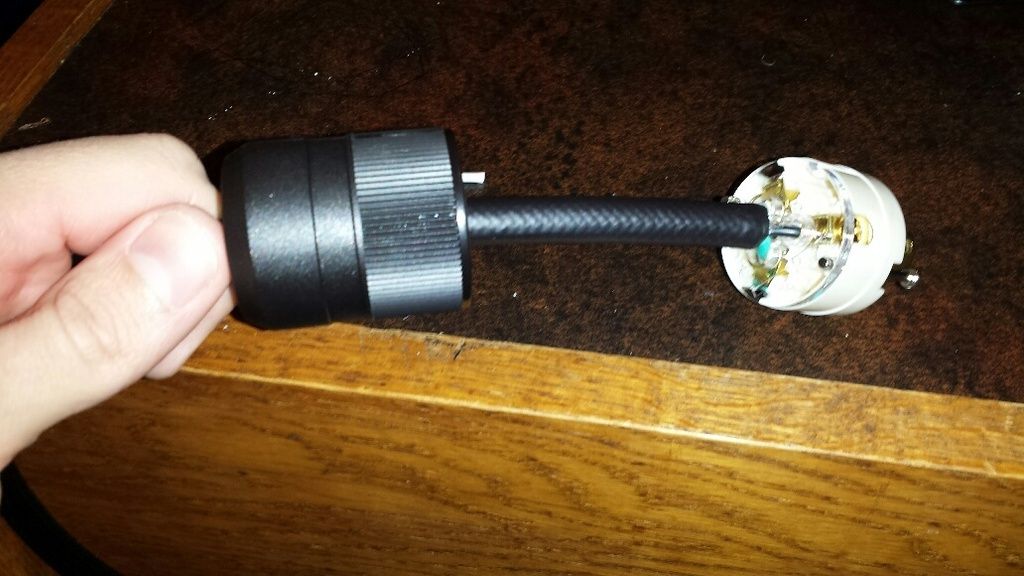
cord grip slid into place:
cover secured:
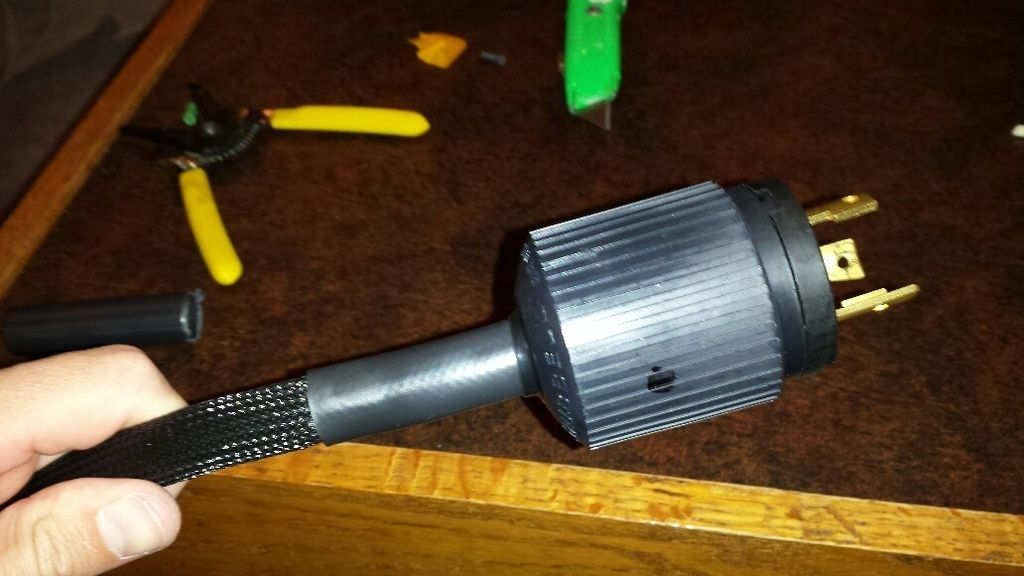
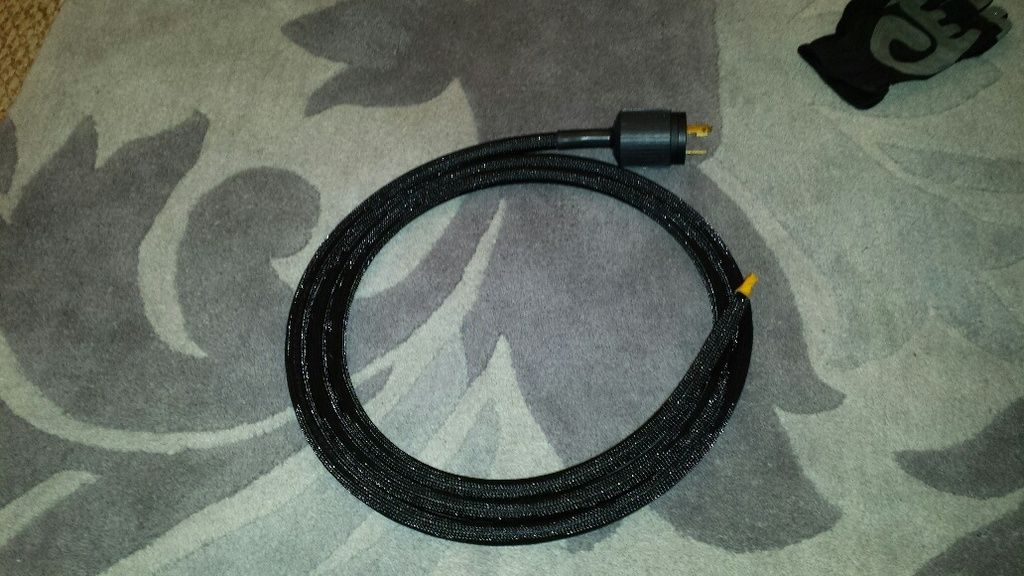
cable complete:
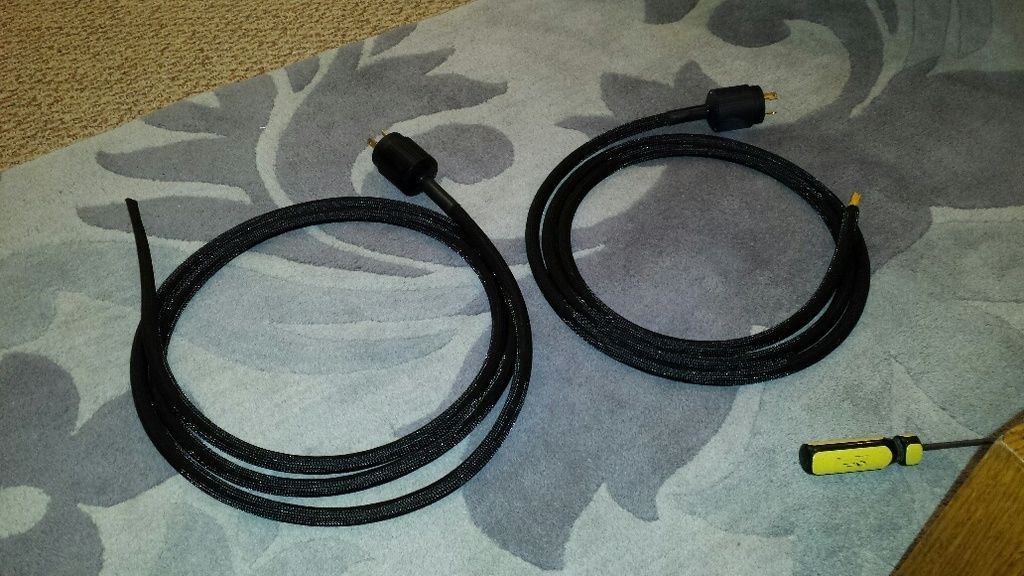
repeat the process for the second cable:
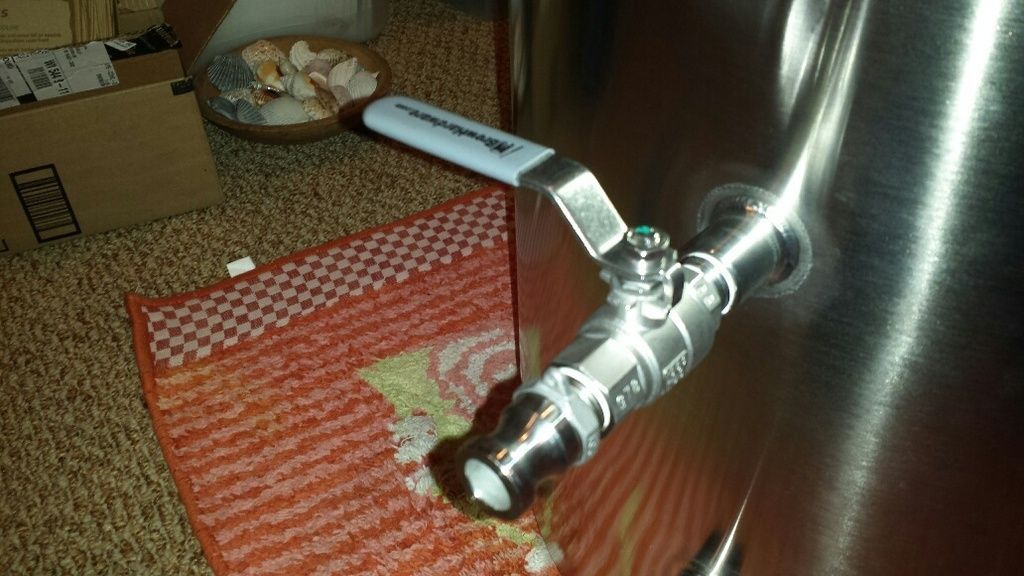
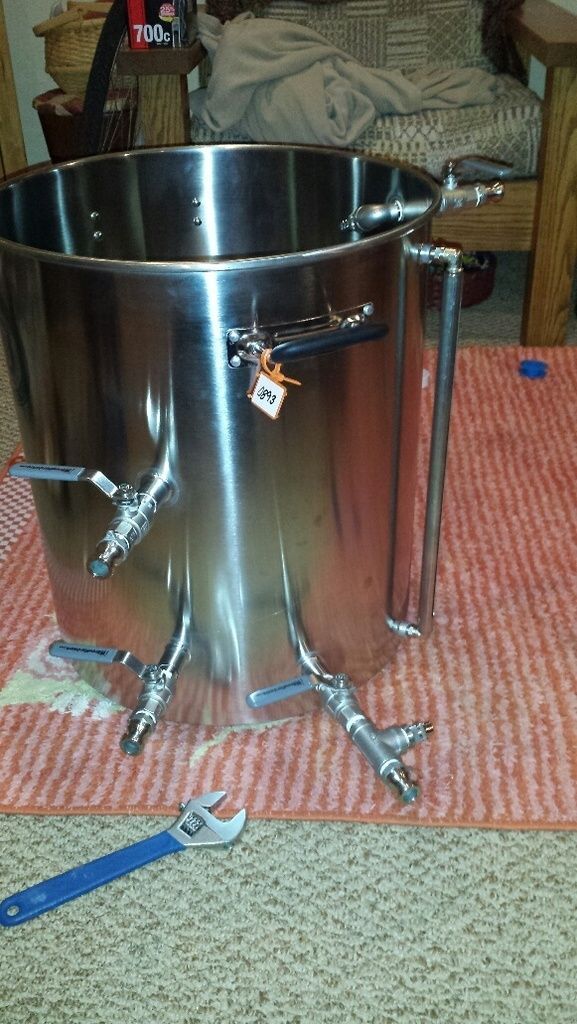
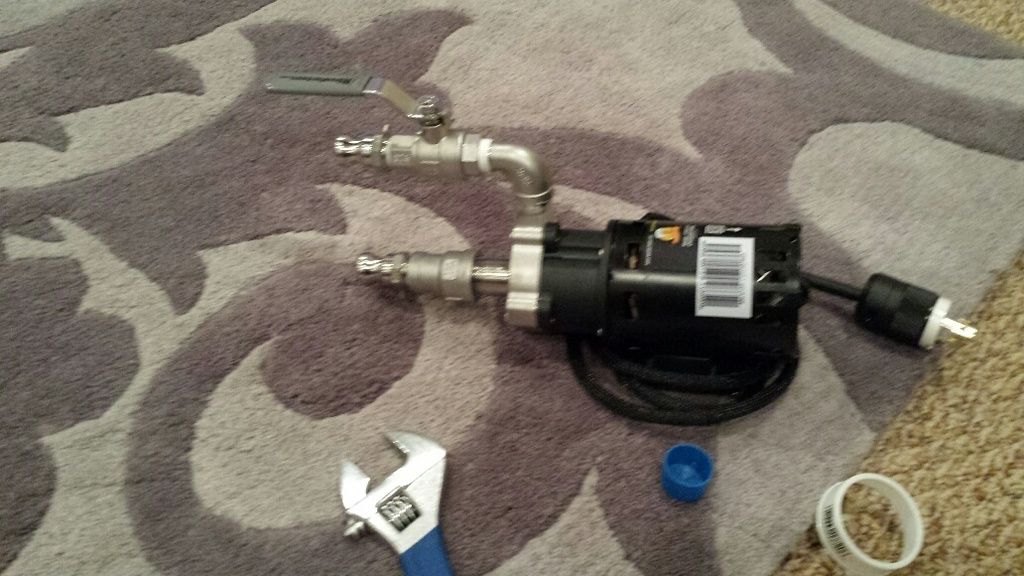
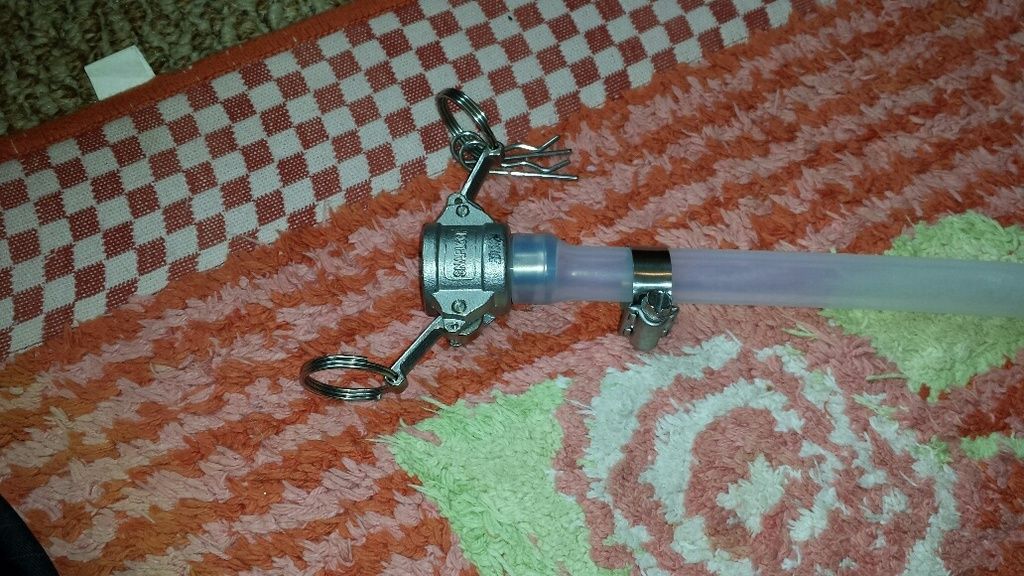
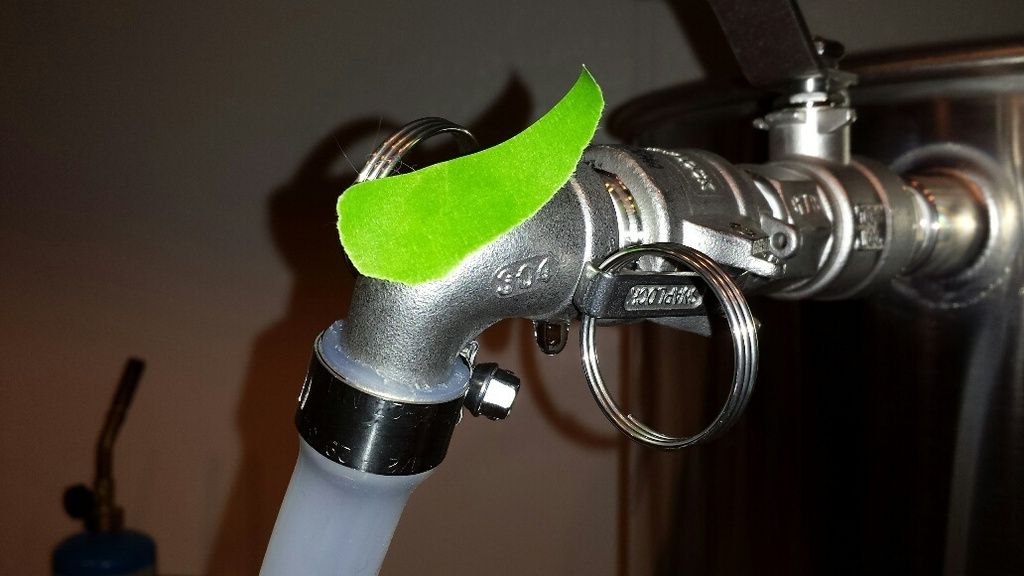
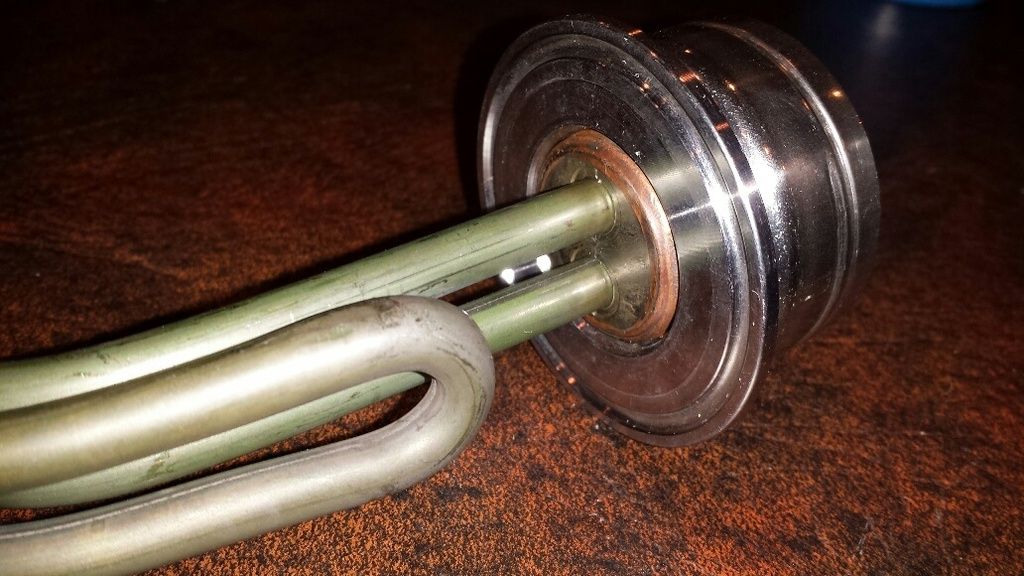
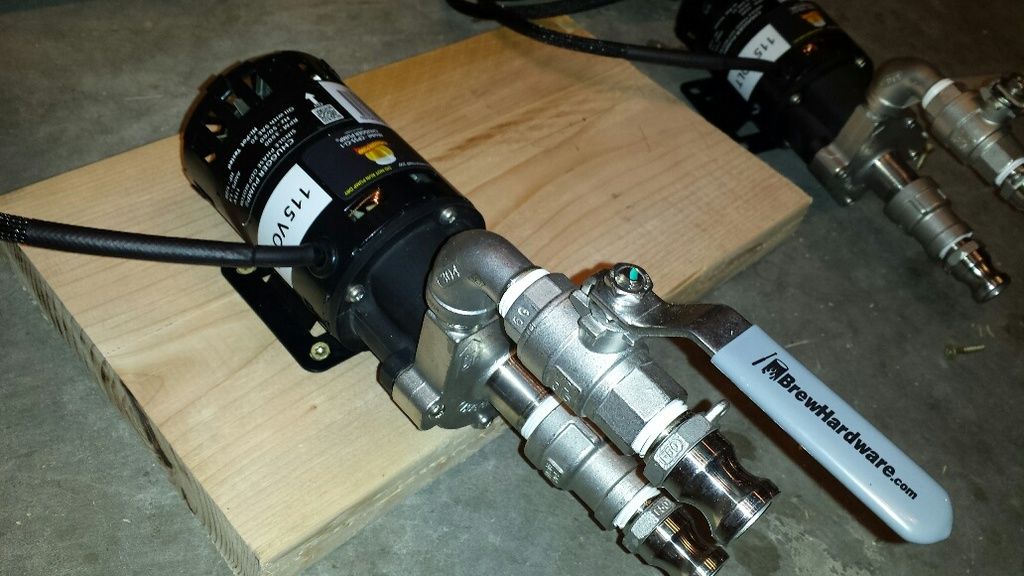
now on to attaching the heating elements. i'm using the hotpod kits from brewhardware, with a 2" tri-clamp connection to mate-up with my kettles. element threaded into one-half of the hotpod. there is an o-ring between the heater element base and the tri-clamp fitting, which i checked yesterday for leaks:
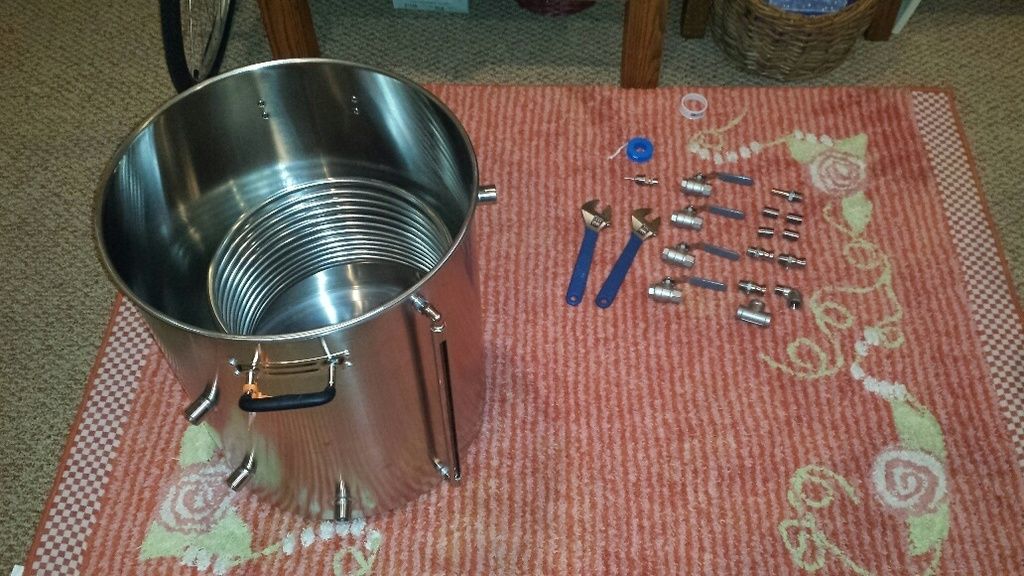
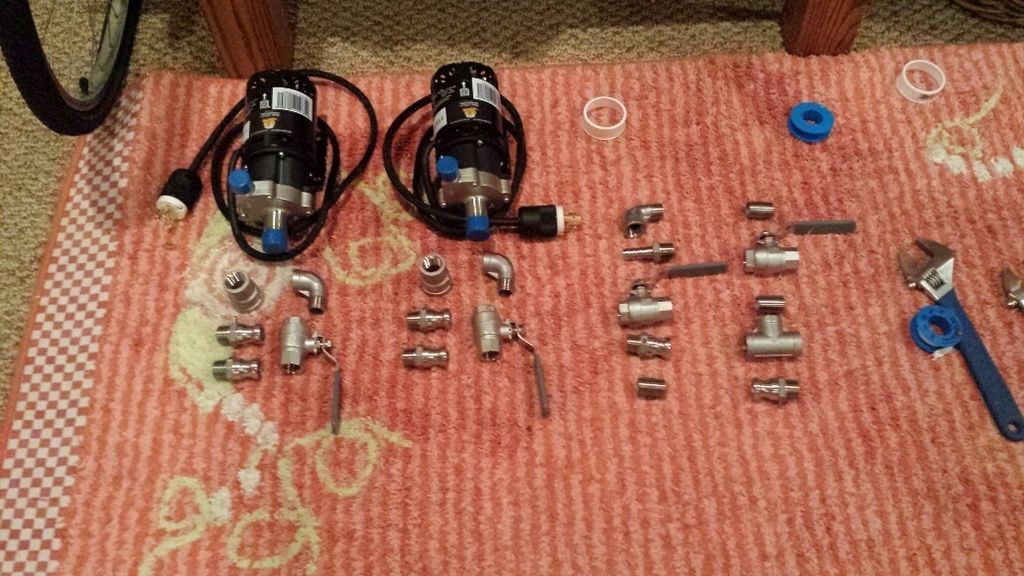
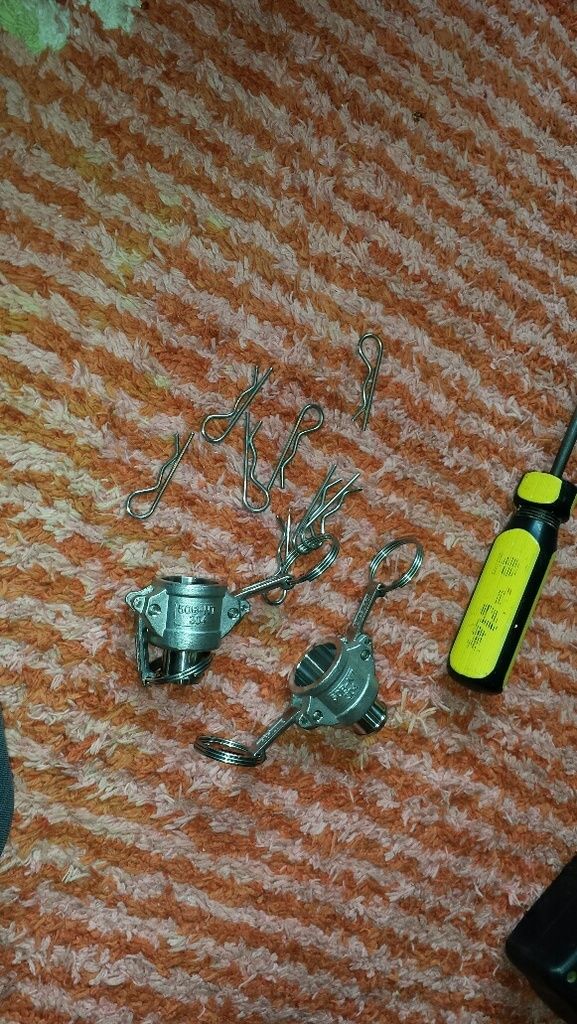
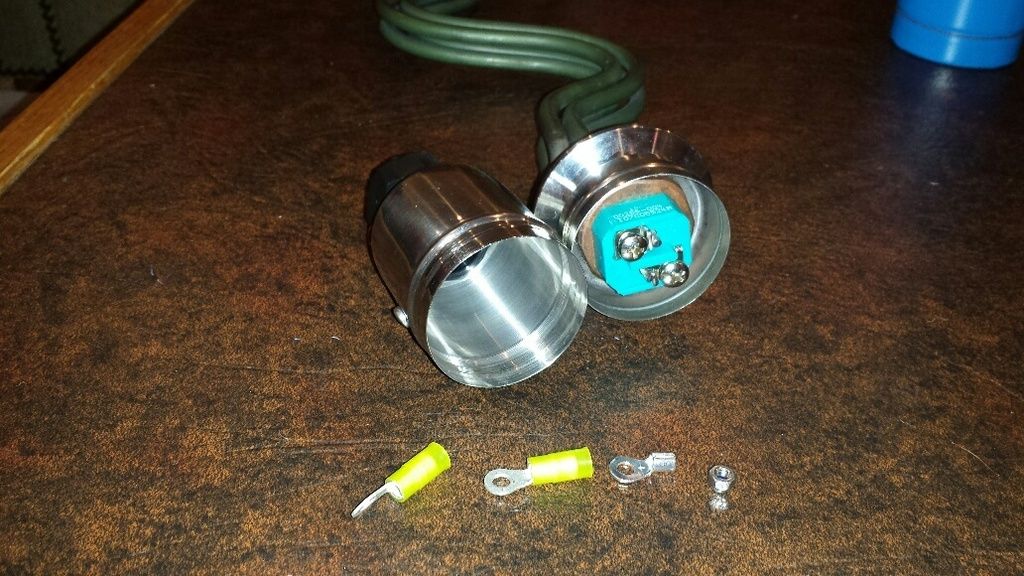
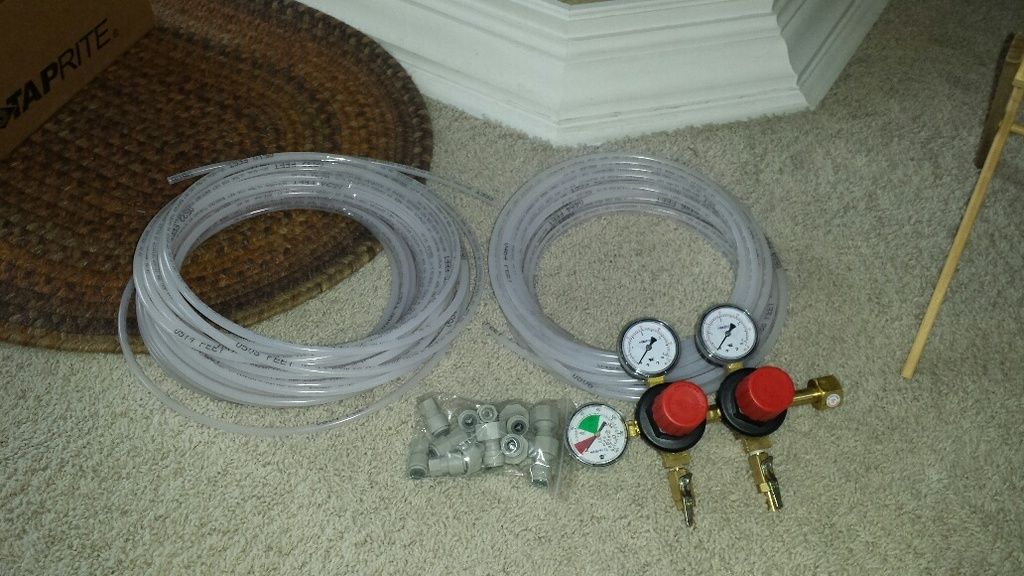
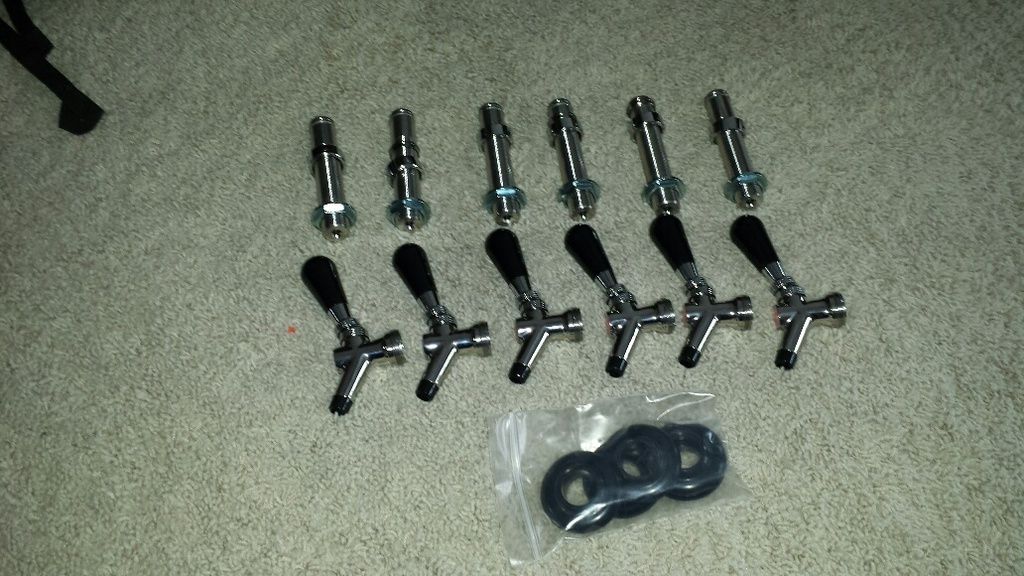
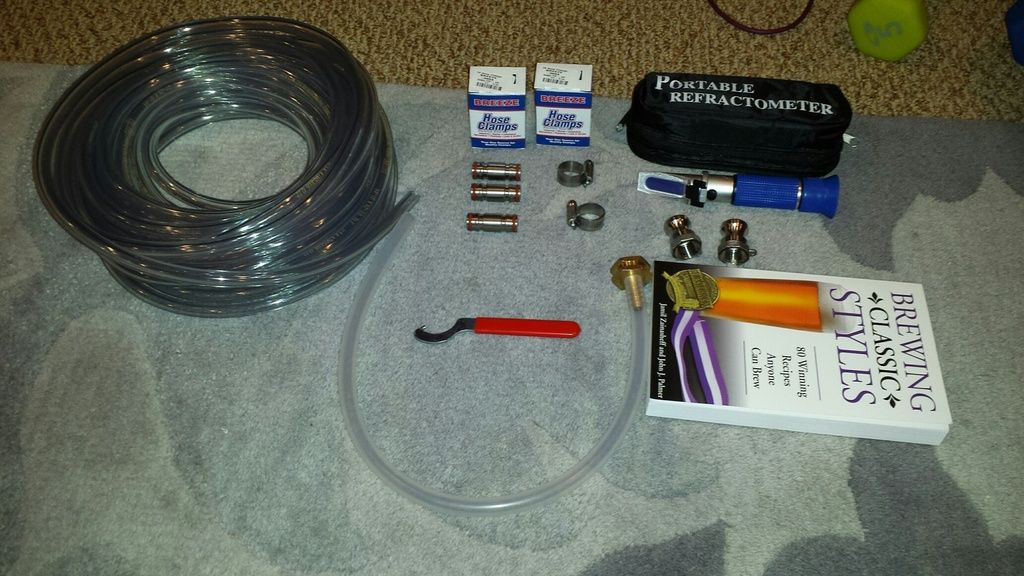
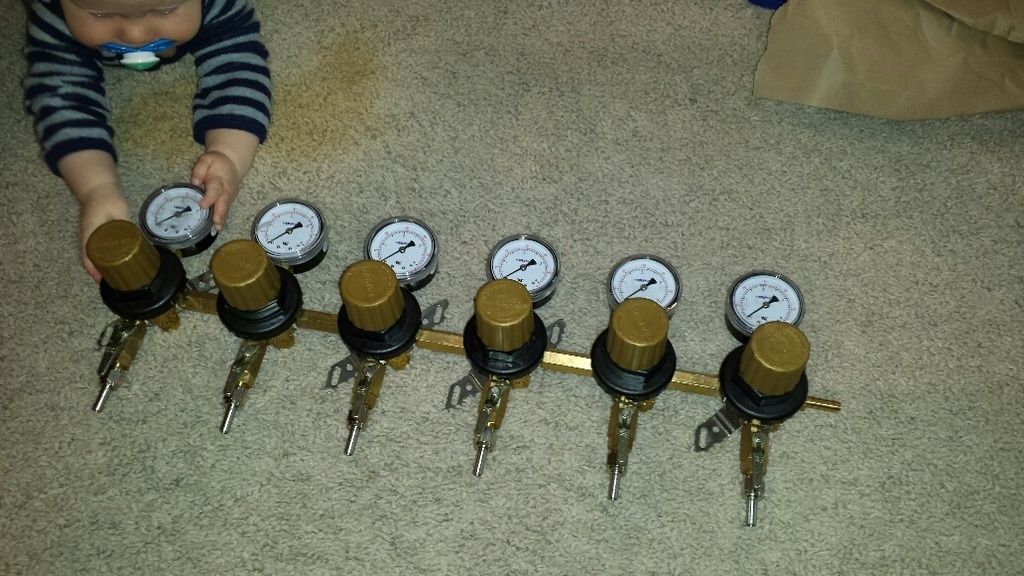
parts of the kit:
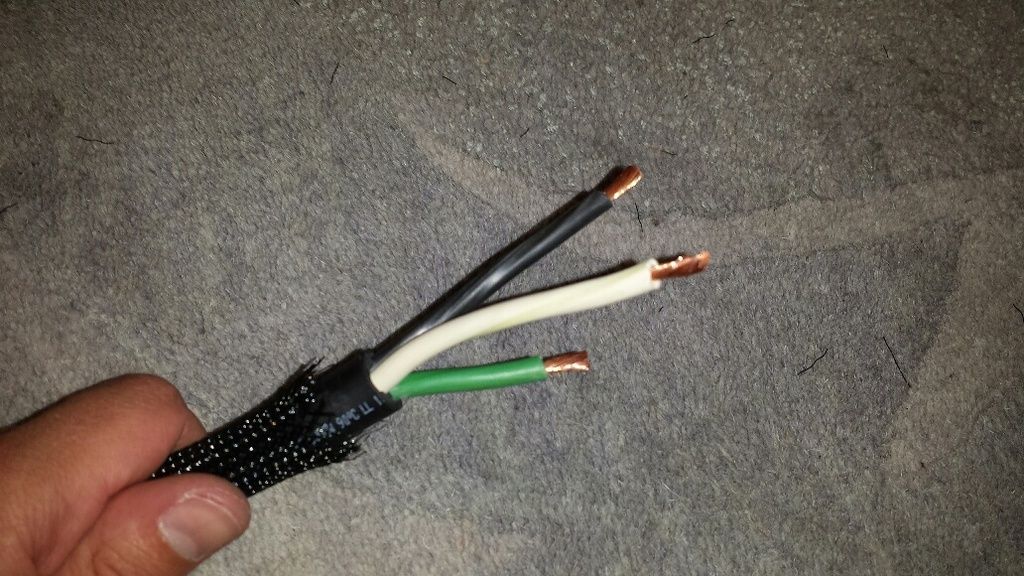
the kit comes with nice instructions. 3" of outer jacket removed and an inch cut off the ground conductor:
3/8" of insulation removed from each conductor:
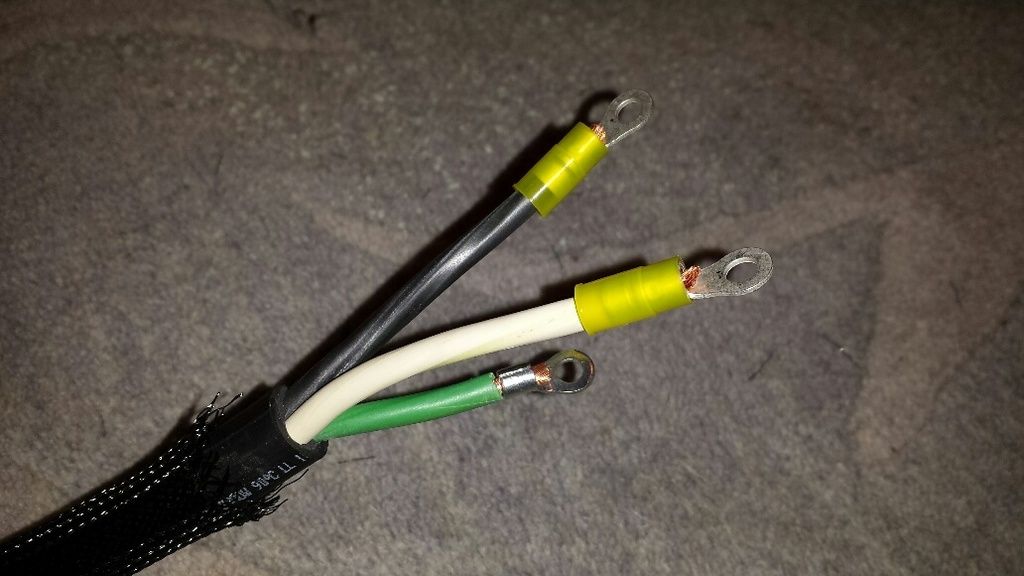
lugs ready to be crimped:
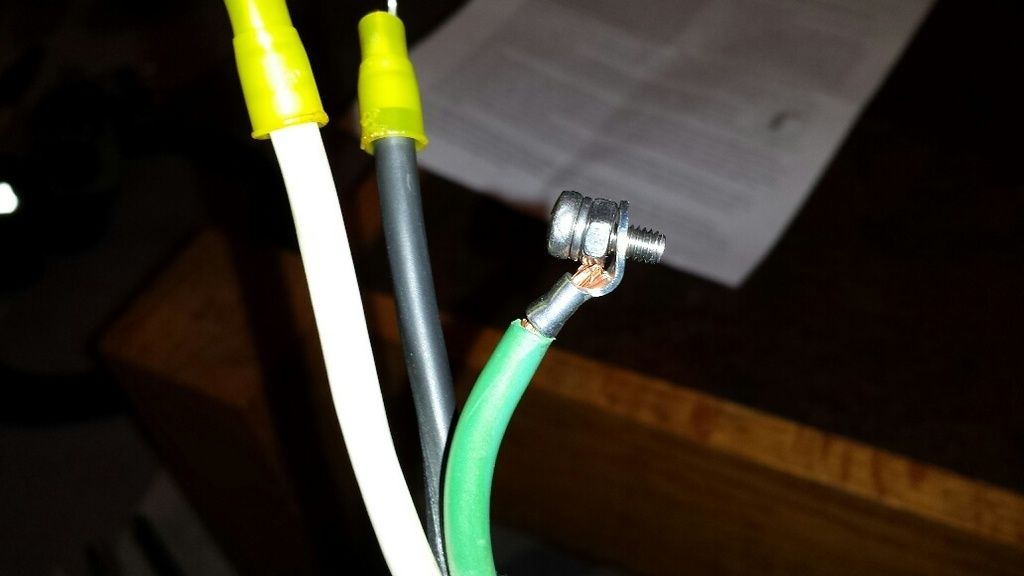
here is one spot where i deviated from the instructions. there is a ground post on the body of the hotpod enclosure, for attaching the ground lug. the post is simply a bolt but the head is on the outside of the enclosure, with a washer/locknut and the threads on the inside. idea is to place the ground lug onto the threads and then attach a nylon locking nut to secure in place. for the life of me, i could not get that nut on there, too cramped a space. so i removed the bolt/washer:
and attached the head to the inside, with the lock nut on the outside:
bolts are removed from the heating element and the cord lugs are bent slightly to better fit onto the bolts. reattach the bolts:
twist the two hotpod enclosure pieces together, tighten down the cord grip nut and complete:
you may notice the braided sleeving looks a little beat up at the cord grip. i originally placed a piece of shrink tubing over the end but could not for the life of me get the rubber sleeve of the cord grip slid over it without beating everything to hell. so i took the sleeving off.
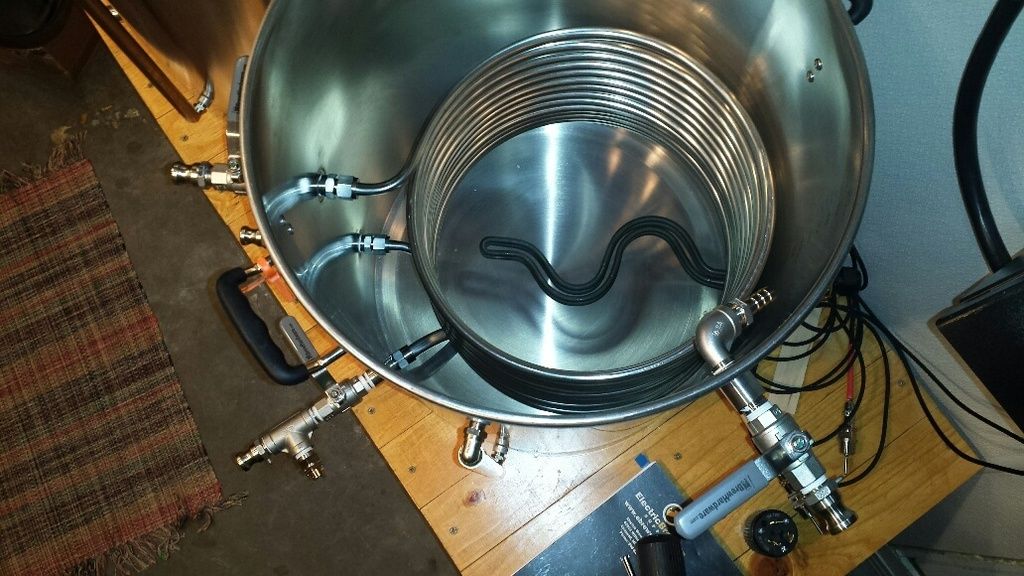
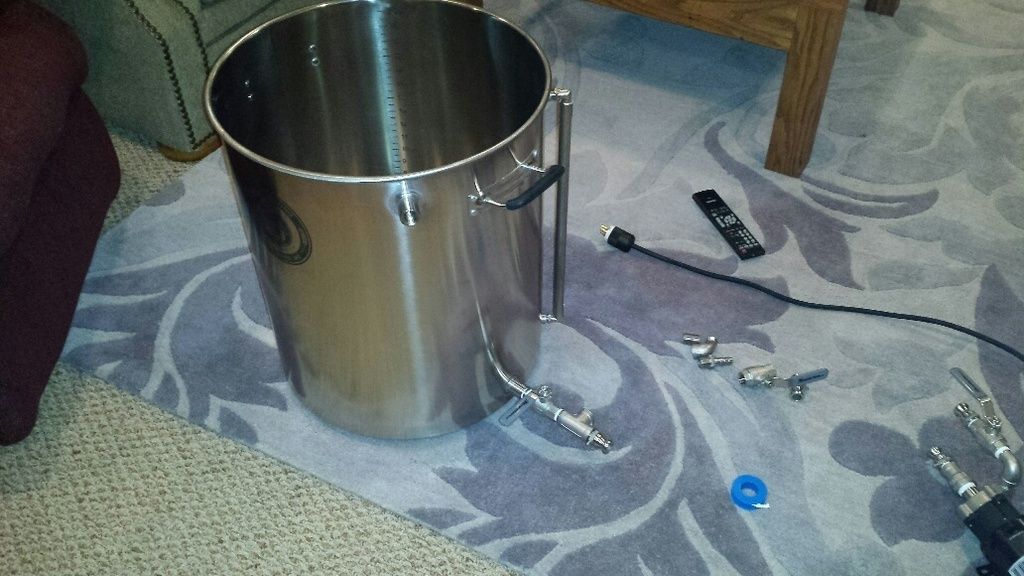
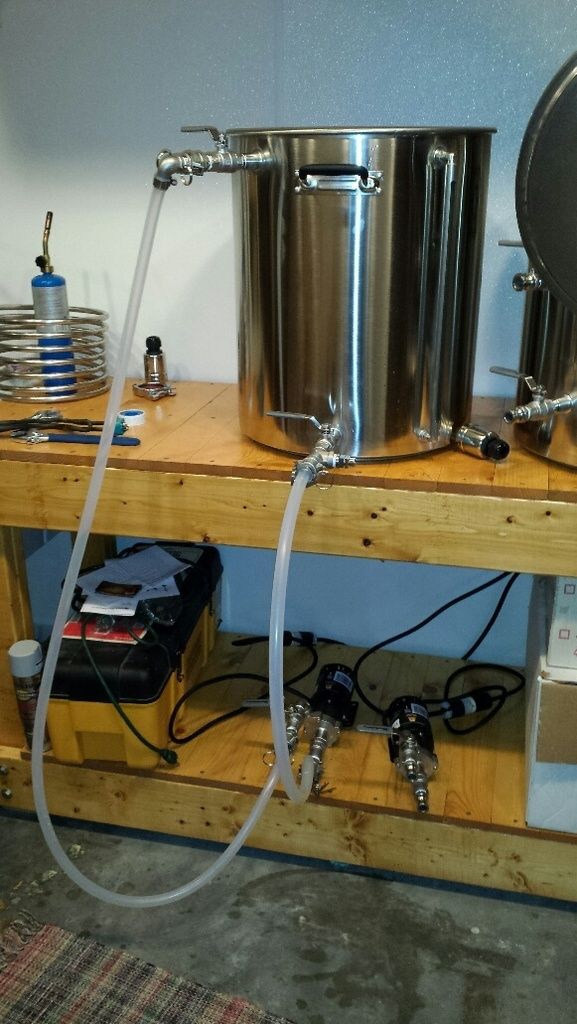
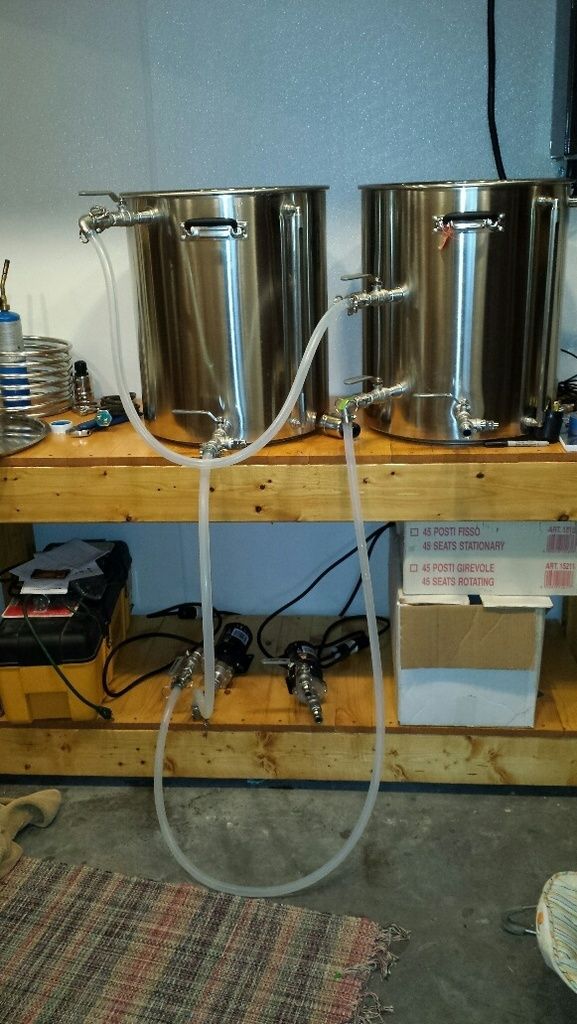
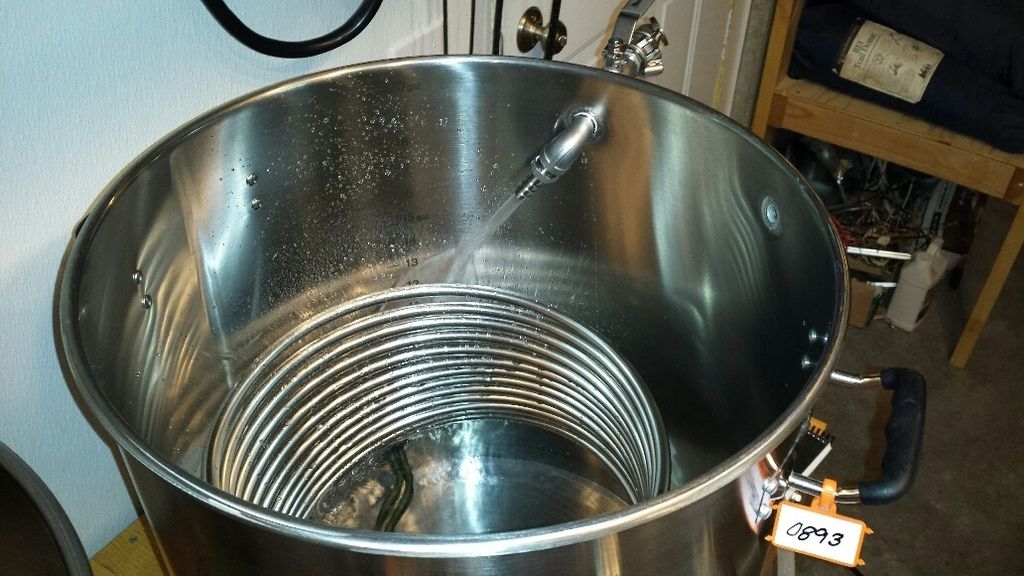
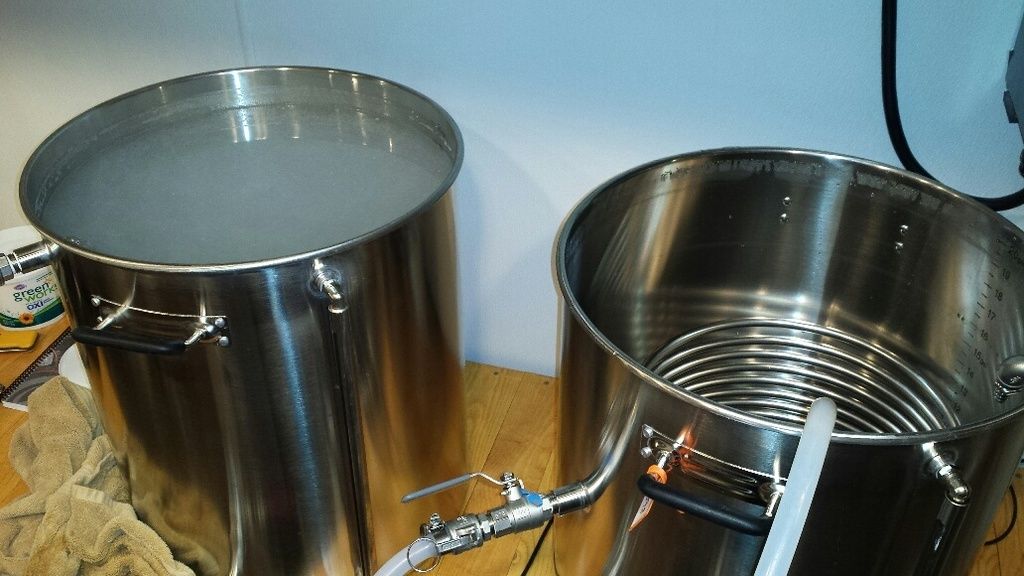
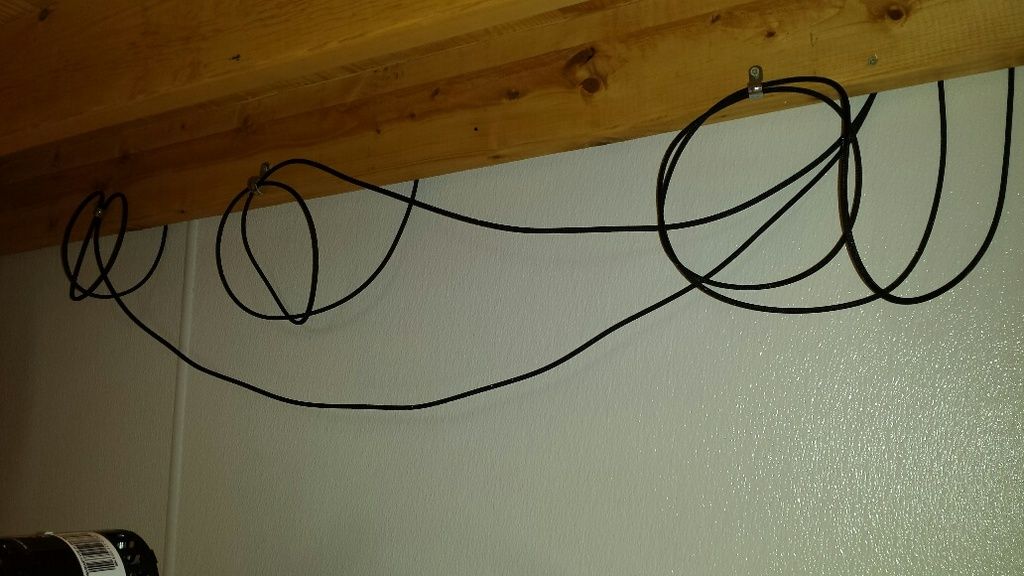
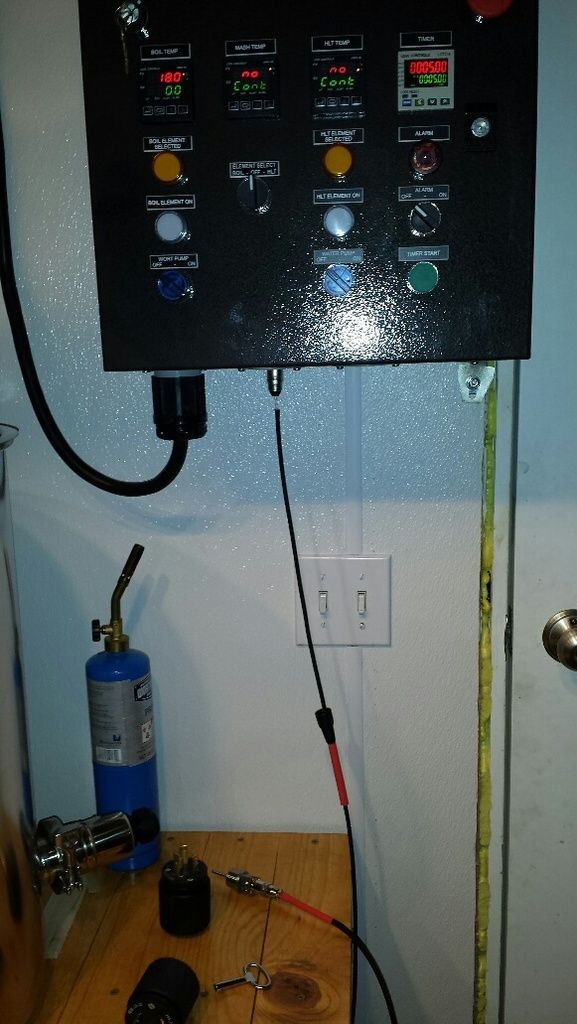
i was too excited to try out the heating element that i skipped making the second one and stuck the complete element into the hlt. definitely need some cord management:
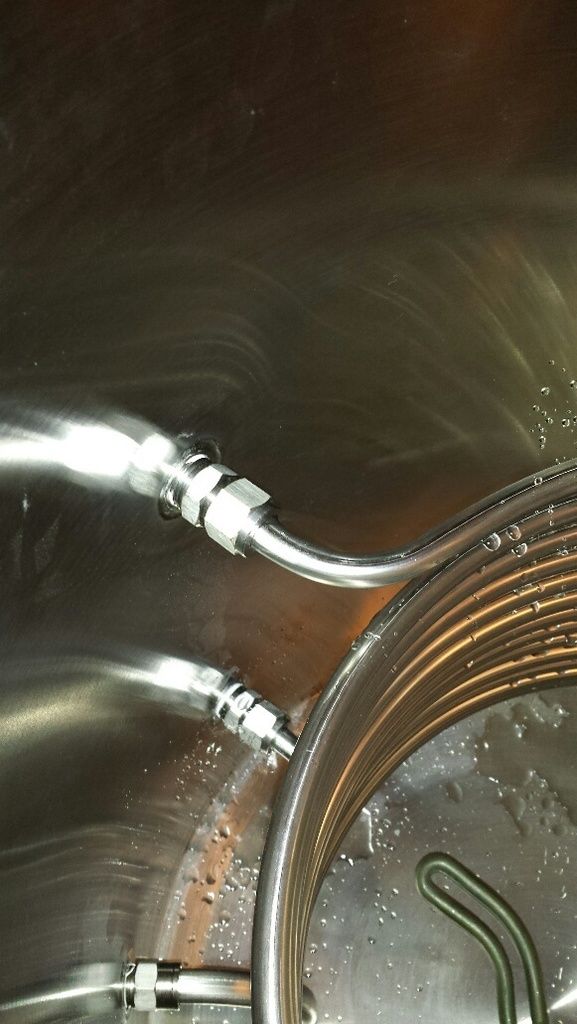
hlt filled with water and firing away. damn, that 5500 watt element really throws off some heat, notice the bubbles and heat lines in the water:
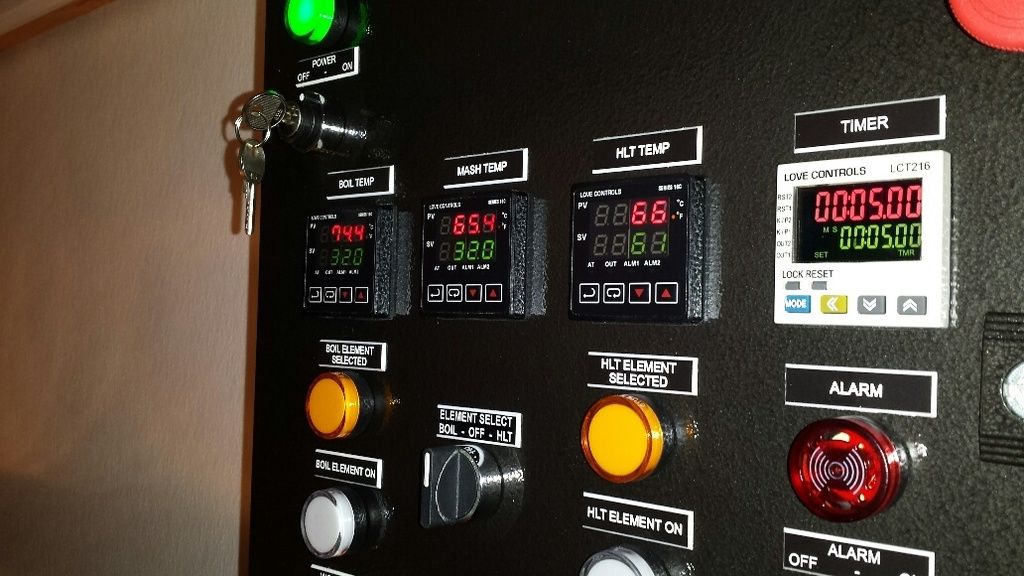
i took the opportunity to run auto tune on the system. also adjusted the temp offsets by a half a degree or so, based on checking with a thermapen:
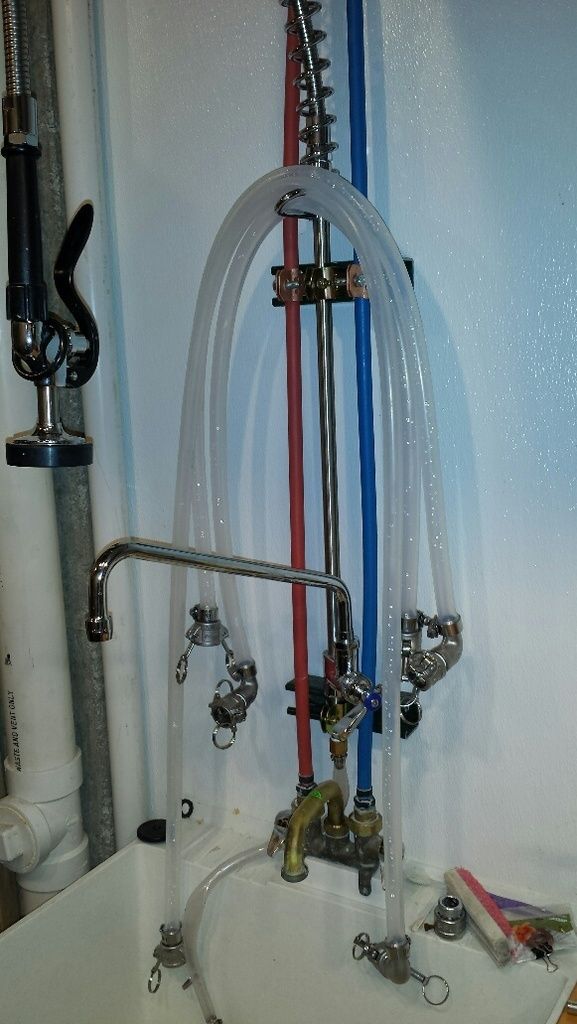
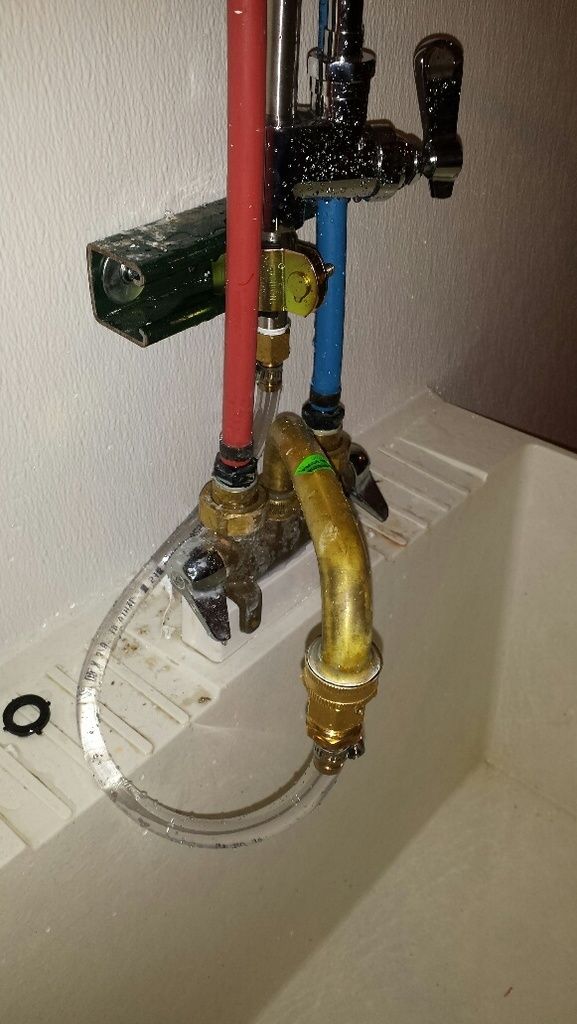
and since i had all this nice hot water, i decided to throw in some oxyclean and run it through the hoses, pumps and kettles:
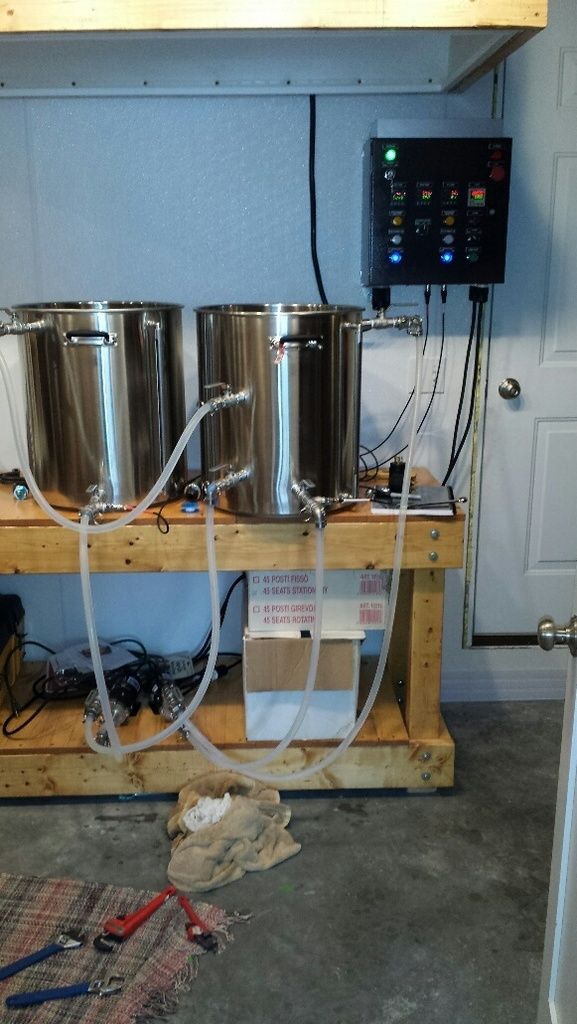
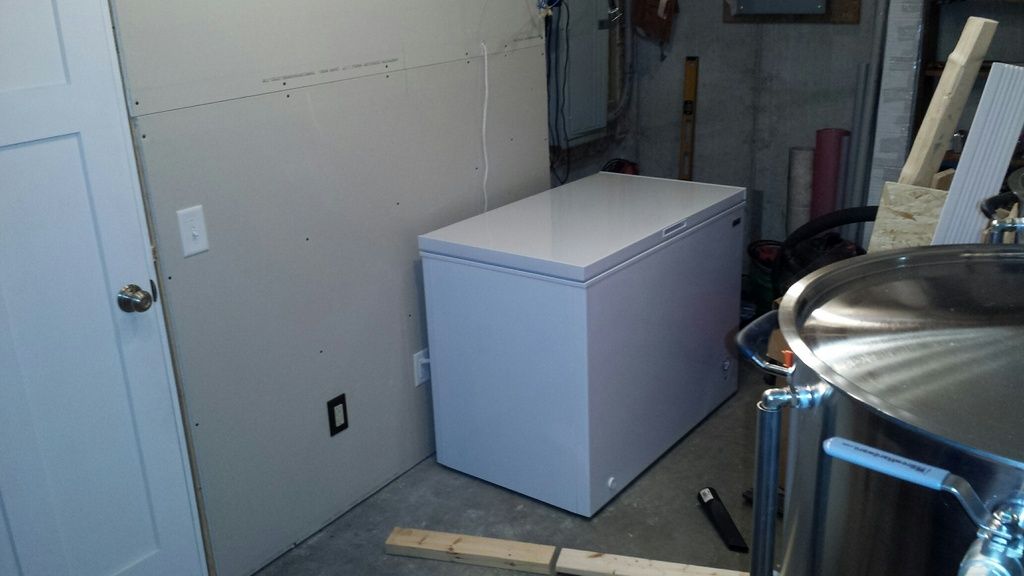
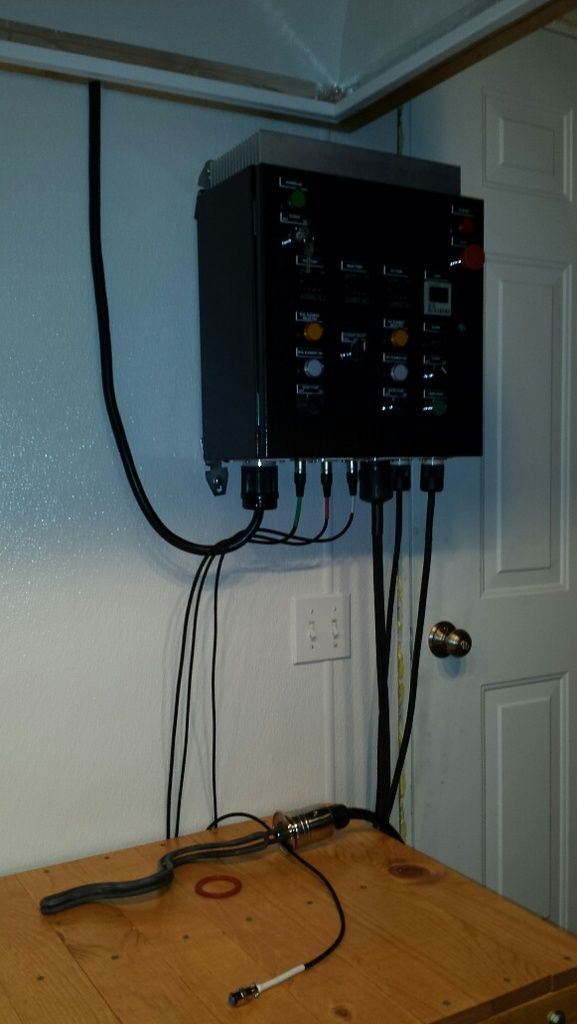
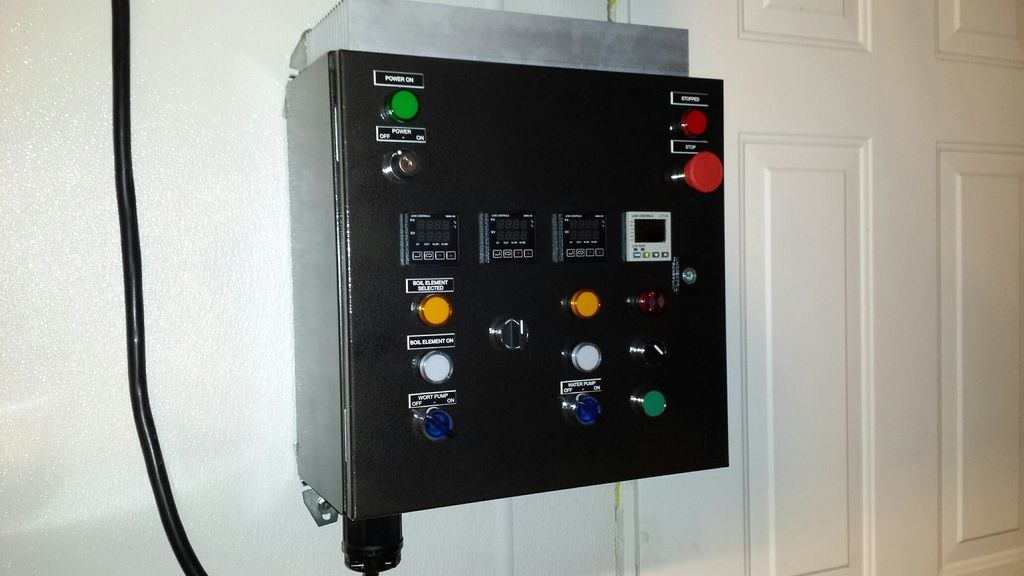
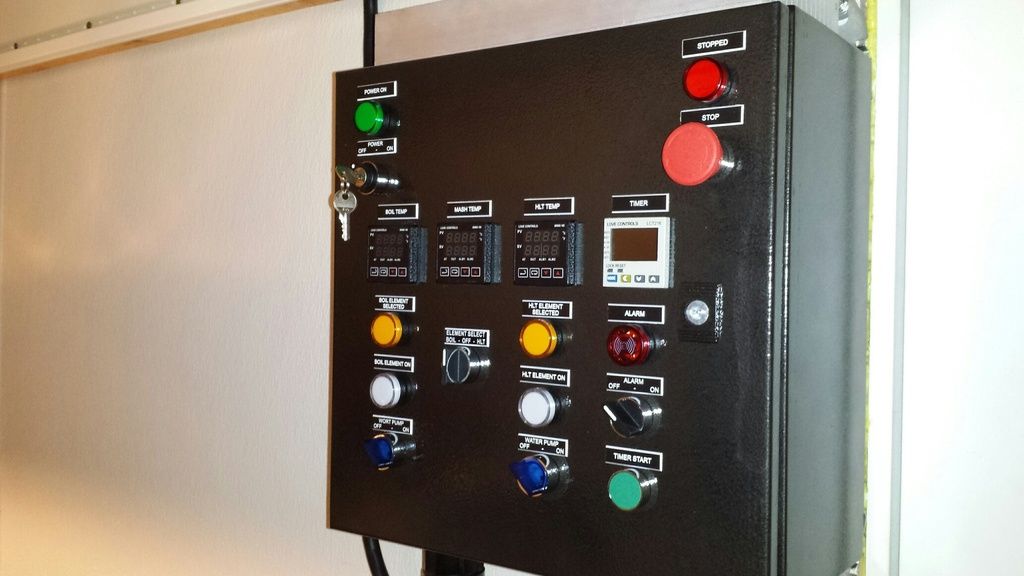
system in operation, with bonus brewing partner in the corner:


") If I were to try that they would be all askew and crooked as hell!
If I were to try that they would be all askew and crooked as hell!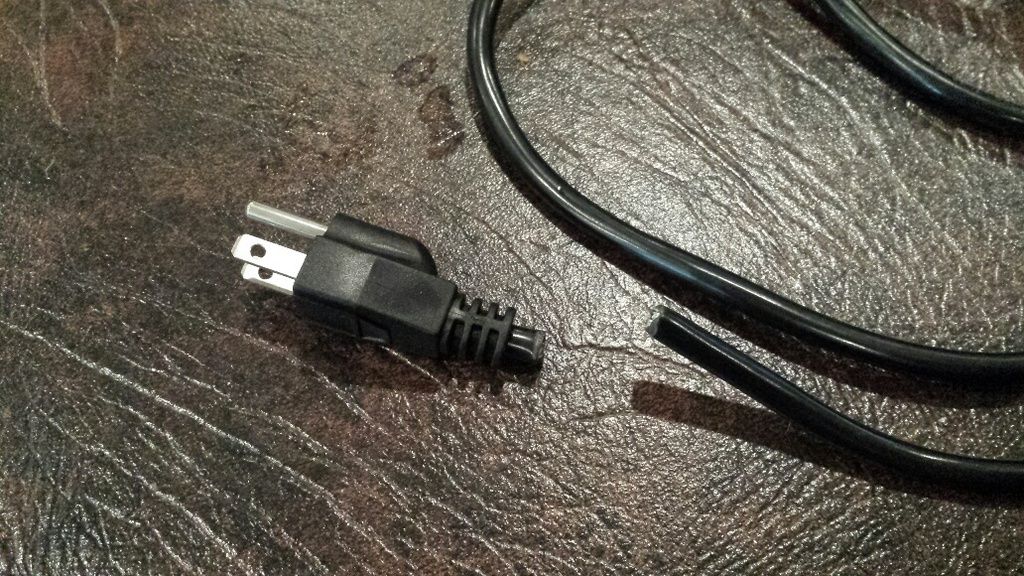
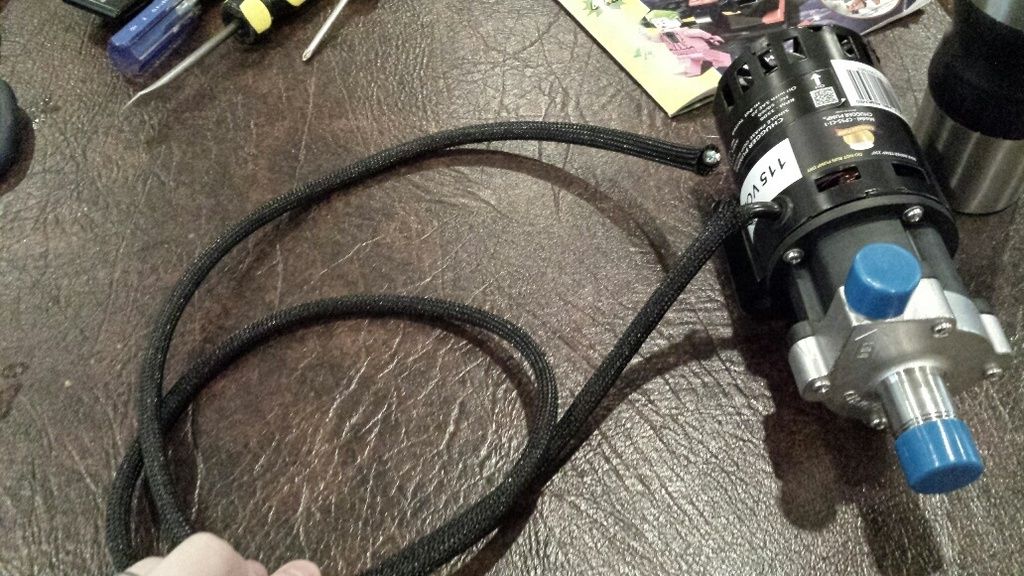


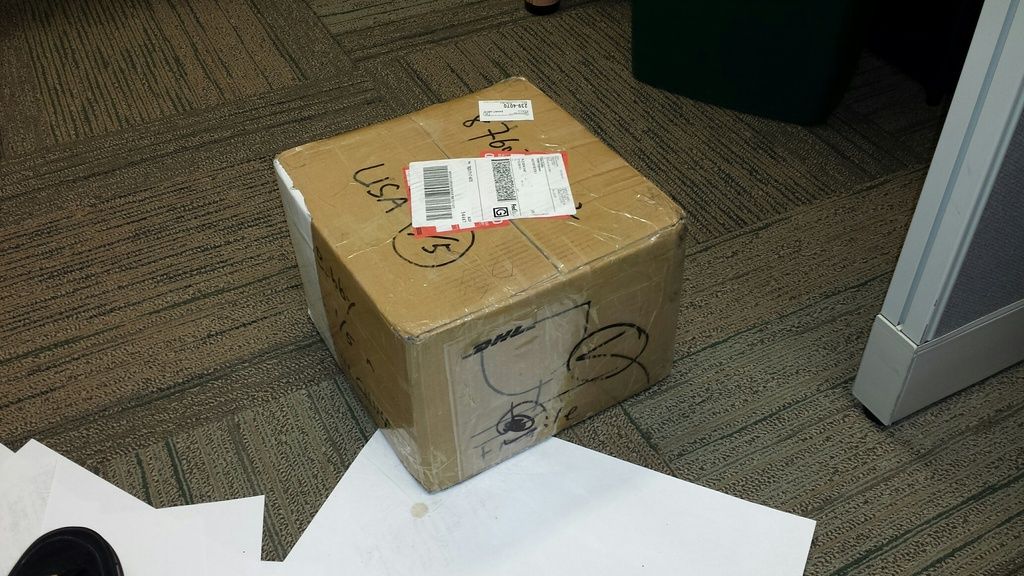
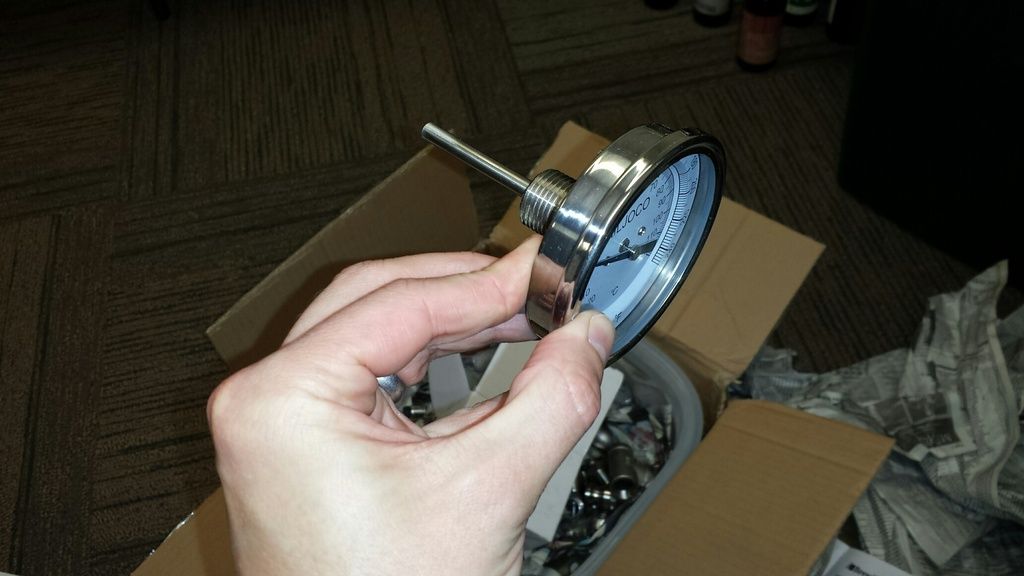
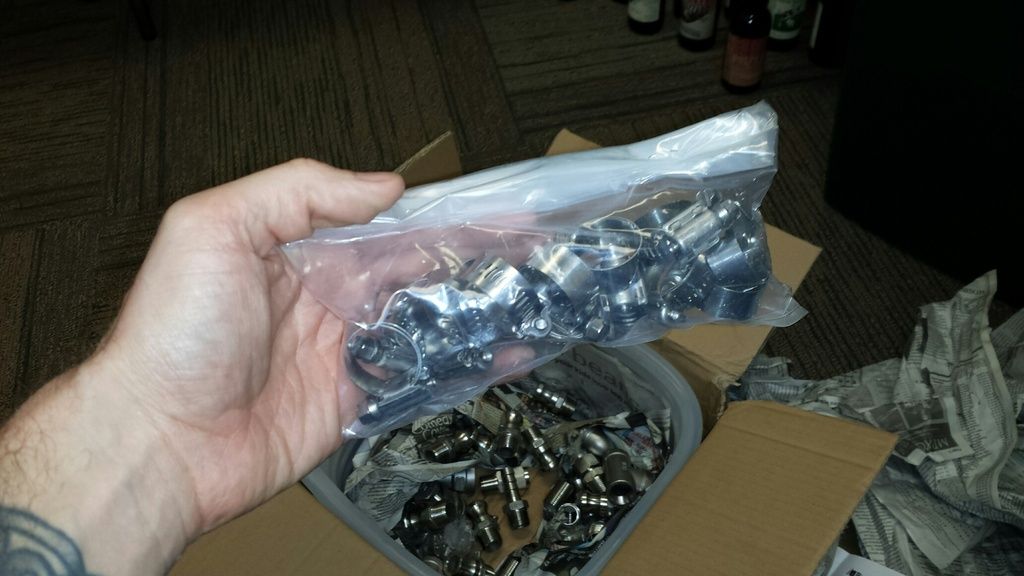
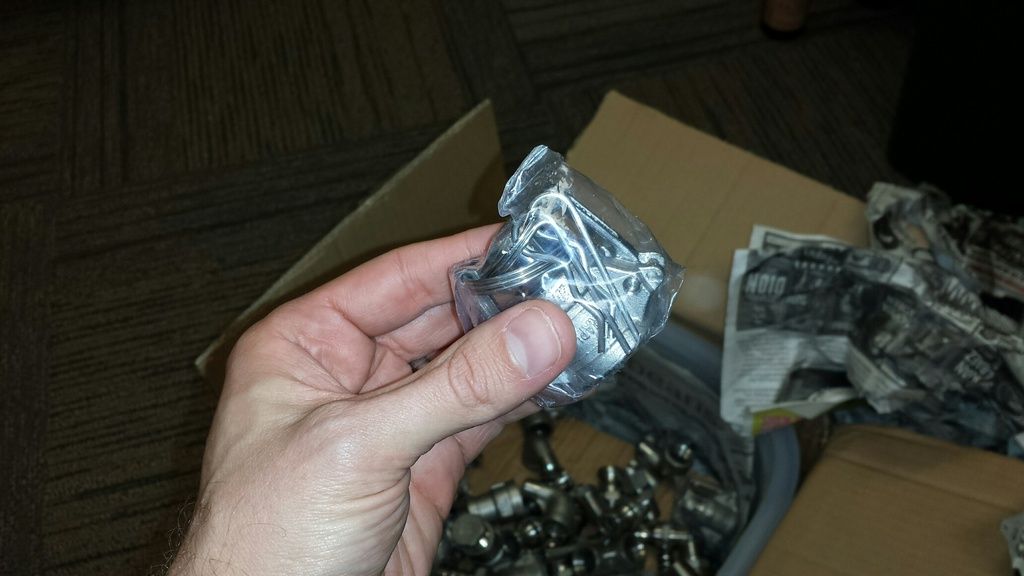
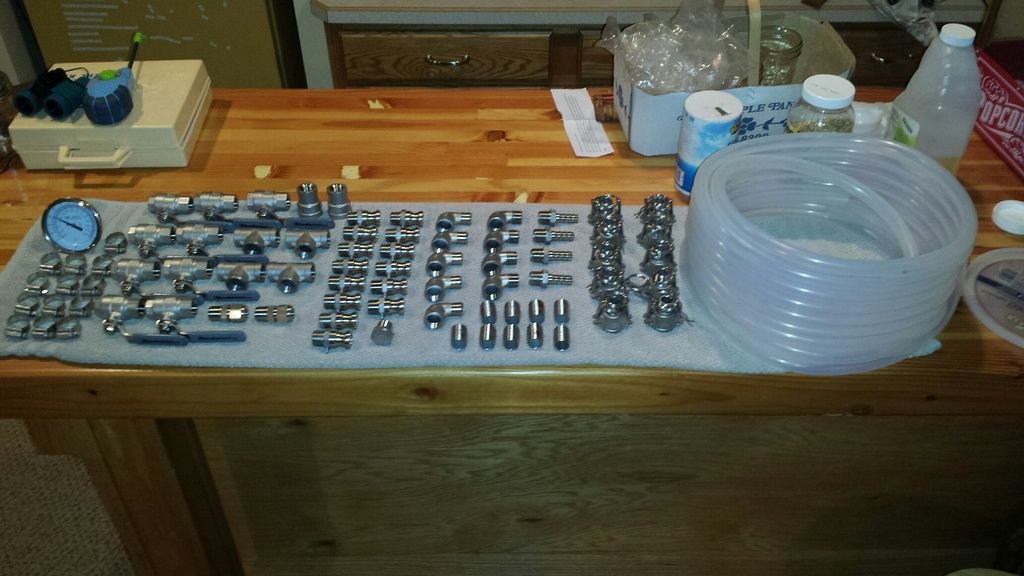
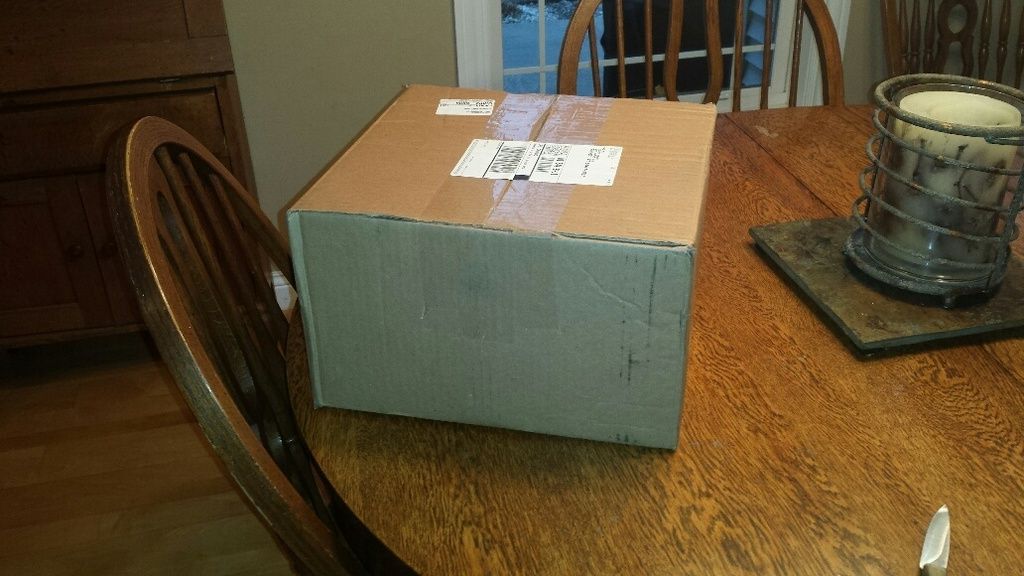
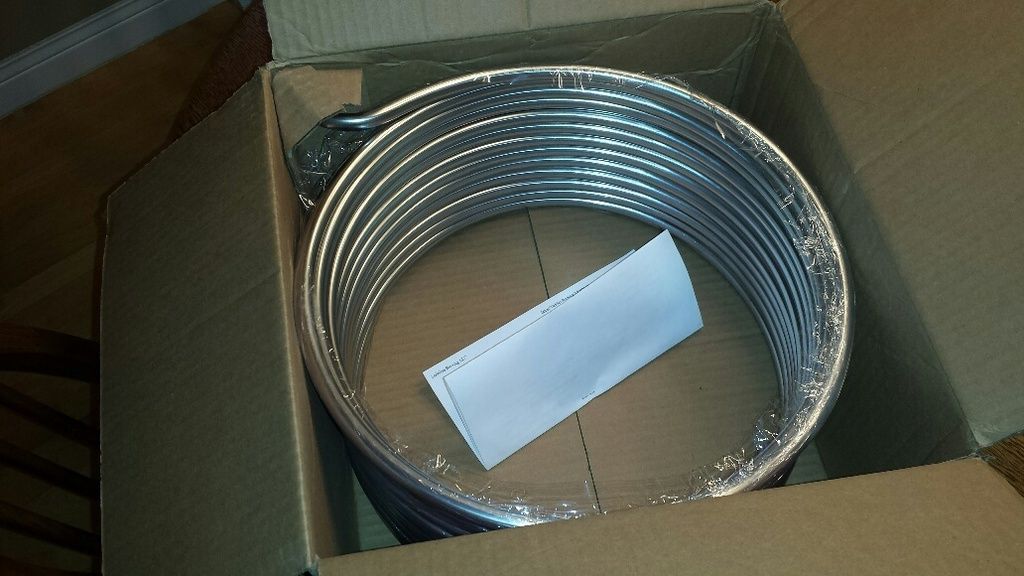
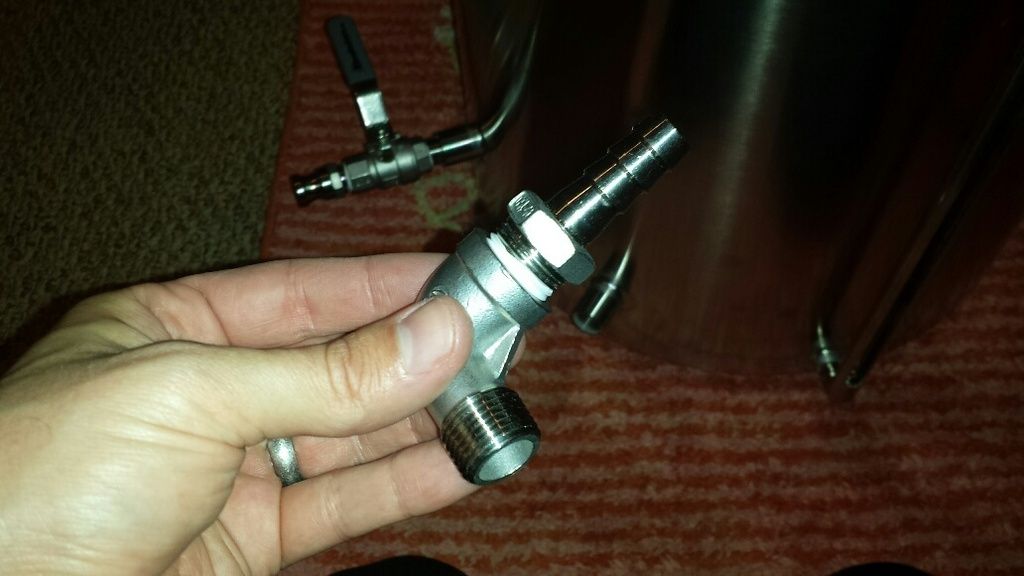
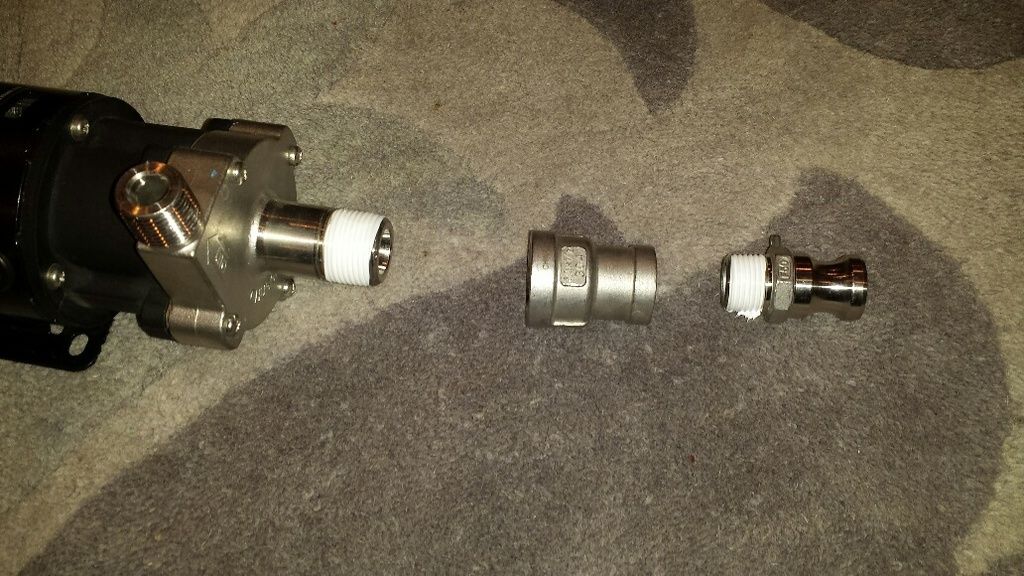
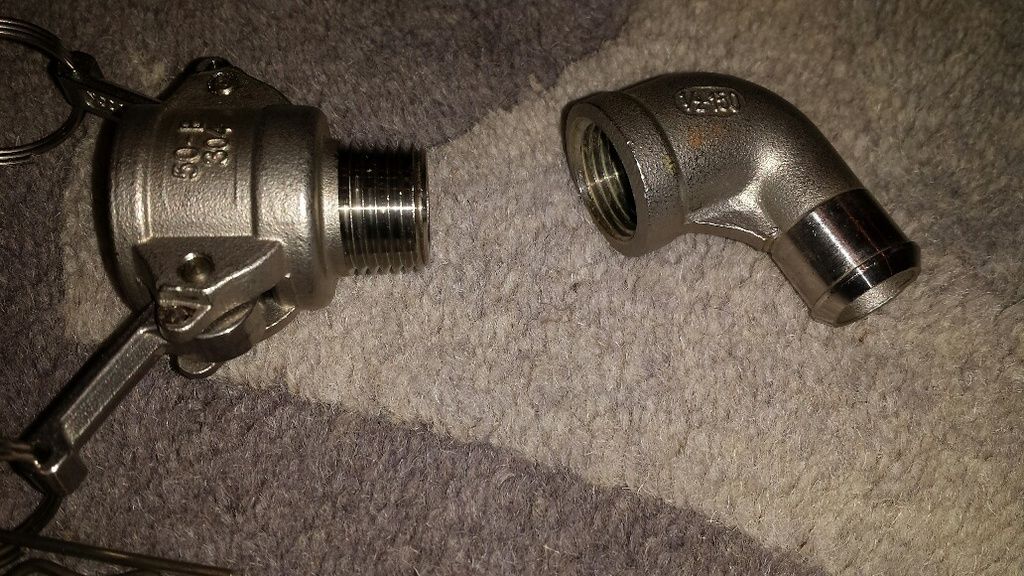
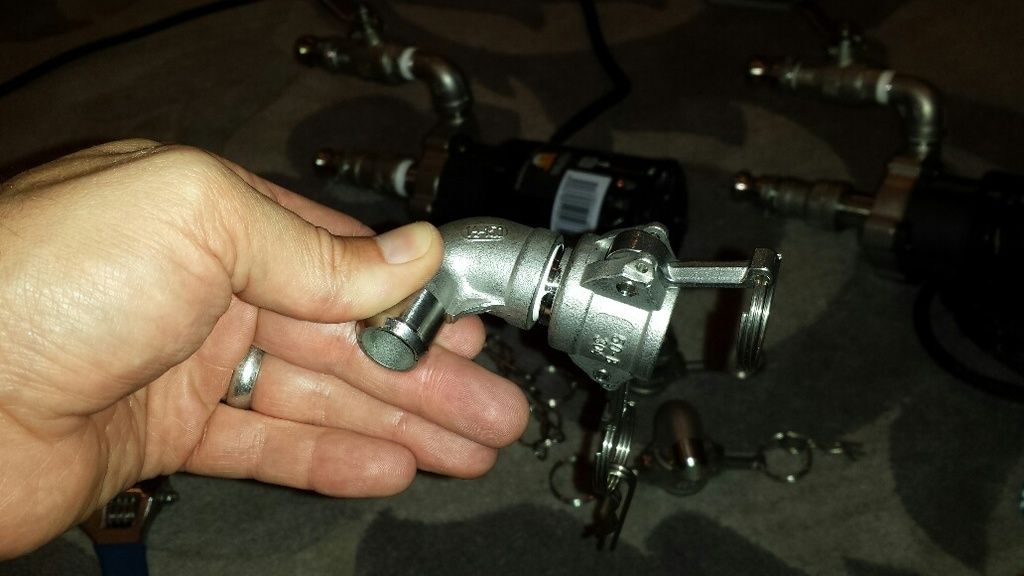
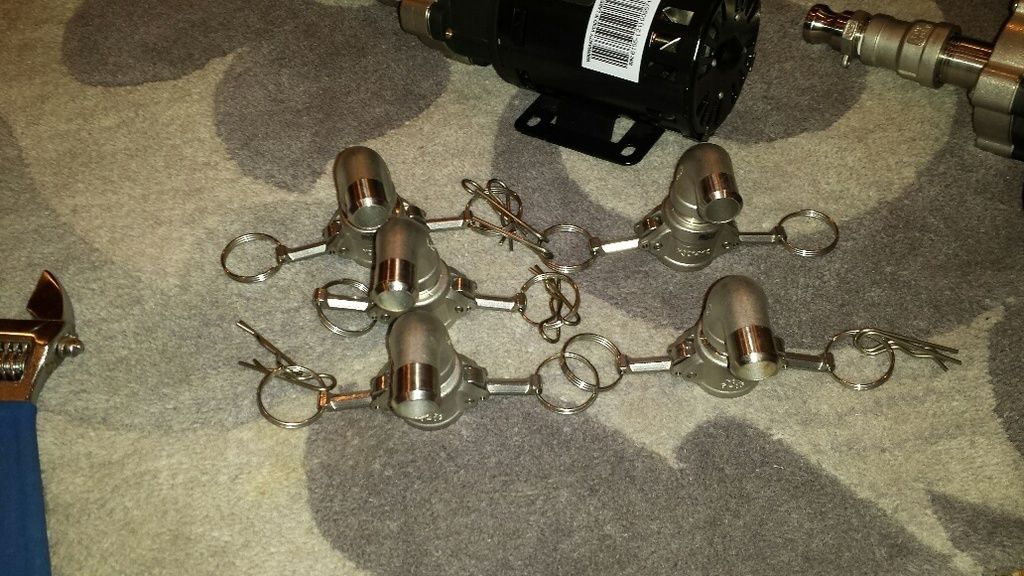
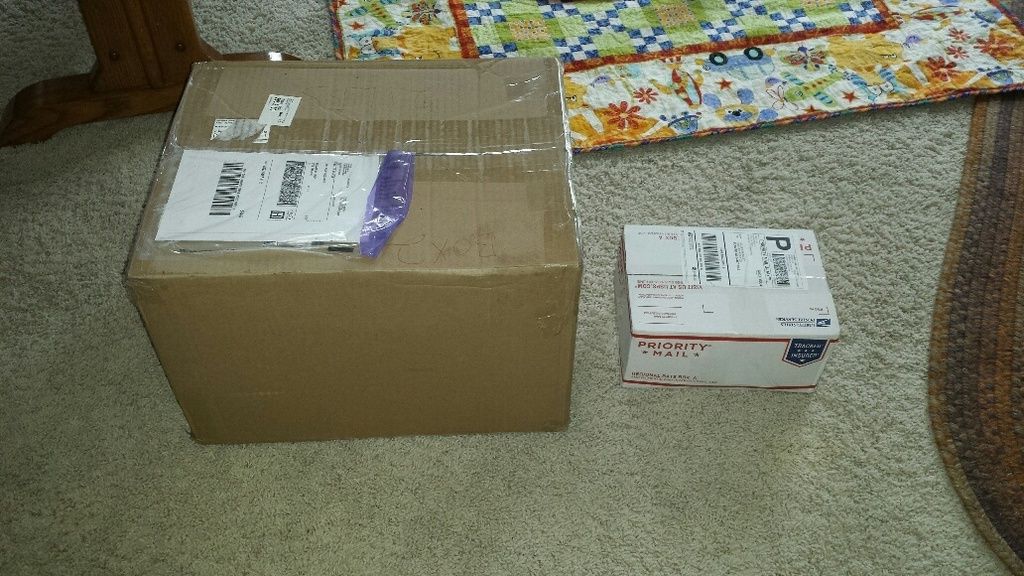
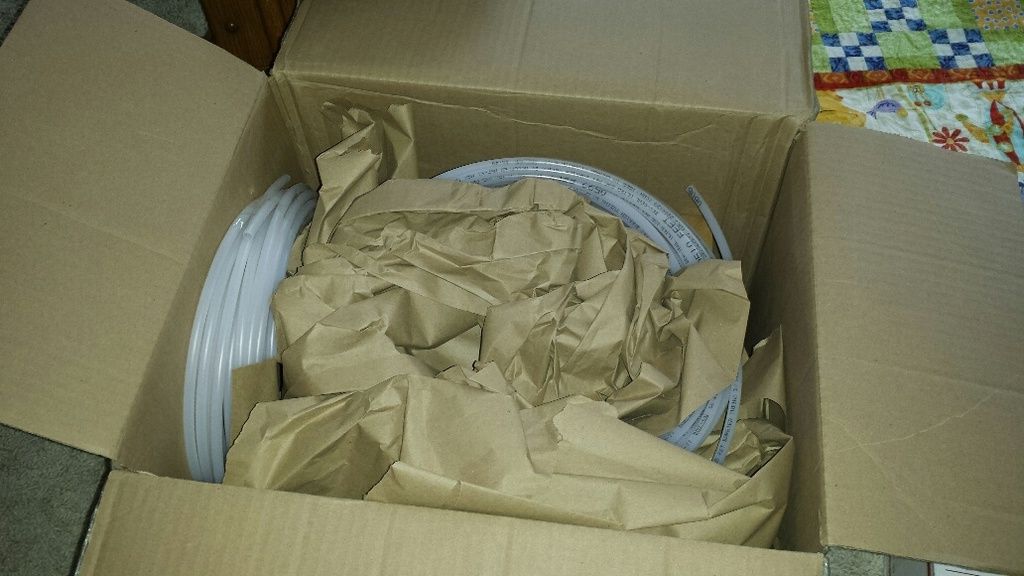
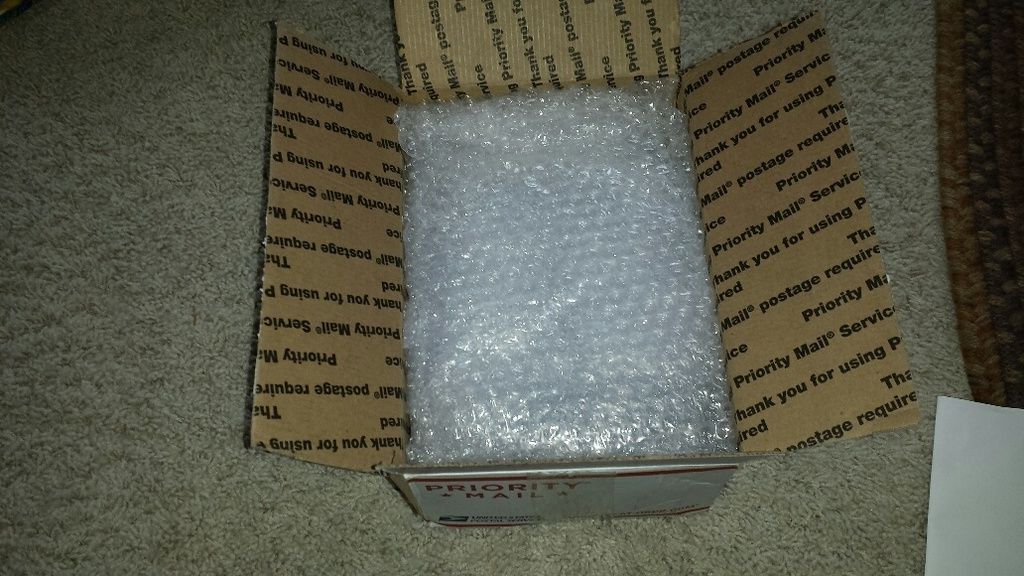
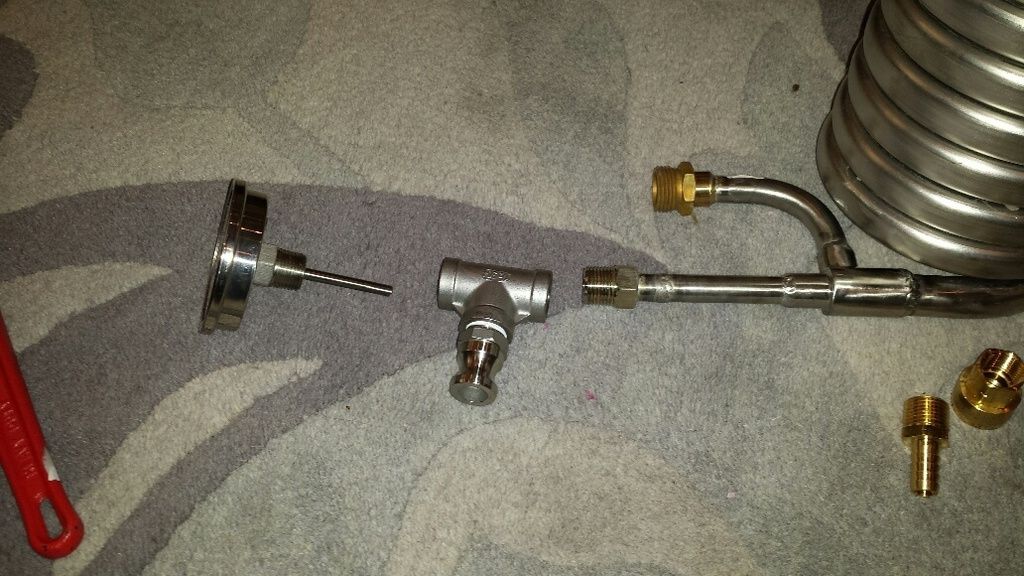
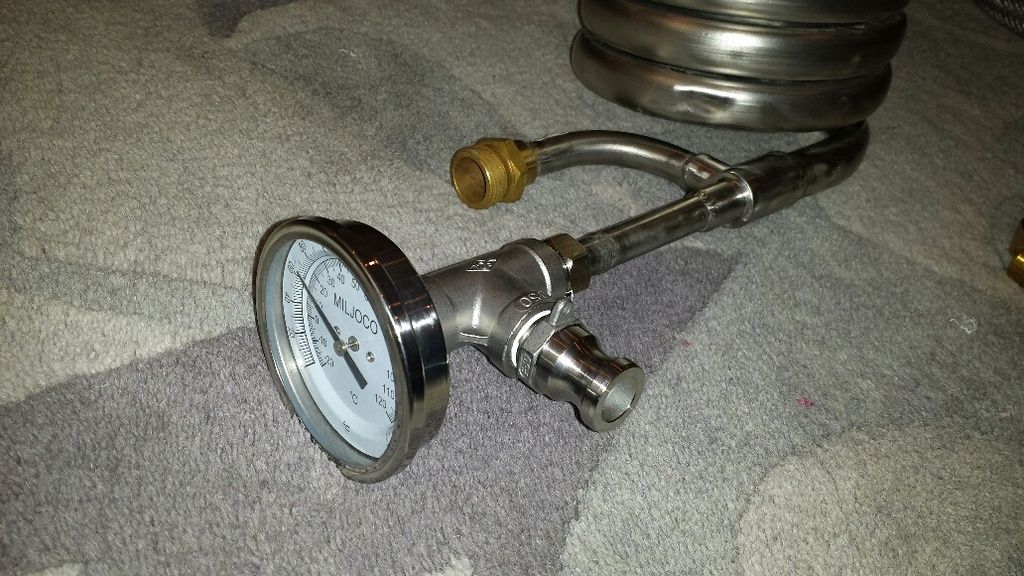
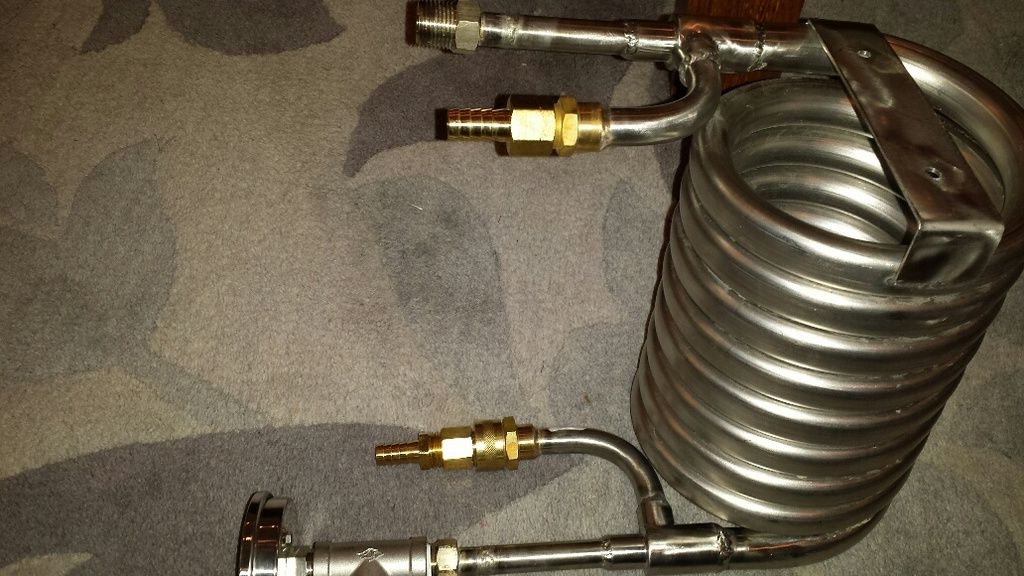
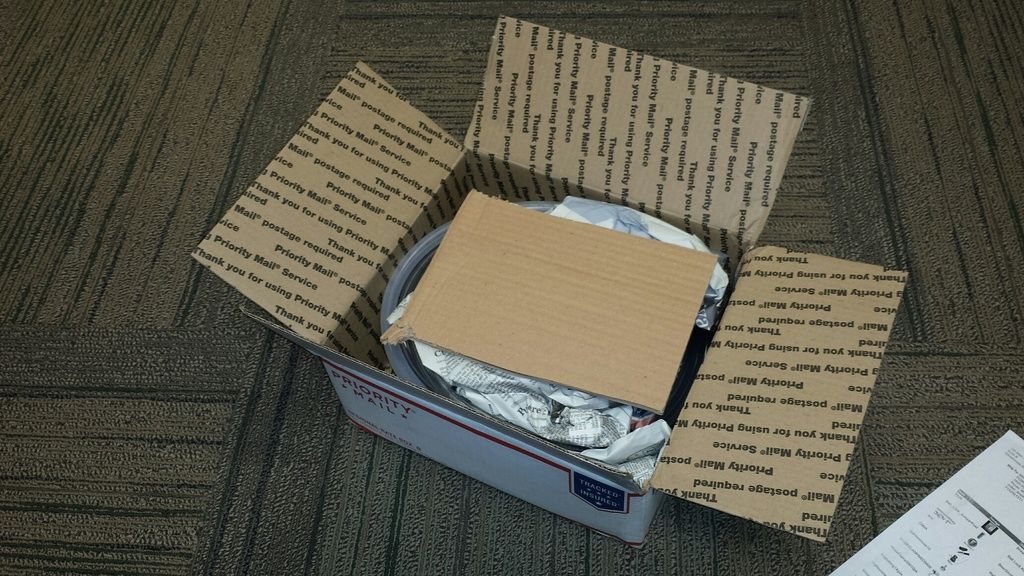
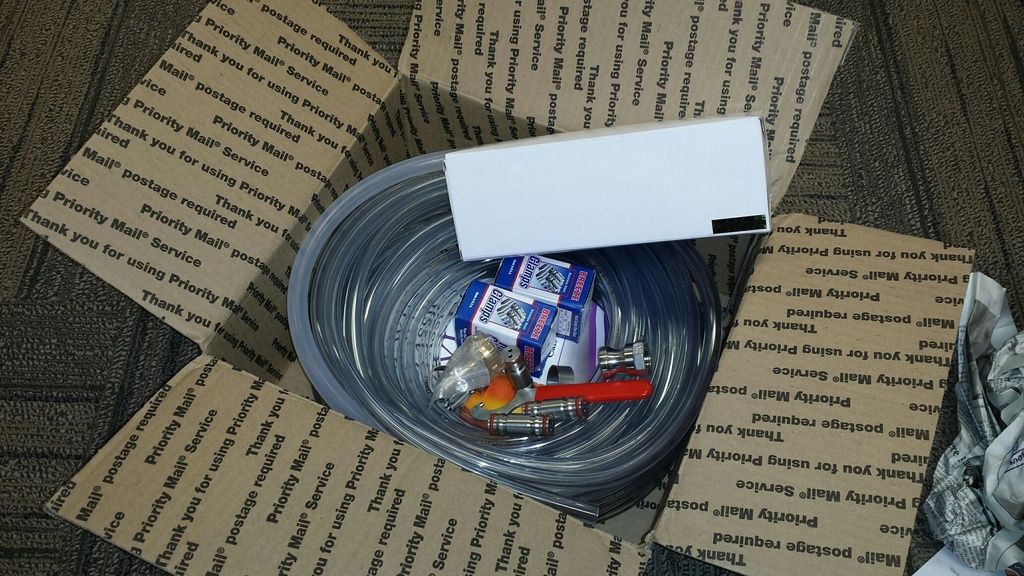
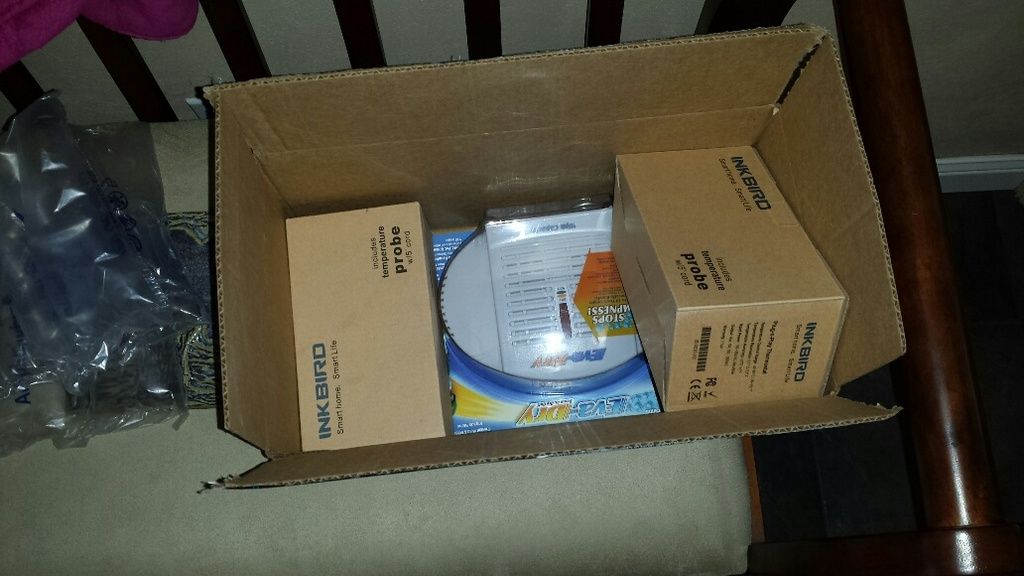
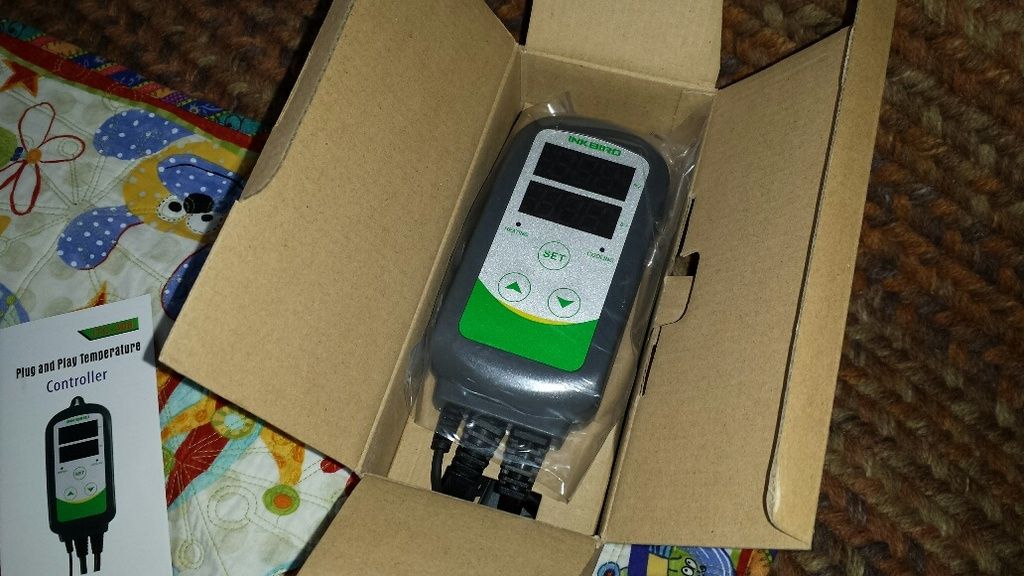
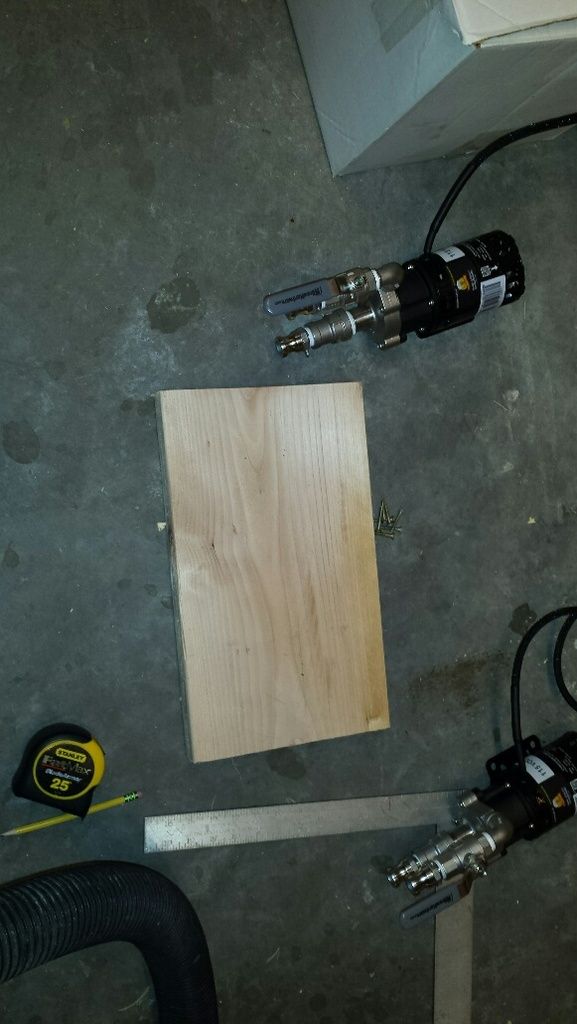
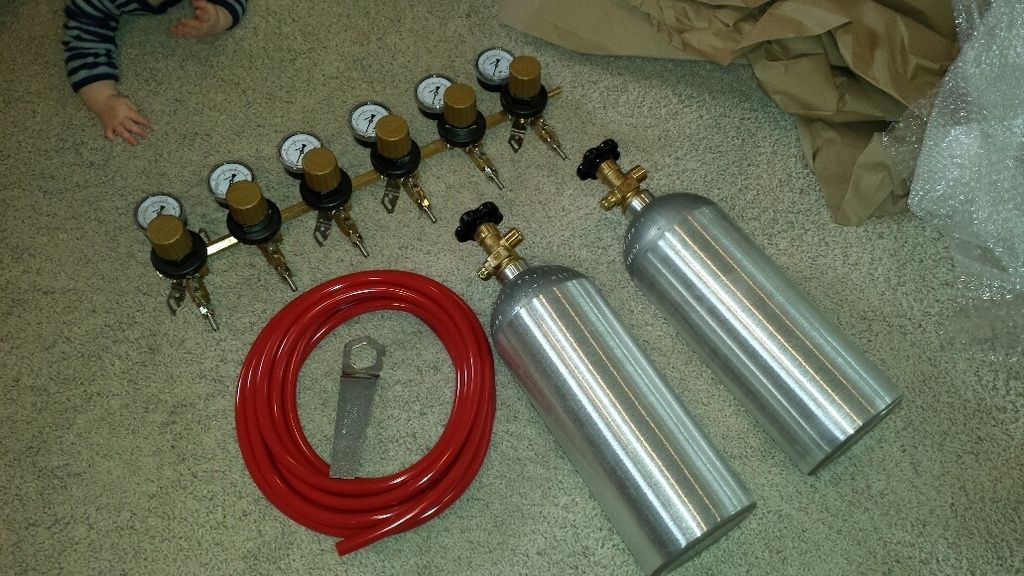
 . but i did get some goodies in the mail from brewhardware: