inr brewing - basement brewery build

Homebrew Talk - Beer, Wine, Mead, & Cider Brewing Discussion Forum

Help Support Homebrew Talk - Beer, Wine, Mead, & Cider Brewing Discussion Forum:

This site may earn a commission from merchant affiliate links, including eBay, Amazon, and others.

itsnotrequired

Supporting Member
HBT Supporter
Joined
Sep 3, 2015
Messages
1,357
Reaction score
508
Location
Plover
yes, yet another basement build thread! :mug:

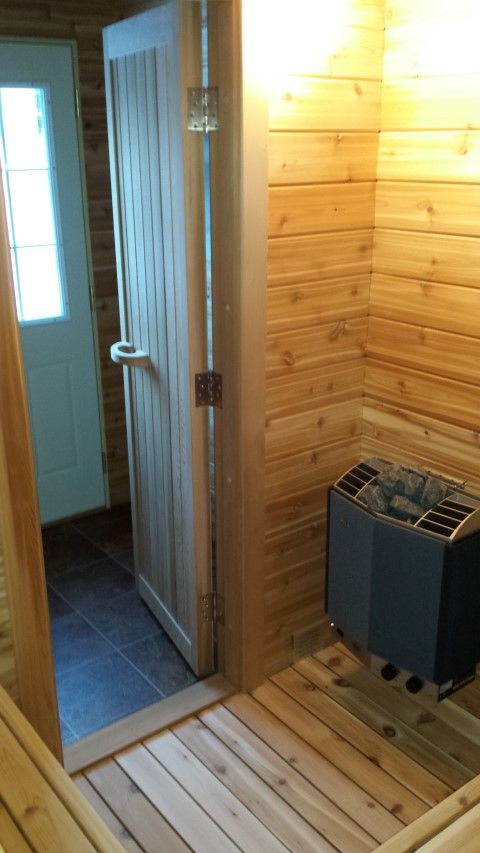
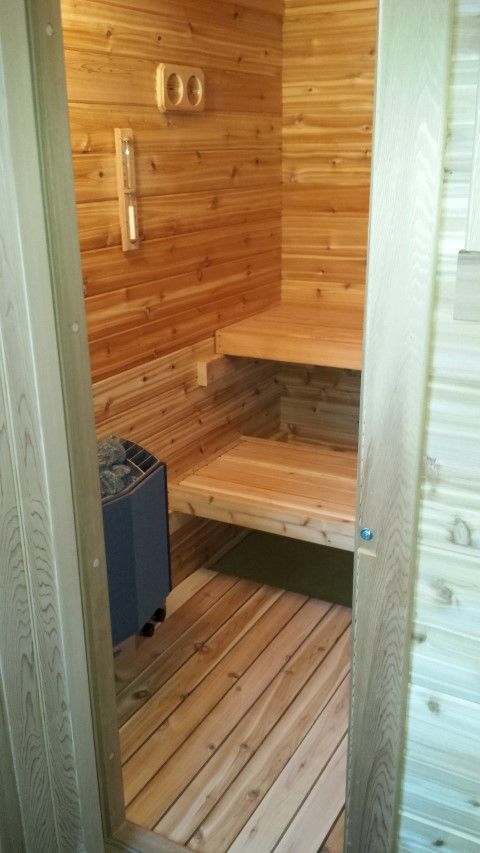
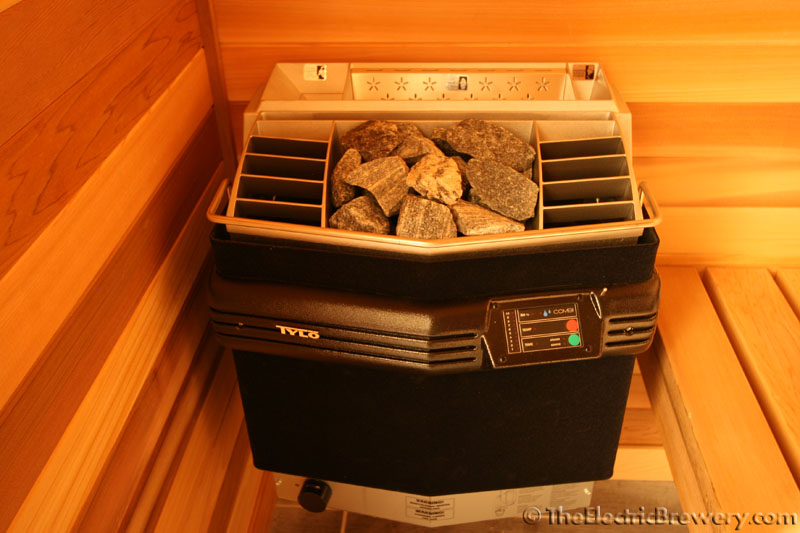
i used to do extract brewing but haven't touched my equipment in ten years. i used to brew in a small apartment, with schemes of better setup once the mrs and i moved into our first home. never happened as kids, a job change, etc. took up my time. other projects around the house took priority but those are done and i was looking for a new project. i stumbled across kal's basement build thread on his website while doing a search for 'sauna beer'. the sauna looked cool but the brewery blew me away. i hadn't heard of electric brewing before and quickly started checking out his site. needless to say, i had found my new project.:D

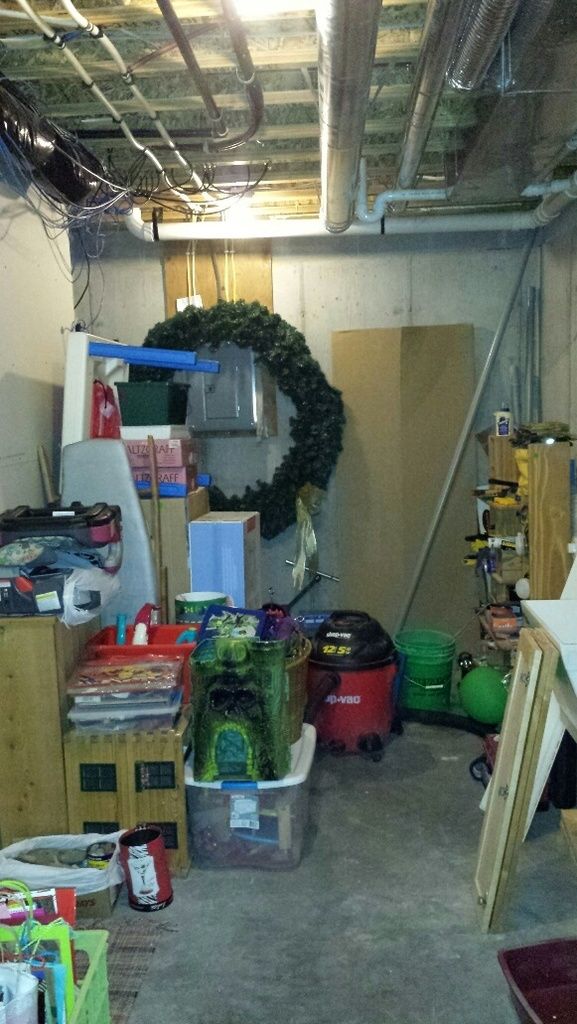
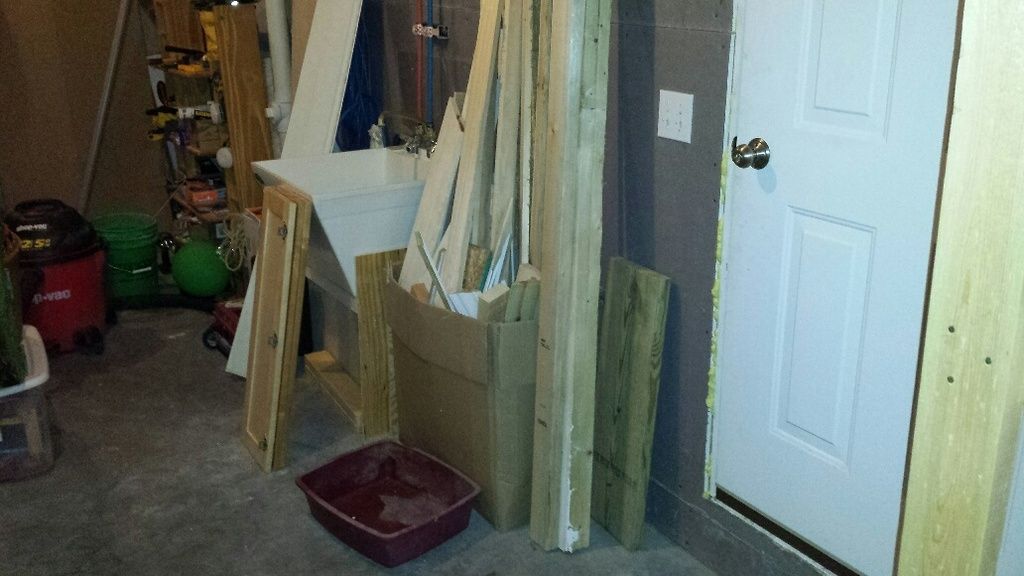
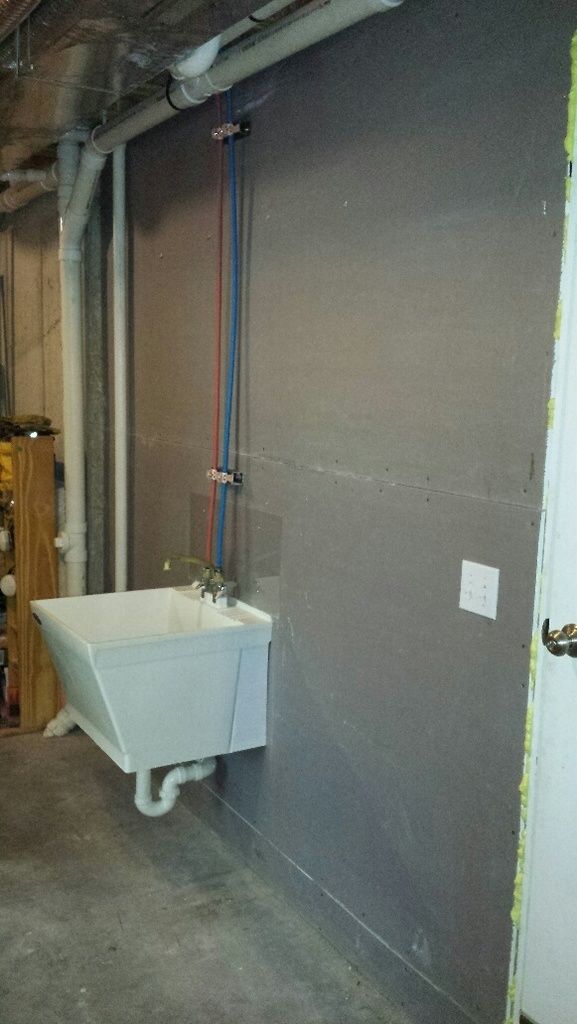
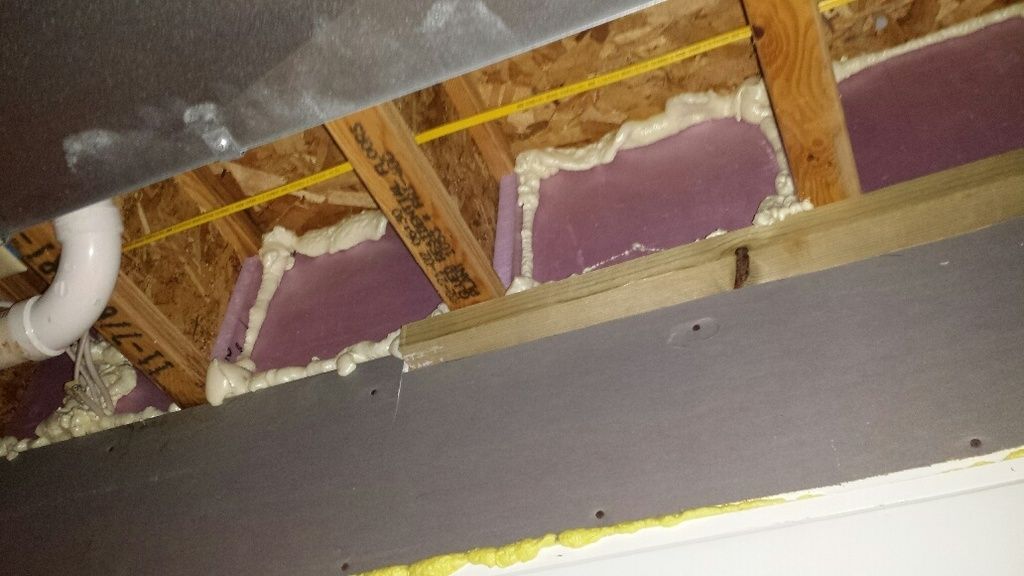
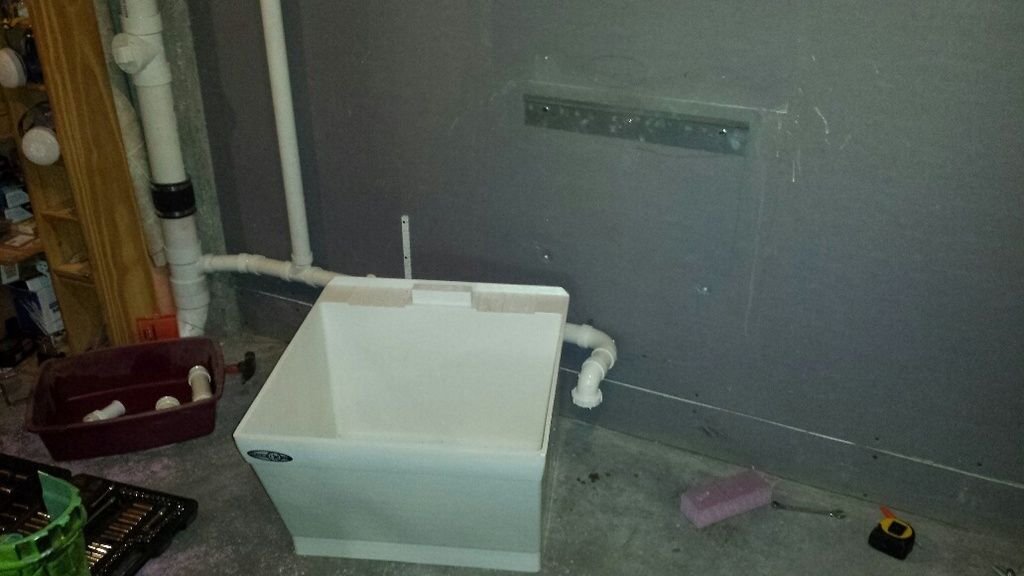
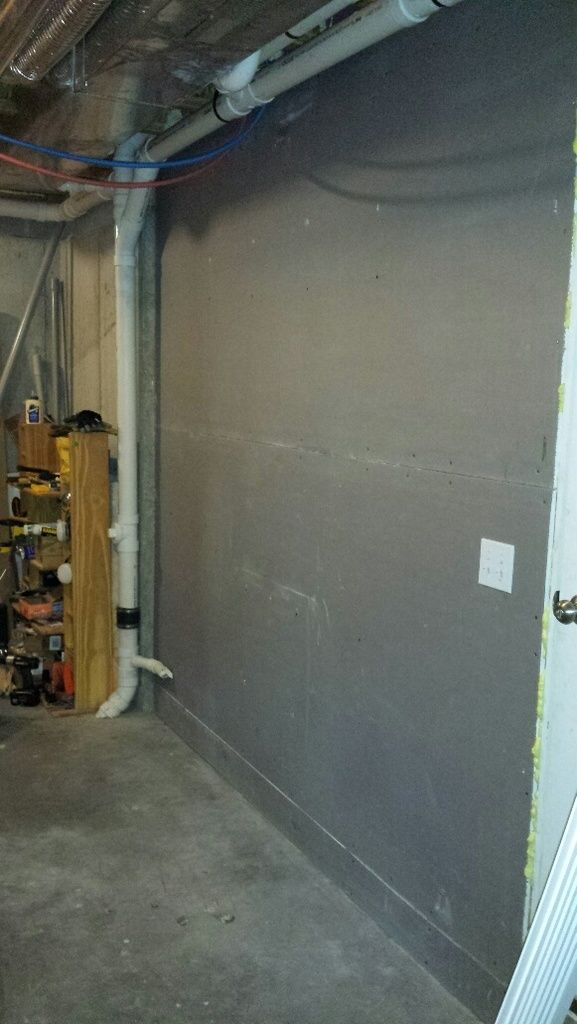
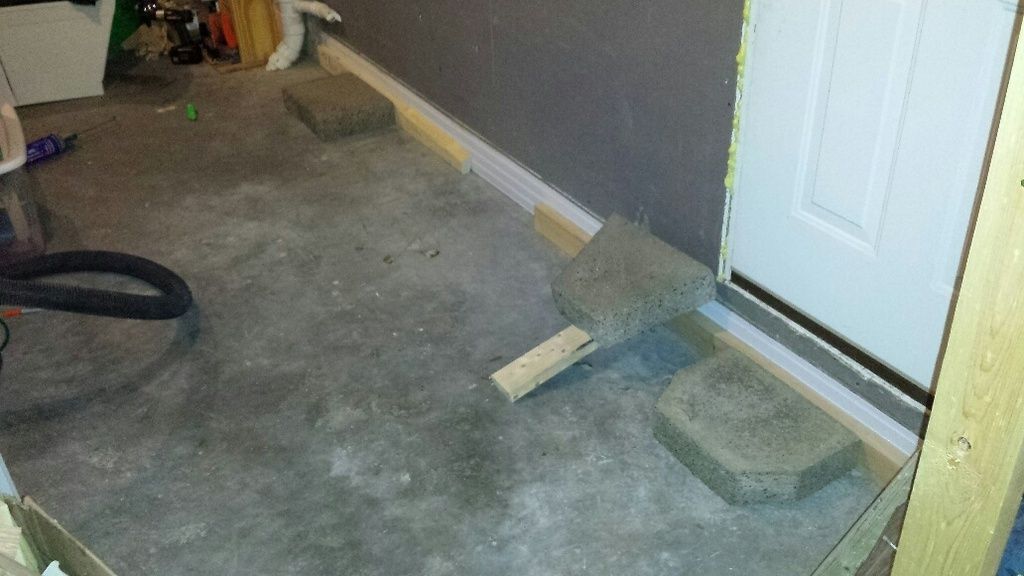
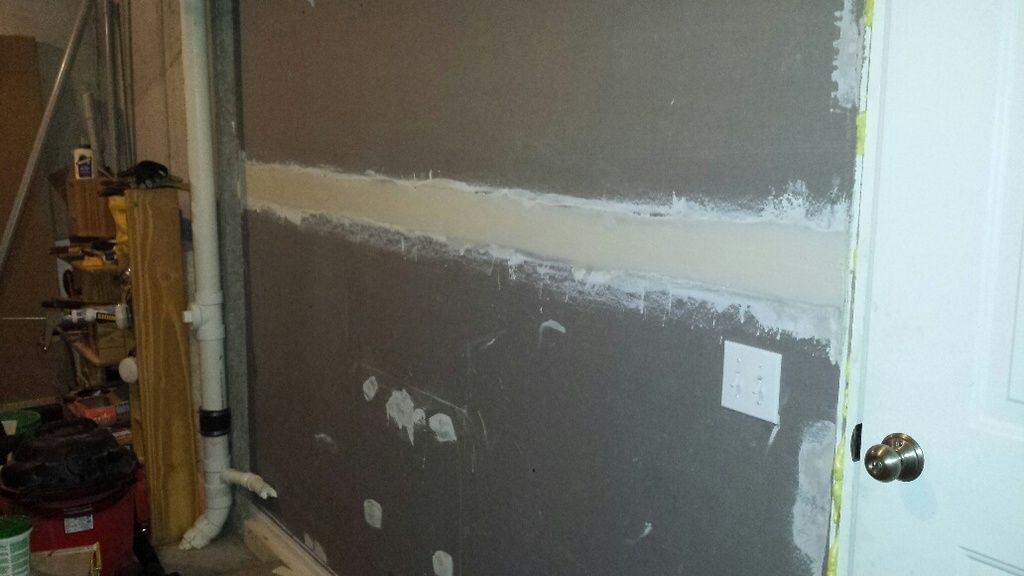
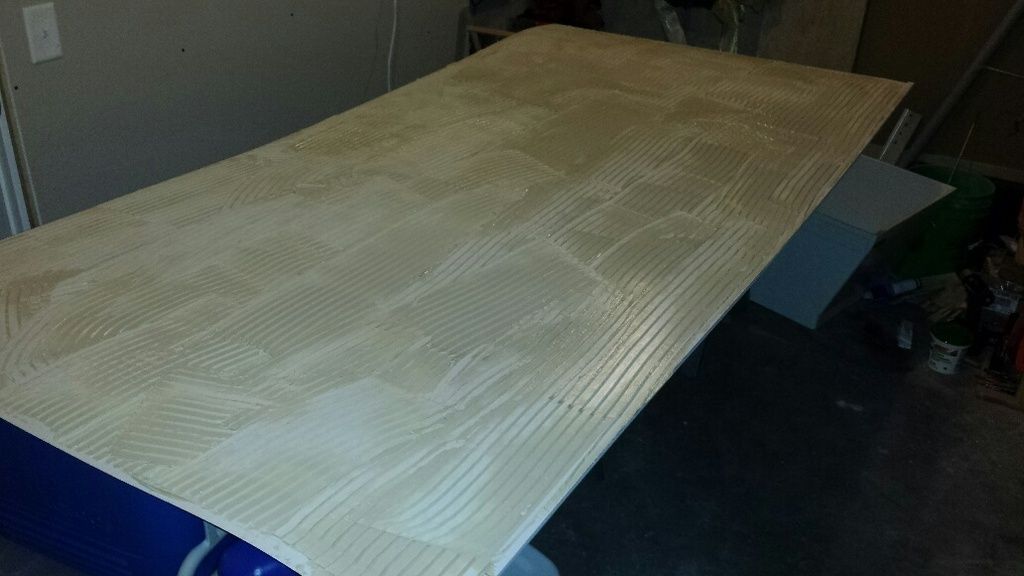
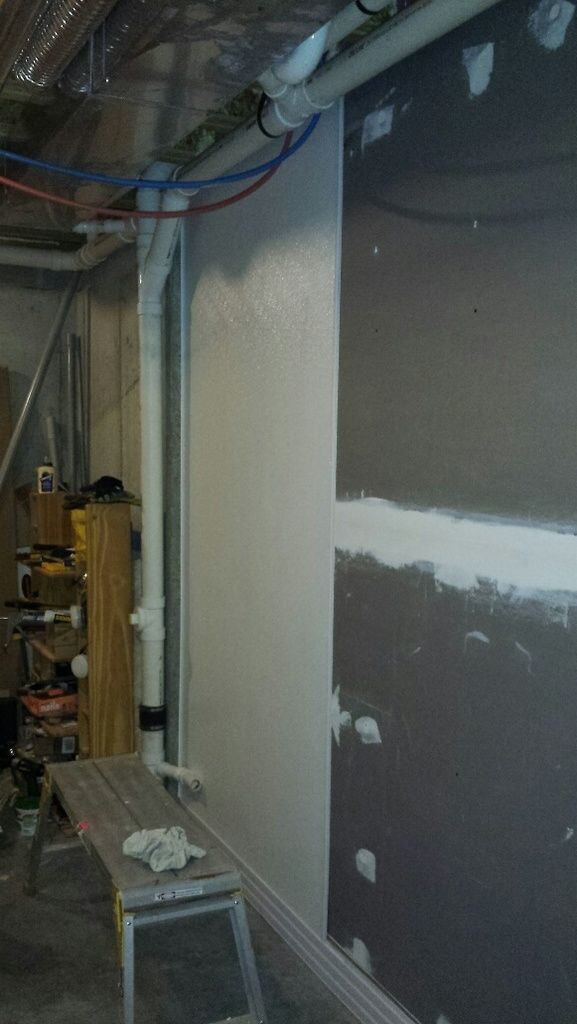
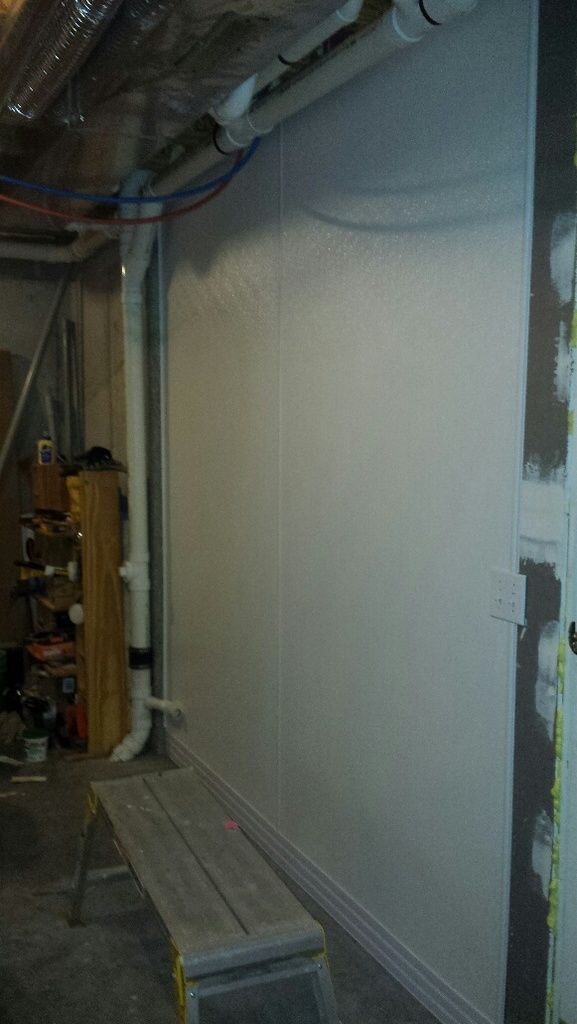
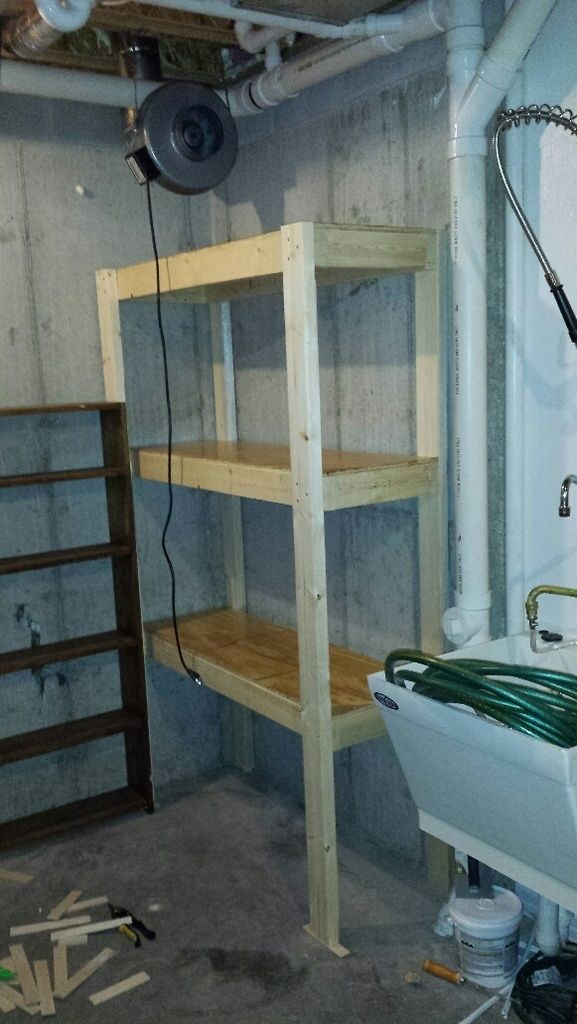
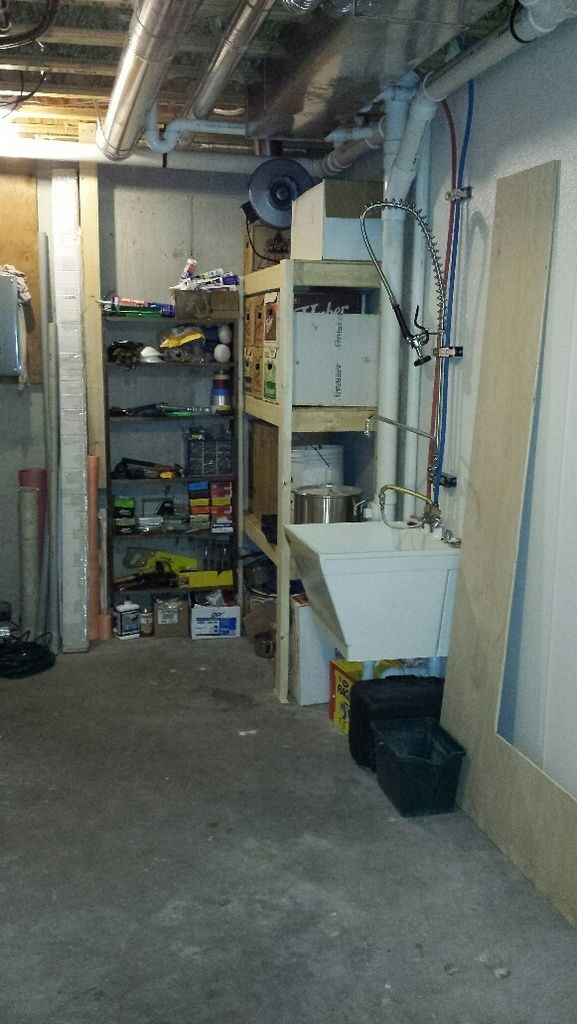
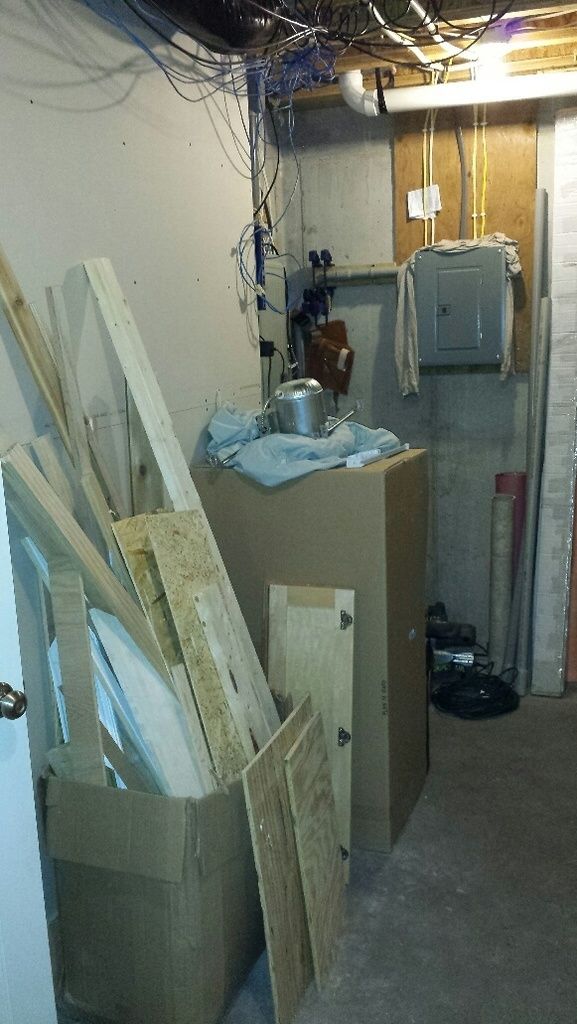
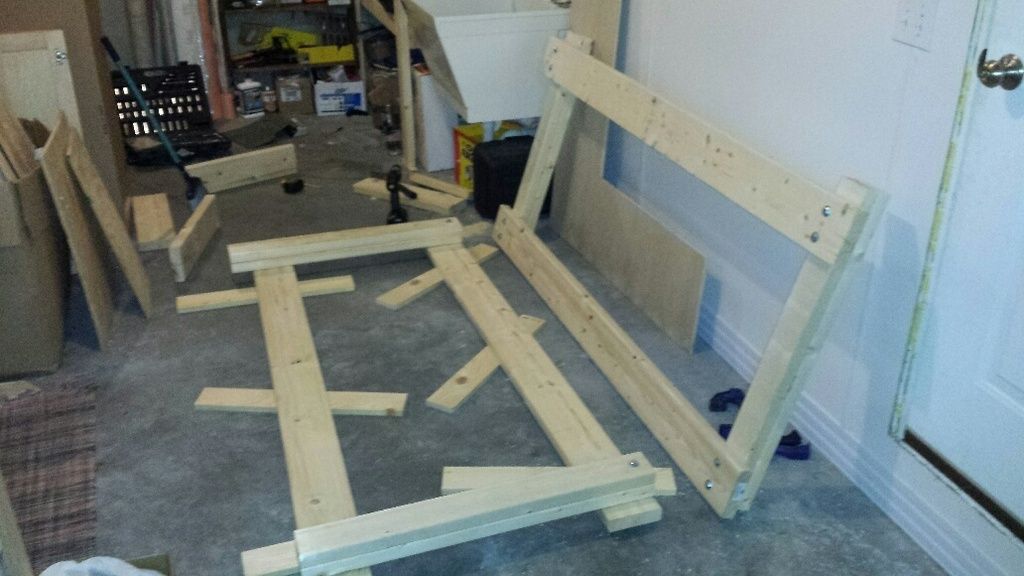
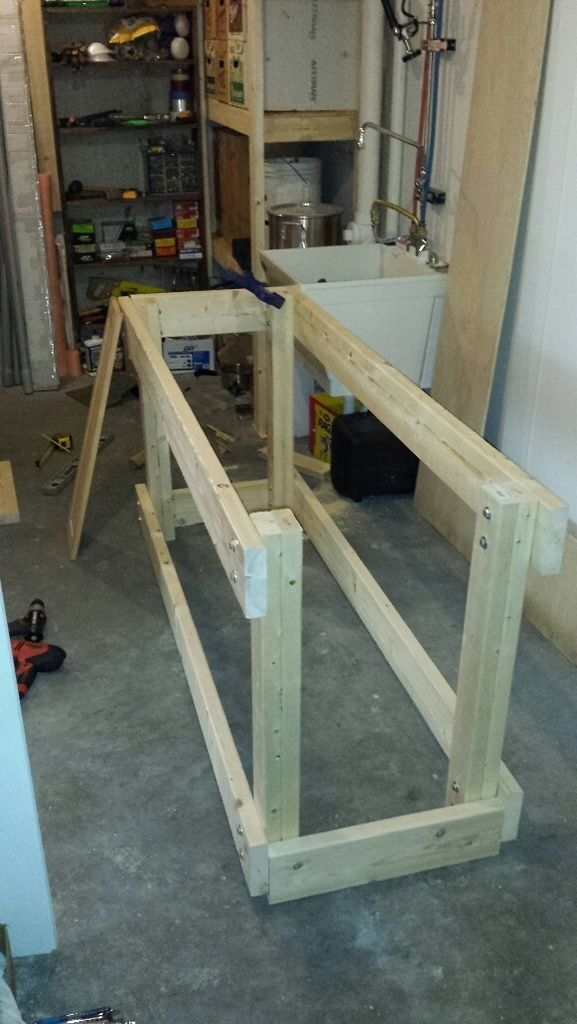
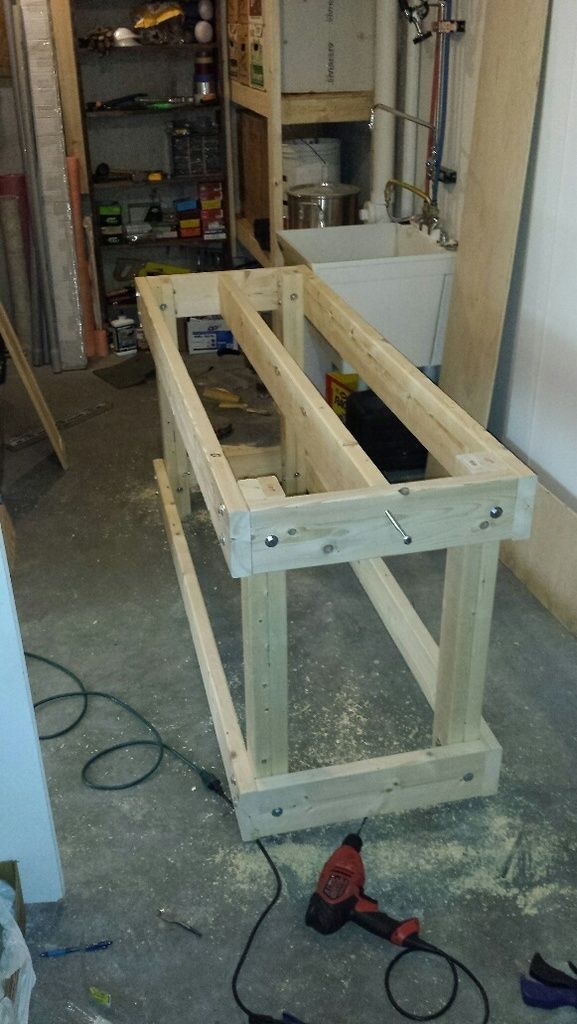
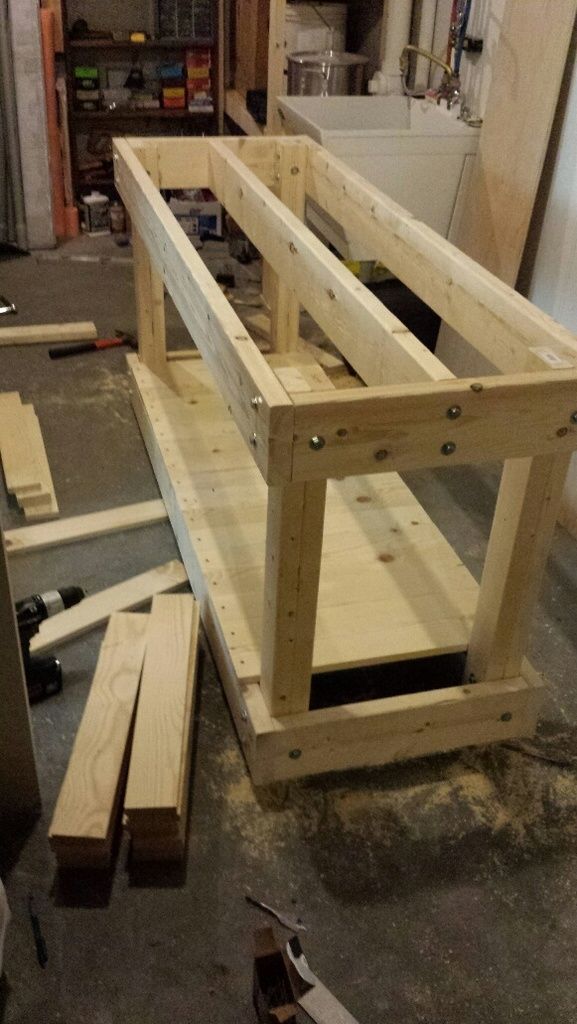
we finished our basement off a couple years ago but did not take a brewery into account (but did build a bar). the unfinished portion of the basement is limited in space but i believe i have found a spot to carve out a brewery. project started a couple weeks ago, i'll get some photos/writeups of what i have done posted shortly. my plan isto update progress as i go. plan is for a single-tier all-grain electric system, very similar to kal's.

stay tuned!:tank:
 
08/22/2015 update

first day of construction, here is what i started with:

20150822_122442_resized_zpsayw14mza.jpg


20150822_122454_resized_zps6cipxyl3.jpg


first step is get the crap out of the way:

20150822_124025_resized_zpsldhpko4f.jpg


the plan is to place the brew stand on the same wall as the sink. the back side of the wall is a staircase up into the garage (you can see the door on the left side of the photo). there is exposed fiberglass insulation in the rim joist cavities that i need to replace. not only are the loose batts a crappy insulator, they offer no vapor barrier protection and i don't want any fiberglass dust finding its way into my brew kettles! so i pulled it all out along the entire stretch of wall and got set up to put 2" xps foam panels in place. this will mimic what i did for our basement bathroom. the 2" foam offers r-10 insulation value as well as a vapor barrier. in the cold winter months, the dew point ends up being inside the foam which means no condensation on either side of the insulation. i had some leftover foam that i cut to shape and glued to the rim joist. if gluing foamboard, be sure to use adhesive that is safe for foam, like pl300. other adhesives can eat the foam. i doubled up the foam layers to get r-20 insulation.

20150822_133712_resized_zps78igwdoh.jpg


it is all but impossible to cut to fit around obstructions

20150822_155657_resized_zps4vmlquxg.jpg


filling in the gaps with great stuff expandable spray foam works perfectly for the situation above. ideally, i would have just spray foamed the whole thing but for the short length i needed to do, it just wasn't cost effective.

20150822_171938_resized_zps3j8mezci.jpg


everything gets swept and vacuumed, no more fiberglass dust.

the utility sink was installed when we finished the basement. there is a man door in the garage at the top of the stairs which opens up very close to our garden. we decided to put in a utility sink in this location so someone could walk in from outside and clean up without having to walk through the house. we picked a random spot on the wall for the sink but unfortunetly, it is in the way for the brew stand (there is only three feet or so betwen the sink and the door). i debated having two stands with one kettle on one side of the sink and two on the other but that will likely be a hassle in the future. i only want to do this once so i decided to relocate the sink down the wall. this shouldn't be too much of an effort since the water supply is pex and the drain/vent pipe will get shorter. so i disconnected the faucet assembly, drain pipe and pulled the sink off the wall.

20150822_163231_resized_zpsn4ksqw3b.jpg


20150822_171932_resized_zpsjhepxute.jpg


the other reason i wanted to get the wall cleaned up is so i can put frp paneling up. the drywall is pretty beat up and rather than patch all the holes and paint it, i decided to simply cover it up with the frp. i wanted to have some trim at the bottom of the wall so i grabbed some pvc tongue-and-grove panels. they are actually designed for ceilings but will work perfect as a base moulding, with the grove pointing up so the frp panel can rest in it. i glued it to the wall and put some bracing in place to hold it while it dried.

20150822_174226_resized_zps1idg96ru.jpg


i was checking on the trim later that night and was about to cash it in when i started thinking more about the tapered seam in the drywall. the more i thought about it, the more i thought it would be visible with the frp over the top. i poked around in my supplies and actually found some old pre-mixed drywall mud that was still good so i threw that on there, as well as patched some various other holes/depressions in the drywall. i didn't bother with taping since the frp would cover it anyway.

20150822_195704_resized_zpseydmett4.jpg
 
08/23/2015 update

today was the day i tackled putting up the frp. egads, what an ordeal. the 4x8 panels are very floppy. combine that with a tight working area and a panel full of adhesive and it was a major challenge. a helper would have made it better but i think it still would have been a challenge. i elevated the panel off the floor to apply adhesive. first panel gooped up:

20150823_102004_resized_zps6euirvna.jpg


and the first panel installed:

20150823_103204_resized_zpsrrmmyvyw.jpg


it stuck to the wall and fit in the base moulding groove quite nicely. note the water supply lines curved up into the ceiling. rather than shut off all the water, i just stuck the faucet and all up in the ceiling temporarily to get it out of my way. i used corner trim pieces so it is nice and flush against the exposed concrete on the left. also put up the trim piece between panels before putting up the second piece:

20150823_112933_resized_zpsmylqraxa.jpg


i had to do a little trimming around the light switch on the right side. that frp material is a lot tougher than i thought it would be! the switch wallplate was placed on temporarily. i really just wanted to get the two pieces up so i could get the sink reinstalled. started by remounting the support bracket:

20150823_121527_resized_zpsk3itsgnm.jpg


and then mounted the sink:

20150823_121938_resized_zpsezoot3at.jpg


now it was on to the drain and vent plumbing:

20150823_122521_resized_zpss3bndhwd.jpg


20150823_131852_resized_zpsewuba7oo.jpg


20150823_131823_resized_zpsixtenco4.jpg


faucet and supply lines temporarily hanging. i'll eventually be installing a pre-rinse arm so i temporarily put the faucet on to have a functioning sink. the vent pipe passes between the exposed concrete and the edge of the sink. i would have liked to have had the sink over another inch but the stud spacing didn't work that way with the support bracket:

20150823_134750_resized_zps5o8awqsv.jpg


one last piece of frp to put up, the one at the door to the stairs. i wanted it one complete piece so i needed to cut an opening in the middle of it for the door:

20150823_162105_resized_zpsnpxsip38.jpg


and installed!

20150823_175949_resized_zpss1rkvwj5.jpg


i used the same corner trim piece on this side as the first piece. very happy how it turned out. the drywall portion of the wall was exactly 12' wide but factoring in the trim pieces and the necessary expansion gaps for the frp, i ended up having to cut about 2" off the long edge of that last panel. still, it looks great!

next up is getting the pre-rinse faucet installed.
 
Are you pulling permits for your work? Ie: Are you having your plumbing work inspected? I only ask because some your drain turns seem pretty tight/right angled (may not pass). I wouldn't want to see you have issues down the road...

Kal
 
Are you pulling permits for your work? Ie: Are you having your plumbing work inspected? I only ask because some your drain turns seem pretty tight/right angled (may not pass). I wouldn't want to see you have issues down the road...

Kal

i'm generally a fan of pulling permits but won't be for this project. i actually had a pro do the original utility sink installation. the drain was easy, it was the vent that threw me for a loop. otherwise, i would have tackled it myself. my interpretation of the wisconsin plumbing code was that i could direct vent it since i would be so close to the main stack but the inspector said no. i debated challenging them on it but am not that strong on plumbing code.

pro came in and send he could tie into the vent above for the toilet. when i questioned him how we could use that for a vent, since it was below the flood rim of the fixture above, he replied that the code starts out by stating that 'the intent of the code is to blah, blah, blah'. since some venting was better than none, we were meeting the intent. sounds like that logic would fly for a licensed master plumber but not for joe homeowner. :cross: he installed it and it passed.

my brewery project simply shortens the pipe lengths. the tight elbows you see are on the vent piping. the drain is using the appropriate sweeps. below is a better photo.

20150903_212015_resized_1_zpslnclioif.jpg


the photo is a bit deceptive, i have the appropriate slope on the drain piping. there wasn't space to tee the vent in between the drain and the stack so i did an 'end around' and wrapped the vent piping. i really wanted it to come up on the far left, to give me the most room for my brew stand. i'm not 100% sure the venting is legit since i have horizontal venting below the flood rim but the 'intent' is there.:tank:

i'm pretty sure i could direct vent anyway and the vent piping isn't even required.
 
Ok - just wanted to make sure you were aware/comfortable with what you're doing and obviously you are. I have to admit I glanced at the pics a bit too fast and all I saw were the really tight 90 degree elbows, not realizing that they were for the vent stack (and not for the drain). If they were for drain, I don't think they'd pass. ;)

Carry on - nothing to see here... ;)

Kal
 
Nice!

Is that a Tylo heater?

Kal

you better believe it! :rockin: i researched heaters for a while and really liked tylo's idea of the side 'chimneys' that are not filled with rocks. heats the room faster than heaters that are totally filled with rocks. i like my sauna very dry so i didn't go for the steam option like yours. mine has logged about 300 hours of solid use in the last year and a half and still performs like a champ.
 
Ok - just wanted to make sure you were aware/comfortable with what you're doing and obviously you are. I have to admit I glanced at the pics a bit too fast and all I saw were the really tight 90 degree elbows, not realizing that they were for the vent stack (and not for the drain). If they were for drain, I don't think they'd pass. ;)

Carry on - nothing to see here... ;)

Kal

and i'm still not 100% sure the venting would pass. i'm only about two feet from the main stack and would argue direct venting is okay, eliminating the need for any vent piping at all. if i sell the place and the buyer makes a stink, i'll just cut the pipes and cap them. :D
 
For what it's worth I've found that rather than putting the mastic on the frp sheet it seems to go much smoother apply it to the wall and then sticking the sheet. I used to hang quite a bit of the stuff. I usually would test fit the piece mark all the holes for outlets etc. then use a jigsaw to cut the holes (It kills blades quick) then mark off the section it was getting applied to (usually 48 in wide) on the wall and cover it with the mastic. bow the sheet vertically and stick it to the wall. Then put up the divider piece and on to the next. I also found that a 2 foot wide piece of 2x4 worked great for putting pressure against it to work out any bubbles, just lay it on its side and keep running it up and down the wall.
 
you better believe it! :rockin: i researched heaters for a while and really liked tylo's idea of the side 'chimneys' that are not filled with rocks. heats the room faster than heaters that are totally filled with rocks. i like my sauna very dry so i didn't go for the steam option like yours. mine has logged about 300 hours of solid use in the last year and a half and still performs like a champ.

Tylo came up at the top of the list in my heater research too. Like yourself, I also prefer a dry sauna as that's what I'm used to and grew up with (I'm Estonian so all my grandparents and parents all had or have dry saunas - high heat, low humidity). That said, I couldn't resist getting the one that offered the steam sauna option too... just to see what it's like. I've only used it once or twice. Still prefer the dry (finish style) sauna!

Sorry for the derail... back to your build!

Kal
 
08/24/2015 update

after work today, decided to make the necessary modifications to the water supply lines. the existing supply lines to the faucet are too short to allow for re-installation of the faucet at the new sink location. plan is to cut the pex lines and splice in an offset to move the lines over a couple joist cavities. first step was to form up the two offsets and get them up in the joists. these were simply 3' lengths of pex with 90 degree elbows on each end. it was easier to crimp the elbows on at the floor rather than up in the ceiling. prepping them ahead also shortens the amount of time i need to shut off water to the whole house!

20150824_185106_resized_zps1auvipt0.jpg


turned off the water supply and drained down the system. cut the existing lines and moved them to their new position. then i crimped them into the offsets i installed previously.

20150824_192926_resized_zpsjbfbjirf.jpg


done! took about a half hour to drain down the water, tie in the pipes and re-pressurize the system. no leaks! i then mounted the faucet to the sink, just a temporary hookup until my pre-rinse faucet shows up.

20150824_192910_resized_zpsdv8osx0r.jpg
 
08/28/2015 update

got home from work today to find my pre-rinse faucet was delivered. i was having a tough time deciding what to get but ultimately went with the wall-mount model recommended on kal's site. i don't have a wall-mount sink but the price was right. my water lines come from above so even if i found a decent deck-mount faucet, i would still need to get water below. there isn't a very 'clean' way to get water below the sink so i decided to keep it above. thought was to remove the faucet arm from the existing faucet and use pipe fittings to mate up with the vertical leg of the pre-rinse faucet.

my plan didn't work out quite as expected. i went down to the local menards to look at fittings and i couldn't quite find what i needed. the existing faucet has a funky thread pattern. i opted to head over to the local hardware store to get their advice. the guy i talked to immediately recognized what i was trying to do and said it wouldn't work. he said the various faucet manufacturers all use different types of threadings on the faucet arms and it would be all but impossible to find a mating fitting. i really didn't want to replace the whole faucet so i decided i would get some vinyl tubing and barbed fittings to mate the garden hose threading on the end of the faucet arm with the new pre-rinse standpipe. grabbed my parts and was on my way.

first, i wanted to get the vertical section of pipe mounted to the wall. i mounted the first strut support, attached the pre-rinse vertical section and made the plumbing connections:

20150828_185638_resized_zpsyvnezncm.jpg


here is a close up of the plumbing:

20150828_203159_resized_zpskahi8axm.jpg


put the other brackets up:

20150828_193659_resized_zpsoff0xr1i.jpg


and finally the gooseneck faucet:

20150828_203148_resized_zps5u3md4nn.jpg


looks a little goofy but totally functional. i was surprised how much 'force' the spray arm had on the water. i needed to add a couple extra clamps to the pex piping in the joists to keep it in place.

also, i had added a third piece of strut compared to my original installation, to better support the pex piping. when i grabbed the strut, i forget to get some fender washers to hold the anchor bolts in place. rather than run back to the store, i grabbed a couple metal knockouts from an old electrical box and drilled holes in them. instant washer!

20150828_192823_resized_zpsowuhpyhv.jpg


:mug:
 
Looks real good. Your pics, they can be uploaded here as well.
 
09/03/2015 update

my vent fan and exterior wall cap showed up today:

20150904_072545_resized_zps9qjyp1kj.jpg


the fan is a vortex vtx-600, 452 cfm. got it used off of ebay, $77.26 shipped to my door. of course, the wheel didn't spin freely in the housing. my first thoughts were that i got hosed but i took the housing off and adjusted the wheel mounting bracket. it then spun freely so i plugged it into the wall receptacle. boy howdy, can that thing move some air! the wall cap is a 6" from broan with a rodent screen and spring-hinged, gasketed door. i liked this version over some of the other 6" models out there, it doesn't seem to neck-down as much at the discharge, less pressure drop. plus, it is the same make as an existing wall cap i have on my house, for the central bathroom exhaust. this new vent will only be a couple feet away from that so it will look nice and uniform.

speaking of that bathroom vent fan, that was my original plan for venting the brewery. you can see it in the background of the photo below, the black box at the ceiling with the 6" vent coming out:

20150822_162422_resized_zpsrykyjzcy.jpg


there are four 4" intake ports on the fan, three of which are connected to bathrooms and the fourth which is connected to the laundry room. the laundry room one is sort of pointless so my thought was to disconnect it and hook my brewery vent to it. it would be real simple to do and i wouldn't need to cut into the side of my house. the more i thought about it though, the more i decided i needed something dedicated. cons are below:

  • only 290 cfm
  • would need to shut the bathroom vents each time i used it for brewing, to take advantage of the full fan capacity
  • only a 4" intake
  • no switch in the brewing area, would need to go to the bathroom to turn it on/off
  • no speed control

after considering this, a larger, dedicated fan seems to be the way to go. a new opening in the wall will be a bit of a pain but i did it before when i relocated that bathroom exhaust as part of a basement finishing project.
 
09/05/2015 update

today was the day to tackle the ventilation system. i'm not ready for the full hood yet but i wanted to get the exterior wall penetration taken care of. as with most of these efforts, step one starts with getting all the crap out of the area i'll be working in:

20150905_130600_resized_zps0zeafstw.jpg


the brewery exhaust duct will be 6" round, located adjacent to the square supply duct in the photo. the far wall is the exterior wall i need to punch through (you can see the round duct runs for the whole house exhaust and dryer vent on the left). i'll have to wrestle with a bunch of drain pipe in the area. below is a view of the area i need to punch through:

20150905_130613_resized_zps5phvfzuv.jpg


plan is to route horizontally below the large drain pipe (toilet) and then use two 90 degree elbows to go up in elevation and then horizontally out through the rim joist. complicating this effort is the blind joist cavity i need to go through. you can see the joist resting above the foundation wall but there is about a 12" 'gap' between that joist and the exterior rim joist. i remember dealing with it when i relocated the dryer vent a couple years ago, it is difficult to line up the two holes and to properly insulate. 6" hole saws coat a fortune so i roughed-in a hole using a right angle drill and then chiseled out the remaining pieces to get an approximate opening:

20150905_133519_resized_zpslbywei8h.jpg


it isn't the prettiness hole but it works! and as luck would have it, i missed the cross-blocking in the joist cavity. next step was to drill the second hole from the exterior. new vent will go to the left of the dryer vent:

20150905_133938_resized_zpsmai7uykt.jpg


and with siding removed:

20150905_135641_resized_zpshqla6bkh.jpg


details on the exterior opening. the rim joist is pretty meaty, good thing i had a corded right angle drill.

20150905_142208_resized_zpselzpz0n1.jpg


vent cap assembly:

20150905_150108_resized_zps910fhavo.jpg


i need to start my interior down elbow immediately after i punch through the joist. there won't be enough exposed duct to attach the elbow so i attached the elbow first. it is a rotating elbow so after i push it through from the outside, it will be a simple matter of rotating on the inside:

20150905_151642_resized_zpsa2yqooii.jpg


and rotated down:

20150905_151818_resized_zps6jlmtthy.jpg


i needed a short length of vertical pipe to get low enough to clear the toilet drain. i didn't want to spend the $20 on a crimping tool so i made my own crimp with a needle nose pliers:

20150905_152438_resized_zpsbmvprlvx.jpg


vertical leg and second elbow installed:

20150905_153133_resized_zpsp9diwmw9.jpg


i wanted to get the siding back on before i went any further. wall cap before siding went on:

20150905_151535_resized_zps2l7uzys8.jpg


first row of siding, notched for the wall cap:

20150905_160321_resized_zpsx0mpydrr.jpg


and the final product:

20150905_162331_resized_zpsuvtd3li7.jpg


last step was hanging the fan in position:

20150905_170713_resized_zps3m0kfyqc.jpg
 
Wow what a project. Well done though! I love the step-by-step. I'll certainly be following. It's always nice to live vicariously through others. Subscribed!
 
09/06/2015 update

i need a shelving unit on the opposite side of the sink, for storing all the brewery stuff. i wanted to get the exhaust fan in place before building the shelf, to make sure everything fits. i only have about 4' of space between the sink and the wall but it is not much more effort to build two 4' shelves rather than a single 4' shelf. the second shelf will be used for storing various junk, maybe i will 'take it over' in the future. each shelf assembly will be 6'-4" with three shelves, each shelf 16" x 48". a 4'x8' sheet of sanded plywood and associated 2x4s cut to length:

20150906_151415_resized_zpsa9mjufkw.jpg


frames nailed together:

20150906_153417_resized_zpsmxxooa7t.jpg


shelf surfaced nailed to the frames:

20150906_154735_resized_zpsnbw8tg5o.jpg


and sitting in the garage, with some polyurethane drying:

20150907_112217_resized_zpsbrkdowxs.jpg


shelf units get nailed to vertical 2x4s. it is a very burly shelf and i have built similar in the past for storing stuff. each shelf can support at least 150 lbs. i have to wait for the poly to dry (two coats) before i can assemble the shelves.
 
09/07/2015 update

polyurethane on the shelves is dry and ready to be assembled as a complete unit. i debated a third coat of poly but after some sanding with 600 grit paper, they are smooth enough for my use. to have some decent space to get everything laid out, i assembled the shelves in the finished part of the basement:

20150907_121147_resized_zpsog02gsbs.jpg


careful measuring diagonally across the face of the unit ensures a square assembly. of course, basement floors aren't always level (especially at the walls) so i'll probably end up shimming them anyway:

20150907_122631_resized_zps8shft7g2.jpg


and sure enough, the wall edge was slightly higher than the floor and i needed a couple shims :cross: the brown shelf you see on the left is an old bookcase thta i scabbed onto the side of the new shelf. it will be used to store tools for now but may eventually get used for brewery tools (temp probe, salts, scale, etc.) i took the other shelf and installed it behind me, moving miscellaneous junk onto the shelves in an effort to clean the area up. then i moved my existing bottles/brew equipment to the new shelves and put the hand tools on the brown shelf. despite the cluttered appearance, the area is looking a lot more organized/cleaner compared to what i started with:

20150907_190632_resized_zpsm3w9h7bv.jpg


20150907_190624_resized_zpsldywm5bz.jpg


the second photo is opposite the sink. the large box is left over wrapping paper from moving and the other box is a bunch of scrap wood. both of those will eventually be gone and will open up the perfect space for a keezer/fermentation chamber.

will be taking a break from the project for a few days but did find a cheap chest freezer on craigslist. it is the same model as the hand-me-down we already have in our basement for food. it is a monarch and has been in use for about 30 years, the thing is a tank. maybe i'll pick that up this week... otherwise, my next steps are the brew stand and getting some electric done (additional lighting, exhaust fan controls, convenience receptacles, etc.)

not a lot of cool stuff happening so far but they are necessary steps...
 
Nice job on the exhaust fan. Looks like it's been there all along from the outside
 
waiting for some funds to kick in before making some major moves forward but we did pick up a foodsaver vacuum seal unit yesterday. had a bunch of coupons at kohls. the purchase was really more for the kitchen but i'll certainly be taking advantage for sealing up hops and yeasts once i get rolling.

and since no real construction is going on right now, might as well harvest some hops! my wife planted some cascade a few years ago, more for decoration than anything else. last year had a pretty decent crop but we didn't harvest it. now with the brewery project in the works and a new vacuum seal system, might as well grab them!

20150915_172958_resized_zpsb5nqgqzf.jpg


the arbor is from our wedding and the entrance into the garden on the left. i added the additional trellis on the left this summer, since the plant is overrunning the arbor!

20150916_004753_resized_zpszkjb2boq.jpg


20150915_174511_resized_zpsemvqgxiq.jpg


i was really surprised how many cones were on the plant. presently drying a third load in the food dehydrator and should be able to pick enough tonight for a fourth. i'm guessing i'll get two or so pounds out of the harvest.:rockin:

also got a bead on a used chest freezer on craigslist, going to check that out tonight.
 
09/20/2015 update

i've been holding off on construction activity, waiting for the classic 11% off sale at menards. they don't have one going on right now but lumber is on sale. not quite 11% but enough where it wasn't worth waiting a week (or longer) to save a few extra bucks. so it was off to menards to pick up supplies for the brew stand. i decided to copy kal's design for a wooden stand. i looked into a stainless table but i like the wood look and it isn't worth it to me to go for the stainless. it isn't an exact copy of kal's either. i am going with a five gallon setup (ten gallon kettles) so it doesn't need to be as big. i went with a 70" wide by 23.5" deep by 34" tall table. the 23.5" and 34" dimensions match up perfectly with my utility sink. the 70" dimension is about as wide as i can go and is also makes for a round number of top boards (20 boards at 3.5" each works out to 70").

a pile of lumber in the driveway, ready to be cut up:

20150920_100929_resized_zpspvnjjvvk.jpg


cutting underway. i wised up this time and kept the garage door closed to keep the sawdust out.:)

20150920_103130_resized_zpsmxxppjd6.jpg


cut everything outside and dragged it into the basement. legs put together:

20150920_114552_resized_zps2pup7oom.jpg


assembling the first side. it was a challenge due to the lag bolts. everything needed to be slightly elevated to account for the bolt heads/nuts:

20150920_122218_resized_zpseqvblnhl.jpg


first side complete, second side in progress:

20150920_125700_resized_zpsy0lezsbw.jpg


standing it upright and putting the side pieces on:

20150920_133131_resized_zps9ay33bt9.jpg


sides on, lag screwing in the center piece. due to the smaller five gallon batches, the lag bolts are likely overkill but it gives a nice 'industrial strength' look. it is one stout table!

20150920_143208_resized_zpsdeldmmpz.jpg


screwing the bottom boards on. i have my legs rotated 90 degrees compared to kal's, ended up being a perfect fit for the bottom shelf boards (didn't need to rip any smaller pieces):

20150920_165921_resized_zpsz7cmt0ou.jpg


and then the top:

20150920_205936_resized_zpsnijg5sai.jpg


it is actually stained in the bottom photo. i like the natural pine look but wanted to add at least a little stain to give that richer look. i need to throw another coat on tonight and then put the poly on.

installing the exhaust fan a couple weeks ago was a huge help in venting out the stain fumes. i usually try to do all my painting/staining outside or in the garage but with this huge stand, it just wasn't practical.
 
Looks good. I would think considering what goes on the table you can't be too safe with reinforcement. I bet an advantage of wood is it's easier to add on since all you do get some bolts of nails.
 
Looks good. I would think considering what goes on the table you can't be too safe with reinforcement. I bet an advantage of wood is it's easier to add on since all you do get some bolts of nails.

and it was still pretty cheap. total bill came to $103 and that included the wood, hardware, stain, brushes, the whole nine yards. i even bought two new auger bits so i got those for future use.
 
Excellent job! The whole project is top notch. I really enjoy the step by step photos. Keep up the good work!

John
 
09/21/2015 update

came home at lunch time to throw a second coat of stain on the brew stand. i must not have stirred the can enough on the first coat, this one was much darker. still really light though. it also highlighted some scratches in the wood surface. i used to aggressive of a sand paper before i started staining. so the table looks 'used' already. not a bad thing, it is after all a working table, not some type of fine woodworking showpiece. and i threw the first coat of poly on last night:

20150921_212616_resized_zpsuuaoswmt.jpg


a little sanding tonight with a second poly coat and this thing should be good to go!

i also ordered up a herms coil from stainless brewing. went with the 25', 1/2" tubing on a 10" radius. my hlt will be a ten gallon kettle so i didn't need a big one. i would have liked a longer length but the coil would have gotten so tall that a decent amount of it would be above the water level during mash recirc. given the relatively small temperature differential between the hlt and mlt, i should be fine.
 
09/22/2015 update

sanded the table and threw on another coat of poly. i could post a photo but there isn't much else to say. my kitchen scale showed up today which isn't necessarily brewery related but i was able to weigh out the hops i recently picked, get them labeled and get them in the freezer. it will eventually be used in the brewery quite a bit but for now, it will be a kitchen tool. got a calibration set with it, scale is spot on. so much better than the crappy analog scale we had before. might as well weighed stuff on a bathroom scale.

i also got an e-mail from stainless brewing that my herms coil has shipped. 'real' brewery parts are on the way!:ban:
 
I think a lot of the fun is setting everything up ! Drinking the finish product is up there, but the anticipation of what the product will be is awesome!
 
Back
Top