inr brewing - basement brewery build

Homebrew Talk - Beer, Wine, Mead, & Cider Brewing Discussion Forum

Help Support Homebrew Talk - Beer, Wine, Mead, & Cider Brewing Discussion Forum:

This site may earn a commission from merchant affiliate links, including eBay, Amazon, and others.
If you have room outside the keezer, store the CO2 tank(s) there. Since you already have a collar, it's easy to go through and not worry about hitting freon lines.

Like stratslinger mentioned, the bigger tank, the better. A 20lb tank is not much more than a 5 or 10 lb tank and the real savings is in the cost to fill: It's only about 10-20% more to fill a 20lb tank compared to a 5lb but you get 4x as much CO2. Having to fill 4 times less is also a bonus. ;)

P.S. Great job on the keezer!

Kal

i considered an exterior tank but the keezer is in an open area and we have younger kids. yeah, i can chain it up, tell them not to mess with it, etc. but at the end of the day, having it inside the keezer was a requirement.

regarding filling, it seems most places charge less per pound for larger tanks? maybe my place is uncommon, they charge the same rate per pound regardless of the tank size. so the smaller tank really only means a few additional trips to the store, not a big deal for me since they are only five minutes away. and if i have hassles fitting a bigger tank in, i can always sacrifice a keg spot. i'd still have space for ten kegs which should last for a while. :)
 
i considered an exterior tank but the keezer is in an open area and we have younger kids. yeah, i can chain it up, tell them not to mess with it, etc. but at the end of the day, having it inside the keezer was a requirement.
That makes a lot of sense. I'd probably do the same. Hopefuly you have some way of stopping them from playing with the taps too. ;)

regarding filling, it seems most places charge less per pound for larger tanks? maybe my place is uncommon, they charge the same rate per pound regardless of the tank size.
CO2 is cheap so most of the expense is their time and it takes about the same amount of time to fill regardless of tank size. The place I've been charge a set rate per tank size but it's something like $23 for a 10lb and $26 for a 20lb (going by memory here so don't quote me). Other places may do it differently like you mentioned.

Kal
 
I just sat here reading this entire thread getting ideas for my own brewing area. Lots of great ideas here. I wish I had the money and time to go electric, but I only brew occasionally. Not enough to justify getting all those great gadgets. So I am in the process of finding a used gas stove for heating. Right now I am cleaning out my basement getting ready to build. Love your hood idea and may borrow the idea for mine. I found one of those vent motors on ebay. Buying it as we speak, or at least hoping to win the bid for it. Cant wait to see more.
 
i got thinking about the co2 tank situation some more and thought i misheard the gas place on their pricing. i just called them back to confirm and they charge $1/lb plus tax. no minimum charge, no additional fees, nothing. sales tax here is 5.5% so i can fill a five pounder for about $5.25. based on some limited internet research, that seems like a crazy-good price.
 
i got thinking about the co2 tank situation some more and thought i misheard the gas place on their pricing. i just called them back to confirm and they charge $1/lb plus tax. no minimum charge, no additional fees, nothing. sales tax here is 5.5% so i can fill a five pounder for about $5.25. based on some limited internet research, that seems like a crazy-good price.

That IS good! I always get surprised at how much folks pay for CO2 compared to what my place charges, but that sounds cheaper than what I pay. I guess my 15lb cylinder was close to that last time I filled it, but my 5lb costs around $10.
 
I have to ask, why didn't you run the edge of the J channel between the FRP and the frame? I built one of those hoods myself and was able to get it in that configuration which gives the advantage of being water tight(enough with a drain hose) and fewer penetrations through the FRP.
 
I have to ask, why didn't you run the edge of the J channel between the FRP and the frame? I built one of those hoods myself and was able to get it in that configuration which gives the advantage of being water tight(enough with a drain hose) and fewer penetrations through the FRP.

the gutter was somewhat of an afterthought, sandwiching between the frp and the wood frame is a better installation.
 
5/21/2016 update

no photos, just picked up some more supplies. in anticipation of a menards 11% off sale, i stopped by the lhbs and grabbed some parts for my diy keag/carboy washer build. i got a gas and liquid ball disconnect, star-san, pbw and what the hell, a 6.5 gallon carboy.

i also discovered that my municipal water is extremely hard, 250+ ppm for clacium. one of my coworkers is a big saltwater aquarium guy and mentioned he had a spare ro/di system he wasn't using! i stopped by his place to pick it up. i'll need to get filters and an ro membrane for it but he had the mounting frame, filter canisters, ro membrane housing and some miscellaneous fittings/tubing. i have always planned on doing salt additions by style but had concerns over seasonal fluctuations in water quality as well as hardness extremes. this system will make it pretty easy to build whatever profile i need.
 
Hot Damn this is impressive stuff. ( I did just look atthe pictures though.)

but your doing a s**t tonne of work, and its awesome.
I'm not far away from getting my bar up and running - i need something for my special kegerator.
 
5/24/2016 update

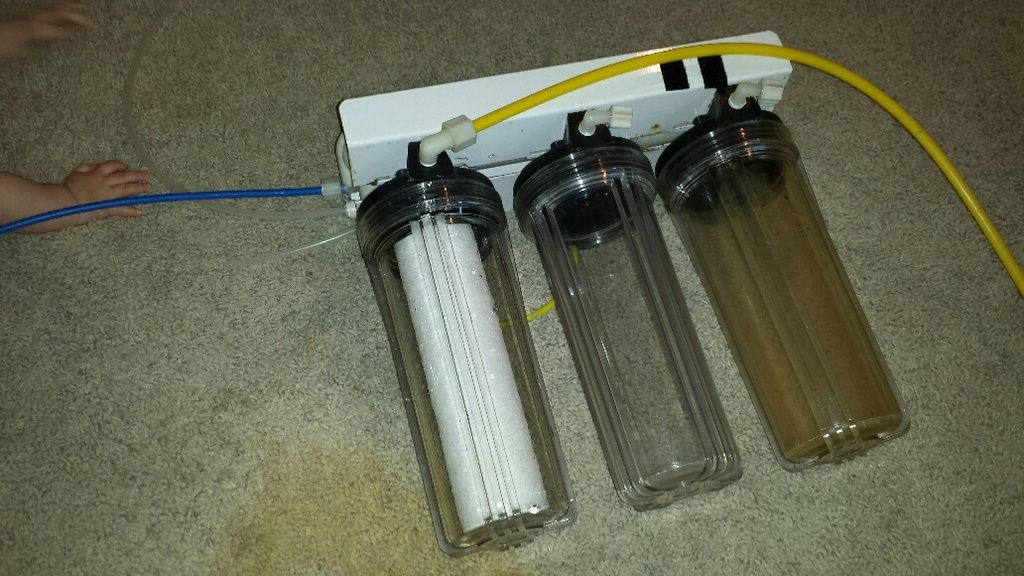
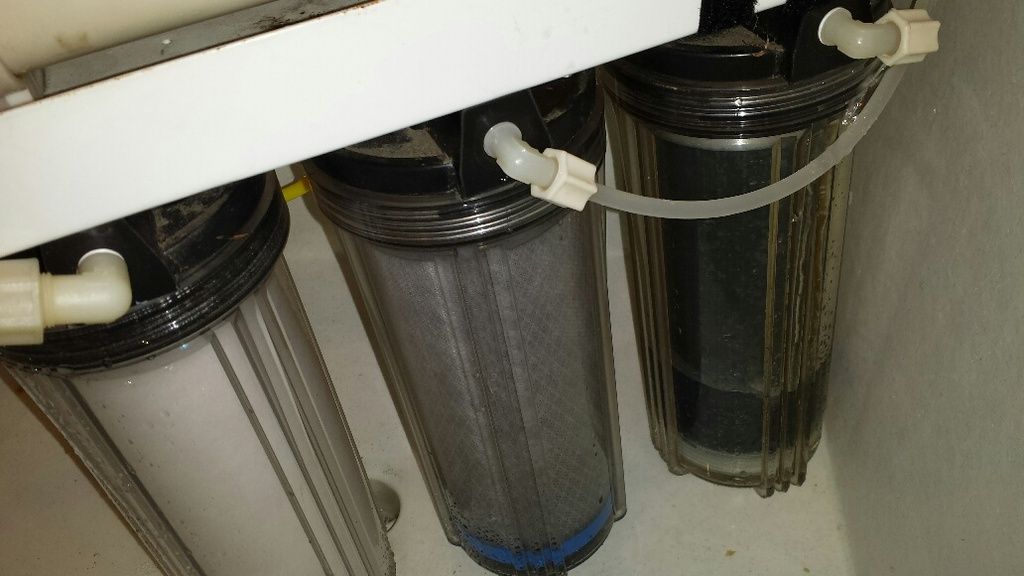
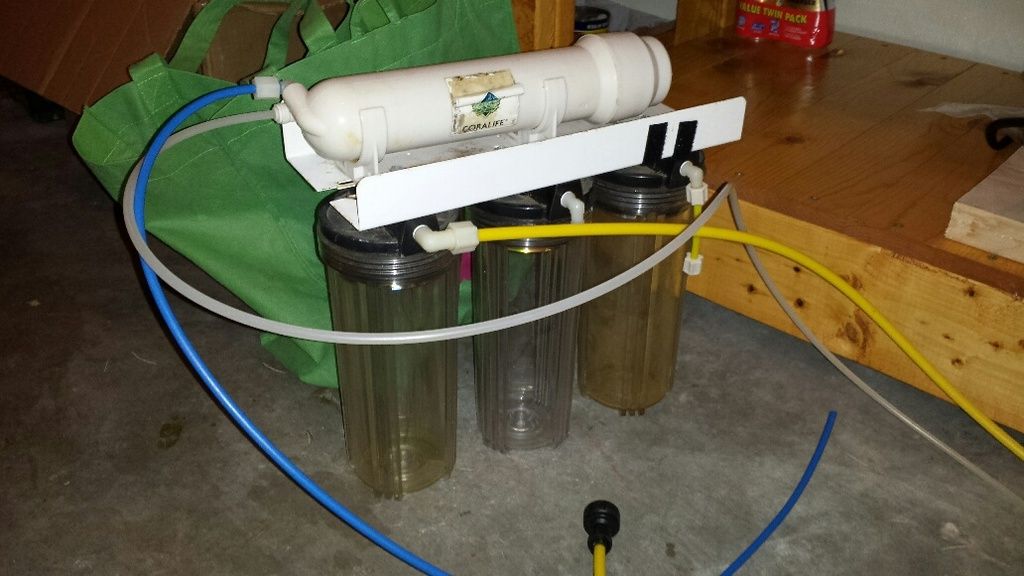
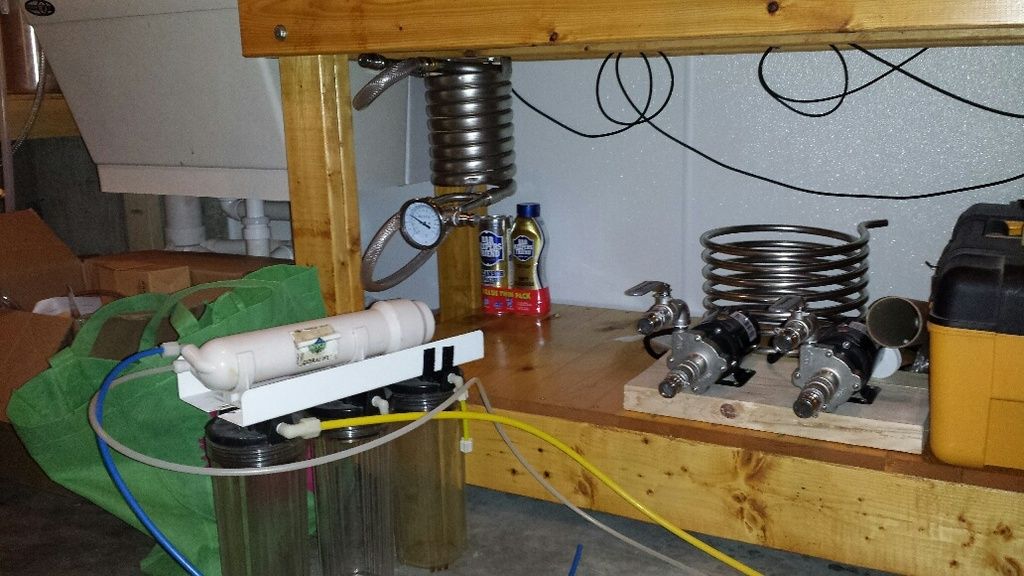
below is that ro/di system i mentioned earlier, the one my coworker had just lying around:

20160527_064103_resized_zps9l0ded1f.jpg


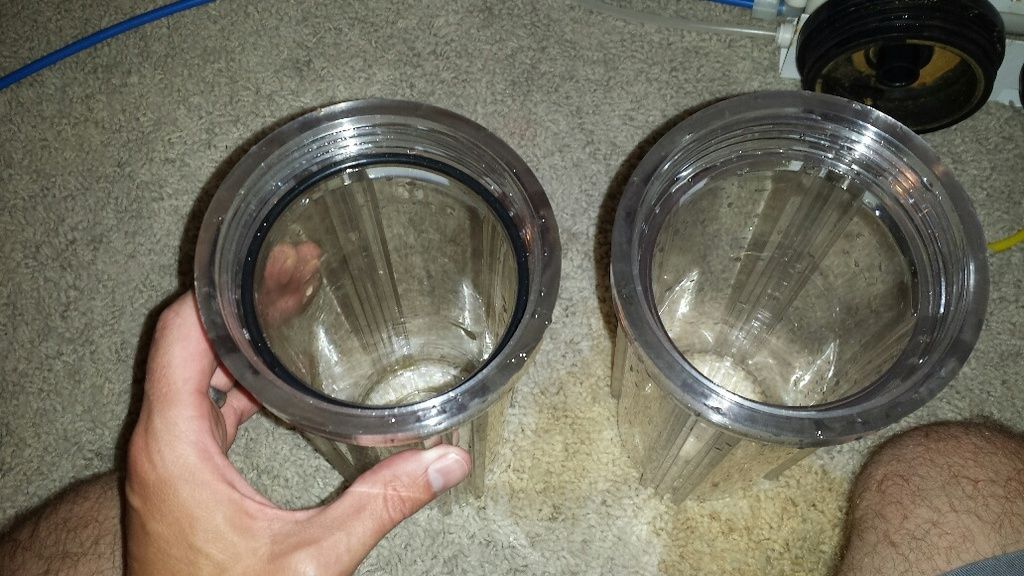
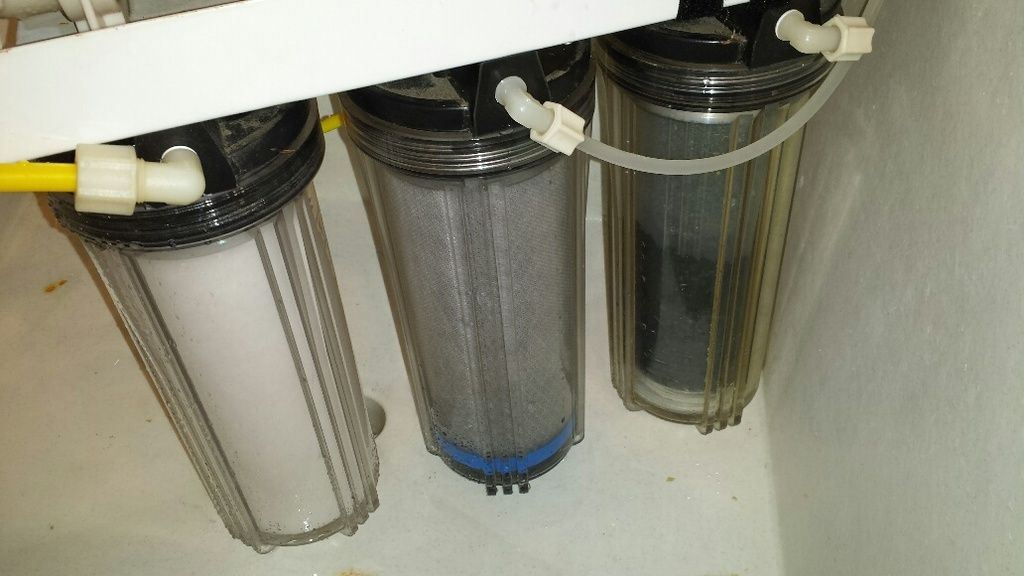
the 'jars' on the bottom will house the sediment filter, carbon filter and di resin (l to r). the cylinder on top houses the ro membrane. still need to get some more tubing and fittings. plan is to mount the system on the wall under the brew stand, sort of behind the counterflow chiller:

20160527_064111_resized_zpsyhtrbtne.jpg


most of the filter parts came in the mail today:

20160527_073053_resized_zpsagzskdpn.jpg


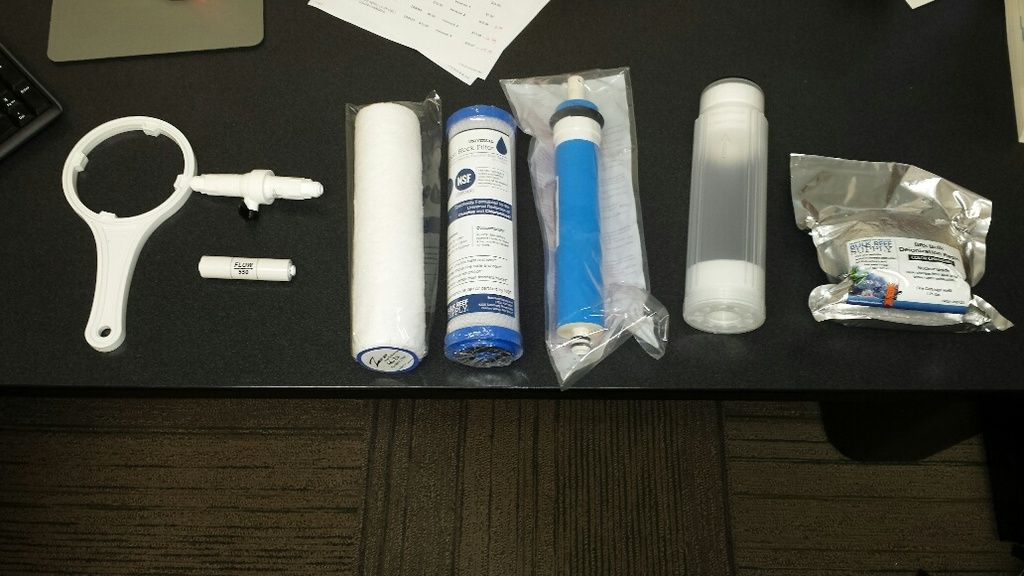
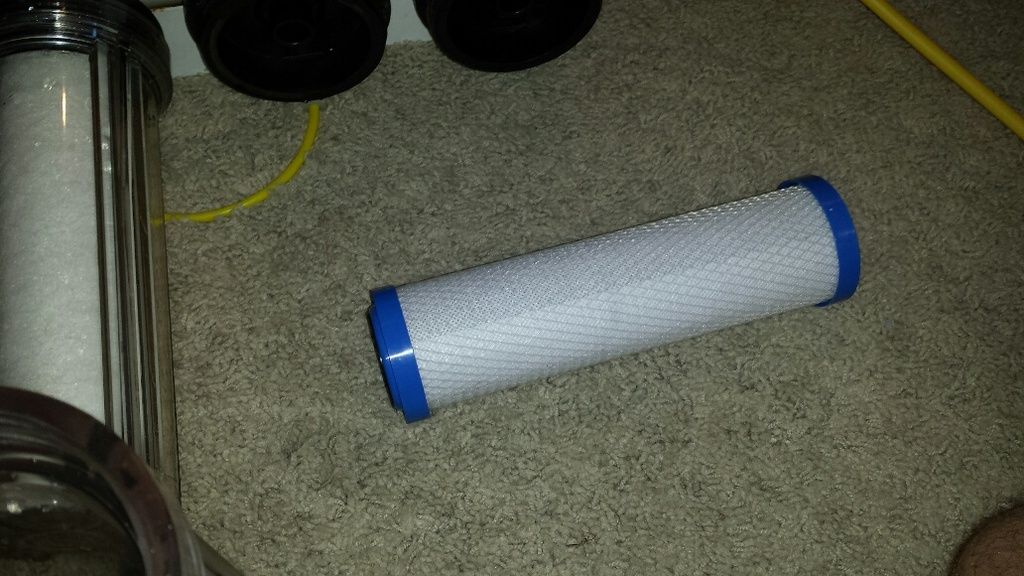
l to r is a canister wrench, ro membrane flush valve, flow restrictor, 5 micron sediment filter, 1 micron carbon filter, ro membrane, di resin canister and a package of di resin. the sediment filter, carbon filter and di resin canisters will go in those large jars on the ro/di frame. the wrench is used to take the jars on and off. the flow restrictor is installed on the ro membrane waste line increases the efficiency of the membrane. the flush valve is installed in parallel with the flow restrictor and is closed during normal operation. it is opened up to bypass the flow restrictor to increase flow across the membrane and help flush away deposits. this prolongs the life of the membrane.

water from the faucet first passed through the sediment filter to remove large particles and increase the life of the downstream carbon filter. i'm not expecting the sediment filter to catch too much stuff since i am on a municipal system. next is the carbon filter which primarily removes chlorine/chloramines. from there the water passes through the ro membrane, which removes the bulk of the minerals in the water. finally, the water passed through the di resin to remove the last little bits of minerals.
 
5/26/2016 update

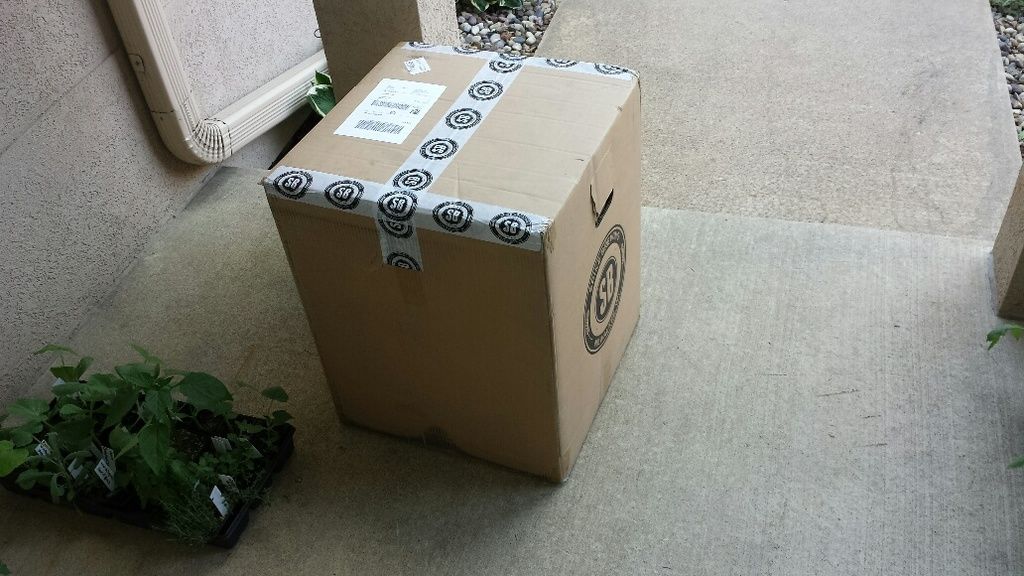
came home to find this on my front porch:

20160526_181446_resized_zpskrfyazgu.jpg


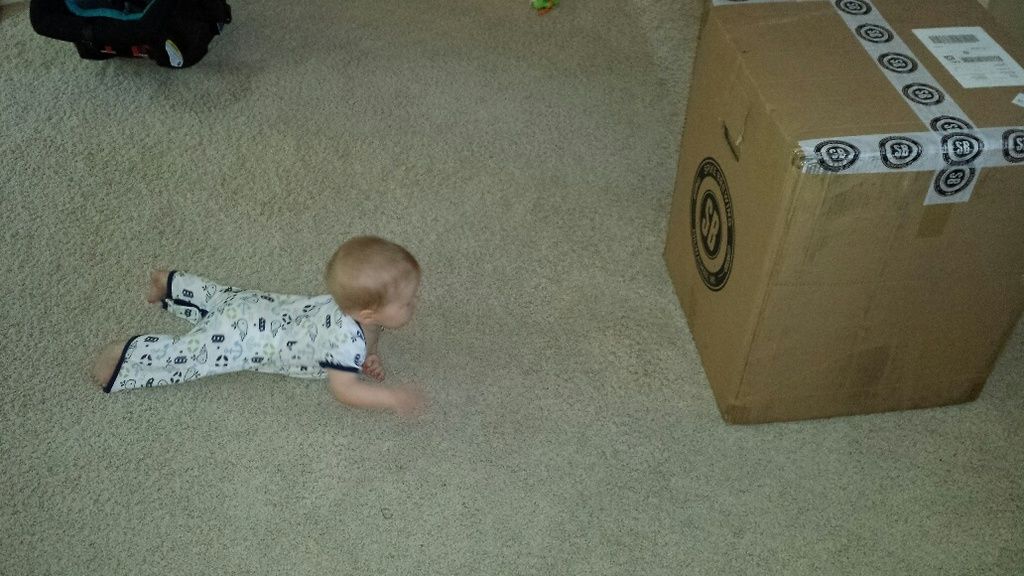
brewing partner army-crawled his way across the entire living room when i set it down:

20160526_181601_resized_zpskvwqgdhv.jpg


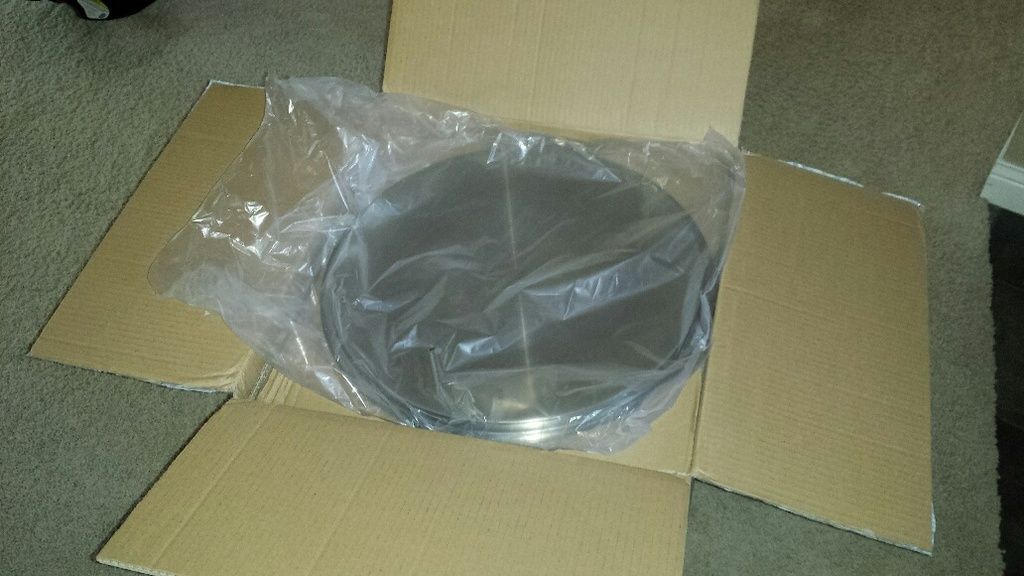
same packaging as my previous kettles:

20160526_181754_resized_zpssxbxdgo3.jpg


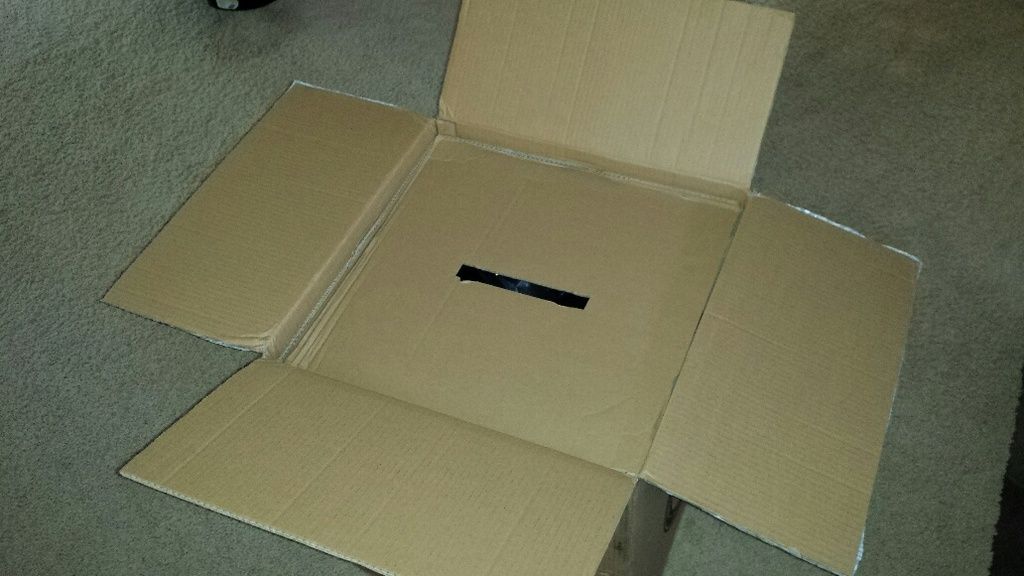
there was some new packaging, a cardboard slip sheet between the lid and the kettle. the lid handle rests in the rectangular opening in the center:

20160526_181806_resized_zpsdr6huhvh.jpg


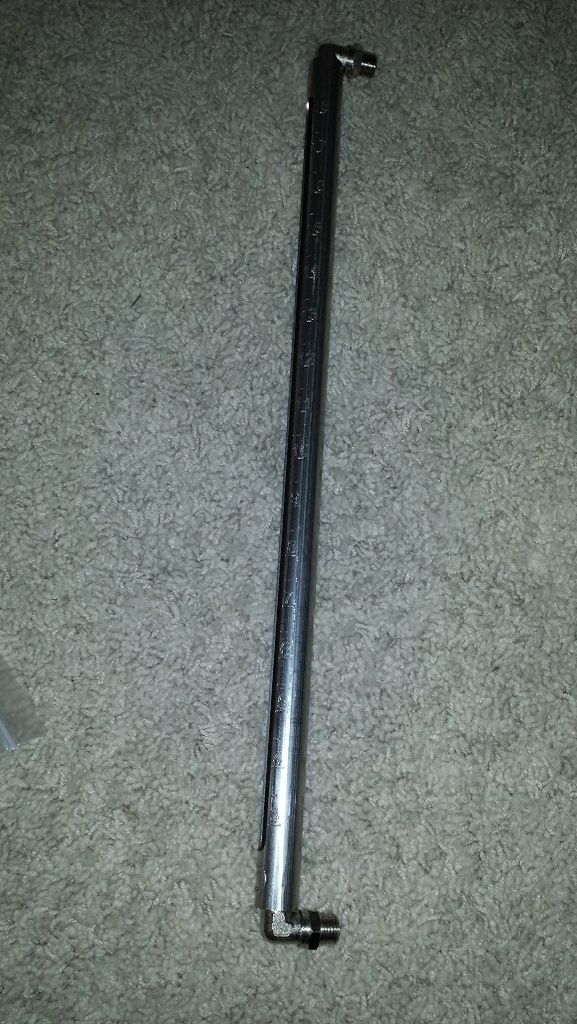
sight glass. etching is still faint. spike is getting a new laser etcher and has offered free replacements but in the meantime, they are using up the existing inventory:

20160526_181845_resized_zpssa8llbay.jpg


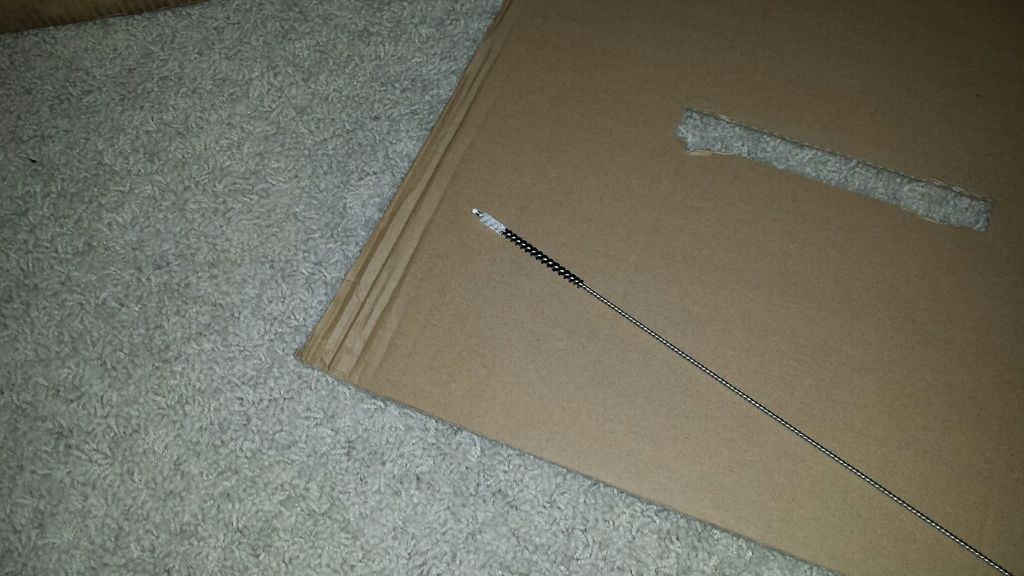
the sight glass brush is a little different as well. it has softer clear bristles near the tip and courser black bristles further down:

20160526_181918_resized_zpsqttuy4rb.jpg


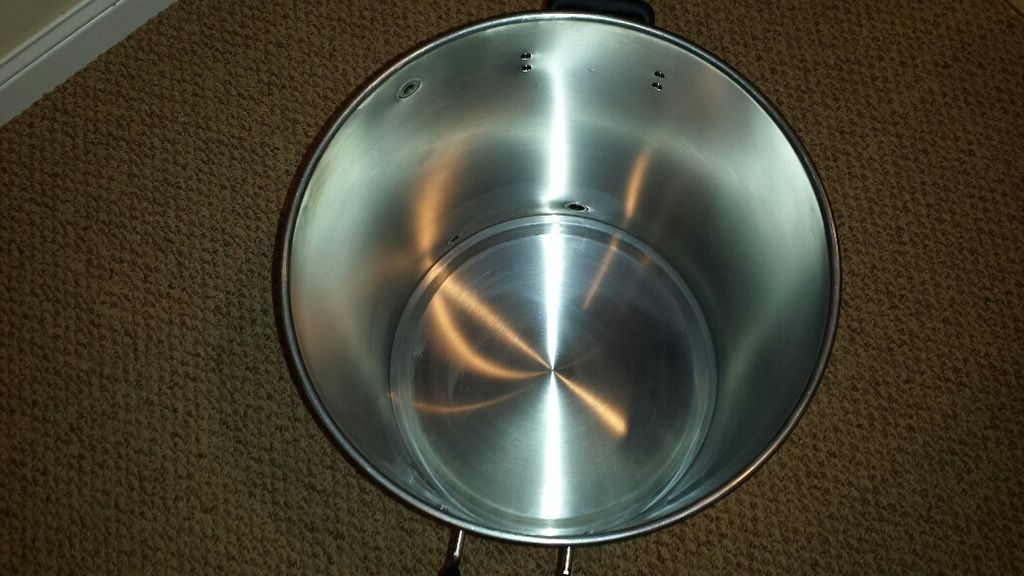
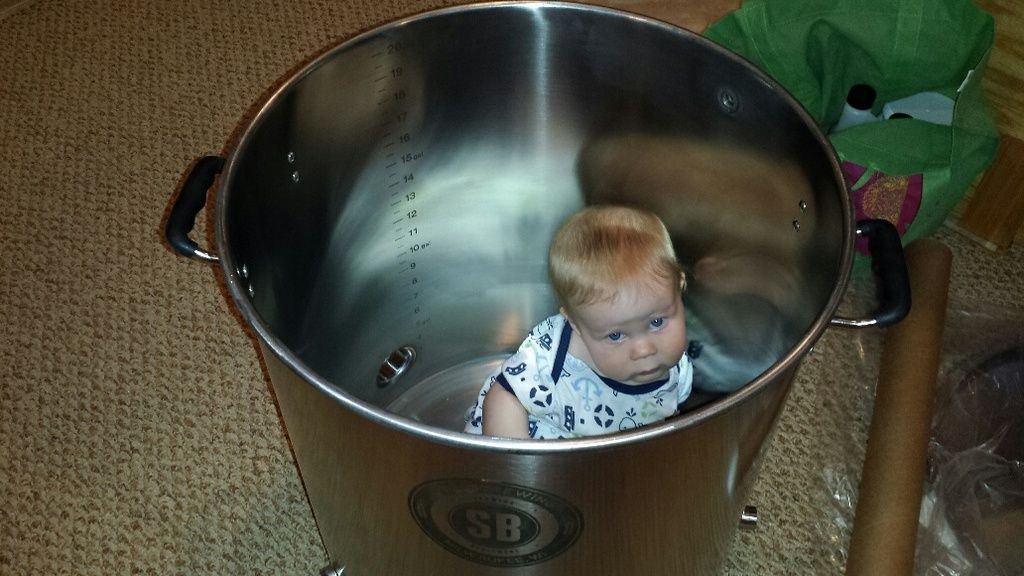
shiny goodness, baby not included:

20160526_182308_resized_zpstwrhjrsn.jpg


20160526_182619_resized_zpsi4xmhvfl.jpg


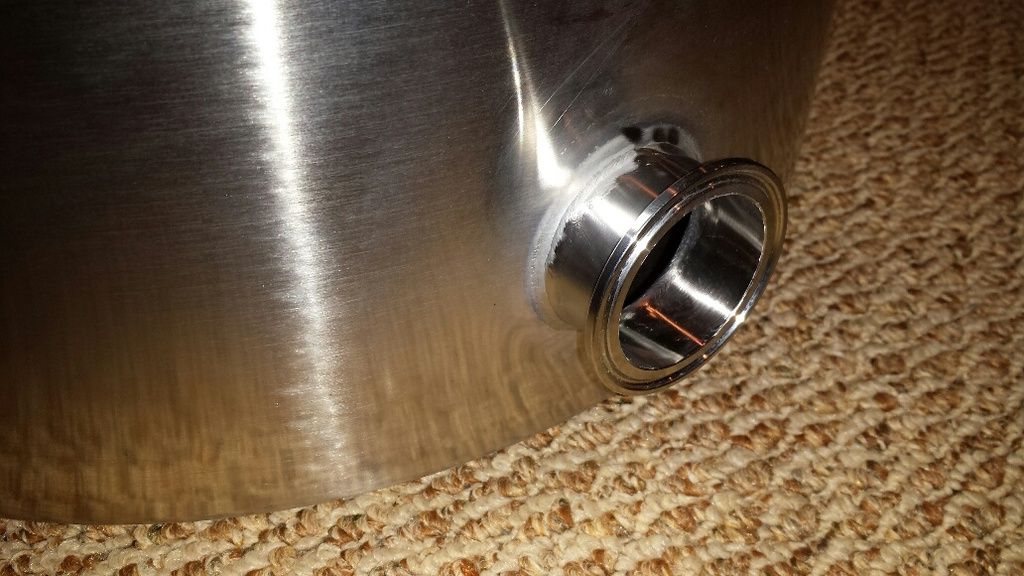
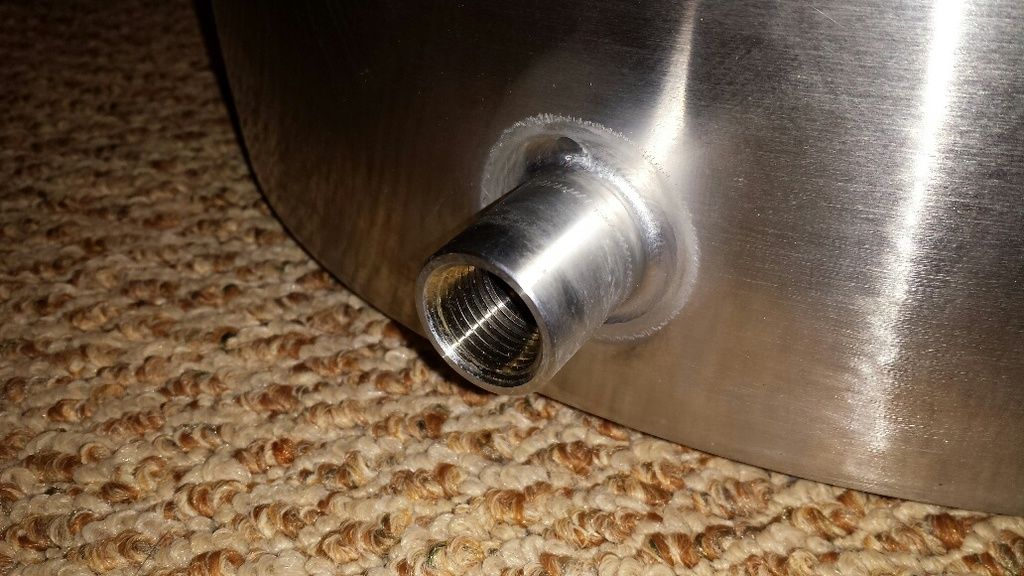
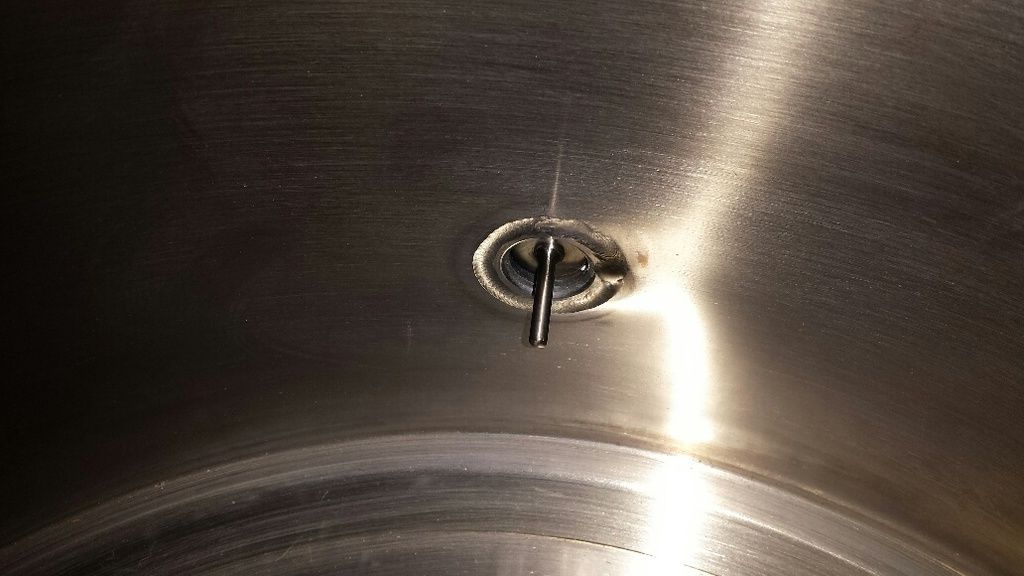
quality welds, as always (those aren't black marks in the first photo, just weird reflection from the flash and some oil):

20160526_182318_resized_zps1daiwfby.jpg


20160526_182329_resized_zpskrbeiaxs.jpg


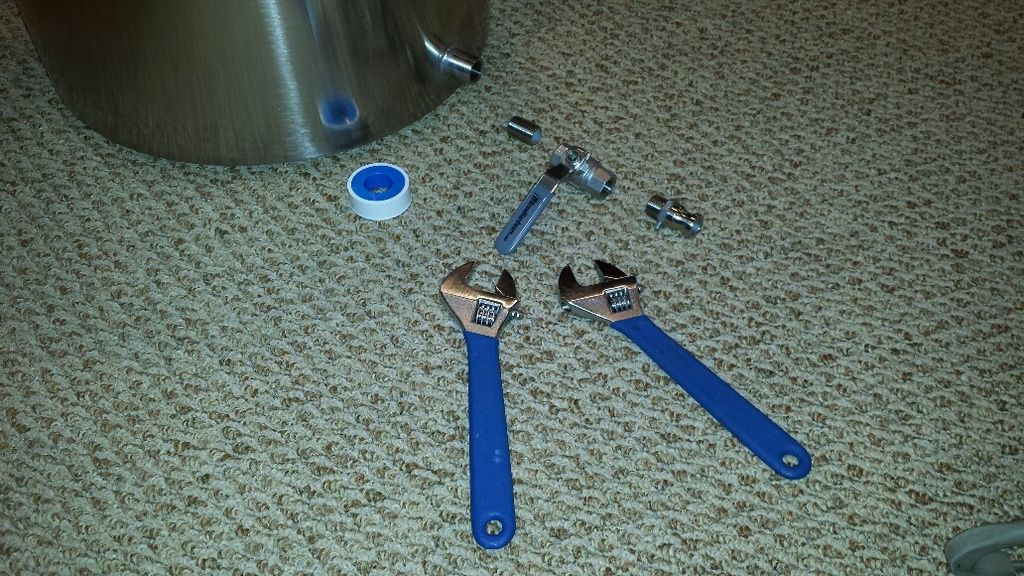
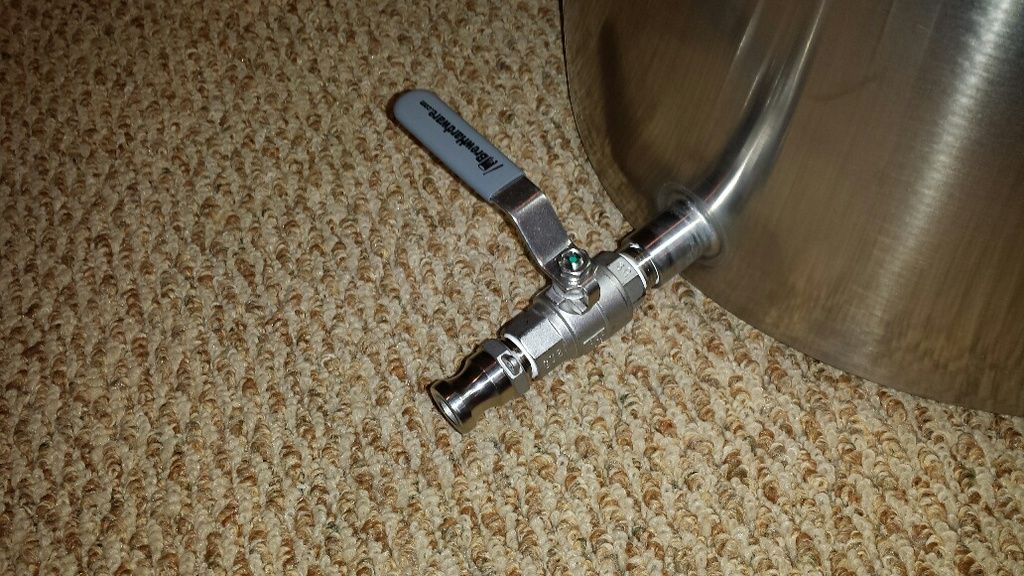
the boil kettle has the simplest fittings, just an output valve:

20160526_183129_resized_zpsytipulcv.jpg


partially installed:

20160526_183833_resized_zpsvinwuca9.jpg


and complete:

20160526_184059_resized_zpsp39m7aza.jpg


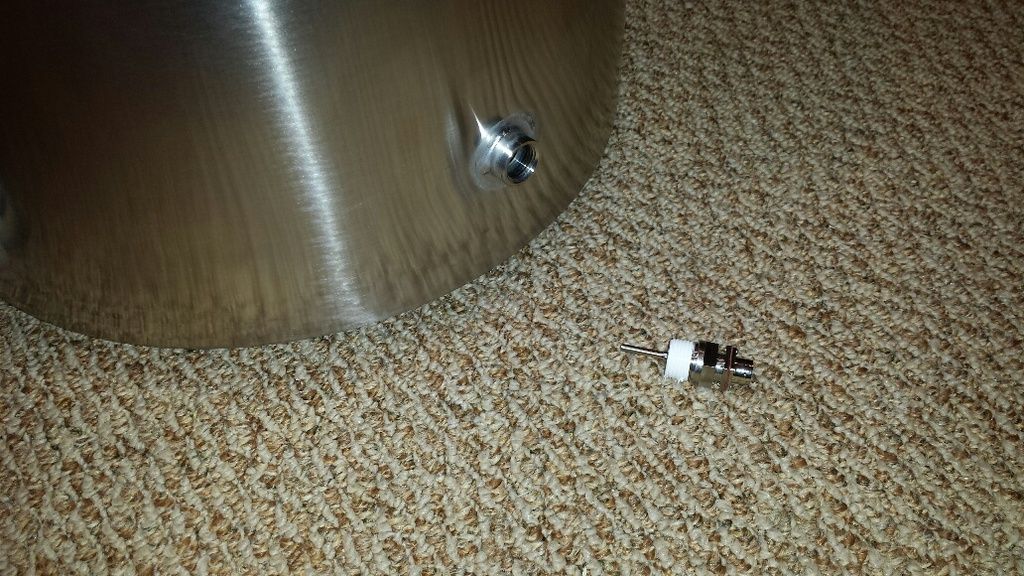
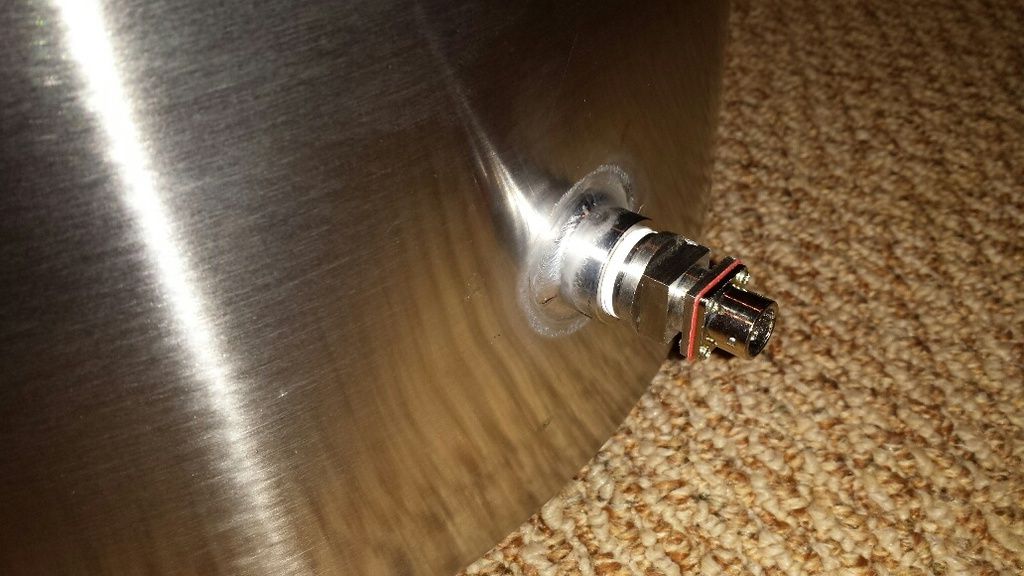
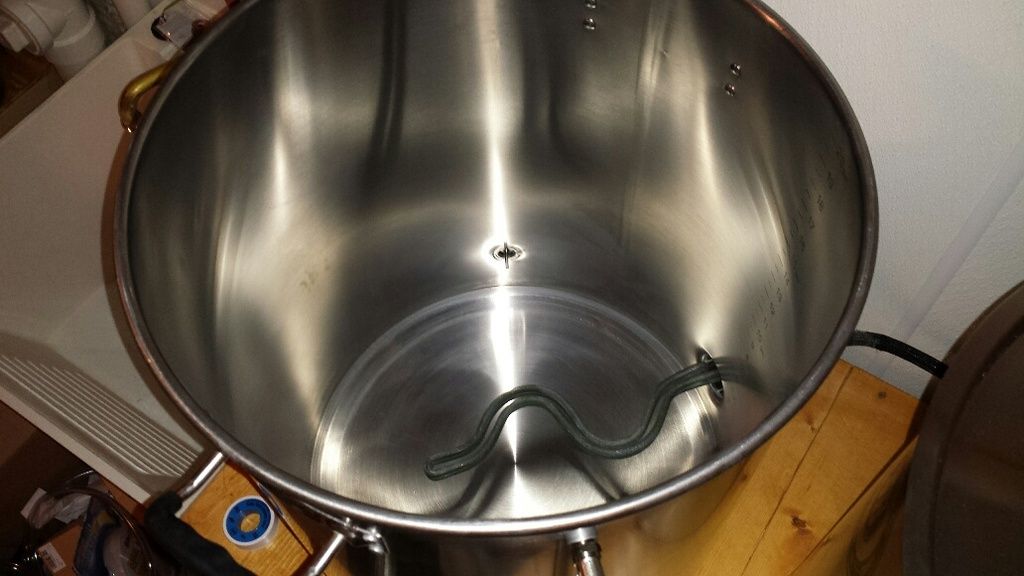
next was the rtd probe:

20160526_184304_resized_zpscszgcjnk.jpg


20160526_184550_resized_zpsq5jl3a5e.jpg


20160526_184558_resized_zpsnhbaf1fu.jpg


heating element inserted:

20160527_064151_resized_zpsgetsrynk.jpg


sitting next to its brothers:

20160526_192312_resized_zpsfrvxecny.jpg


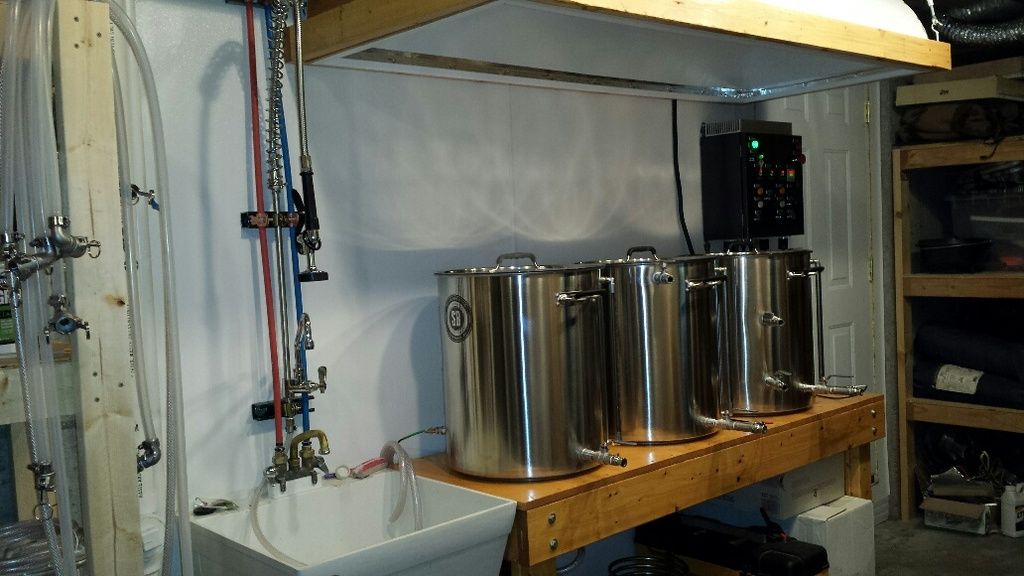
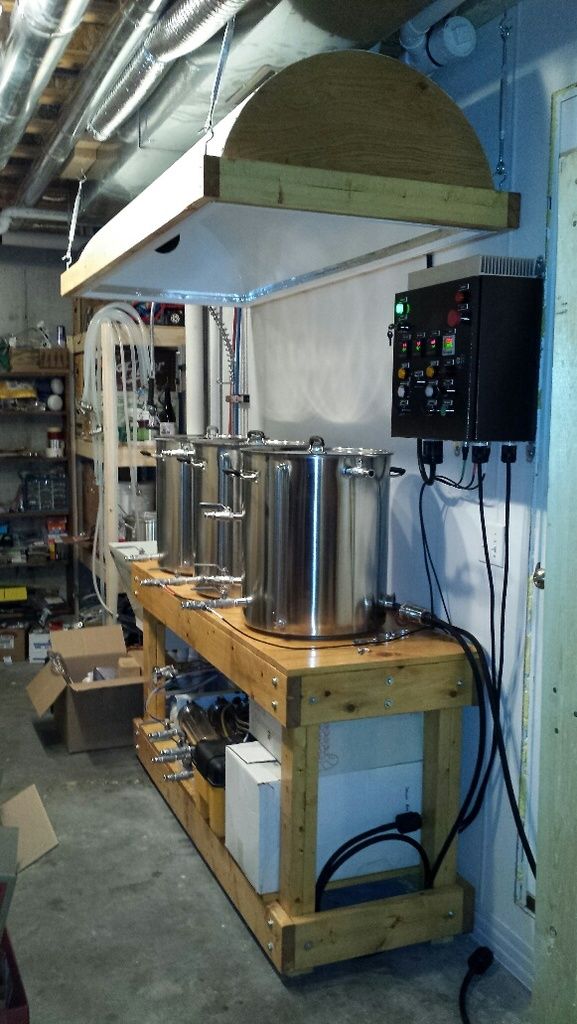
starting to look like a real brewery:

20160526_192337_resized_zps5bdgoi5r.jpg
 
Tap room? What about making some wort? ;-)

Good one BrunDog! I was wondering that myself actually. It's gotta be time to fire up that beautiful creation and make some beer! Hey Brun' we might have to take a road trip up North and enforce the "No more packages until you brew" rule on him!! :D

John
 
and it doesn't get any better on the brew schedule, i have a couple weeks worth of business trips in the middle of june. i'm charting a late june inaugural brew day.
 
5/30/2016

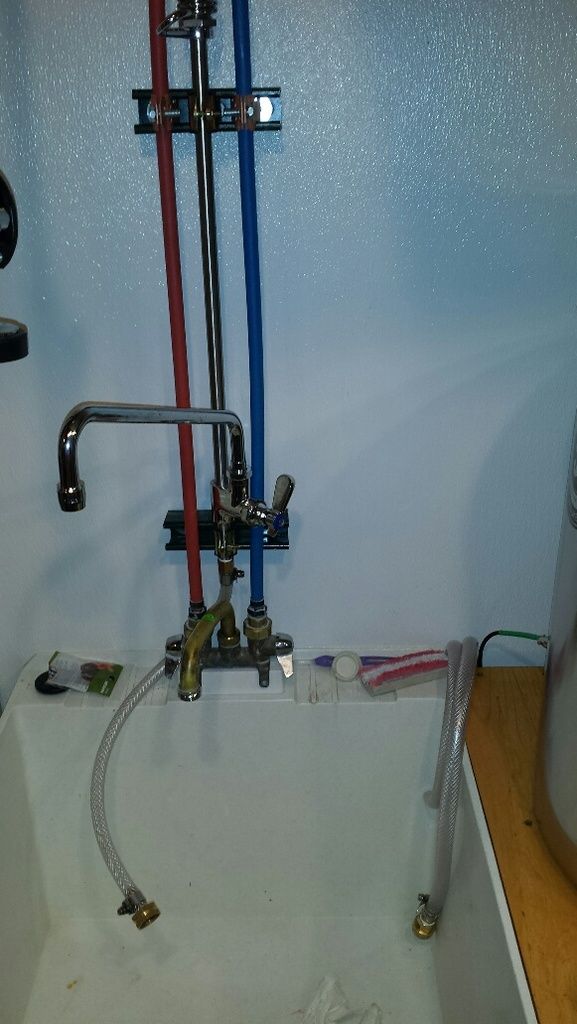
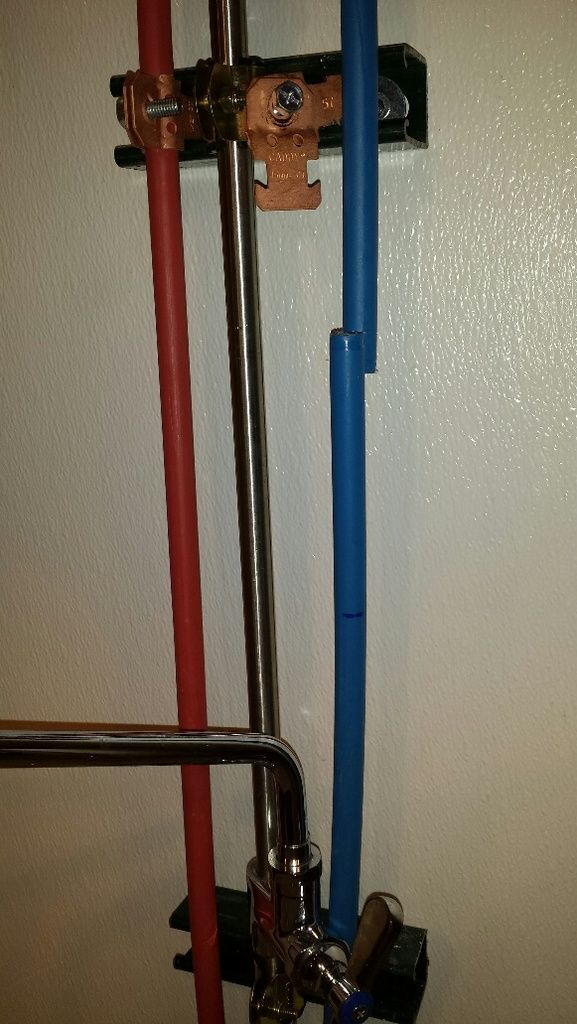
the more i thought about it, the less interested i was becoming at the thought of constantly having to swap out garden hose fittings at the utility sink depending on what i was doing (ro/di system, counterflow chiller, spray arm, etc.) i thought about getting a wonky 4-way garden hose manifold but that seemed unwieldy and something to get in the way in the sink. i opted to hard-plumb the ro/di and counterflow chiller connections. not hard-plumb directly to the devices but rather hard-plumb dedicated garden-hose connections, such that i don't need to swap connections. plan is to 'splice' some tees with valves into the cold water line on the right, between the two support brackets on the wall:

20160530_182614_resized_zpswhbri2jy.jpg


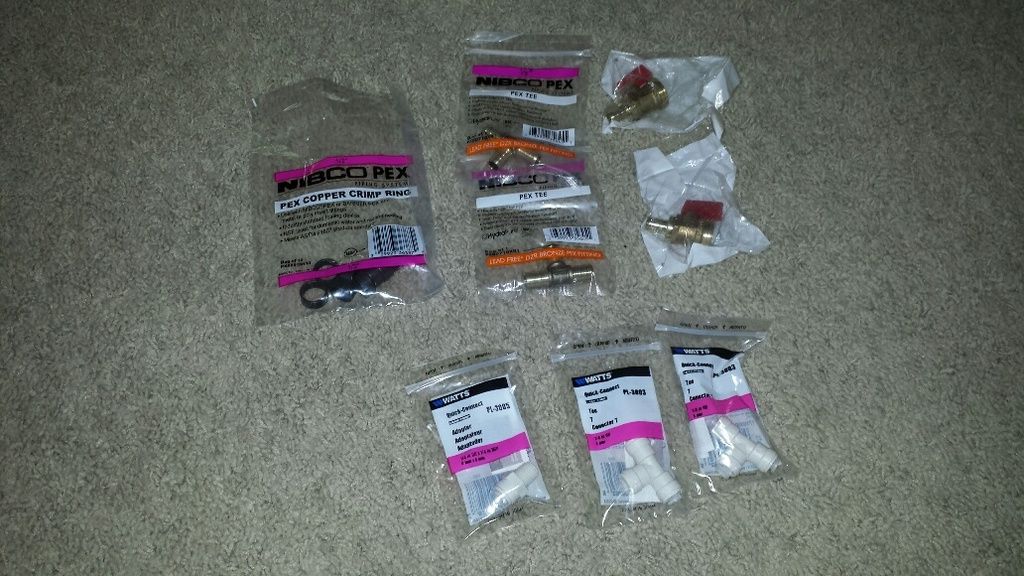
first, a pile of parts:

20160530_183225_resized_zps0kiumwau.jpg


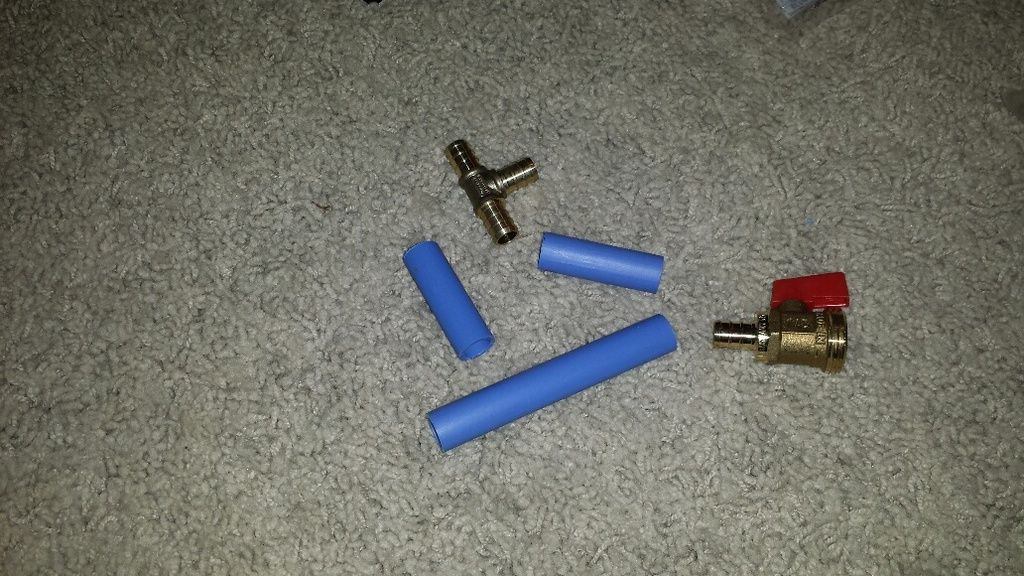
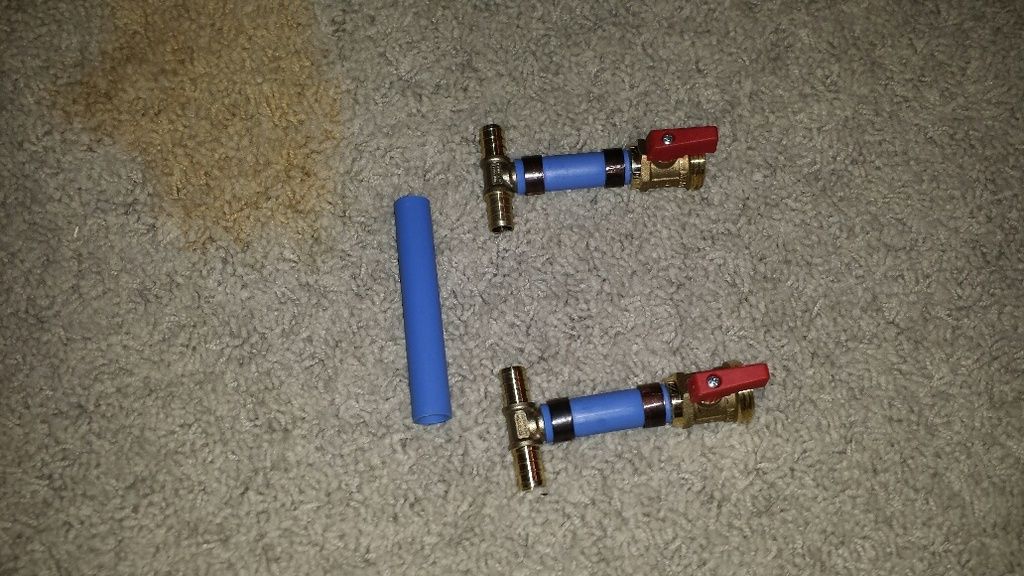
tees, valves and crimp rings for pex piping at the top, push-to-connect fittings at the bottom for the ro/di tubing. to minimize the amount of time i would have to shut the water off to make the connections, i decided to pre-build as much as i could. rather than reuse the pex pipe that will be cut out for the tees, i used a small piece of tubing i had leftover from when i installed the spray arm. pipe cut to length, with adjacent fittings for scale:

20160530_183941_resized_zpsrm7oi4m3.jpg


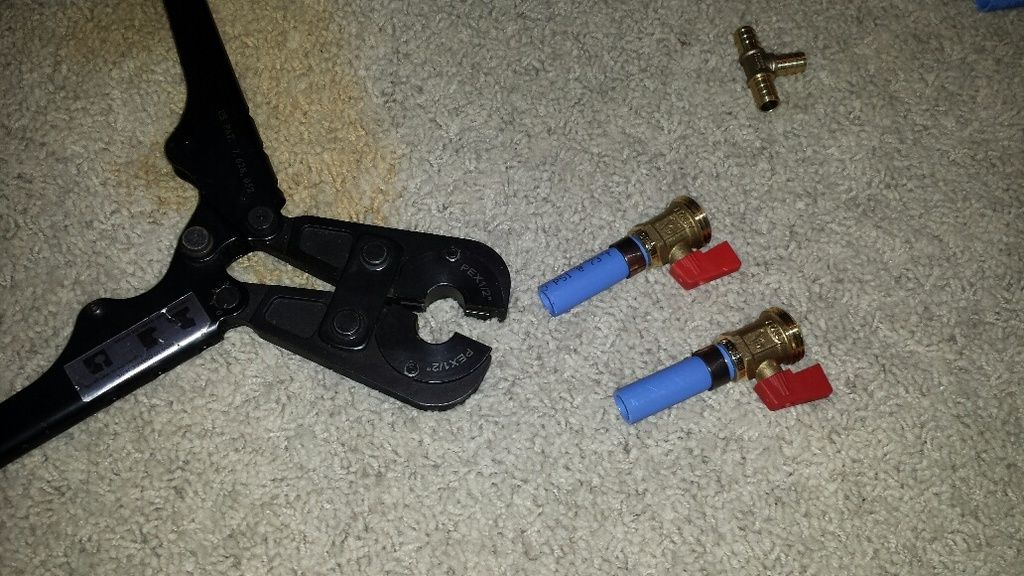
i 'worked backwards' with the crimping, to minimize other piping getting in the way when assembling. valves attached:

20160530_184201_resized_zpspdarccyo.jpg


tees installed:

20160530_184514_resized_zpsfw4n9zus.jpg


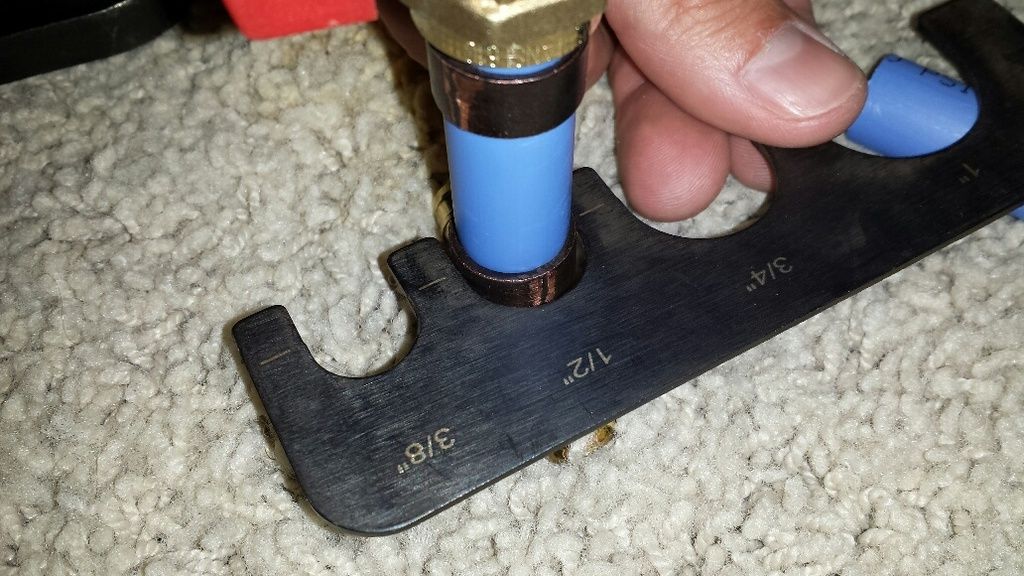
checking for correct crimps with a guage:

20160530_184402_resized_zpsizgrfgsv.jpg


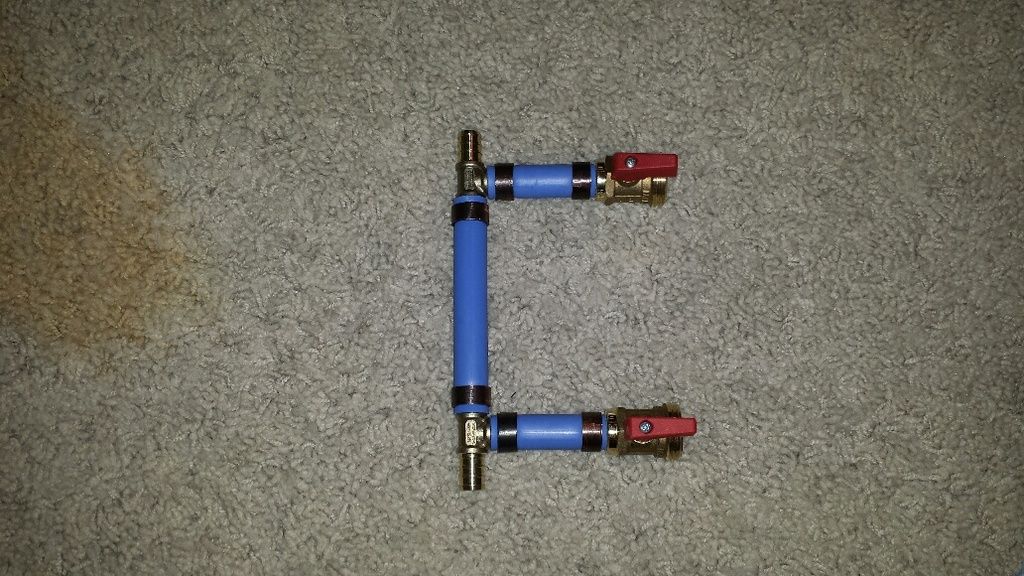
piping assembly complete:

20160530_184912_resized_zpsrswulis2.jpg


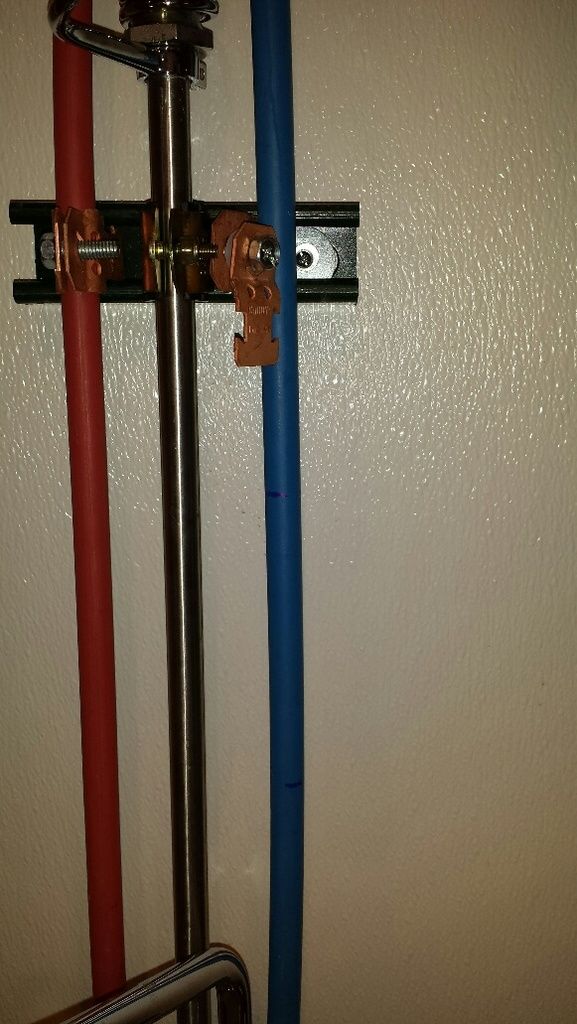
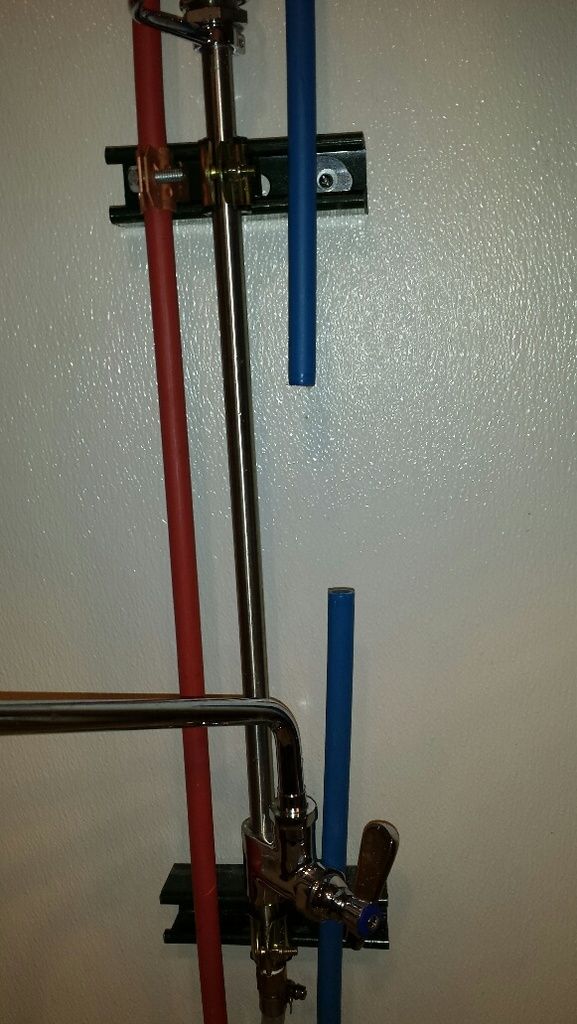
piping marked for cutting. i loosened the bracket above to make the pipe easier to work with:

20160530_185555_resized_zpsk3oirlfo.jpg


water turned off and first cut made:

20160530_200305_resized_zpsqc4xruxy.jpg


no turning back now:

20160530_200521_resized_zpsmpzi6unx.jpg


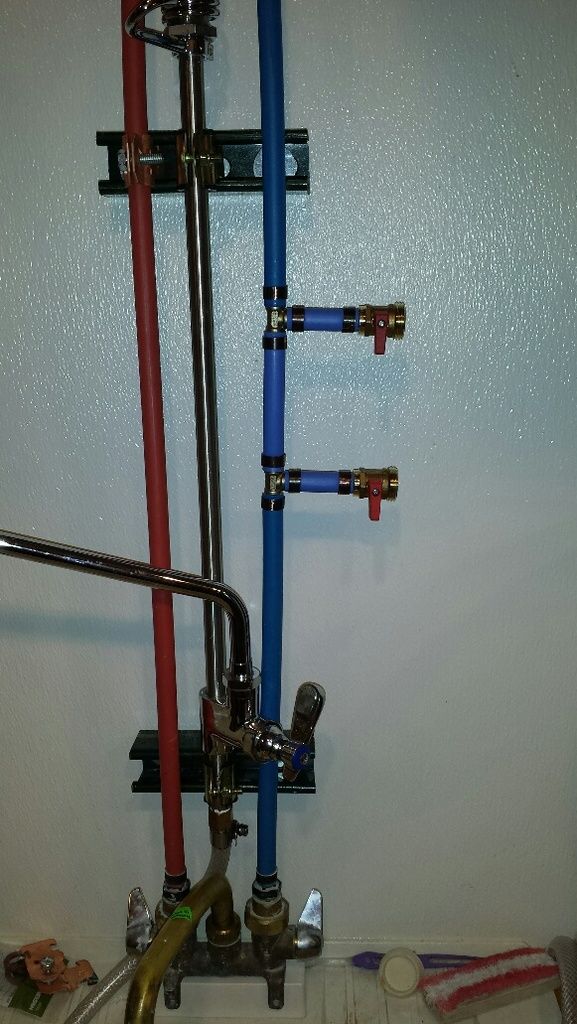
installed! valves turned off BEFORE water is turned back on. no leaks:

20160530_200741_resized_zpswvlaggro.jpg


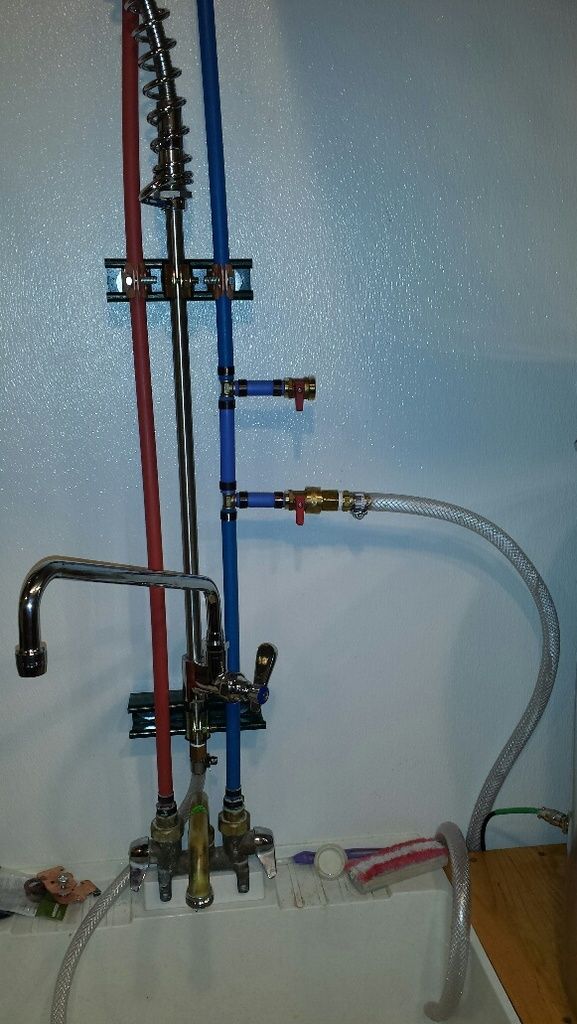
support bracket reattached, counterflow chiller tubing attached. top valve is for the ro/di system:

20160530_202019_resized_zpsdfcmloac.jpg


speaking of which, started tackling the ro/di system a bit. not much, just getting the canisters setup. a filter:

20160530_191050_resized_zpsxzbxvetr.jpg


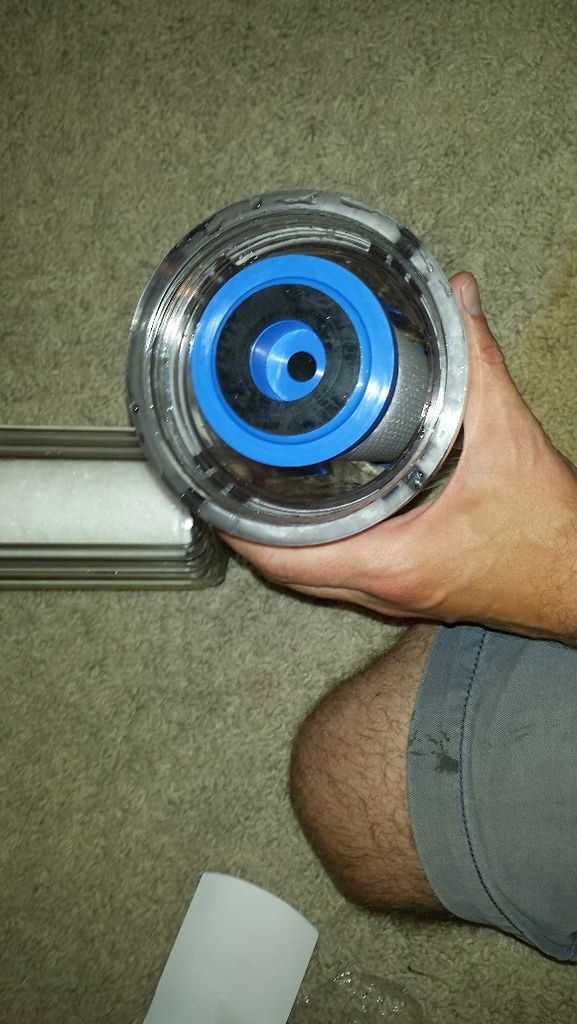
simply set into a canister:

20160530_191058_resized_zpsl94el00z.jpg


and screw into place:

20160530_190248_resized_zpsdj1y23tv.jpg


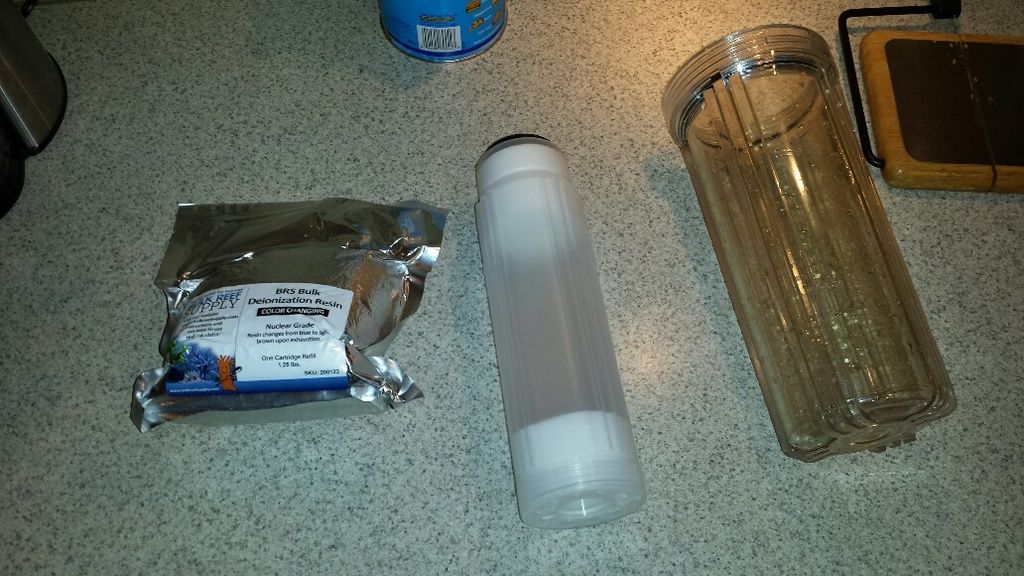
the di resin canister is a bit more work. the resin is inside a vacuum-sealed bag and gets placed into a holding vessel, which in turn gets set into the canister:

20160530_192452_resized_zpssww5leyo.jpg


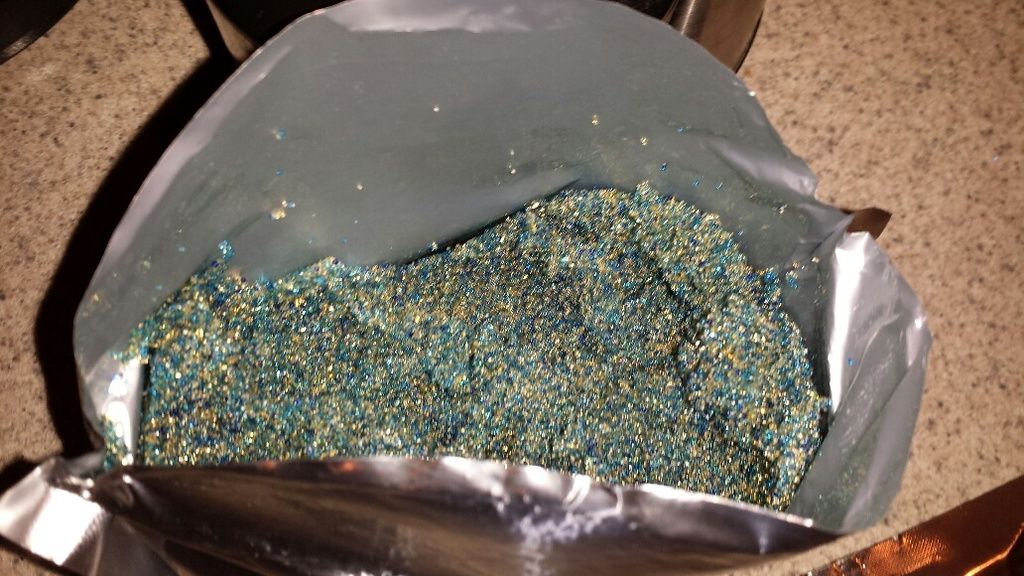
close up of the di material. pretty funky stuff, like fine, wet sand. it is a bluish color and changes brown once it is used up and needs to be replaced:

20160530_192739_resized_zpsfnnmpluj.jpg


no photo but i screwed the di resin canister on and inserted the ro membrane. that was it for today, next is tubing and hanging the setup on the wall. turns out one of the canisters was missing on o-ring so i'll need that before i can run the system:

20160530_190709_resized_zpsc8jnnals.jpg
 
5/31/2016 update

more goodies in the mail:

20160531_202337_resized_zpshrunqdkv.jpg


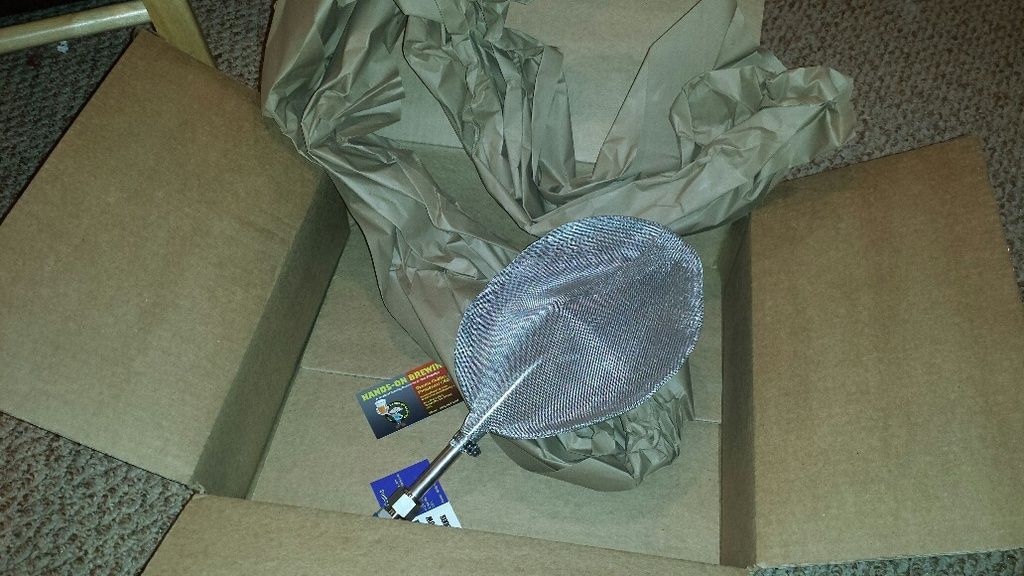
hopstopper:

20160531_202357_resized_zpsj06q7wdy.jpg


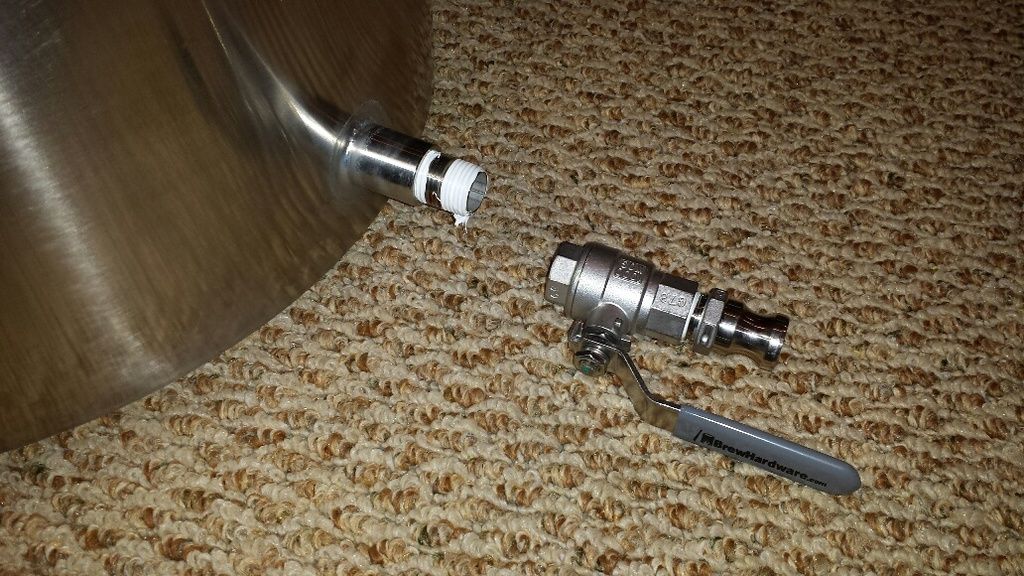
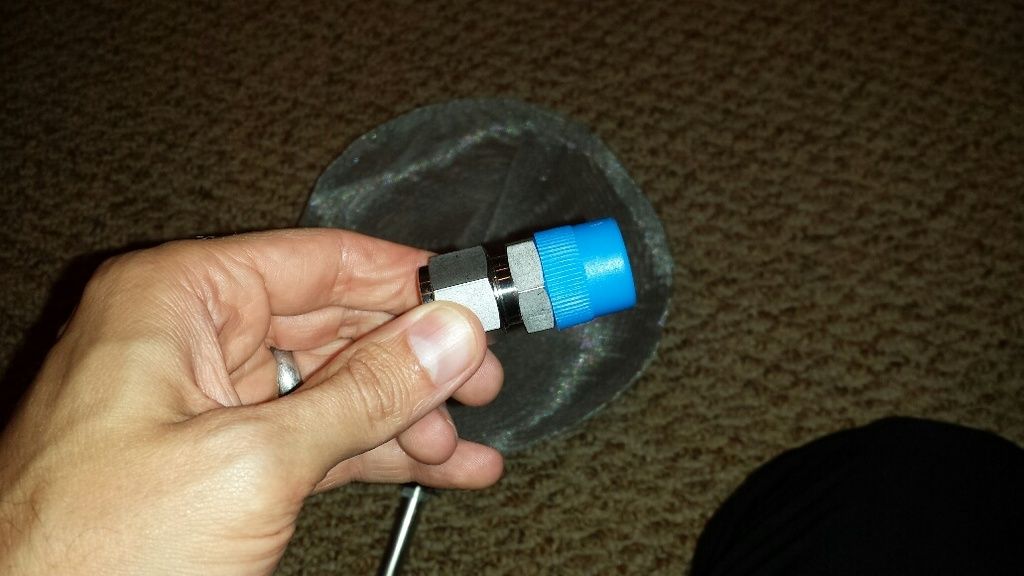
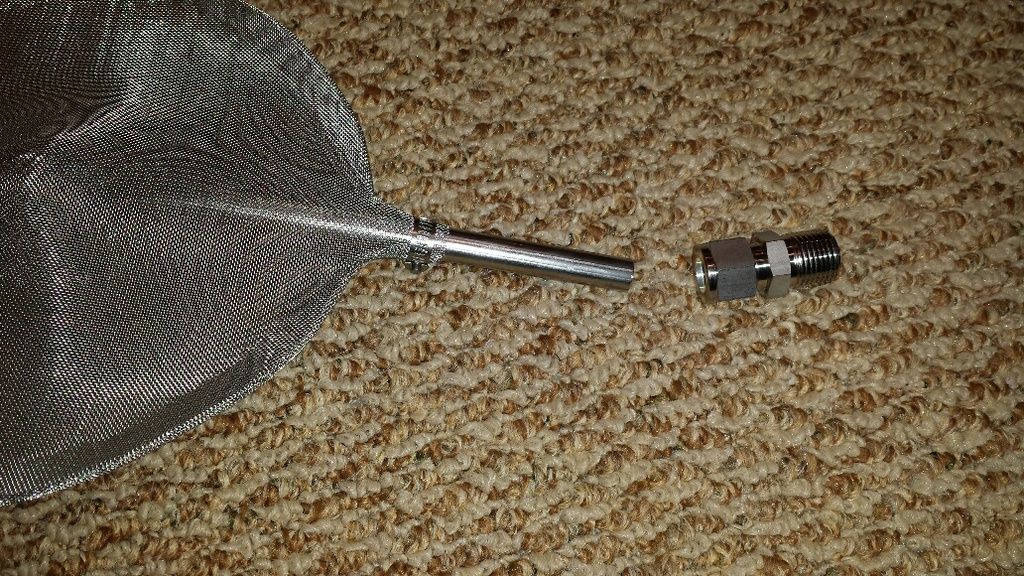
the 'base' hopstopper model is designed to slip into connectors on the blichmann kettles but can be customized. i got mine with a 1/2" male adapter to thread into my outlet port. threading covered with protective cap:

20160531_202423_resized_zpskidam7jm.jpg


closeup of connection:

20160531_202439_resized_zpscm2gkprg.jpg


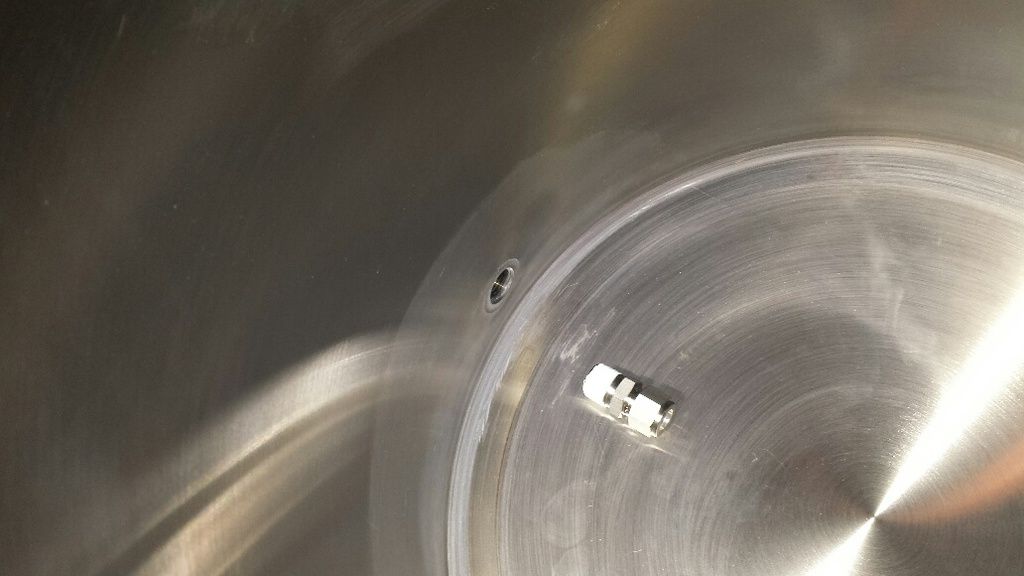
adapter ready to be threaded in:

20160531_204039_resized_zpscforsfcn.jpg


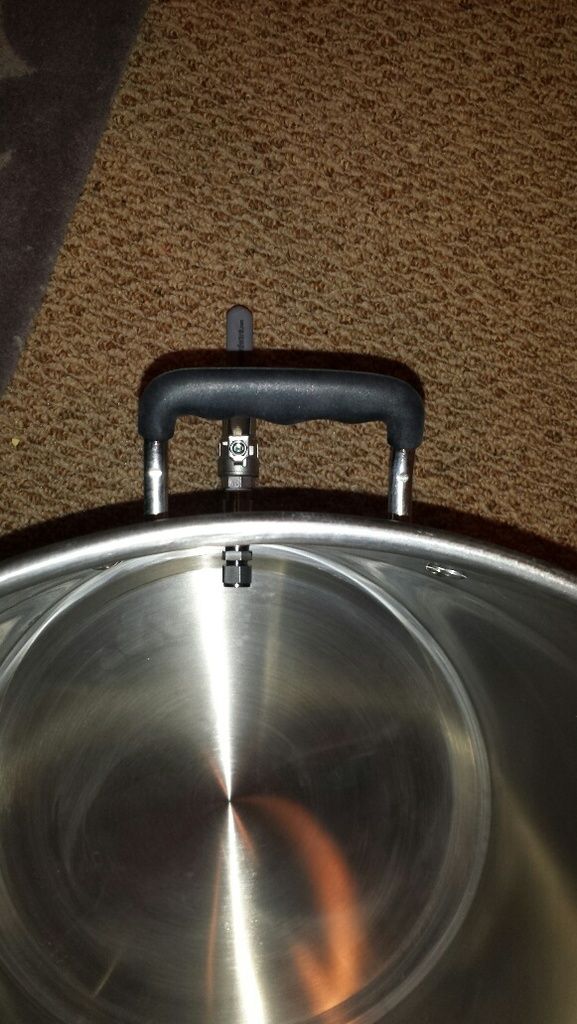
and threaded in. the outlet port is centered with the handle, picture is at an angle:

20160531_204828_resized_zpslwmnfhyy.jpg


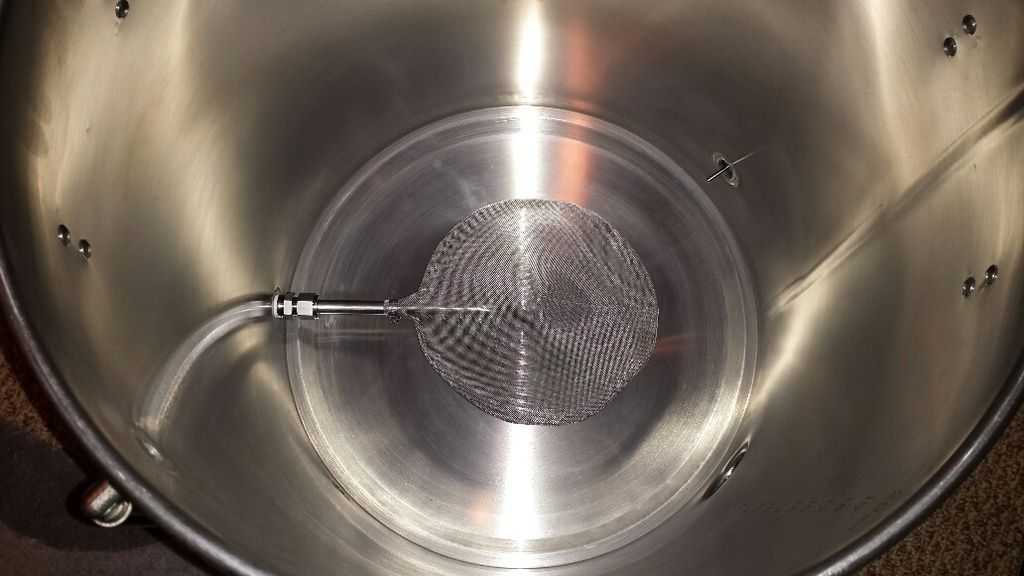
installed in the boil kettle:

20160531_205005_resized_zpsjvrzcwk4.jpg


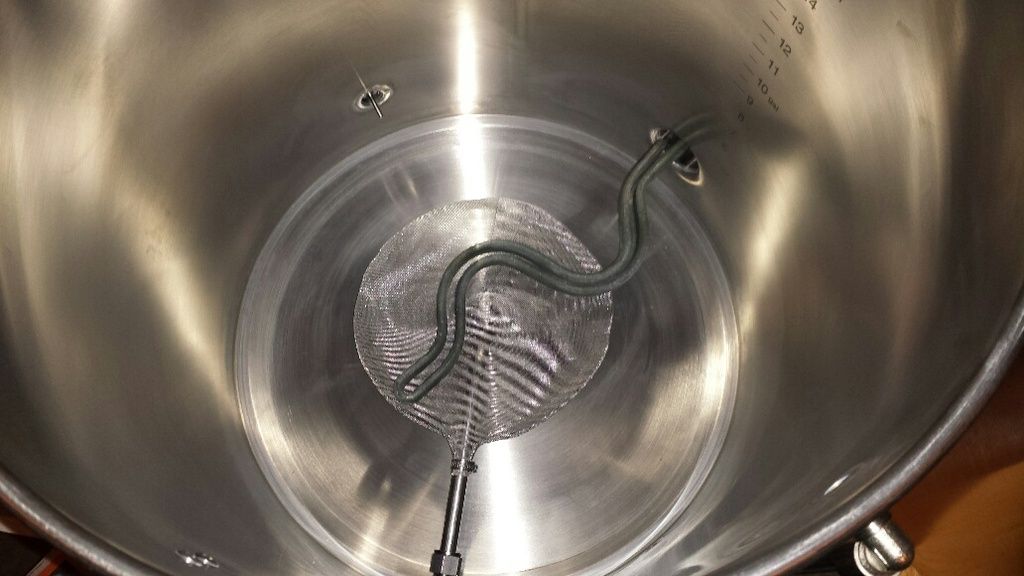
and with the heating element in place:

20160531_205449_resized_zps6ctoqkfr.jpg
 
How do you manage the suspense!?!
gin gimlets:D

what i am attempting to do is get all my stuff setup first so i can just roll into production without having to worry about getting any extra stuff along the way. this means the keezer is fully operational, i have all my cleaning supplies, grain storage containers, etc. i have three or four packages of stuff showing up today and without these business trips coming up, i would be brewing this coming weekend. i could conceivably still do that but being the first go around, i don't want to start fermenting and then walk away for five days without ever even setting eyes on it. after i get a few batches under my belt, i'm sure i'll be more comfortable leaving it alone but i just don't want to do that for batch 001...
 
More packages!!! Me and Brun are so coming up there if you don't start dropping some grains into very warm water!! Just kidding, yea I kinda know what you mean about having everything you need all set and ready. You have gone this far and all. Plus you have to go out of town. We are just rooting for you!

John
 
6/1/2016 update

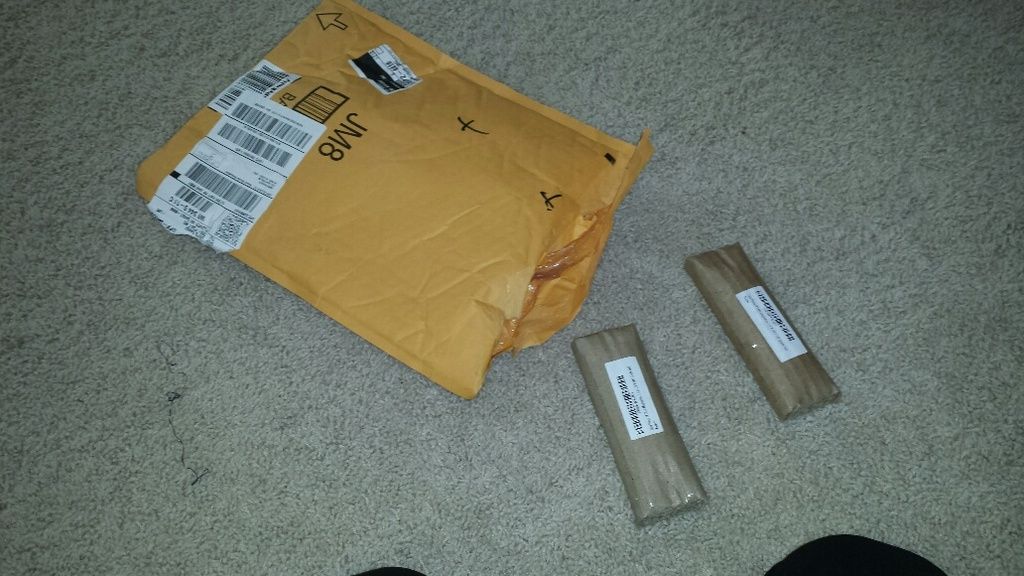
just for jcav and brundog, more packages:

20160601_164643_resized_zpscccgkvjy.jpg


top envelope contained two smaller bundles:

20160601_164725_resized_zps0lm3pfr8.jpg


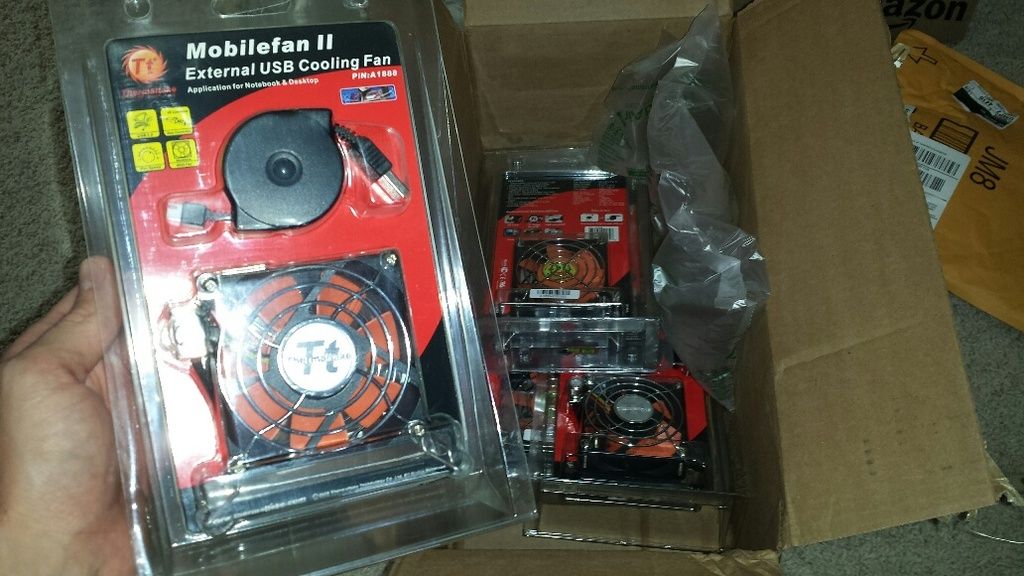
not sure why i didn't take a photo but those are two 3" bar magnets for my upcoming stir plate build. unbelievable how strong they are, i can barely pull them apart! next box, a bunch of usb fans for my stir plate, keezer and fermentation chamber:

20160601_164828_resized_zpsemf6uogv.jpg


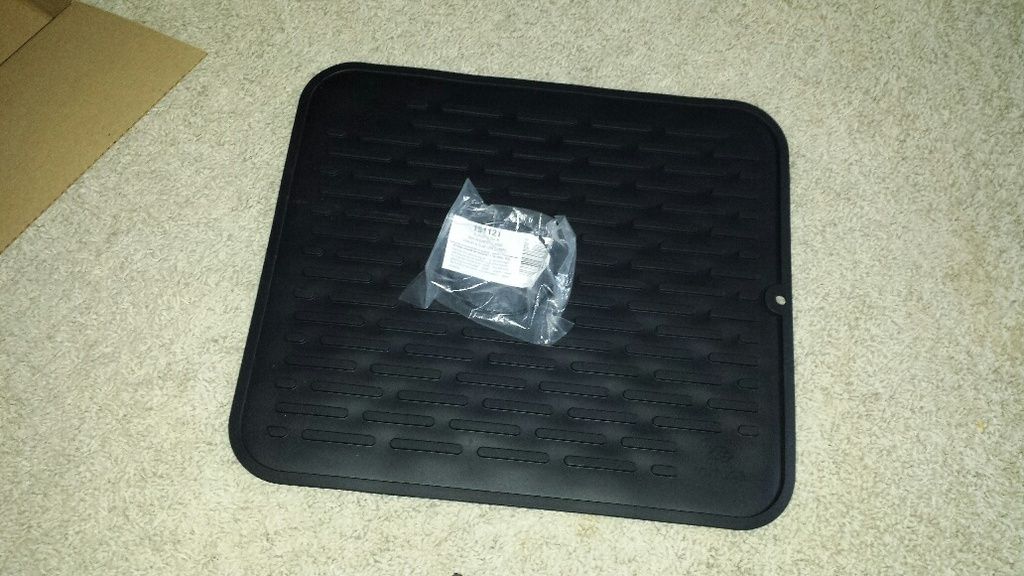
bottom box, a silicone mat to put under the boil kettle and a replacement o-ring for one of the ro/di water system canisters:

20160601_165241_resized_zpsun5hccun.jpg


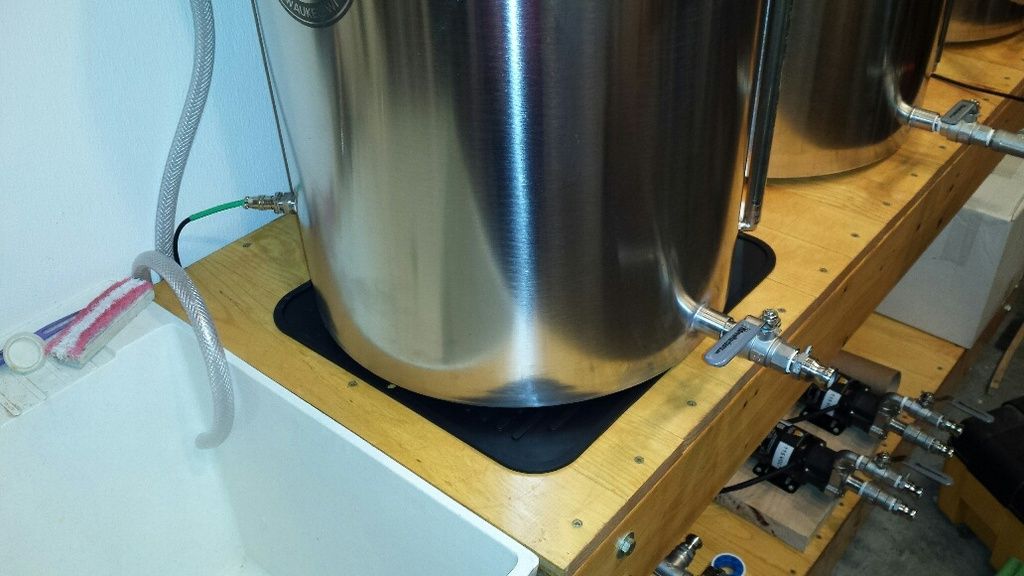
mat installed under the boil kettle. this is to reduce the chances of messing up the brew stand surface with a boiling-hot pot:

20160601_183817_resized_zpsjctc239f.jpg


i tried to put the o-ring in the ro/di canister but that mofo wouldn't fit, just a hair too small. i had gotten a custonm o-ring made up at the hardware store on tuesday but it always looked a little flimsy and i thought i had found an online replacement for cheap. no dice, too small. so i tried the one from the hardware store and hooked up minimum tubing to test the whole thing out. of course, leaks everywhere. that hardware store gasket isn't thick enough, i have a leak on the ro canister and leaks at a couple fittings. other than that, it seems to function fine. water percolating down through the di resin:

20160601_185848_resized_zpszgkd3ake.jpg


and up through the canister and out the fitting:

20160601_190115_resized_zpsfo7rpypa.jpg
 
Nice. Can you post a link to the silicone mat?

http://www.amazon.com/Premium-Black-Silicone-Dish-Mat/dp/B00Y0OTQHA

i was having a heck of a time finding a silicone mat large enough to fit under my pot. they make round cork ones that are big enough but i had concerns about cork getting wet and swelling, splitting, etc. largest round silicone mats i was finding were 10". that probably would have worked but then i stumbled across this large square one.
 
Last edited by a moderator:
Really nice job so far. I was just wondering if you were planning to leave the bare wood inside the keezer? I left a "temporary" piece of raw plywood in the bottom of my kegerator that turned black before long. Of course on the bottom it did see some moisture. The piece I spray painted hold the taps still looks like the day I put it in. Hope your brewing soon!
 
Really nice job so far. I was just wondering if you were planning to leave the bare wood inside the keezer? I left a "temporary" piece of raw plywood in the bottom of my kegerator that turned black before long. Of course on the bottom it did see some moisture. The piece I spray painted hold the taps still looks like the day I put it in. Hope your brewing soon!

no plans to do anything with it. the exposed wood is oak and on the collar. lots of folks don't even insulate the collar so i figure i'll be okay. worst case, i can throw some poly on it or something like that. plus, i will have air movement and an eva dry unit in there.
 
http://www.amazon.com/dp/B00Y0OTQHA/?tag=skimlinks_replacement-20


i was having a heck of a time finding a silicone mat large enough to fit under my pot. they make round cork ones that are big enough but i had concerns about cork getting wet and swelling, splitting, etc. largest round silicone mats i was finding were 10". that probably would have worked but then i stumbled across this large square one.


Thanks dude. I have had, and still do, the same problem - a silicone mat big enough to fit under the pot. Mine are 17.5" diameter, so this wouldn't work as the width side is under 16". I will keep looking!
 
Last edited by a moderator:
Thanks dude. I have had, and still do, the same problem - a silicone mat big enough to fit under the pot. Mine are 17.5" diameter, so this wouldn't work as the width side is under 16". I will keep looking!

what type of kettles do you have? mine are 17.7" wide but have a stepped bottom so the diameter that would touch the table is a little over 16". there is some very slight overhang but good enough for me.
 
6/3/2016 update

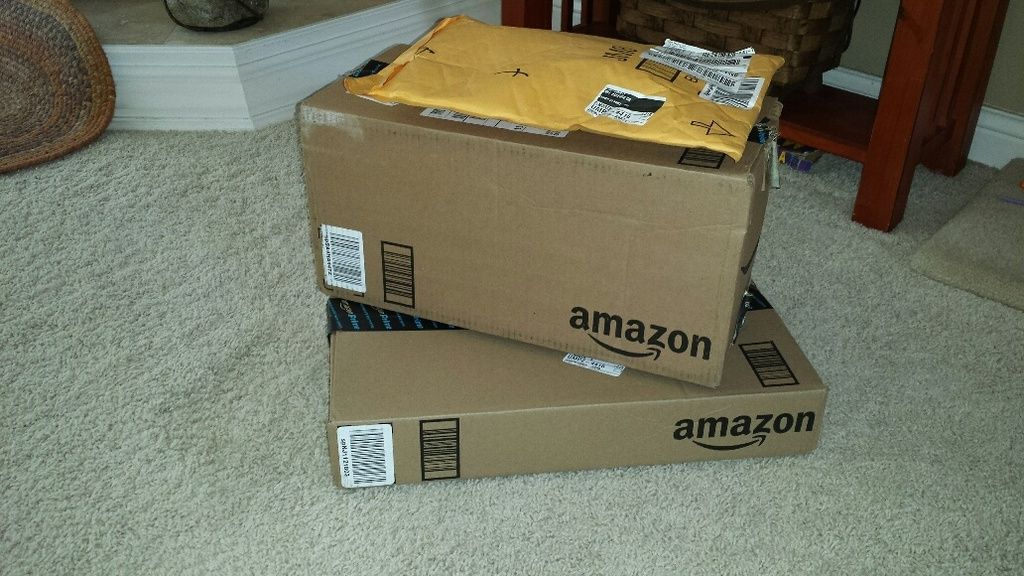
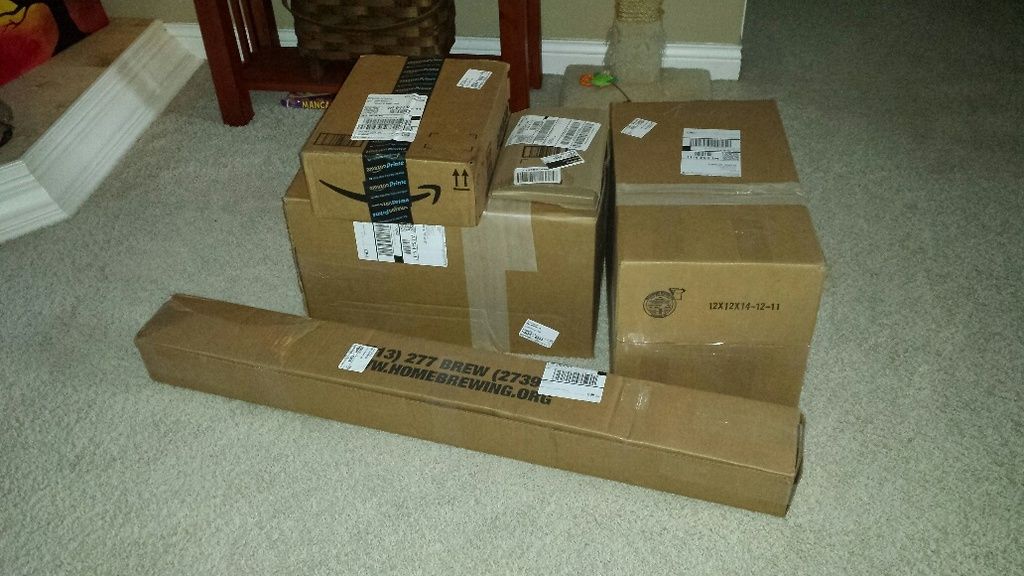
more packages!

20160603_174410_resized_zpsra3uabnf.jpg


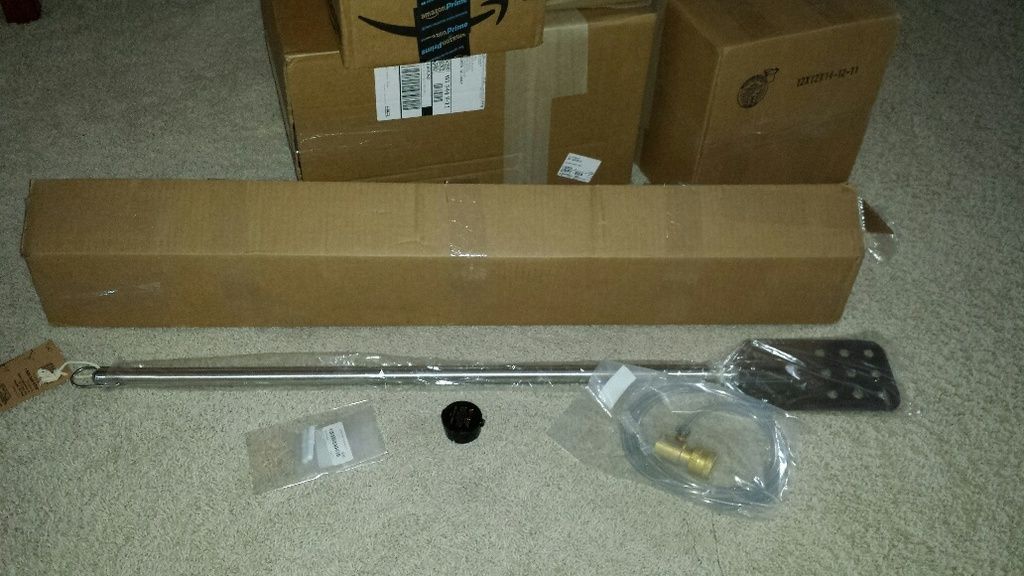
mash stir paddle, keg lube, oxygenator kit and starter stir bars from adventures in homebrewing:

20160603_174533_resized_zpsvu4xvsjn.jpg


another big package from aih:

20160603_175629_resized_zpst8srkryq.jpg


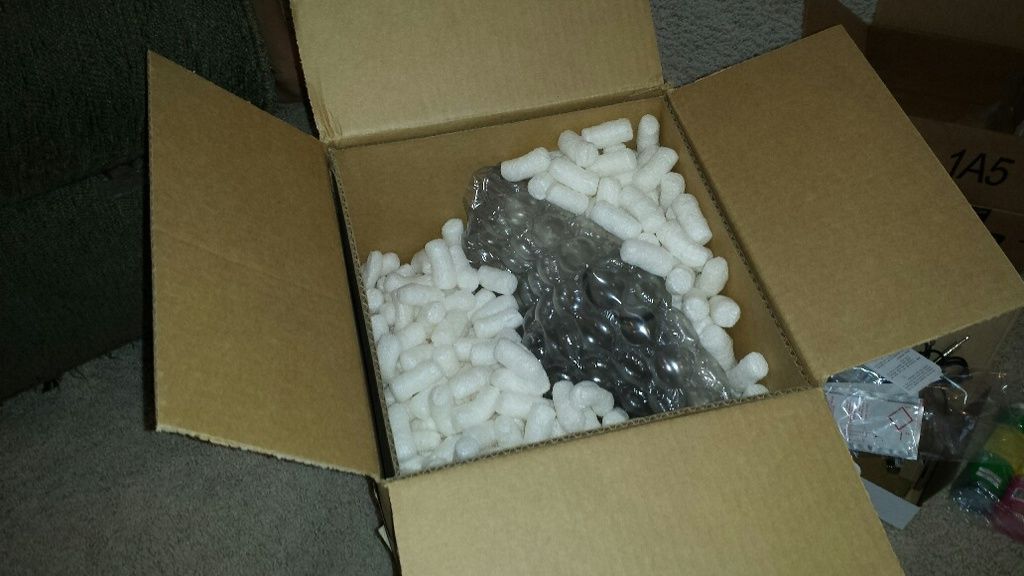
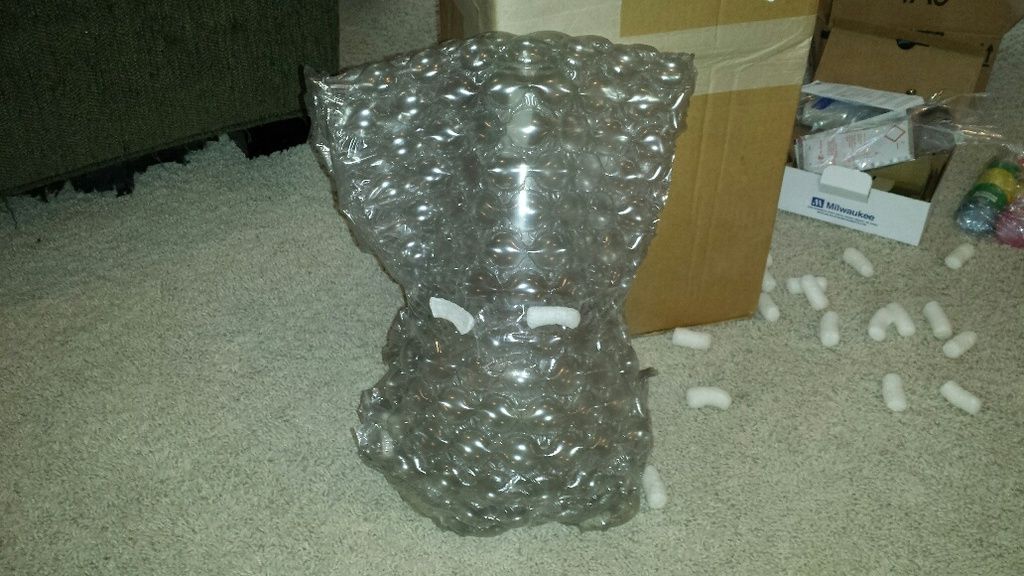
well protected:

20160603_175653_resized_zpsrjgyql7s.jpg


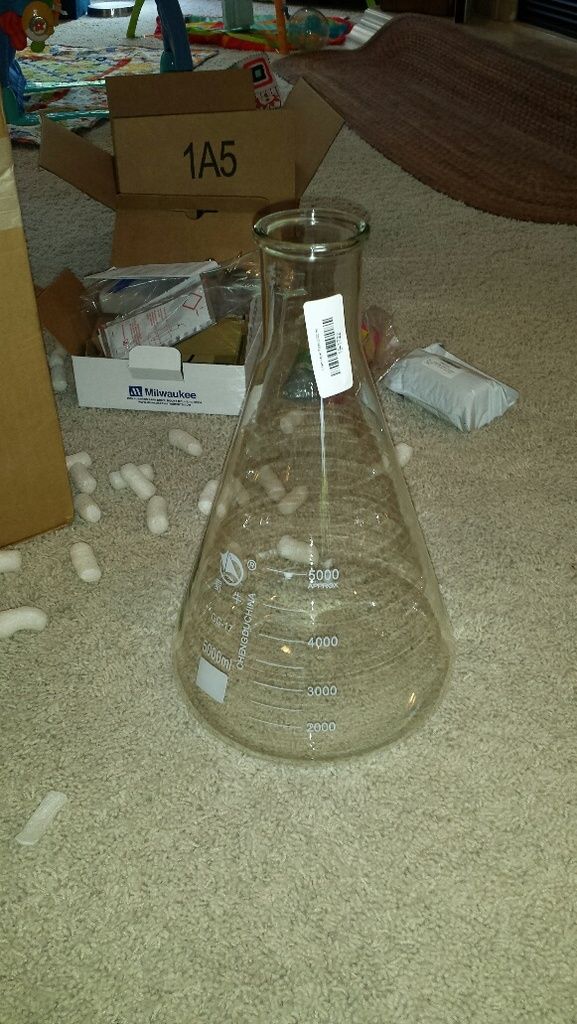
5 liter flask for starters:

20160603_175731_resized_zpsbfkqgur3.jpg


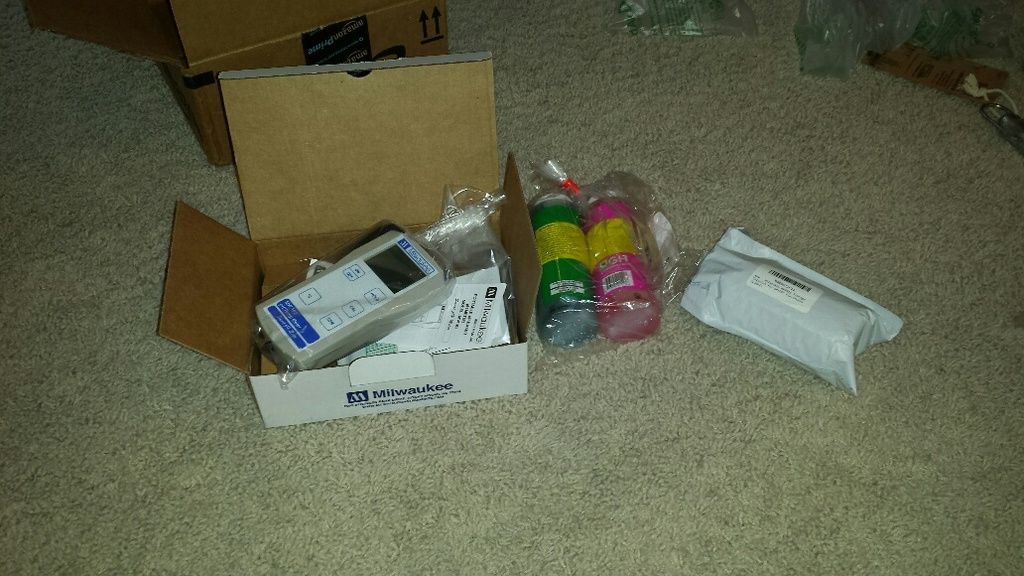
ph meter, calibration and storage solutions from amazon:

20160603_175521_resized_zpsrqqkovlc.jpg


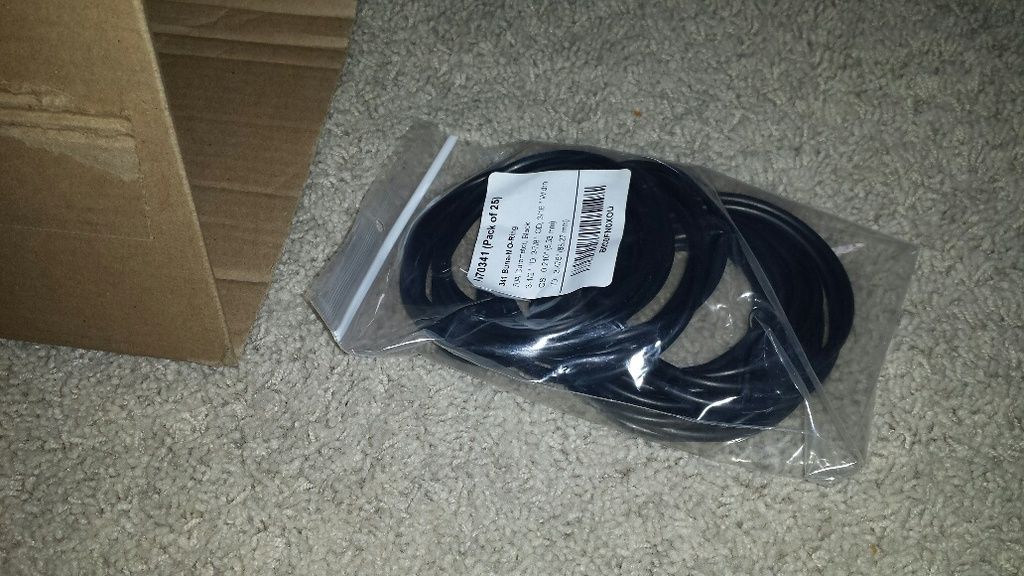
o-rings for the ro/di canisters:

20160603_174607_resized_zpsxs12fxk4.jpg


the o-ring i got a few days ago didn't fit. i was going bananas trying to find some info online about what size i needed. then i stumbled across a website that had industry-standard o-ring templates that could be printed out to scale. found the 341 o-ring to be the closest. it was a little larger than the one that came with the canister but the way the threads set, it should be okay. only problem was they had to be ordered in massive quantities (couldn't get just one). smallest quantity i could find was 25 so i got way more than i will likely ever need. it was only $7 for all of those shipped to my door so no biggie. tried it out that night and works like a charm.
 
6/4/2016 update

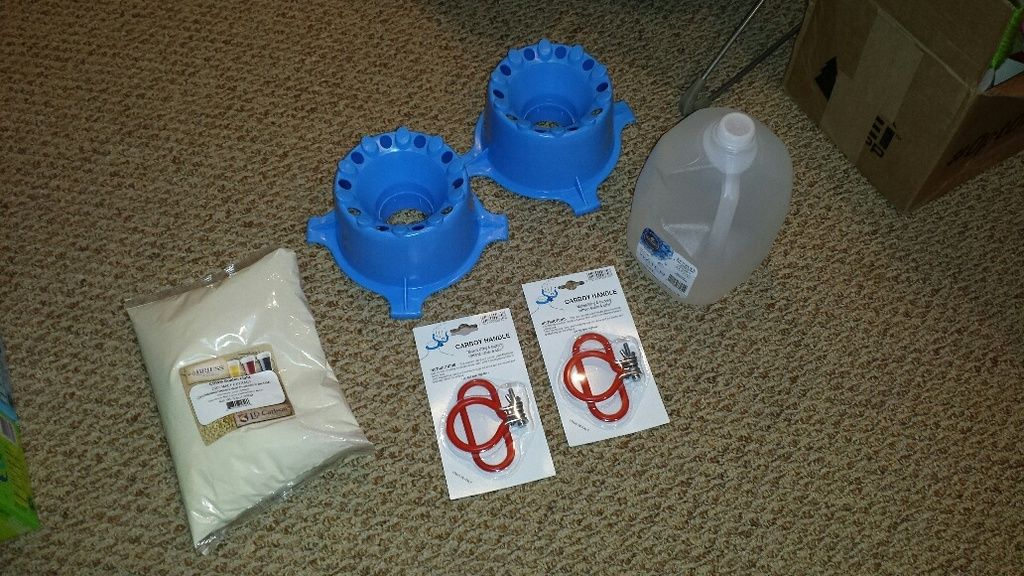
just getting random stuff now. stopped by the lhbs to pick up some more supplies. grabbed some light dme for starters, carboy handles and carboy drying racks. also grabbed some distilled water from the grocery store for rinsing the ph meter probe::

20160604_101324_resized_zpsvn8frf5s.jpg


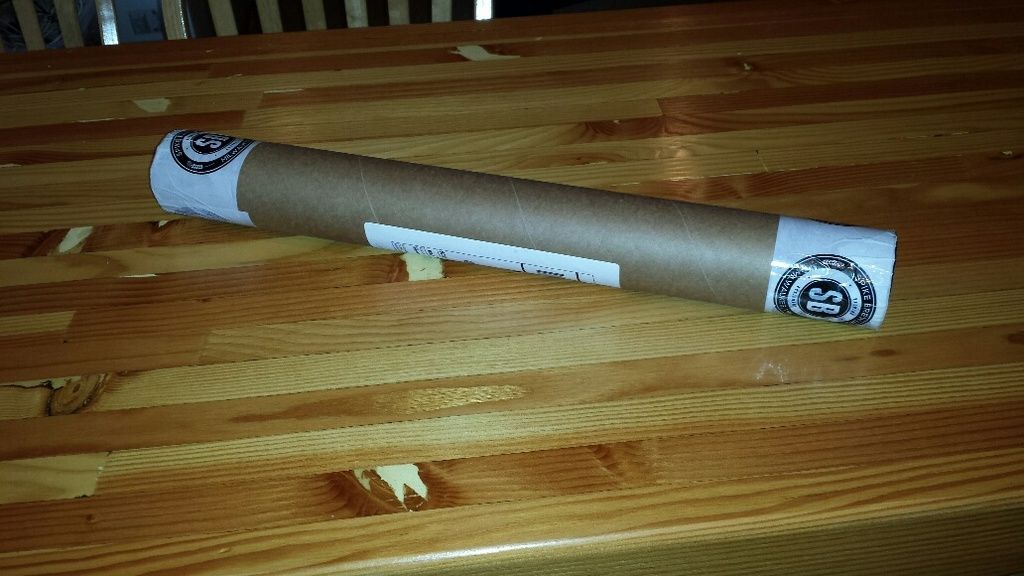
also got my replacement sight glass tubes from spike. for some reason, i didn't take a photo of the tubes themselves, just the shipping container! anyway, the etching is much darker than the previous versions and easy to read. spike offered these up free of charge so good customer service there:

20160604_160707_resized_zpswiel7nng.jpg
 
6/5/2016 update

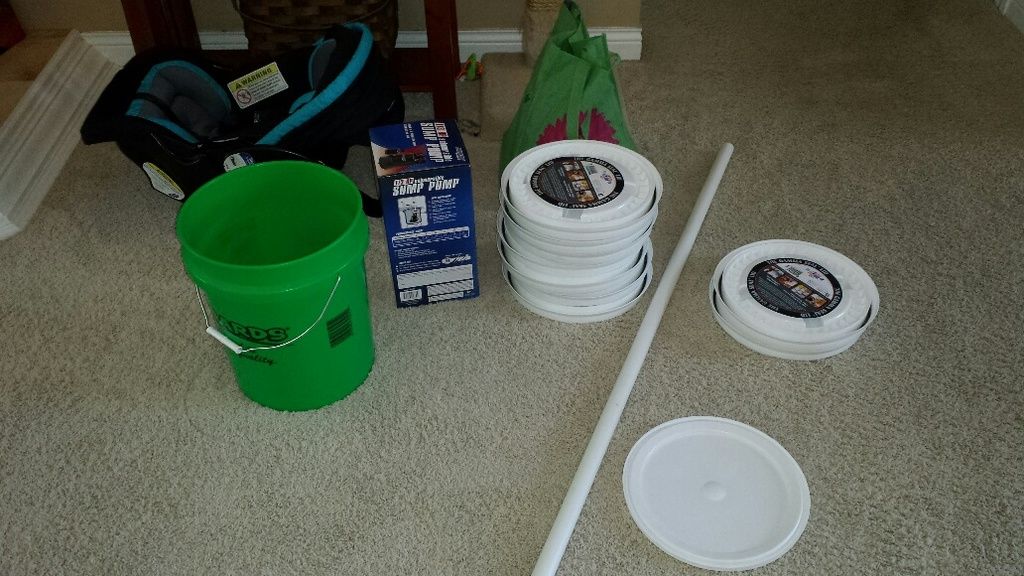
after a several week wait, menards finally had one of their 11% off sales. ran there in the morning to grab the parts for my keg/carboy cleaner build. starting with parts:

20160605_104417_resized_zpse9urmzxb.jpg


turns out menards also sells gama lids so i grabbed some of those and some food-grade buckets for grain storage. start with the pump:

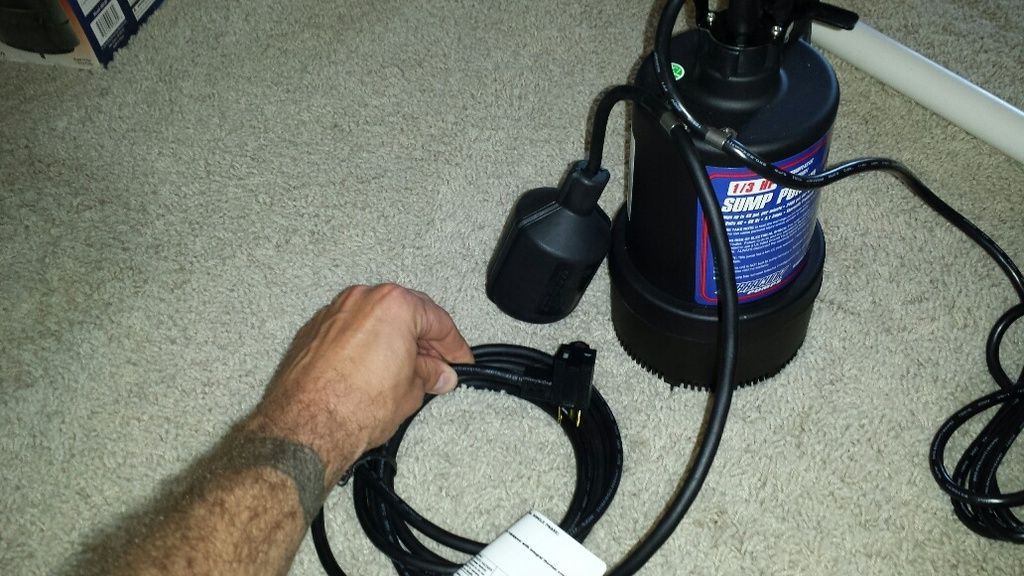
20160605_104731_resized_zps4lltjcng.jpg


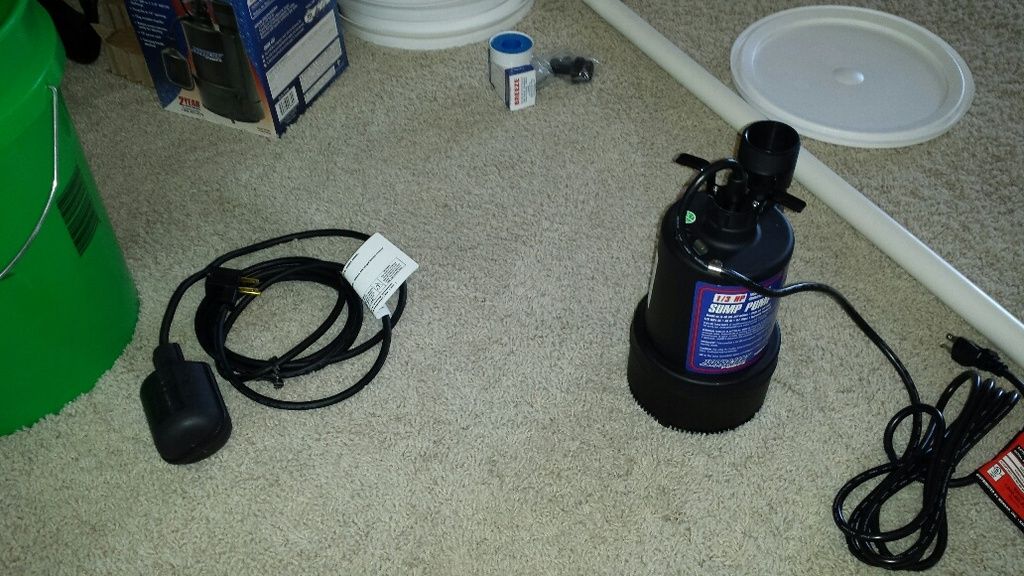
the pump includes a float switch with receptacle on the end for plugging in the pump itself. switch floats to the top of the sump, closes the internal switch and starts the pump. but the pump can also be plugged directly into a wall receptacle or extension cord (always on function). i don't need the float so i took it off (s simply clamp which held the float cord to the pump housing:

20160605_104909_resized_zpsrpiqrfte.jpg


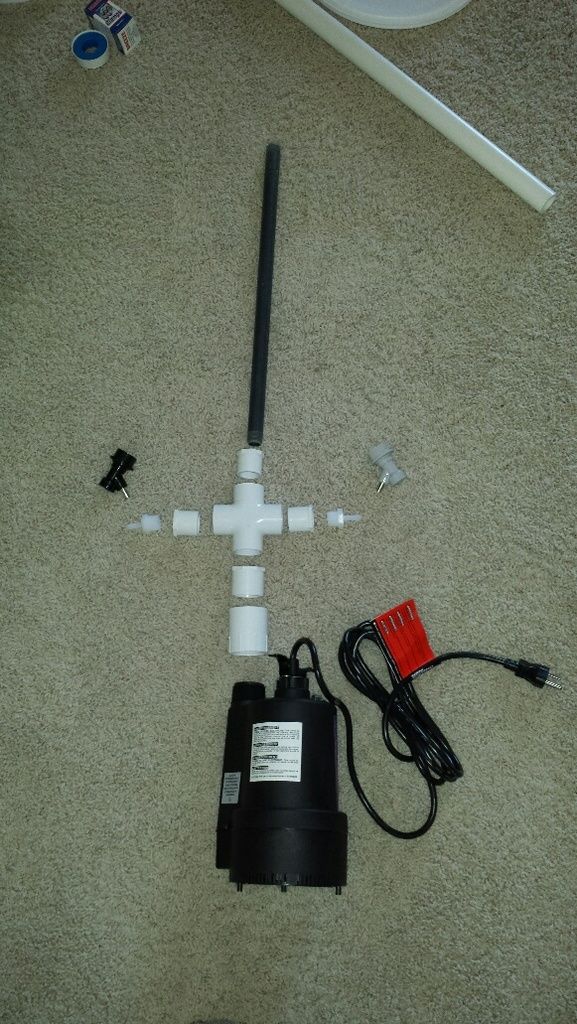
rough idea of what the assembled components will look like:

20160605_105215_resized_zpswjvvddwh.jpg


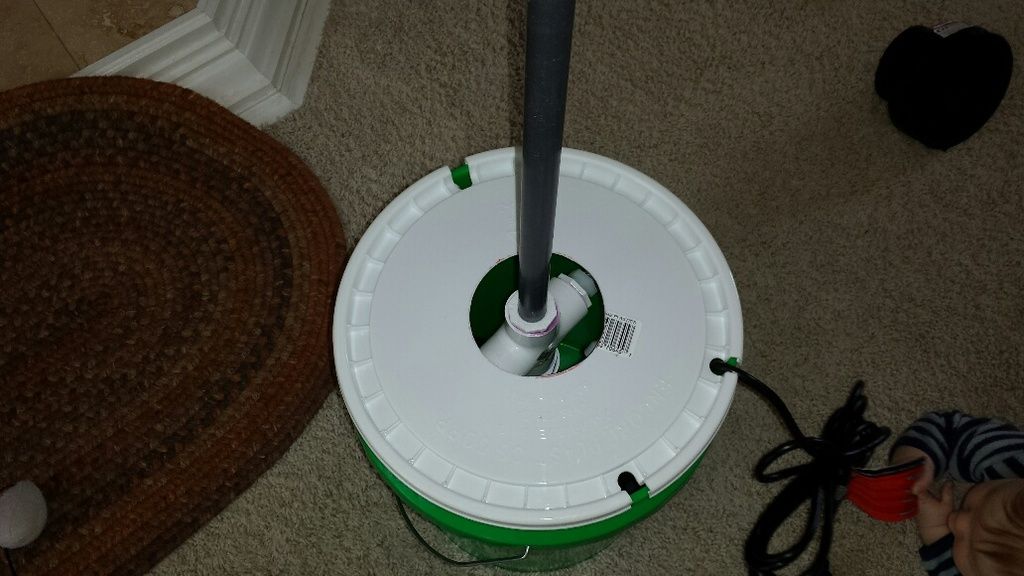
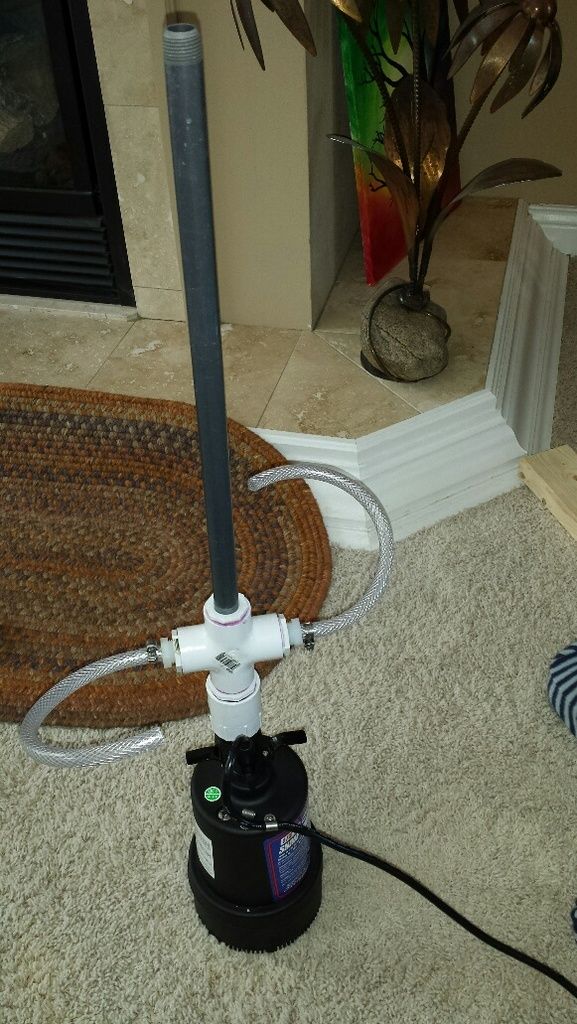
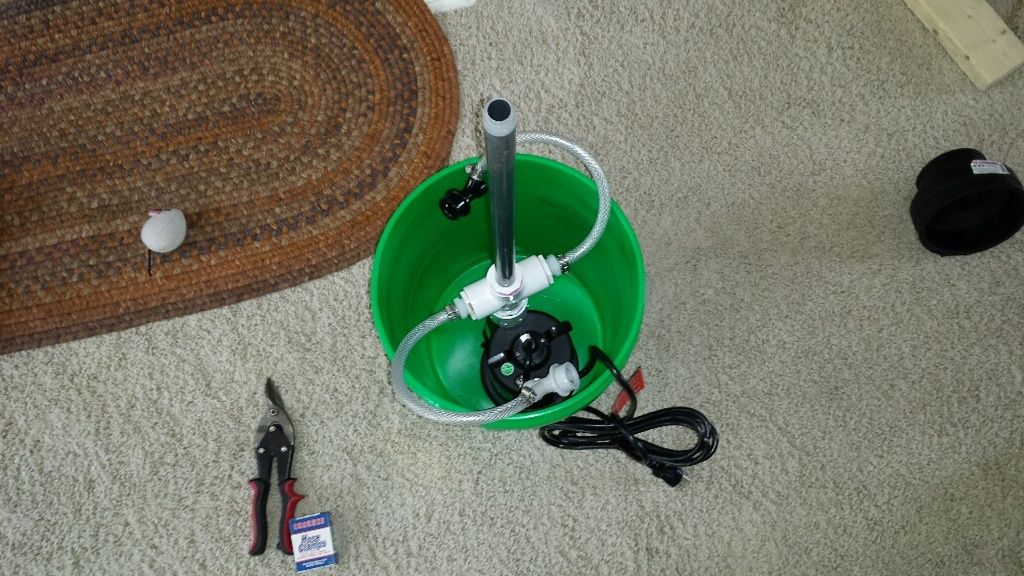
pump discharge goes into a cross-fitting. the left and right branches are for keg disconnects, to clean posts and dip tubes while the main cavity is being cleaned (there will be hose between the barb fitting on the tee and the disconnect). the 'top' of the tee discharges out the top of a pip into the carboy/keg. the whole assembly (aside from the gray pipe) will be inside the bucket.

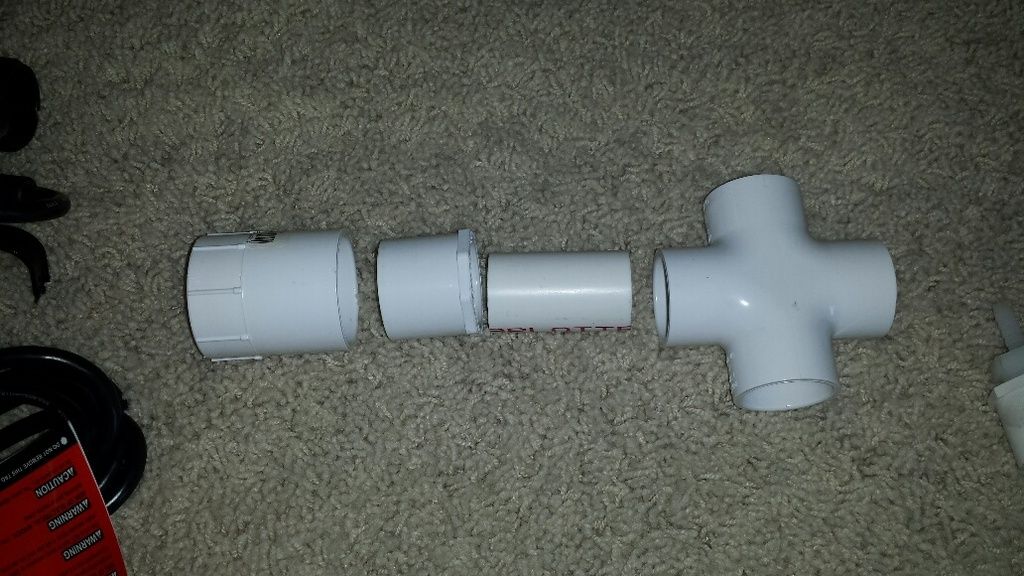
20160605_110029_resized_zpso16abmlt.jpg


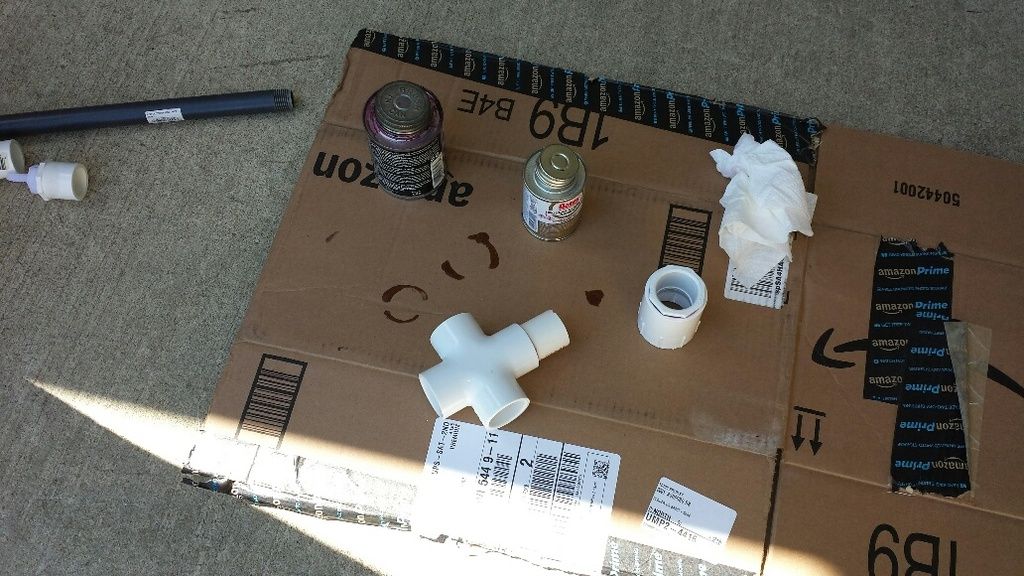
discharge of the pump is 1-1/4" male threaded discharge. so left-to-right in the above photo is a 1-1/4" female adapter, 1-1/4" to 1" reducing bushing, short length of 1" piping and 1" cross-fitting. gluing parts and pieces outside, with some cardboard to catch any primer/glue drips:

20160605_110628_resized_zpsuazlay9t.jpg


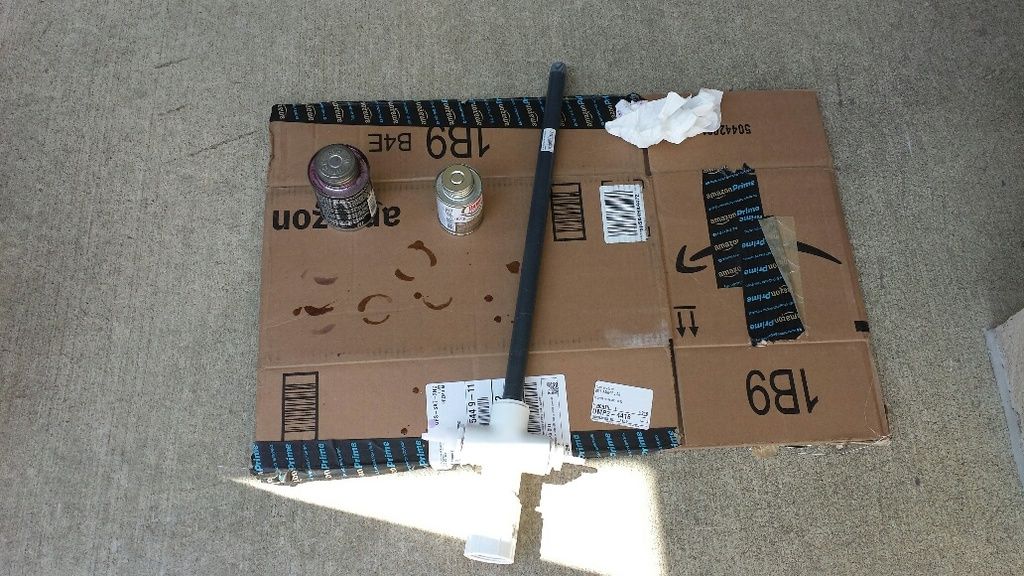
and all glued up. the side connections are 1" glued to 1/2" female threaded adapters. then there are 1/2" male to 1/4" barb nylon fittings threaded in. the top discharge is another 1" glued to 1/2" female threaded adapter with an 18" long, 1/2" pvc-80 nipple:

20160605_111248_resized_zpsot00dsuv.jpg


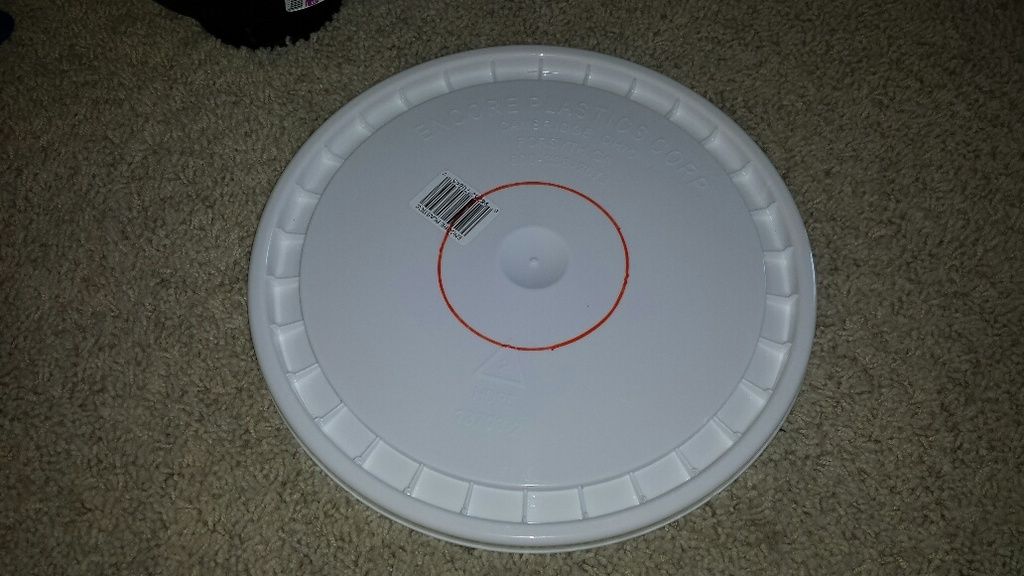
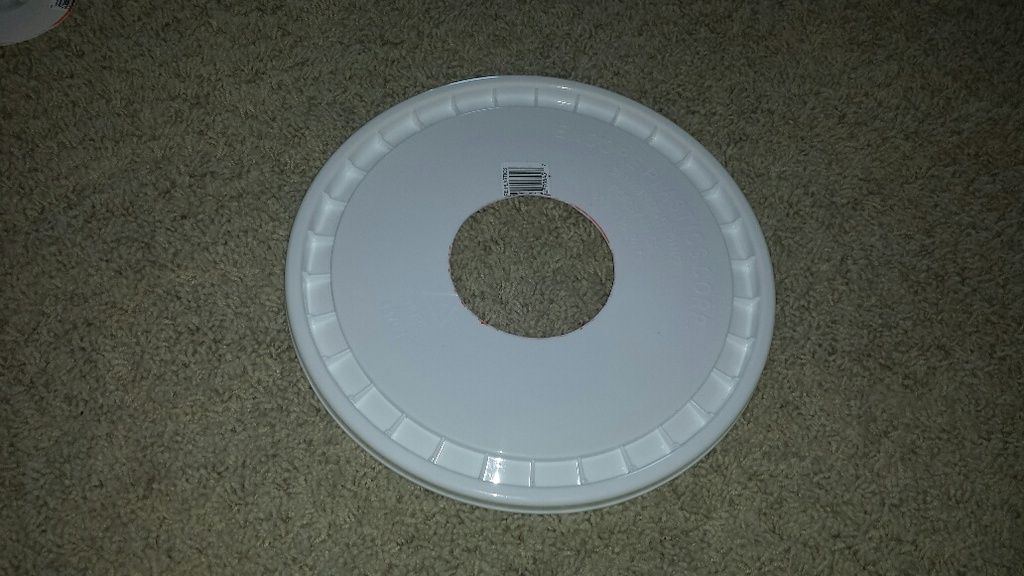
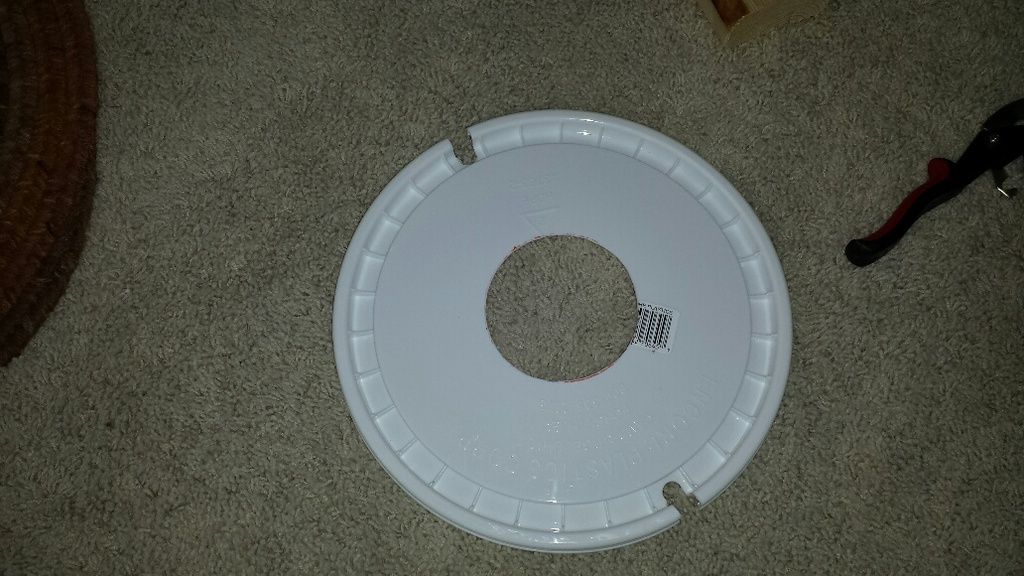
lid marked for cutting:

20160605_111925_resized_zpson7i34zn.jpg


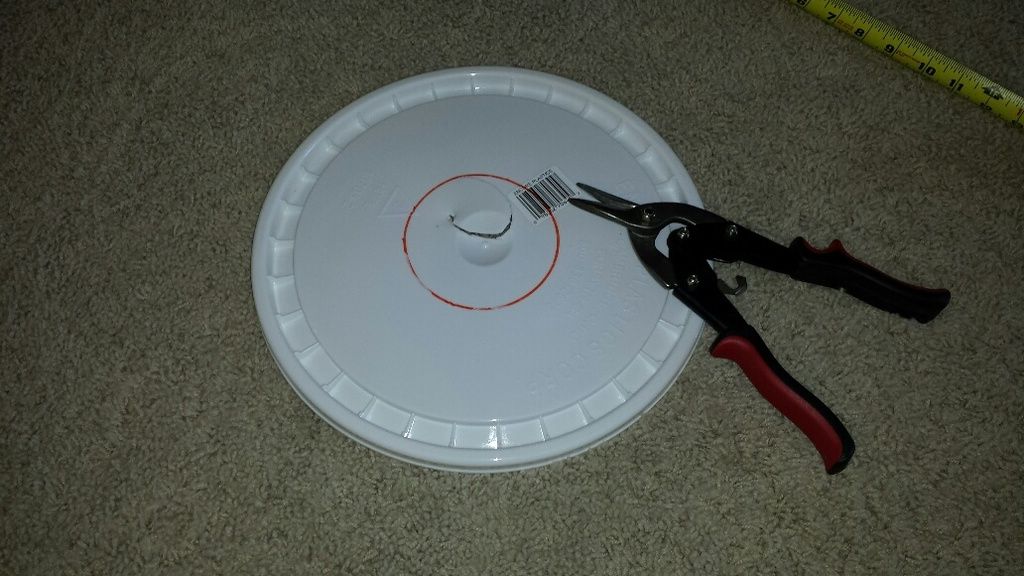
mid-cut. some left-hand cutting shears made for nice, clean cuts:

20160605_112102_resized_zpsur79qivw.jpg


and the final product:

20160605_112516_resized_zpsykugeh2u.jpg


holes cut for the keg connection tubing:

20160605_120352_resized_zps4qcrdu8u.jpg


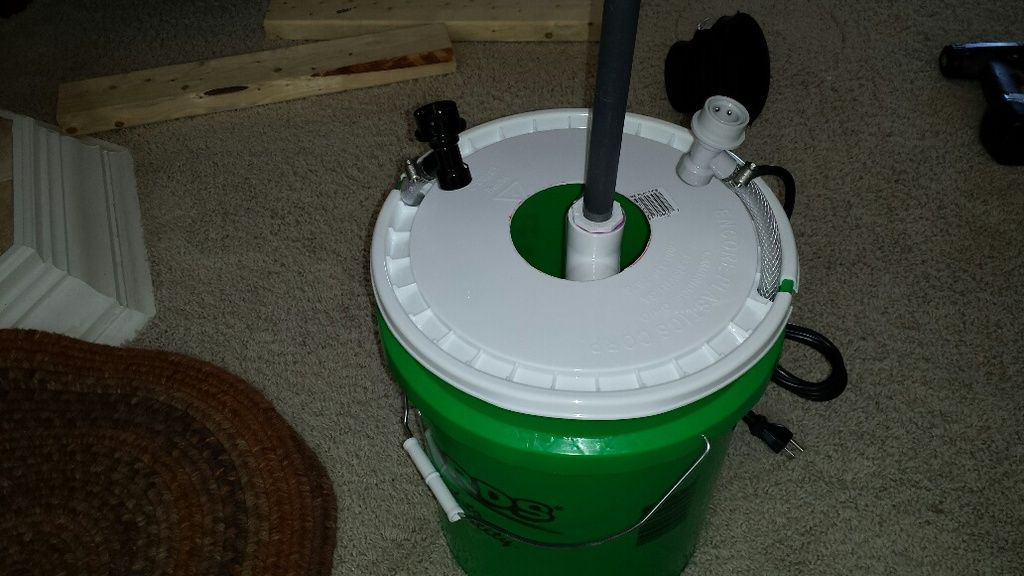
hole cut in the lid for the cord. assembly set in the bucket and lid attached:

20160605_121131_resized_zpss8eaboyd.jpg


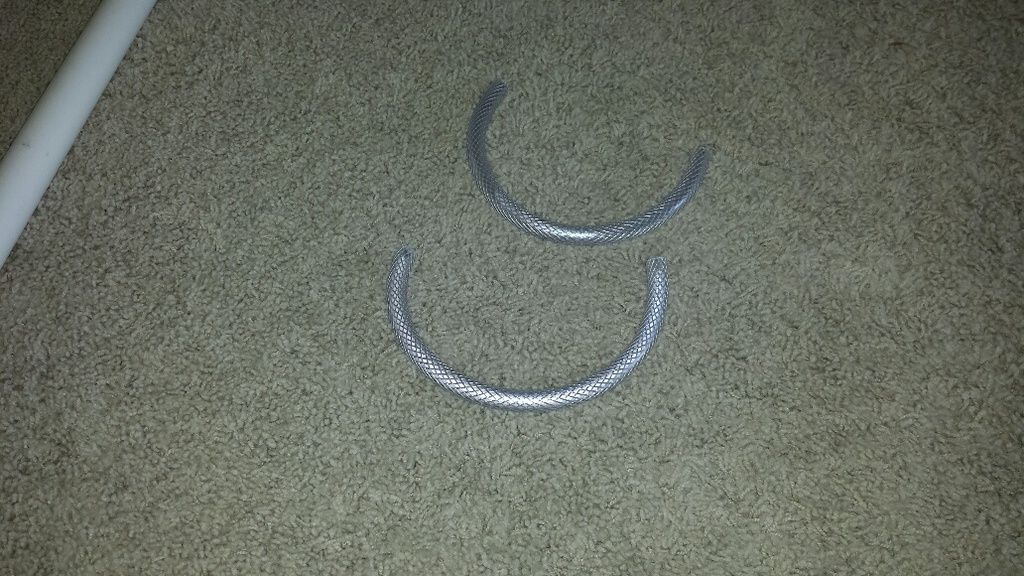
hoses cut to length. note sure what the pressure of the pump would be so i got reinforced vinyl tubing. probably overkill but it is cheap:

20160605_115400_resized_zpsc19zzrem.jpg


tubing attached to pump assembly:

20160605_120853_resized_zpsgpco3p5j.jpg


and disconnects attached:

20160605_121103_resized_zpsoibrsnia.jpg


lid on, ready to go:

20160605_121232_resized_zps8ce0jacg.jpg


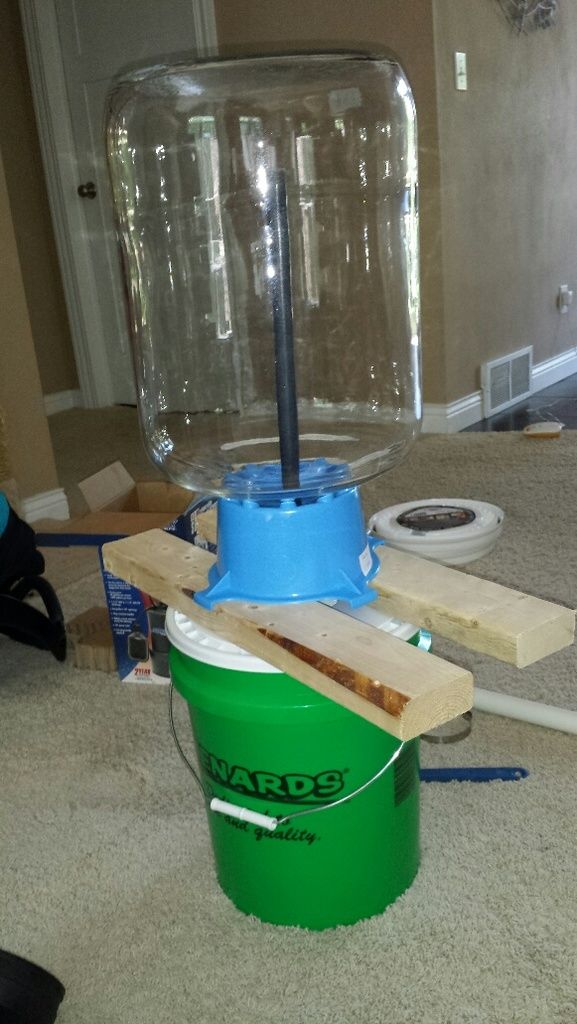
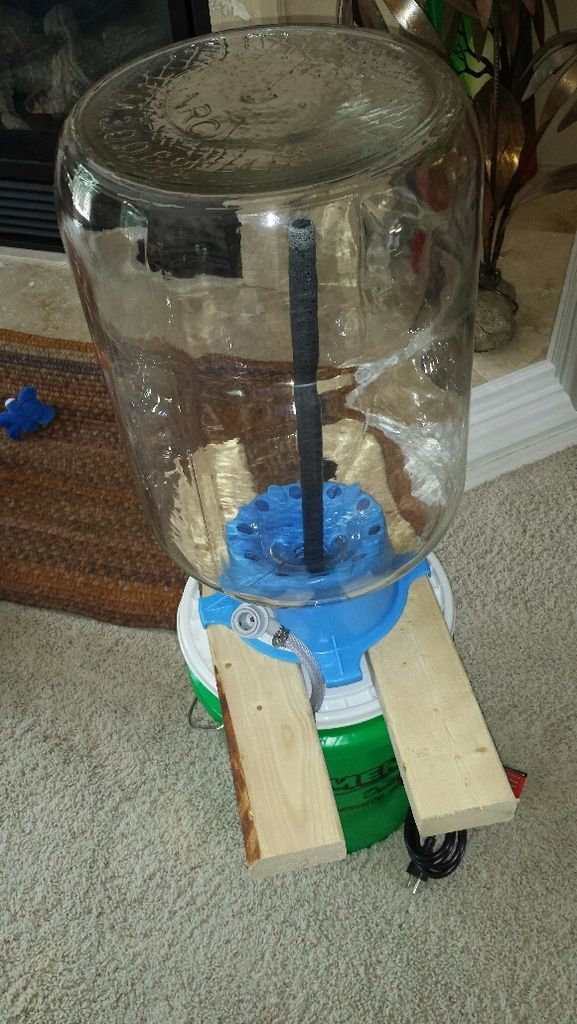
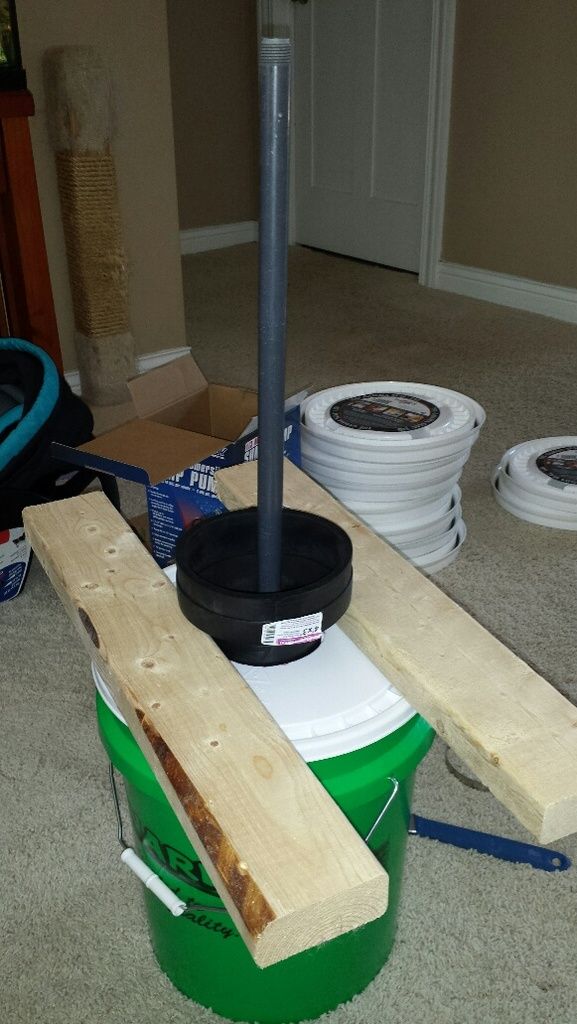
test fitting with the carboy stand. the 'feet' on the stand are at just a touch narrower diameter than the flat surface of the lid. it was a little wobbly so i stuck a couple 2x4s under it, much more stable:

20160605_114918_resized_zpsduricsg3.jpg


and with a carboy in place:

20160605_121818_resized_zpsxipqf9ux.jpg


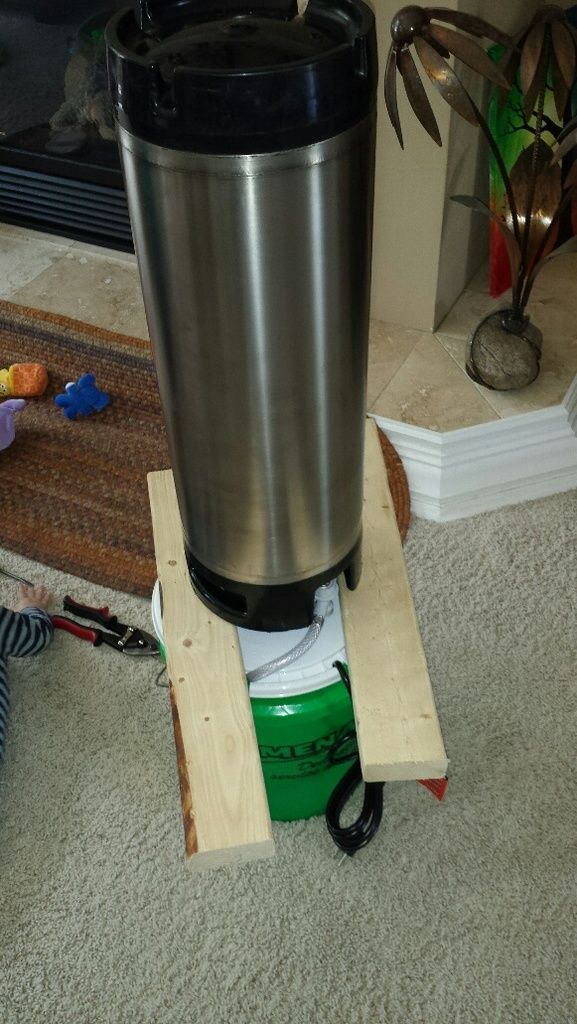
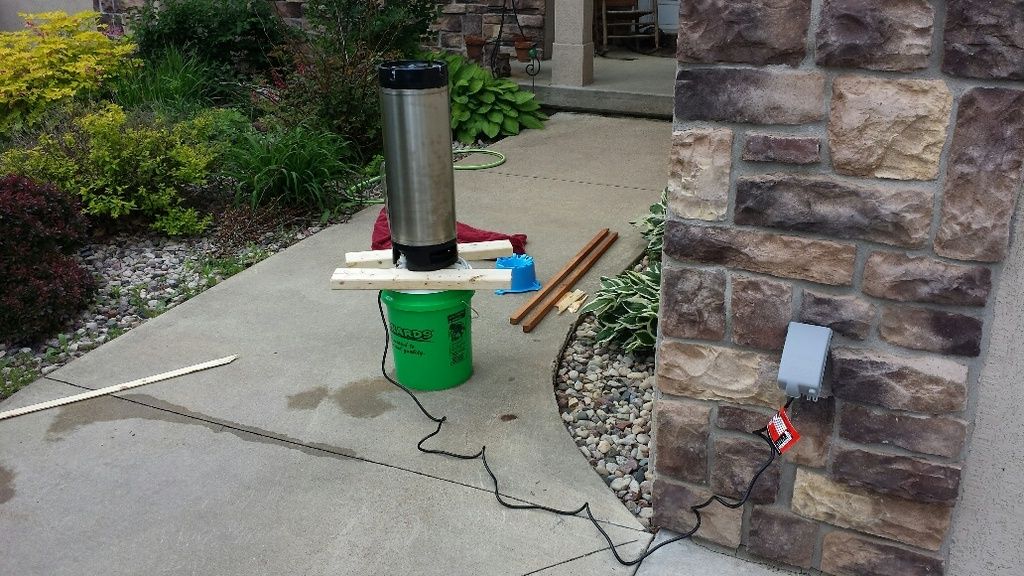
and the setup for kegs. that's a 3" to 4" clay pipe adapter. the 4" side fits nicely over the keg opening and the 3" portion nests down into the bucket. the keg is raised above the lid surface to allow for easier disconnect connections:

20160605_114949_resized_zpsvkse1zdw.jpg


and with a keg in place:

20160605_121702_resized_zpsyckq5peo.jpg


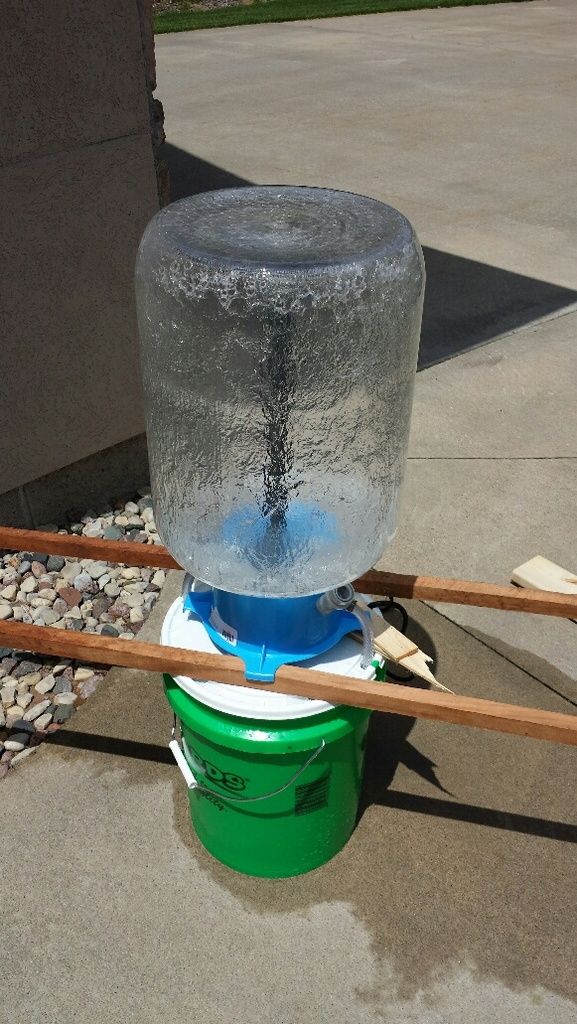
time for a water test! first carboy test was a wreck. the carboy drying stand was 1.5" above the lid surface (because of the 2x4s) and water spilled everywhere as it drained out the bottom. so i put that clay pipe adapter in there but then the 2x4s were in the way (couldn't spread them far enough apart to accommodate the adapter and still have the 'feet' of the racks extend beyond the edge of the 2x4). solution was some 1x1s:

20160605_123931_resized_zpsacwn0jhy.jpg


20160605_123921_resized_zpsziyphi7e.jpg


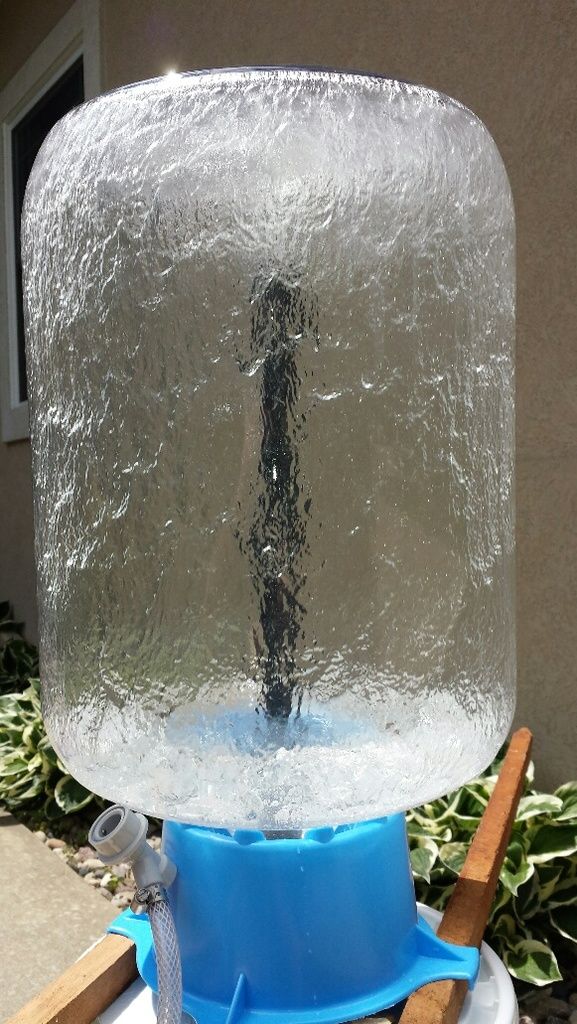
sort of a janky setup. the 1x1s allows for the clay pipe adapter to fit but they are not at all stable for the carboy drying rack when only supported on two sides. i'll need to trim those 1x1s down and make a square frame for the drying rack to rest on. flow is incredible, the entire inside surface is coated. glad i went with the 1/3 hp pump. setup with a keg:

20160605_124258_resized_zpslgb784l2.jpg


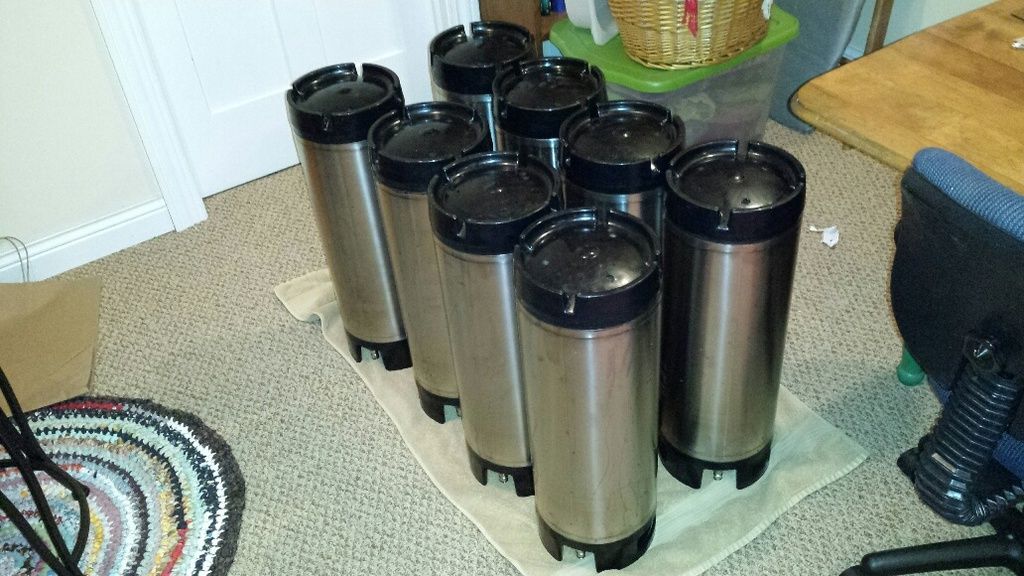
with a functioning system, i spent the rest of the afternoon washing kegs. the kegs are new but they definetly have some manufacturing oils and similar inside of them. i mixed up two gallons of hot water with some pbw and washed each keg for 10 minutes. i washed four kegs before making fresh cleaning solution. sure enough, there was a noticeable sheen in the waste water, glad i washed them. then i set them up to dry:

20160605_185924_resized_zps7b9y4yv5.jpg
 
Back
Top