magnj
Well-Known Member
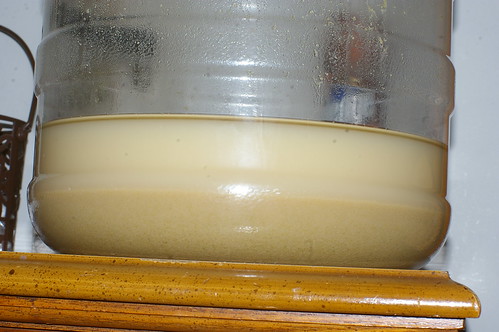
Here are a couple shots I took during a washing session a few weeks back.


![Craft A Brew - Safale S-04 Dry Yeast - Fermentis - English Ale Dry Yeast - For English and American Ales and Hard Apple Ciders - Ingredients for Home Brewing - Beer Making Supplies - [1 Pack]](https://m.media-amazon.com/images/I/41fVGNh6JfL._SL500_.jpg)


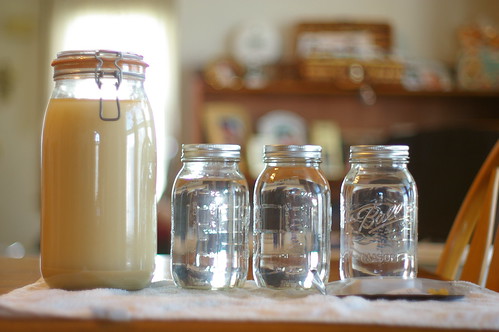
what's the point of putting everything in the big jar first? do you let the big jar settle then decant some of the liquid before filling the smaller?

yes - putting everything in the big jar lets the trub settle out, so you're only putting yeast in the smaller jars.
wait, so do you decant and throw away the top liquid, or is the top liquid what you want?
as in, the opposite of pitching a starter?
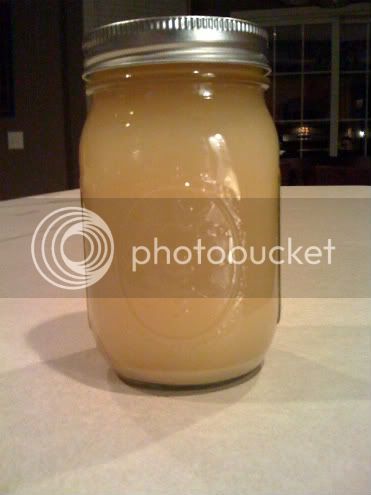
So the last picture with the caption "After about an hour sitting in the fridge, a nice little layer of yeast is visible..." is actually incorrect, right? As you said the yeast is in the solution (for the most part) not in the sediment.
Yes, the yeast is in the solution, but after an hour or so you can see it settling. In other words, the liquid at the very top of the jar gets a lot clearer, and the liquid just above the layer of trub gets a lot more milky. That milky liquid is the layer of yeast.
Seriously, it sounds and looks a little complicated, but once you do this even one time, you'll see how ridiculously easy the whole process is!

Great job!
Jamaican Red Stripe in the fridge?


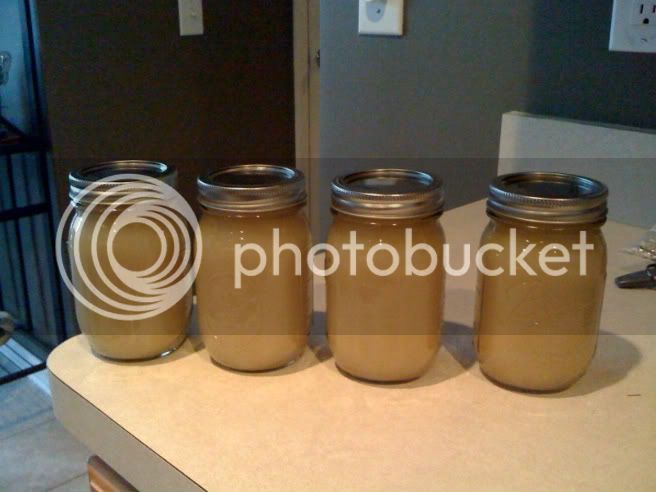
Anyway, to save room in the fridge, I first used 2 quart-sized jars, let them sit for about 24 hours, then decanted into 4 4-oz jelly jars. As the pic shows, it's pretty much all yeast in there, no trub. But my question is: since these jars are pretty small, is the yeast in one of them enough for a regular-sized starter? Or should I combine the yeast into 2 jars? I'm honestly not interested in having to start with a smaller starter, then step it up (at least for a normal OG beer), since, well, that's more work than I wanna do. If that's the case, I'd rather just combine them.
")
I typically make my starters for medium gravity beers with 4 cups of water to 1 cup of light dme.
I boil that that for 15 minutes and cool.
I add 3 turkey baster pulls of washed yeast and let it rip.
Palefire, I don't know if you figured out your amounts yet, but I am wondering the same thing. If I'm making a starter out of my 16 oz jars this won't be enough liquid for a 1000ml starter and I'm hoping to avoid using 2 jars if I can. So, for any medium gravity beer (1.050 range) will this be enough yeast cells without stepping it up?
And also, how much DME should I use for this amount starter? Thanks guys!
P.S Also I'm wondering how close the ale styles can be to use for other ales. I'll probably have to read up on yeasts to get that answer though
After 1 week in the fridge:


