• Please visit and share your knowledge at our sister communities:
  • If you have not, please join our official Homebrewing Facebook Group!

    Homebrewing Facebook Group

Vintage GE Fridge Kegerator Conversion Project

Homebrew Talk

Help Support Homebrew Talk:

This site may earn a commission from merchant affiliate links, including eBay, Amazon, and others.

cprice01

Member
Joined
Nov 15, 2014
Messages
7
Reaction score
1
Location
Fallon
My wife and I just moved back to the States from Japan and decided to build a kegerator from a vintage fridge. The goal is to have it up and running for a Super Bowl Party.

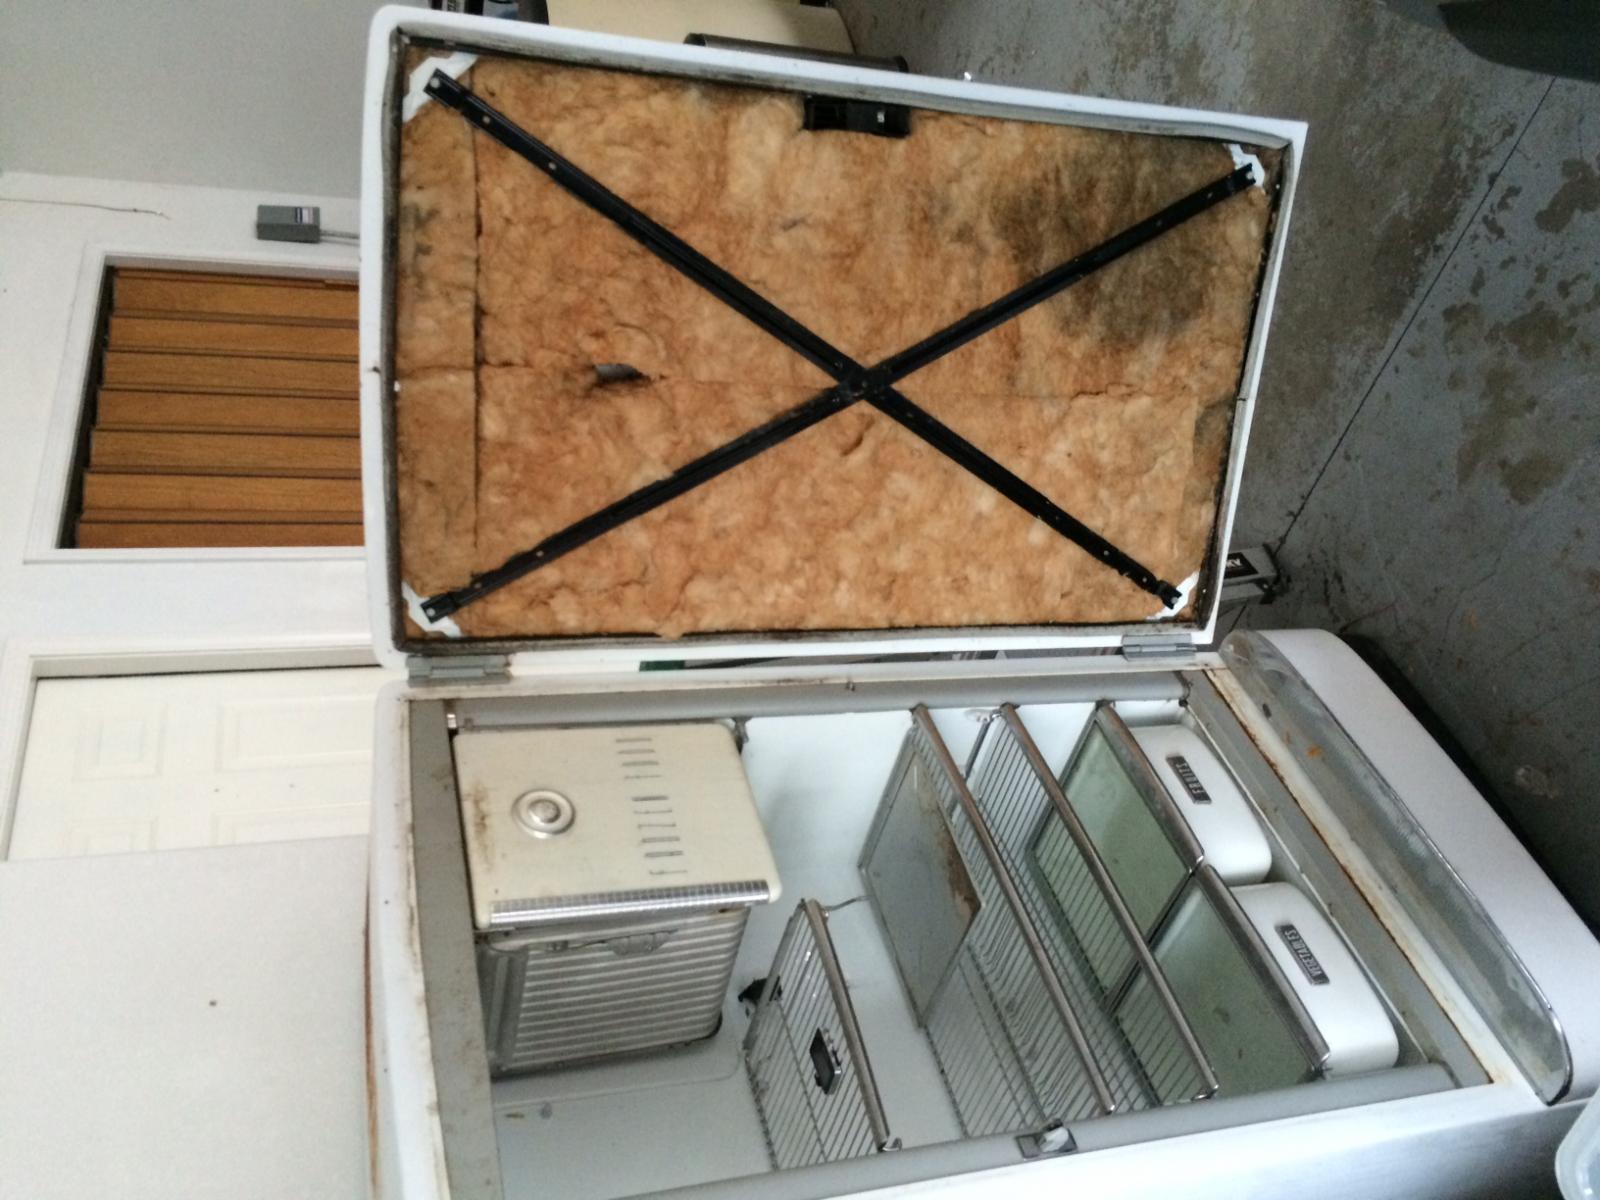
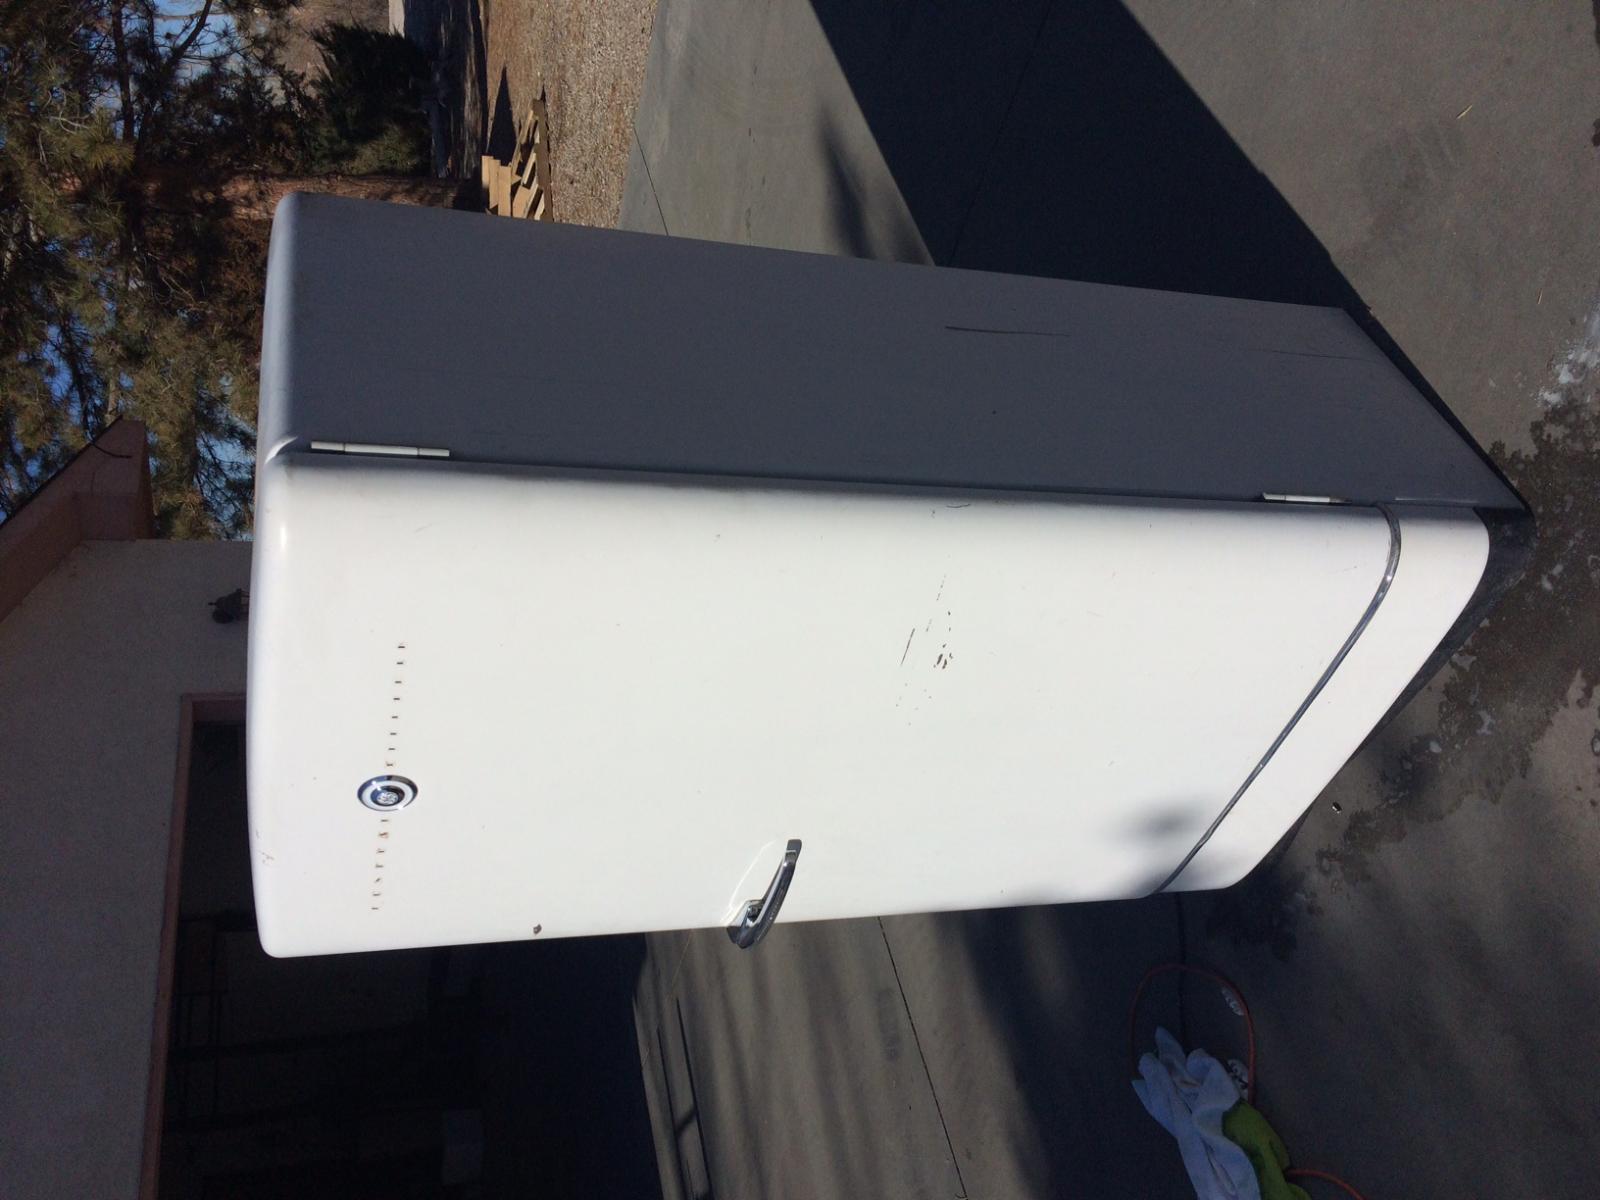
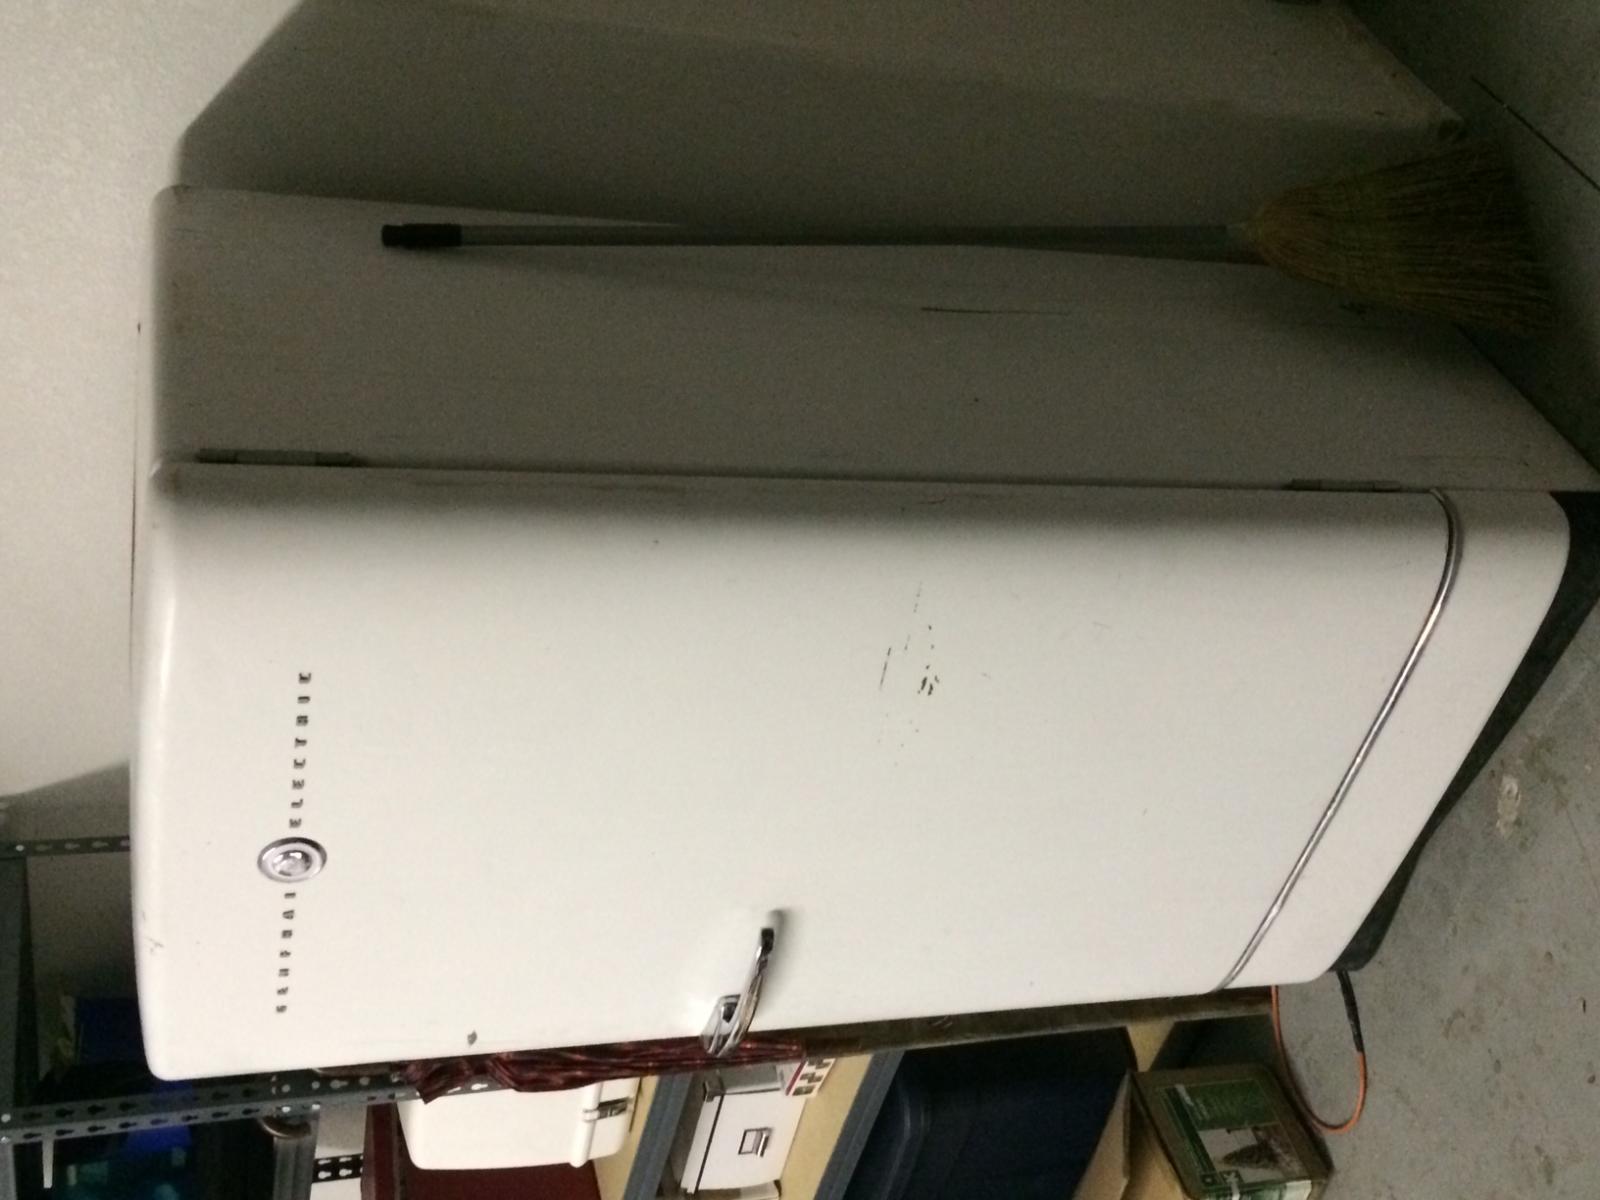
Found an old General Electric fridge on Craigslist for $100. Moving it up some stairs proved to be a challenge. Thanks to Home Depot for the Dolly rental, it saved my back.
IMG_0142.jpg
 
I wish you better luck than I had with mine. When I pulled out the freezer box with the rest of the sealed system, I ended up with a pinhole leak that leaked most of the freon over the course of a couple weeks.

Be careful if you pull that out to replace the insulation.

Is yours a 10cf or an 8cf model?
 
I am pretty sure it is the eight cubic feet. I measured the door at four feet by two feet. I am not going to do anything right now to the inside of the fridge except pull out the shelving.
-In the door I am going to pull out the old insulation and put two insulation boards and then use sealer to fill in the gaps then I will fabricate a thin piece of metal over it to cover it up.
-I turned it on and the "warmest" it gets is 28 degrees. I have a Johnson Freezer Temperature Controller on order to fix that problem.
-Also ordered the conversion kit from BeverageFactory along with a 5lb Aluminum CO2 Tank. The plan will be the CO2 on the right (under the freezer) and a slim quarter on the left.
-I would also like to get a shelving unit in front of the CO2 tanks to put other bottles of beer.

Questions for the crowd
-We are talking to a local guy in town to get it painted, but I am still waiting for an estimate. If it ends up too expensive, what have people had the best luck with for painting the fridge themselves? Good ol' Krylon?

IMG_0147.jpg
 
Can't comment on painting as I haven't done that yet. I didn't want to paint just yet because I put it in my basement and couldn't figure out a good way to paint without pulling it back out again and hauling it back down once it was done. I'm not moving that beast out of the basement until I move. I really thought we were going to bust the wooden stairs hauling it down. I was just going to pick up some automotive vinyl and use that, but I haven't done that yet either.

Schmidty65 did a really nice looking paintjob, I was looking to do something similar: https://www.homebrewtalk.com/f252/vintage-1954-frigidaire-kegerator-build-334079/

Kerber has a nice build thread that covers painting as well: https://www.homebrewtalk.com/f252/vintage-ge-kegerator-276170/

If you're not using corny kegs, it probably doesn't matter which size yours is. A slim quarter sounds nice. In mine I can fit three ball locks across the back, and if I had an extra half to three quarters of an inch, I think I could fit a total of six kegs so I'm just wondering if anyone out there with a similar size fridge has solved that problem yet. I'd love to do something to the door to be able to make that happen, but that will have to wait along with the painting or vinyl.
 
I have gotten pretty much all the equipment in.
The Johnson External Temperature Controller is nifty. The Fridge has been hanging out at 40 degrees plus/minus a couple.
I received the keg conversion kit including a CO2 tank, the only thing they did not send me was the faucet, so I need to give them a call tomorrow.
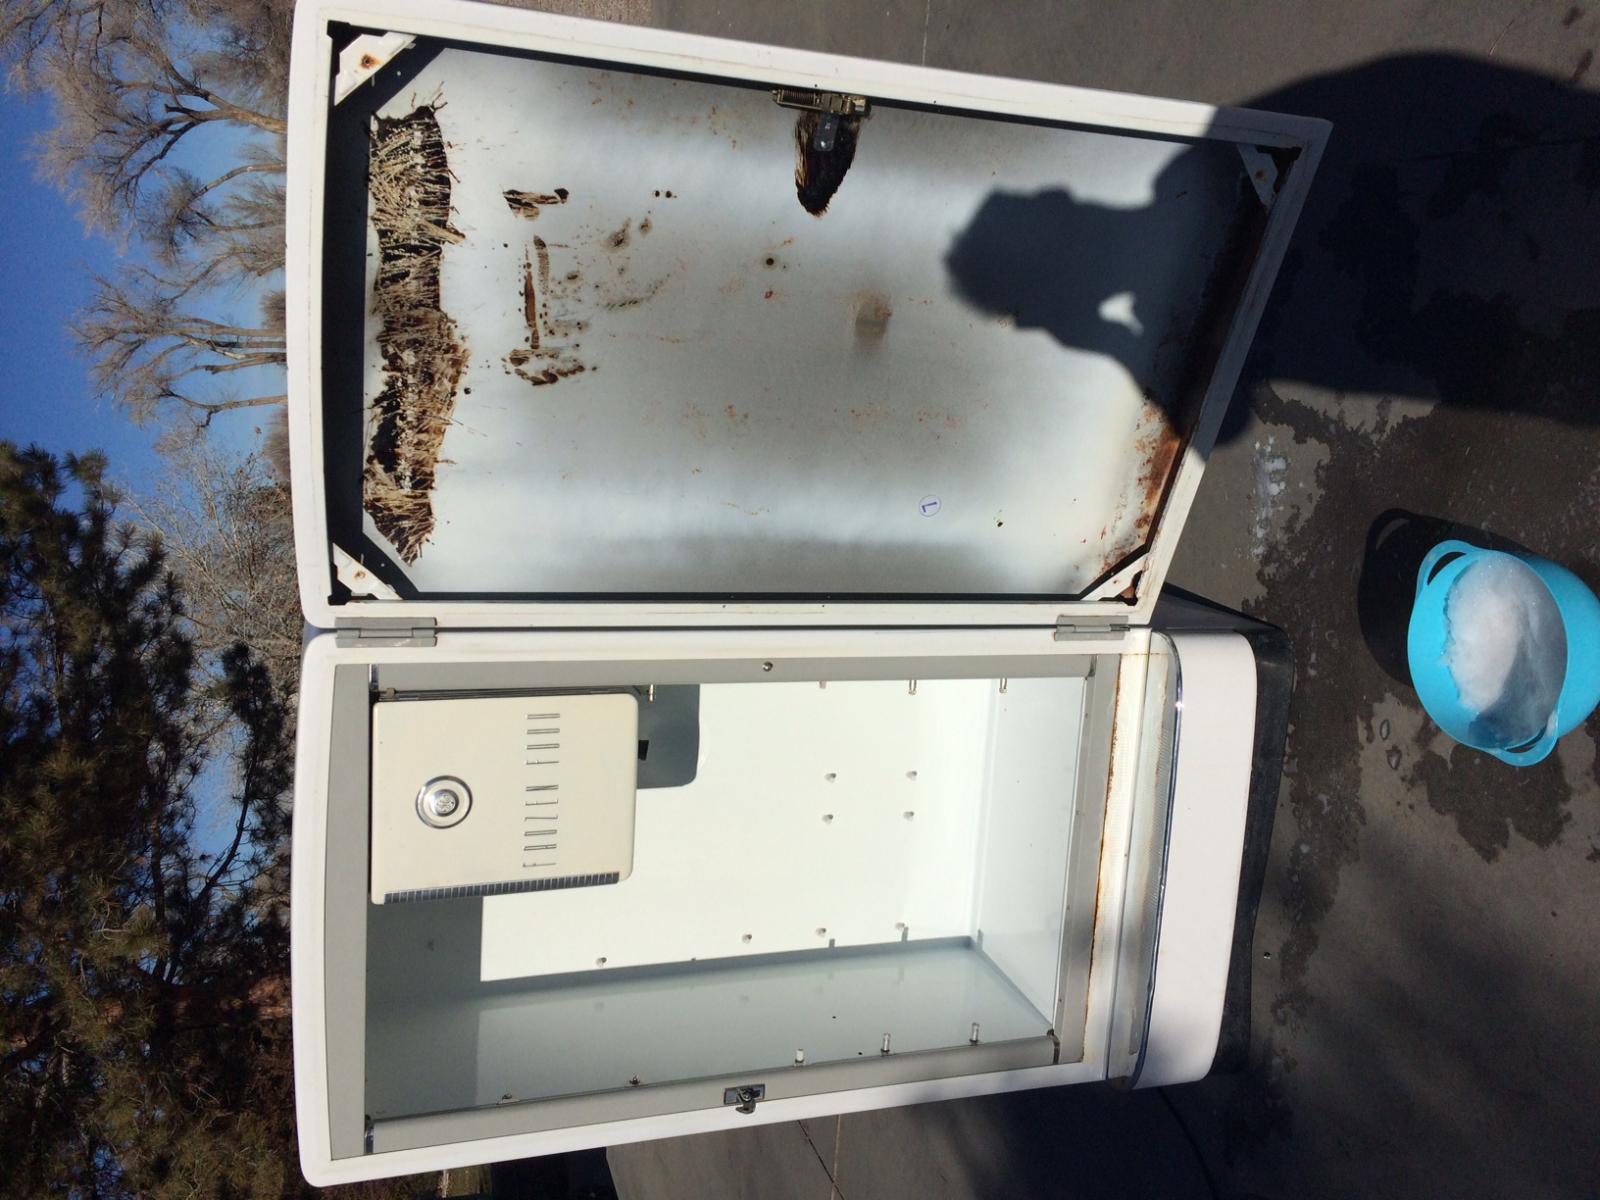
The paint guy quoted me $750, so I will be tackling the paint myself. Today I plan on breaking down the fridge and giving the inside a good scrub down.
 
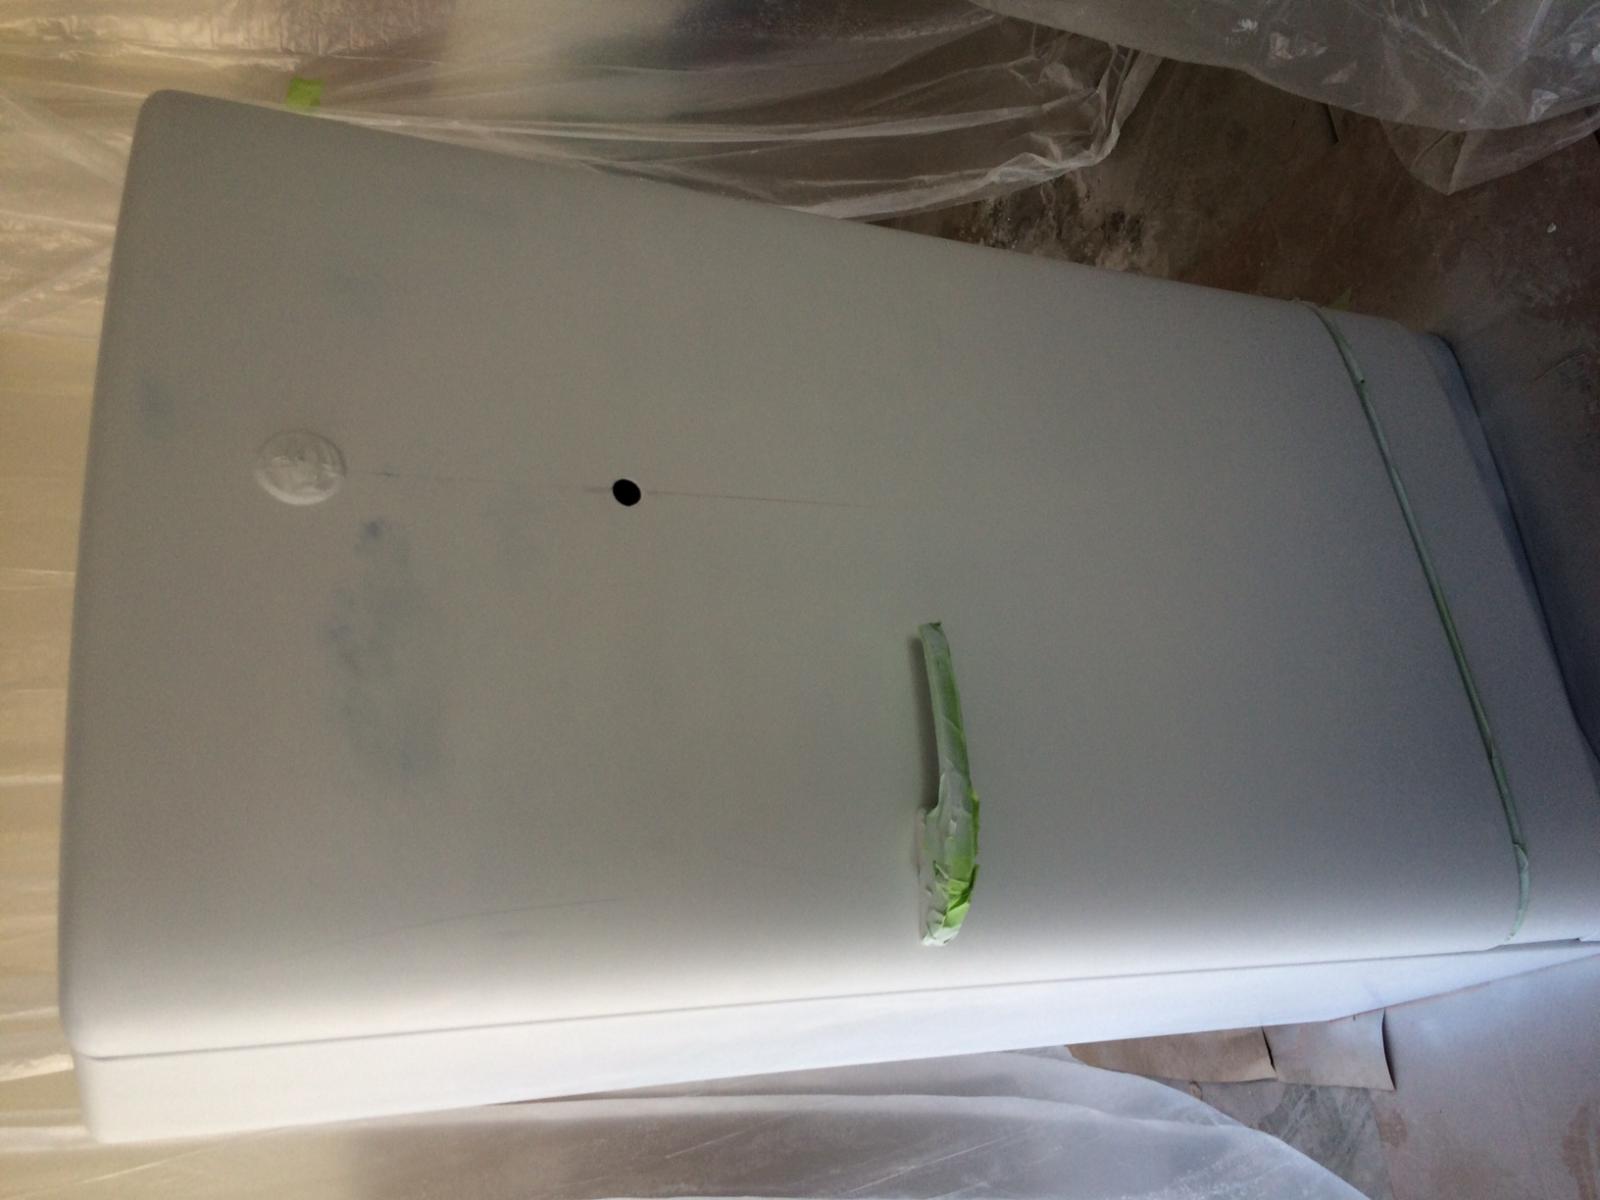
I pulled everything out of the fridge today and then cleaned the inside and sanded down the outside. I also pulled off the old General Electric plastic letters (most of them were broken) and filled in the holes with Bondo and sanded that down. The fridge is ready for primer.

IMG_0182.jpg


IMG_0183.jpg
 
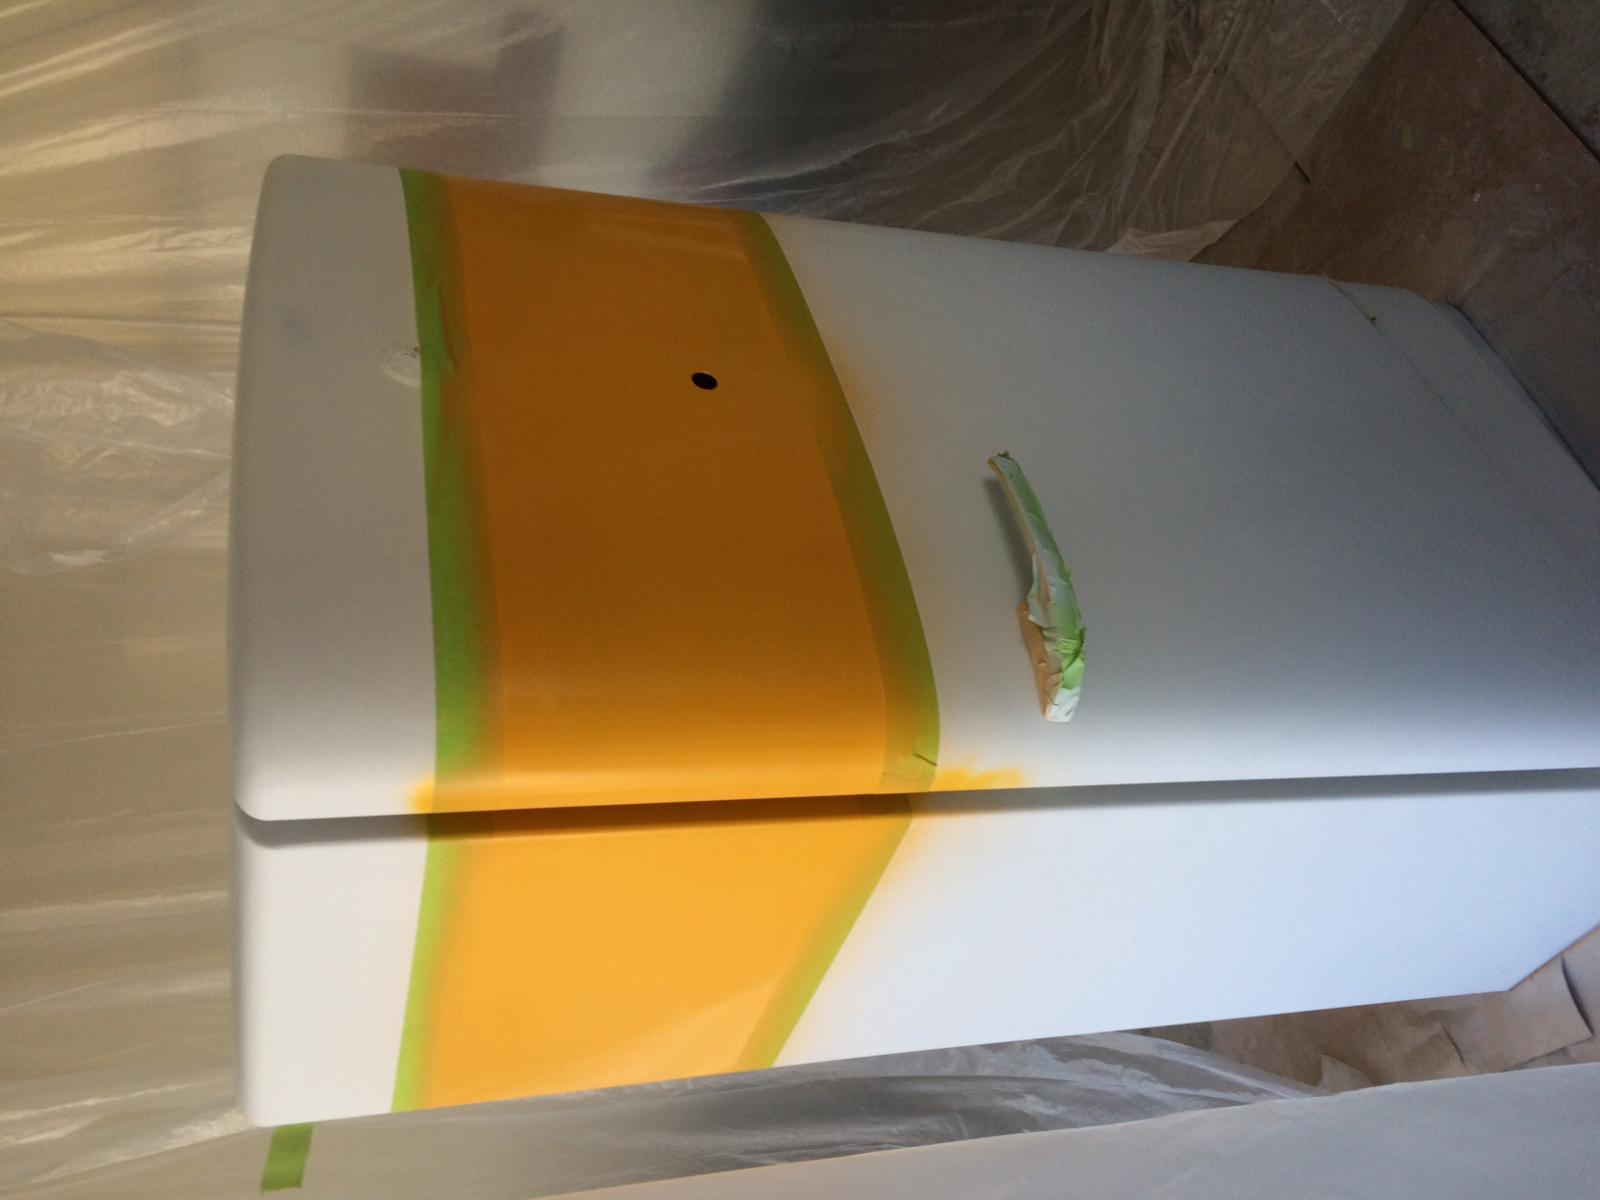
Spent the last week putting primer on the fridge and today got the first coat of yellow on. All major parts are in, once I get the paint done this baby will be ready!

IMG_0191.jpg


IMG_0193.jpg
 
The finished product just in time for the Super Bowl. First pour with a 10 foot hose was foam free.
If I get around to it I will tally the total for putting it together. It was around $500 give or take.

IMG_0326.jpg
 
Nice looking kegerator!

What did you use for the chrome strips above and below your yellow?

I am in the middle of my second attempt (first one the compressor crapped out). This one is a '52 GE and the chrome piece is split and should be replaced...

Thanks
 
I just used 1/8 inch chrome auto trim I got at Autozone. Stuck on just fine. One lesson learned is I tried to bend it around about 1 inch on the corners, but the leverage of the chrome trying to straighten itself was more than the sticky backing.
 
Thanks - I just ordered some for mine (local body shops didn't have stock that thin). Appreciate the tip, I will pre, overbend the chrome and test fit before I remove the backing. Just waiting for it to warm up enough in the garage for paint... Cheers!
 
I had a similar problem with mine that I ordered off of ebay. It was a little too stiff to stay around what I guess would be probably 3/4" radius 90° bend typical edge of a door on a mini-fridge. It began to straighten out and peel away from the double sided foam tape that it came with. I hit it with some superglue, taped it down with masking tape and it holds just fine now.
 
Back
Top