• Please visit and share your knowledge at our sister communities:
  • If you have not, please join our official Homebrewing Facebook Group!

    Homebrewing Facebook Group

Thrifty RIMS canister from Nor Cal Brewing Solutions

Homebrew Talk

Help Support Homebrew Talk:

This site may earn a commission from merchant affiliate links, including eBay, Amazon, and others.
Last edited by a moderator:
The cable will work. The insulation on each wire has to be rated for 120. Most wire is rated for 600 volts. Electricity dosnt care what color the wire is.

...doesn't the gauge of the wire matter?

Also, can that element handle 240v or is 220v the max?
 
...doesn't the gauge of the wire matter?

Also, can that element handle 240v or is 220v the max?

The gauge would be for a higher amp rating. If your volts is higher your amps will be lower. So you should be good. Ohms law.
 
The gauge would be for a higher amp rating. If your volts is higher your amps will be lower. So you should be good. Ohms law.


240v outlets are 30amp... standard 120v is either 15 or 20amps..?

Edit: Sorry, just looked up 220v amp rating. Looks like most European 220v outlets are between 30-50amps, so I think you're right, if it can handle 220, it should be able to handle 240..?! [emoji482]
 
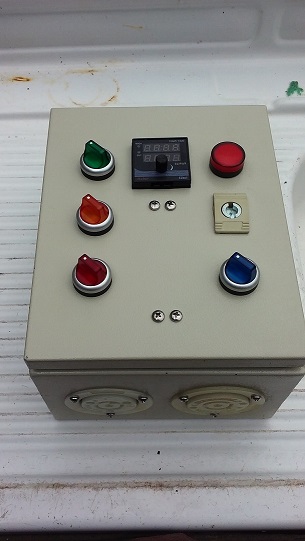
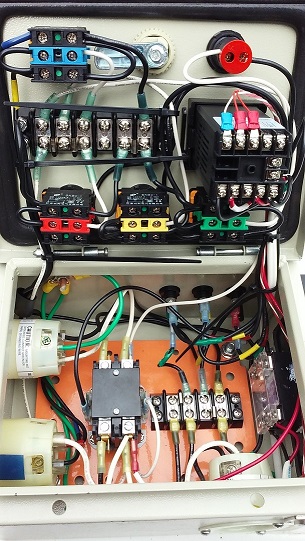
Here is what I did for a controller.:D

0411171434b.jpg


0411171435c.jpg
 
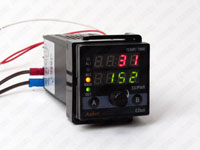
Add a duplex outlet, wire and connectors to this and you would have a nice controller. There are cheaper parts out there I am sure. Really, if you have a drill, a few bits, wire terminal tool and a screwdriver you can build this quick with Aubers enclosure. Putting it all together is actually pretty dang fun too!!!


Item Name Unit Total


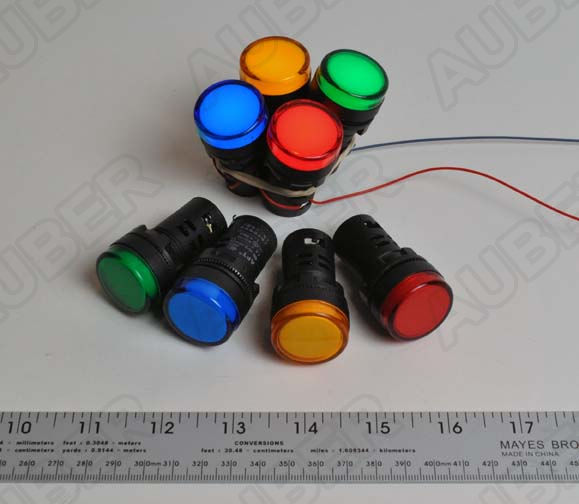
LED Indicator, 22 mm, 120/240V
Item #: IND-1


  • Power Voltage Option - 120V AC/DC
  • LED Color Option - Green

$3.45 $3.45


40A SSR
Item #: MGR-1D4840

$15.50 $15.50


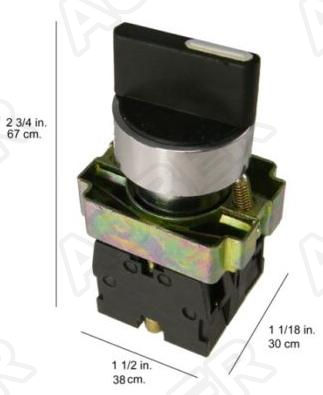
Selector Switch, 2-Position Maintained 2 NO, 22mm
Item #: SW4

$5.99 $11.98


EZboil, Power Regulator for Boiling Process Automation
Item #: DSPR120


  • Model Option - DSPR120

$46.95 $46.95


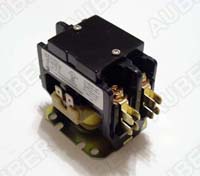
Contactor, 2 pole, 30/40 A, 120V Coil
Item #: CN-PBC302-120V

$12.59 $12.59


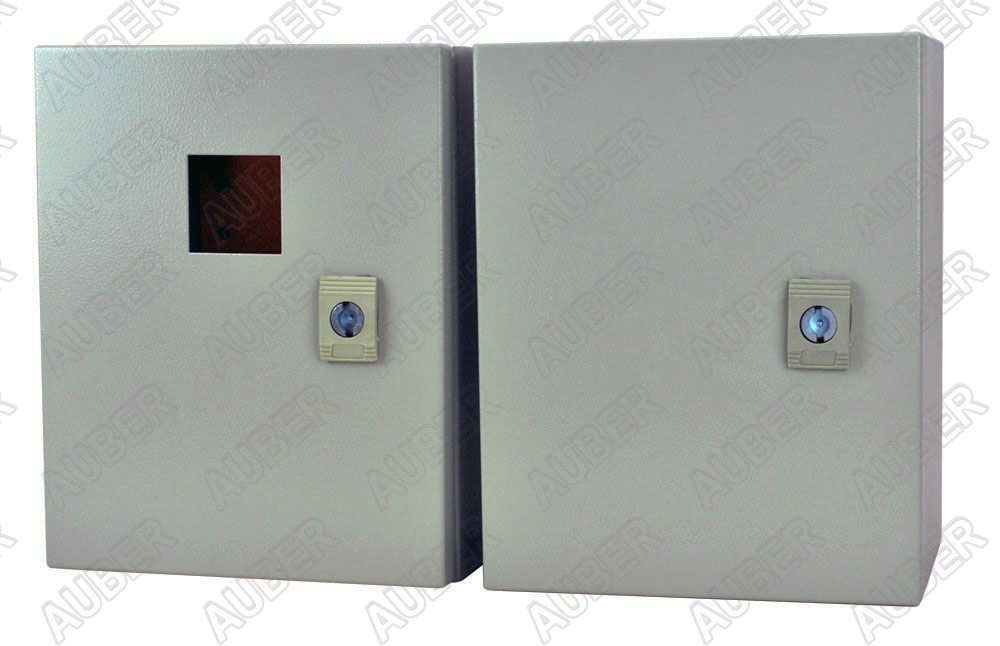
Wall Mount Box for Single Controller 10x8x6"
Item #: B252015


  • Hanger Option - Without Hanger
  • Heatsink Option - With 40A Heatsink (BHS40A)
  • Precut Option - With factory precut for 1 x 1/16 DIN controller

$60.00 $60.00


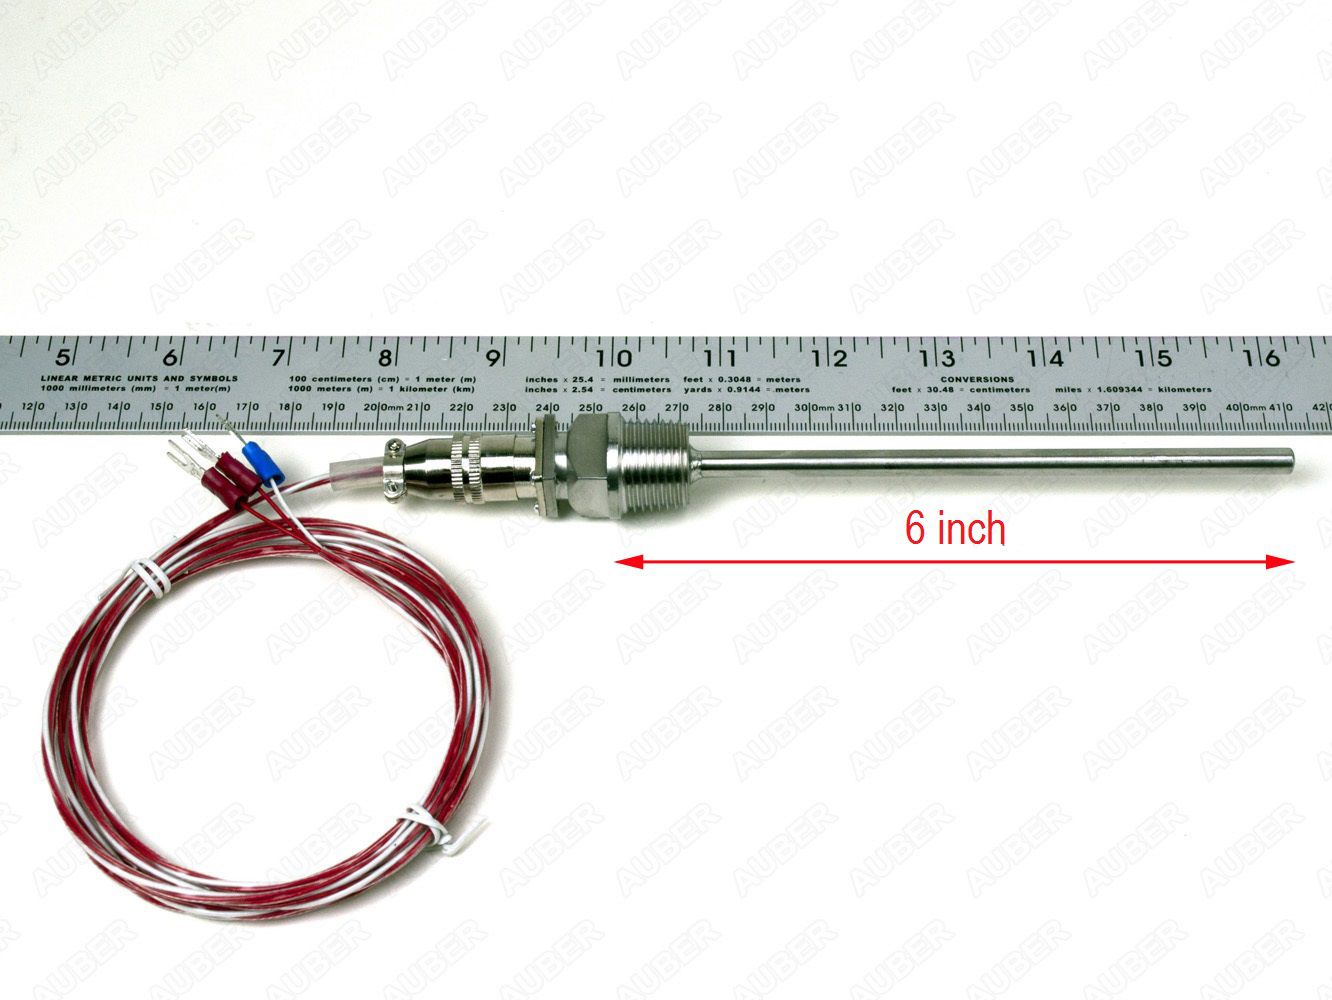
Liquid tight RTD sensor, 6 in, 1/2 NPT Thread
Item #: PT100-L1501/2NPT


  • Cable Option - Standard Teflon Cable (6 feet)

$34.35 $34.35 Sub-Total: $184.82
 
...doesn't the gauge of the wire matter?

Also, can that element handle 240v or is 220v the max?

The gauge would be for a higher amp rating. If your volts is higher your amps will be lower. So you should be good. Ohms law.

The constant here is the resistance in the element. Current is voltage/resistance. If you double the voltage and the resistance stays the same, you are doubling the current. You said it was 4600 watts at 240 volts, that is about 20 amps. I would make sure the cable can handle that . If it is the cable that comes with the element, I would think it would be ok. If you are getting it some place else, I would check the current rating.
 
Add a duplex outlet, wire and connectors to this and you would have a nice controller. There are cheaper parts out there I am sure. Really, if you have a drill, a few bits, wire terminal tool and a screwdriver you can build this quick with Aubers enclosure. Putting it all together is actually pretty dang fun too!!!


Item Name Unit Total


LED Indicator, 22 mm, 120/240V
Item #: IND-1


  • Power Voltage Option - 120V AC/DC
  • LED Color Option - Green

$3.45 $3.45


40A SSR
Item #: MGR-1D4840

$15.50 $15.50


Selector Switch, 2-Position Maintained 2 NO, 22mm
Item #: SW4

$5.99 $11.98


EZboil, Power Regulator for Boiling Process Automation
Item #: DSPR120


  • Model Option - DSPR120

$46.95 $46.95


Contactor, 2 pole, 30/40 A, 120V Coil
Item #: CN-PBC302-120V

$12.59 $12.59


Wall Mount Box for Single Controller 10x8x6"
Item #: B252015


  • Hanger Option - Without Hanger
  • Heatsink Option - With 40A Heatsink (BHS40A)
  • Precut Option - With factory precut for 1 x 1/16 DIN controller

$60.00 $60.00


Liquid tight RTD sensor, 6 in, 1/2 NPT Thread
Item #: PT100-L1501/2NPT


  • Cable Option - Standard Teflon Cable (6 feet)

$34.35 $34.35 Sub-Total: $184.82


Looks KILLER! Thanks for the insight in the thread buddy!

How is the system working out for you?

Cheers
Jay
 
Looks KILLER! Thanks for the insight in the thread buddy!

How is the system working out for you?

Cheers
Jay

Thanks Jay, I was hoping maybe it would be helpful to someone here. That and maybe I was showing off a bit.:fro::fro:

I haven't brewed with Thrifty yet but it performed well when I was testing the controller, heating 10 gallons of water from 55* to 170* in right around 3 hours. Not that I plan to use it for that, but it will heat. I have been working on stage two of my system, including Thrifty along with a few other things.

I am excited for my next brew day which is coming soon hopefully. I will post up a picture of Thrifty in action when it happens.
 
Back on topic.

Thrifty worked pretty well but couldn't quite keep temps up by itself. I tried tuning my EZBoil to help but still lost a degree or two. Gonna play around with it a bit more but I am thinking I may need to find a 1500W element for the Thrifty RIMS tube.
 
Back on topic.

Thrifty worked pretty well but couldn't quite keep temps up by itself. I tried tuning my EZBoil to help but still lost a degree or two. Gonna play around with it a bit more but I am thinking I may need to find a 1500W element for the Thrifty RIMS tube.

I found the super slow trickle people talk about doesn't work well for me. I up the flow and now works great.
 
Does anyone use this rims tube with a kettle mash tun instead of a cooler style tun? Does it maintain heat pretty well?


I do and it does work well for smaller batches. I did get a 1500W element for it though as it couldn't quite keep up with 5 and 10 gallon batches on the 1100W element. Now I have two, one dedicated to my HLT and small batches and one for my larger kettles and bigger batches.
 
I do and it does work well for smaller batches. I did get a 1500W element for it though as it couldn't quite keep up with 5 and 10 gallon batches on the 1100W element. Now I have two, one dedicated to my HLT and small batches and one for my larger kettles and bigger batches.
Where did you get your 1500 watt element from?
 
I got it from brewhardware along with a hot pod enclosure. The element seems to work good, so far I have brewed both 5 and ten gallon batches with it. As for the enclosure, it works fine but I wish I would have gotten one of the nicer ones like Jaybird sells.
 
I got it from brewhardware along with a hot pod enclosure. The element seems to work good, so far I have brewed both 5 and ten gallon batches with it. As for the enclosure, it works fine but I wish I would have gotten one of the nicer ones like Jaybird sells.


Did you go with the 1500 watt long or short? I measured my 1100 watt and its 12", which makes me think I could fit the longer element.

What wire gauge did you choose?
 
I use an 1800w cartridge heater rims tube with an uninsulated 16 gallon bayou kettle as the mash tun and the highest duration my pid ever fires the element to maintain temps is 20% per minute, meaning there plenty of room for a bigger load or a smaller rims element... thats if the flow is slow enough to allow the rims to be more effective in heating per pass. slowing the flow will also net you better efficiency due to less channeling. my last brew session efficiency was just over 91%
 

Latest posts

Back
Top