• Please visit and share your knowledge at our sister communities:
  • If you have not, please join our official Homebrewing Facebook Group!

    Homebrewing Facebook Group

Madueño's E-HERMS Build

Homebrew Talk

Help Support Homebrew Talk:

This site may earn a commission from merchant affiliate links, including eBay, Amazon, and others.
You might wanna take a close look at some of the lights you bought. For example. U bought 220v lights for your pumps, and your pumps only run at 110v.
The other 220v lights you can work with but I would have stayed with 110v. But that's just my opinion.

Sent from my iPad using Home Brew

He may have used all 220v lights to keep his part list down. You can wire the light with X1 - Pump Control, X2 - Vb. This would allow you to have a switch control a 110V pump and 220V light :)
 
For simplicity sake I used all 220v rated led indicators, I haven't noticed a difference in brightness (or anything else) between ones run on 110v and 220v.


Sent from my iPhone using Home Brew
 
True. I never did say you cant make it work. Im just saying as a electronics technician, i try to keep things as simple as possible so when i have to troubleshoot a circuit then it usually pays off to be organized.
I was wondering if the 220v would work on 110v. I just bought a couple last night of both for testing purposes and to build my control panel.


Sent from my iPhone using Home Brew
 
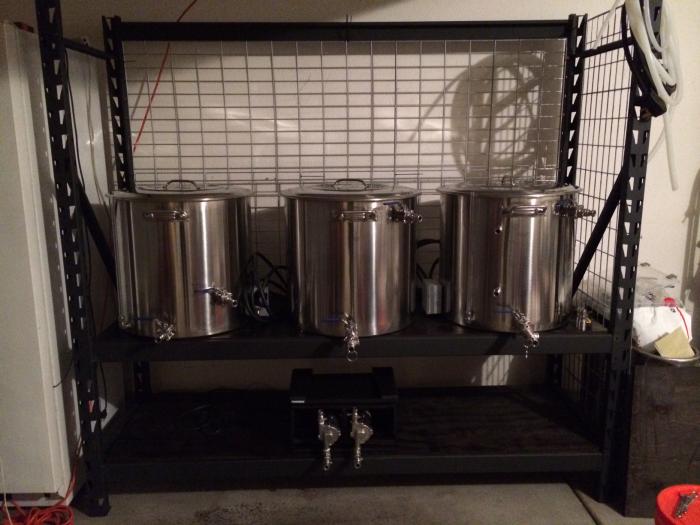
Damn, last week I spent like another $700, more fittings, sight glasses, second pump, stand, plywood, herms coil.. but man, it is worth it! Can't wait to brew on this thing..

photo 1 (10).jpg


photo 2 (9).jpg
 
Damn, last week I spent like another $700, more fittings, sight glasses, second pump, stand, plywood, herms coil.. but man, it is worth it! Can't wait to brew on this thing..

Looking good!

I ended up spending a lot more money on fittings, sight glass, pumps, etc. than on the electrical side, which is ironic since I spent much more time working on the electrical side than hardware.
 
Looking good!

I ended up spending a lot more money on fittings, sight glass, pumps, etc. than on the electrical side, which is ironic since I spent much more time working on the electrical side than hardware.

Yep it's amazing how fast fittings add up to the cost!

Just when I thought I was finished, I found that the box i used for my pumps won't handle the weight, it tilts forward. I'll need to build something out of wood and attach it to the base. It never ends!!
 
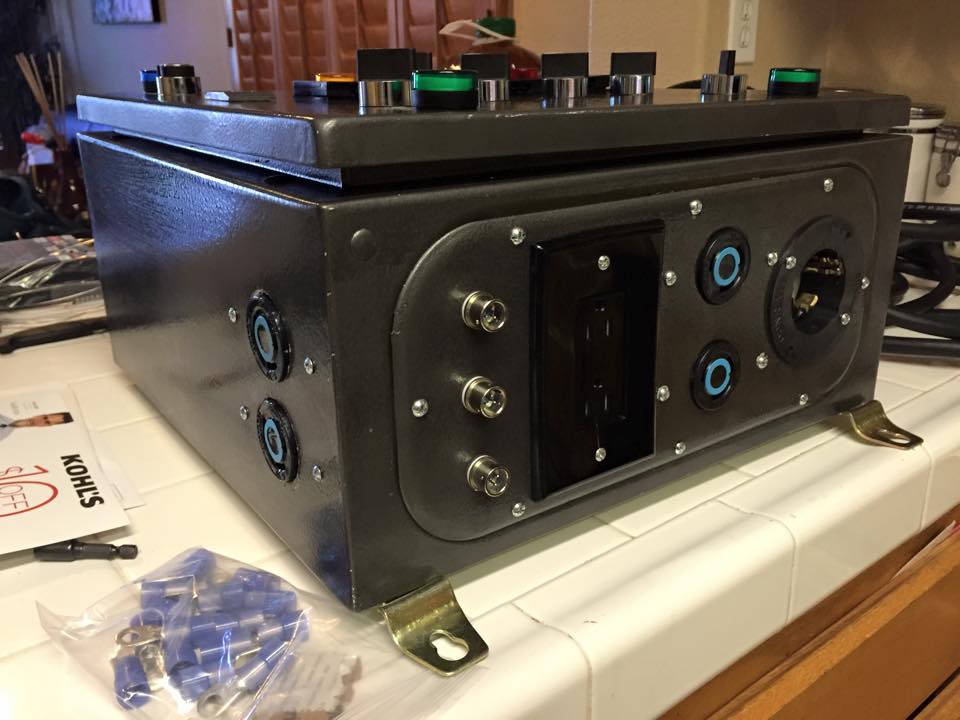
Got my circuit installed and finally I was able to test the control panel, everything is working 100%!

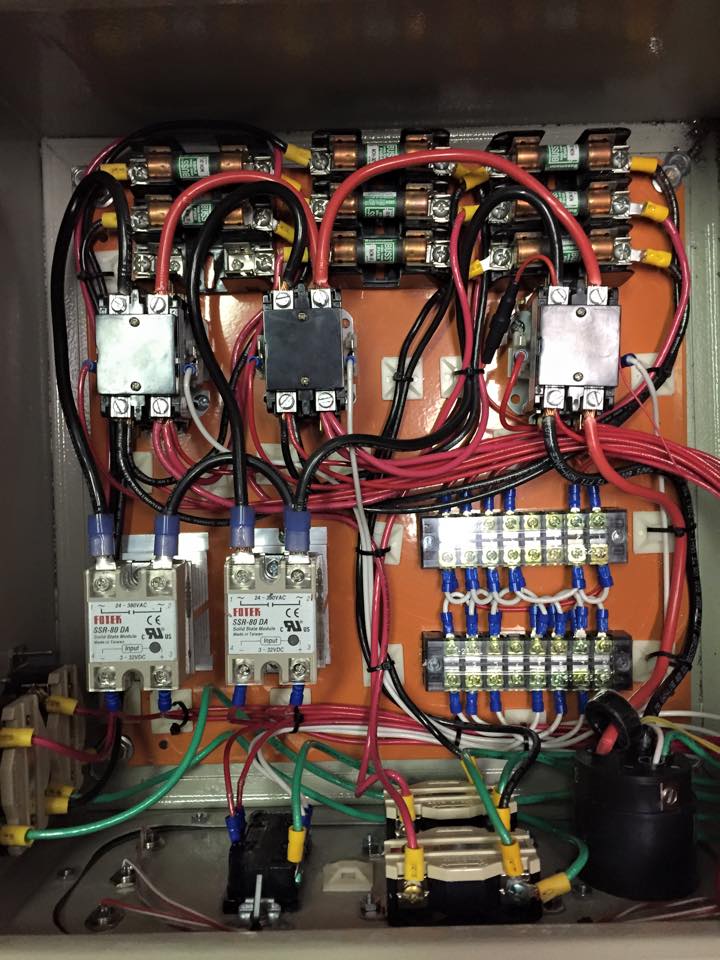
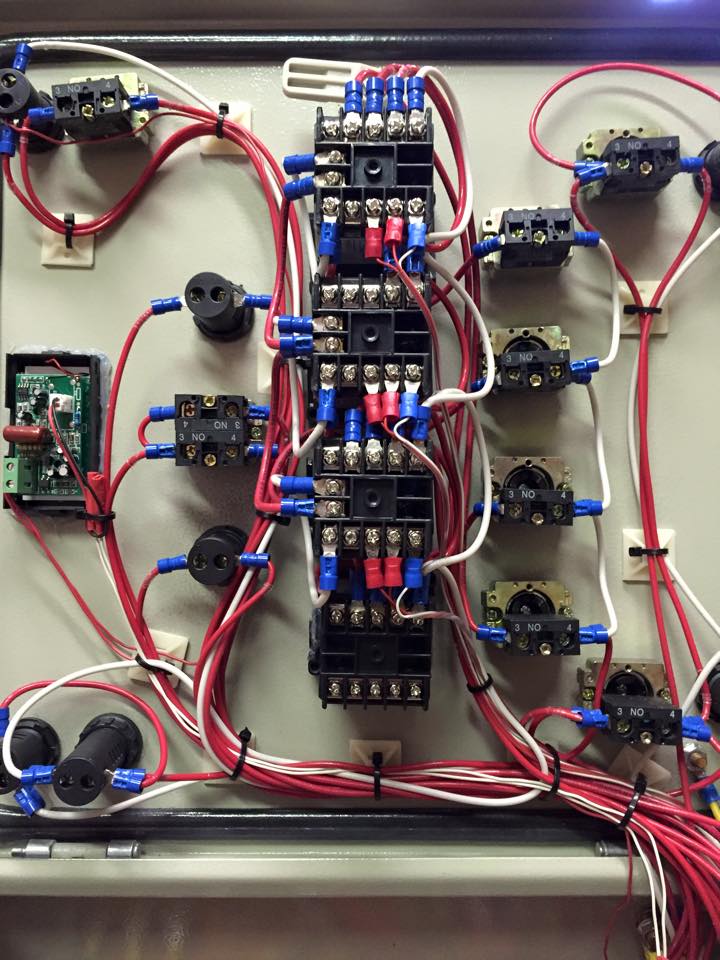
Had a 3 problems with it that I was able to fix on the same day. First, the volt/amp meter, as soon as I connected the power cable, it would light up and show 86V, when I would turn on the switch it would read the entire 240v, then when I would turn the switch off, it would stay on! Scratched my head for a while on this, the volt/amp meter must have some type of capacitor that keeps the relay open, so instead of having it read the voltage off the switch, I had it read one end of the voltage from the power led and the other end reads the voltage from the normally open side of the relay.

My pid's were reading around 1500 degrees haha, went back to the electricbrewery and found there were some things I needed to config on them.

As soon as I would turn on one pump, the other one would turn on as well. I went through my wiring, checked everything and asked myself what the hell was going on, then I found these outlets are bridged. I went back to home depot and asked for one that wasn't and I was told they didn't exist. I got pretty frustrated at this point because another one wouldn't fit in my control panel. Finally I looked online and say that the bridge can be easilly removed with pliers :D

Oh, one other thing, for some reason my key operated switch works with or without a key haha
 
It never ends buddy, I put my pumps and plate chiller in a big tool box. It ended up being a pain to move the thing around on brew day, much less store. So I just built a wooden caddy to replace to toolbox, it doesn't look as nice but it's a lot easier to move and store, and no worries about overheating.


Sent from my iPhone using Home Brew
 
Finally brewed on this thing, beautiful! everything went perfect! well, not everything, for some reason when I shut down pump #2, it trips the circuit and I have to turn it off and on again from the panel. Other than that, no stuck sparges, oh and I missed my gravity, I calculated for 65% as in my keggles, got 83% :rockin:
 
Sorry guys, being the first brew I was more focused on getting everything to work properly. I'll take a few in 2 weeks.

One thing I can say is, it looks like my fermentation is stuck at 1.026, that's what I get for not aerating. Usually I splashed the wort on the carboy, now I just transferred it into the conical through the ball valve. Noob mistake.
 
It's been a while! I'm happy to say that my control panel is still working perfectly and I made a few changes, I upgraded to 50 gal kettles and modified it for 50 AMP. Everything worked perfectly at the first try! The only issue I had was with fotek ssrs from china, don't buy that ****, they stick and don't turn off until you do it manually. Bought auber ssr's again and it's all good.

150787_644332955667146_5625954073121154400_n.jpg


11081014_644332972333811_7326956985081893940_n.jpg


10422979_644332992333809_2686815651169988256_n.jpg


10363382_644333009000474_6697809232622805819_n.jpg
 
Back
Top