Long time brewer making changes

Homebrew Talk - Beer, Wine, Mead, & Cider Brewing Discussion Forum

Help Support Homebrew Talk - Beer, Wine, Mead, & Cider Brewing Discussion Forum:

This site may earn a commission from merchant affiliate links, including eBay, Amazon, and others.

Carlyle

Well-Known Member
Joined
Jul 31, 2010
Messages
78
Reaction score
4
Location
Southern Colorado
Hello to all my fellow brewer and beer drinkers!

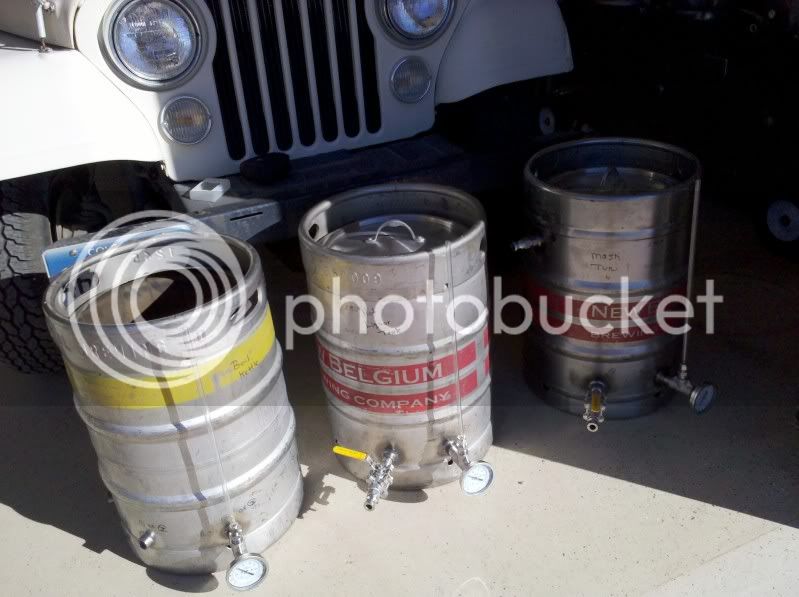
I've been home brewing on a hillbilly set up now for almost 20 years and must say i have come up with many a fine brew over that time. A friend of mine started brewing with me about 3 years ago and I've been inspired by him to make my brewing more efficient and easier. The cinder blocks and camp stoves get a little old at times...


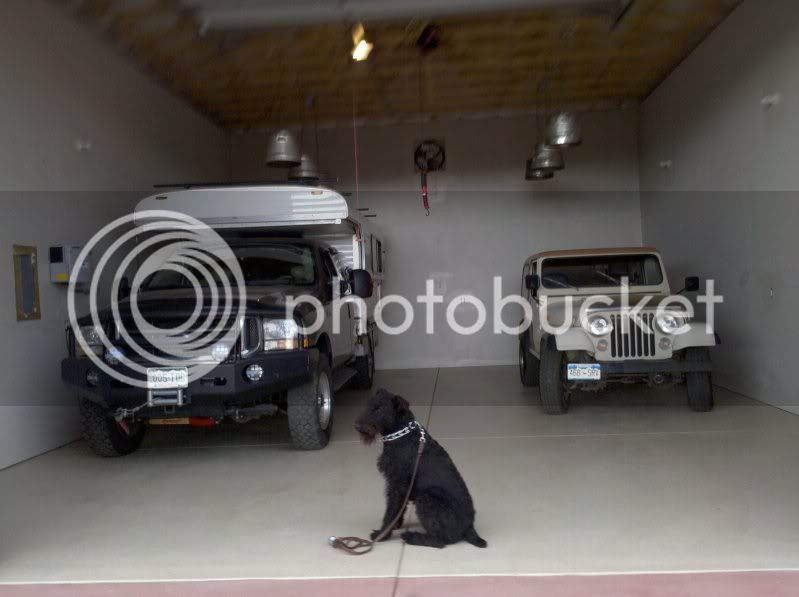
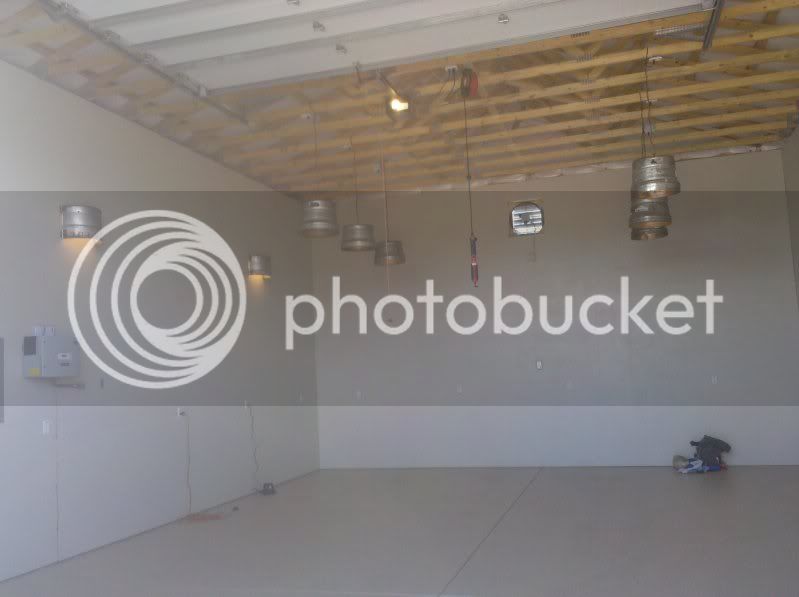
I recently finished the build on a new garage/man cave and now have a better place to brew!

2010-07-15121130.jpg


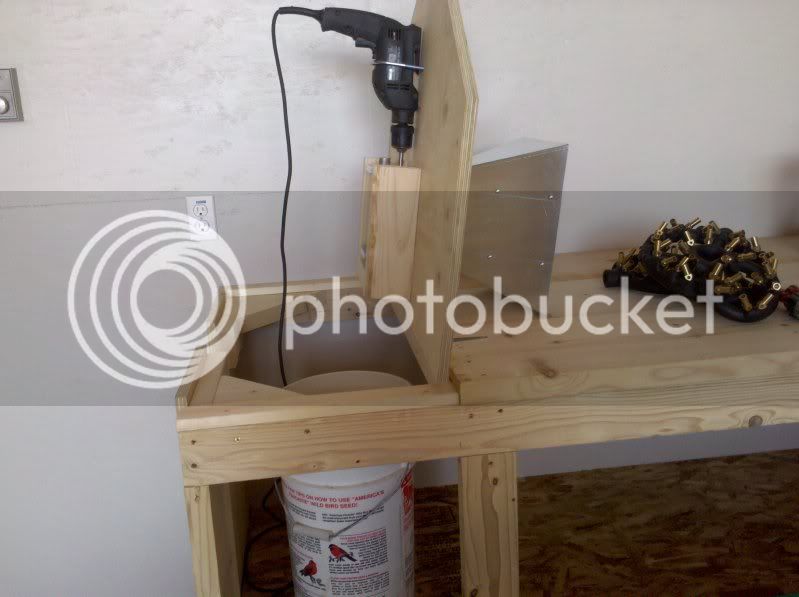
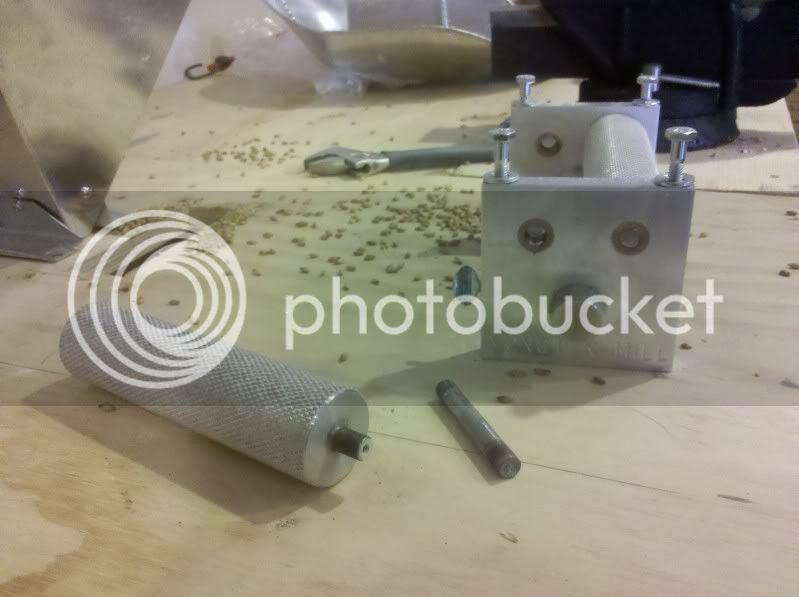
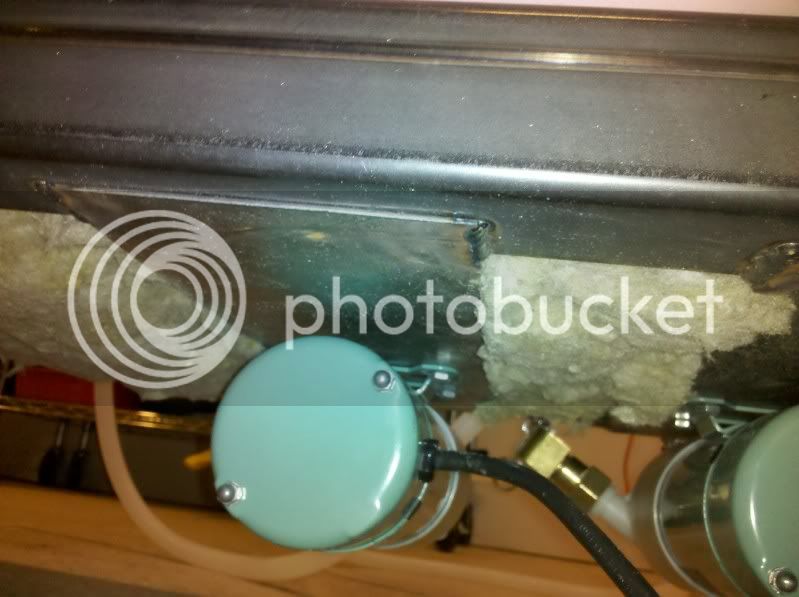
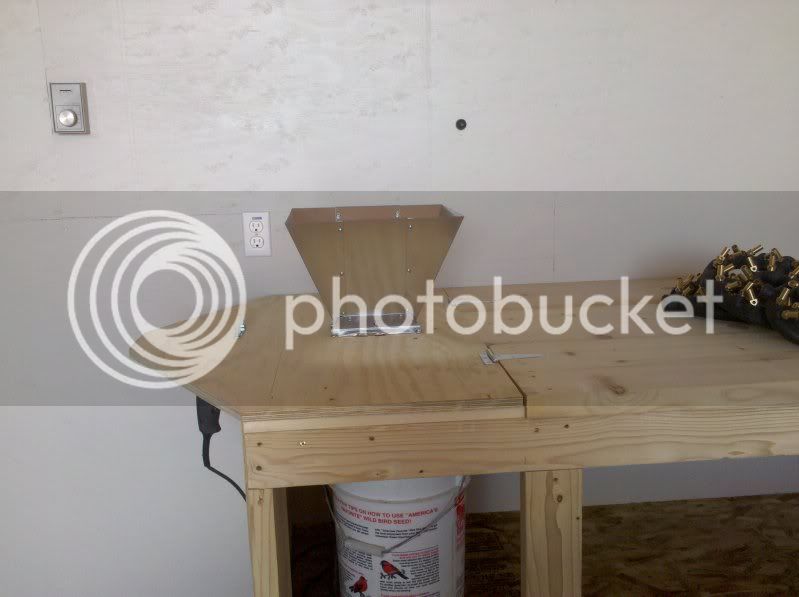
I had a workbench installed and now my new mill is built in and ready to crush.
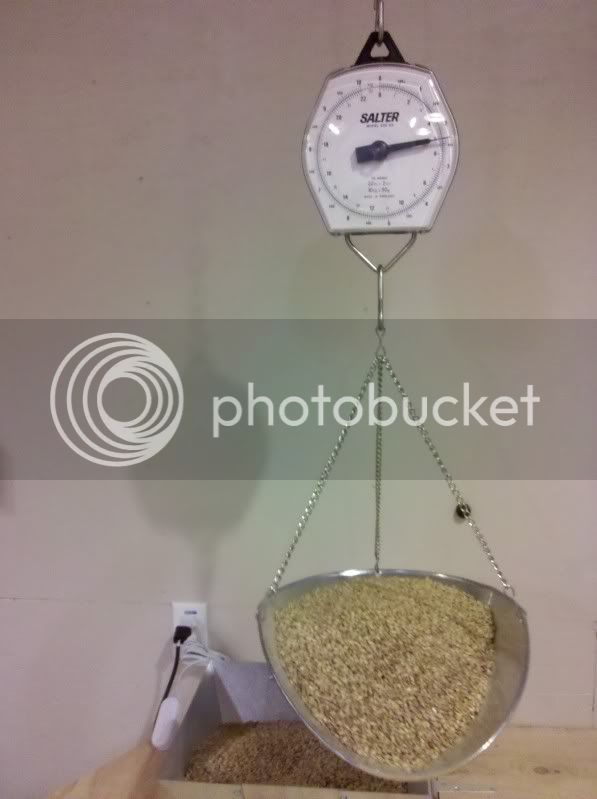
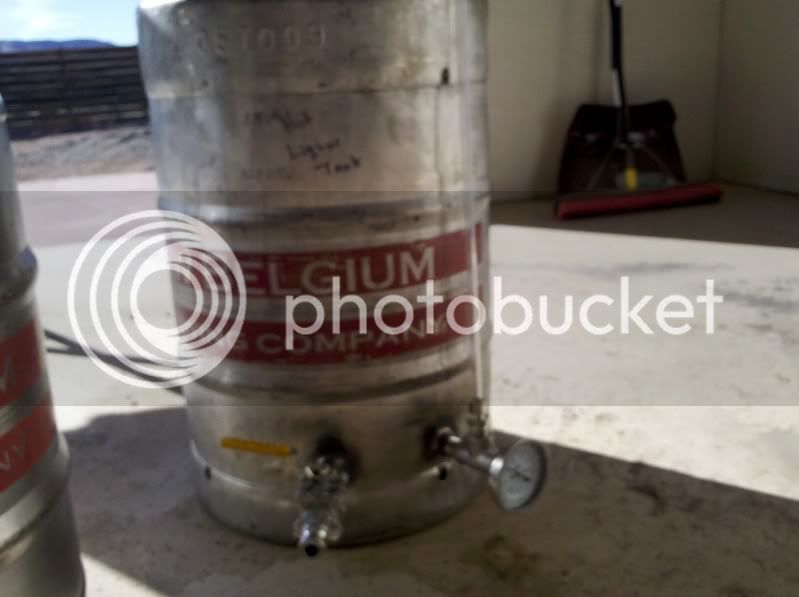
2010-08-03132809.jpg

2010-08-03132757-1.jpg


Grain Silo
2010-08-04132857.jpg


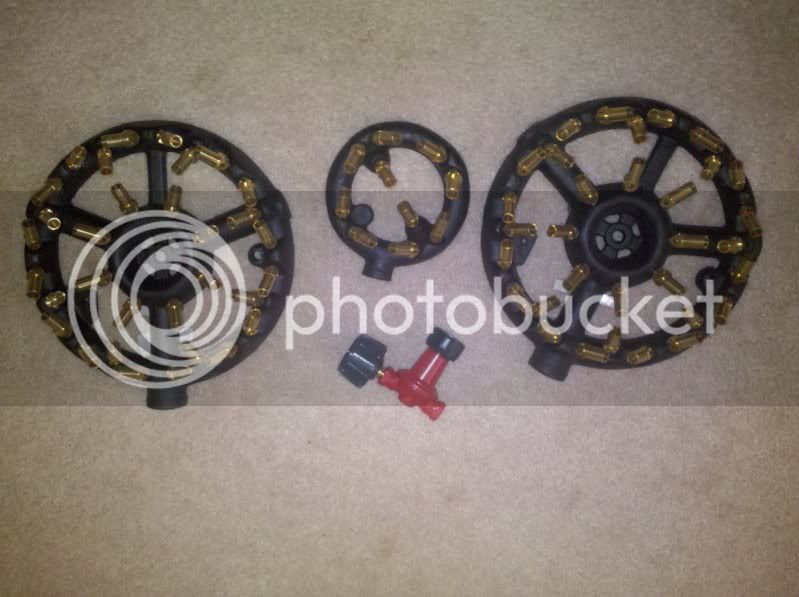
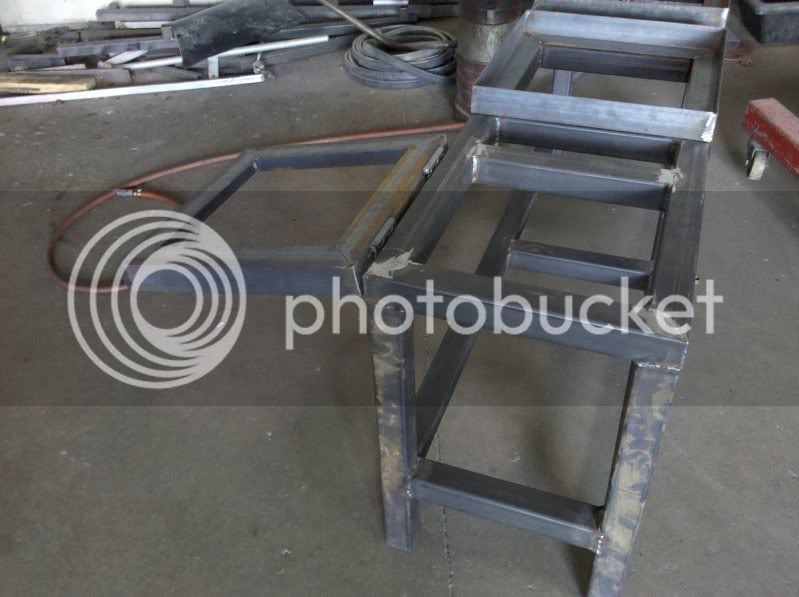
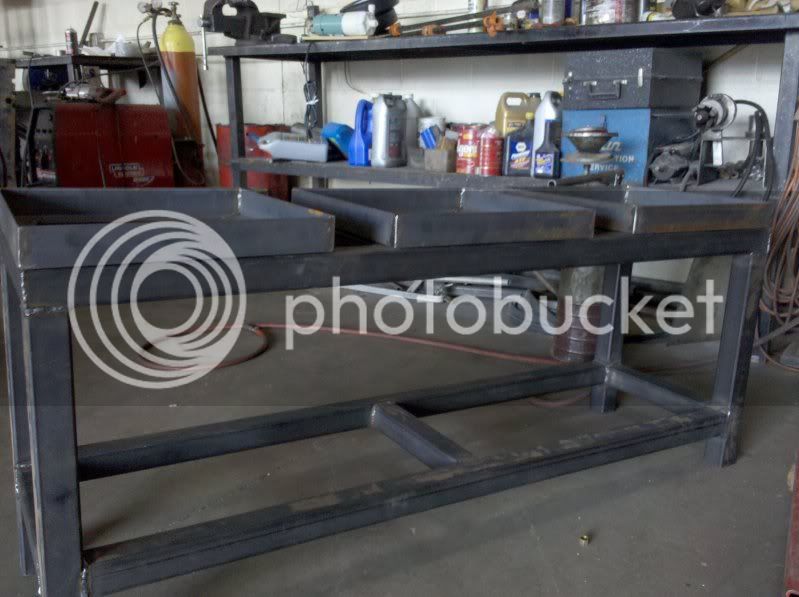
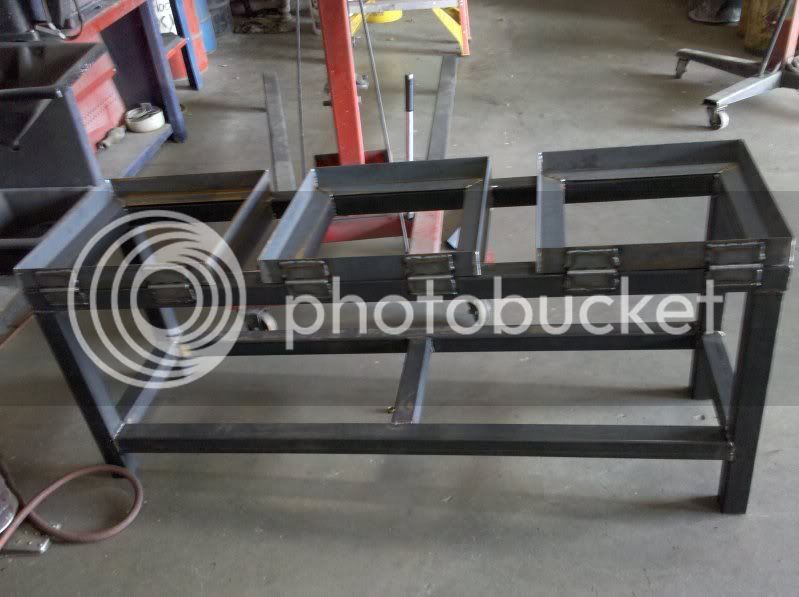
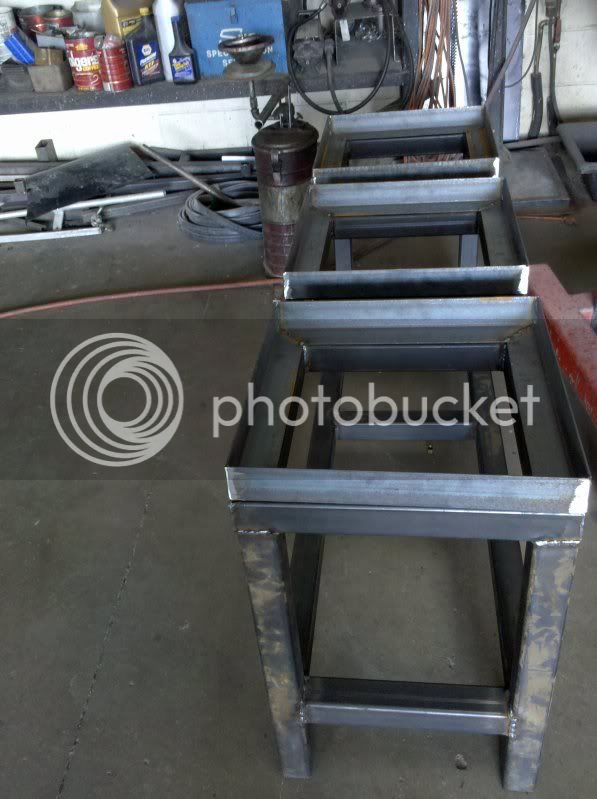
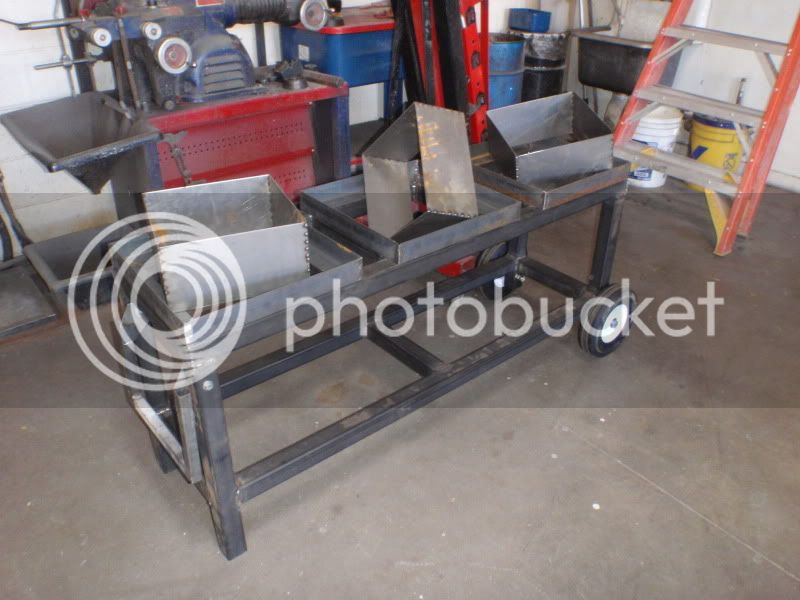
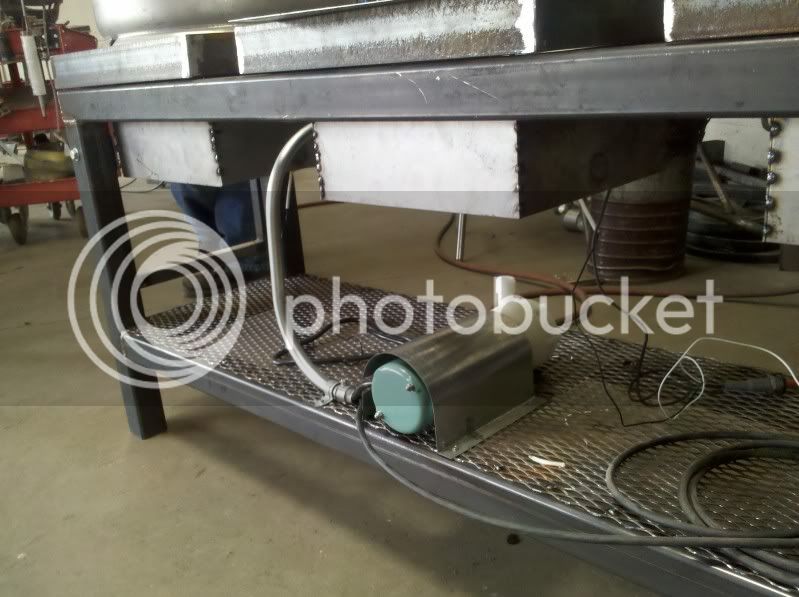
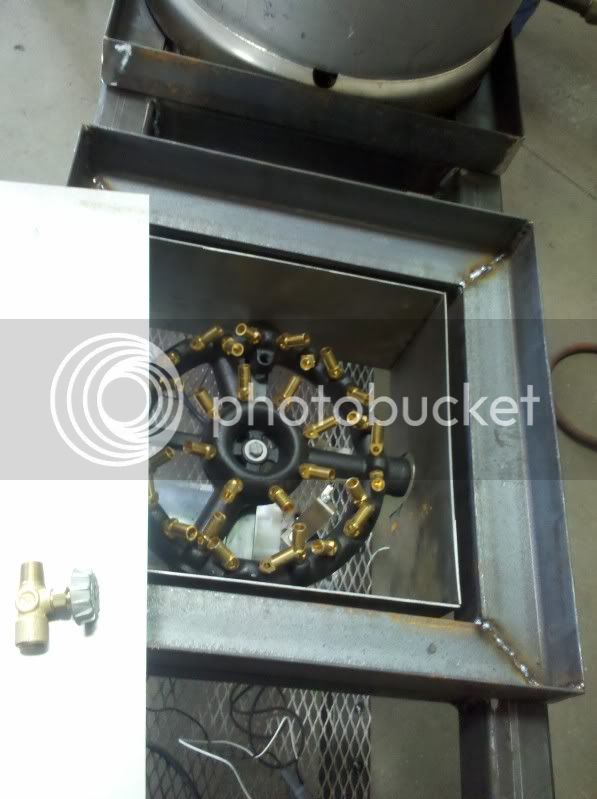
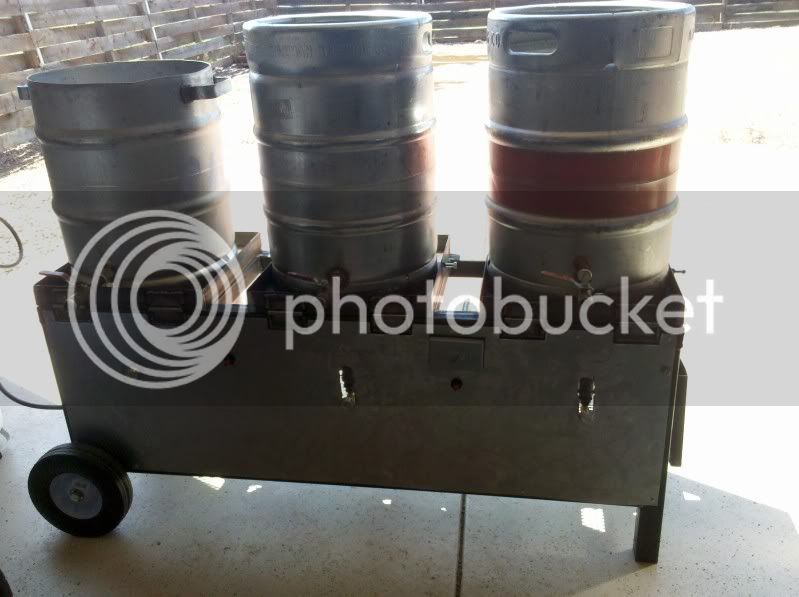
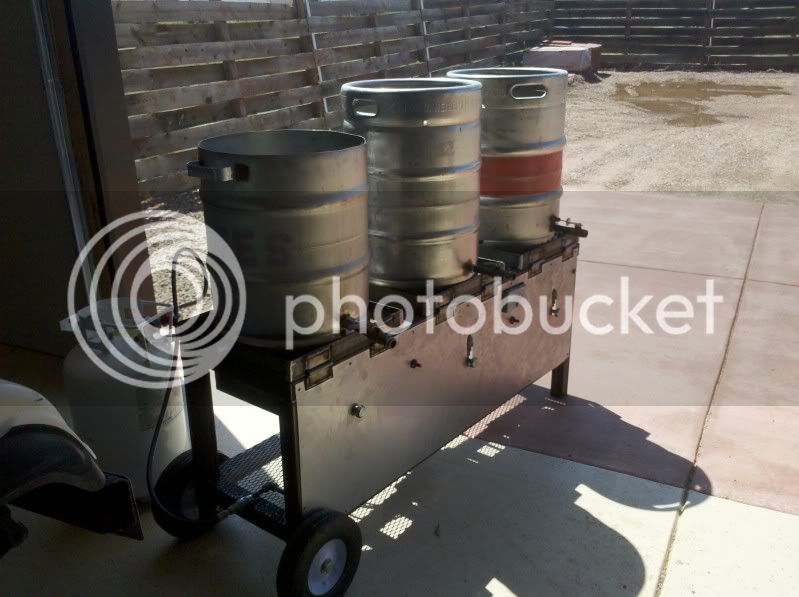
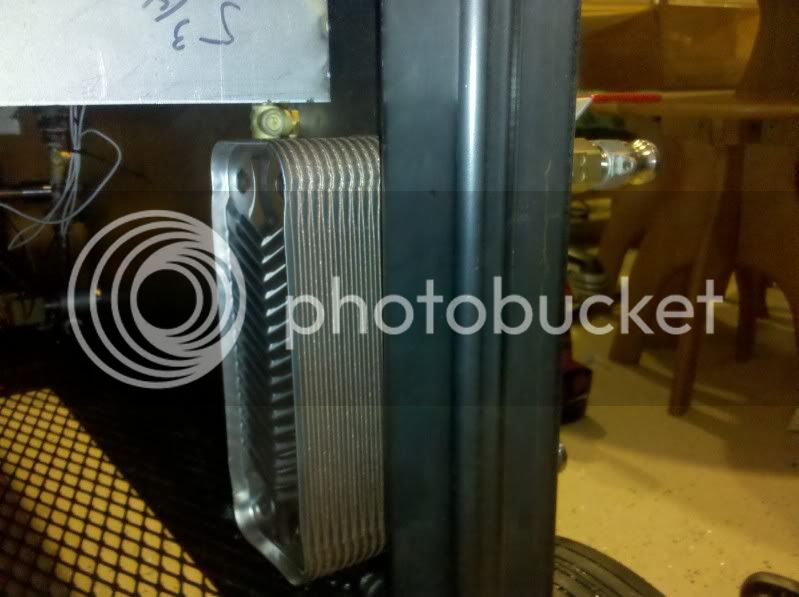
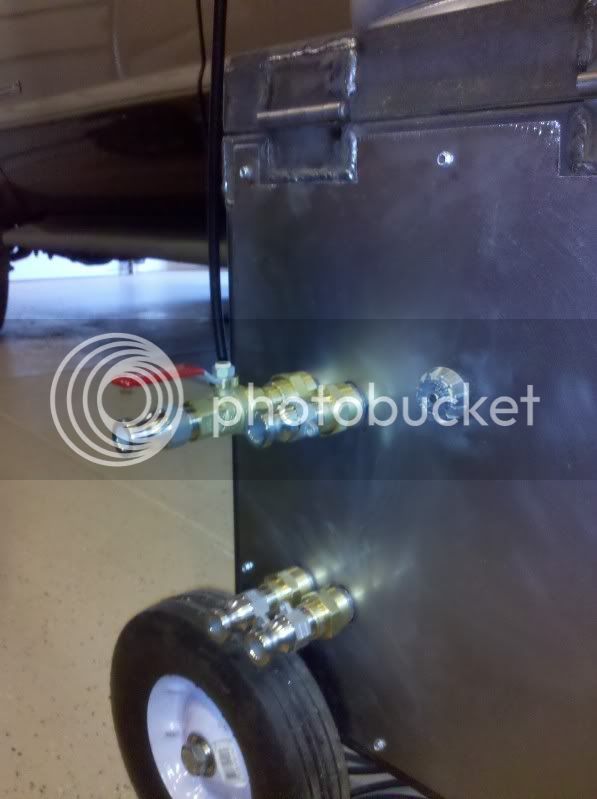
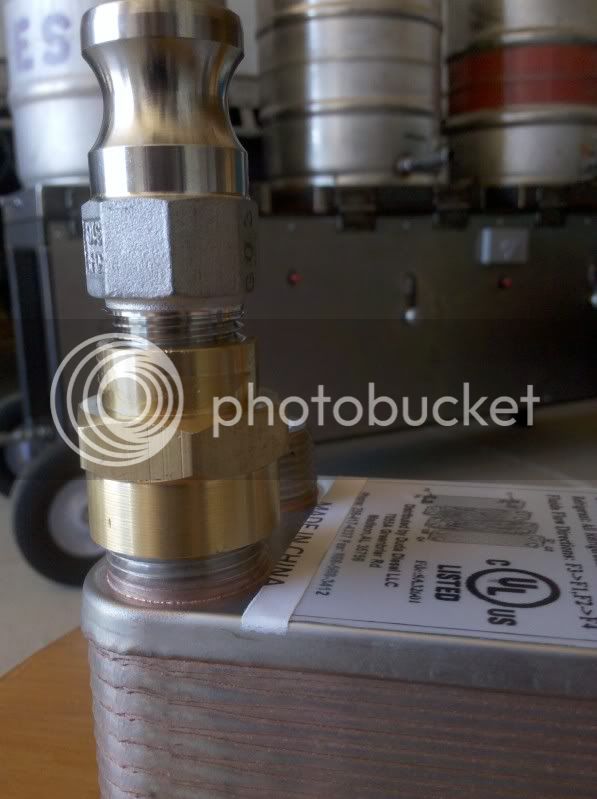
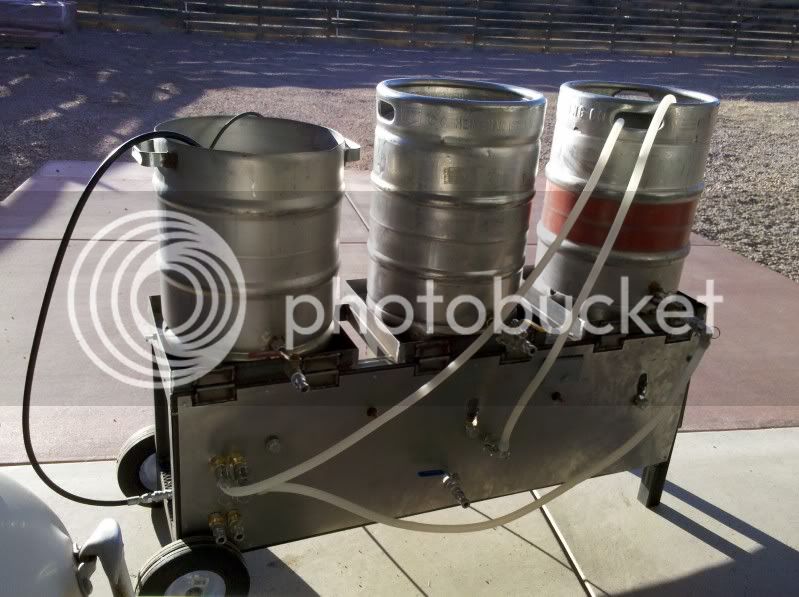
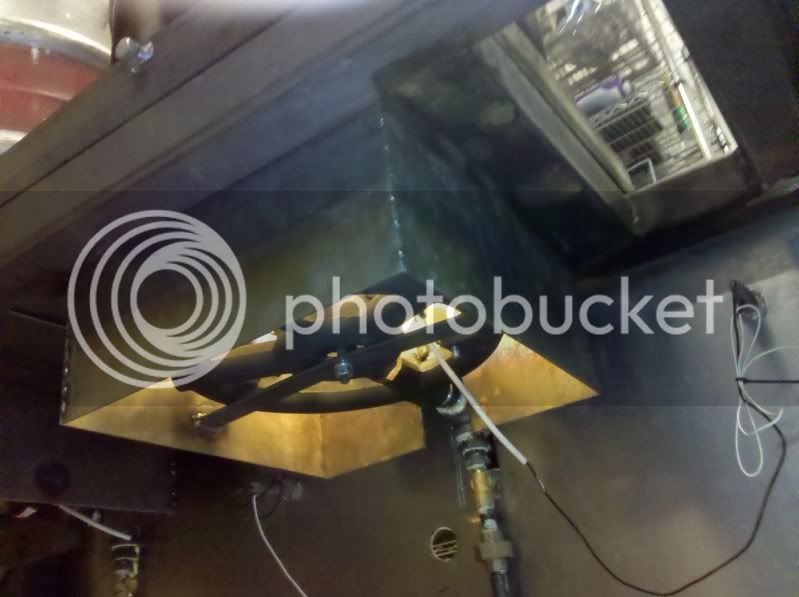
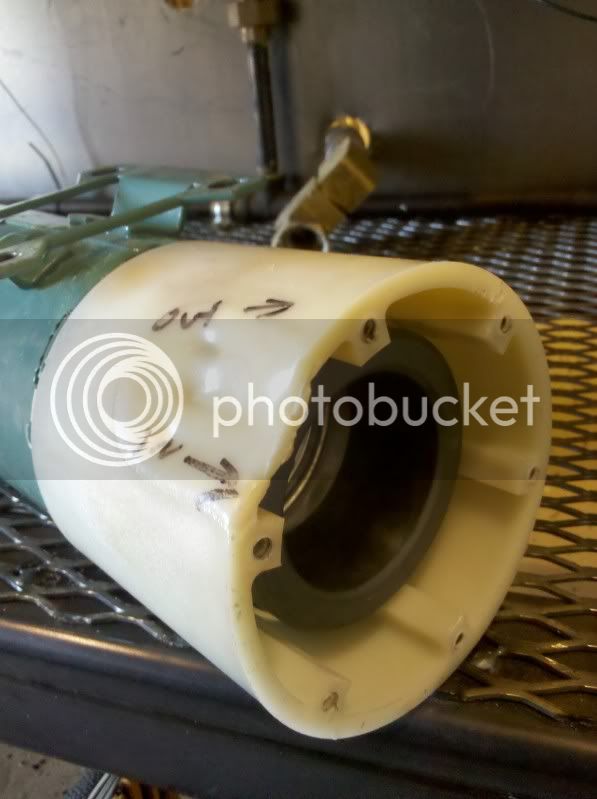
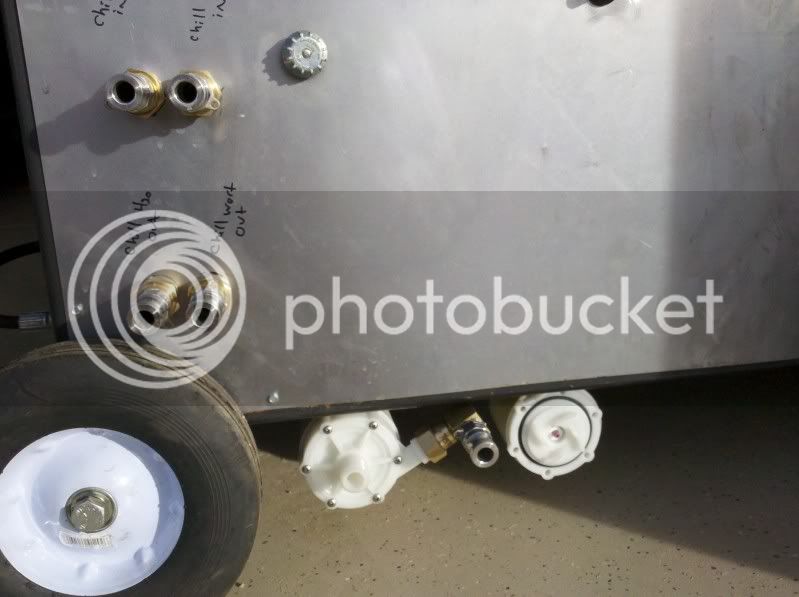
I just got the go ahead and my single tier brew stand is being welded up.
More pictures as it comes along.
 
Looks great.

Out of curiosity, are you going to have your hot side and cold side in the same room? I have no personal experience in the matter, but everything I have read indicates exposing anything post-boil to the milling and brewing environment will significantly increase the risk of infection.

Best of luck with the project.
 
Hi Jeff,

No I will not have separate hot and cold rooms as this is the garage I put my Jeep and camper in when I'm not working. The best I could come up with so far is to transfer directly to a Sanke with fermenter fittings that push the the finished and cooled malt into a Sanke after oxygenation. I have actually found fitting, five in fact, so that I use CO2 to push the fermented beer into a corny w/o ever touching our environment.

Thanks Jeff and I'll look into the hot/cold room idea. I hate contaminated beer as much as the next bloke and any ideas to further decrease contamination are welcome as this has been a bane in my ass at times...

TJ, the bad ass Airedale says hi and wishes for more good brew!

2010-07-08152151.jpg


More pictures to follow...
 
Keg lights look awesome man.
Wish i had a garage like that to brew in....
Maybe one day.

We i remodeling our basement, I asked SWMBO if i could put keg lights in....I got the look....


So guess that idea is out!!!

Looks great man. :mug:
 
Nothing new here. Every time I think I have a new idea I just look around for awhile find ten people who have done the same thing and hope to perfect it...


I hope to make classic brew rig combining a number of innovative ideas for this forum. No Hermes, no Rims yet... Just a single tier I can use when I'm old and have a jacked up back. Also I can sophisticate later if I so desire.

So far:

1. Built in grain mill: See forum somewhere and thanks! Hanging scale and scale scoop on the way.


2. Dead freezer for grain storage: See forum somewhere and thanks! BTW, your local appliance shop will be happy for your to haul away their old freezers. After they pull the compressors, they are worth only what what they pay to have them hauled away.


New/old fridge arrived today! More pictures to follow. Damn that thing is heavy.
 
BTW, the keg lights idea came from a brewery/ distillery we went to in Oregon, no names mentioned,but it was Rogue like... Fun aside, take your wife/girlfriend/whatever to a cool brewery and get her a little buzzed and show her a good time.. They forget nothing and will remember even the lights. If you screw up and say something stupid, they will remember it even longer. Therefore, don't be a twit and work the cool brew paraphernalia into the love you forever conversation. It's all tact and timing...
 
Thanks for the kudos Joshua, it did turn out nice.

Here are some shots as of yesterday:

Beer fridge is here and ready to be tapped! Freezer section will be perfect for hop storage.
2010-08-10094007.jpg


Beer stand at the welders
2010-08-11143937.jpg

2010-08-11143921.jpg

2010-08-11143905.jpg

2010-08-11143855.jpg


I searched all over our small town yesterday for needle valves to use with my system and finally gave up. A quick call to Wayne1 and I was rewarded with their location: Bayou Classic Depot

BTW, thanks Wayne1 for allowing us to take up your time last Monday drooling on your brewstand.
 
BTW, the keg lights idea came from a brewery/ distillery we went to in Oregon, no names mentioned,but it was Rogue like... Fun aside, take your wife/girlfriend/whatever to a cool brewery and get her a little buzzed and show her a good time.. They forget nothing and will remember even the lights. If you screw up and say something stupid, they will remember it even longer. Therefore, don't be a twit and work the cool brew paraphernalia into the love you forever conversation. It's all tact and timing...

Best advice I've ever seen on this forum!
 
I have an Airedale as well, however never seen a black one before - awesome.

Love the milling station and the drill instead of those monster motors most people use. Smart set up!!!
 
Airedales are great dogs and always guarding the house, yard, neighbors, neighborhood... We used to have labs and they would invite a robber in and show them the good stuff and therefore I would never go back. Best dog and too smart for his own good.

Now if only he could pull beer off the tap as well as he sniffs balls...

I'll wire in an off/on switch tomorrow on the drill before I go to work. I'll use a radiator clamp on the drill trigger to set the rpm's. Sound silly, but I think it will be sound.

20 pound scale and scale scoop on the way that will hang above the hopper.
 
I failed to mention thus far my main goal. That is to be able to brew beer when I am so old I can no longer lift much more than a pint glass...


Jesting aside, I'm 46 now and have been brewing on a contraption that is Rube Goldberg at best. My goals in this order are:

1. Minimal lifting so I can brew when I'm a geezer.

2. Less time with set up and clean up.

3. Higher mash efficiency...duh..

= More beer from me and not the commercial swill..
 
Okay, it's been a long time I have posted and I have no excuse for not sharing my build thus far.

Here are a few pictures as the sculpture came together:

P8160699-1.jpg


P8160700-1.jpg


Wheels added, and tacking in fire boxes
 
2010-08-03132746.jpg


Grain mill built into work bench

2010-08-03132809-1.jpg


In closed position

IMG_20101116_154618.jpg


Scale and bin in place above grain hopper


Initially I used a basic 3/8" drill and found that the drill was not up to the job and the mill would bind up with little more than 6 oz of grain in the hopper. I went to Harbor freight and purchased a 1/2" low speed drill and had much better luck until...
 
IMG_20101221_102926.jpg


IMG_20101221_102845.jpg


Monster Mill 3 with sheared shaft.

I called Monster Mill and discussed the problem and the owner shipped a new shaft roller out the next day free of charge! Nice guy and upgraded the shaft to a larger diameter at the same time. Talk about customer service and I would recommend his mills based on this alone.

In addition to the larger shaft I installed a Lovejoy composite connector between the shaft and the drill.

I replaced the cheap rheostat I had been using with a higher amperage model used for a router and now all is well. The mill can chew up to 20 lbs of grain in a matter of minutes without binding or bogging down.
 
Sounds like you no longer have an underpowered drill. Also sounds like great service from Monster Mill.
 
IMG_20101027_172201-1.jpg


Iwaki pump plumbed into place

IMG_20101103_164444.jpg


First run with single pump in place.


All was going well until...

IMG_20101215_152529.jpg


Damn, those burners produce a lot of heat!

IMG_20101215_152635.jpg


Maybe too much heat...

IMG_20101201_131614.jpg


Pump housing melt down :confused:

IMG_20101201_131632.jpg
 
IMG_20101210_145258.jpg


IMG_20101215_152554.jpg


First pump housing replaced and second pump purchased. Both now mounted under the stand and a liberal barrier of mineral wool insulation in place between the pumps and burners.

IMG_20101215_152652.jpg


Temperatures down radically with burners on
 
Nice rig! Are the kettles held captive onto the hinged frames somehow?

I like the fold-down handle construction...
 
I remember seeing your build last year. I'm glad to see your progress. Too bad about the meltdown, but at least it was an easy repair.
 
Hey Junkster,

The kettles attach to the stand with hinged racks with bolts that clamp the barrels in place on all four sides. I'll try to shoot a picture this week.
 
Mashing and sparging at this point is accomplished with the use of a sprinkler attached to a board that sprays directly on the grain bed.


IMG_20101104_115341.jpg


IMG_20101104_125835.jpg
 
After much deliberation I decided it was time to redo my keggles to make this unit more efficiently,whirlpool while chilling and to better utilize the two pumps.

IMG_20110301_151253.jpg


First one back from the welder

IMG_20110301_151702.jpg


All three back from the welder and Calphalon stainless lids in place along with sight tubes still in need of calibration.
 
Okay no advertising and time to remove the paint.

Using a 3m round paint remover on a drill I started to clean them up.

IMG_20110310_160846.jpg


IMG_20110525_165217.jpg


Ah, that looks better!

IMG_20110325_113613.jpg


P5250851.jpg


Inside of mash tun with sprinkler back in place and whirlpool for recirculation. Both are place on disconnects to ease cleaning and removal of spent grain.


P5250849.jpg


Inside of hot liquor tank with cold water inlet in place.
 
IMG_20110301_151122.jpg


Inside of boil kettle before clean up, but shows pick up on bottom side away from center will trub will form and whirlpool tube in place to be used for chilling and recirculating through the plate chiller.

Suffice to say I made several large orders to Bargain Fittings for stainless fitting and disconnects...
 
Any chance you'd sell the melted pump, if the issue is just a cosmetic one (although I assume you wouldn't have bought a new one if it was)? Thanks.
 
Hey NYC,

I rebuilt the pump and put it back in operation along with an identical one to augment the procedure. Using both at this time and Little Giant being plumbed soon. Thanks for the offer though.
 
Still not happy with how my pumps were mounted I pulled them off the bottom of the stand and moved them to a separate rolling stand. I noticed this as a common theme in almost every commercial brewery I've toured thus far and see how it is very handy to be able to moved the pumps around.

P5180848.jpg


IMG_20110525_165155.jpg


IMG_20110608_123908.jpg


Pumps in action
 
Back
Top