How To: BrewPi LCD Add-On

Homebrew Talk - Beer, Wine, Mead, & Cider Brewing Discussion Forum

Help Support Homebrew Talk - Beer, Wine, Mead, & Cider Brewing Discussion Forum:

This site may earn a commission from merchant affiliate links, including eBay, Amazon, and others.
Yes, that would work. My final hand-wired builds used that same protoshield - which is not actually "new" as the R3 Uno it's meant to top has been out for many years now.

That said I would advise against going that route. It was necessary when I built them as there was no alternative solution, but with the CadiBrewer PCB available there is a clear choice. It'd be way easier on everyone ;)

I would ring up @CadiBrewer, @Bigdaddyale and @LBussy and see if any of them are holding PCBs they'd be willing to part with.

Cheers!
 
I don't have any "Naked" V.1 PCB left but I do have a couple populated shields with R3 Unos available.I have a couple Cadibrewer v.2.1 PCB that uses a pro mini as well. Send me a PM if interested
 
Been lurking around for a little while now. I've got the basic BrewPi wired up and running fine, and now I'm looking to add the LCD and rest of the fun bits. Would anyone happen to have a board laying around still? Compensation will be given of course.
 
Been lurking around for a little while now. I've got the basic BrewPi wired up and running fine, and now I'm looking to add the LCD and rest of the fun bits. Would anyone happen to have a board laying around still? Compensation will be given of course.
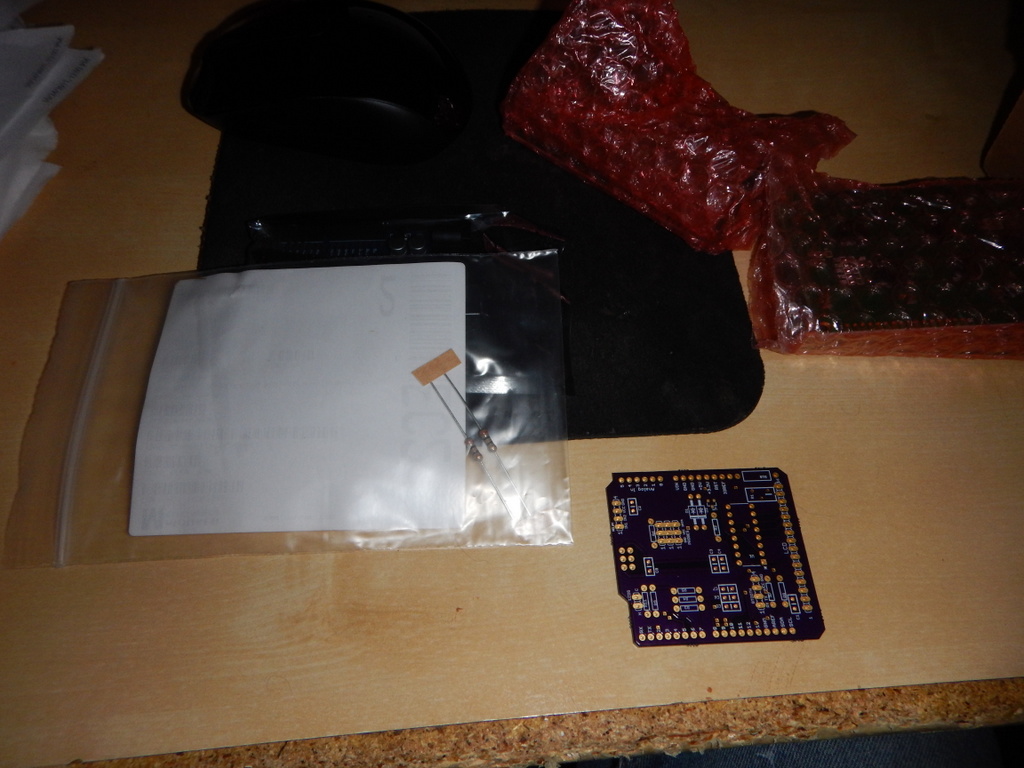
What are you looking for? I have one of the 1st generation PCB's and the parts to populate it - with an LCD too. PM me
 

Attachments

  • DSCN0476.JPG
    DSCN0476.JPG
    232.5 KB · Views: 107
Hello.

I have been following this thread now for about three weeks, reading up on the LCD shield. I have yet to build a brewpi, however I have started to order most of the parts needed. I am a little confused at this point as to what the best version of the shield is going to be to build.
I see three version at this point maybe 4? I downloaded from the Google docs folder BrewPi Shield v2.0, and I started to build an order on Mouser and I noticed this must be a shield a nano? I have found the DIYBrewpi WIKI very useful.
Unfortunately I have already ordered the regular arduino the resistors and 2 channel relay board therefore
I think if I get these questions answered I can better deiced on what I need to do next before I purchase more things then I really need.

-Does version 2.0 of the shield take care of LCD display issues (scrambling)?
-Should I just build version 1.2 (regular Arduino) because I'm already getting that kind of board?
-If I go with v2.0, and use a nano, should I buy a real Nano from Arduino, or just anyone on Amazon, I know drivers are issues with counterfeits.
-What is the best LCD board to order? I see lots of them but I want to use good quality parts?
-Is it advisable to use the SSR or is the 2 channel relay fine? (I have a small refrigerator, I have not looked at wattage but I think its well within the range of the 2 channel board)
-I have no problem getting the boards made on OSH Park, and if anyone is interested in the boards I can put more boards on my order and send them to anyone who wants one.

If there is any other info that will help me that I did not mention here please let me know.

-M
Hey there, @matridium, welcome to this corner of the world. Good luck on your build. If you have questions or issues during the process, feel free to post them as there are quite a few knowledgeable folks here eager to help.

The only practical difference between v2.0 and v1.2 is the size of the final product. I put v.2.0 together to see if I could make a version that mated to the LCD in a "backpack" sort of way to eliminate some of the dupont connectors and enable a smaller form factor if that's what someone was after.

Since you already have the Arduino, definitely stick with v1.2. I may even have an extra board that I'd be happy to send you so you don't have to have 10 of them manufactured. PM me your address and I'll pop it in the mail.

As for the screen scrambling issue, that is not solved by any of the board builds. There is an alternative software hex version that has a routine built in to refresh the screen every few seconds that can help if you end up having the screen scrambles. Some of us have the issue, some don't.

For the LCD board, use the one that @day_trippr linked in the first couple of pages in the thread. It is bullet proof and readily available on Amazon. The 2 channel relay is fine and is what is used by the majority of us here.
 
I never resolved the scrambling with my arduino version, if you’ve not ordered yet, it might be worth taking a look at Fermentrack. It’s based on Brewpi and uses a Raspberry Pi, and functions in a identical way, but is still being supported.

It’s what I have moved too, although there really was no issue with the original Brewpi, I think there is a little less soldering on Fermentrack

Also I should say I use a Sainsmsrt relay and have no issues with scrambling on my LCD display with Fermentrack
 
I never resolved the scrambling with my arduino version, if you’ve not ordered yet, it might be worth taking a look at Fermentrack. It’s based on Brewpi and uses a Raspberry Pi, and functions in a identical way, but is still being supported.

It’s what I have moved too, although there really was no issue with the original Brewpi, I think there is a little less soldering on Fermentrack
I recommend going to Fermentrack, too, but to clarify, Fermentrack replaces the website software side of Brewpi, not the hardware side. @Thorrak ported the Arduino code over to an ESP8266 that has onboard Wifi, and he created an interface so that the LCD with the i2c backpack could be used. @Mikmonken is 100% correct that there is a lot less soldering involved with that solution and it is a great way to go. I have 4 units running, 2 of which are the original Arduino versions with the shields, and two of which are the 8266 versions. Both work great. But Fermentrack will work on either solution.

Just clearing that up for posterity.
 
Great for all the help guys!
I’m going to look into the fermentrack software sounds interesting. Only thing I have on order is a rpi and Arduino UNO sainsmart relay board and sensors and resistors. I have not ordered anything for the LCD shield since it looked like it was still evolving and I needed questions answered. What’s needed to move to the fermentrack software past what I already have on order? Also just a small note on my background. I’m a biologist and I run a microscopy core facility so I have access to some very high end microscopes. But my hobby for the past 18 years is a small machine shop in my house. I have almost anything you can think of in a machine shop spare a few machines. I can probably help manufacture items for brewing for anyone who’s interested.. my latest toy is a laser cutter/engraver..
anyway brewing has been an on-off hobby of mine for many years but now I’m really getting back into it and have really taken to the fermentation control and tracking stuff.
 
Last edited:
fwiw, both @CadiBrewer shields work well and imo are "mature". I've built both versions (maybe the only v2.0?) and they're all still running. While I'm still 100% BrewPi 0.2.10 here because it's been working for years across numerous working instances (3 fridges and a keezer) one of these days I'll stuff a fresh SD card in one of my test bench machines and give Fermentrack a try...

Cheers!
 
Great for all the help guys!
I’m going to look into the fermentrack software sounds interesting. Only thing I have on order is a rpi and Arduino UNO sainsmart relay board and sensors and resistors. I have not ordered anything for the LCD shield since it looked like it was still evolving and I needed questions answered. What’s needed to move to the fermentrack software past what I already have on order? Also just a small note on my background. I’m a biologist and I run a microscopy core facility so I have access to some very high end microscopes. But my hobby for the past 18 years is a small machine shop in my house. I have almost anything you can think of in a machine shop spare a few machines. I can probably help manufacture items for brewing for anyone who’s interested.. my latest toy is a laser cutter/engraver..
anyway brewing has been an on-off hobby of mine for many years but now I’m really getting back into it and have really taken to the fermentation control and tracking stuff.

To move to Fermentrack, you have everything you need. The Uno hooks into the pi, which runs the Fermentrack software. You can then monitor your fermentation chamber via a monitor attached to the pi or via any connected device over your network or the internet. If you'd like the LCD screen on the enclosure that you put the Uno and relay board into, you'll either need the LCD shield added to your build, or you'll need to migrate to the ESP8266 and one of the shields that @Thorrak created. Beware that the two LCD solutions use a different LCD - one has the i2c backpack and the other doesn't.

In the end, for me the difference would be how you want to connect your build to your pi. If you have the pi right next to your ferm chamber and are going to hook up via USB, stick with what you've got. If you want to go wireless and physically disconnect your build from the pi, you can add a bluetooth board to the Uno and hook up via bluetooth to the pi, or you can use @Thorrak's ESP8266 solution with built in wifi. I have both versions and either one works, but the ESP8266 is an easier process. The bluetooth boards can be a bit fidgety at first to get working, but they are bullet proof once you get everything sorted out.

Either way, we can likely help you though your endeavor.
 
What am I missing? I have the shield 1.2 all soldered up and mated to the Uno. The probes all connected, relay connected, LCDs wired and flashed via fermentrack. The LCD pins are connected from 1-16 to 1-16 on the shield. The LCD is lit but nothing on it. It is recognized on fermentrack. I turn the know on the trimmer but nothing.

What am I missing?

ETA: .found it. Didn't turn the trimmer enough
 

Attachments

  • 15527969000883490770727380897619.jpg
    15527969000883490770727380897619.jpg
    2.3 MB · Views: 91
Last edited:
What am I missing? I have the shield 1.2 all soldered up and mated to the Uno. The probes all connected, relay connected, LCDs wired and flashed via fermentrack. The LCD pins are connected from 1-16 to 1-16 on the shield. The LCD is lit but nothing on it. It is recognized on fermentrack. I turn the know on the trimmer but nothing.

What am I missing?
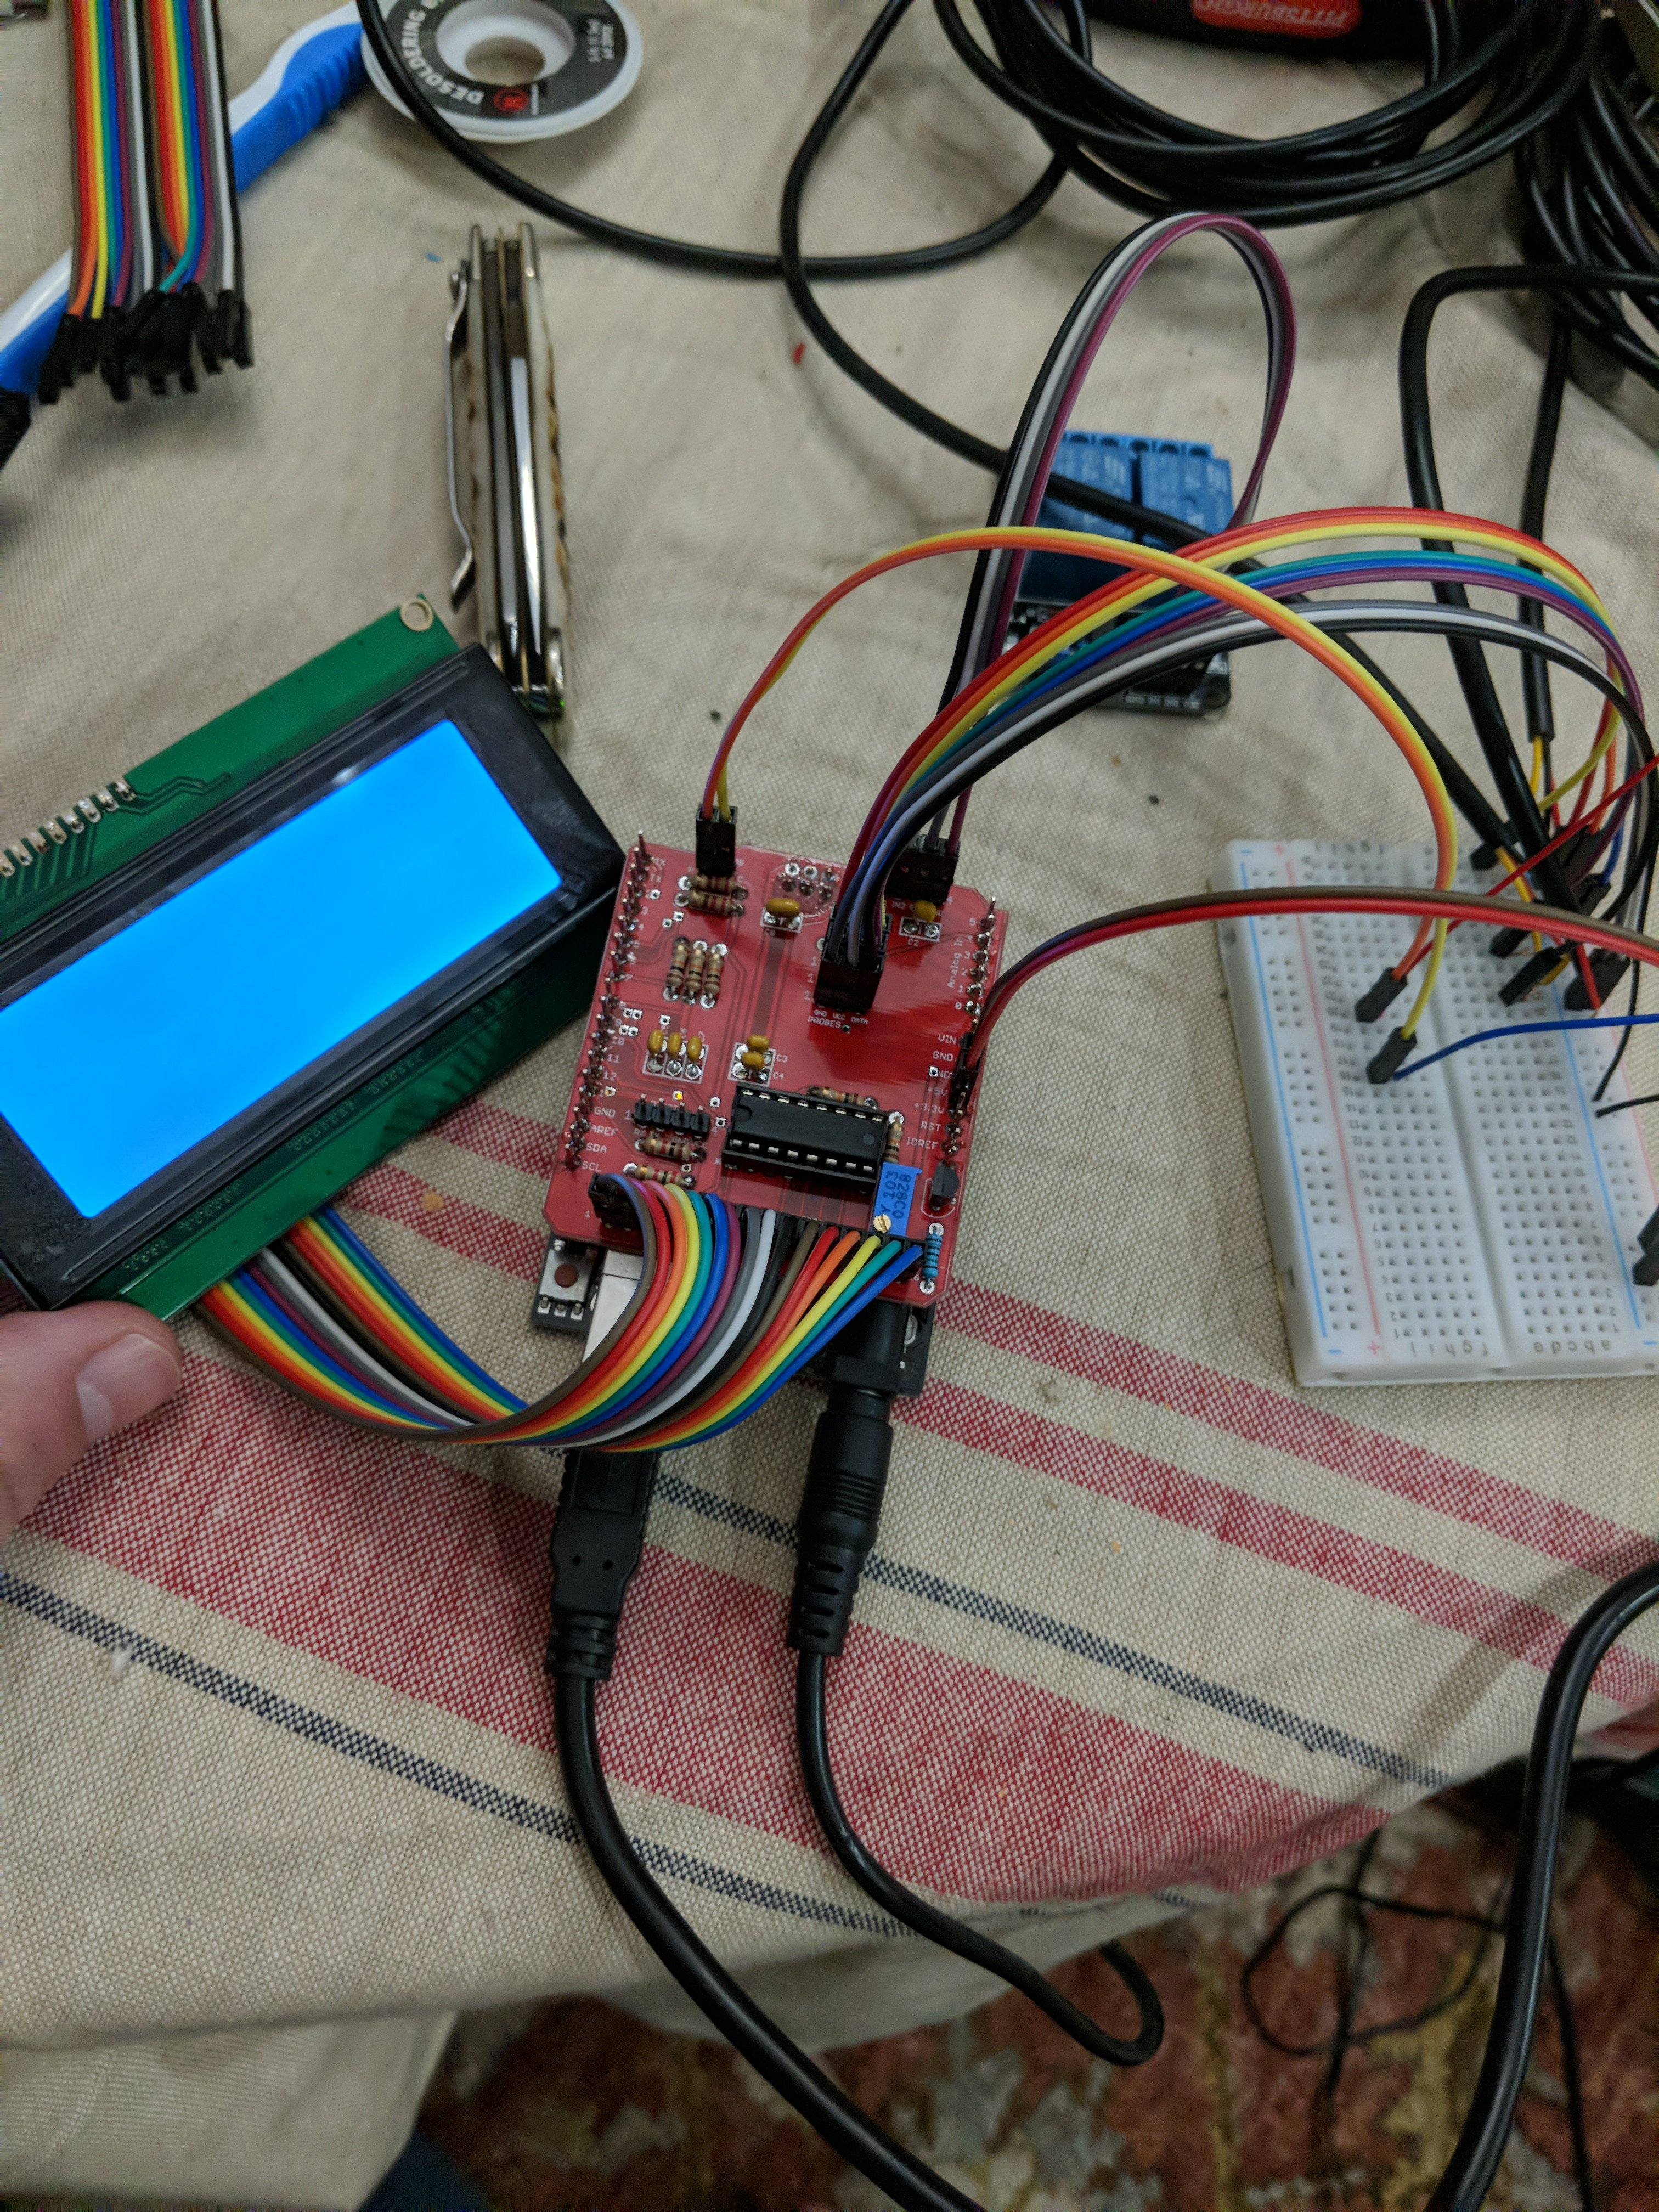
How much voltage is going to the LCD?I had what looks to be the same problem.I had to bump up the voltage to 9v and turn the pot 20 revs in each direction before it would read.
 
Last edited:
The Uno is running off it's own power supply. So it should be plenty power.....I'll turn it more to see if I get any thing
 
Last edited:
Yeah there's not a lot of "adjustment" in that trimmer. I wonder if it would not be better to just have a resistor there? (speaking as possibly the LEAST electronics capable person here.)
 
Is there a less stiff option to connect the LCD pins to the shield LCD pins or is everyone using 16 dupot connectors?
 
Nope, that's really your only option. You can separate all of the wires to make it more flexible, but that makes it a pain to hook up. You can also ditch the middle four wires because they are not needed, but again, using all of them makes it easier to align the wires.
 
Nope, that's really your only option. You can separate all of the wires to make it more flexible, but that makes it a pain to hook up. You can also ditch the middle four wires because they are not needed, but again, using all of them makes it easier to align the wires.
What about flipping the text 180 degrees? I did a search through this thread and nothing came up.
 
Is that bad? I mean if I mount the screen uosidu down is there a way to change the text orientation? I might not need an answer because the project boxes I cut out today .....I messed up so I need to start over.
 
That reminds me of a guy I was stationed with a long time ago. He used to sit in the barracks all teh time, smoking hash (was cheap over there) and watching "One Flew Over the Cucoo's Nest" over and over again.

One day apparently he was especially tired from all the exertion and was laying in bed. It took me a moment to figure out what I was looking at when I came in the room but he'd had a stroke of brilliance and tipped the TV on it's side so he could watch it easier. :D

So, there is a moral to all of this: After you build your BrewPi box, just flip IT upside-down, not the display.
 
Looks like pretty good reviews on Amazon.
I can't speak to the specific make/model but I have a similar station in my collection that also uses T18 tips and it's very capable/versatile as you can change to the right size/shape tip in seconds. Hakko seems to be a ubiquitous player in the consumer space for soldering tools so that should be a positive. And even Home Depot carries T18 tips...

Cheers!
 
I use the 937D+ solder station. Works great for my needs. I wish I would have sprung for the hot air gun combo version. I moved the on/off switch to a better position higher up on the unit, makes it easier to reach on my small crowded workbench. I need to add a timer to turn it off,I left it on the last few times I used it. You would think the large blinking red led would get my attention.
 
Those are the same tips that my Sparkfun branded station uses. (I believe it is a Hakko knockoff). I like them. Also, I believe that is the same unit that Thorak linked to, with extra tips. If you do a fair bit of soldering you'll really appreciate the upgrade.
 
I'm not doing a bunch, but it REALLY pisses me off when I lift a pad because I'm too hot, or the iron tips over in it's holder because it's a $2 holder, or I have to wait 15 mins to heat the iron up for a 30 second job ... you know, all those things you don't think about when you have a nice one.

Basically, I'm an adult, I have a good job, I should have good tools. :p
 
Back
Top