rkhanso
Well-Known Member
- Joined
- Jan 24, 2017
- Messages
- 774
- Reaction score
- 174
I had some spare BrewPiLess-32 boards, so I built working units and have them available for sale.
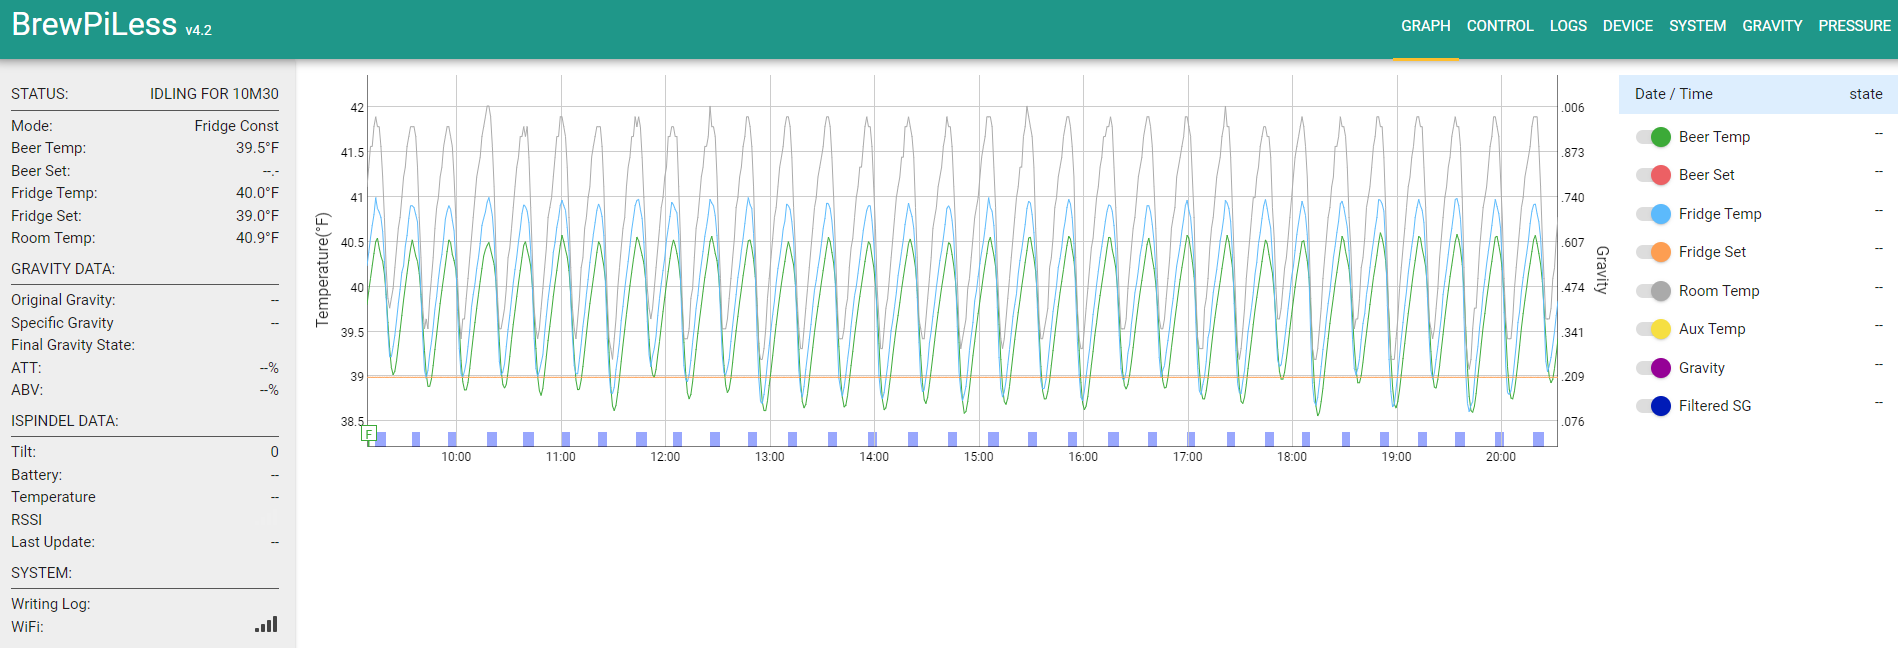
I'm using one to control my Kegerator and it's been working for months without any problems. I'm using a Danby kegerator and controlling the compressor with a ubiquitous blue 10A, 5v Arduino-type relay module. I have 3 temp sensors in my setup. My iSpindel also connects to BrewPiLess with no trouble.
These are complete and ready for you to use, but without some of the optional features that I didn't care about and didn't use myself (but you can easily add if you want). The ESP32 is inserted into headers, not soldered directly onto the PCB.
Not included is the buzzer, the OLED display, or voltage divider resistors (I used an A/D convertor instead). Does NOT include a power supply. Any supply from 8-28v DC can be used. I used a laptop power supply at 19.5v DC to calibrate the regulator, but also tried a 10v DC power supply and the board still sees the correct 5V output from the onboard regulator.
I'll include both a male and female 7-pin header for an LCD. You can choose which to solder on if you'd like. Or don't use them, your choice.
The voltage regulator is adjusted properly at 5v DC. The boards will ship with a jumper that needs to be connected at JP1. I've left the jumper off in case you want to verify 5v DC output before powering up the ESP-32. When ready to use the controller, be sure to install the jumper or the board won't power up.
The ESP32 has the firmware/software running, ready for you to connect to it's AP and IP of 192.168.4.1.
I've formatted spiffs and set the temperature reading to Fahrenheit.
Be sure you have temp sensors correctly connected - and a solid connection. In my experience, BrewPi didn't like flakey 1-wire temp sensor connections.
Photo is of an actual board for sale.
Links I used to build these controllers:
GitHub - stefschin/BrewPiLess-32-PCB: PCB board to test BPL firmware with ESP32
Porting to ESP32 · Issue #128 · vitotai/BrewPiLess
Tutorial: Install BrewPiLess on ESP32 and ESP8266 From Scratch
I only have 4 of them. Two of the BrewPi-32 controllers have ESP32s that have Micro-USB ports. The other two have USB-C ports. Let me know what you prefer. The USB ports are NOT for powering the controllers. The boards are powered through a separate 8-28v DC power port (upper left corner of the first photo).
Does NOT include a case or any mounting hardware. That's a personal choice for your setup.
Please visit the links above for more information.
$40 each plus $10 shipping to anywhere in the USA. $50 total.
I can accept PayPal or Zelle. Maybe some other payment systems.


Last edited:


