couchsending
Well-Known Member
- Joined
- Jun 21, 2016
- Messages
- 3,063
- Reaction score
- 2,256
Everything you've done sounds like it should not result in a lower efficiency. If anything, it should be better. My Schmidling Malt Mill is set to default 0.045," I always precondition my grain, and I also use a SS steel screen at the bottom. My BH efficiencies are usually in the 80s, and conversion in the high 90s. My sparges are also usually quick (<15 minutes.) You did not specify if the efficiency was Brewhouse or Conversion, or the size of the grain bill. If Conversion, you may not have stirred the wort thoroughly after sparging to make sure it was homogenous before pulling a sample. If it was Brewhouse, I'm thinking you may have channeled through your grain bed, or possibly, your grain wasn't as fresh as it could be. IMO, you are correct to meter the flow down the overflow pipe as you know it's going down through the grain bed. My recommendation is next time, make sure your MM3 is correctly set and adjustment screws tight, have a good crush, and make sure your mash is fully stirred before setting the top plate and starting. If this is a session beer, or the grain bill is <9 pounds, make sure you follow the GF instructions (unless you are using small pipework.) Chalk this one up to an anomaly and try again. RDWHAHB. Hope this helps. Ed

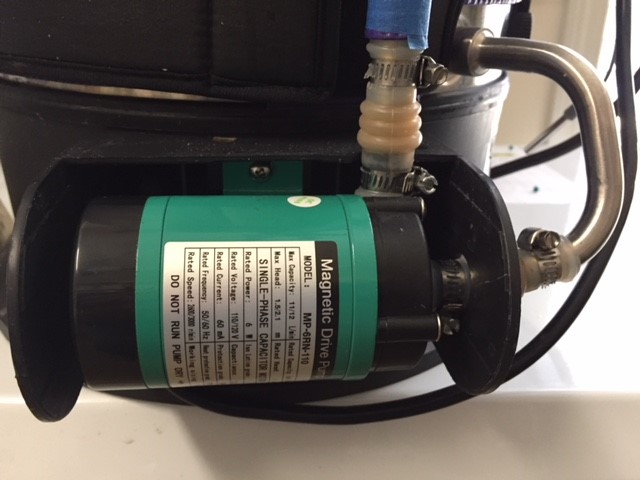
It’s gotta be channeling. Definitely stir well before checking PBG, I monitor the valve so as to only get a very small amount of wort flowing over the overflow. I put markings on my MM3 at exact measurements with a feeler gauge, PH is always 5.2-5.3, etc. I’ve got the micro pipe work for small batches/grain bills. I’ve never done an iodine test so maybe I’m not getting full conversion but I highly doubt it. Mashes are usually a minimum of 45 minutes with a 15 minute raise/rest to 168. I’ve also done a few 144/155/168 or 144/162/168 step mashes with the conditioned grain that had odd/slightly lower than expected mash efficiency which I was definitely not expecting.
")


![Craft A Brew - Safale S-04 Dry Yeast - Fermentis - English Ale Dry Yeast - For English and American Ales and Hard Apple Ciders - Ingredients for Home Brewing - Beer Making Supplies - [1 Pack]](https://m.media-amazon.com/images/I/41fVGNh6JfL._SL500_.jpg)