• Please visit and share your knowledge at our sister communities:
  • If you have not, please join our official Homebrewing Facebook Group!

    Homebrewing Facebook Group

Grainfather!!

Homebrew Talk

Help Support Homebrew Talk:

This site may earn a commission from merchant affiliate links, including eBay, Amazon, and others.
So as I work on my second Grainfather brew, I believe this needs a sightglass - has anyone worked this project (besides the one seen in a video)? Interested in sourcing parts and putting it together. It would really be helpful during sparging

Ed has perfectly replied here below to your question. Don't mess with it, sight glass could easily be broken off and the simplicity and duplicity of the GF just doesn't require one.

Hi. May I ask why it would be helpful during sparging? If you measure out all your mash & sparge water ahead of time, why worry about it? I will concede that knowing you've hit your final volume at the end of boil might be helpful, but if you know your boil off rate, that shouldn't be a problem either. I've found the formulas are pretty close to being spot on, and I've tweaked my formulas slightly to dial in my system with a Graincoat. Just asking so you don't drill a hole in your Grainfather for something you might not need. Ed
:mug:
 
funny you should mention this... I just used mine for the first time last weekend, and also had a pretty bad stuck sparge. I was using about 30% rye which was milled finer than the rest, and this may have caused it, but I dont know if I am going back to using the extra screen. The miniscule amount of grain particle that gets through without it is not worth this much trouble. I have thought about putting an extra domed false bottom down, as someone else here has done, to see if that makes things better.


I'm going back to stock it works just fine for me. I am going to add .5 lb of ricehulls though for anything with wheat period from now on.
 
I know others have given feedback that the fit on the new Connect box for those upgrading wasn't great. I was ok with the box not sliding under the metal bar, but thought it was way too loose and thought it could slide out too easily when tipping. I created a spacer to go between the Connect box and the Grainfather that makes the connection snug. Still easy to slide out when you would like to, but no longer loose and wobbly. I thought I'd post a link in case any of you having this problem have access to a 3D printer and would like to use the same part: http://www.thingiverse.com/thing:2239450
 
I know others have given feedback that the fit on the new Connect box for those upgrading wasn't great. I was ok with the box not sliding under the metal bar, but thought it was way too loose and thought it could slide out too easily when tipping. I created a spacer to go between the Connect box and the Grainfather that makes the connection snug. Still easy to slide out when you would like to, but no longer loose and wobbly. I thought I'd post a link in case any of you having this problem have access to a 3D printer and would like to use the same part: http://www.thingiverse.com/thing:2239450
Thanks for sharing! I don't have/use a 3D printer, but the fact you're a "new guy" and you're offering a solution is great. Welcome to HBT and the obsession! Ed
:mug:
 
Thanks for sharing! I don't have/use a 3D printer, but the fact you're a "new guy" and you're offering a solution is great. Welcome to HBT and the obsession! Ed
:mug:

Thank you. I've been viewing the forums for quite a while, but don't post much (still consider myself a novice brewer). Positive feedback like this definitely encourages me want to contribute more.

I added the ability to print that part through a service for those without access to a printer, but it works out to about $20 including the shipping ($10) and handling ($5) -- for the record, none of that goes to me -- which seems pretty pricey for a piece of plastic. Pics added to that link too in case anyone wanted to see it in use.

It's definitely an obsession, I think I've been hooked for a while. :mug:
 
which doesnt work if you have a graincoat

I have been using an old fleece blanket wrapped around mine. Unwrap, spray, re-wrap. I was going to buy a graincoat, but the blanket has been effective brewing this winter. The boil noticeably picks up with it on.:mug:
 
i just use a tape measure when sparging, easy. sight glasses are a pain in the ass to clean.
 
Curious as to how some of you sparge for an hour or longer. I am currently sparging by heating sparge water in a pot on stove and pouring it over the grain bed with a quart measuring cup and this only takes me 10 mins.I only hit 70% efficiency and I blame most of that on my sparge.
 
Curious as to how some of you sparge for an hour or longer. I am currently sparging by heating sparge water in a pot on stove and pouring it over the grain bed with a quart measuring cup and this only takes me 10 mins.I only hit 70% efficiency and I blame most of that on my sparge.

That's exactly what I do. Sometimes my sparge takes 10 minutes, other times it takes all the way up until I reach boiling. I use rice hulls too on a lot of my grain bills with wheat aand stuff so I'm not sure what causes it to be so slow.
 
What kind of efficiency are you getting?I just broke in my new MM2 the other day,may adjust it to a more aggressive crush for next brewday.This may lend to a longer sparge and better efficiency.
 
Curious as to how some of you sparge for an hour or longer. I am currently sparging by heating sparge water in a pot on stove and pouring it over the grain bed with a quart measuring cup and this only takes me 10 mins.I only hit 70% efficiency and I blame most of that on my sparge.

I condition my grains and mill at a Barley Crusher gap of .038 with a handfull of rice hulls. Usually takes about 30ish minutes for all the sparge water to be added and I hit 80 - 85% efficiency. I'll just let it drain until close to boil.
 
Has anyone opened up the connect to see what is inside? I'm interested in seeing a picture of the internals.
 
I'd also like to have a sightglass. It would be easier while sparging.


I took a wooden doll rod, marked it to 4, 5, 6, 7 gallons. I just dip it while sparging and know exactly where I'm at
 
Interested to see what you all do:

I've done 6 brew days on GF. Love it but also looking at how to improve. Do you all heat your mash water to desired temp and dough in? Or do you heat water to a temp above anticipating that grain will lower temp and THEN drop your set temp to the desired mash temp?

What thickness of mash do you use (quarts per pound)?

TIA

Hi. To your first question, I usually heat the entire batch of water (mash & sparge) to about 6-8°F above mash in temp to account for initial heat loss. I then pump off the sparge amount into a 5 gal cooler, and then adjust my water chemistry as needed.
To your second question, I use a tweaked variation of the original mash/sparge formula, so my mash thickness is about 1.37-1.4 qts/lb. Hope that helps. Ed
:mug:
 
My solution to mounting the connect controller to the Grainfather. I wasn't comfortable with the fitment and the SS holder, as the holder turned more into a shelf. After trying a few different options, I finally just used my dremel and filed off the bottom two plastic nipples/tabs off the back of the connect controller, making them flush with the case - problem solved. SS holder holds the connect tight, nothing is going anywhere, and it can all be taken down for thorough cleaning, if necessary.
 
Hi. To your first question, I usually heat the entire batch of water (mash & sparge) to about 6-8°F above mash in temp to account for initial heat loss. I then pump off the sparge amount into a 5 gal cooler, and then adjust my water chemistry as needed.
To your second question, I use a tweaked variation of the original mash/sparge formula, so my mash thickness is about 1.37-1.4 qts/lb. Hope that helps. Ed
:mug:


That confirms what I was thinking about altering my approach.

Thanks!
 
I've been making great beer with the GF and the old controller. Do you think the new controller will make better beer? The GF is already easier than my old cooler mashtun propane boil setup. Money is not an issue I just haven't had problems with the old controller.
 
I've been making great beer with the GF and the old controller. Do you think the new controller will make better beer? The GF is already easier than my old cooler mashtun propane boil setup. Money is not an issue I just haven't had problems with the old controller.

I just got my connect controller mounted and paired with phone. My expectations are not better beer, just easier. Being able to set the timer to heat strike water, that will save me 45 minutes. plus, a mash out can be automatically set, no need to manually adjust. For me, I am happy I bought it, but I may not feel that way if it doesn't do what I think it will do. :)
 
I've been making great beer with the GF and the old controller. Do you think the new controller will make better beer? The GF is already easier than my old cooler mashtun propane boil setup. Money is not an issue I just haven't had problems with the old controller.

Better beer? Probably not. All about more convenience for me. Nice to do the delayed start at times, and not having to watch for the temp to hit your target before you start your timer at your various stages. Less switches you have to remember to change too. Importing recipes means that both your phone and the Connect give you an alert at your stages and additions so you're less likely to miss something. The PID temp control means there is a lot less variation on the temp shown as well. Overall I am definitely happy with the upgrade.
 
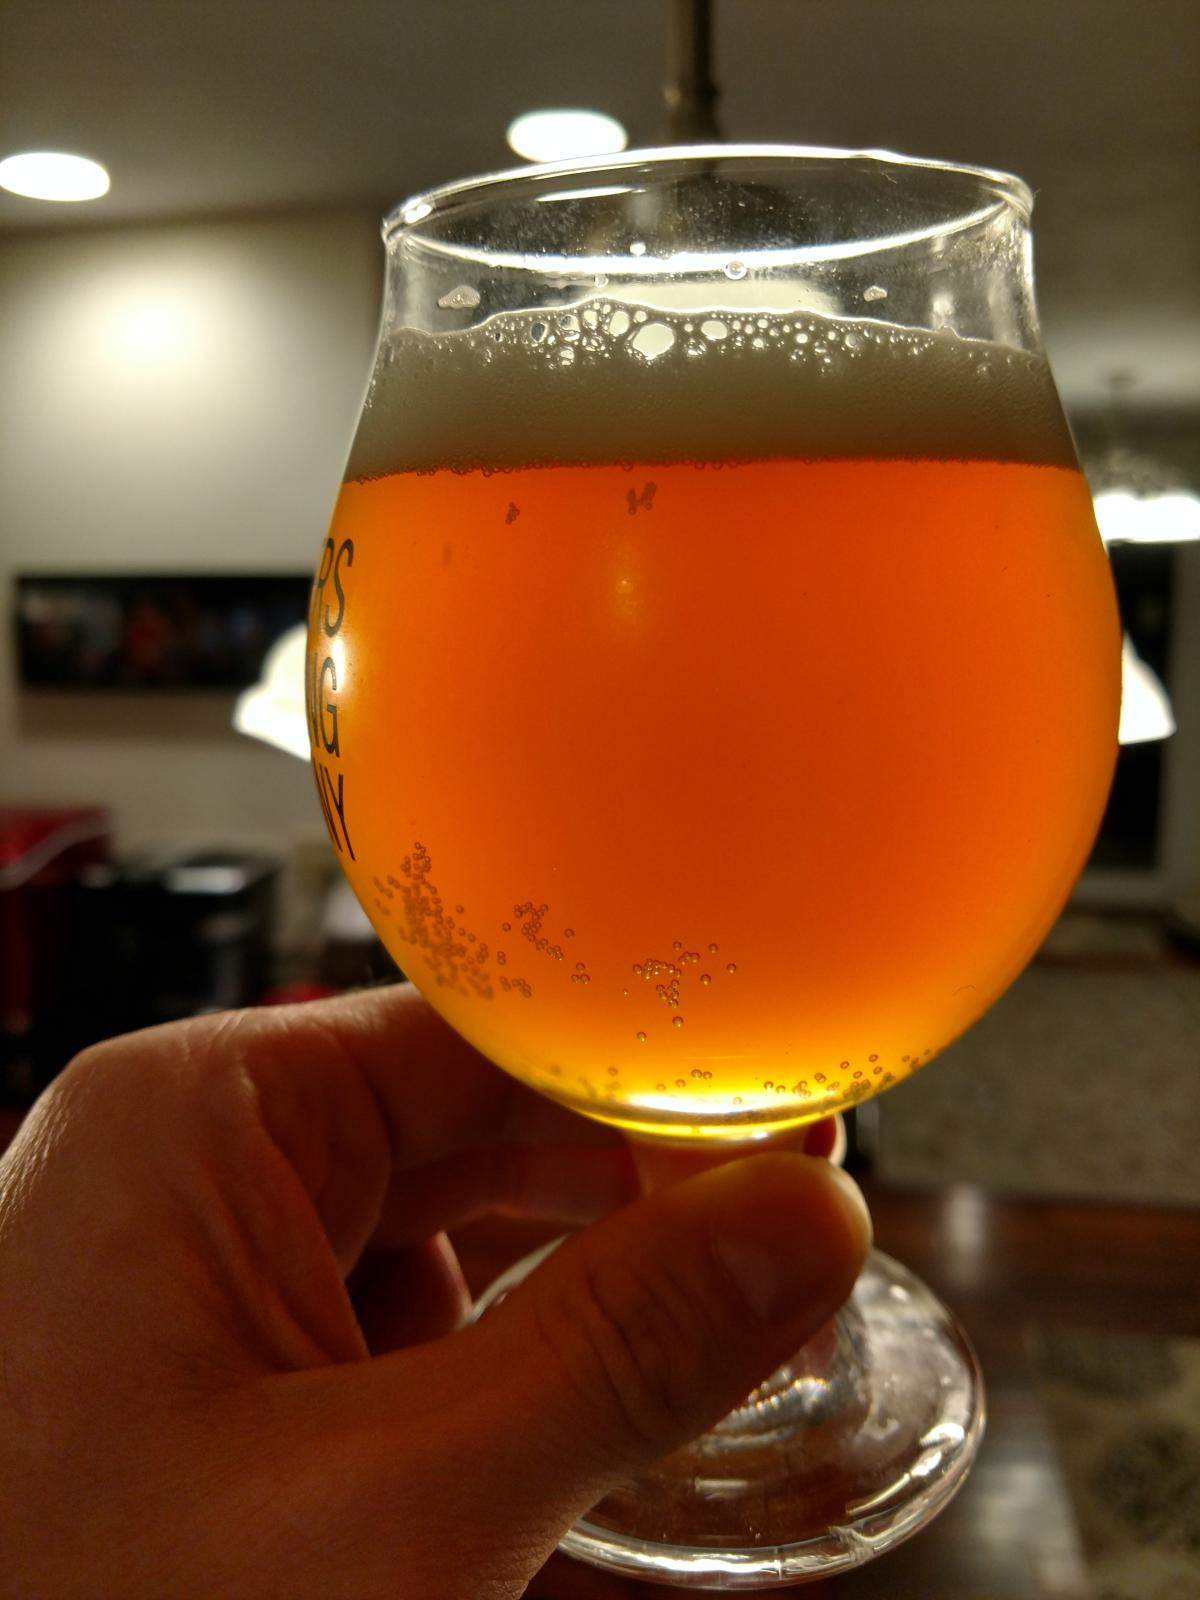
First New England Style IPA featuring haullertau Blanc and azacca hops.

IMG_20170414_204124051_HDR.jpg
 
I condition my grains and mill at a Barley Crusher gap of .038 with a handfull of rice hulls. Usually takes about 30ish minutes for all the sparge water to be added and I hit 80 - 85% efficiency. I'll just let it drain until close to boil.


I adjusted my crush to slightly smaller than credit card width.Made a world of difference. Sparge was a lot slower and I hit 85% efficiency.Brown was supposed to have an OG of 1.058,came in at 1.072:ban:
 
Back
Top