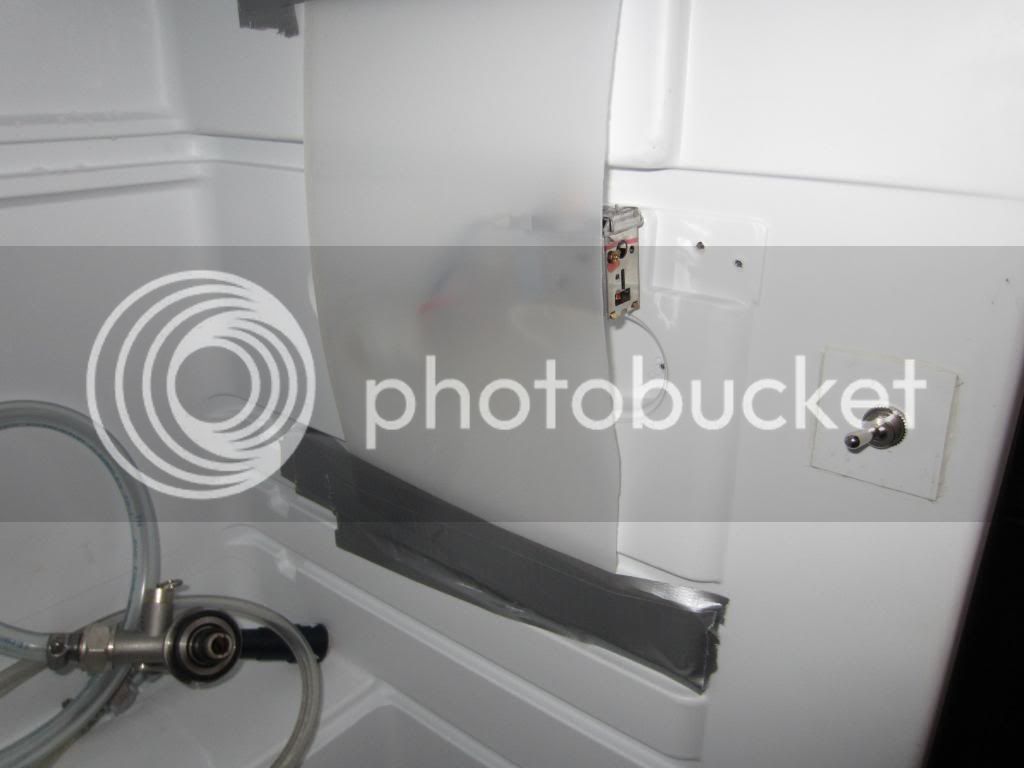
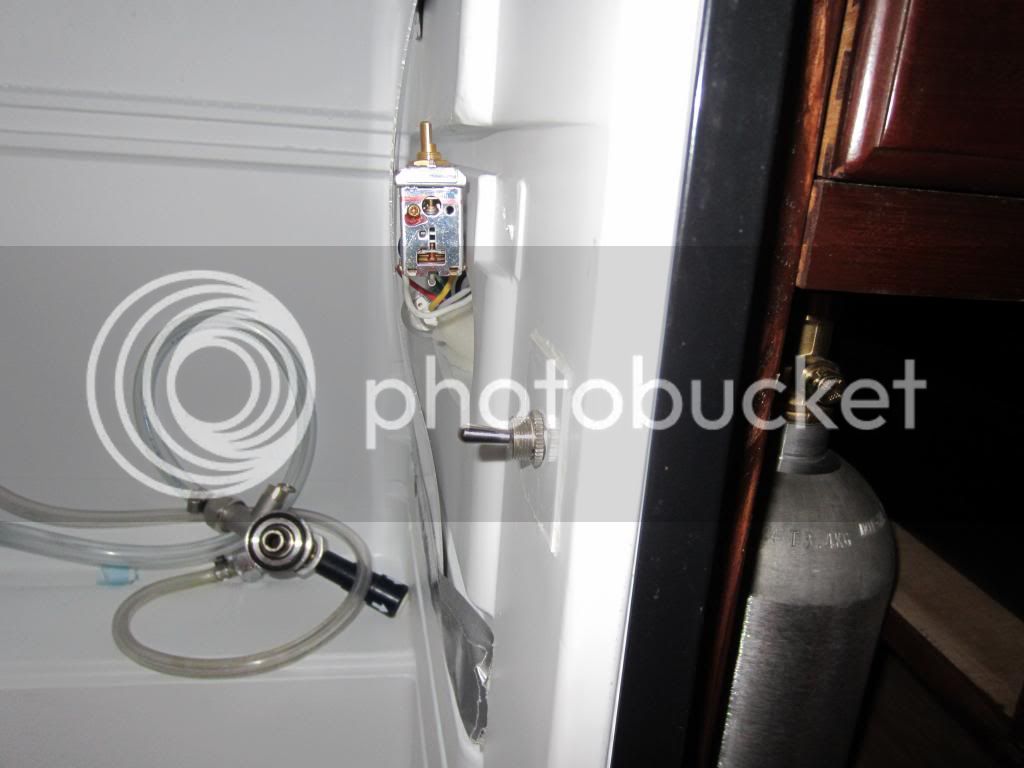
I've had this fridge for about five months and have been using the OEM controls to maintain temp. I ordered a Love TS-2 a while back and it has since been gathering dust in the box. I finally hooked it up today, using instructions from Schnitzengiggle and ClaudiusB.
I have everything hooked up in a really simple config:
OEM black -> 7
OEM white -> 8
OEM blue -> 11
OEM black jumpered from 7 to 10
The OEM yellow and red are connections for the light and door switch. The green is ground.
I still have the OEM temp controller in there because I don't know if I can cut/crimp the silver metal tube, the thing that isn't a wire. I don't want to cut it and find out that's where the coolant is. So, is it safe to cut this metal tube or not? If not, what do people normally do with that.
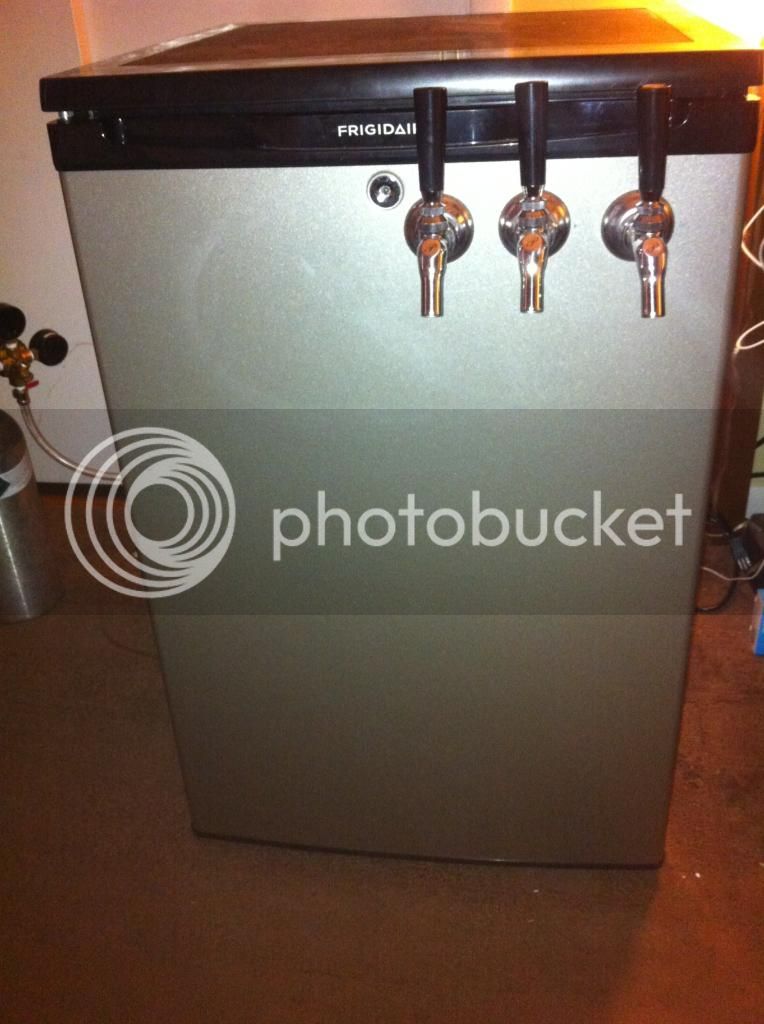
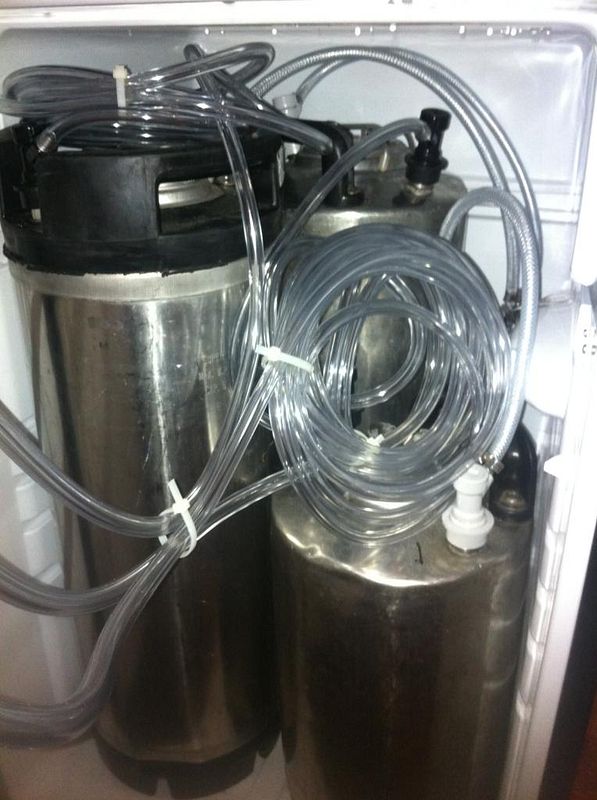
As for the fridge, I cut all the plastic shelves off the door. I am able to get two 5gal ball lock corneys with a 5lb co2 bottle and a dual gauge regulator. I'm pretty sure there's enough room to get a 3gal ball lock on the hump, too but I have not tried it.
If someone would like to see pics, I got some. I'm planning to post a bunch of stuff dealing with the build out of my entire beer bar -- it's more that just a kegerator.
")


![Craft A Brew - Safale BE-256 Yeast - Fermentis - Belgian Ale Dry Yeast - For Belgian & Strong Ales - Ingredients for Home Brewing - Beer Making Supplies - [3 Pack]](https://m.media-amazon.com/images/I/51bcKEwQmWL._SL500_.jpg)