I wanted to make a stir plate without paying > 100$ at the LHBS. So I trolled the forums in order to figure it out. I experienced a few trials/tribulations that I would like others to avoid so I'm posting this guide.
This is the equipment that I utilized based on what I found trolling the internet:
Rheostat - 3 watt, 25-Ohm (RadioShack part #271-265, $3.99)
Flip Switch - most will work (RadioShack part #275-711, $2.99)
Control Knob - most will work (RadioShack part #274-407, $1.99)
Project Enclosure - 8x6x3" (RadioShack part #270-1809, $6.99)
120mm Case Fan - a smaller fan might fit better (RadioShack part #28-1108, $9.99)
2 - 1/2"x1/8" Rare Earth Magnets
Cell Phone Charger - from a retired Samsung cell phone - (I used 5.5V, my 12 V one was too fast)
Stir Bar - From LHBS (3$) - get the small stir bar, the big one didnt work for me.
Magnets - hobby lobby x4 (like 3$)
4 rubber grommets from HD ~ 1$ a piece.
1 inch metal washer (I think, I just grabbed one that looked right at HD)
A way to cut a hole in the top of the project box - I used a hole cutter drill bit that I borrowed from my dad
Step 1:
Acquire the stuff listed above.
Step2:
So I started my project by putting everything together and supergluing my magnets without making sure that everything spins correctly - do not do that, always make sure it works before you glue everything together. So first start by gluing the washer to the fan (on the side where it will spin) - I just used cheap super glue from HD. After that is done, just PLACE your magnet on the washer. My initial mistake was that I put the magnets on each with the + pole facing up. I'm unsure of the correct terminology, but what you need to do is make sure your magnets are opposite (they will repel eachother) so one + side facing up, one - side facing up, because the stir bar is polarized similarily. Spacing your magnets is extremely important The length that worked for me was so that each tip of the stir bar was in the middle of the magnet.
step3:
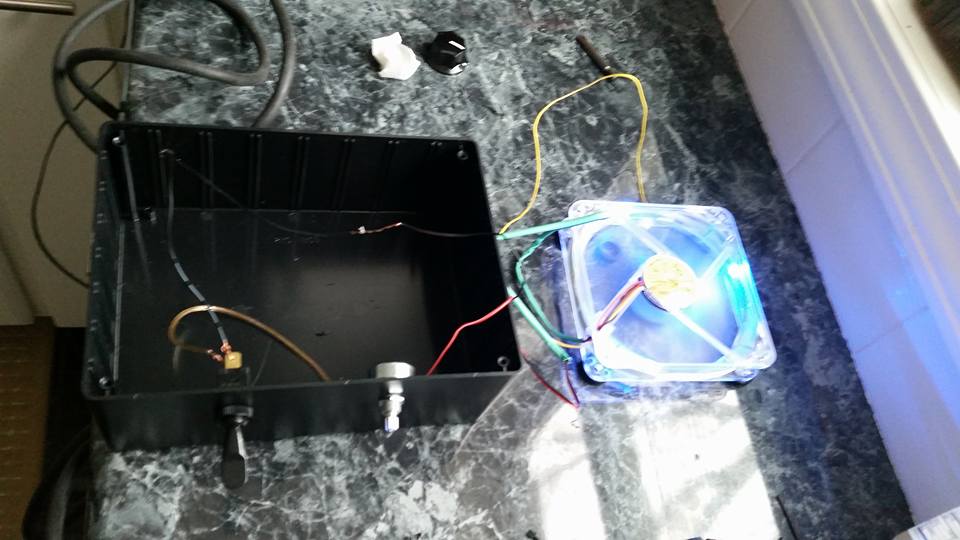
Use your cell phone charger and splice the back wire from the charger, to the black wire on the fan. Do the same with the red wire. Disregard the third yellow wire on the fan - it's a tachometer that is useless.
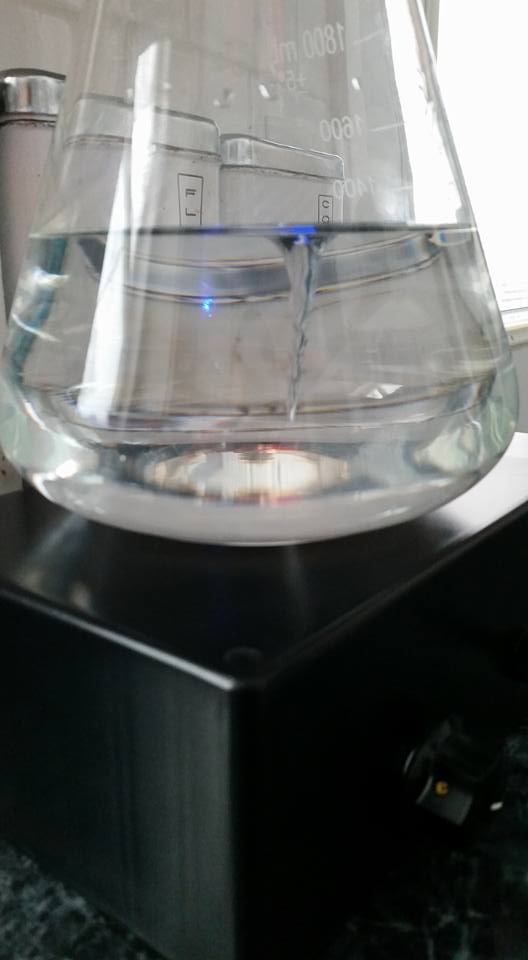
-Then test your stir magnets to make sure they are properly spaced and you can make a vortex in your flask. Once that's done we can then wire your rheostat/switch.
Step4:
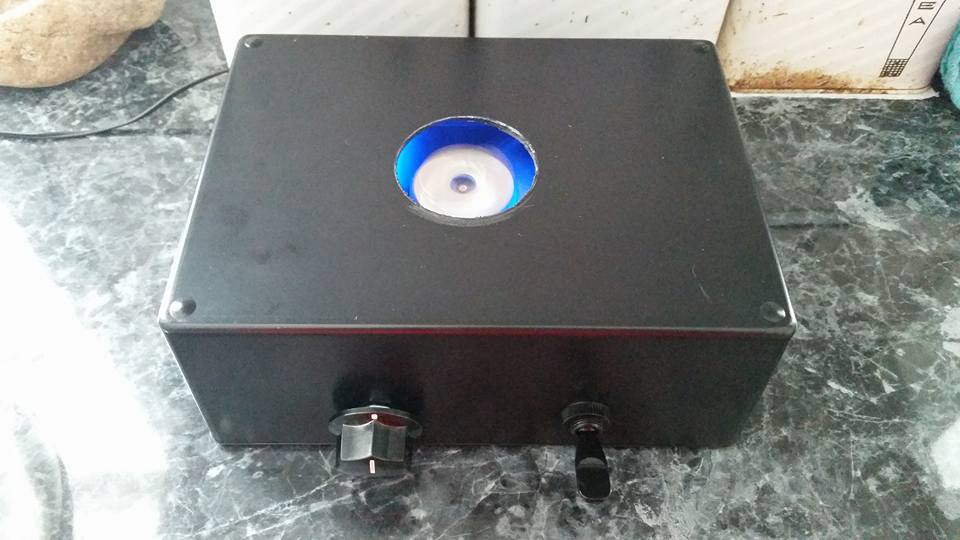
Drill holes in your box (including the hole for the magnets to be visualized from the top/closer to flask). Make sure when you're drilling the holes for the switch/rheostat you take into account how the fan will be positioned. You don't want to get holes drilled then realize everything wont fit.
-Wire your rheostat/fan/switch BEFORE putting them in place, makes it easier.
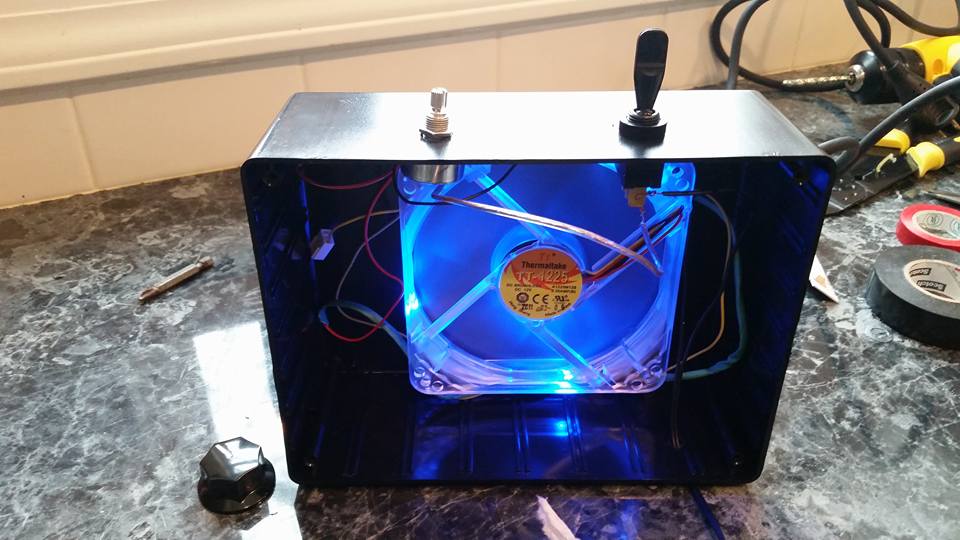
-The diagram I followed can be visualized in my pics I hope. Here is it in words:
-Attach the black wire of the power cord to the black wire of the fan
-Attach the red wire of the power cord to the top prong of the switch
-Attach the red wire of the fan to the middle prong of the rheostat
-Then attach the rheostat to the switch using a spare wire that you have lying around. Put one on the Right side (if looking at it) prong of the rheostat attached to the bottom prong of the switch.
Step 5:
Now that its all wired, super glue the grommets onto the fan, then super glue the fan to the top of the project box.
Step 6
Make sure everything works good. It helps if you have the magnet spinning slow, and then you make it go faster. Sometimes it'll just spin off if you start at full speed.
I realize this guide is crude - but I figured I'd include my process for future people googling


