
- Joined
- Apr 1, 2020
- Messages
- 40
- Reaction score
- 29
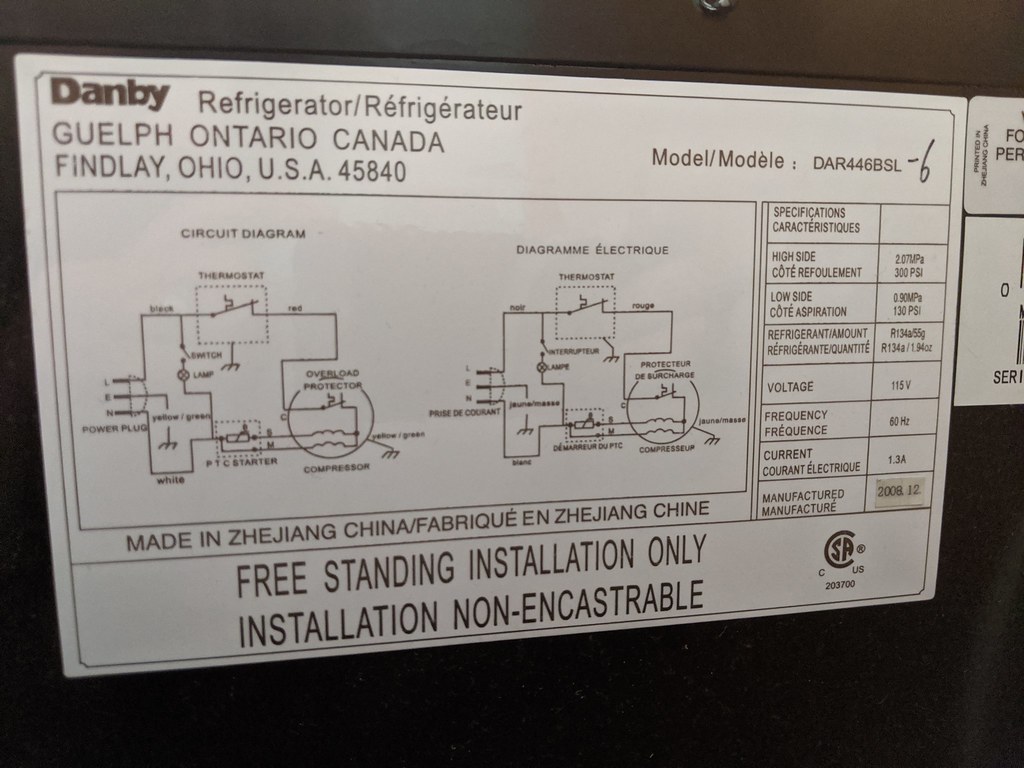
I converted a Danby DAR446BSL mini fridge into a fermentation chamber. It is working good so far after 2 brews. I thought I would post some pictures and info in case anyone else has a similar model.
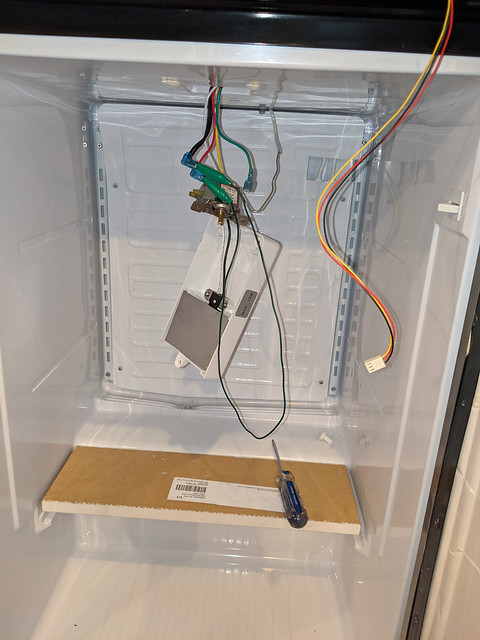
This model is all fridge, so I didn't have to worry about altering a freezer compartment. The thermostat and light were mounted down the middle of the fridge ceiling though so I had to alter that to free up some space.
The diagram on the back of the fridge made it clear that to bypass the thermostat I simply have to connect the black and red wires.
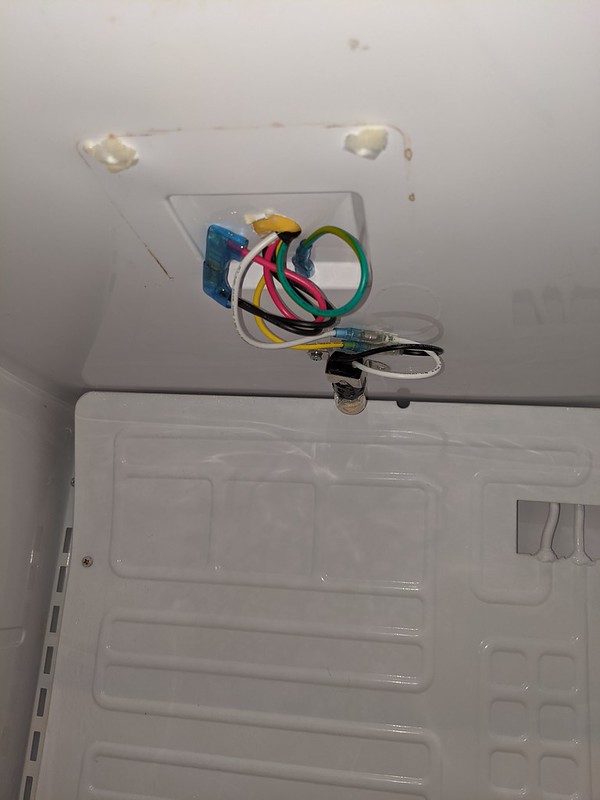
After unscrewing the thermostat and light module, I located the red and black wires, unplugged them from the thermostat and used some alligator clips to connect them for a test. Test successful, the compressor ran continuously.

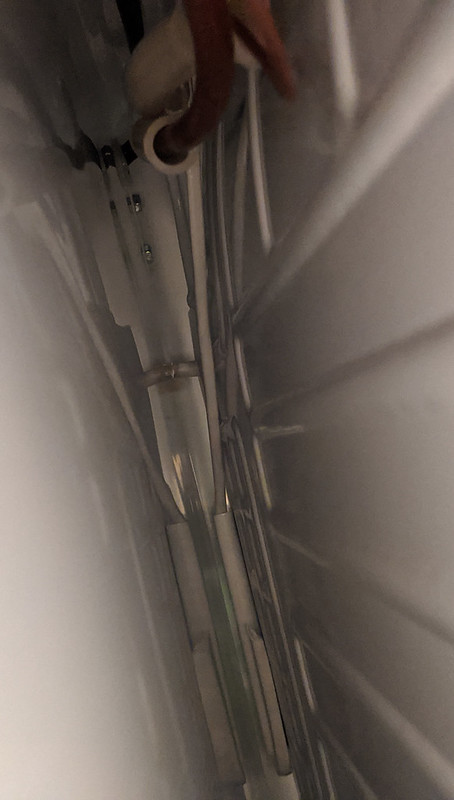
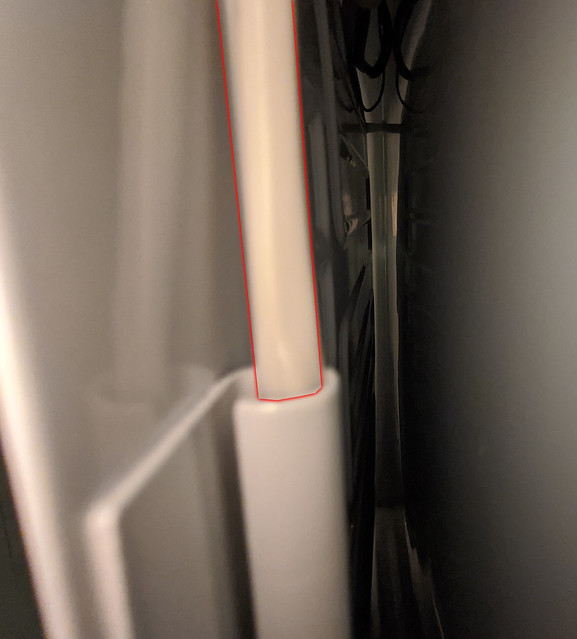
To remove the thermostat probe wire, I tried pulling, but it wasn't moving, and I didn't want to pull too hard and potentially damage something. So I stuck my phone camera behind the chiller plate to see what I was working with. You can see in the pictures that the probe is run through a clip and wrapped upwards.
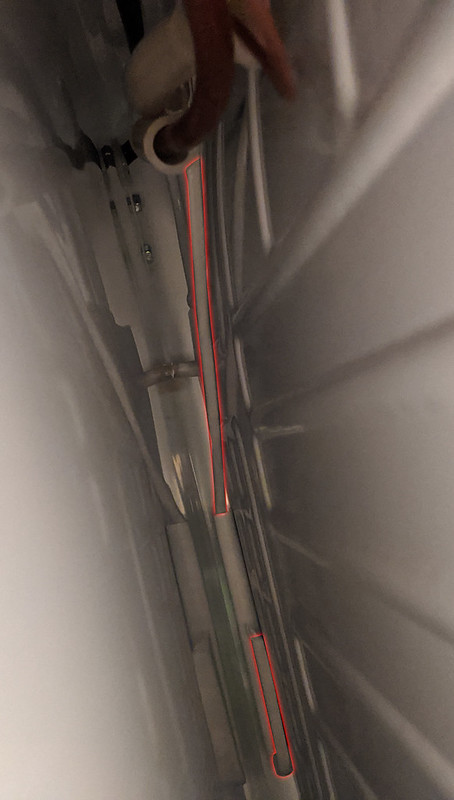
The next picture is from the otherside, you can see the type of clip its in (blurry)
I removed most of the screws from the chiller plate so that I could get behind it a bit and straighten out the probe wire and pull it up through the clip.
Then I removed the thermostat completely, along with it's plastic housing. I connected the red and black wire together with a paddle connector. I screwed one end of the light bulb receptacle into a screw hole from the plastic housing, just to keep it up and out of the way. For what its worth, one could simply snip the light wires and tape them, and remove the light since it won't be used anyway. I just left it. To disable the light I just jammed down the door switch by prying off the little cover, wrapping a paperclip around it, and putting the cover back on.
I then used an old CD case cover to hold all the wires up. You can see that in a later picture.
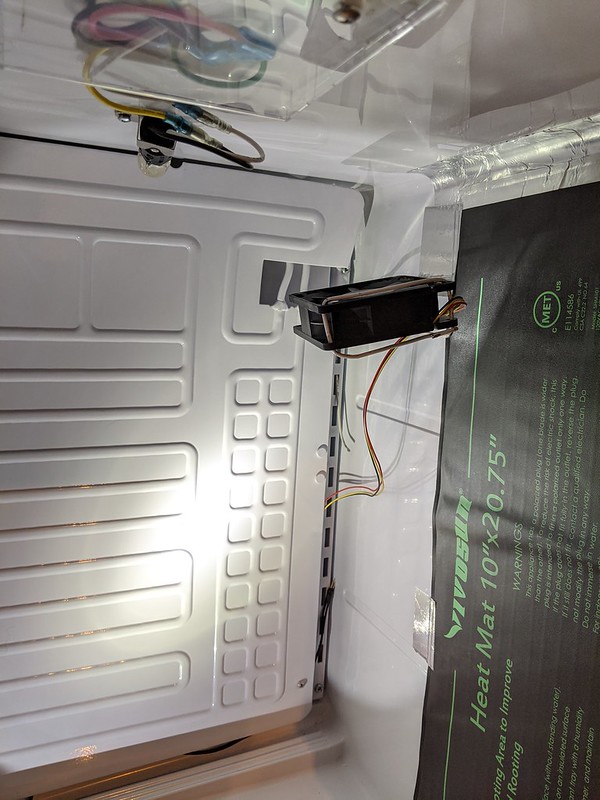
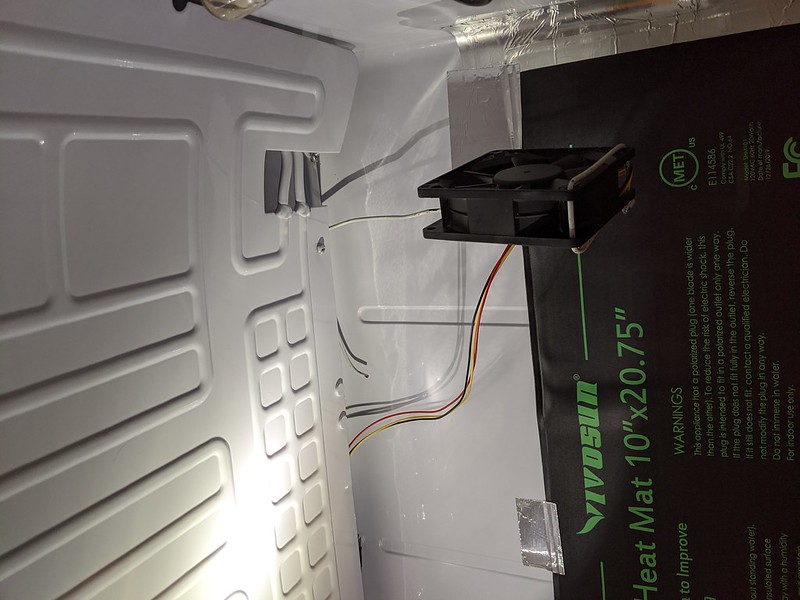
For heating, I bought a 10" x 20.75" seedling heat mat from amazon. I taped it to the side of the fridge with some foil tape. The cord is just wrapped around and out through the door's accordion seal, nothing fancy. I originally wanted to run the cord through the drain hole in the back of the fridge, but it was too small and I didn't feel like snipping the wire or drilling the whole bigger.
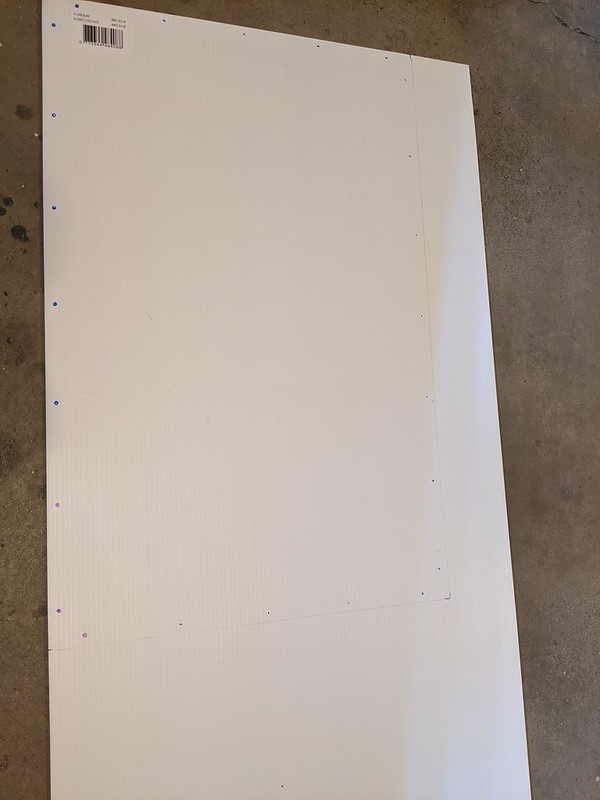
For the door, I simply unscrewed the plastic moulding all the way around after taking the door off. I laid the moulding down on a sheet of corrugated plastic and used a sharpie to mark off the screw holes and outline. I cut out the door size and drilled the screw holes, then laid it back down on the fridge door and put the accordion seal back on and screwed it all back in together.
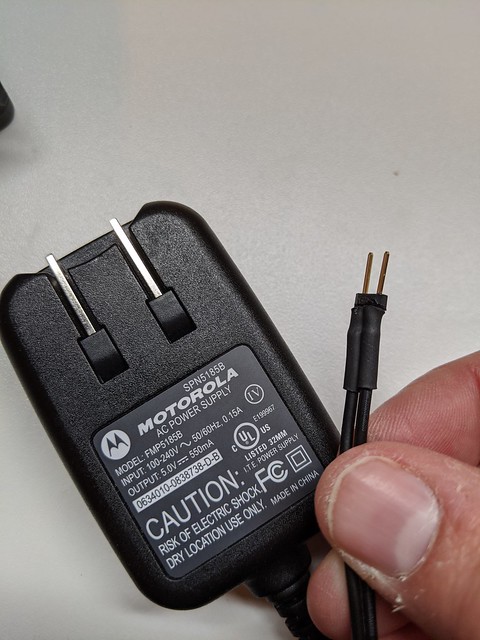
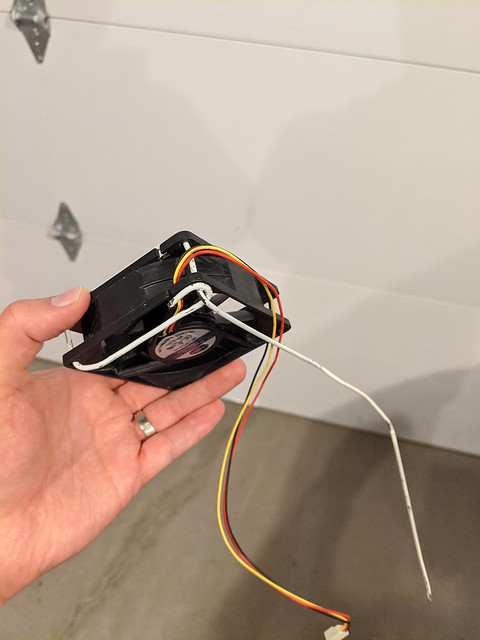
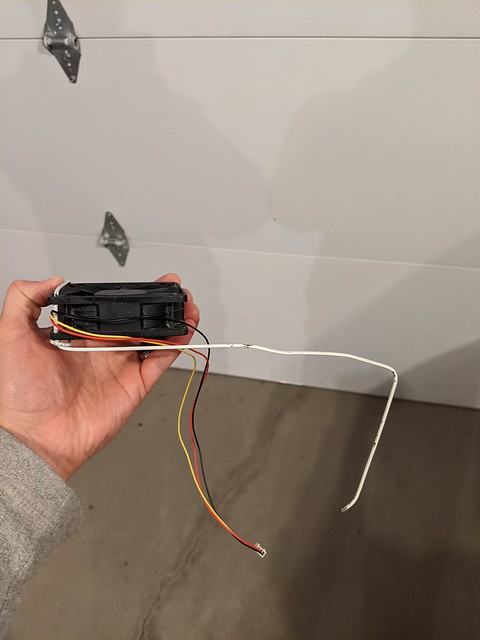
I wanted to add a PC fan for some air movement. I repurposed an old cell phone charger and soldered on some prongs so that it can plug into the fan easier. I threaded a wire clothes hanger through the screw holes of the fan and made a little holder that I would jam into the shelf-racks to suspend the fan above the heating mat, pointing downwards. This wire was able to fit through the drain plug easily.
I got the Inkbird ITC 308 wifi from amazon to use as a controller. Works as it should. I like being able to check and set it from my phone.
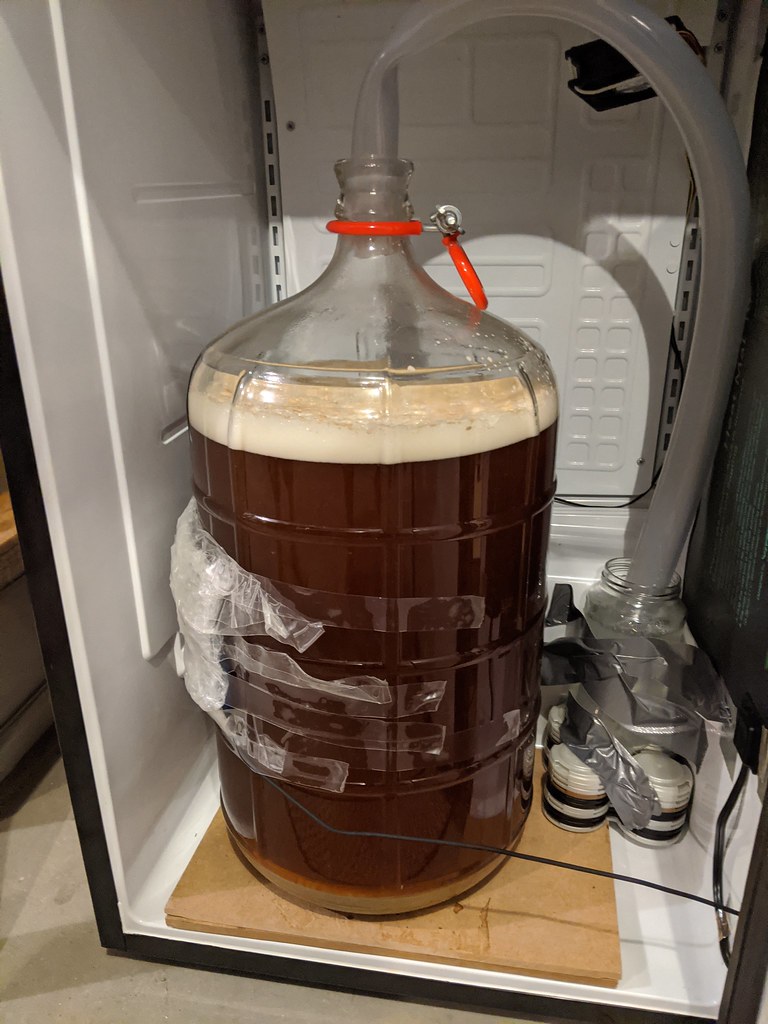
I use foil tape to attach the controller temp probe to the side of the fermenter. Then I insulate it with a flattened beer coozie, bubble wrap, and hockey sock tape.
My 6 gal glass carboy and my 6.5 gal plastic bucket fit perfectly on the bottom ONLY if I level them. The bottom of the fridge has a slight downwards angle towards the door, probably for spills/drainage. The upper portion of the bucket and carboy hit the door at this angle. I attached a couple pieces of hard board together to create a "level" platform, and the door closes with no problem.
Finally, here are a couple pictures of it in action.

When I was planning and building this, I tried to find as many pictures and descriptions of this process as possible. So I figured that I would just post mine up for the next person.
This model is all fridge, so I didn't have to worry about altering a freezer compartment. The thermostat and light were mounted down the middle of the fridge ceiling though so I had to alter that to free up some space.
The diagram on the back of the fridge made it clear that to bypass the thermostat I simply have to connect the black and red wires.
After unscrewing the thermostat and light module, I located the red and black wires, unplugged them from the thermostat and used some alligator clips to connect them for a test. Test successful, the compressor ran continuously.
To remove the thermostat probe wire, I tried pulling, but it wasn't moving, and I didn't want to pull too hard and potentially damage something. So I stuck my phone camera behind the chiller plate to see what I was working with. You can see in the pictures that the probe is run through a clip and wrapped upwards.
The next picture is from the otherside, you can see the type of clip its in (blurry)
I removed most of the screws from the chiller plate so that I could get behind it a bit and straighten out the probe wire and pull it up through the clip.
Then I removed the thermostat completely, along with it's plastic housing. I connected the red and black wire together with a paddle connector. I screwed one end of the light bulb receptacle into a screw hole from the plastic housing, just to keep it up and out of the way. For what its worth, one could simply snip the light wires and tape them, and remove the light since it won't be used anyway. I just left it. To disable the light I just jammed down the door switch by prying off the little cover, wrapping a paperclip around it, and putting the cover back on.
I then used an old CD case cover to hold all the wires up. You can see that in a later picture.
For heating, I bought a 10" x 20.75" seedling heat mat from amazon. I taped it to the side of the fridge with some foil tape. The cord is just wrapped around and out through the door's accordion seal, nothing fancy. I originally wanted to run the cord through the drain hole in the back of the fridge, but it was too small and I didn't feel like snipping the wire or drilling the whole bigger.
For the door, I simply unscrewed the plastic moulding all the way around after taking the door off. I laid the moulding down on a sheet of corrugated plastic and used a sharpie to mark off the screw holes and outline. I cut out the door size and drilled the screw holes, then laid it back down on the fridge door and put the accordion seal back on and screwed it all back in together.
I wanted to add a PC fan for some air movement. I repurposed an old cell phone charger and soldered on some prongs so that it can plug into the fan easier. I threaded a wire clothes hanger through the screw holes of the fan and made a little holder that I would jam into the shelf-racks to suspend the fan above the heating mat, pointing downwards. This wire was able to fit through the drain plug easily.
I got the Inkbird ITC 308 wifi from amazon to use as a controller. Works as it should. I like being able to check and set it from my phone.
I use foil tape to attach the controller temp probe to the side of the fermenter. Then I insulate it with a flattened beer coozie, bubble wrap, and hockey sock tape.
My 6 gal glass carboy and my 6.5 gal plastic bucket fit perfectly on the bottom ONLY if I level them. The bottom of the fridge has a slight downwards angle towards the door, probably for spills/drainage. The upper portion of the bucket and carboy hit the door at this angle. I attached a couple pieces of hard board together to create a "level" platform, and the door closes with no problem.
Finally, here are a couple pictures of it in action.
When I was planning and building this, I tried to find as many pictures and descriptions of this process as possible. So I figured that I would just post mine up for the next person.
Last edited:
