Removing temp control box from mini fridge

Homebrew Talk - Beer, Wine, Mead, & Cider Brewing Discussion Forum

Help Support Homebrew Talk - Beer, Wine, Mead, & Cider Brewing Discussion Forum:

This site may earn a commission from merchant affiliate links, including eBay, Amazon, and others.

jmstone617

Supporting Member
HBT Supporter
Joined
Sep 29, 2022
Messages
78
Reaction score
28
Location
Centennial, CO
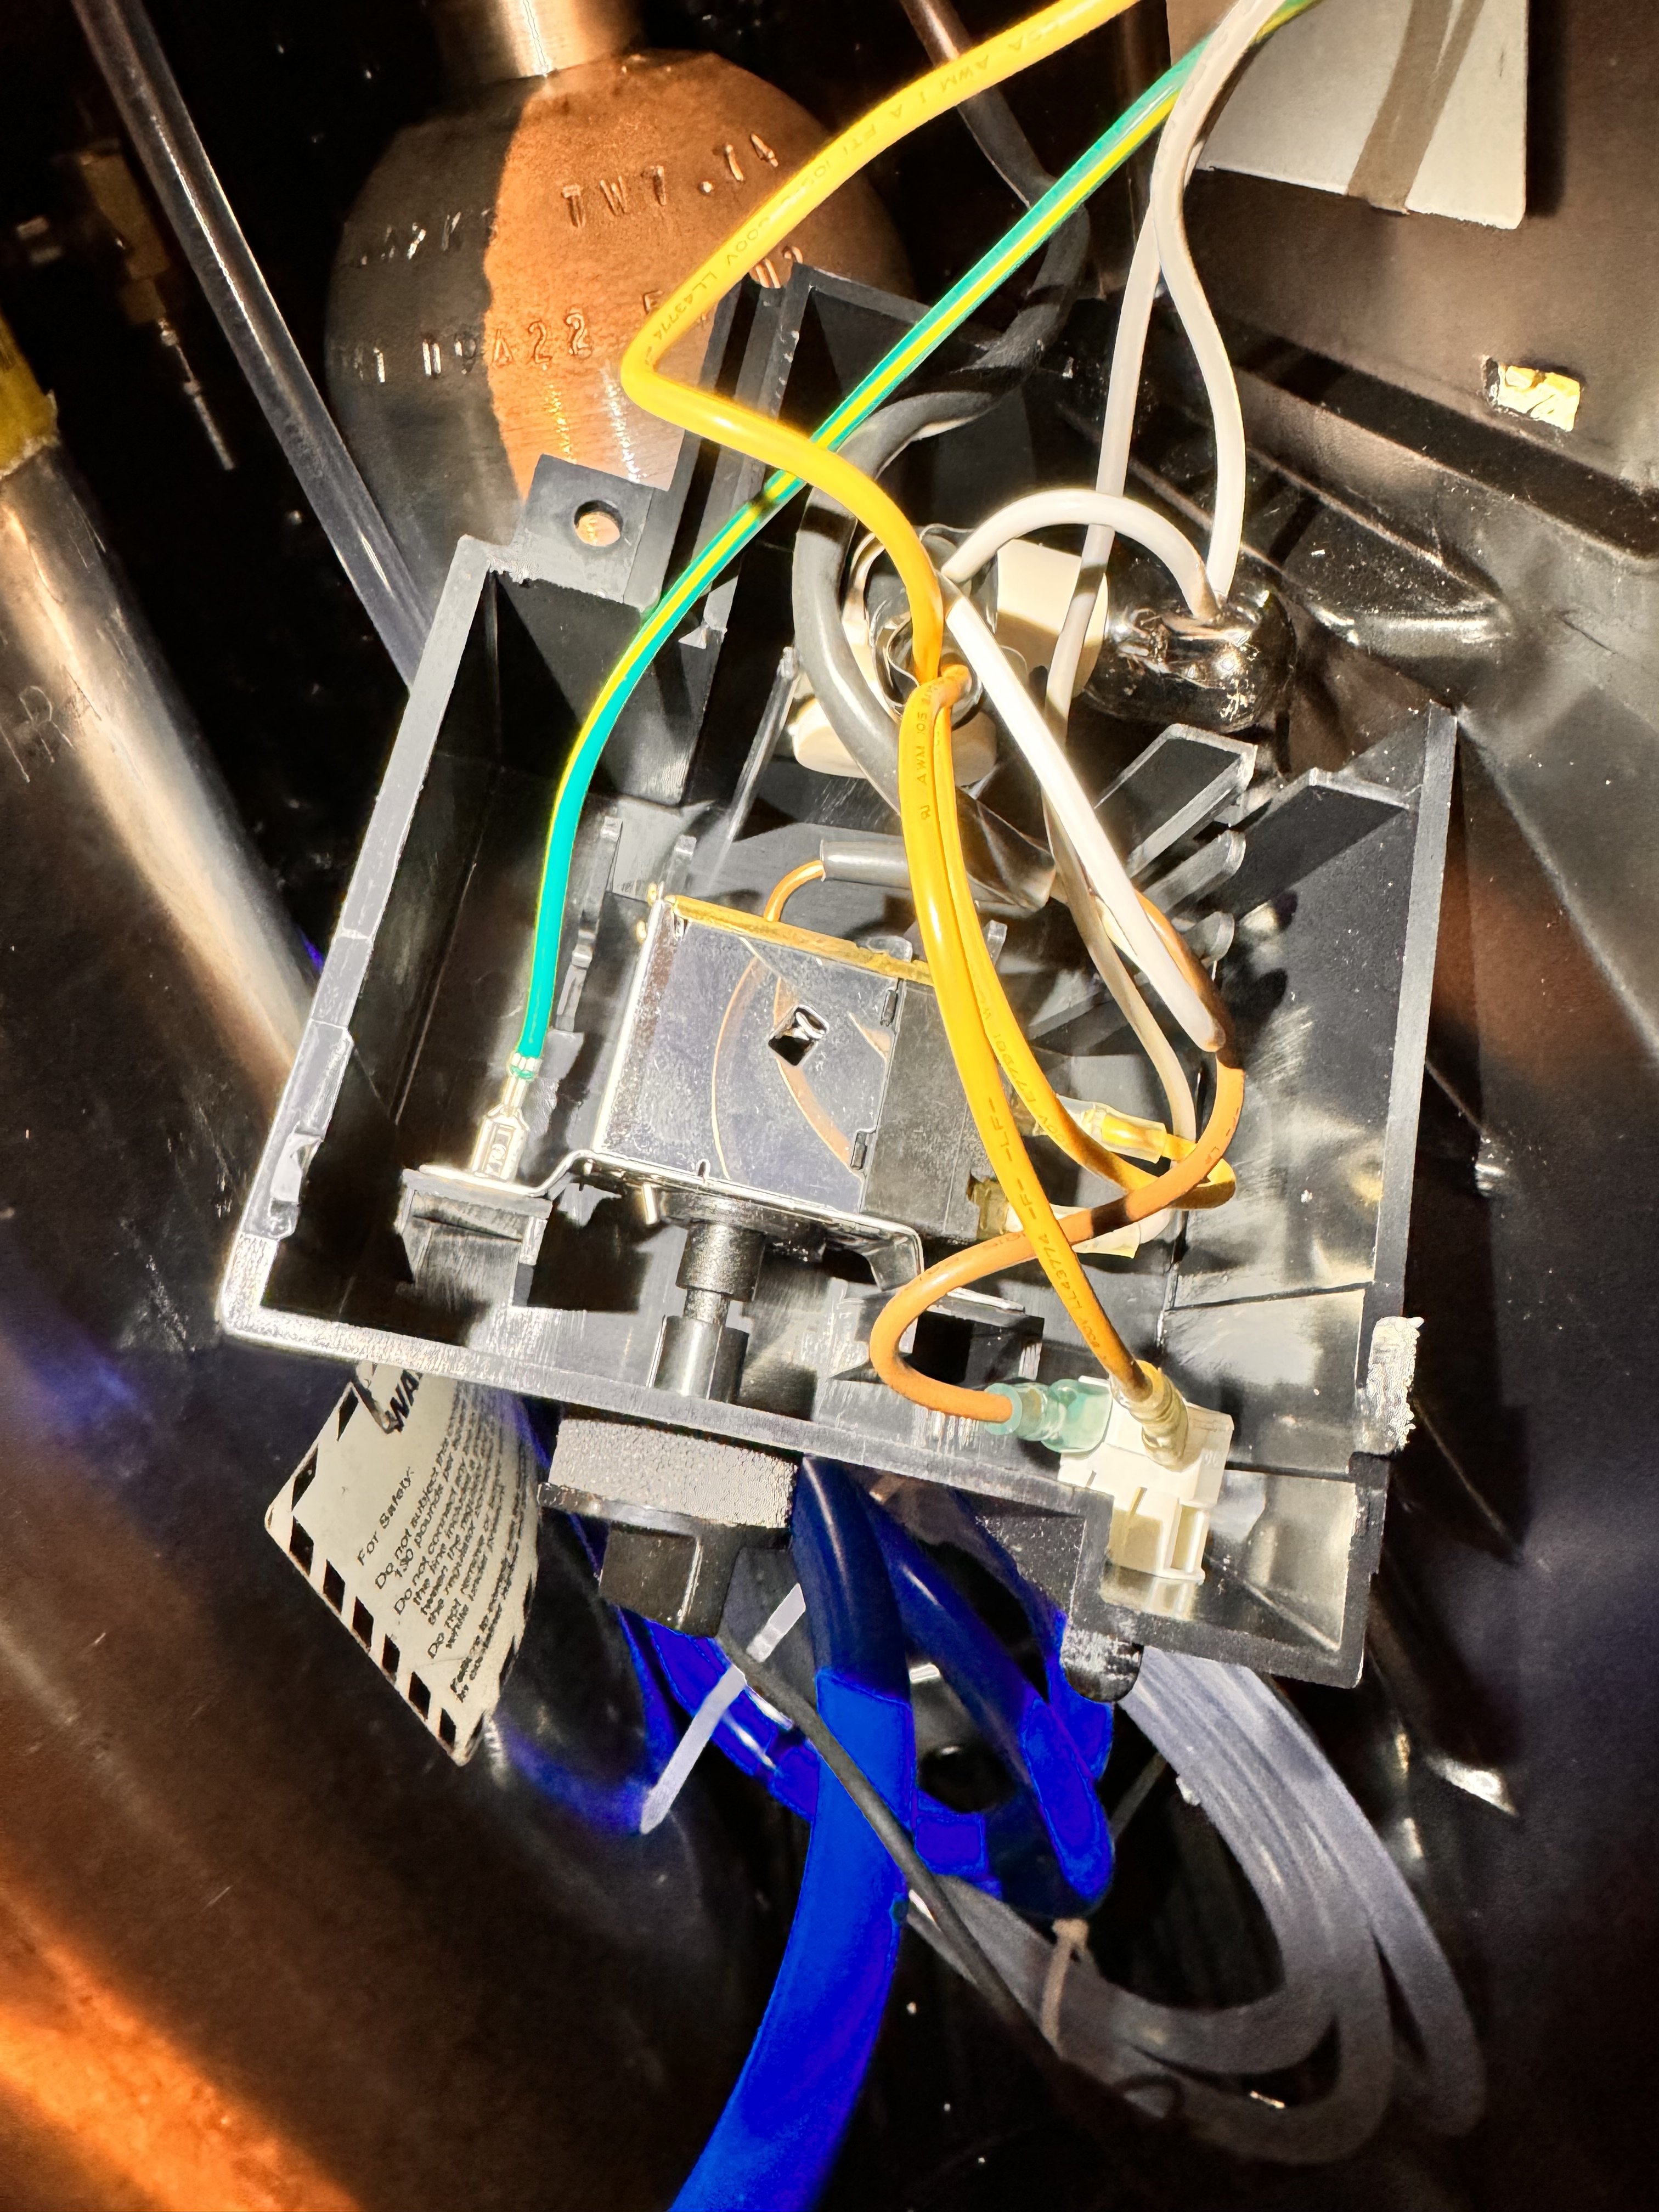
I’ve got a mini fridge that is just a few inches too narrow for 2 kegs so I wanted to remove the temp control box/knob inside to give myself another 2 inches of width. I was expecting only 2 wires plus maybe a ground but inside the box is actually a reset button and a light bulb and they’re all wired together. Before I short the whole thing and blow my kegerator, anyone done this before and know which wires need to get connected together (leaving the fridge “on” all the time but controlled by my Inkbird) versus can be taped off/ignored?
IMG_0342.jpeg
 

Attachments

  • IMG_0345.jpeg
    IMG_0345.jpeg
    1.6 MB · Views: 0
  • IMG_0344.jpeg
    IMG_0344.jpeg
    999.7 KB · Views: 0
  • IMG_0343.jpeg
    IMG_0343.jpeg
    1.2 MB · Views: 0
Remove the two wires flagged from the thermostat, wire them together, then control the whole show from the line cord using an Inkbird or other external/add-on controller.

1699129349797.png


You can leave the thermostat in place with the green/yellow striped safety ground wire still connected, as well as the capillary tube and the light (which may not work anymore, of course). If you need to physically remove the plastic enclosure you could cut the capillary tube, disconnect the safety ground wire and the light socket and back them out or cut them off and wire nut any bare ends...

Cheers!
 
Last edited:

Latest posts

Back
Top