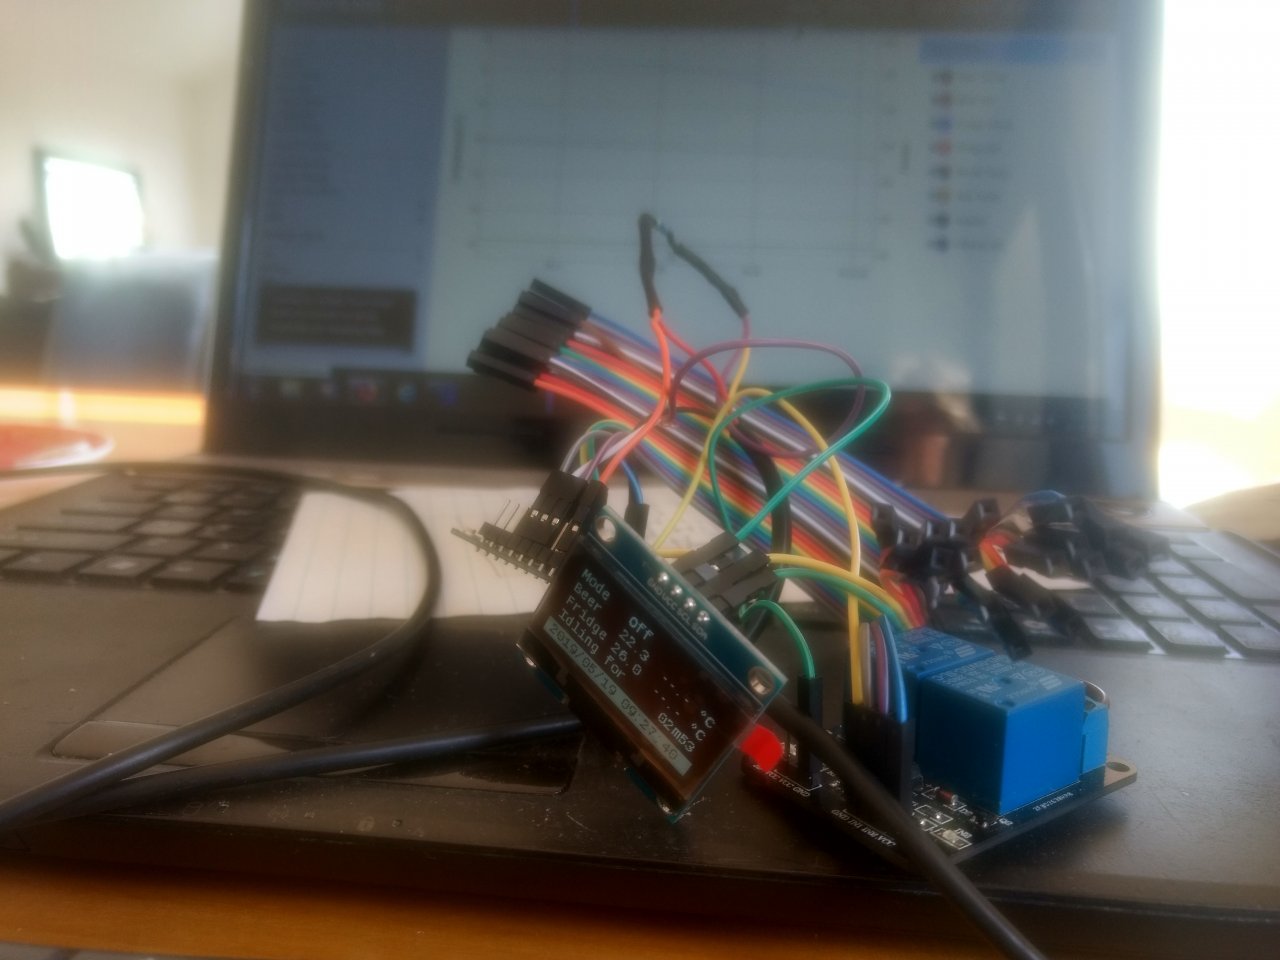
BrewPi@ESP8266, no need of RPI and Arduino.

Homebrew Talk - Beer, Wine, Mead, & Cider Brewing Discussion Forum

Help Support Homebrew Talk - Beer, Wine, Mead, & Cider Brewing Discussion Forum:

This site may earn a commission from merchant affiliate links, including eBay, Amazon, and others.
I have some pictures and details of my fermentation controller build on my brewing blog if anybody is interested. The PCB I use was based heavily on @Thorrak 's design with lots of help from @day_trippr to carry out my changes (saved me lots of headache I am sure). I've been using brewpiless lately out of interest of the brewfather integration, which is working great! Thanks for everyone's work here, wish I could be more active on HBT and helping with projects but trying to put my PhD to bed this year and haven't found the time! I'll probably do another revision of my PCB if only to use beefier terminal blocks in the future. And I may try out some assembly services to save me headache. I'll check what I have left for PCBs - I think 5 anyways - I'd be happy to send out what I have left if you cover postage (and I apologize to anybody I may have said I'd send a PCB but didn't hear from me - I think @Bigdaddyale and @day_trippr - that offer still stands). Cheers!

https://onbrewing.com/esp8266-fermentation-controller-build/
https://onbrewing.com/esp8266-pcbs/
 
That looks like a neat setup Justin. I like the screw terminals vs the Dupont connections. One thing I talked @Thorrak into early on is through-hole vs SMD, likewise using a SparkFun Level Shifter which makes it much easier for us mere mortals to solder. It's a little more expensive, but lowers my blood pressure. :)
 
I have some pictures and details of my fermentation controller build on my brewing blog if anybody is interested. The PCB I use was based heavily on @Thorrak 's design with lots of help from @day_trippr to carry out my changes (saved me lots of headache I am sure). I've been using brewpiless lately out of interest of the brewfather integration, which is working great! Thanks for everyone's work here, wish I could be more active on HBT and helping with projects but trying to put my PhD to bed this year and haven't found the time! I'll probably do another revision of my PCB if only to use beefier terminal blocks in the future. And I may try out some assembly services to save me headache. I'll check what I have left for PCBs - I think 5 anyways - I'd be happy to send out what I have left if you cover postage (and I apologize to anybody I may have said I'd send a PCB but didn't hear from me - I think @Bigdaddyale and @day_trippr - that offer still stands). Cheers!

https://onbrewing.com/esp8266-fermentation-controller-build/
https://onbrewing.com/esp8266-pcbs/
Looks like you have the same pinout as Thorrak's board. What .bin version of brewpiless are you using? If you ever figure out how to connect an OLED to your board let me know.Pocketman tried to help me over in his thread but I never could get it to work. Nice write up and blog post about your set up. I'm good on boards, for now, I went nuts and ordered a lifetime supply of Thorraks SMD RJ-45 boards from JLCPCB
 
Same pin out, yeah I use D1-mini pro it looks (the one in my desk right now anyways). I am using BrewPiLess.v3.5.thorrax.newui.4m2m.bin - I had just assumed this was a build that worked with @Thorrak 's boards. I flashed with esptool.py, worked first time.

I don't have any OLEDs to test, just the regular 5V 20x4 LCDs. I have received garbage LCDs, that only became apparent when I ordered a larger set (I have 4 now, 2/4 have issues of some kind).
 
Great looking implementation, @jangevaa! :mug:
If I had anything to do with that I'm happy to have helped.

wrt the 20x4 lcds, I have eight currently being used and of those three were replaced by the sellers, a pretty poor failure rate no matter how one slices it, so they're not without build (or component?) quality issues for sure.

On the upside those were OOB (or nearly so) failures, many of the eight have been running for years now, and for $10 delivered I still use them (though my new projects use the I2C backpack-equipped versions)...

Cheers!
 
Does BPL support display of more than one gravity sensor? I ferment 10 gal split between two carboys and was thinking of building 2 iSpindel, one for each. I only monitor/control one beer temp using my current BrewPi-www setup but I'd like to track both iSpindel if capable.
 
Does BPL support display of more than one gravity sensor? I ferment 10 gal split between two carboys and was thinking of building 2 iSpindel, one for each. I only monitor/control one beer temp using my current BrewPi-www setup but I'd like to track both iSpindel if capable.

No.
Only one iSpindel is supported.
 
You likely need to install PlatformIO on top:

  1. Open VSCode Package Manager (Square icon on left hand side of VS Code)
  2. Search for platformio-ide extension
  3. Install it
After that's all done, File: Open Folder and you can open the folder where the source code is. If all goes well, you can compile by clicking the "check" button down on the left-ish side of the toolbar.

As above.

Then, make sure the building process finished successfully. Open platformio.ini and check the line
Code:
env_default = development

The "development" can be any configuration that follows. You can choose a configuration that fits yours.
If you connect ESP8266 with USB, you can click "right arrow(upload)" button, next to "check"(build) button to flash your ESP8266.

The bin file should locate in ".pioenv/development/" and named "firmware.bin".
 
No Helpers? I thought there would be interest in running an OLED screen with Brewpiless.
Well I think you are so far out on the skinny-branches, nobody can. OLED is not supported in either BrewPiLess or Thorrak's ESP8266 firmware that I know of. And you are using one project's hardware with another project's software. So, in the words of the Reverend Johnson in Blazing Saddles: "Son, you're on your own."
 
Well I think you are so far out on the skinny-branches, nobody can. OLED is not supported in either BrewPiLess or Thorrak's ESP8266 firmware that I know of. And you are using one project's hardware with another project's software. So, in the words of the Reverend Johnson in Blazing Saddles: "Son, you're on your own."

BrewPiLess DID. However, something might have gone wrong that it seems not functional for now.
All my 5 OLED went out of work after a few month, and I hesitate to get one more to try.
 
@Bigdaddyale if all you need is a fancy temp display, I'm betting this would get you where you need to go:

https://randomnerdtutorials.com/esp8266-0-96-inch-oled-display-with-arduino-ide/

That project uses a DHT11 sensor, but swapping that and the associated libraries out for whatever you'd like to use would be relatively easy. If I understand your want correctly, using BrewPiLess or any of the others might be overkill.

Unless what you are looking for is charting and all that - in which case you're back to using one of the BrewPi "family" of solutions.
Thanks, That would work but instead of the DHT11 I would need a DS18B20. Logging would be nice but for a 60 min mash, it would be pointless- like a screen door on a submarine. Last summer I bought a bunch of the dual ESP8266 boards and might try and use them.
 
Hi,
Signed up looking for some help.

I have a D1 mini pro V1 clone and am having a devil of a time getting it running. I managed to get VScode and platformio IDE installed and running on my win7 box. I also have nodemcu ESP8266flasher.

The CP210x driver seems to be quite flakey and crashes often requiring a PC reset.

I also have an OLED that doesn't seem to work. I have no idea of the screen is faulty or the board/software cannot address it. It is a SH1106 chipset 1.3" OLED.

What I would like to understand is, do I need to modify platformio.ini to reflect the board I am using it will the pre-built bins work?
If the pre-built bins will work which is the best one for my setup?

Any help will be greatly appreciated.
Cheers
Glen
 
Last edited:
Hi,
Signed up looking for some help.

I have a D1 mini pro V1 clone and am having a devil of a time getting it running. I managed to get VScode and platformio IDE installed and running on my win7 box. I also have nodemcu ESP8266flasher.

The CP210x driver seems to be quite flakey and crashes often requiring a PC reset.

I also have an OLED that doesn't seem to work. I have no idea of the screen is faulty or the board/software cannot address it. It is a SH1106 chipset 1.3" OLED.

What I would like to understand is, do I need to modify platformio.ini to reflect the board I am using it will the pre-built bins work?
If the pre-built bins will work which is the best one for my setup?

Any help will be greatly appreciated.
Cheers
Glen

First of all, some people reports that D1 mini pro doesn't work well for failure of connecting to specified network. I guess it might have something to do with flash mode("dout", "qio", or something else). Further research is needed to identify this problem. BTW, mine works with 4M flash configuration.

Second, the default configuration of OLED is SSD1306. To support SH1106, you must include "-DBREWPI_OLED_SH1106=true" in build_flags, in addition to "-DOLED_LCD=true". Unfortunately, Some say OLED doesn't work, but all my OLEDs have burnt out, and I can't verify, even after upgrading to latest OLED library. You might try latest code on GitHub with latest OLED library and report back. Good luck.
 
Last edited:
Some more progress overnight. I have it running with the classic firmware. Just the board with no sensors or display. Boots and runs and connects to my wifi network.

I haven't tried the OLED again yet. I'll tack it together in the next couple of days and see how it performs.

One issue I have noticed is the time on the X axis of the graph is incorrect. It is currently 10am local (Australian eastern time) and the now button for the temperature profile recognises it. But the graph is showing 1800, I assume this the GMT.

BrewPiLess has no idea about the timezone. It stores EPOC(Unix timestamp), which could be considered as GMT time. However, the browser should convert EPOC time to local time. BrewPiLess has no reason to know the timezone except one condition - it displays time on OLED display.

One potential problem is, D1 mini does not has a real time clock, nor does it have a battery for that. The correct time must be gotten from time server(NTP). The time servers might not be reachable sometimes for some reasons, and the system time would be incorrect, counting starting from zero.

The solution is using the time of the BROWSER, or the computer that connects to it. BPL will update and save the time and timezone for next time if it finds these are different from what it has. One pitfall remains. The log might start before correct time is known, and the graph shows incorrect time.

You can check the "time" by using this URL
http://brewpioess.local/time or http://[IP]/time

The response should be something like
{"t":"2019-05-18T00:45:58Z","e":1558140358,"o":28800}

Where "t" is GMT time, "e" for EPOC time, and "o" for timezone offset in seconds. If you see correct time information, try to start a new local log or power recycle BPL to make the log right.
 
Last edited:
I've designed a PCB to fit this onto. Is anyone able to check I haven't got something horribly wrong befor eI spend $5 and order 5 PCBs?

https://easyeda.com/glen_3116/brewpiless_oled

I've also designed an 8 channel irrigation controller based on lawabb's fork of ESPrinkler2, https://github.com/lawabb/ESPrinkler2 I can share the PCB for this too if anyone is interested.
Use the full bottom layer for GND, and also use wider tracks if place allow. 5V should be 1mm minimum.
Add 100nF and 100uF cap between 5V and GND as close to ESP 5V pin as possible.
That will keep noise errors away.
 
Thanks for the tips. I am quite a newbie when it comes to the finer points of electronics.

Do you mean to put the two caps in series between 5V and GND? I assume that are acting as low pass and high pass filters.

I have tweaked the design to get a ground plane and will look at bigger traces, they are 0.5mm for 5V and GND. This the all the low power side and the 240V mains will be handled by the relay module.
 
Both in parallel. The 100uF filters low freq noise, and the 100nF the high freq one.
There is no point on saving on trace width, the wider the best. ESP sinks 350mA when Wifi Tx.
The top layer will be filled with copper also, unconnected, to save etching solution.
 
Thought I'd post pics of my brewpiless, which I built using jangevaa's PCB. I made a 3D printed case at my local library, which I designed with TinkerCAD and cheap digital calipers from Amazon. I wanted the connections at a right angle from the LCD because my unit will sit on a shelf at a right angle from my chamber. The library's 3d printer couldn't handle a box (kept failing halfway through the print), so I broke it into pieces, which actually worked out better, in that it was easier to assemble the components without the walls of the box getting in the way. I'm fermenting an IPA on my trial run and it's working great so far -- the smoothness of the temp ramping from 65° to 72° is impressive. Also fun to be able to check in on fermentation status through Brewfather when I'm away from home.

IMG_20190603_223855838.jpg IMG_20190603_231513235.jpg IMG_20190603_234948606.jpg
 
Thought I'd post pics of my brewpiless, which I built using jangevaa's PCB. I made a 3D printed case at my local library, which I designed with TinkerCAD and cheap digital calipers from Amazon. I wanted the connections at a right angle from the LCD because my unit will sit on a shelf at a right angle from my chamber. The library's 3d printer couldn't handle a box (kept failing halfway through the print), so I broke it into pieces, which actually worked out better, in that it was easier to assemble the components without the walls of the box getting in the way. I'm fermenting an IPA on my trial run and it's working great so far -- the smoothness of the temp ramping from 65° to 72° is impressive. Also fun to be able to check in on fermentation status through Brewfather when I'm away from home.

View attachment 631579 View attachment 631580 View attachment 631581
Looks good. What are the dimensions of your box?
 
I should also mention that, based on the safety concerns I read in this forum, I didn't hook up the toggle switch for the AC bulkhead. I figure I'll just yank the power cord when I want to turn it off.
 
Thought I'd post pics of my brewpiless, which I built using jangevaa's PCB. I made a 3D printed case at my local library, which I designed with TinkerCAD and cheap digital calipers from Amazon. I wanted the connections at a right angle from the LCD because my unit will sit on a shelf at a right angle from my chamber. The library's 3d printer couldn't handle a box (kept failing halfway through the print), so I broke it into pieces, which actually worked out better, in that it was easier to assemble the components without the walls of the box getting in the way. I'm fermenting an IPA on my trial run and it's working great so far -- the smoothness of the temp ramping from 65° to 72° is impressive. Also fun to be able to check in on fermentation status through Brewfather when I'm away from home.

Really nice work! I'd like to do a PCB with relays right on it when I find the time.
 
I was thinking about the same thing: a board with relays. Of course it’s horribly inefficient, we have a hard time matching Chinese prices, but we would get the form factor we want plus a chance for higher quality components.
 
Hi All,
I have brewpiless 3.5.1 running but would like to have it publish beer and chamber temperatures as well as heating/cooling relay states via MQTT to openhab .
Installed platformio and it seems to compile brewpiless master without errors but don't know where to go from here.
Has anyone compiled a binary that does this or could I compile with arduino IDE ?
help please !
Cheers Dave
 

Latest posts

Back
Top