ClaudiusB
Well-Known Member
NoGreat write up. Does it matter which color goes in the 1 position and which one goes in the 3 position?
Thanks

NoGreat write up. Does it matter which color goes in the 1 position and which one goes in the 3 position?
Thanks
TomSD said:OK got side tracked. Anyway, here is how I program mine...
SP1 67 (varies, see below)
SP2 0
r0 dep
r1 2
r2 2
c0 10
c1 dir (default)
c2 inv
P0 F (documents say C is default but I never remember changing mine)
P4 sd1 (default)
P5 1
OK so these settings result in the following...
[*]Range is 65 - 69 F
[*]Heat comes on at 65 (SP1+SP2-r2) and kicks off at 67 (SP1+SP2)
[*]Cooling comes on at 69 (SP1+r1) and kicks off at 67 (SP1)
[*]10 minute cool-down (c0) to extend life of the freezer
Just set my love unit up. When programming it it also has R1-8, A0-7, C0-4, P0-5, H0-5. Do I just skip (leave default) the parameters that were not included above?
Thanks


")


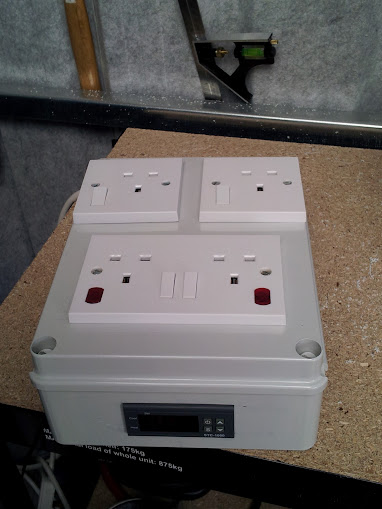
Either one will work ( TSS2 Love, Or STC 1000) just make sure you are ordering a 120 volt in the USA so you don't end up buying a control transformer for the unit.
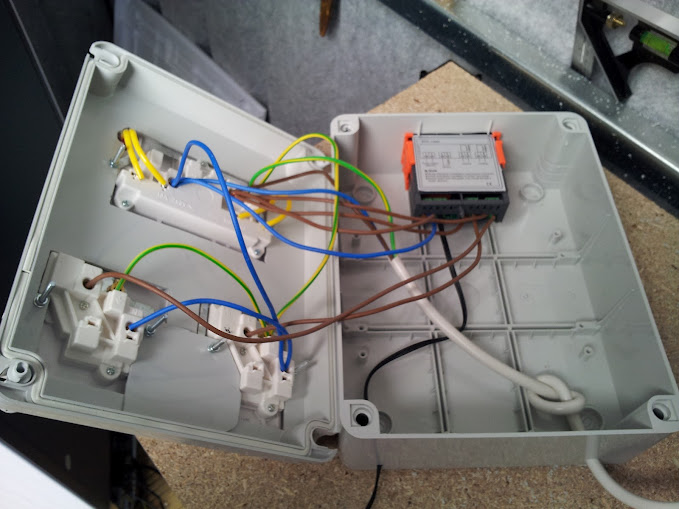
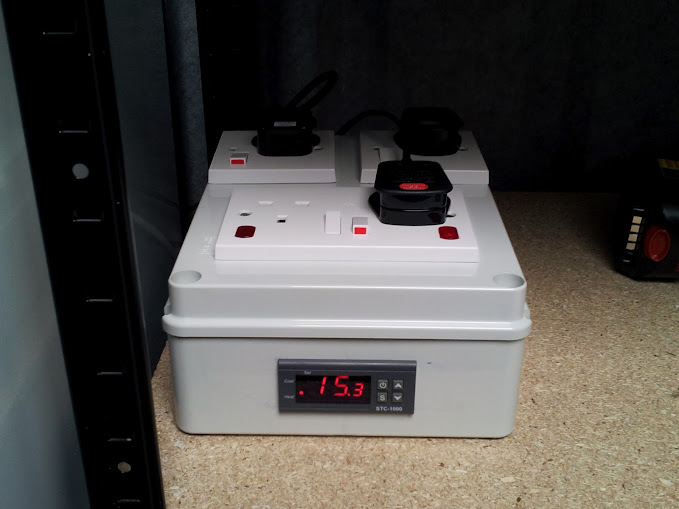
He's just showing you an extra outlet that was added that's always on (live) in case you need lights to get your brew. LOL!
Is this what we should be ordering?
http://www.amazon.com/gp/product/B008KVCPH2/?tag=skimlinks_replacement-20
Also, could a computer power cable (like this) be substituted?
The amazon link is for the 110V version. That's an incredible price for a controller if you don't mind the 1C setting increments. I'd use solid wiring to the terminals, 14 gauge minimum (15 Amp) and install an outlet that is not switched (in addition to your switched outlet) in your box to transition to stranded wire with forks crimped and soldered to the stranded wire.
I found some 12/2. Will that work? Seems awful stiff like it will be tough to work with? Seems like it will be tough to turn with the wire nuts?
I'd use 12g THHN wire, sold at Home Depot/ect...by the foot in black/white/green. Stranded wire with forks crimped and soldered to the ends works great for flexible jumpers. Solid is similar to romex with wire nuts.
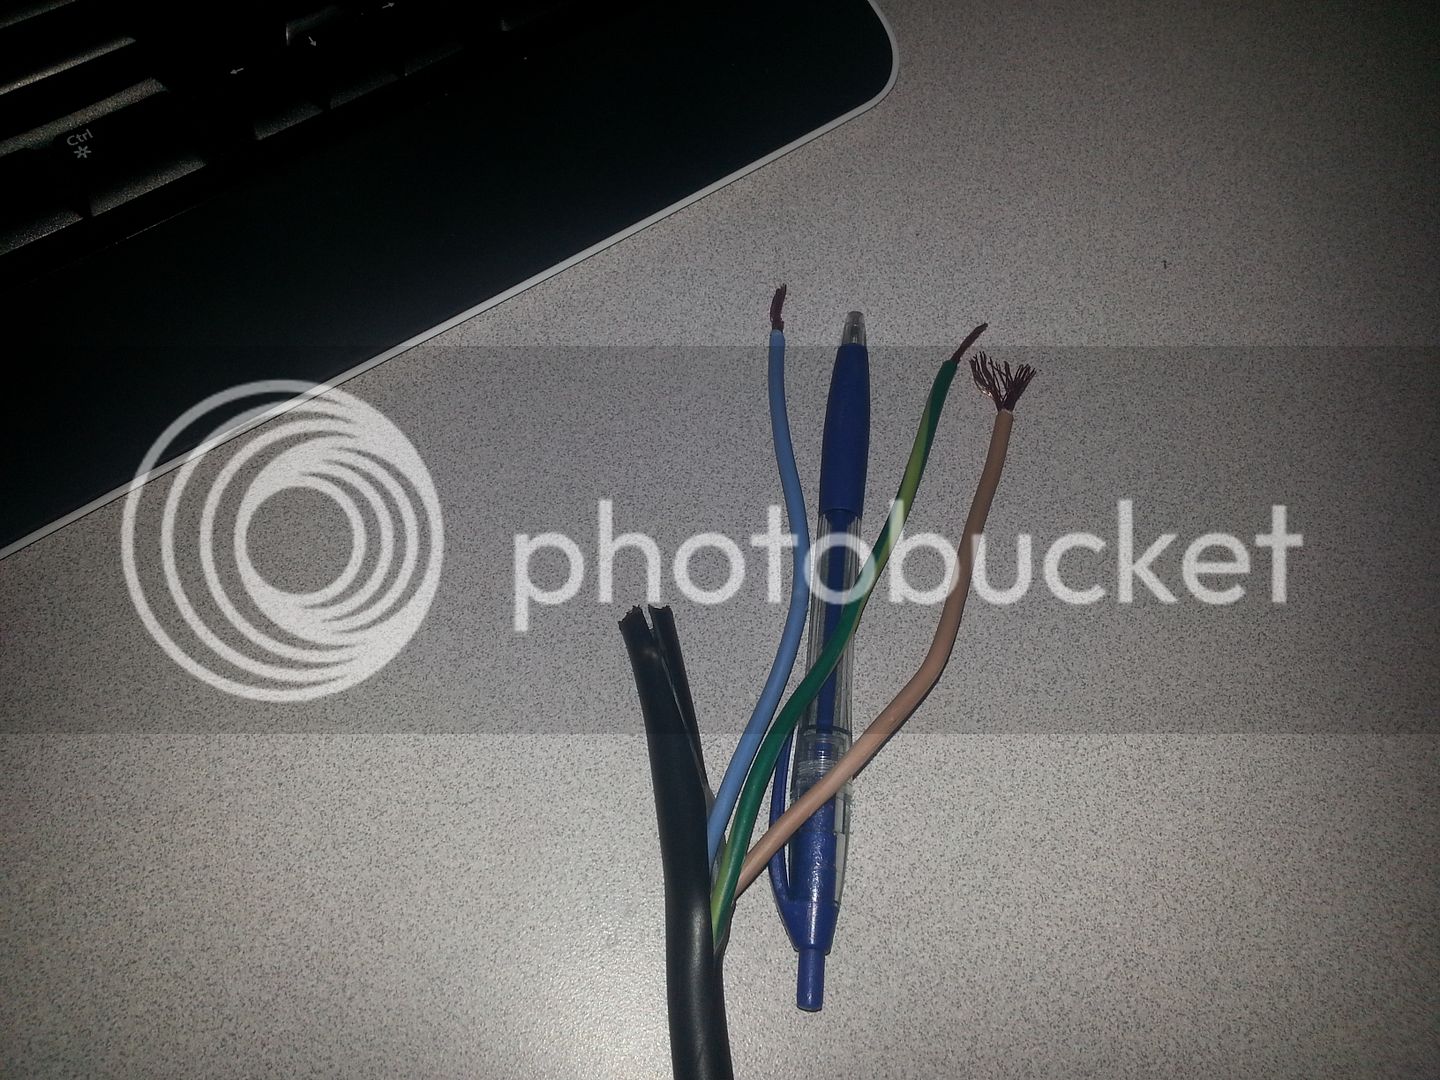
I'd use 12g THHN wire, sold at Home Depot/ect...by the foot in black/white/green. Stranded wire with forks crimped and soldered to the ends works great for flexible jumpers. Solid is similar to romex with wire nuts.


![Craft A Brew - Safale BE-256 Yeast - Fermentis - Belgian Ale Dry Yeast - For Belgian & Strong Ales - Ingredients for Home Brewing - Beer Making Supplies - [3 Pack]](https://m.media-amazon.com/images/I/51bcKEwQmWL._SL500_.jpg)


