FloppyKnockers
Well-Known Member
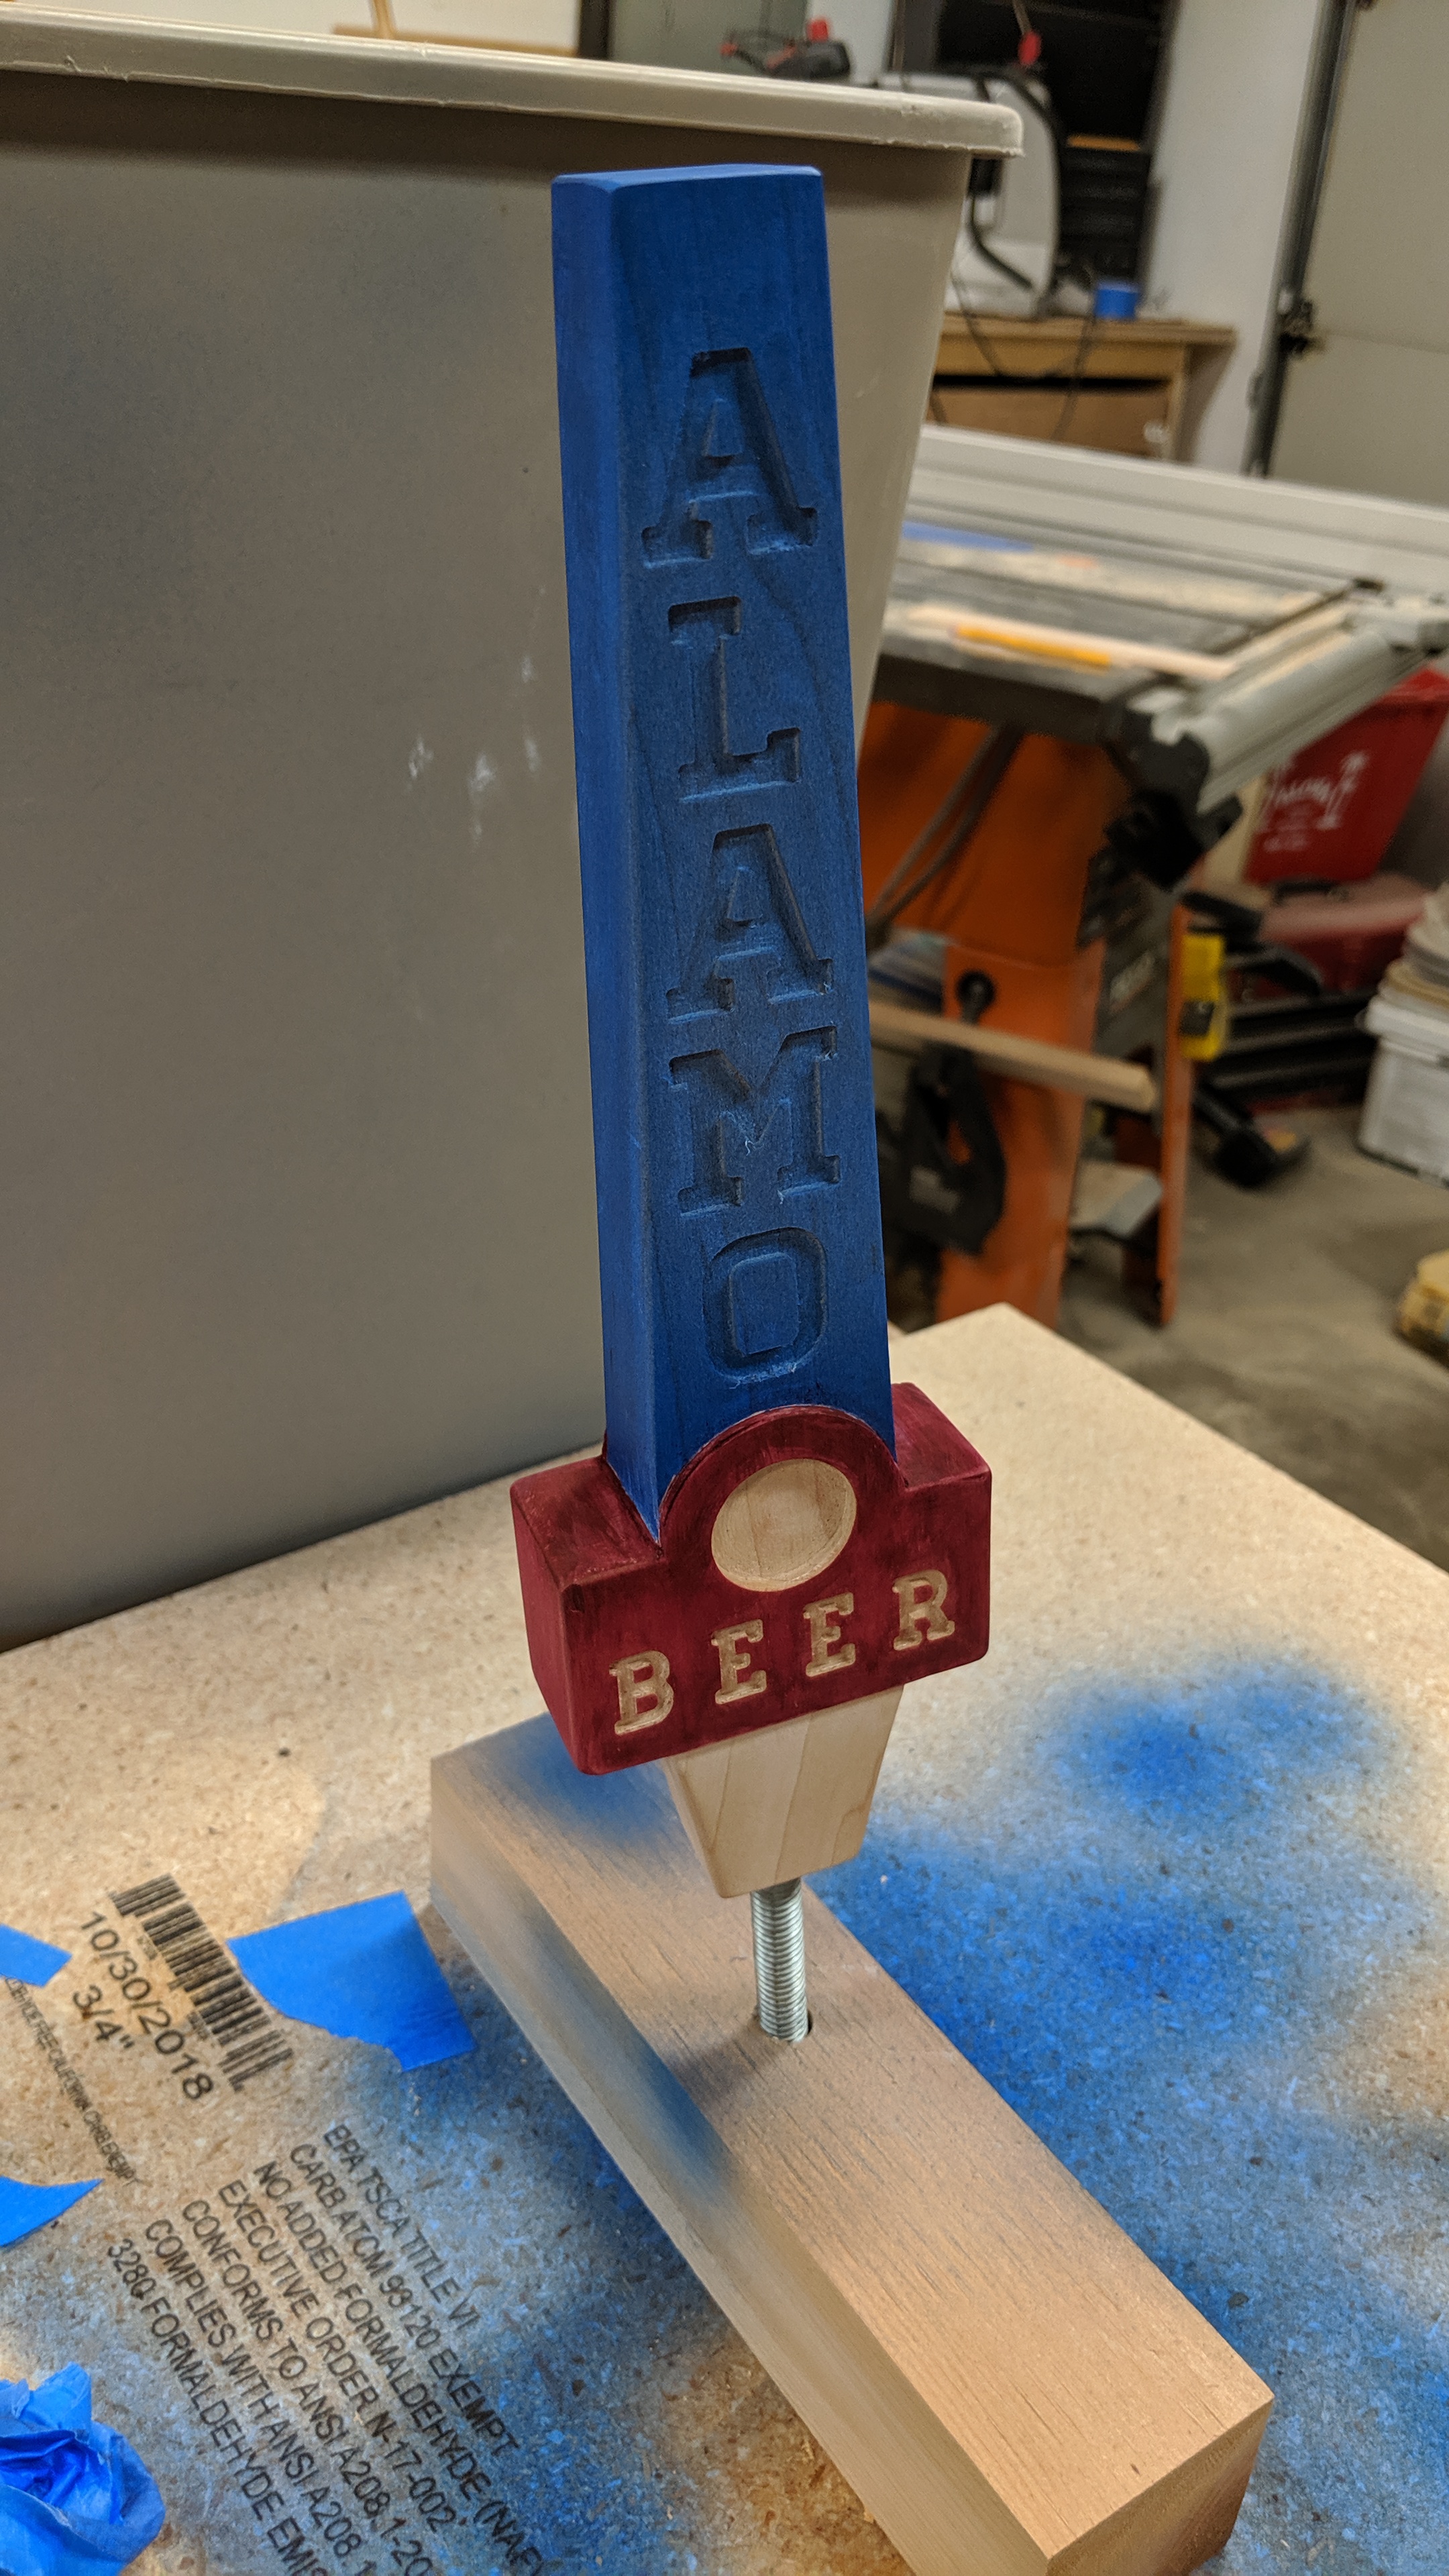
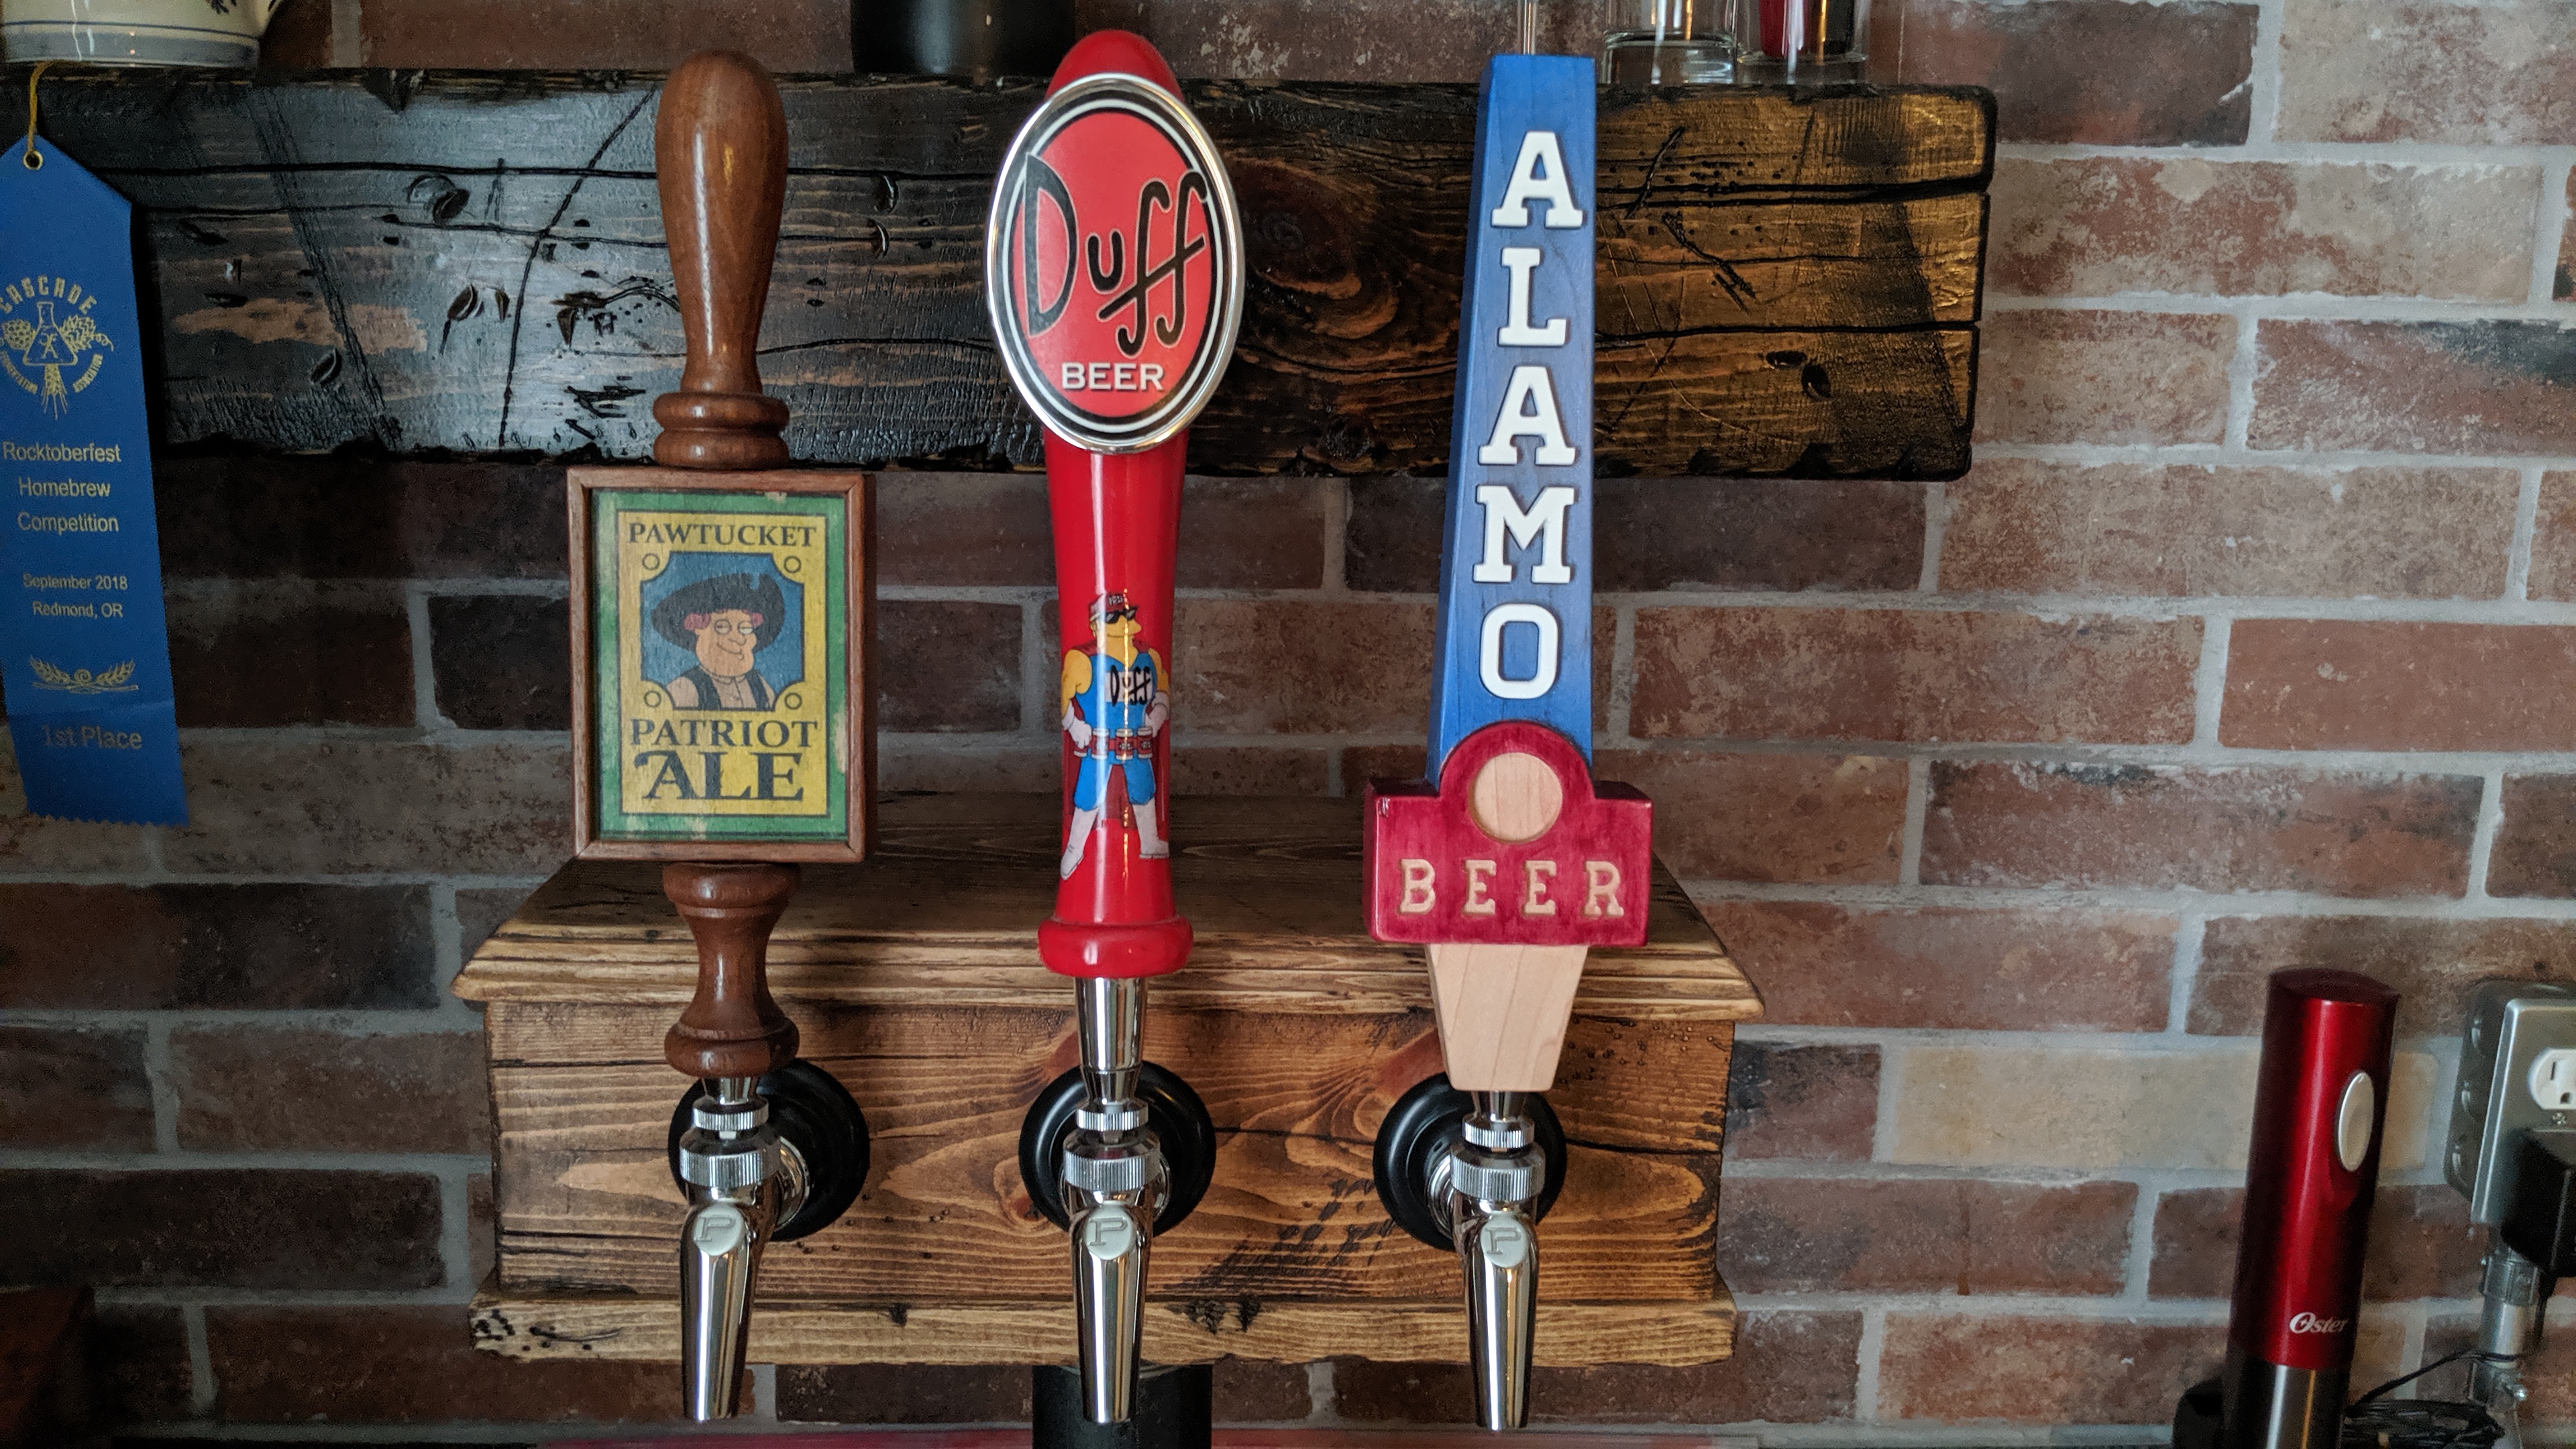
My first keg set-up had two taps so I made a pair of tap handles (shameless plug) that features beers from The Simpsons and Family Guy. Since my latest bar build (another shameless plug) I gained a tap. So I took this opportunity to make a third tap handle from another one of my favorite animated shows - King of the Hill.
This was sort of a challenge because unlike Duff and Pawtucket, Alamo beer has a very generic label, no mascot, and no tag lines. I had to break out with some artistic license on this one.
My references included the can and the brewery that was featured in only one show to my recollection.


I recently got a little desktop CNC router and thought this would be a great first project. I put the design in my head into a web-based program called Easel. It's pretty fun with a really shallow learning curve.

I first started with a hunk of maple cut to size and planed smooth. I put two saw kerfs in the bottom for the CNC clamps to hold onto.

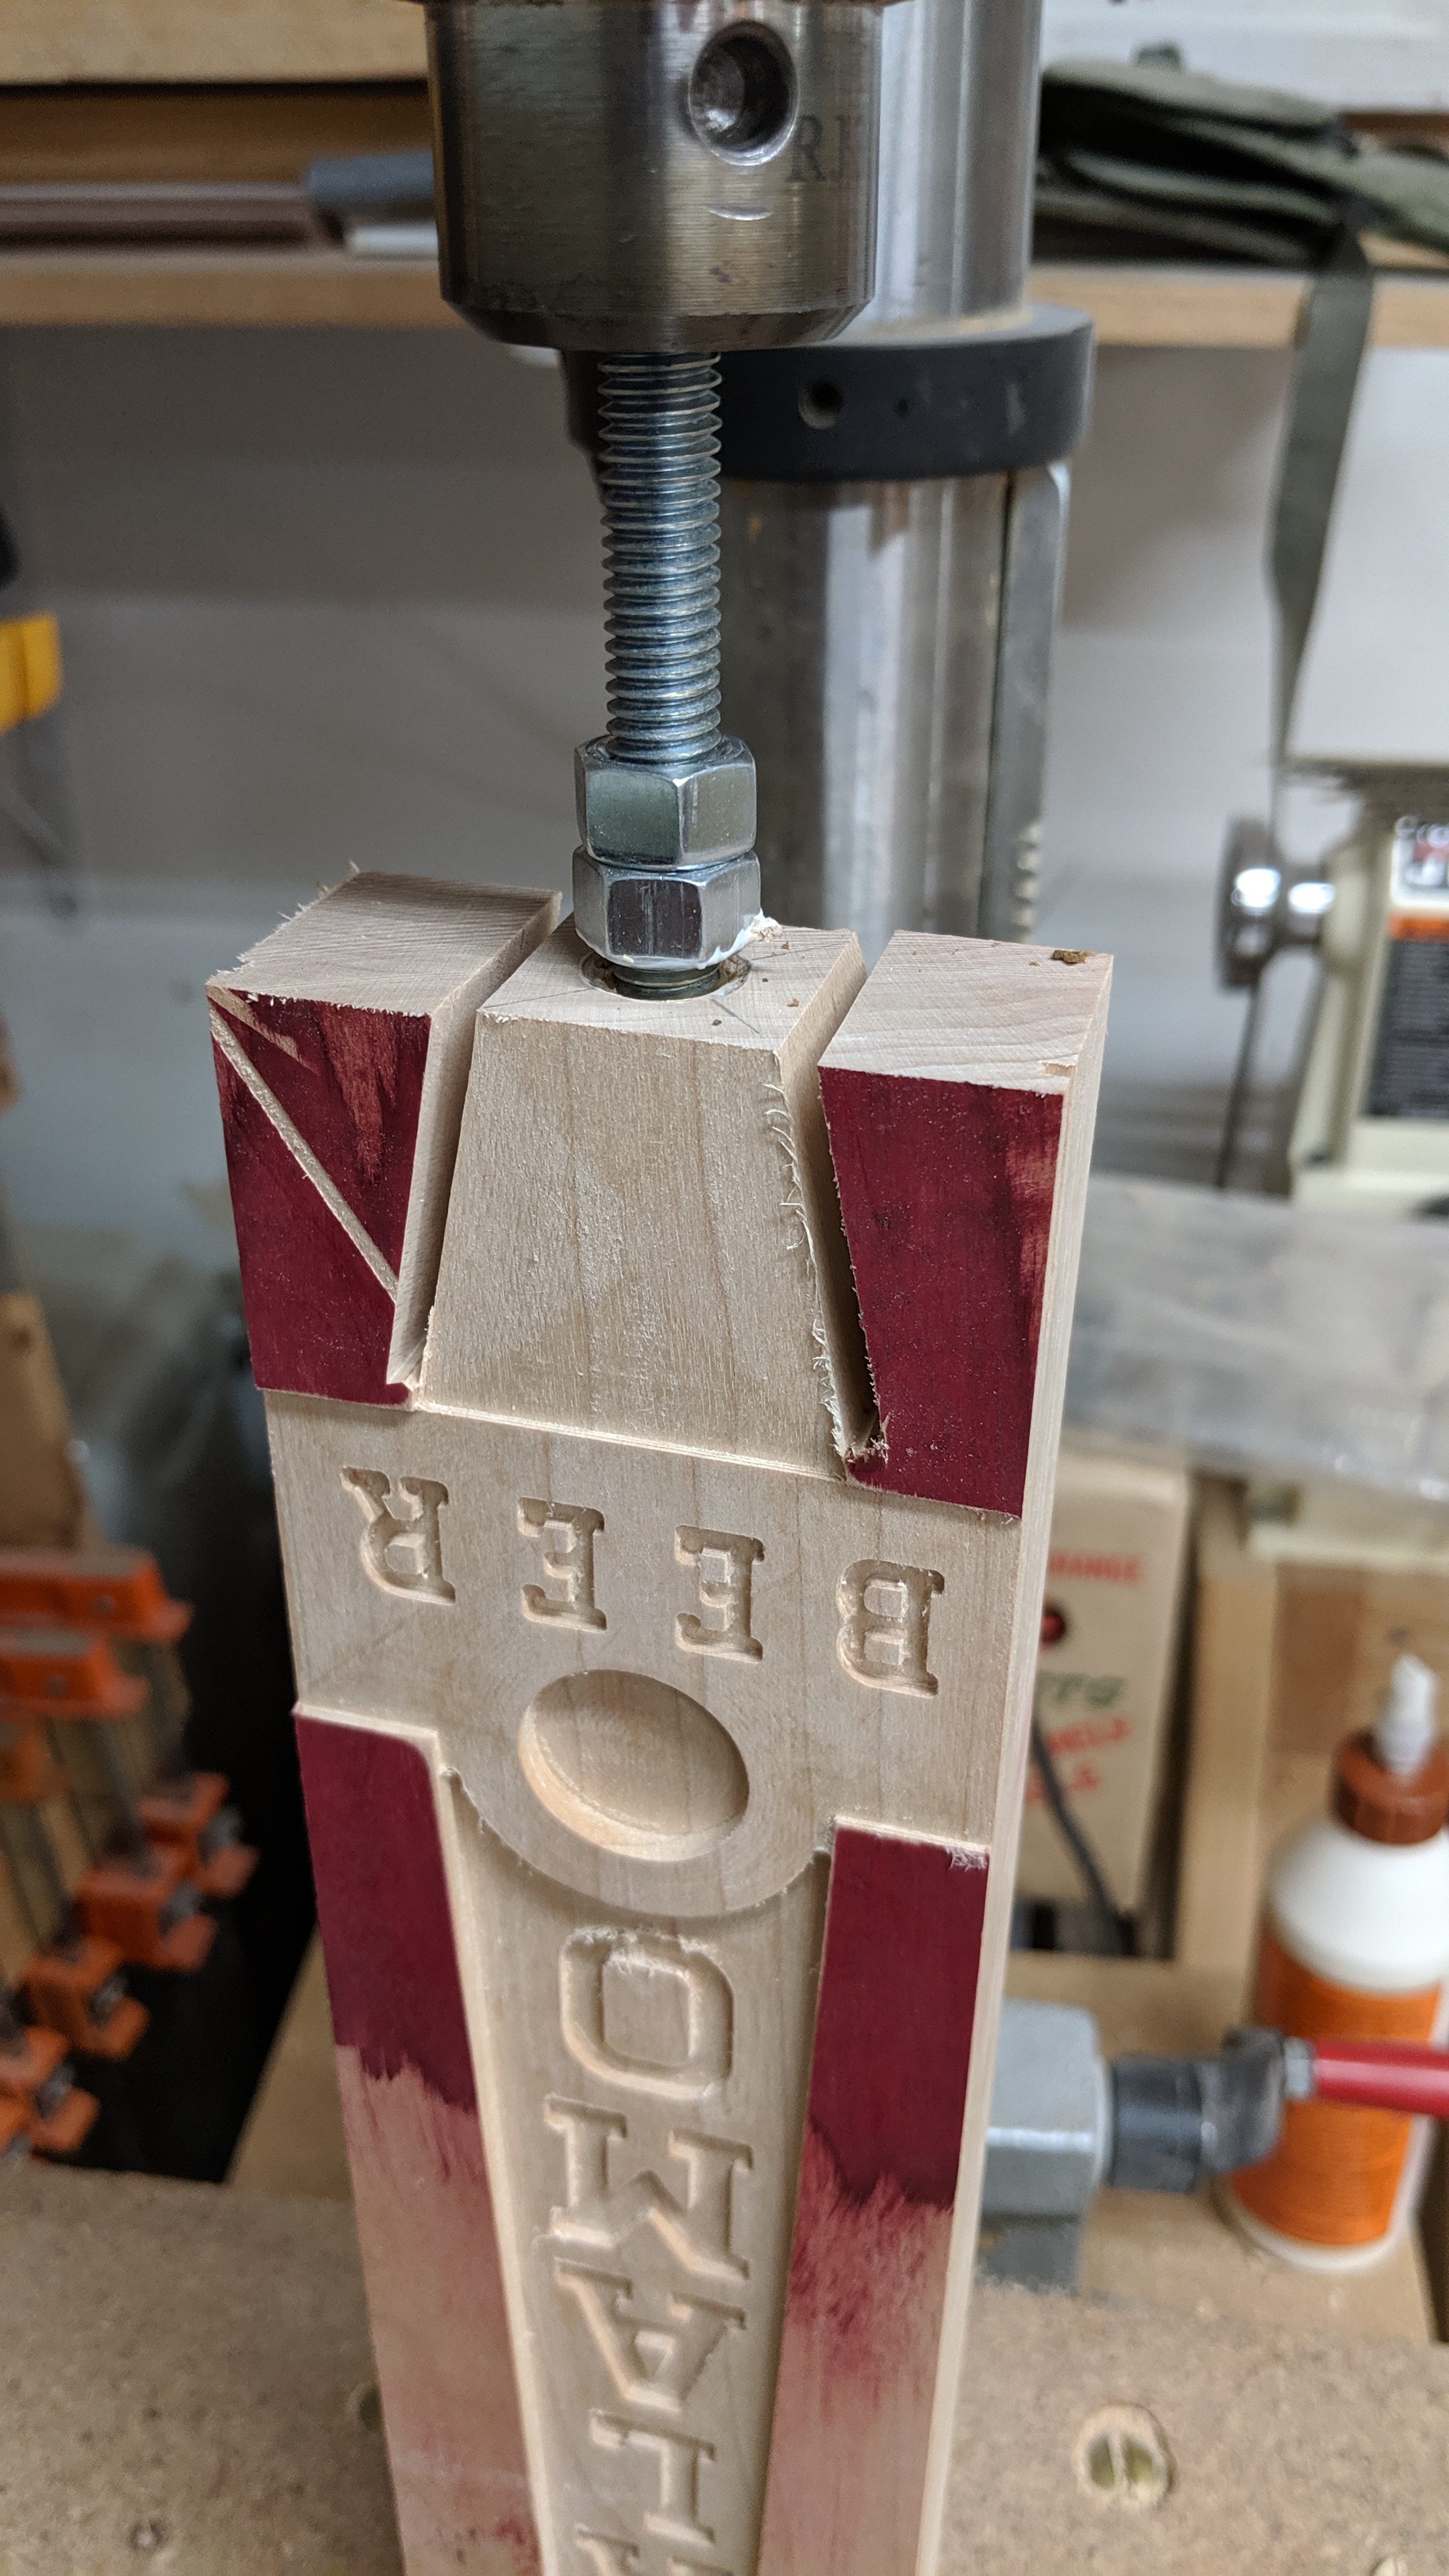
I used clothing dye to pre-color the red bit of the handle. This was mostly in vein because I ended up altering the design to carve deeper and cutting the red off. It did act as a great cut line though.

Off to the races! This thing is super fun to watch. I didn't watch it all as it took upwards of 6 hours to cut the whole thing.


After it was done I flipped it over to do a little cutting on the back.

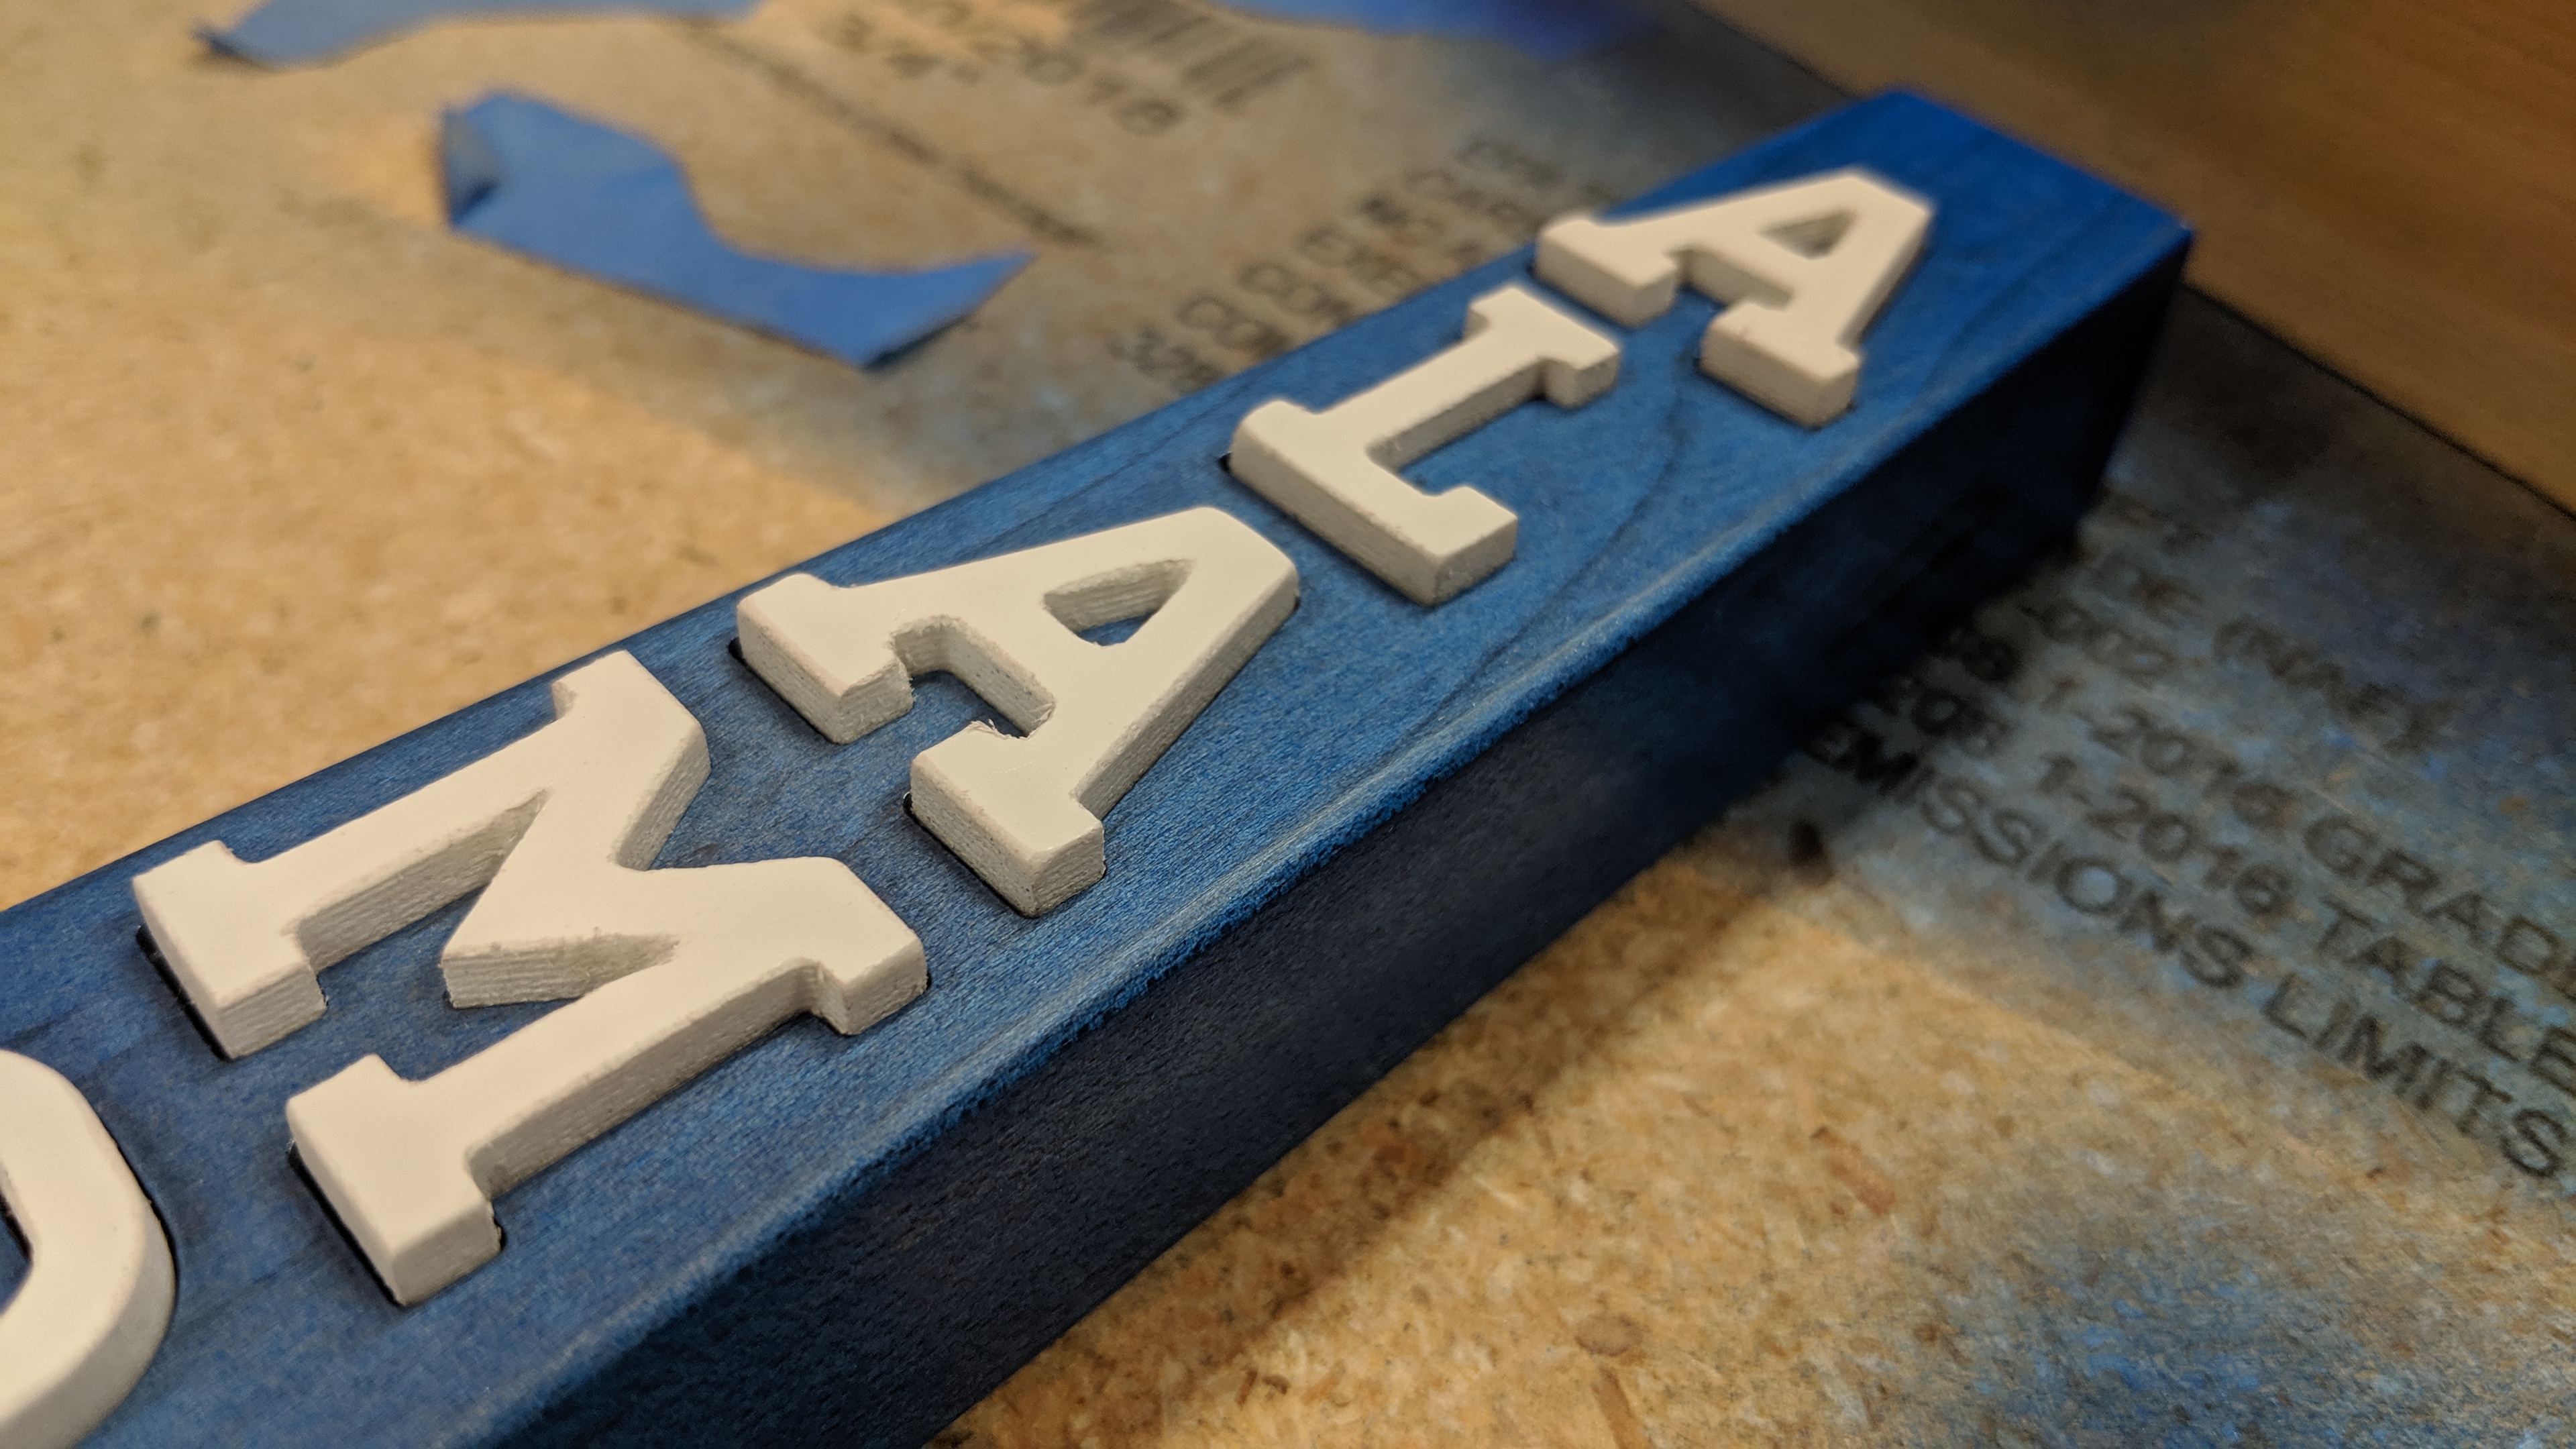
The burrs/fuzzies were really easy to clean up with some 220 grit.
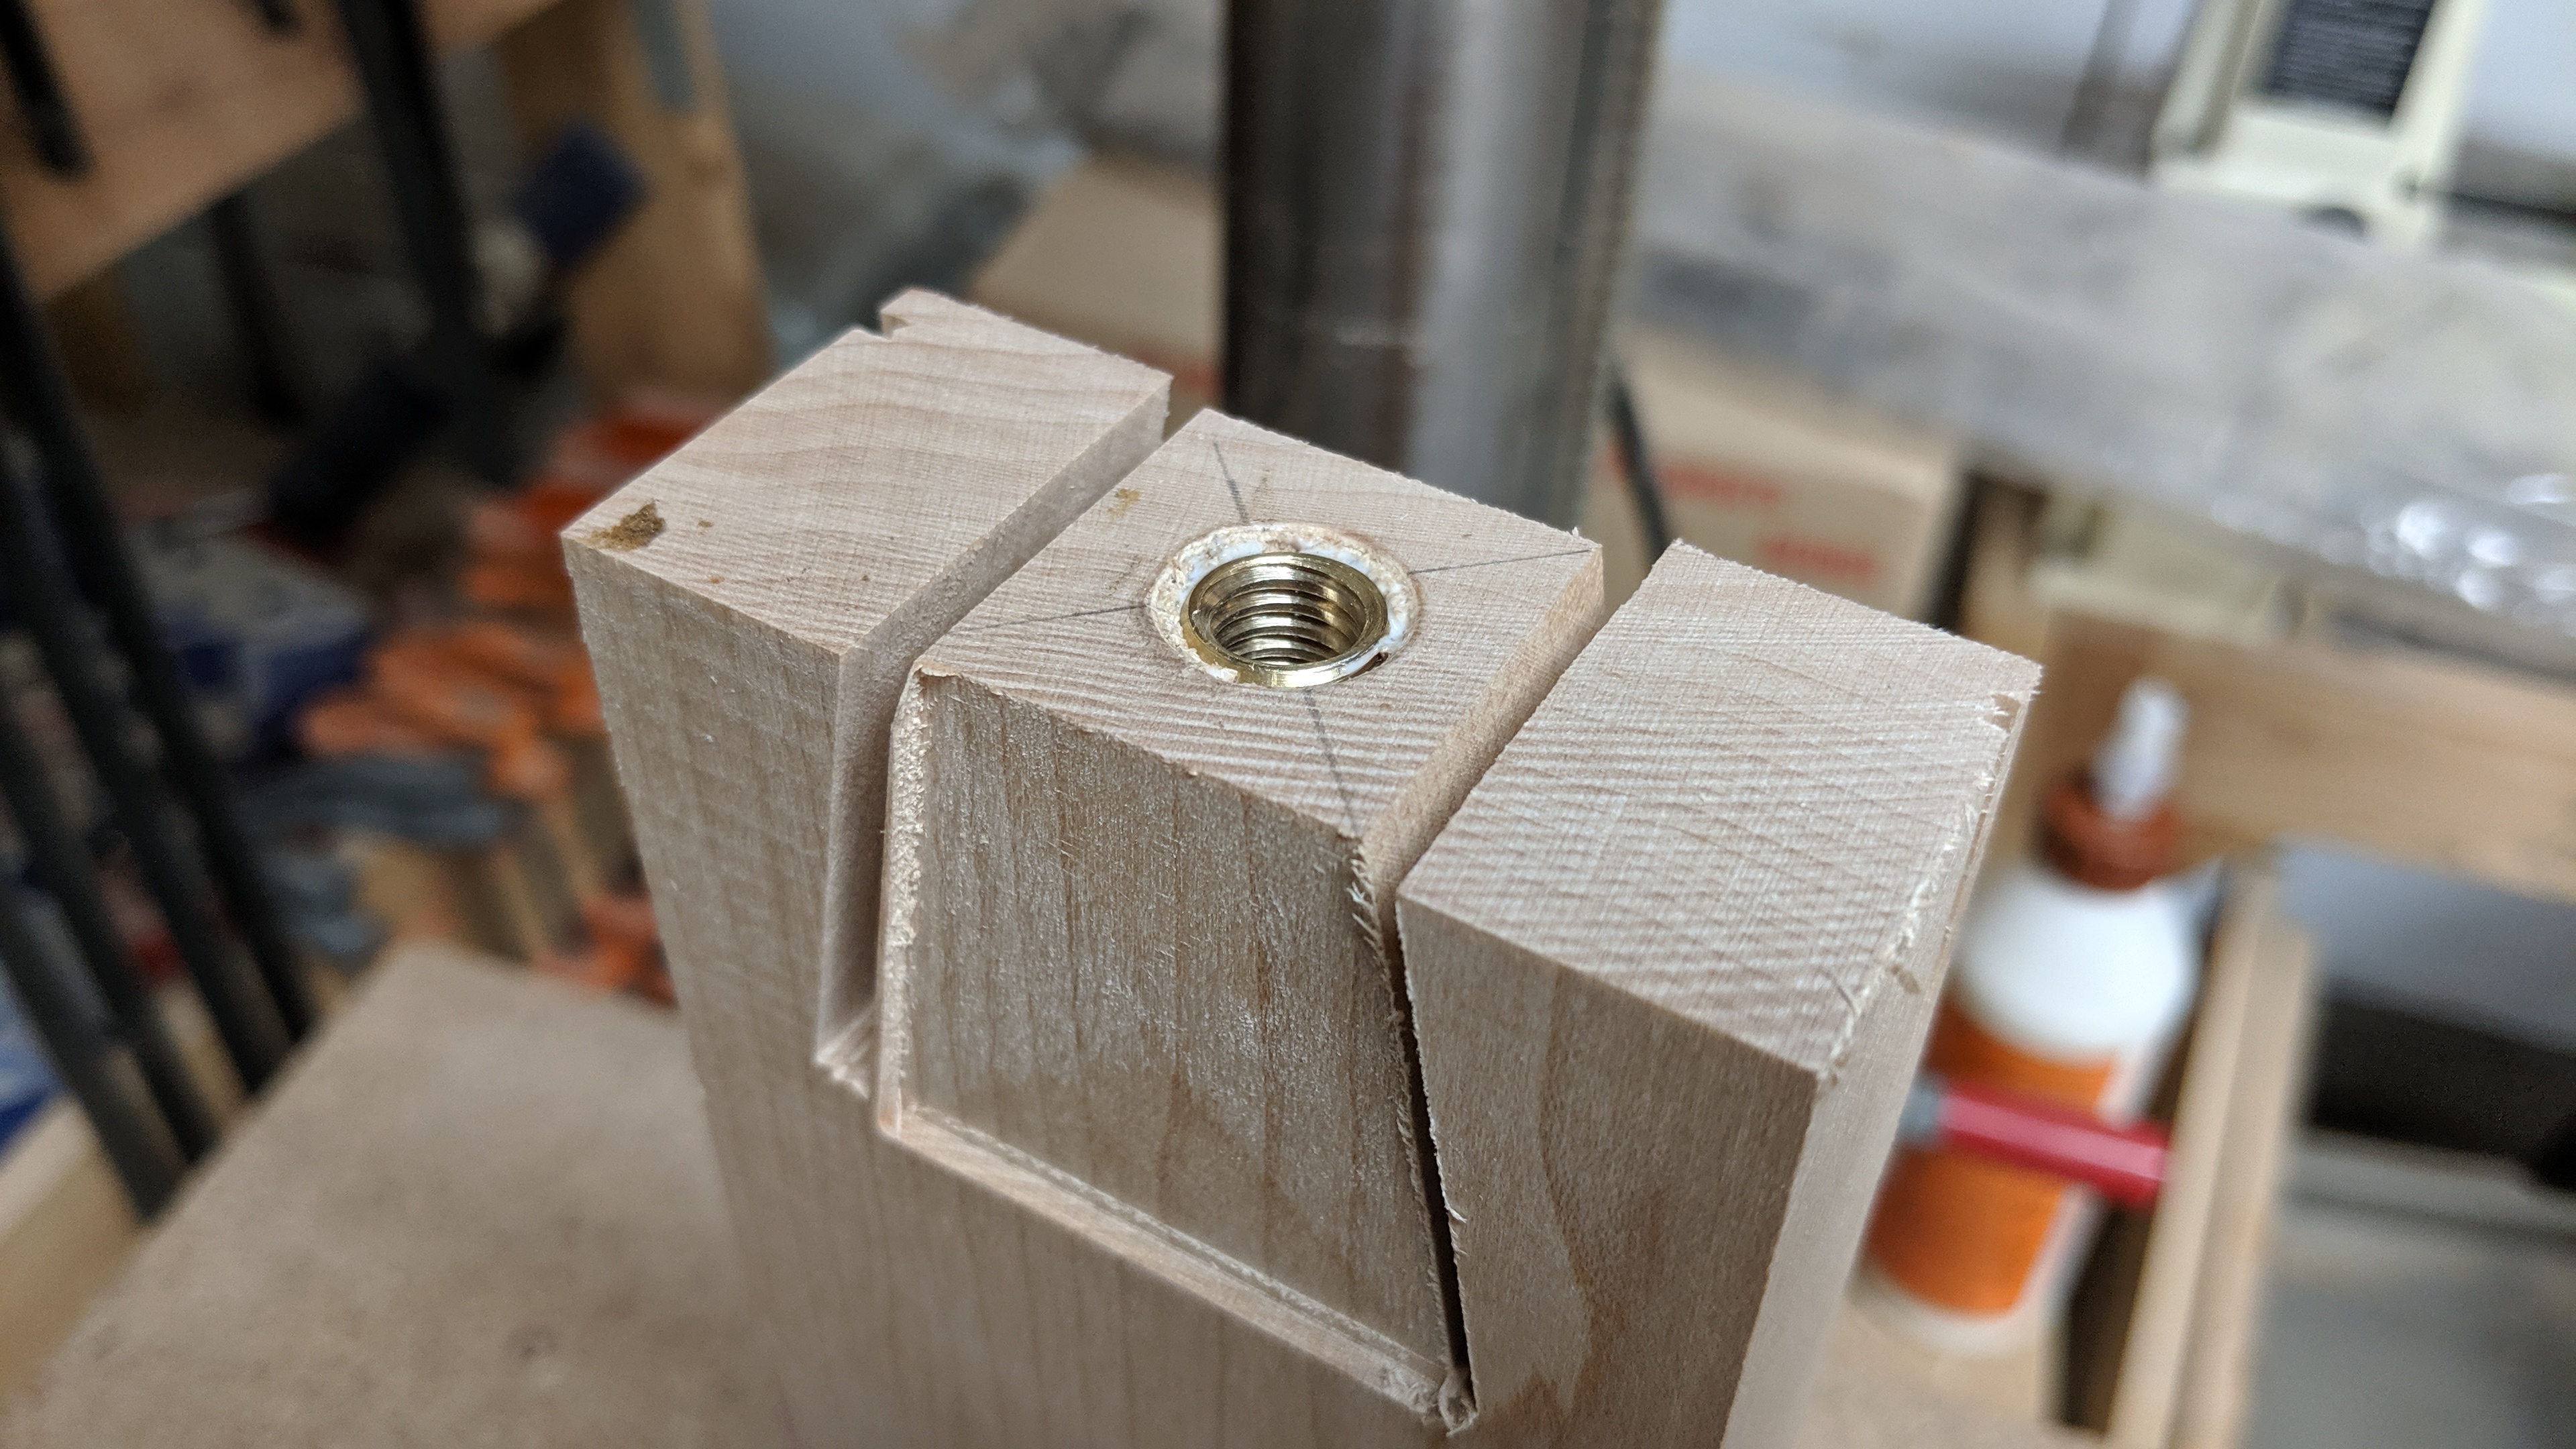
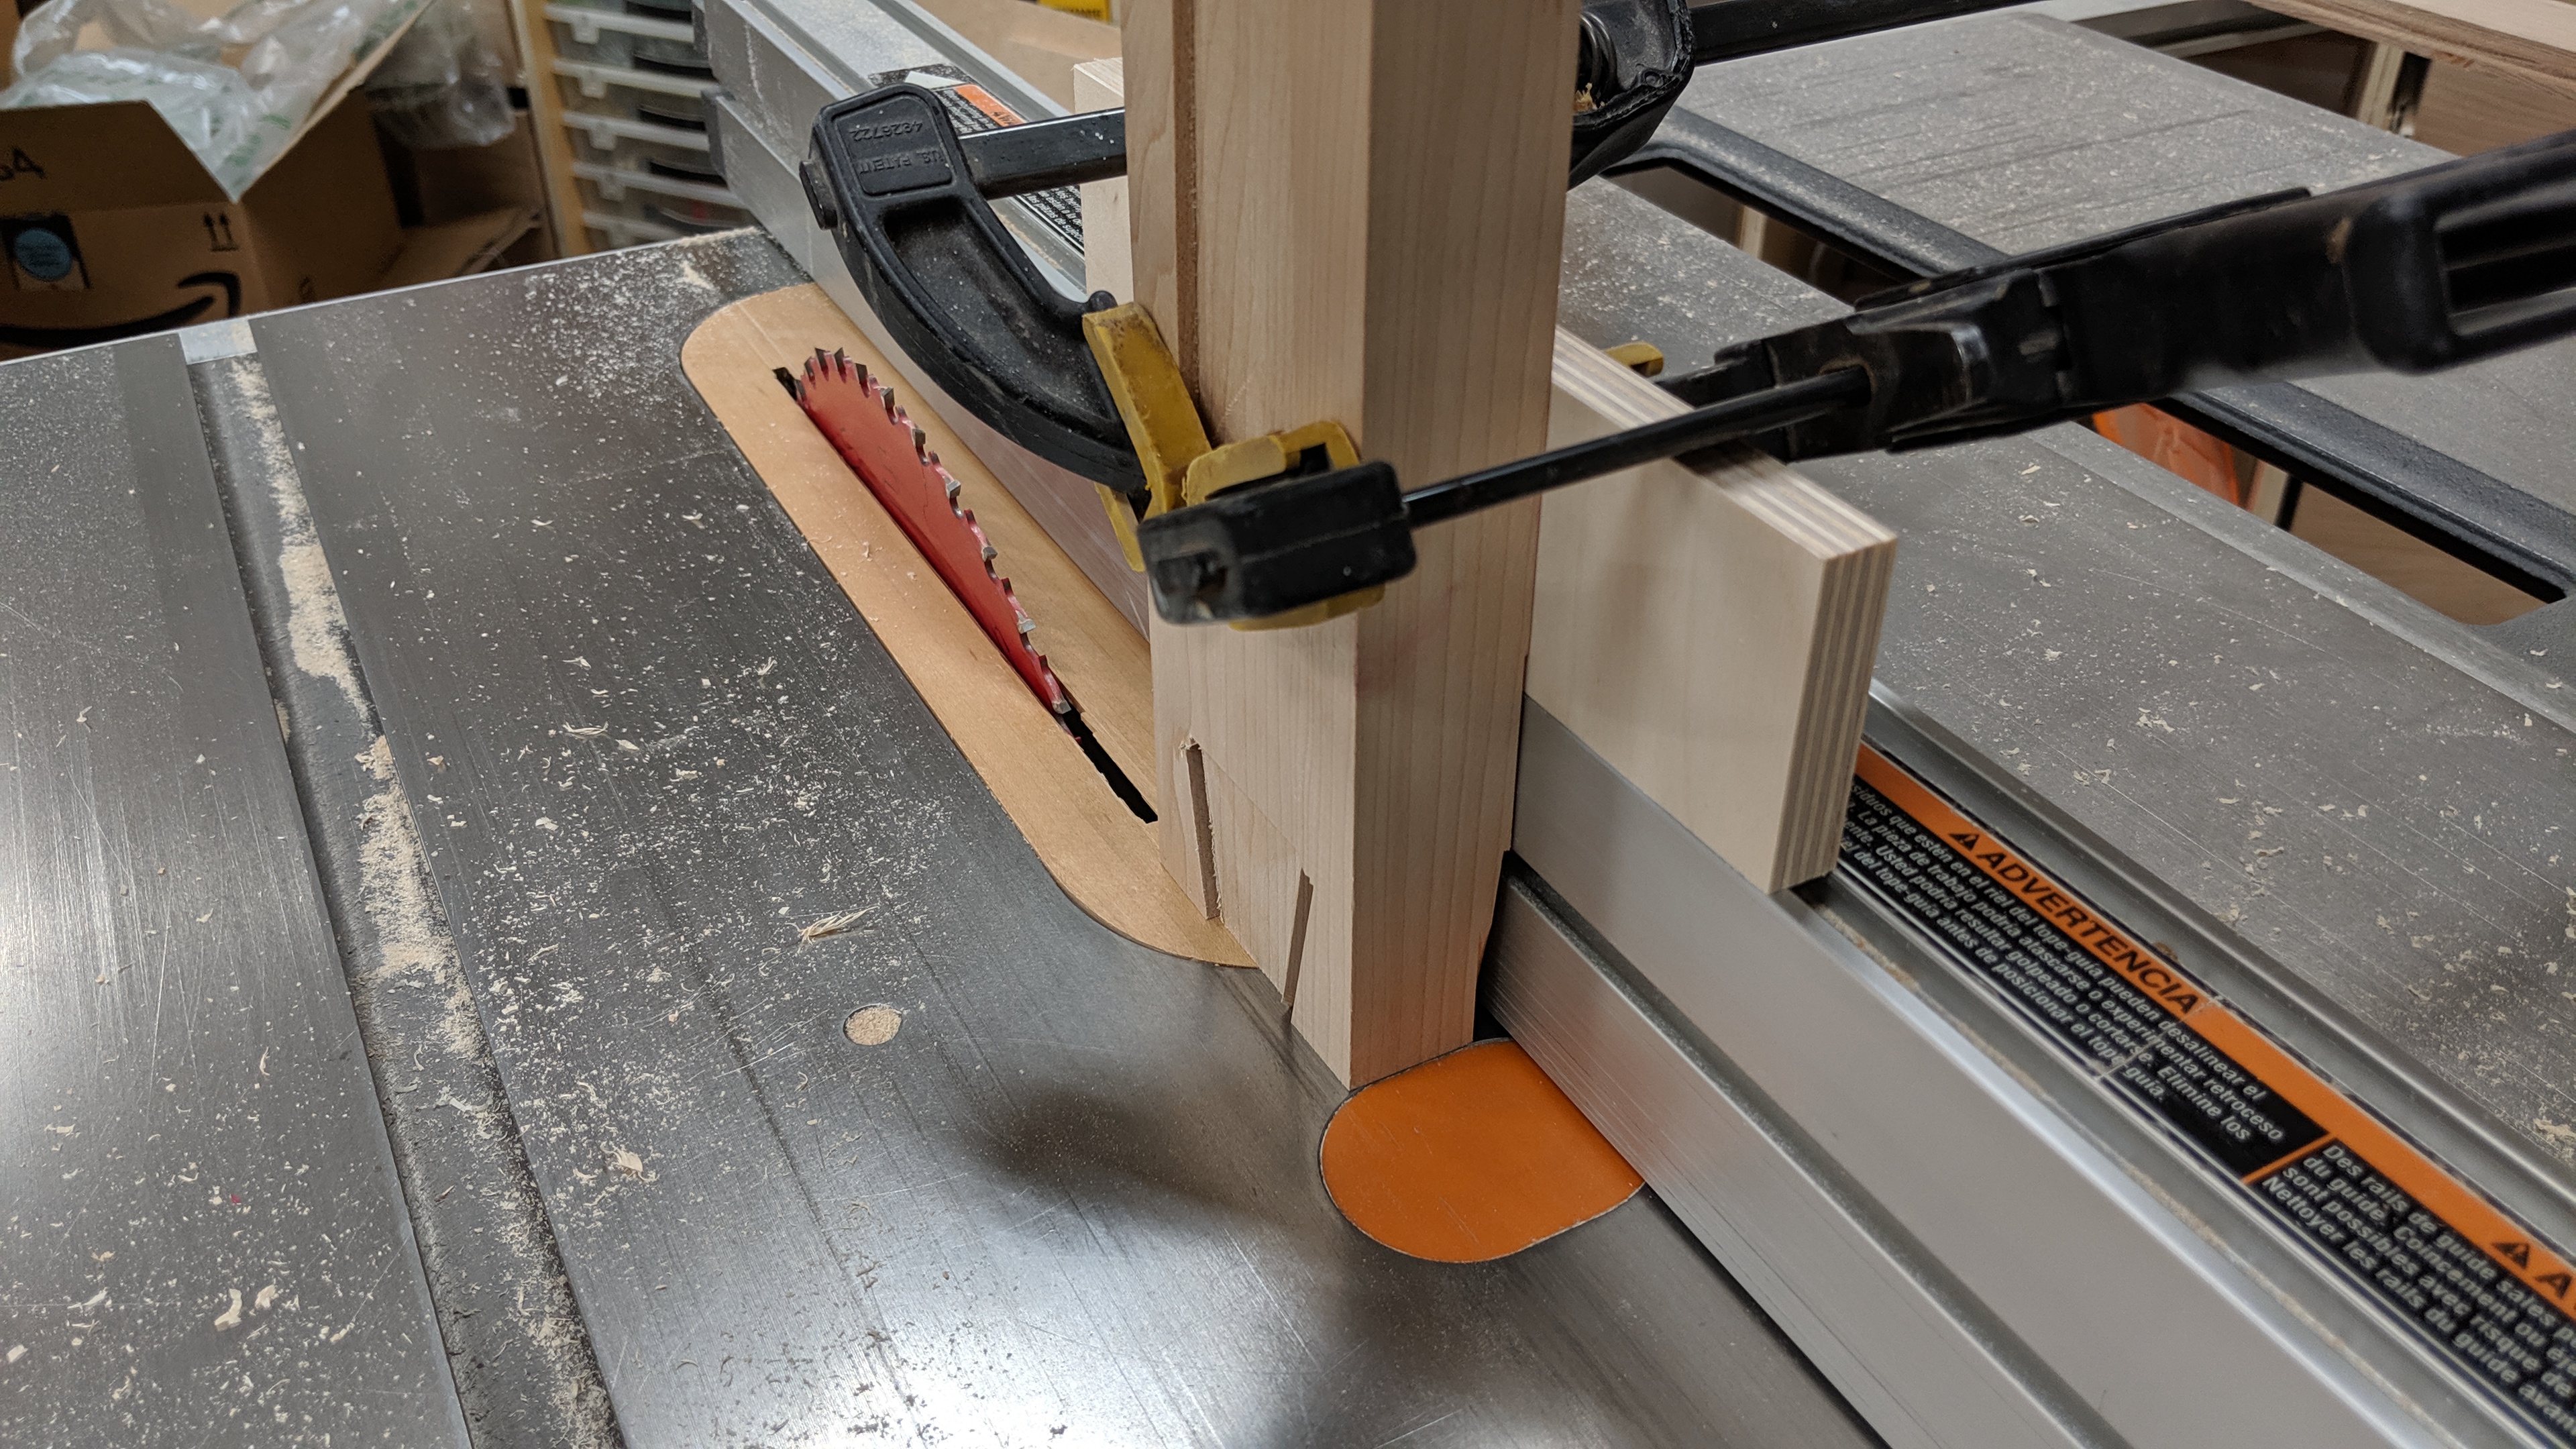
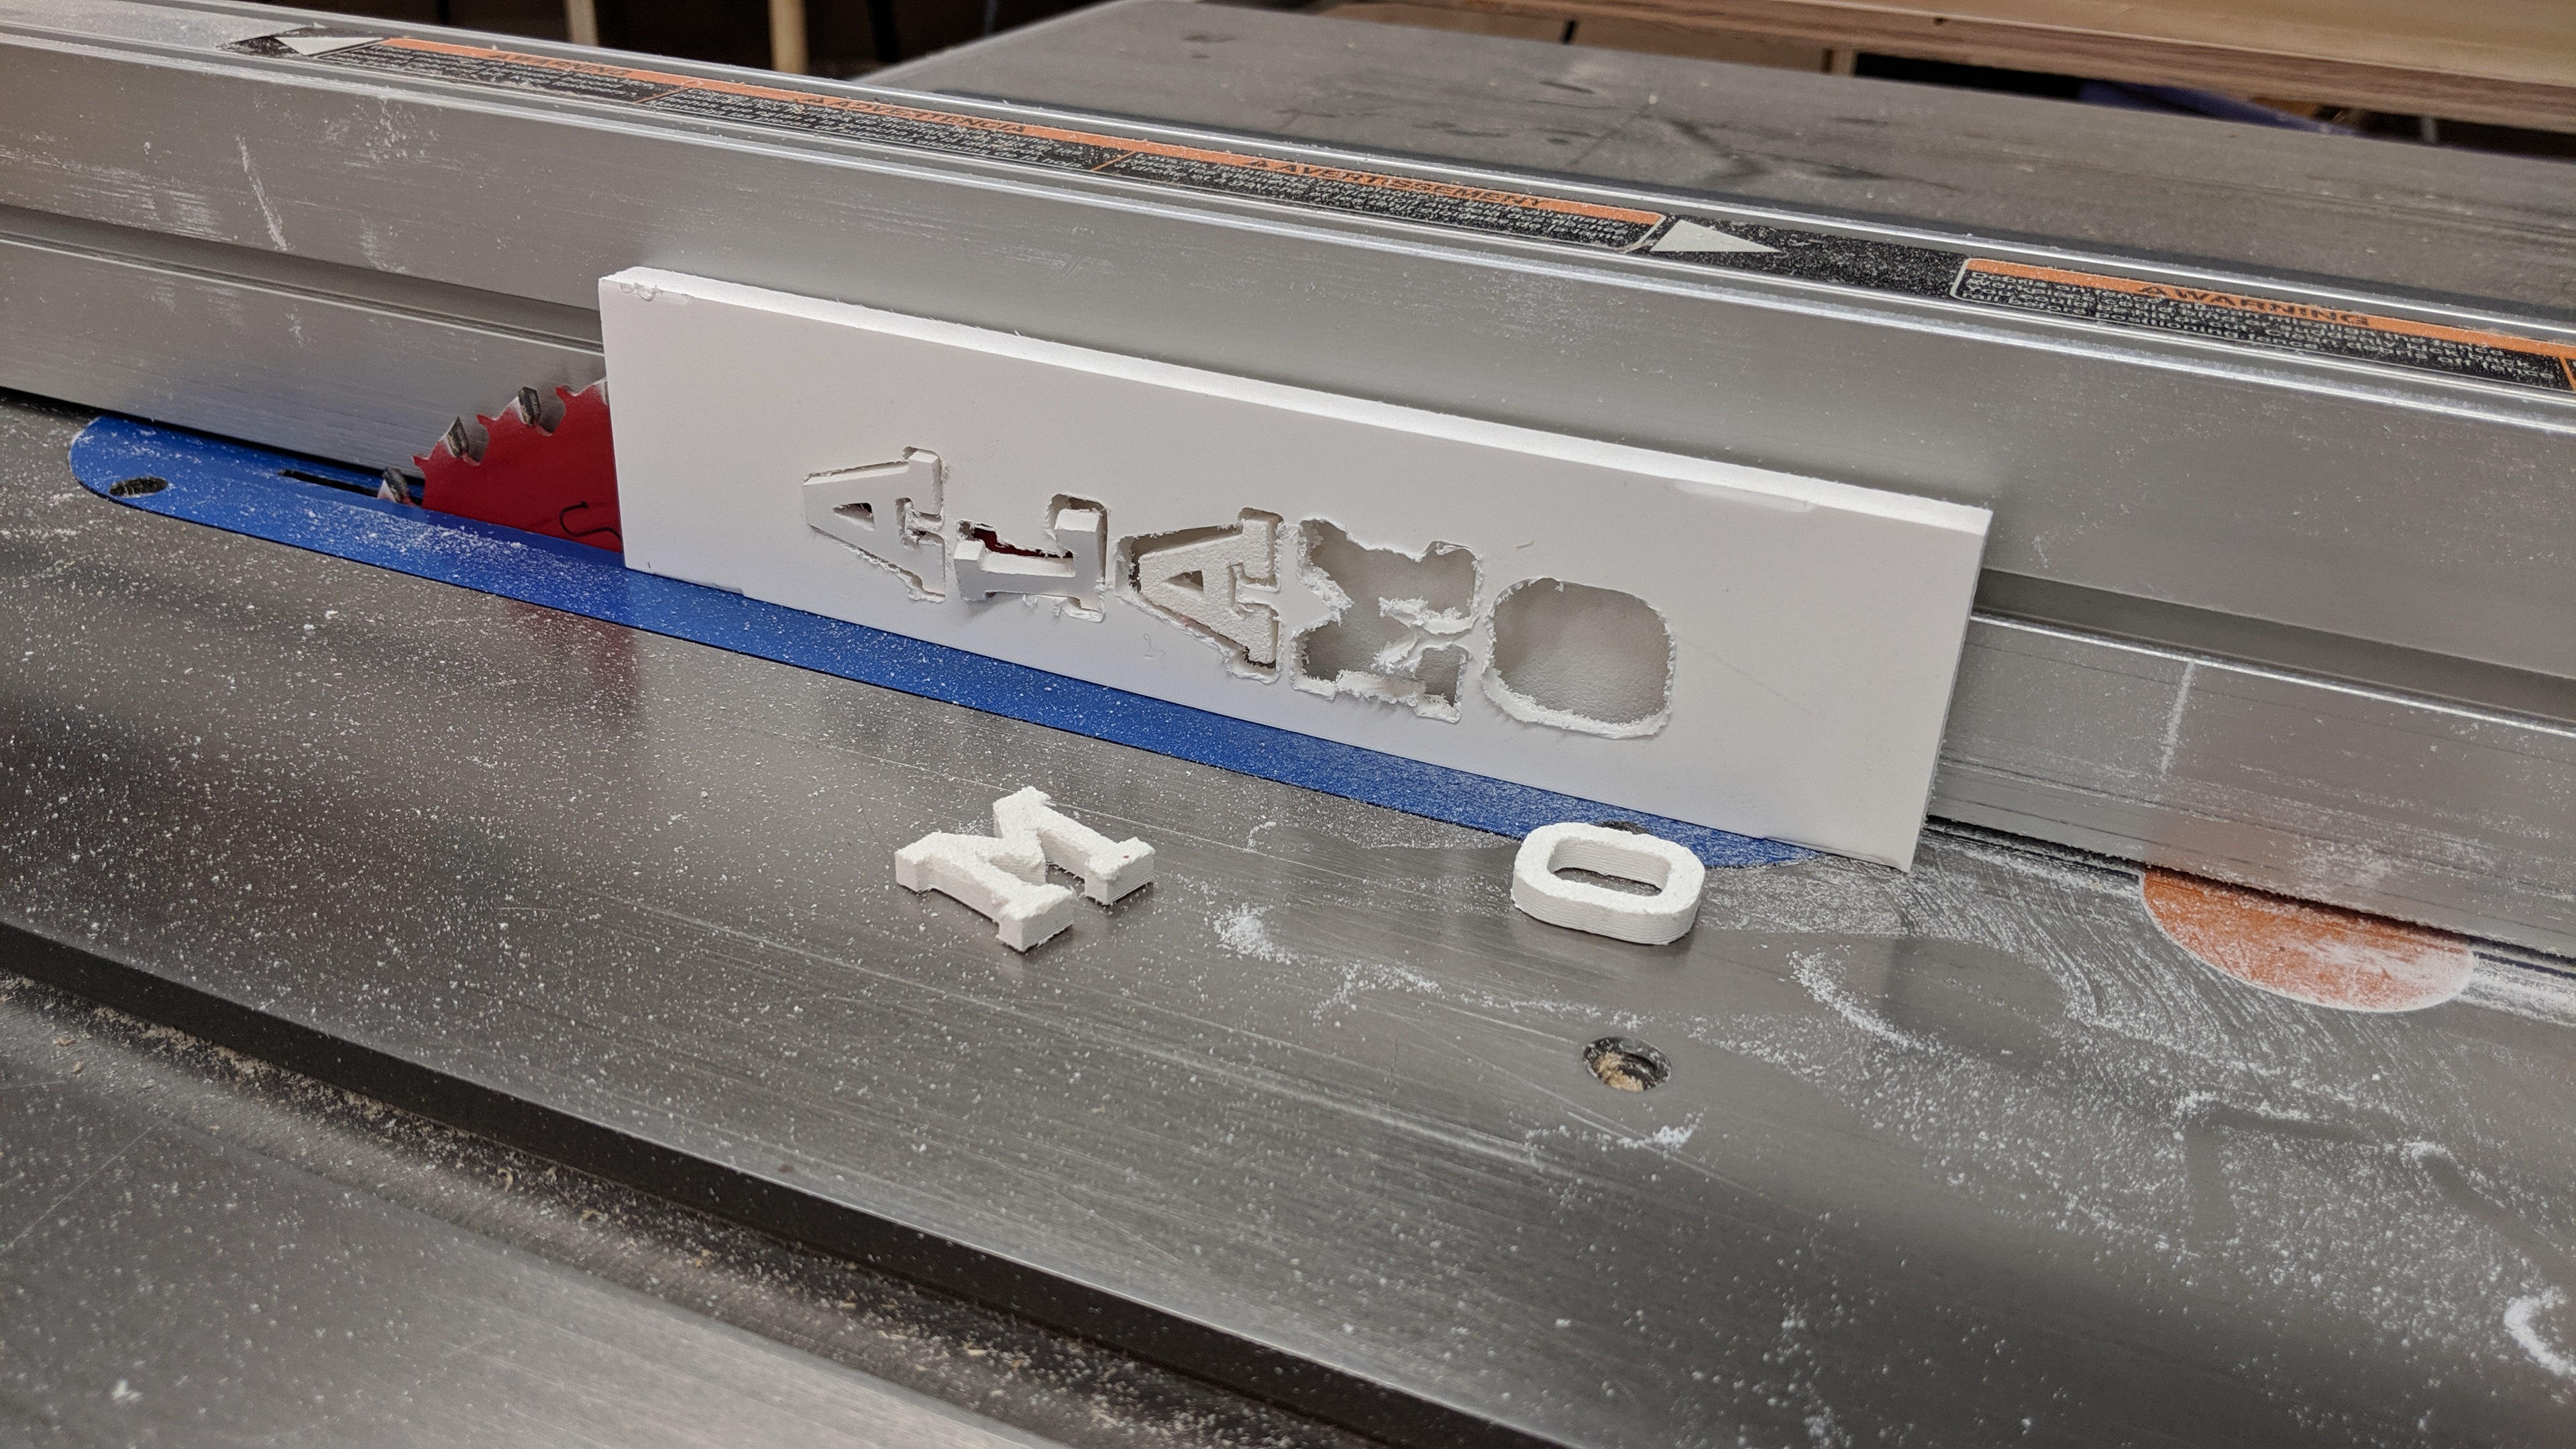
Now that it's cut I can head over to my tenoning jig to start cutting out the shape.

More to come...
This was sort of a challenge because unlike Duff and Pawtucket, Alamo beer has a very generic label, no mascot, and no tag lines. I had to break out with some artistic license on this one.
My references included the can and the brewery that was featured in only one show to my recollection.


I recently got a little desktop CNC router and thought this would be a great first project. I put the design in my head into a web-based program called Easel. It's pretty fun with a really shallow learning curve.

I first started with a hunk of maple cut to size and planed smooth. I put two saw kerfs in the bottom for the CNC clamps to hold onto.

I used clothing dye to pre-color the red bit of the handle. This was mostly in vein because I ended up altering the design to carve deeper and cutting the red off. It did act as a great cut line though.

Off to the races! This thing is super fun to watch. I didn't watch it all as it took upwards of 6 hours to cut the whole thing.


After it was done I flipped it over to do a little cutting on the back.

The burrs/fuzzies were really easy to clean up with some 220 grit.
Now that it's cut I can head over to my tenoning jig to start cutting out the shape.

More to come...








![Craft A Brew - Safale S-04 Dry Yeast - Fermentis - English Ale Dry Yeast - For English and American Ales and Hard Apple Ciders - Ingredients for Home Brewing - Beer Making Supplies - [1 Pack]](https://m.media-amazon.com/images/I/41fVGNh6JfL._SL500_.jpg)


