
FloppyKnockers
Well-Known Member
A while ago I made a couple tap handles and created a thread about it here. The problem was I was pretty picture deficient in the Duff handle. Recently I had an opportunity to do another one of the same so I made use of the chance and took plenty of pictures and decided to create a new thread for both prosperity and assistance to others...enjoy.
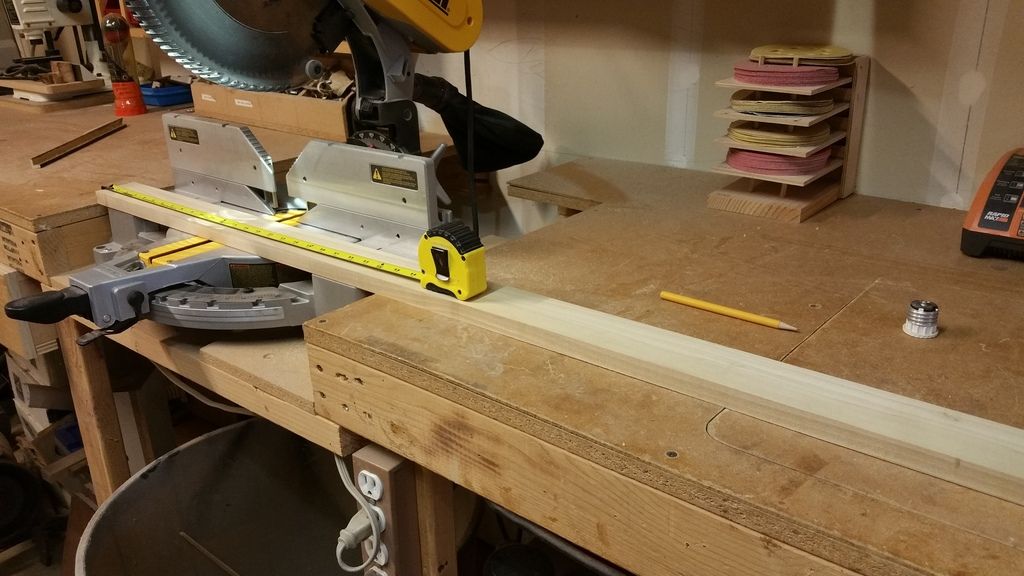
The very beginning. A 1 x 3 piece of poplar cut into 3, 10 1/2" pieces for glue-up
The three pieces.
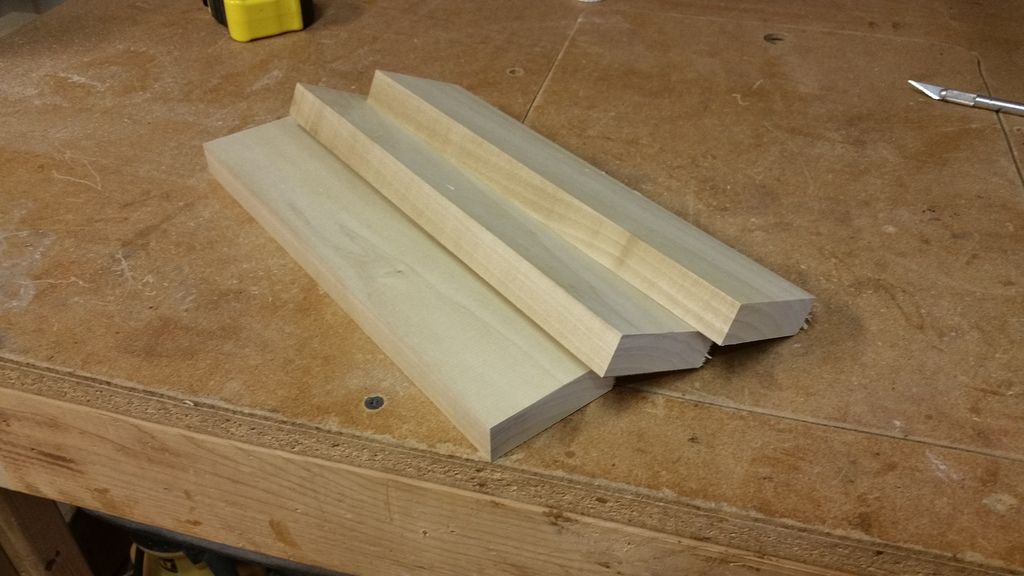
The three pieces with plenty of glue. Can't skimp on this. Better too much than not enough.

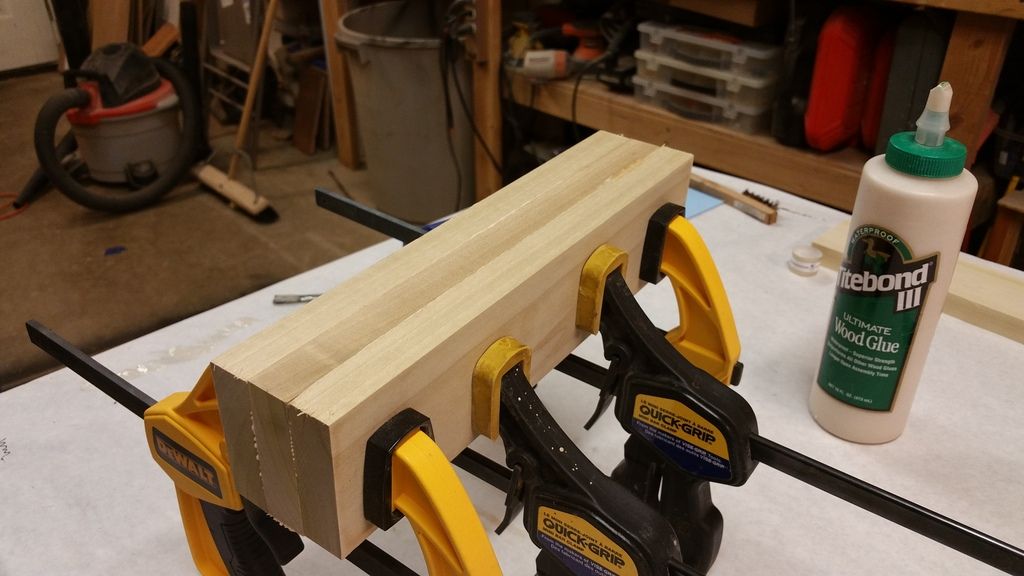
Glue all spread and all clamped up to cook overnight. After it's dry and cured I will cut the ends square, scrape the glue, and mark it for the lathe.
______________________________________________________________
Day 2
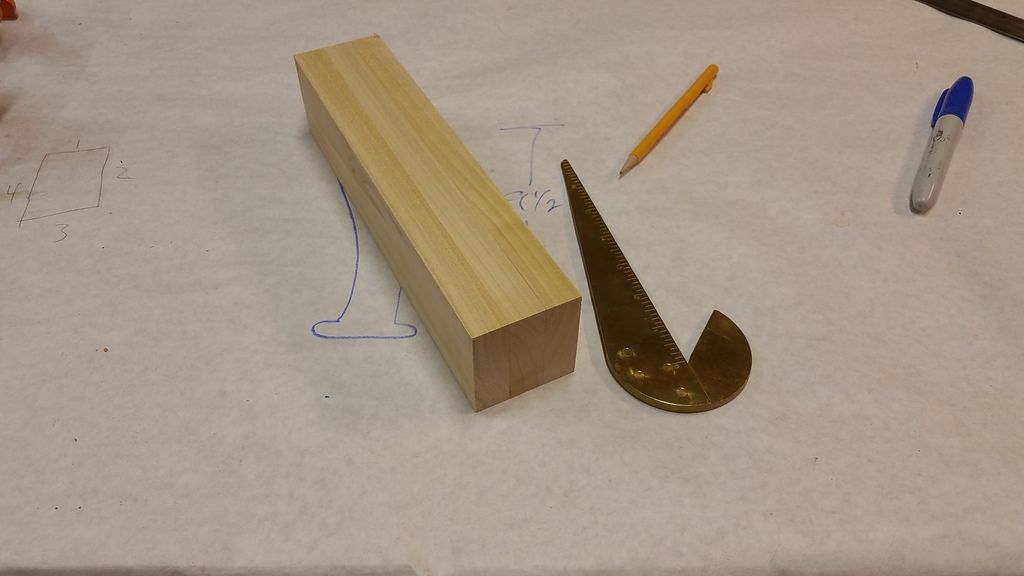
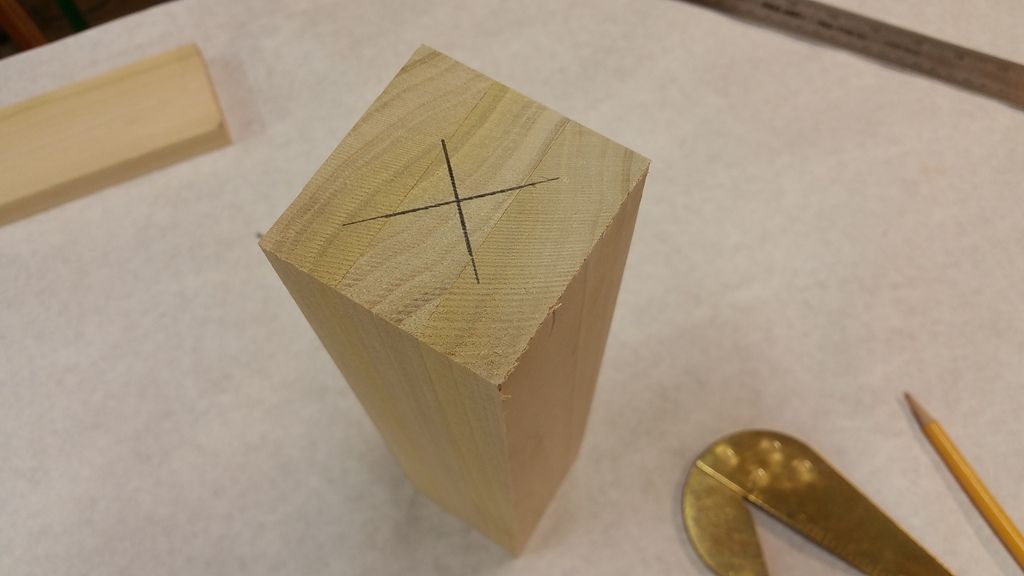
Here we have the blank squared up ready to be marked for centers. It now measures about 2 1/4 square by 10 1/4.
Marked for center on both sides.
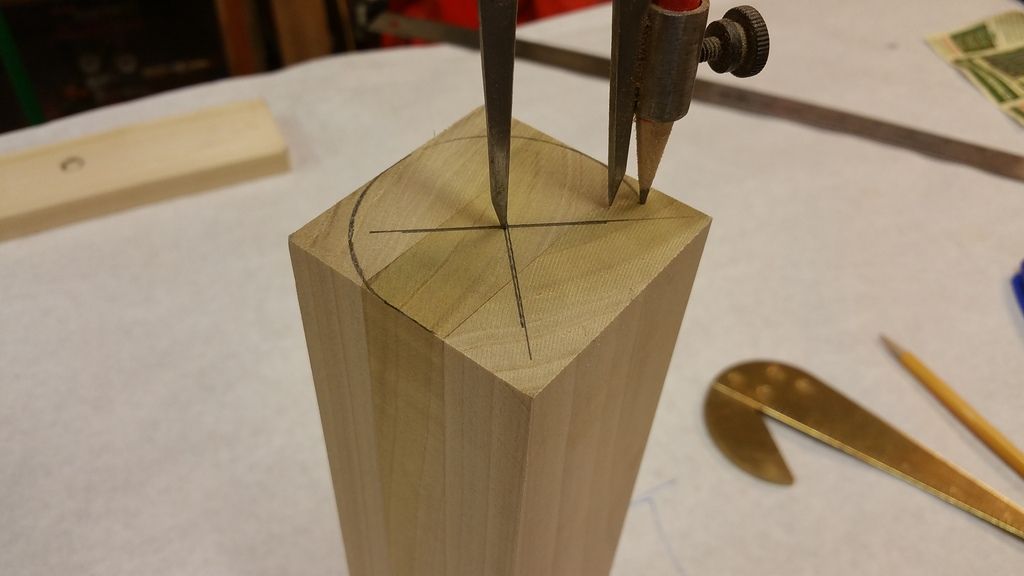
Next I drew the biggest circle that would fit on the end. This will tell me the maximum diameter that can be achieved on the lathe.
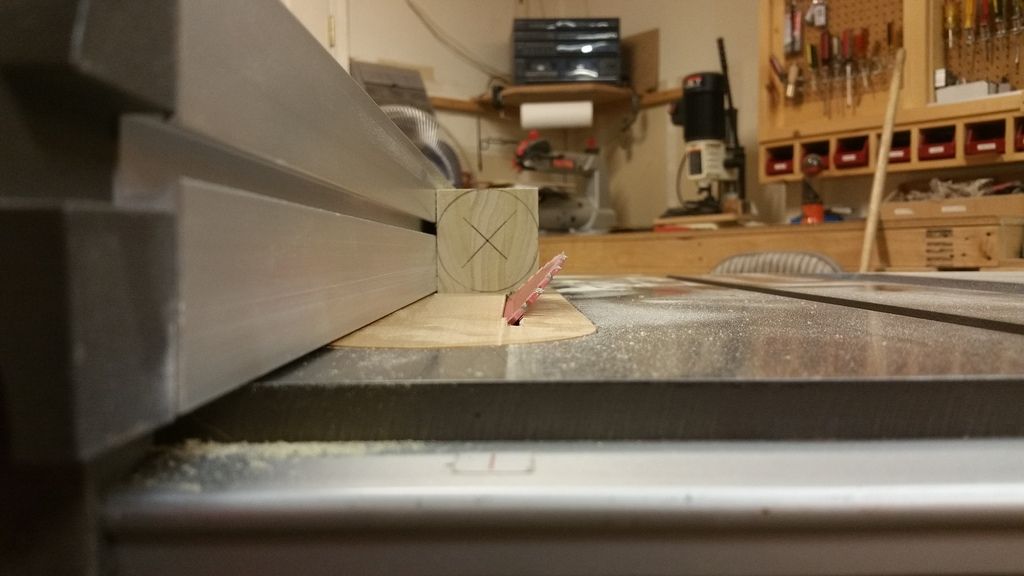
With the blade tipped at 45° I will knock off the corners to save some time at the lathe.
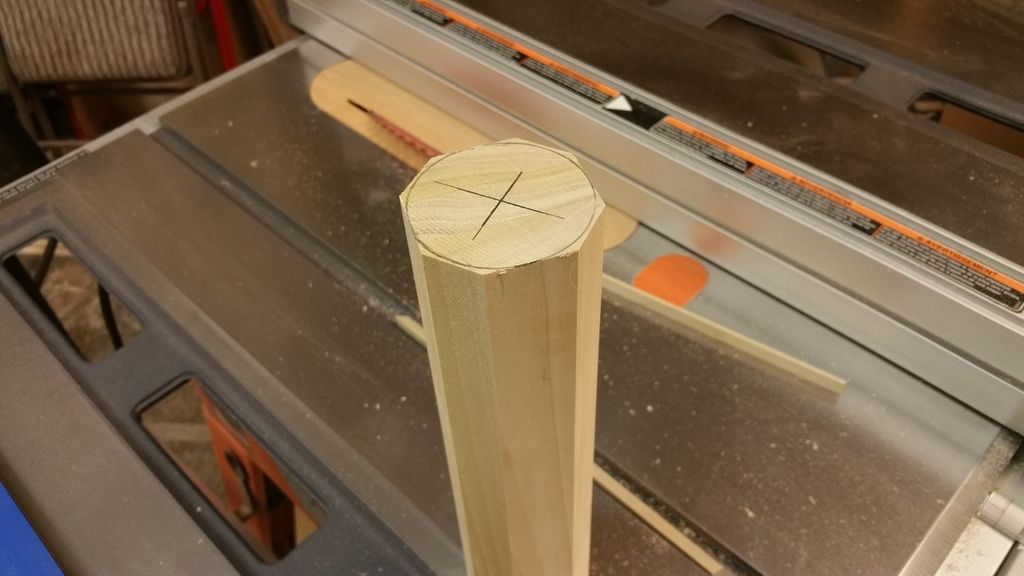
Here it is ready to go on the lathe. I will turn it tomorrow and if I can I will try to shoot video of that.
______________________________________________________________________________
Day 3
Back in the shop. Got some short ribs on the grill, hanging with the wife, and sipping on some cold ones. Time to turn the handle...
[ame]https://www.youtube.com/watch?v=IOUXqaOuGSY[/ame]
The one thing I couldn't do on the lathe was the very top. Here I spent a bit of time hand sanding to get the top smooth.

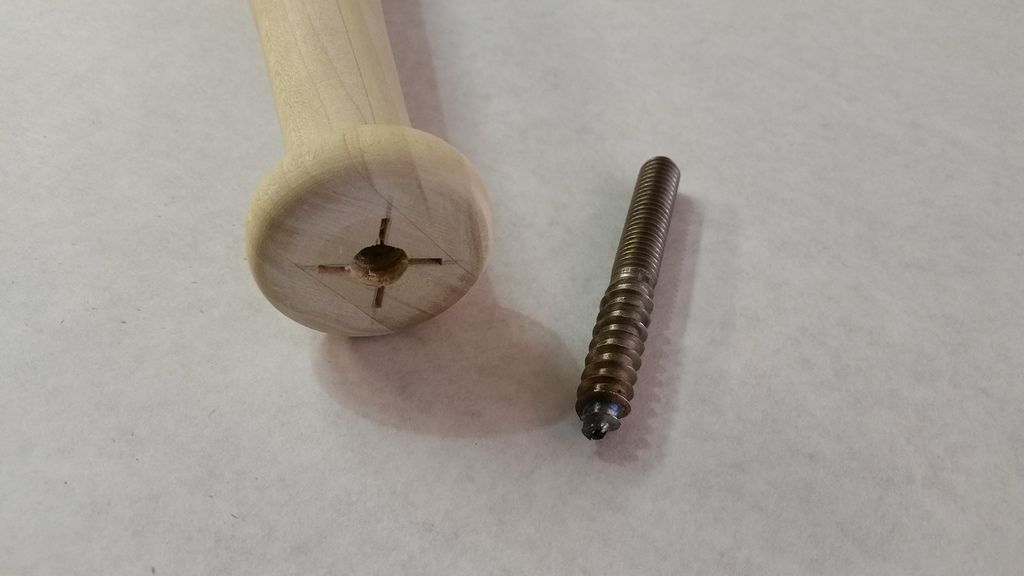
Next I drilled a hole for the hanger bolt. Contrary to the instructions, I found an 11/32" pilot hole to be the best choice.
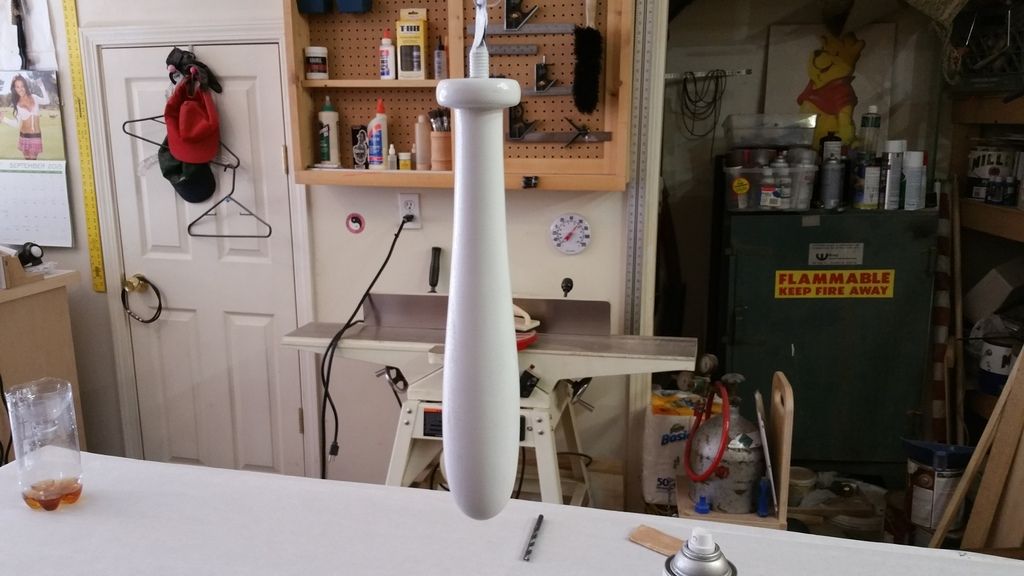
Two coats of primer...
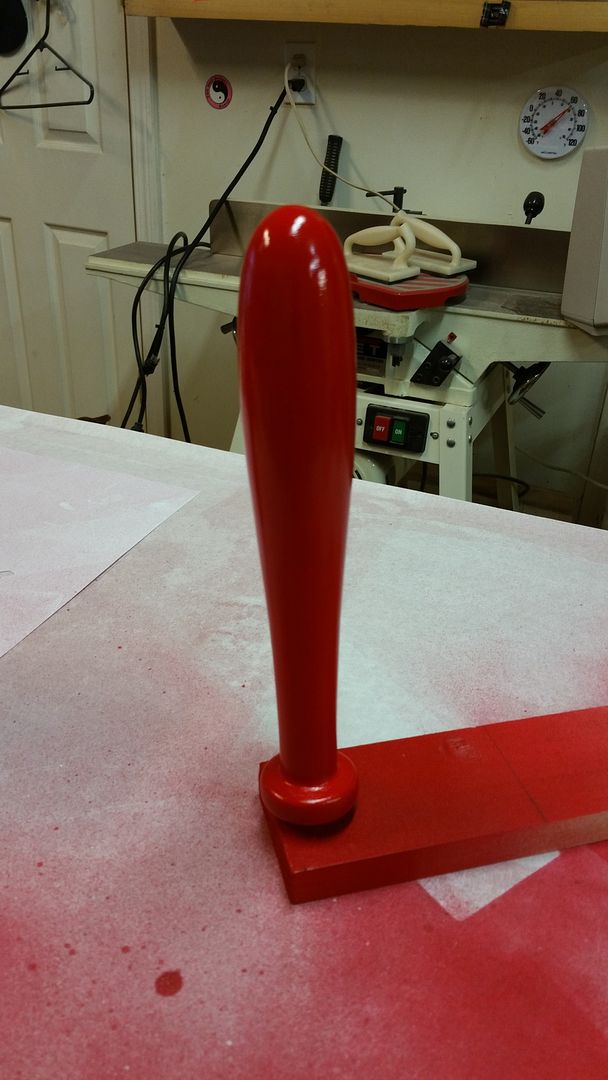
Several coats of classic red...
________________________________________________________________._____
Day 4
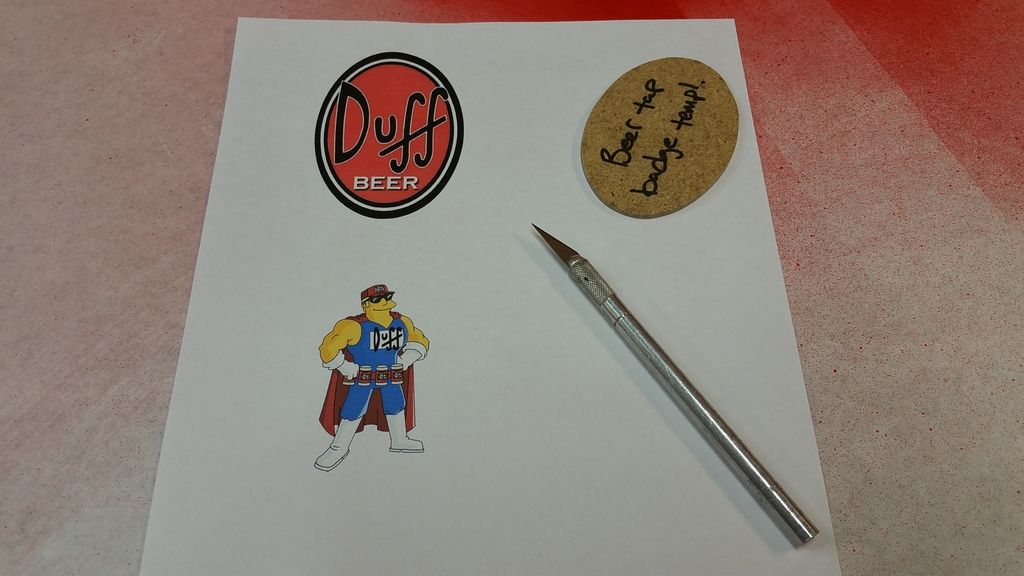
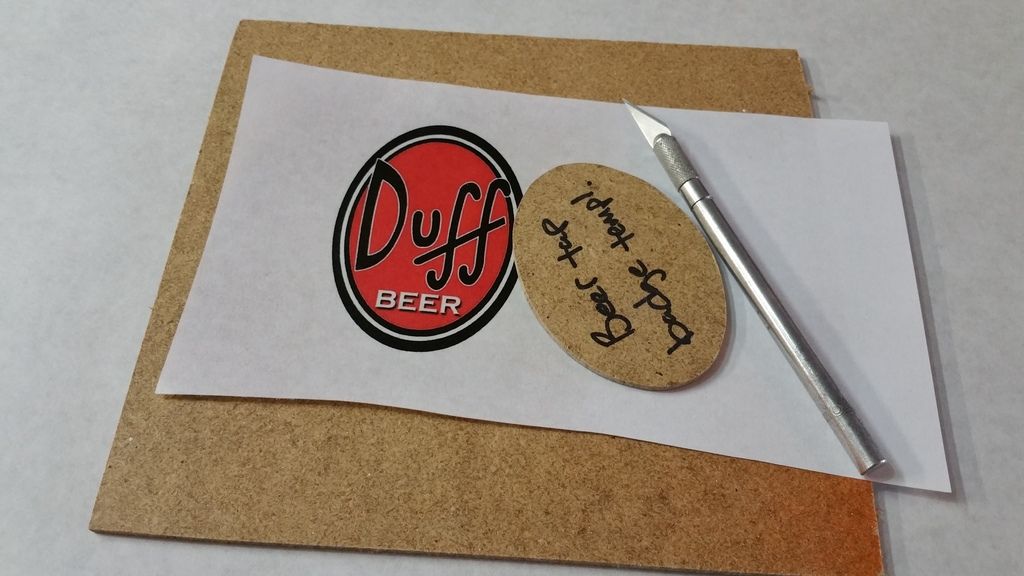
Now it's time for some graphics. I printed Duff Man and the Duff logo from the computer. The tip here is to use high quality paper that isn't too thick. Setting your print settings to high quality will also produce the best results. We're just going to cut out Duff Man for now. The badge will come later. A little spray adhesive will stick this guy to the handle.
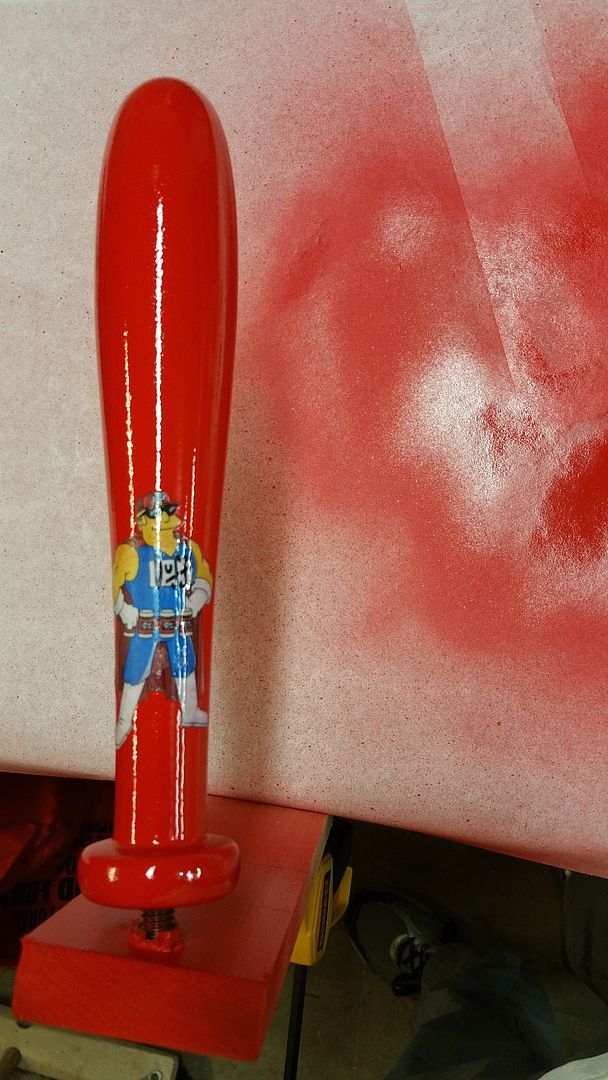
bout 8 million coats of automotive finish later (or 7,542,824...I lost track).
While we've got the finish out, Let's go ahead and treat the badge decal. Before it's cut out I like to hit it with a few coats. It makes it a bit shinier and makes it more durable than printing to photo paper. It also makes it 'pop' a bit more. Here's a before and after.

______________________________________________________________________
Day 5
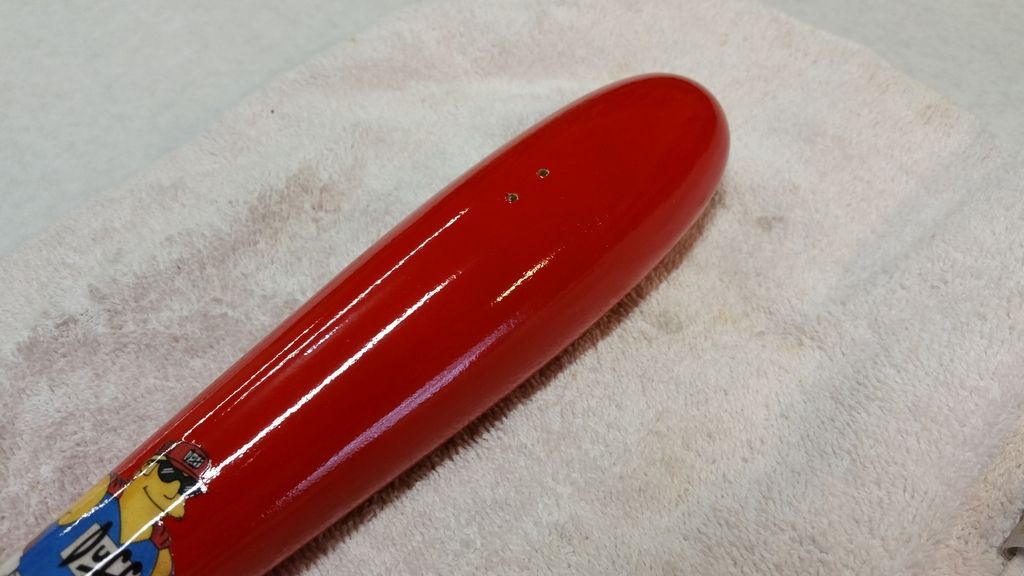
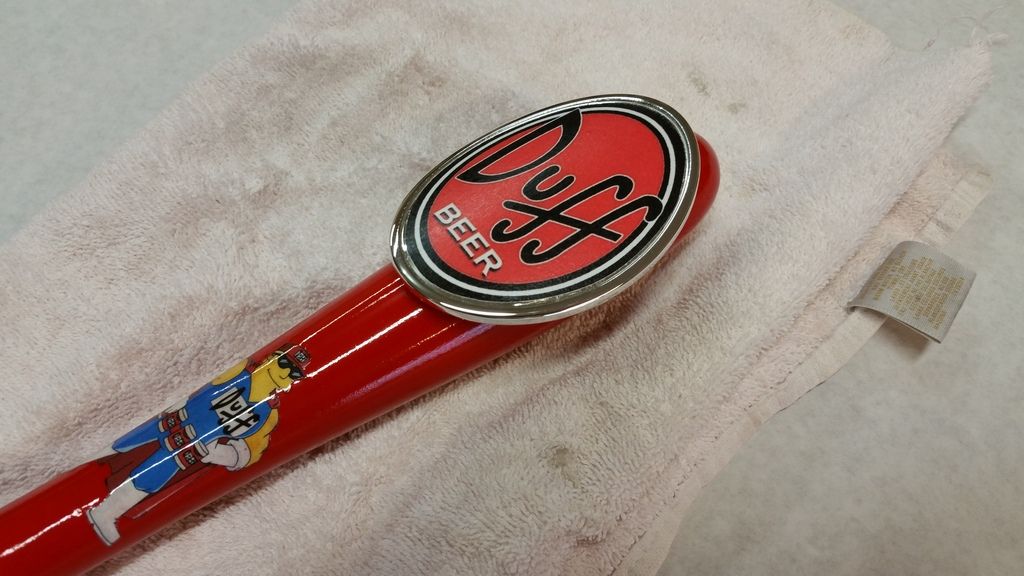
Now that the finish has had some time to dry, let's go ahead and install the badge. Not a huge trick here. Just make sure it's in-line with Duff Man and has a good top/bottom spacing. I'll stick a finish nail through the holes to mark for pilot holes. A pair of 5/64" holes will do nicely for our screws that did not come with the badge.
Almost there....Next I use a pre-made template to trace an exacto knife with to cut the badge out.
A dab of glue on each screw will get this guy on.
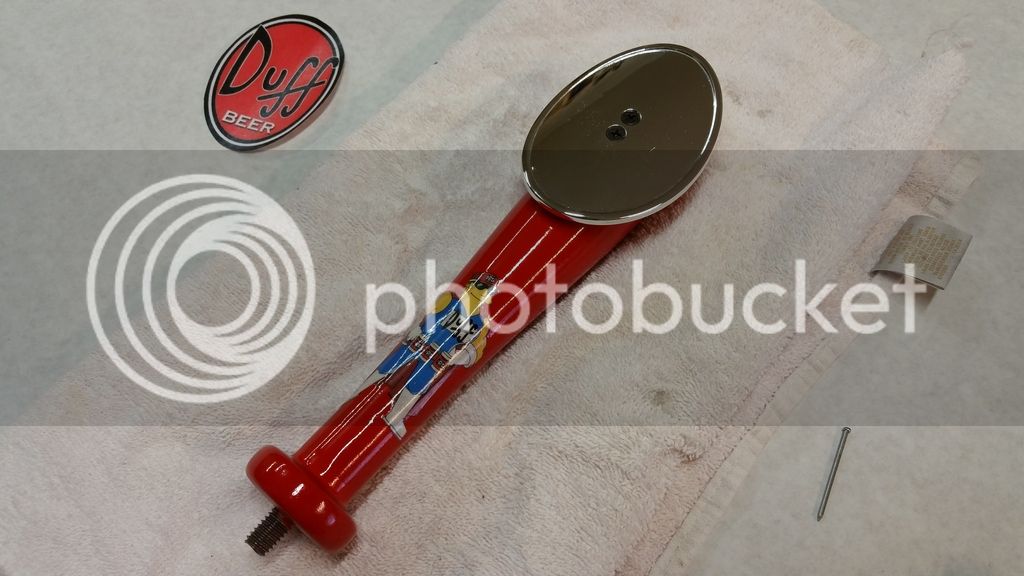
Hit the back of the label with some of that spray adhesive and carefully place it on the badge and we're on the home stretch.
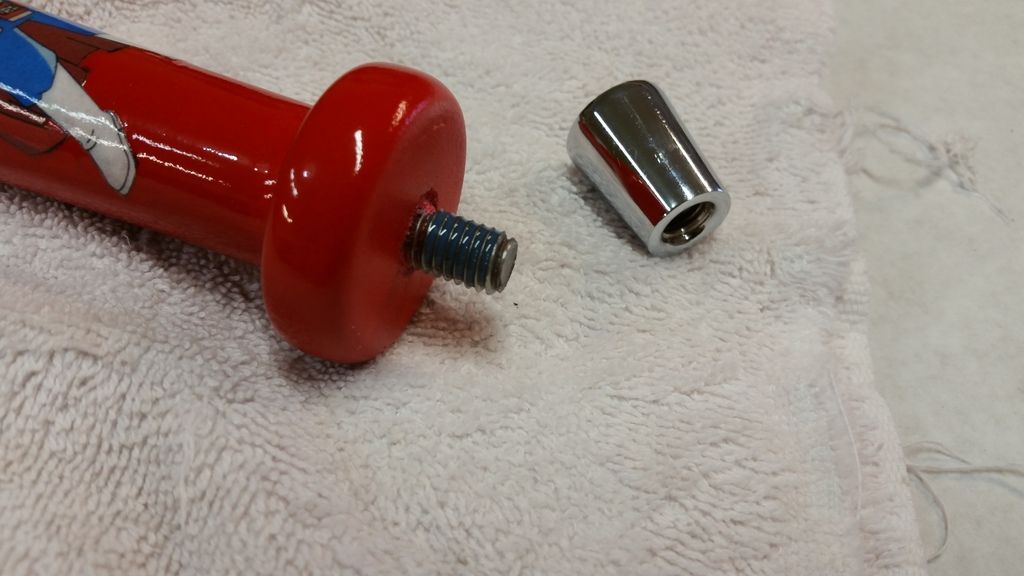
Lastly I'll put a few dabs of threadlocker on the anchor bolt so the ferrule will stay in place during handle changes.
__________________________________________________________
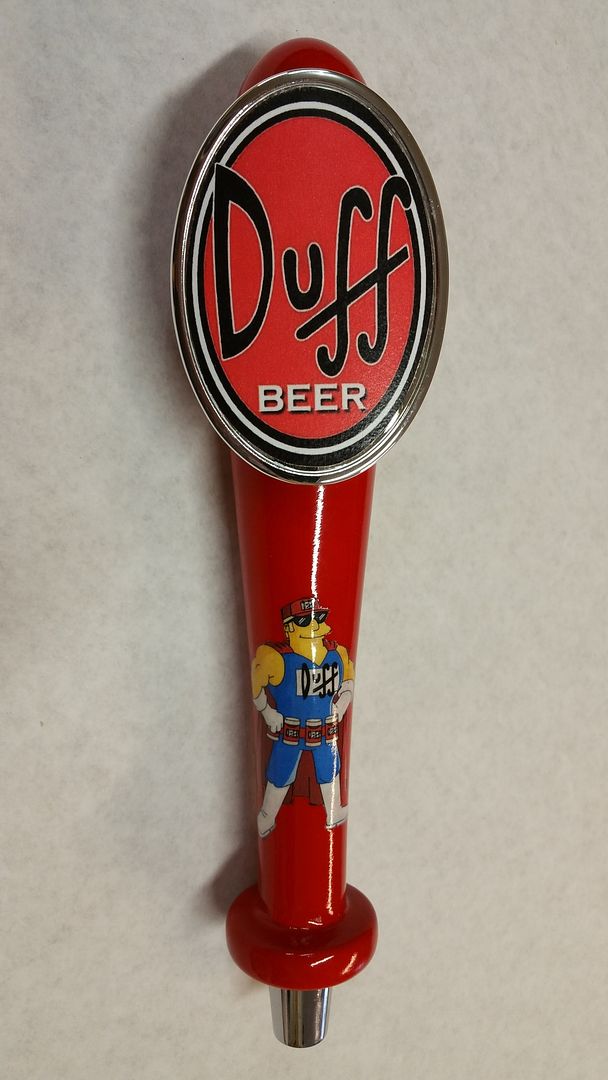
And done. Tap handles are always a fun project in the shop. I had fun doing this one. I hope this helped inspire yours or helped with the technicals...Questions, comments, and criticism are welcome.
..
..
..
The very beginning. A 1 x 3 piece of poplar cut into 3, 10 1/2" pieces for glue-up

The three pieces.

The three pieces with plenty of glue. Can't skimp on this. Better too much than not enough.

Glue all spread and all clamped up to cook overnight. After it's dry and cured I will cut the ends square, scrape the glue, and mark it for the lathe.

______________________________________________________________
Day 2
Here we have the blank squared up ready to be marked for centers. It now measures about 2 1/4 square by 10 1/4.

Marked for center on both sides.

Next I drew the biggest circle that would fit on the end. This will tell me the maximum diameter that can be achieved on the lathe.

With the blade tipped at 45° I will knock off the corners to save some time at the lathe.

Here it is ready to go on the lathe. I will turn it tomorrow and if I can I will try to shoot video of that.

______________________________________________________________________________
Day 3
Back in the shop. Got some short ribs on the grill, hanging with the wife, and sipping on some cold ones. Time to turn the handle...
[ame]https://www.youtube.com/watch?v=IOUXqaOuGSY[/ame]
The one thing I couldn't do on the lathe was the very top. Here I spent a bit of time hand sanding to get the top smooth.

Next I drilled a hole for the hanger bolt. Contrary to the instructions, I found an 11/32" pilot hole to be the best choice.

Two coats of primer...

Several coats of classic red...

________________________________________________________________._____
Day 4
Now it's time for some graphics. I printed Duff Man and the Duff logo from the computer. The tip here is to use high quality paper that isn't too thick. Setting your print settings to high quality will also produce the best results. We're just going to cut out Duff Man for now. The badge will come later. A little spray adhesive will stick this guy to the handle.

bout 8 million coats of automotive finish later (or 7,542,824...I lost track).

While we've got the finish out, Let's go ahead and treat the badge decal. Before it's cut out I like to hit it with a few coats. It makes it a bit shinier and makes it more durable than printing to photo paper. It also makes it 'pop' a bit more. Here's a before and after.

______________________________________________________________________
Day 5
Now that the finish has had some time to dry, let's go ahead and install the badge. Not a huge trick here. Just make sure it's in-line with Duff Man and has a good top/bottom spacing. I'll stick a finish nail through the holes to mark for pilot holes. A pair of 5/64" holes will do nicely for our screws that did not come with the badge.

Almost there....Next I use a pre-made template to trace an exacto knife with to cut the badge out.

A dab of glue on each screw will get this guy on.

Hit the back of the label with some of that spray adhesive and carefully place it on the badge and we're on the home stretch.

Lastly I'll put a few dabs of threadlocker on the anchor bolt so the ferrule will stay in place during handle changes.

__________________________________________________________
And done. Tap handles are always a fun project in the shop. I had fun doing this one. I hope this helped inspire yours or helped with the technicals...Questions, comments, and criticism are welcome.

..
..
..

")

