• Please visit and share your knowledge at our sister communities:
  • If you have not, please join our official Homebrewing Facebook Group!

    Homebrewing Facebook Group

Activated liquid yeast and at room temp. Cant brew yet.

Homebrew Talk

Help Support Homebrew Talk:

This site may earn a commission from merchant affiliate links, including eBay, Amazon, and others.
500ml measurement was before boiling.
Yeah, that's what I reckoned. You want 500ml going into the flask, after boiling/chilling. If the water you use for your starters is clean, drinking quality, you can top up without boiling first.
If you want 500 ml in the end, you need to estimate your evaporation amount. Once the the DME (or LME) is dissolved, starter wort doesn't need to boil for more than 2-3 minutes, but you may evaporate 1-3 ounces easily in a large pot by the time it's chilled.

I didn't see much bubbling after I added the yeast :(
You're not going to see bubbling in a starter, but you may see tiny bubbles rising when swirling, creating a thin foam layer on top. That's a good sign, she's alive and doing her job!

I also see the tin foil cap being affected by the star san I put on. :(
Replace it. You don't want holes in it.
It should be loosely crimped around the flask's neck, being able to turn it. I cover the aluminum "tent" with a small piece of sanitized plastic wrap, just to cover any pinholes that may form in the aluminum foil. I have evidence of that happening.

Make sure to sanitize everything that touches the top or gets inside of the flask.

Will the added wort make a difference? Deciding if I should add it now.
Yes it will, making a bigger starter makes more yeast. That yeast you have is over 7 months old, and was shipped. None of those help with the yeast's viability or vitality. Starters will.

I normally would wait with adding more starter wort until the first step is done, but since we have the accidental Starsan acidity issue, I would add it now, bringing it up to 1 liter, which will help dilute the acid and surfactant.
 
I double checked the foil and edited my post. What looked like eating through was some bubbling, but I will dilute star san and add to spray bottle.
Kk will add the clean drinking water to the current starter and create another 500ml to cool and add.

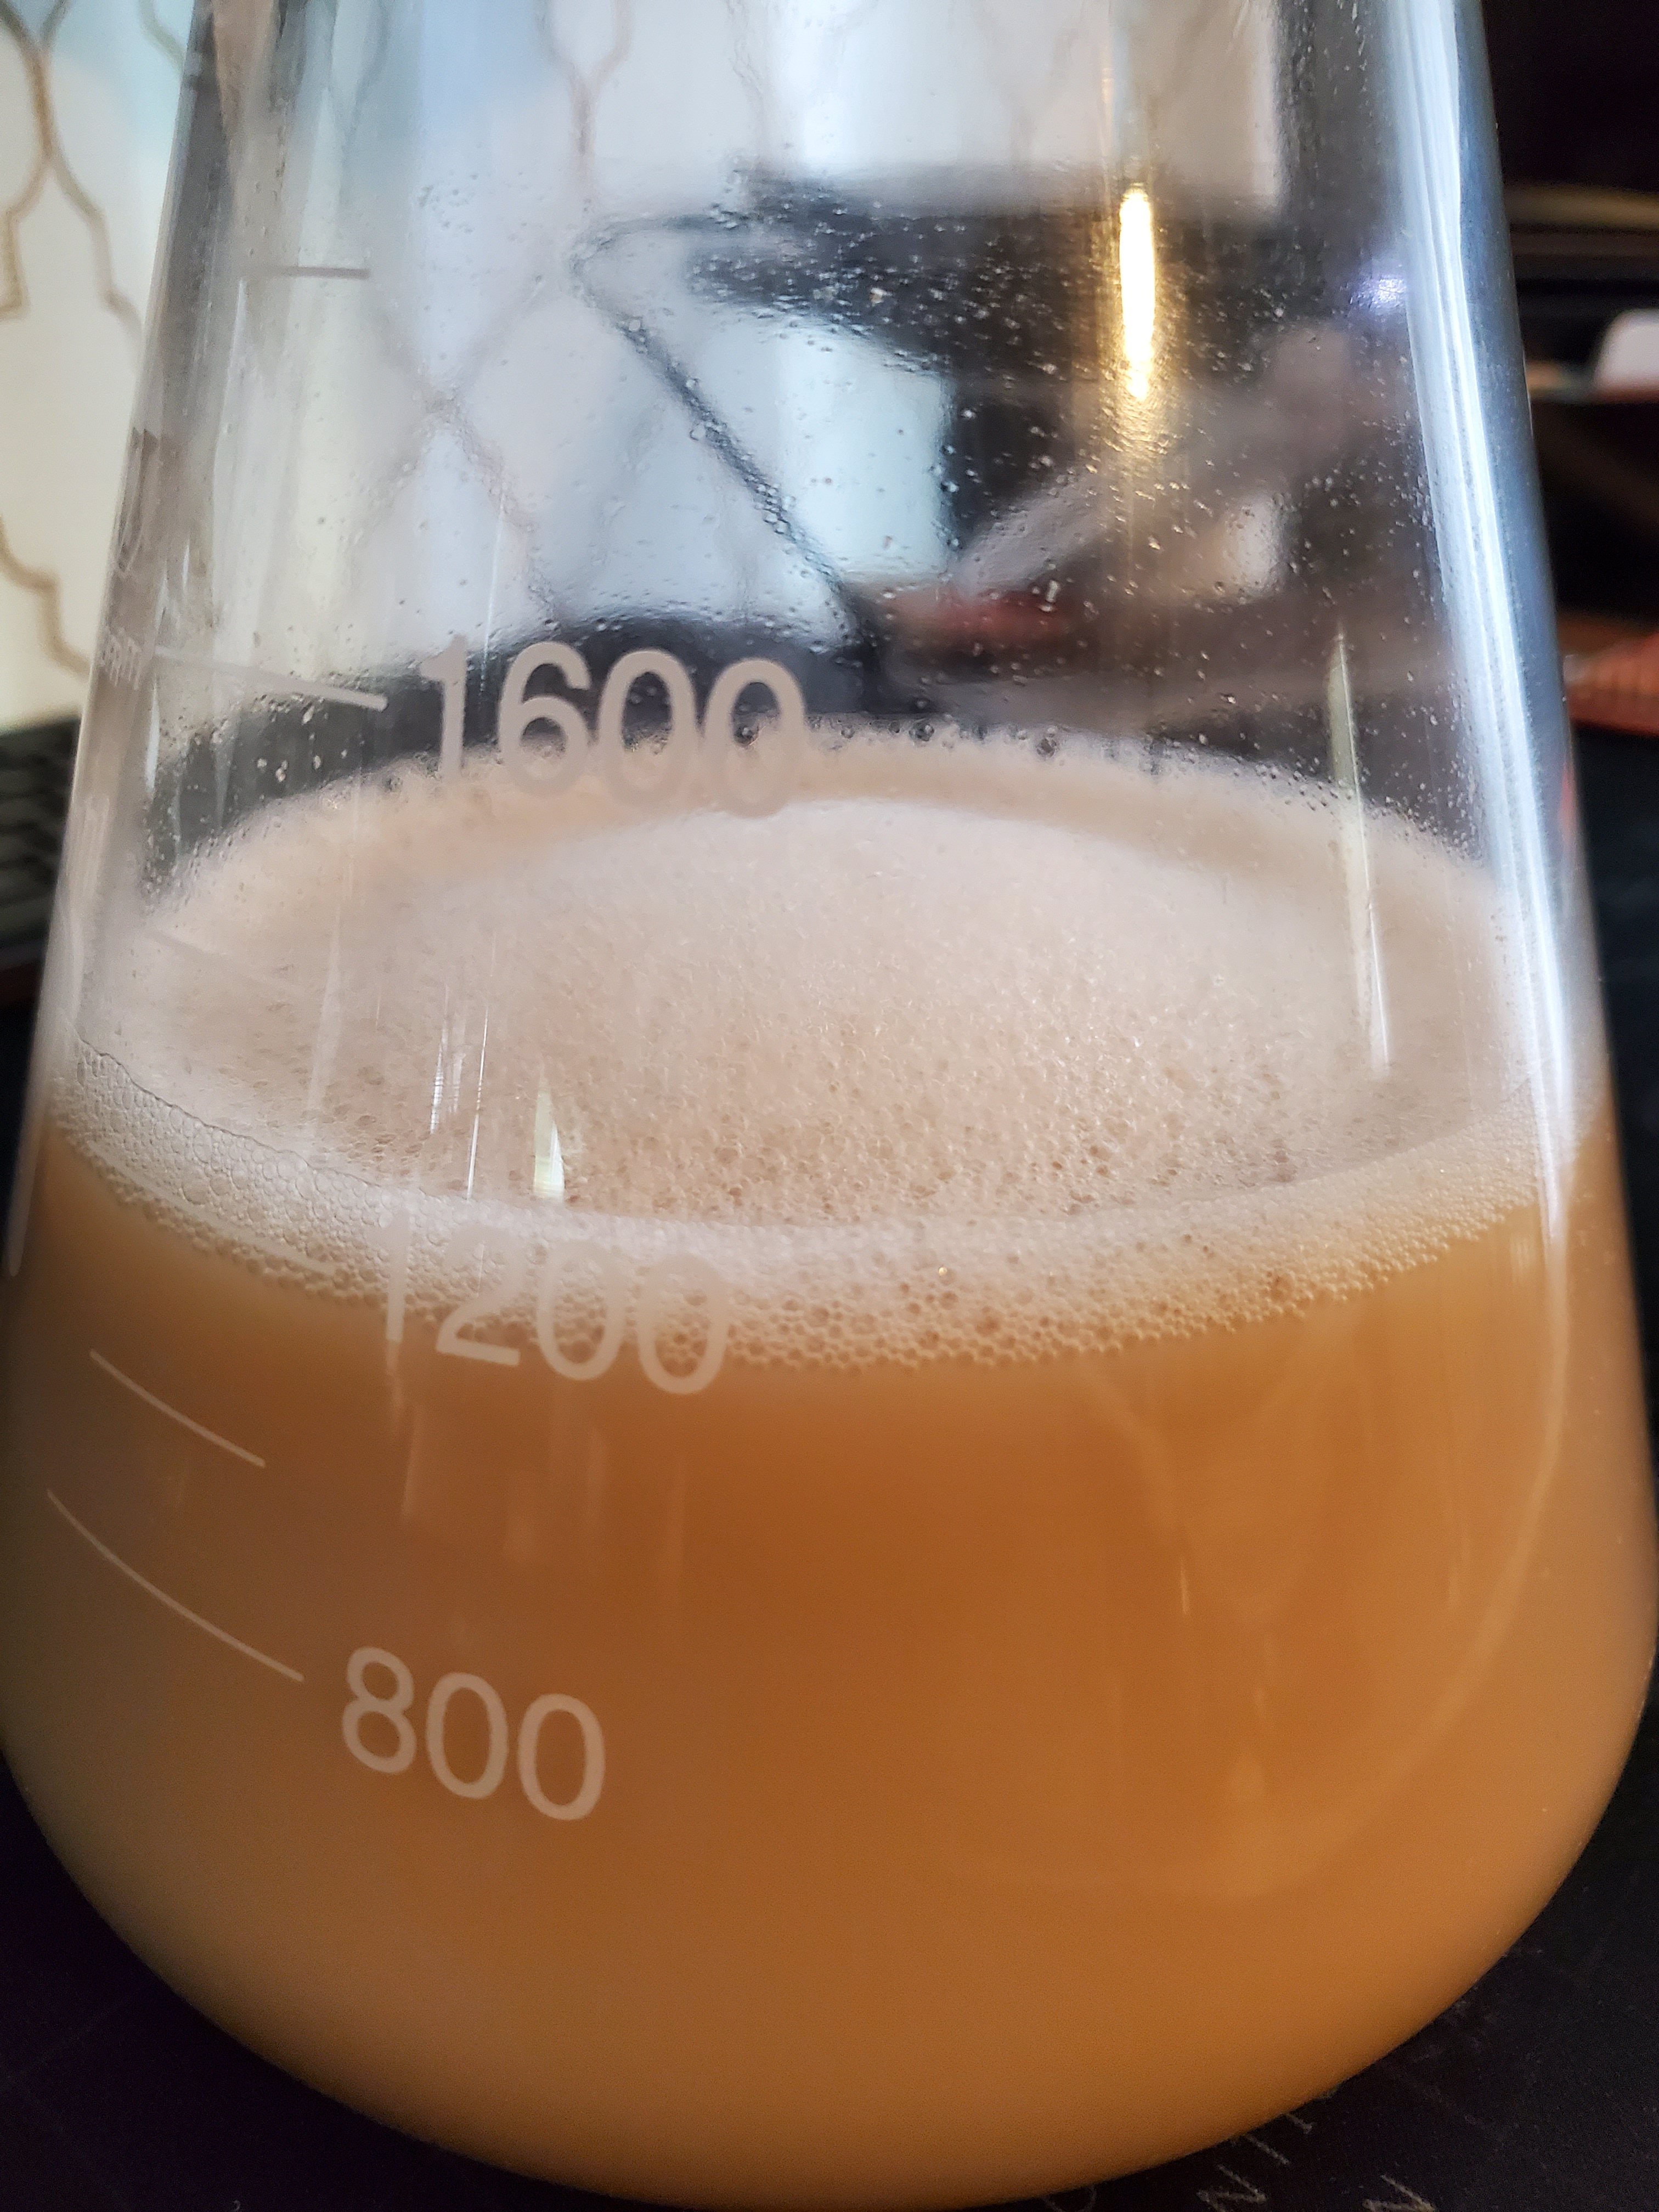
I also edited previous post and added pic. I do see bubbles when I swirl 😀
 
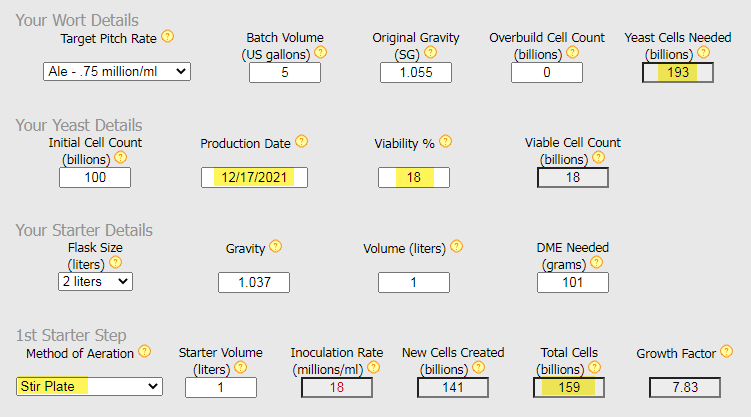
I made a snapshot of BrewUnited's Yeast Calculator to show you your yeast situation at hand. Some key cells are highlighted.

Really, BrewUnited's is the only yeast calculator I'd urge you to use. Forget Brewer's Friend's one, it's not as clear and concise. But they're good for about everything else, brew-wise.
http://www.brewunited.com/yeast_calculator.php
2022-07-31_13-47-56.png


Now you're not using a stir plate, only manually swirling, which is not as effective. So keep swirling as often as you possibly can, until the starter is done. You can tell when it's getting there, when it's becoming thick and opaque, with a layer of yeast settling on the bottom between swirling.
 
will add the clean drinking water to the current starter and create another 500ml to cool and add.
Is that the mineralized (alkaline) drinking water you bought? That's should be fine yes. But... that water is only as clean as the container it's in, or the tap it was poured from. Could there be germs hiding under the lid...

What's the reason you don't drink your municipal tap water?
 
I added a little extra water to the starter since I had a few extra grams of dme poured out. Didn't have to add and water to the flask. It's looking pretty good now!

In the past the, the water didn't taste that great so I started buying. Was also an very old building. Cast iron tub/sink, and bathroom sink had 2 spouts, one for hot and one for cold. I just kept buying after I moved. Tap water here not is bad.

Yea, I agree. I wonder about my containers sometimes. I do check and sometimes clean out.
20220731_151448.jpg
 
Looking very good! ^

Keep swirling. Use both hands, one around the neck and the other under the bottom. Be careful not to bump the flask against something. Keep a soft, 2x folded-over towel underneath. ;)

When were you planning to brew?
 
Planning tomorrow around 2-4. If not then definitely Tuesday. If I wait till Tuesday, do I put it back into fridge? Or is waiting till tuesday not as good? If it's okay, do i keep out of the fridge until then?
 
Planning tomorrow around 2-4. If not then definitely Tuesday. If I wait till Tuesday, do I put it back into fridge? Or is waiting till tuesday not as good? If it's okay, do i keep out of the fridge until then?
It may take 2 days to grow completely...

But when it's done, yup, you should store it in the fridge, unless you're brewing that day.*

While the starter is still propagating, I advise to keep an eye on it during the night, as that's when blow-overs tend to happen, due to the lack of swirling/degassing.
Maybe check every 3 hours and give it a good 30-60 second swirl to degas it. It also aerates it, promoting growth over sheer fermentation.

Reason for checking every few hours is that before I had a stir plate, too many times I lost half of my starter overnight, oozing over the countertop. Not a pleasant surprise at 5 or 6 am.
Maybe place the flask inside a large bowl or on a couple rags to catch any spewing. Any yeast coming out of the flask is infected, and lost, of course. When that happens, just clean the flask's neck with sanitizer, and replace the foil. Damn! Better to prevent it...
I gathered it happened after about 2-4 hours. But depends highly on the yeast's vigor at the moment.

* After a few days in the fridge all yeast matter will have precipitated (settled out) leaving almost clear beer on top.

On brew day, (slowly!) pour most of that clear beer ("supernatant") off the top, into the sink or compost bucket. Or into a glass if you like to taste some. This is similar to pouring out a bottle-conditioned beer, leaving the trub behind. Except here, we spill out the beer, and save the yeast, which is what we're after. ;)

Let the decanted starter come to room temps, swirl all of it up into a pourable slurry, and add to your chilled and well aerated batch of wort in the fermenter.
You can leave some slurry behind (a couple tablespoons) and make a new starter from it. Or save out in a small 4 or 8 oz canning or jelly jar. 12 oz jelly jars work fine too, but take up more space in the fridge. :D
 
I put the flask in a pot secretly hoping for some action but I was safe. Today I do see more particles sticking to the side of the flask when swirling.

I definitely going to try and propagate the yeast

No brew today. Here is pic update. Few bigger bubbles happening after pic!
20220801_201416.jpg
 
The starter is getting more opaque, a sign that the yeast is growing. ^
Tomorrow you may even see some yeast precipitating.

I put the flask in a pot secretly hoping for some action but I was safe.
Good thinking!

You don't have much action, yet, because the number of viable yeast cells is fairly low (per our yeast calculator), and they're not very vital after their 7 months hibernation. And who knows what they went through during the various transports?

That's why you should always make a starter when using wet (liquid) yeast, raising the population and bringing them to optimal vitality, readying them for the big event: Fermenting your upcoming batch of beer!
Your beer, and your taste buds, will thank you for it, in return.

Give it at least another day and you may see more foam, especially when swirling, or even a foam-over when not watching closely. ;)
Keep it inside that pot overnight, for all security, and set your alarm!

When I plan a brew, it all begins with the yeast, making starters, a few days to a week ahead of brewing.
At this very moment I'm preparing 3-5 starters for upcoming brews. Now these are recently saved slurries from previous rounds of starters. So I just ramp up their cell count, while revitalizing them, readying them for pitching in a few days.
Mind, some of those yeasts I bought in 2015. ;)
 
Didn't brew yet. No foam over. Hope the yeast is still good :(

Pic from 8/1, little after swirling
20220801_201416.jpg


This pic from today 8/4 just now. Couple minutes after a swirl
20220804_112024.jpg


Keep letting it do its thing? Need a 12v source and I'll have my stir plate.
 
Hope the yeast is still good
It looks good, and alive!

Show the pic before you stir. If the yeast is all settled out, then it's probably done.
That! ^
There will be a visible light beige yeast cake on the bottom, with (nearly) clear yellow/amber beer on top.
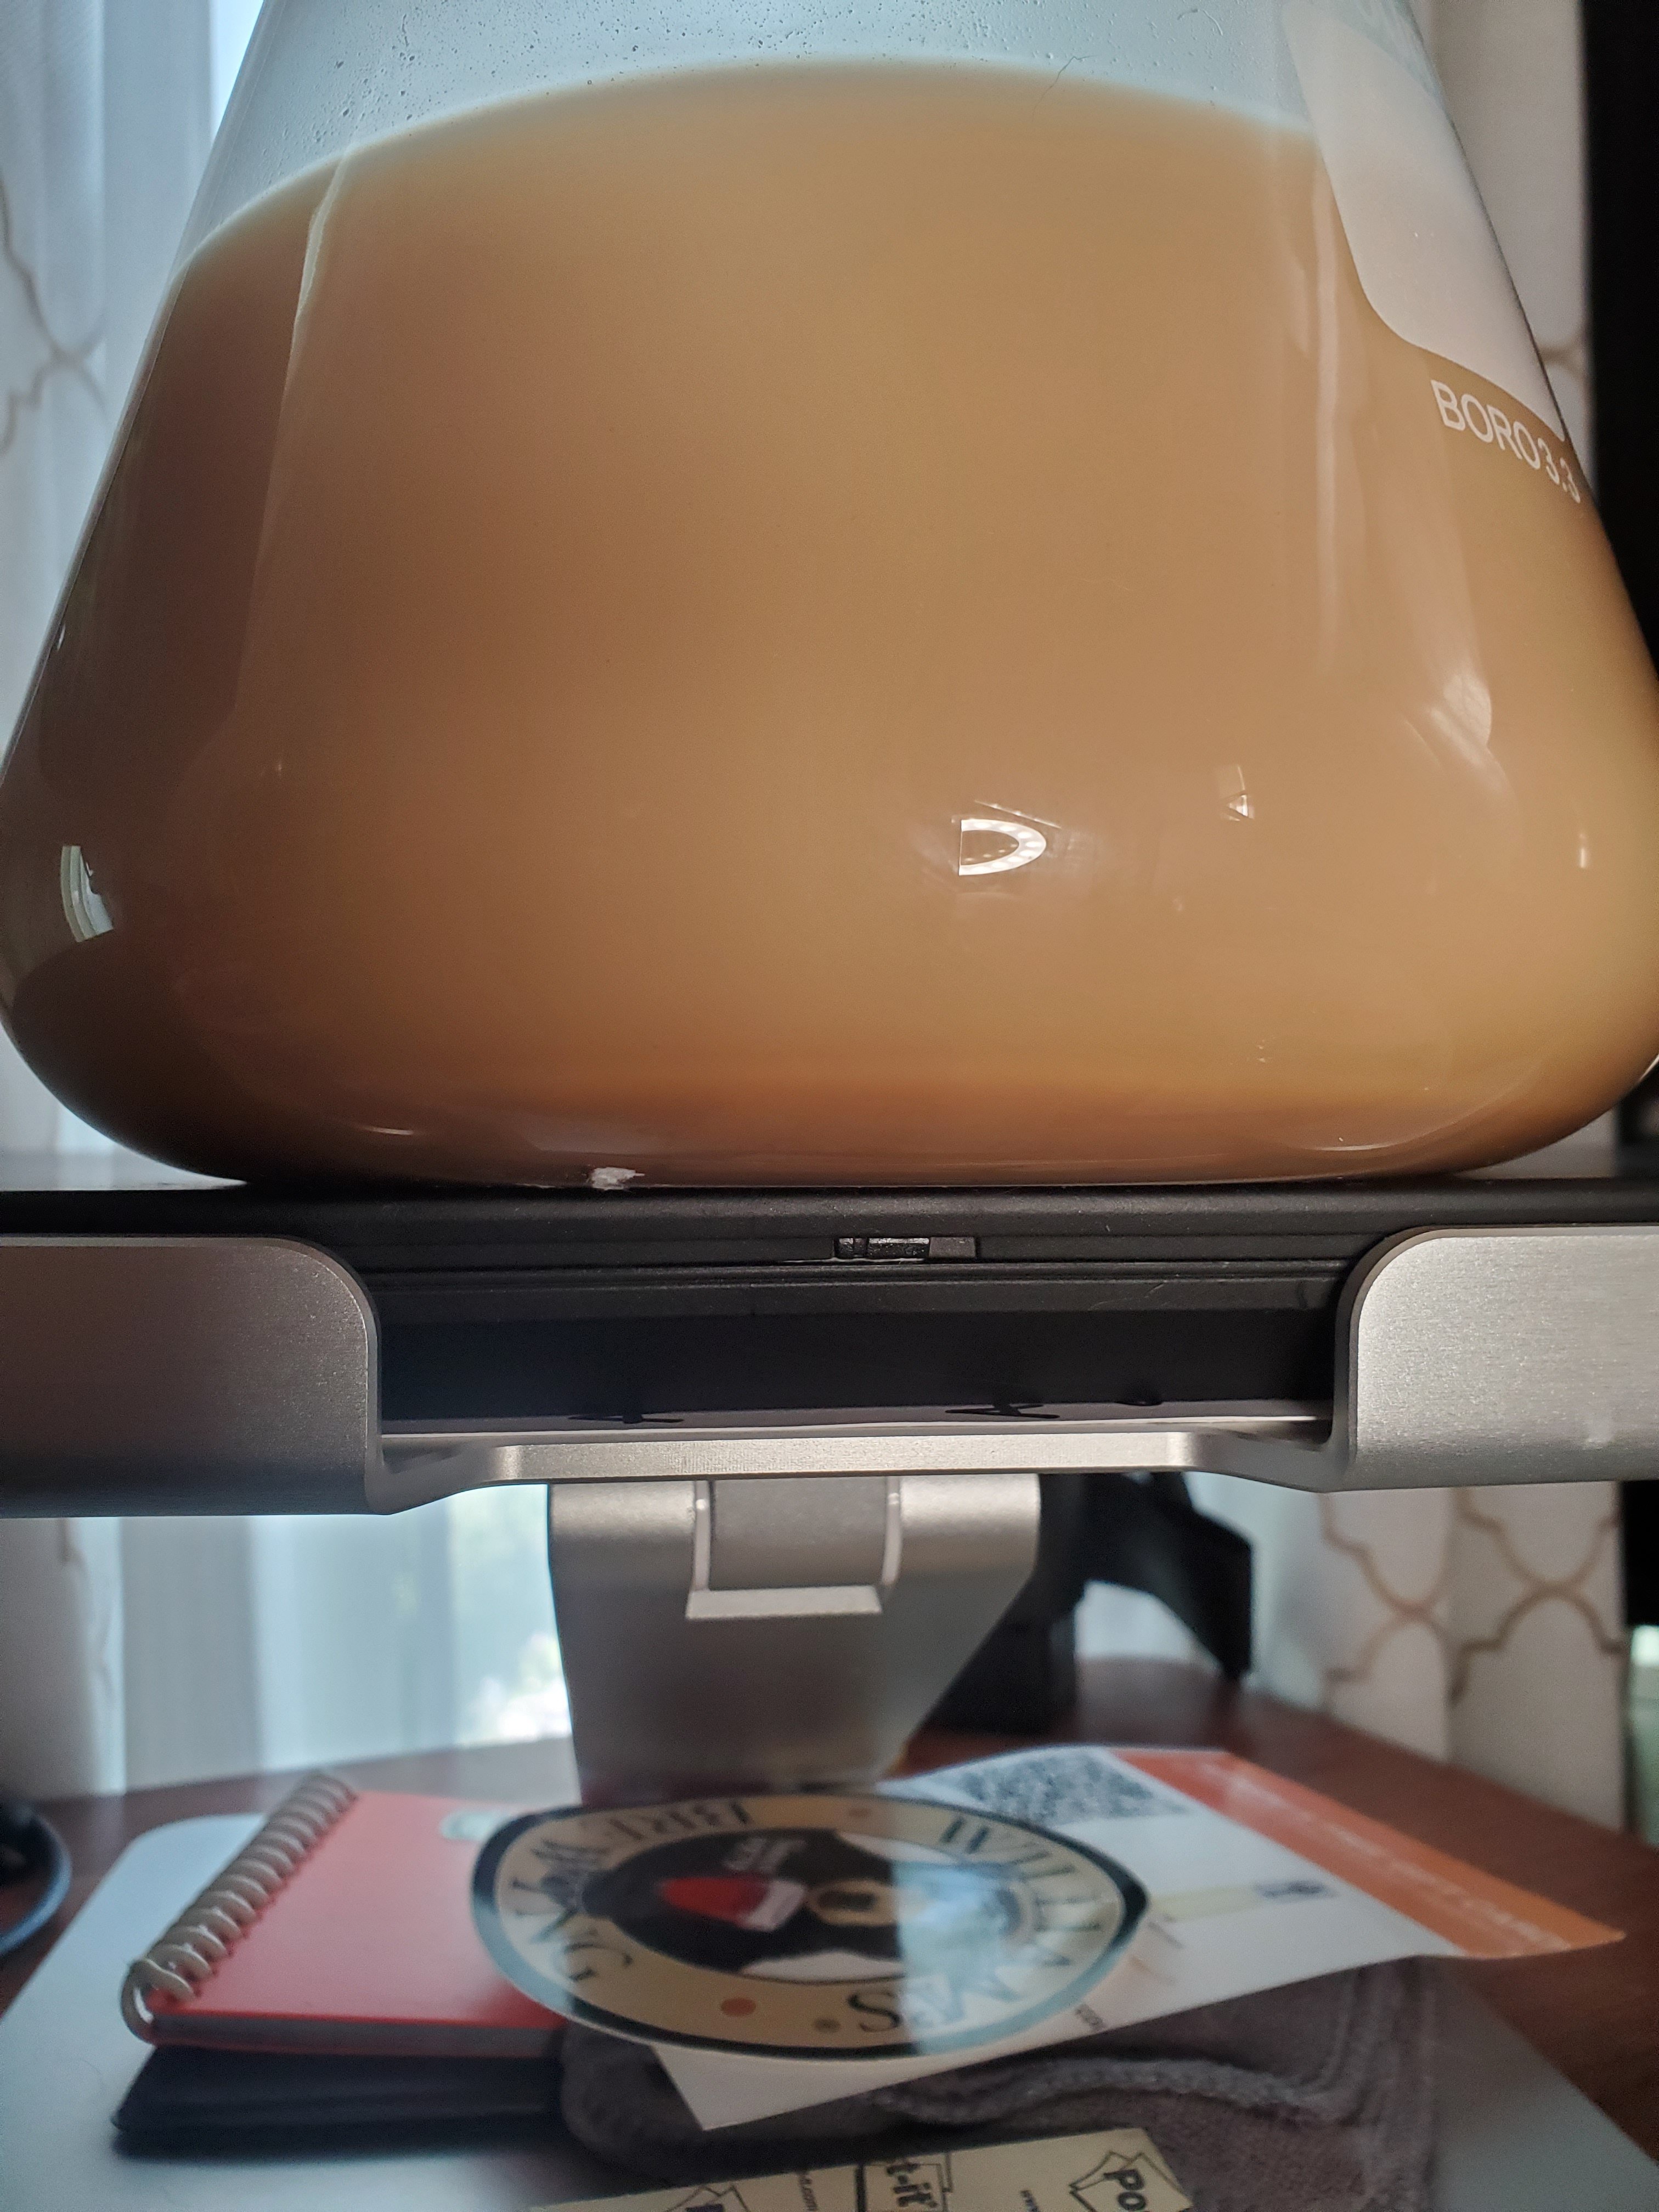
And if you can, please take that picture of that from a lower angle, camera level with the bottom part of the flask, so we can see the settled cake. ;)
 
Let it settle for the day. There is some darker settlement at the bottom. No amber color though. Brew day?? Do I stir it up then pitch and then save some for next batch?
20220804_181614.jpg
 
Let it settle for the day. There is some darker settlement at the bottom. No amber color though. Brew day?? Do I stir it up then pitch and then save some for next batch?
It takes a few days for the yeast to precipitate, depending on the yeast type/strain how fast and well it does that.
We usually put the flask in the fridge which speeds the precipitation up quite a bit, but still takes several days to a week to leave completely clear beer on top. This is known as cold crashing.

I see the dark band on the bottom, about a 1/8-1/4" thick. That's mostly trub and dead yeast, but will also contain good yeast, say 50%? That percentage is going to increase with time, as more settles out.
At the moment most of the best, freshly made yeast cells are still suspended in the beer above. That's why it's so cloudy.

Brew day?? Do I stir it up then pitch and then save some for next batch?
When are you planning to brew?
If not tomorrow, crimp the foil that's on there a bit tighter around the neck, and put the flask in the fridge.
 
Some scattered thunderstorms in the afternoon. Hoping tomorrow but probably Sunday. Will do Sunday. Woohoo!
If you want to save out some yeast for your next batch, swirl it up, pour some out into a clean and sanitized jelly or canning jar or some other (small) glass jar, put a lid on it, and store in the fridge. About 100 ml should suffice. Crimp the foil tightly around the flask and put in the fridge to cold crash.

On brew day take the flask out of the fridge. The yeast should have crashed out by then, lying in a thick, dense cake on the bottom, with clear or mostly clear starter beer on top. If the beer on top is indeed mostly clear you can decant (pour off) most of the starter beer on top, leaving the slurry and a little bit of starter beer behind. Mind, if the starter is still thick and cloudy, you can't see through it, don't pour any off, you'd lose too much good yeast. In that case you'd pitch the whole thing. It's fine.

Let the yeast come to room temps while brewing. Leave it in the kitchen or other safe place, so it doesn't get kicked over in the heat of brewing. ;)

Brew your batch.
At the end, aerate your chilled batch of wort in the fermenter (e.g., splashing during transfer, whisking with a large whisk, pouring back and forth from one bucket into a second one, etc., whatever method you prefer) to incorporate as much oxygen into the wort as you can.
Swirl all of the yeast up. If necessary add a little chilled wort from your batch to make it better pourable. Make sure you suspend all the yeast, even the sticky stuff on the bottom, keep swirling it may take a minute. Then pitch it.

You can aerate the batch again, up to 4-6 hours later if you want, as long as there is no foam on top of the beer yet. Not much later than that, though, unless you know what to look for.

Good luck!
 
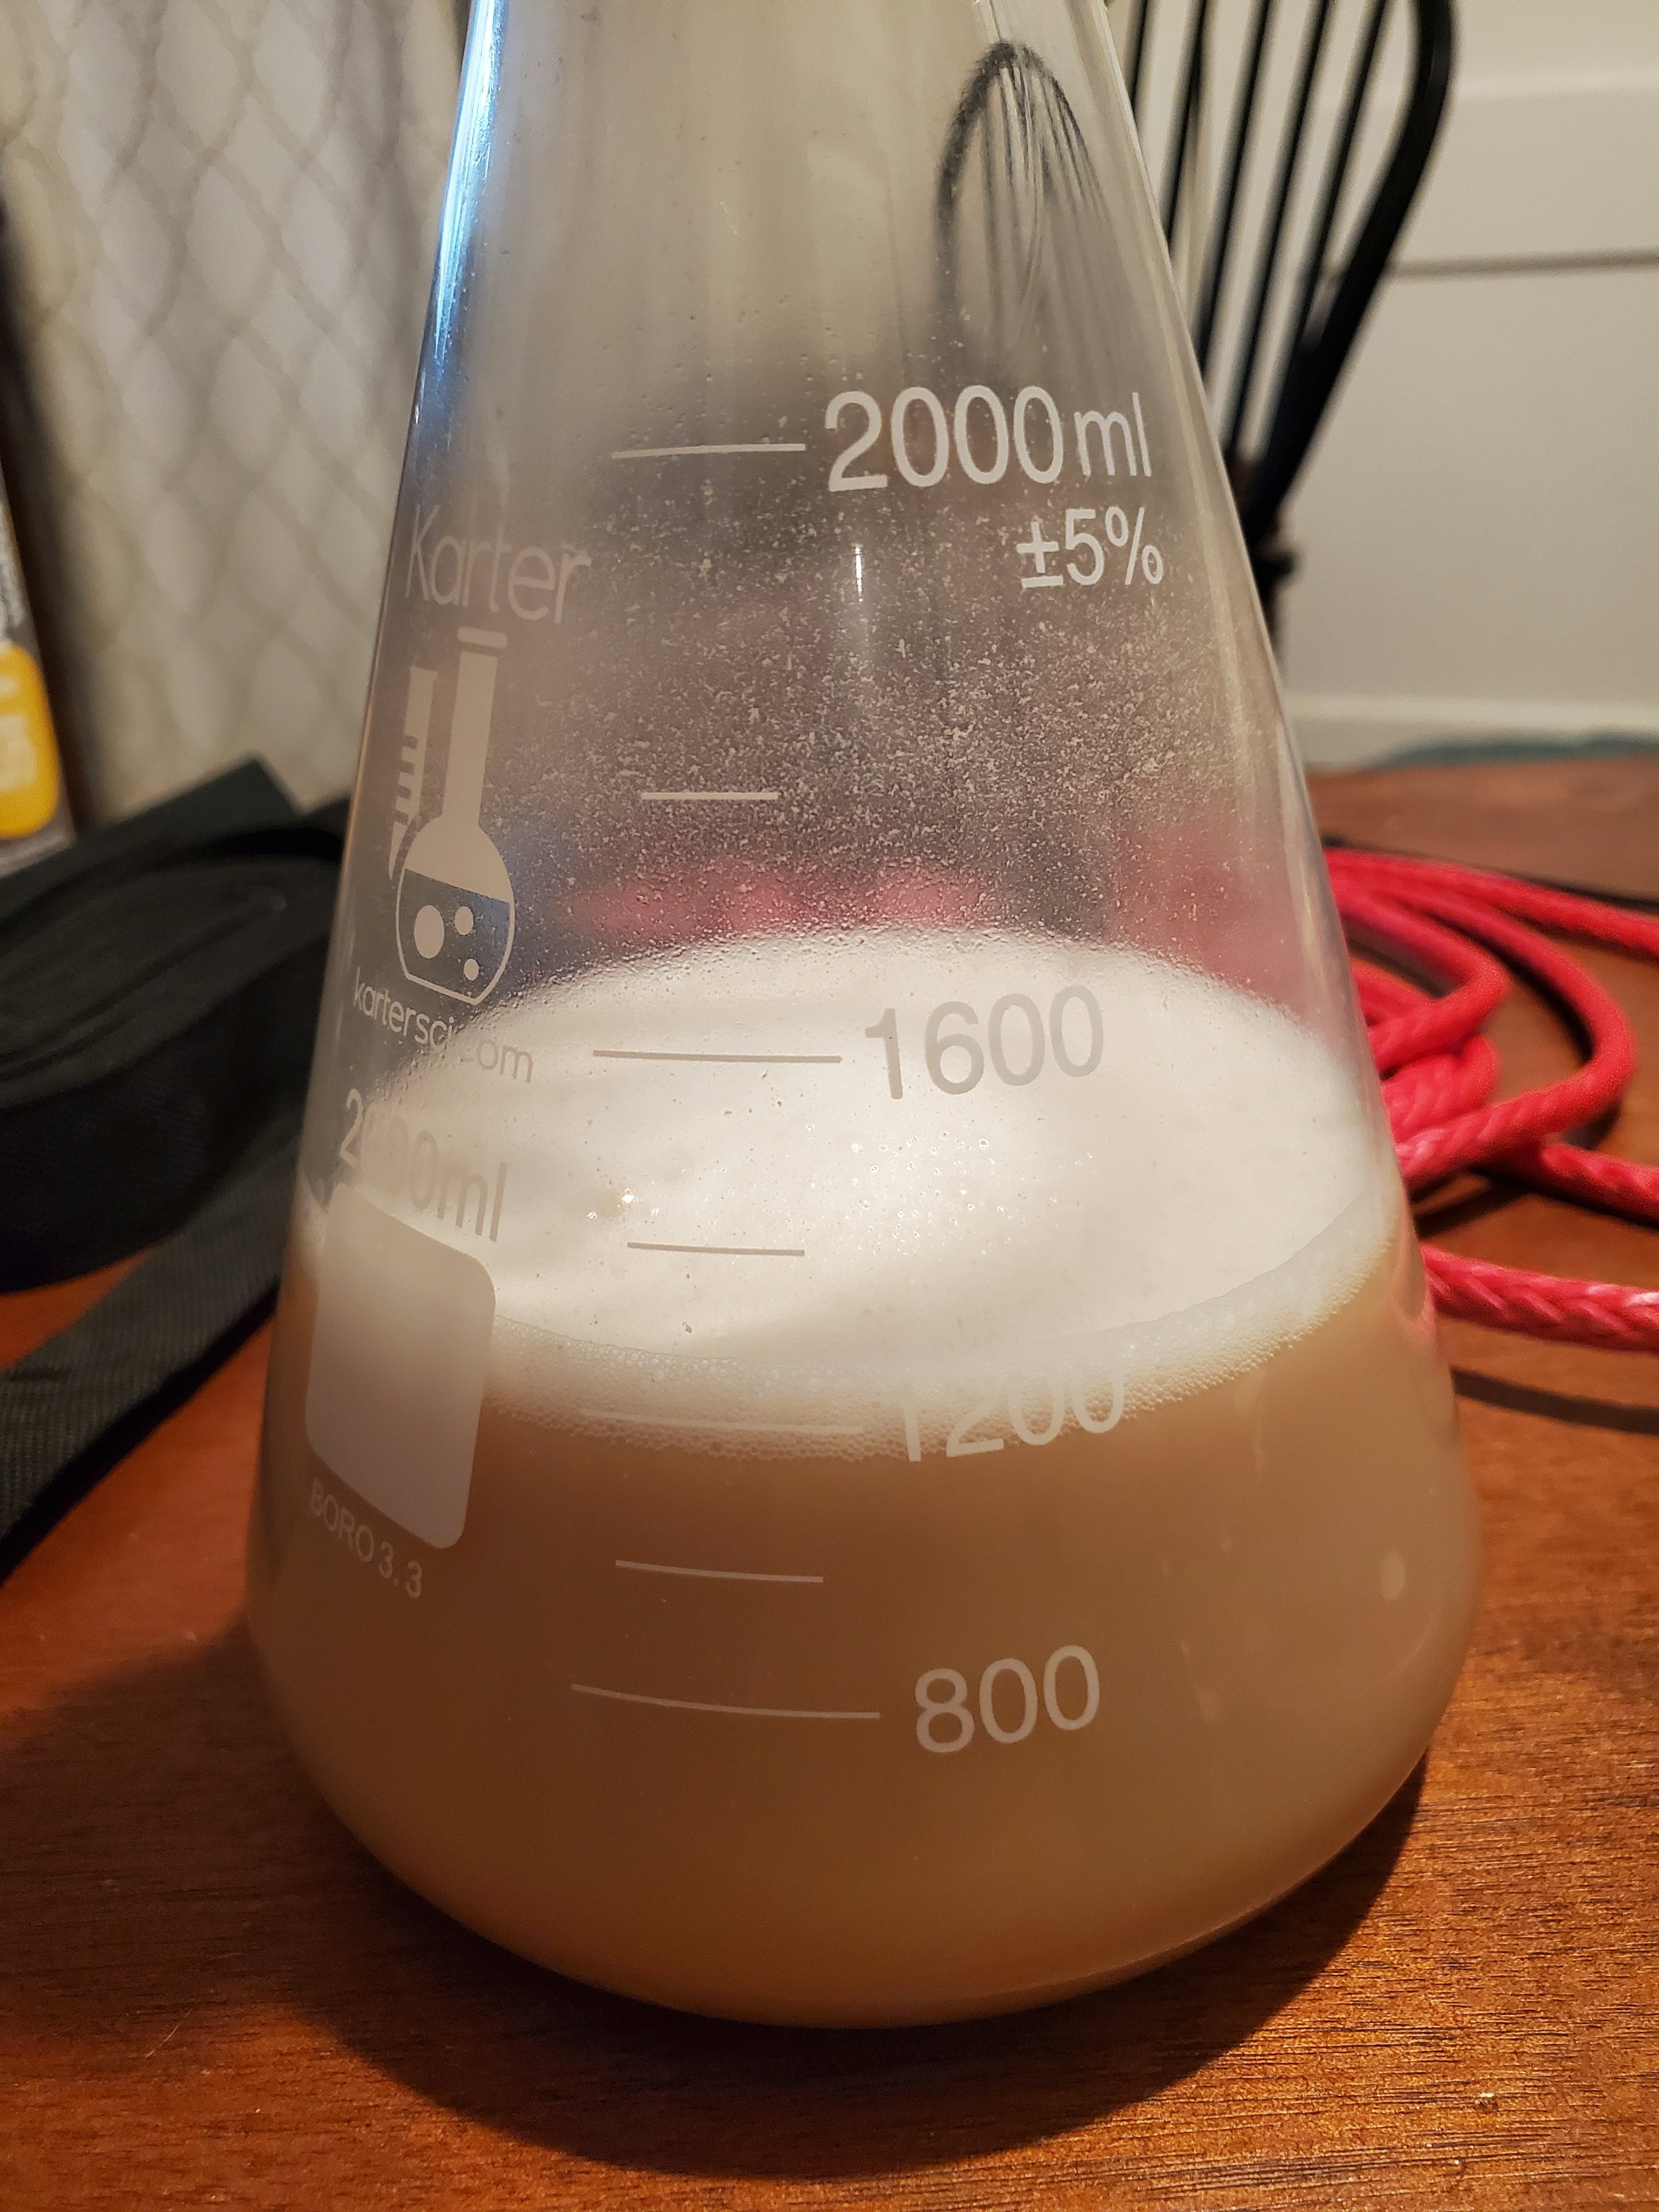
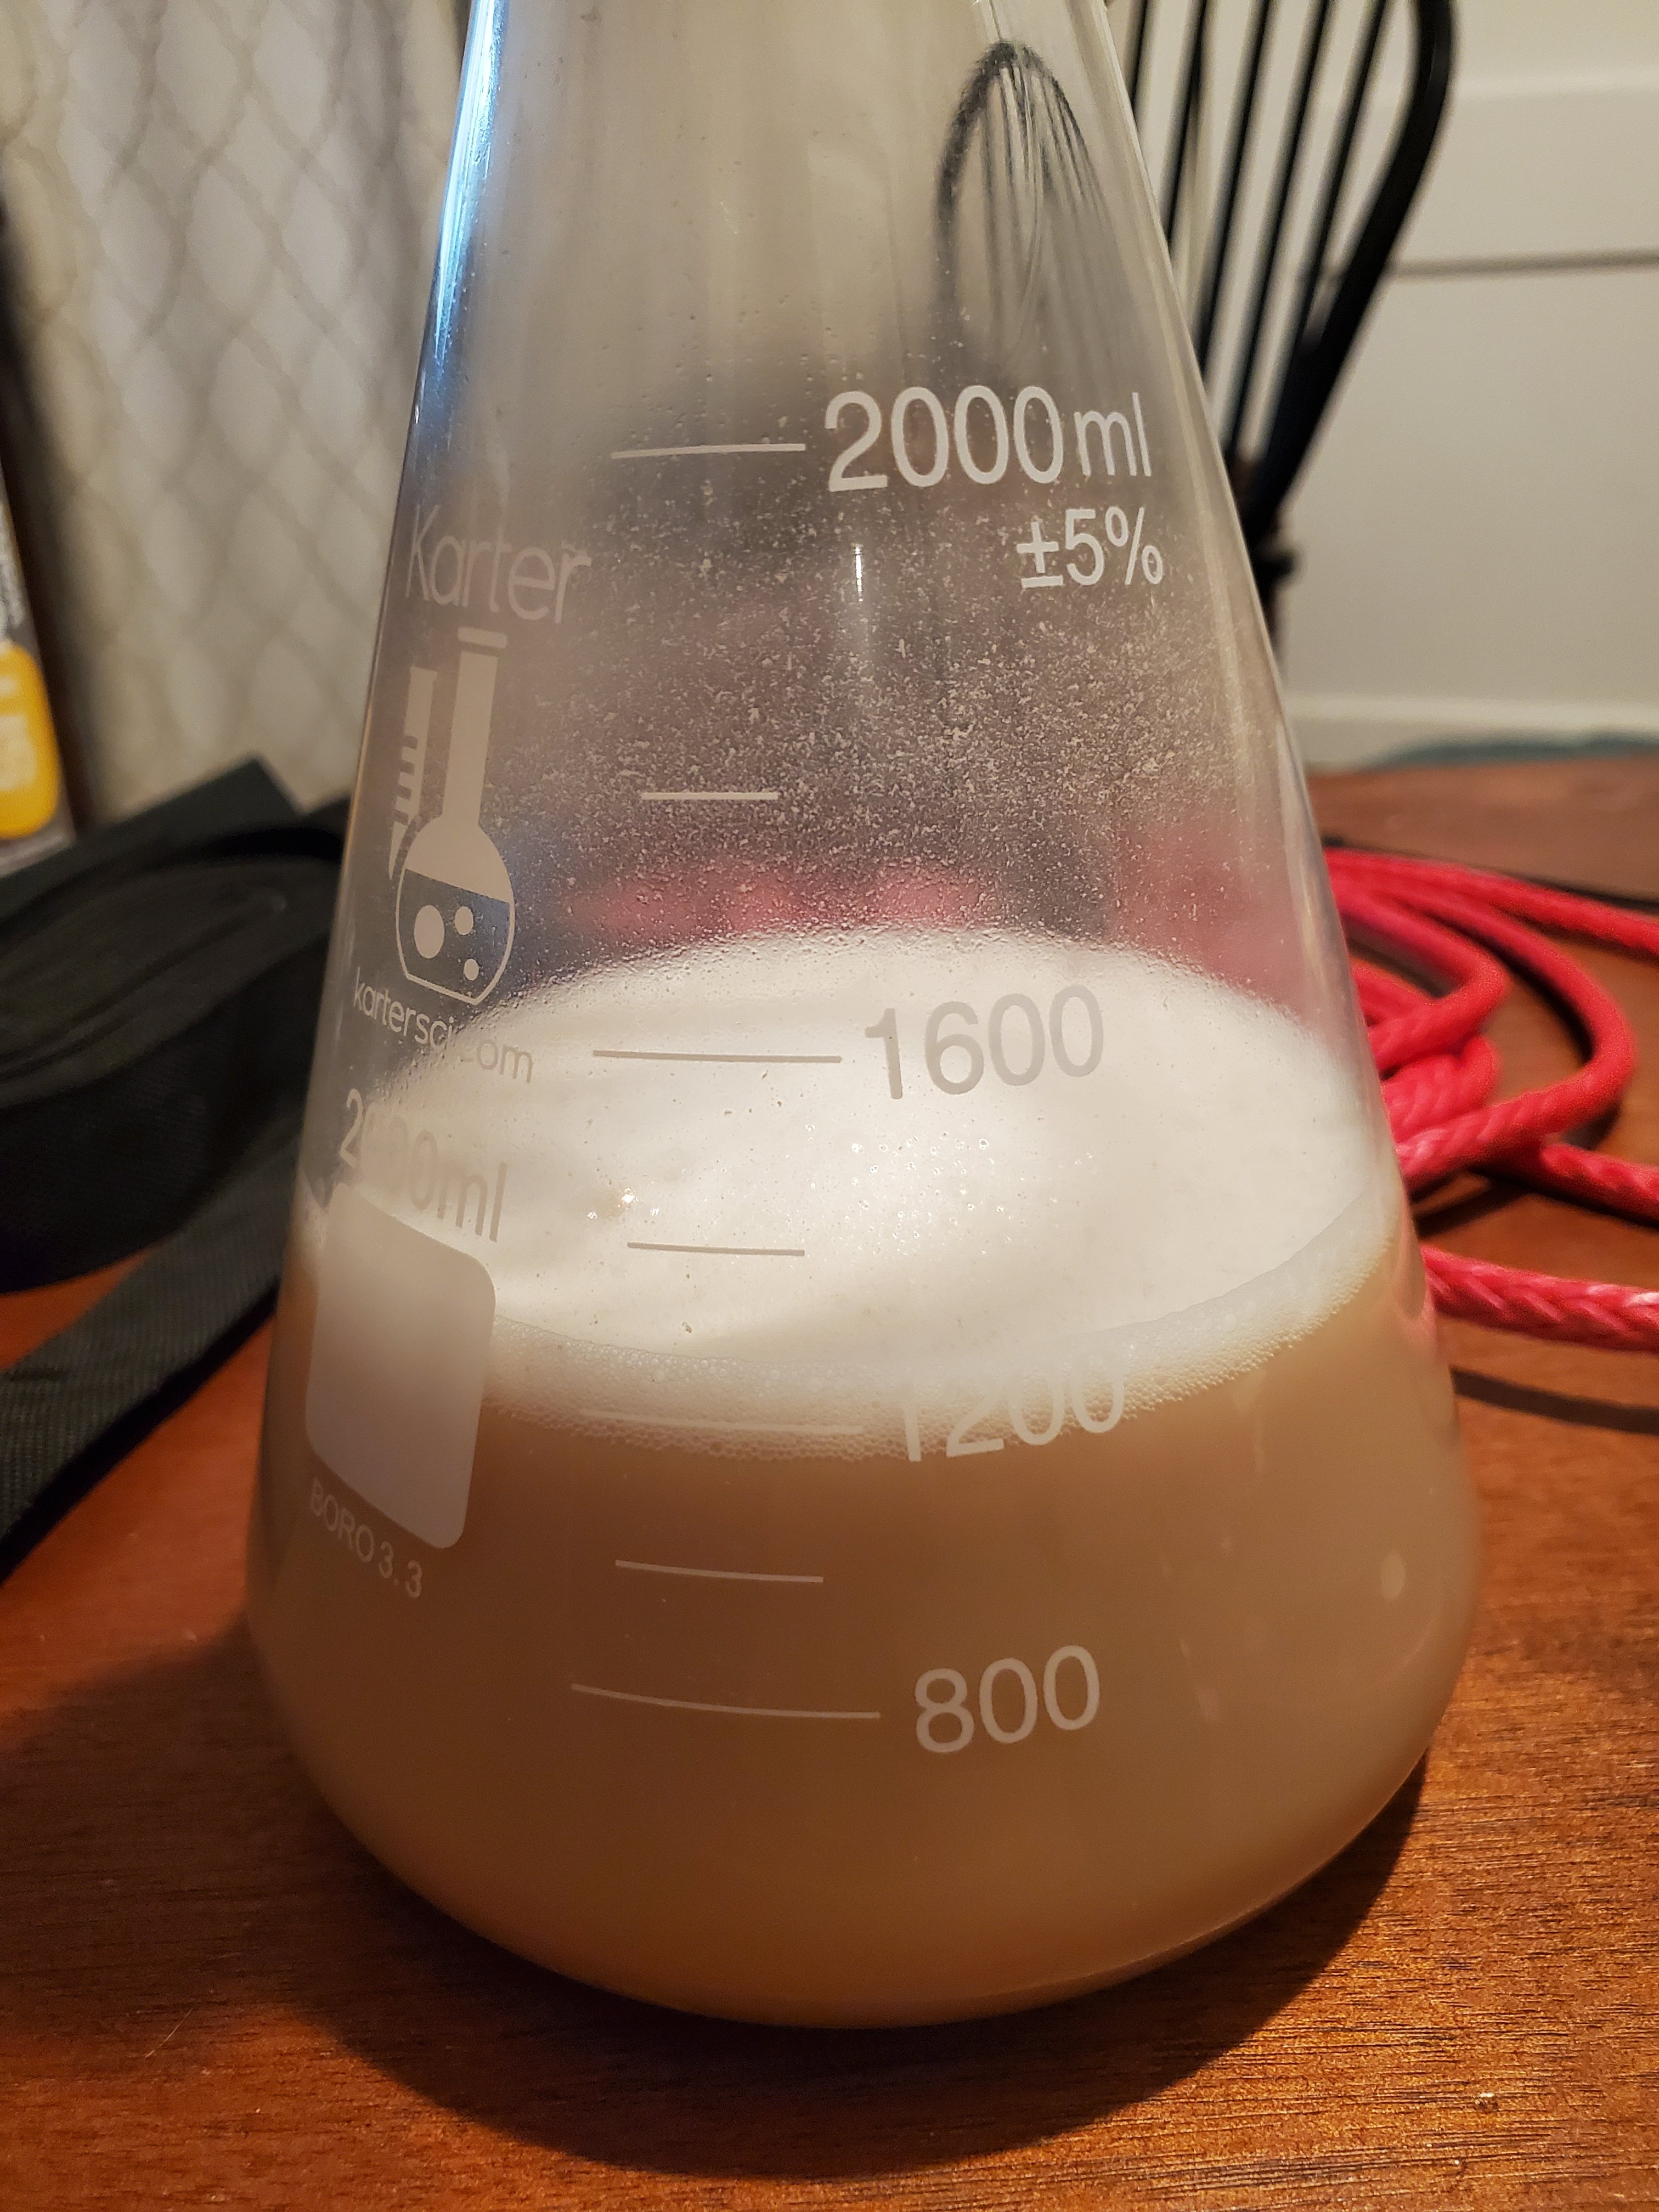
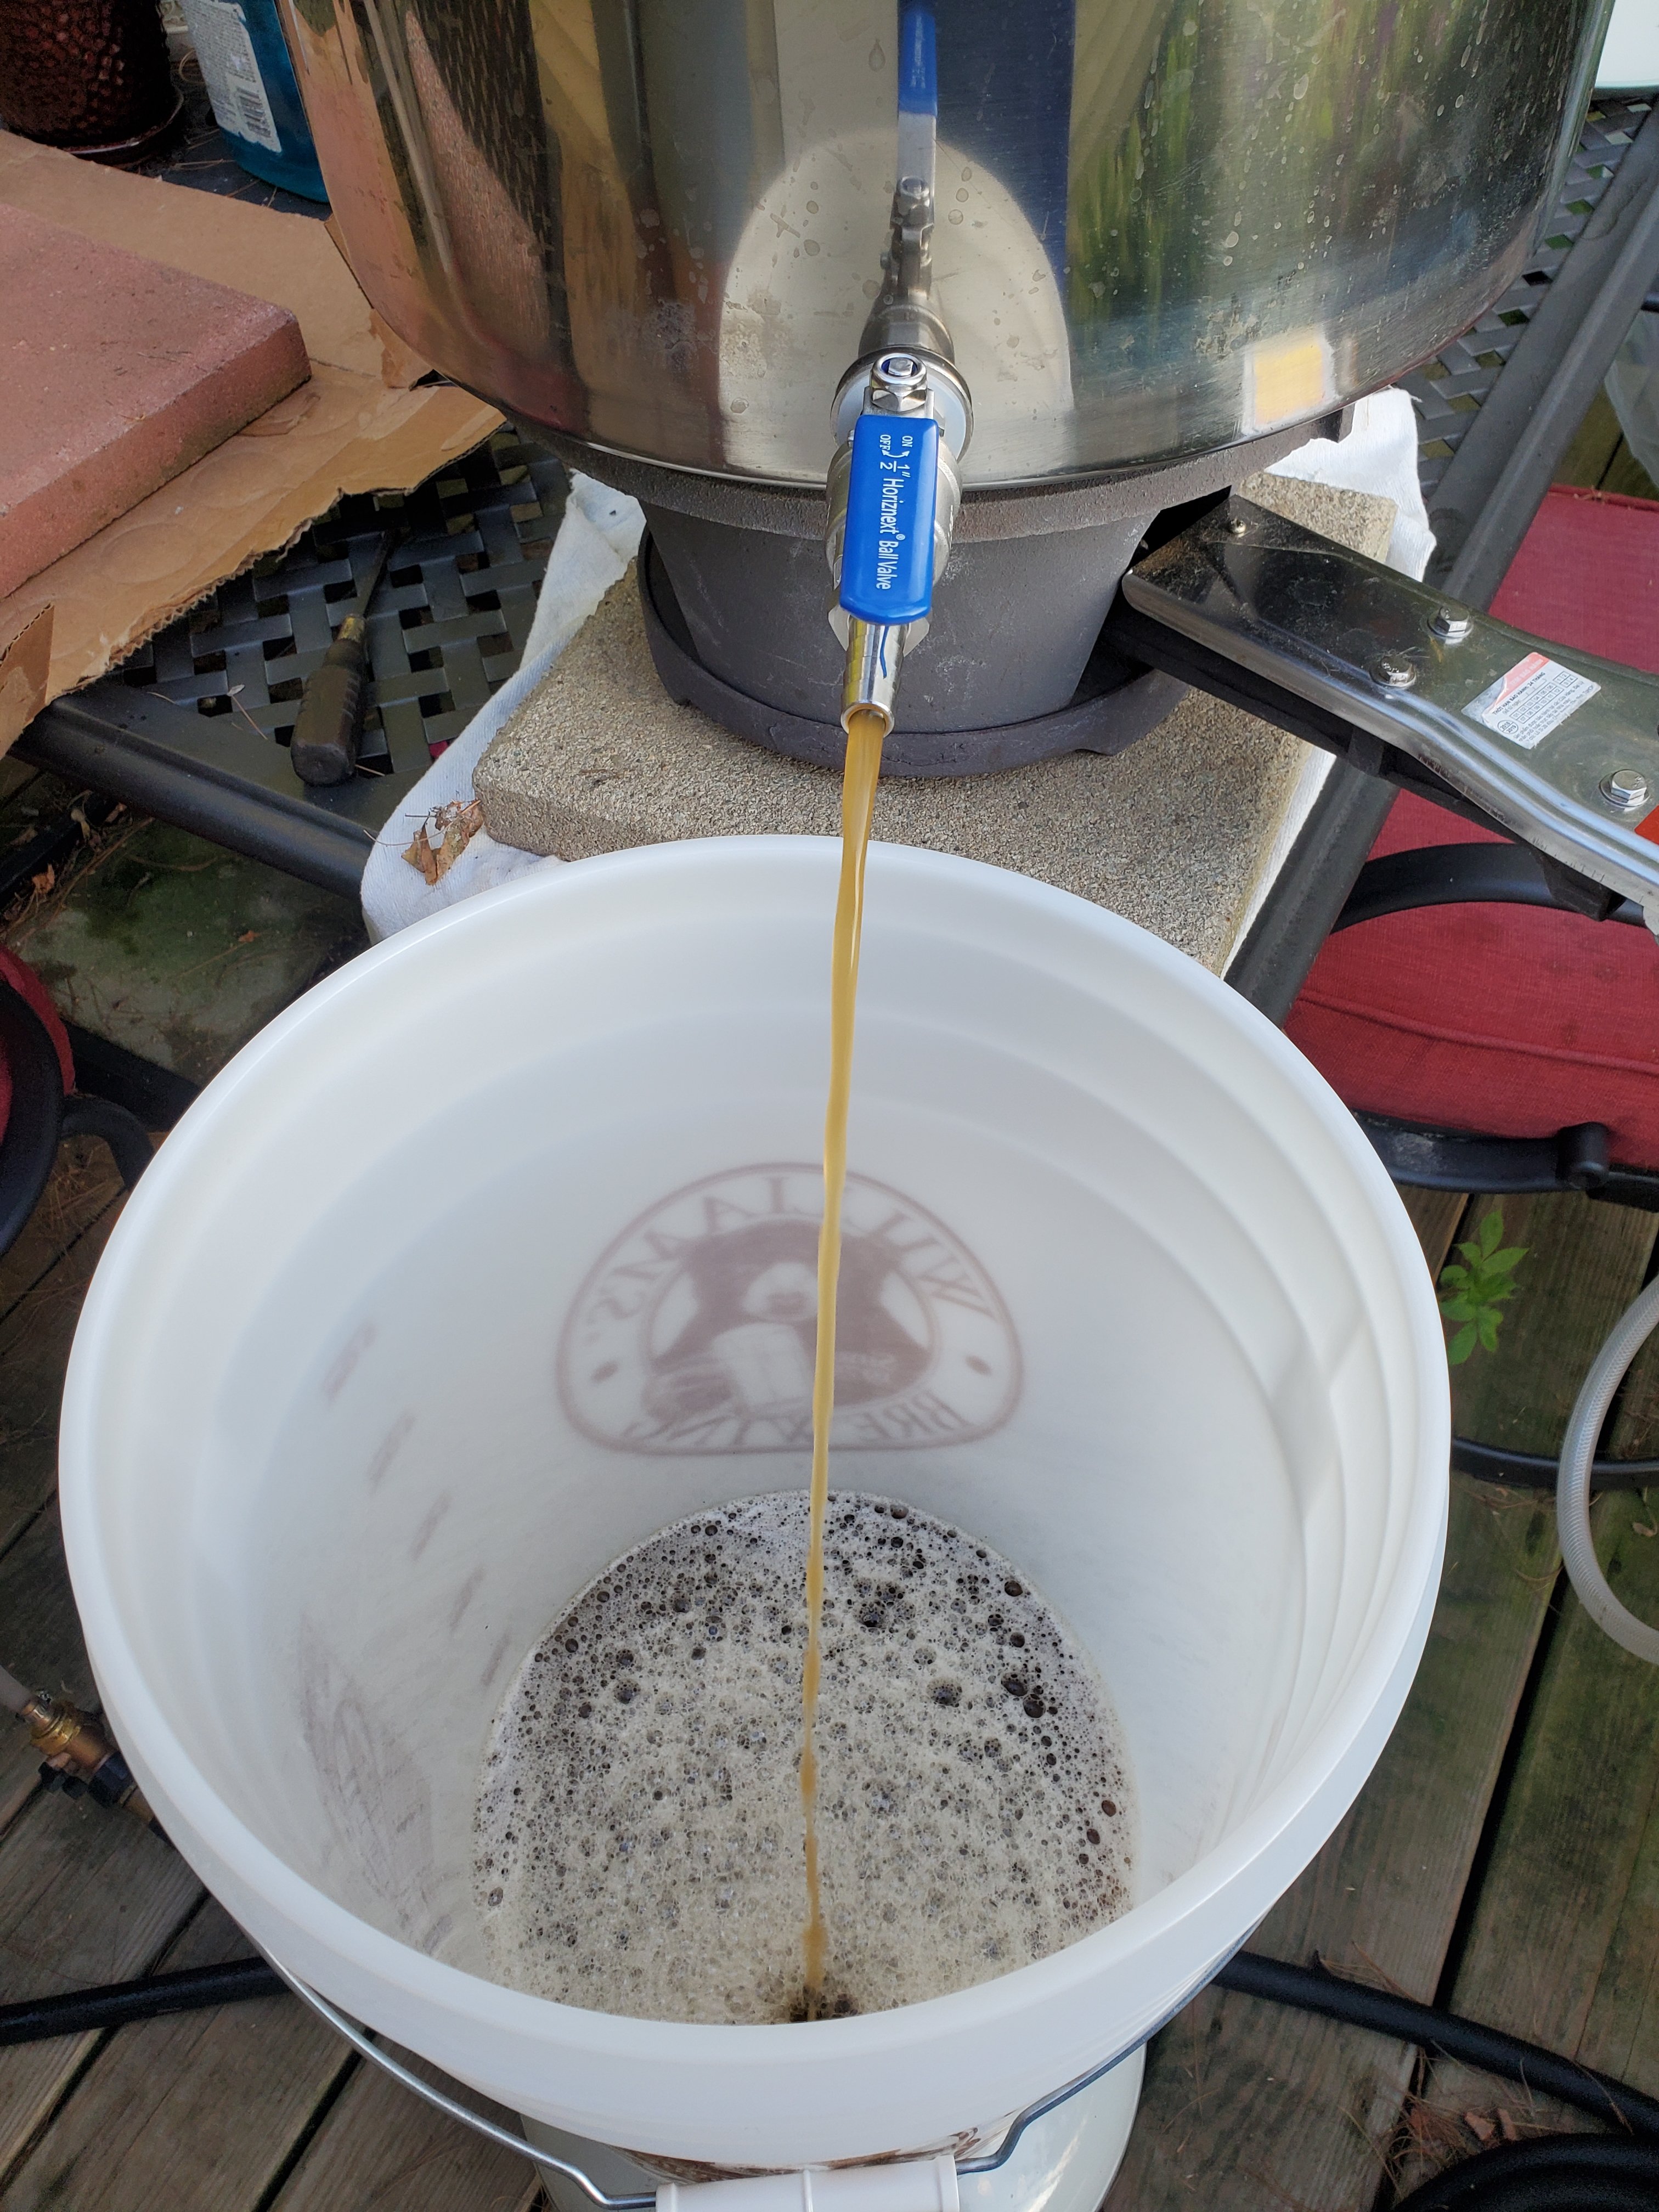
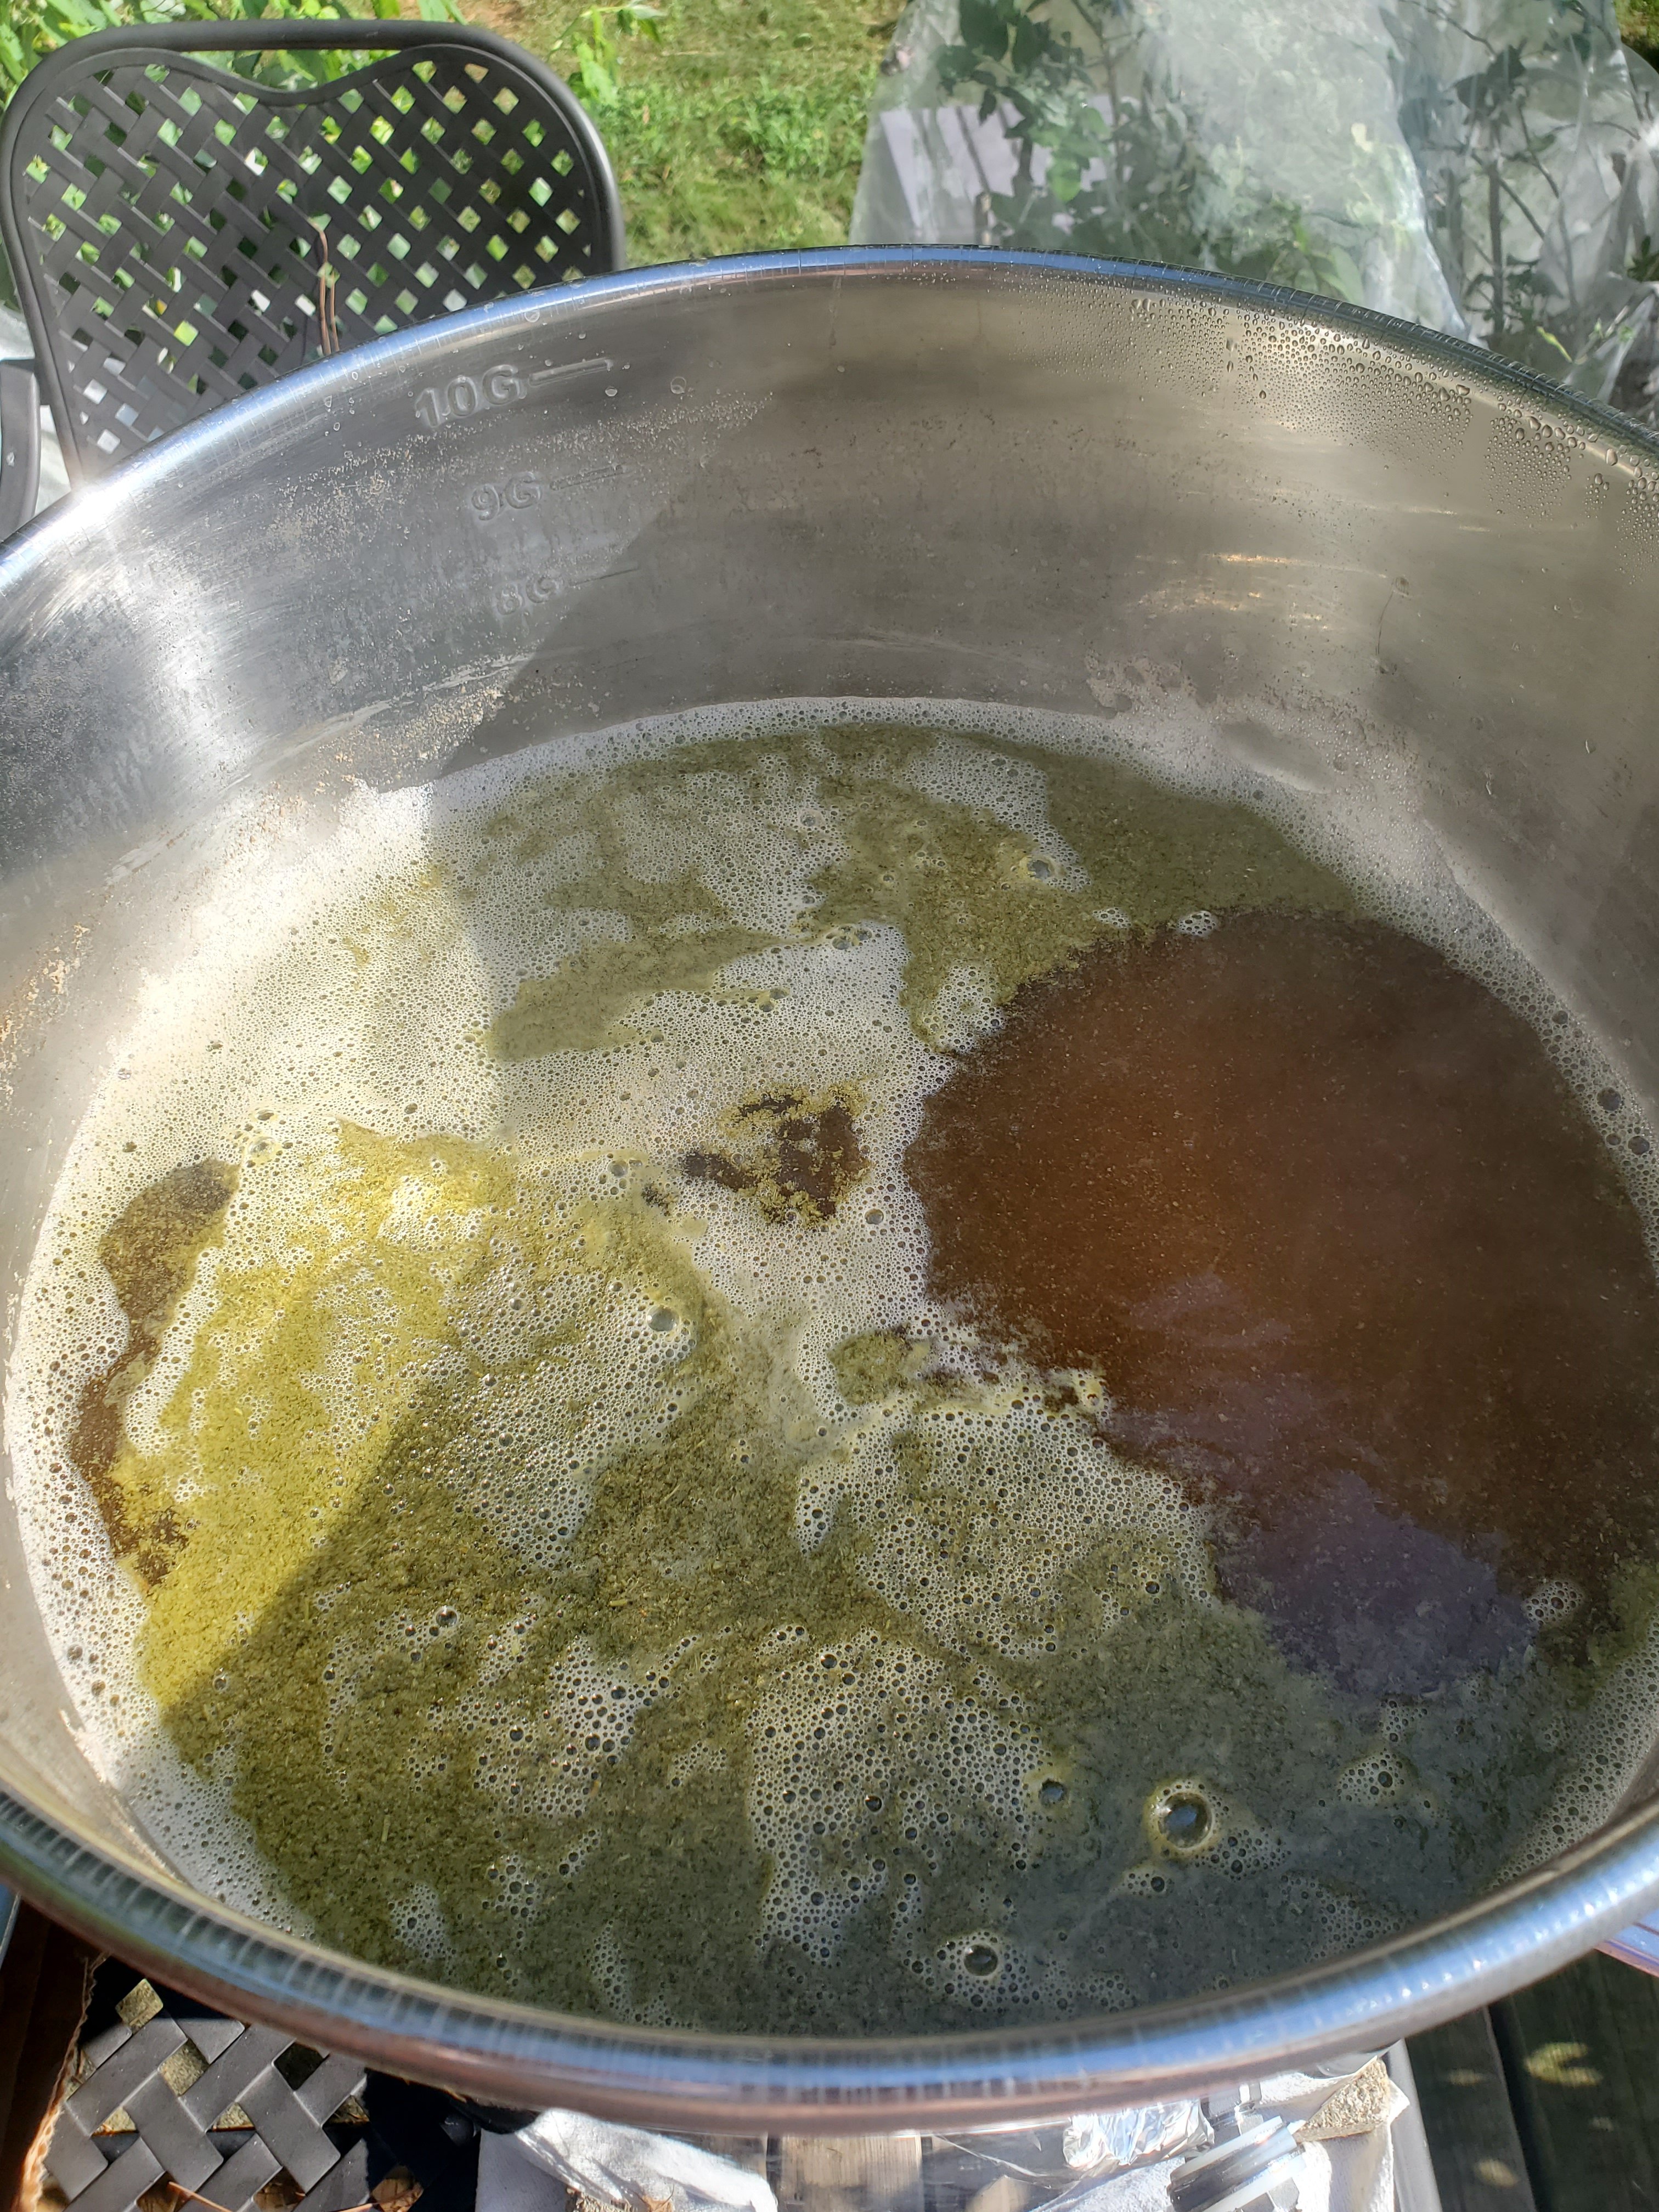
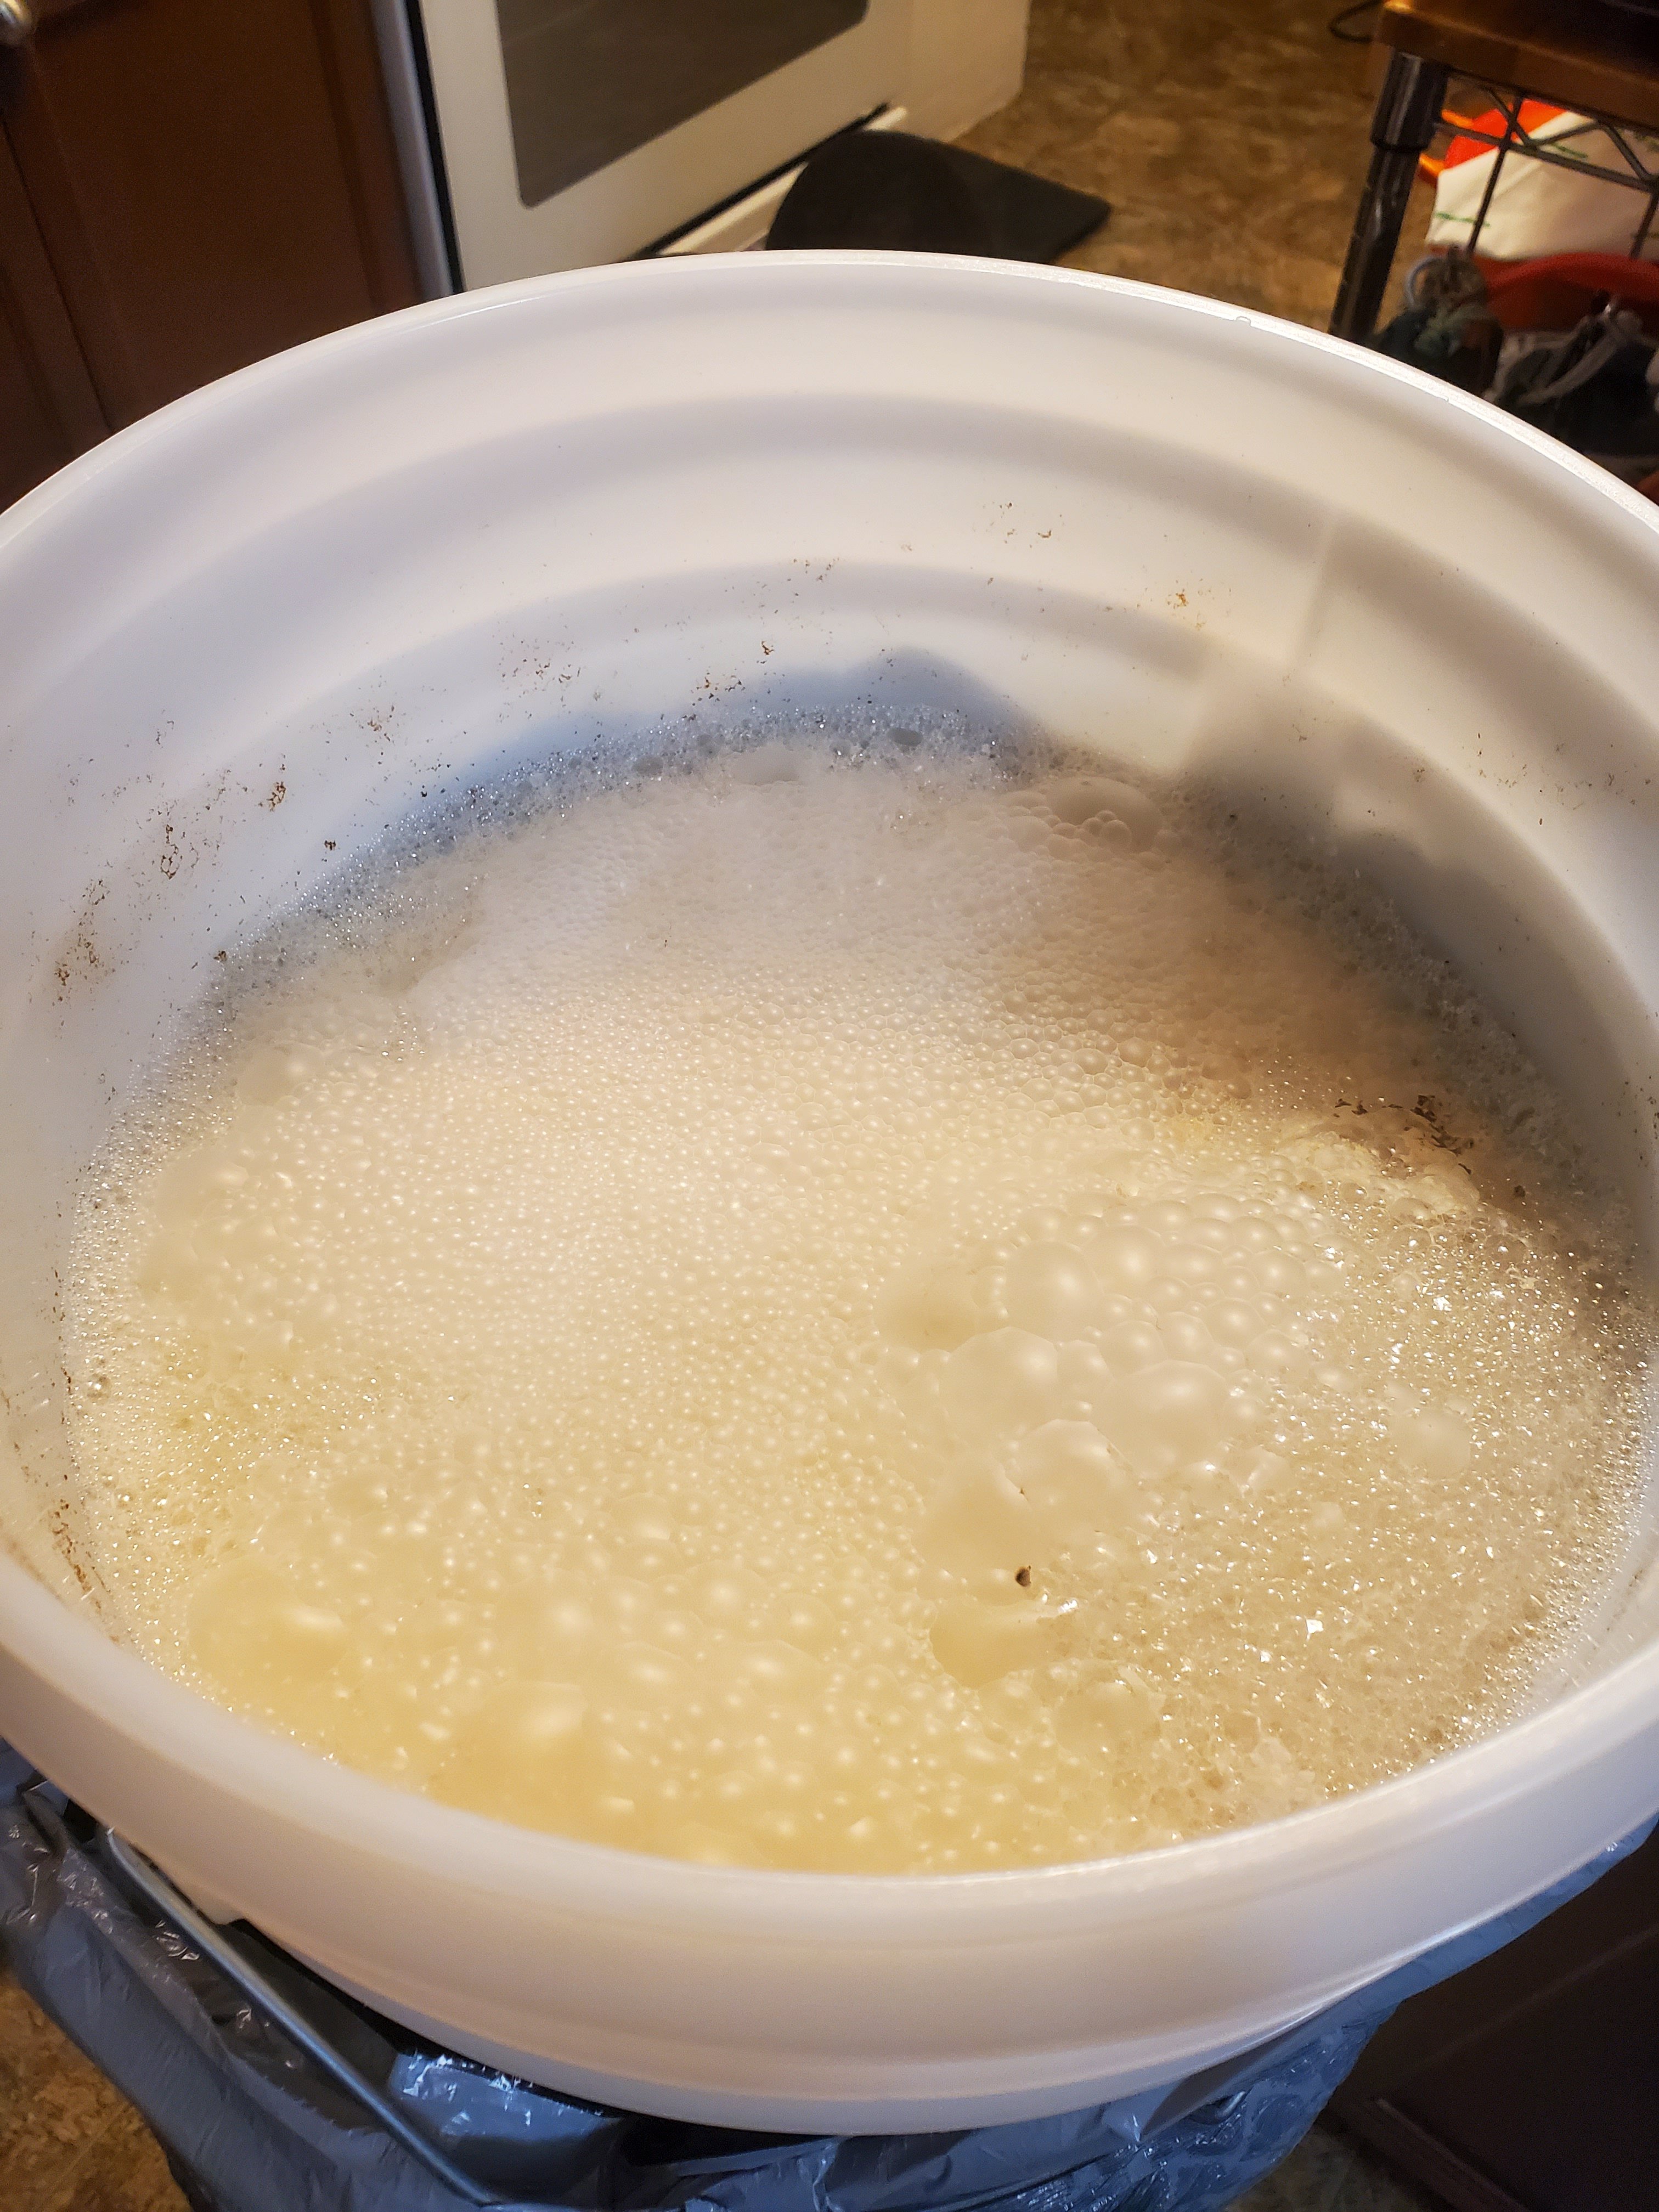
Brewed today! Went smooth. Saved some yeast first. Boil temp sat at 212. Chilled wort with wort chiller. Got some trub in the fermenter bucket.

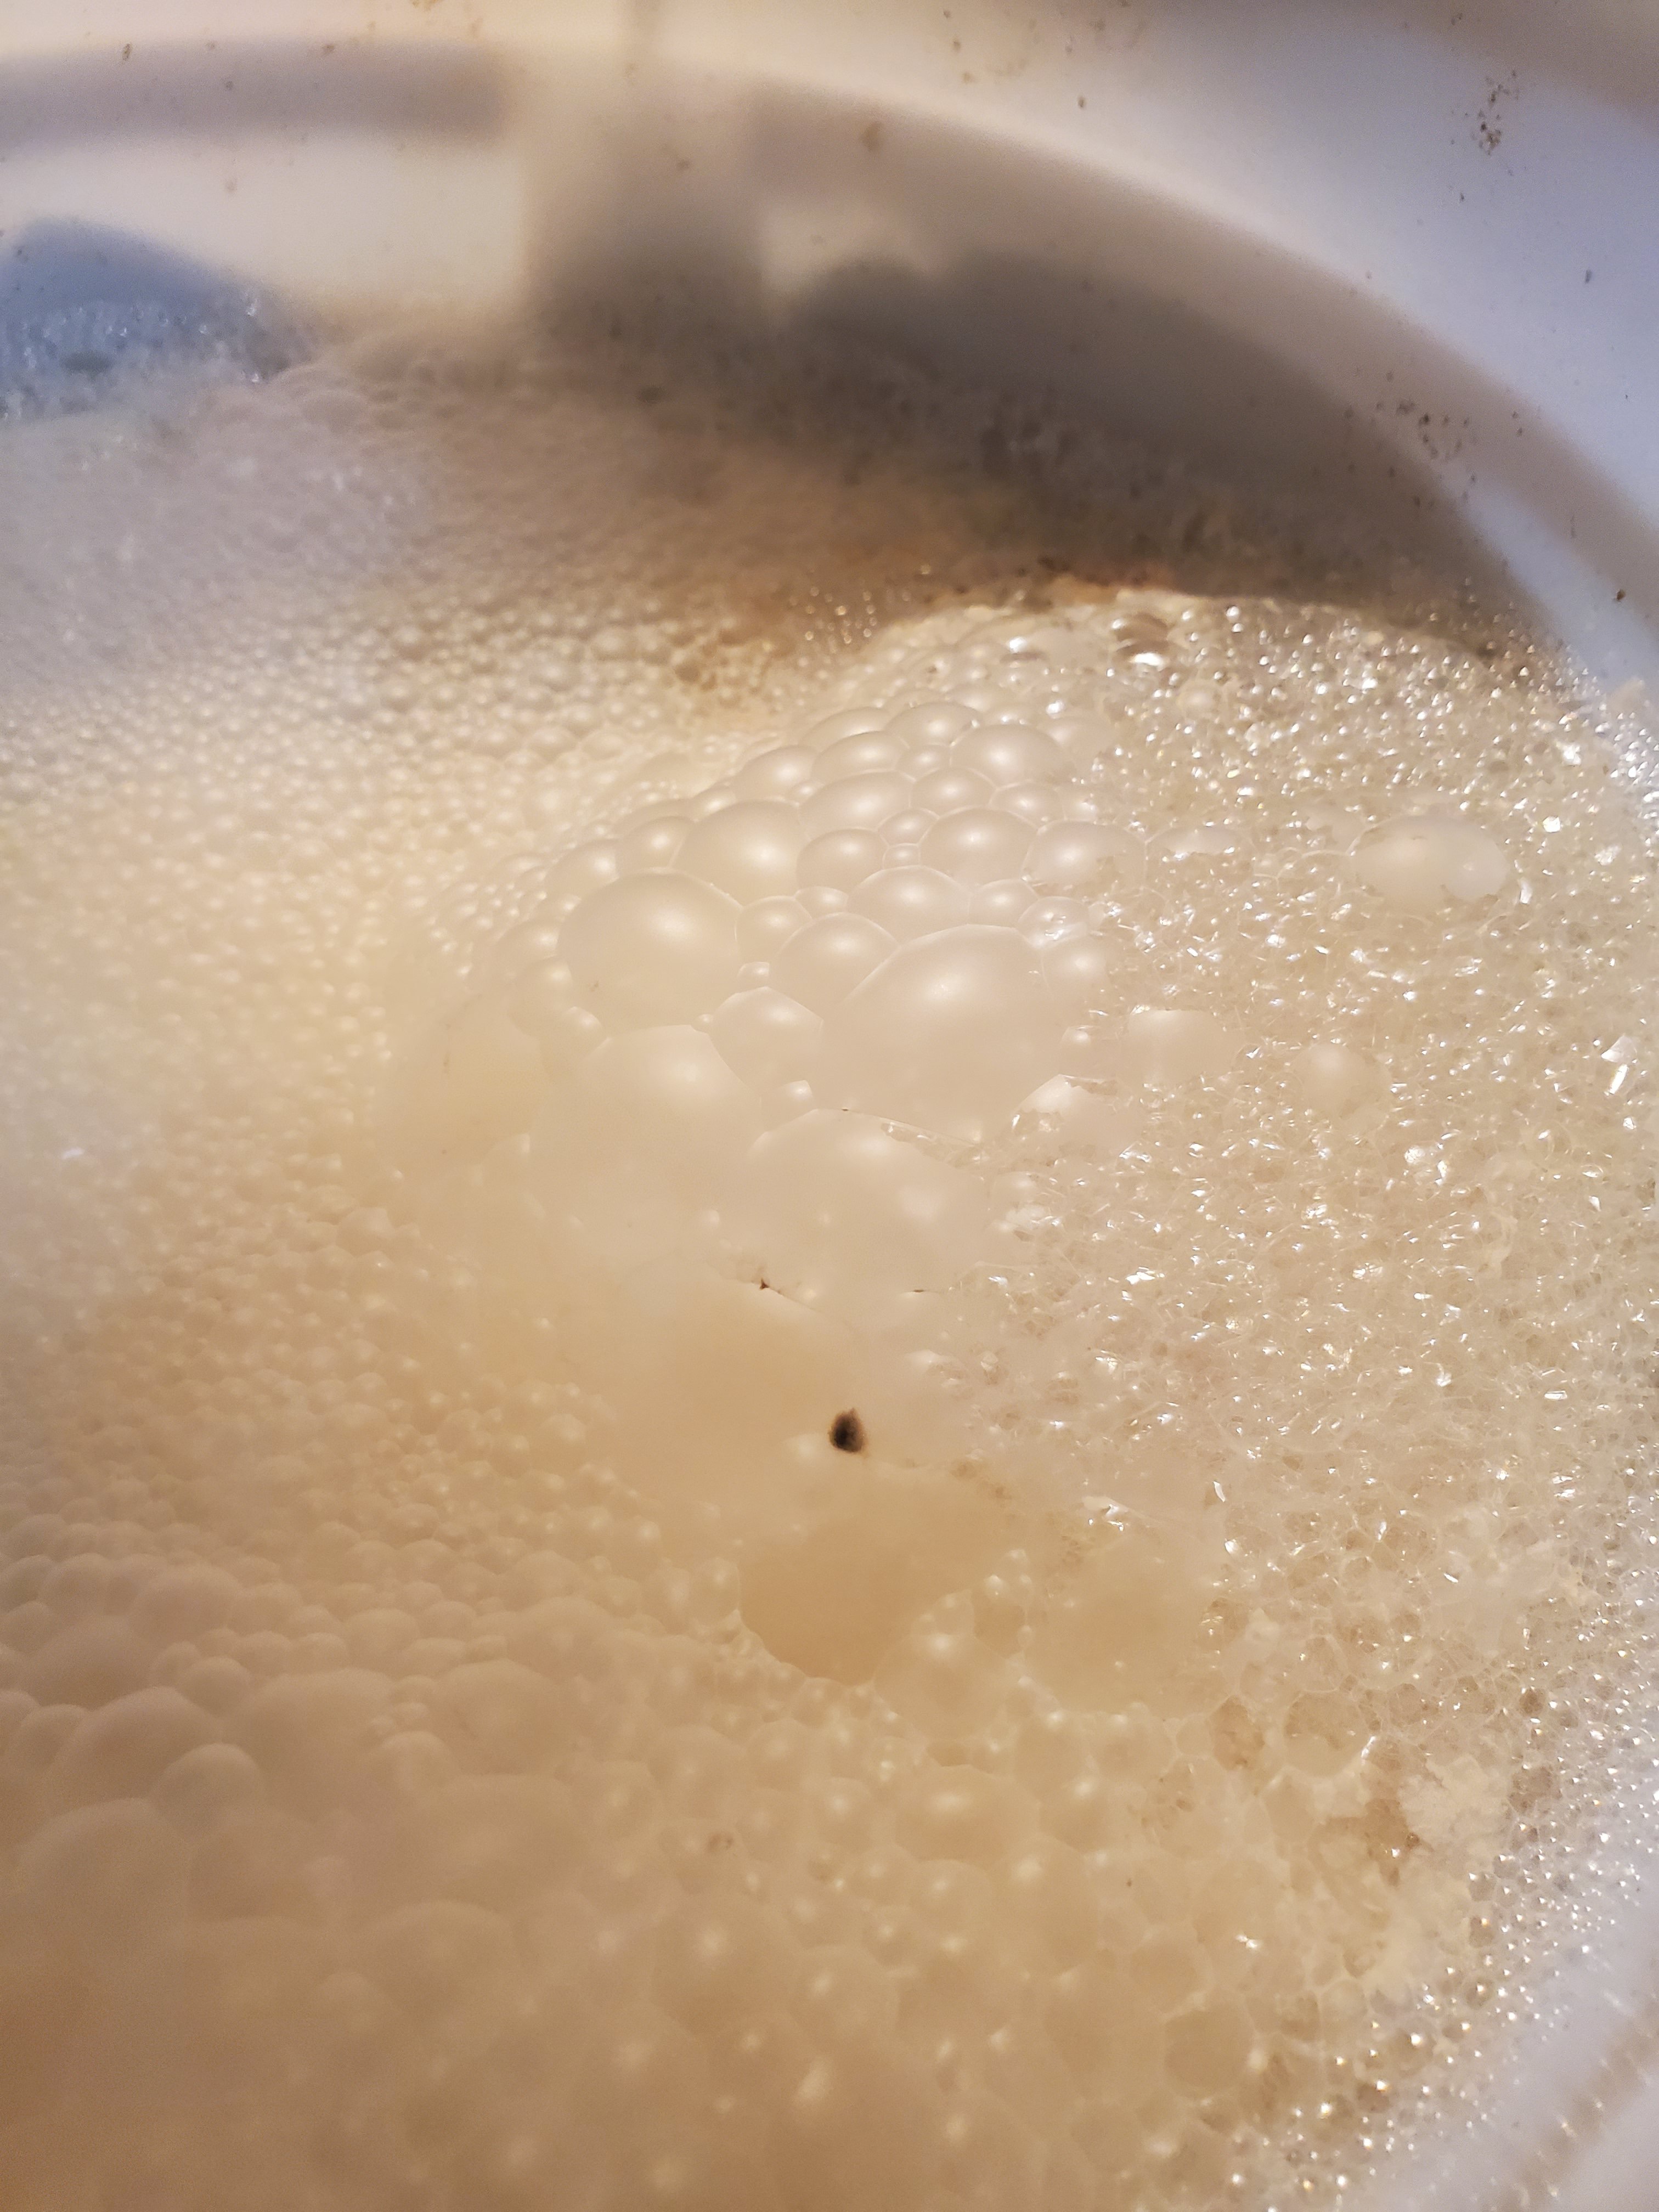
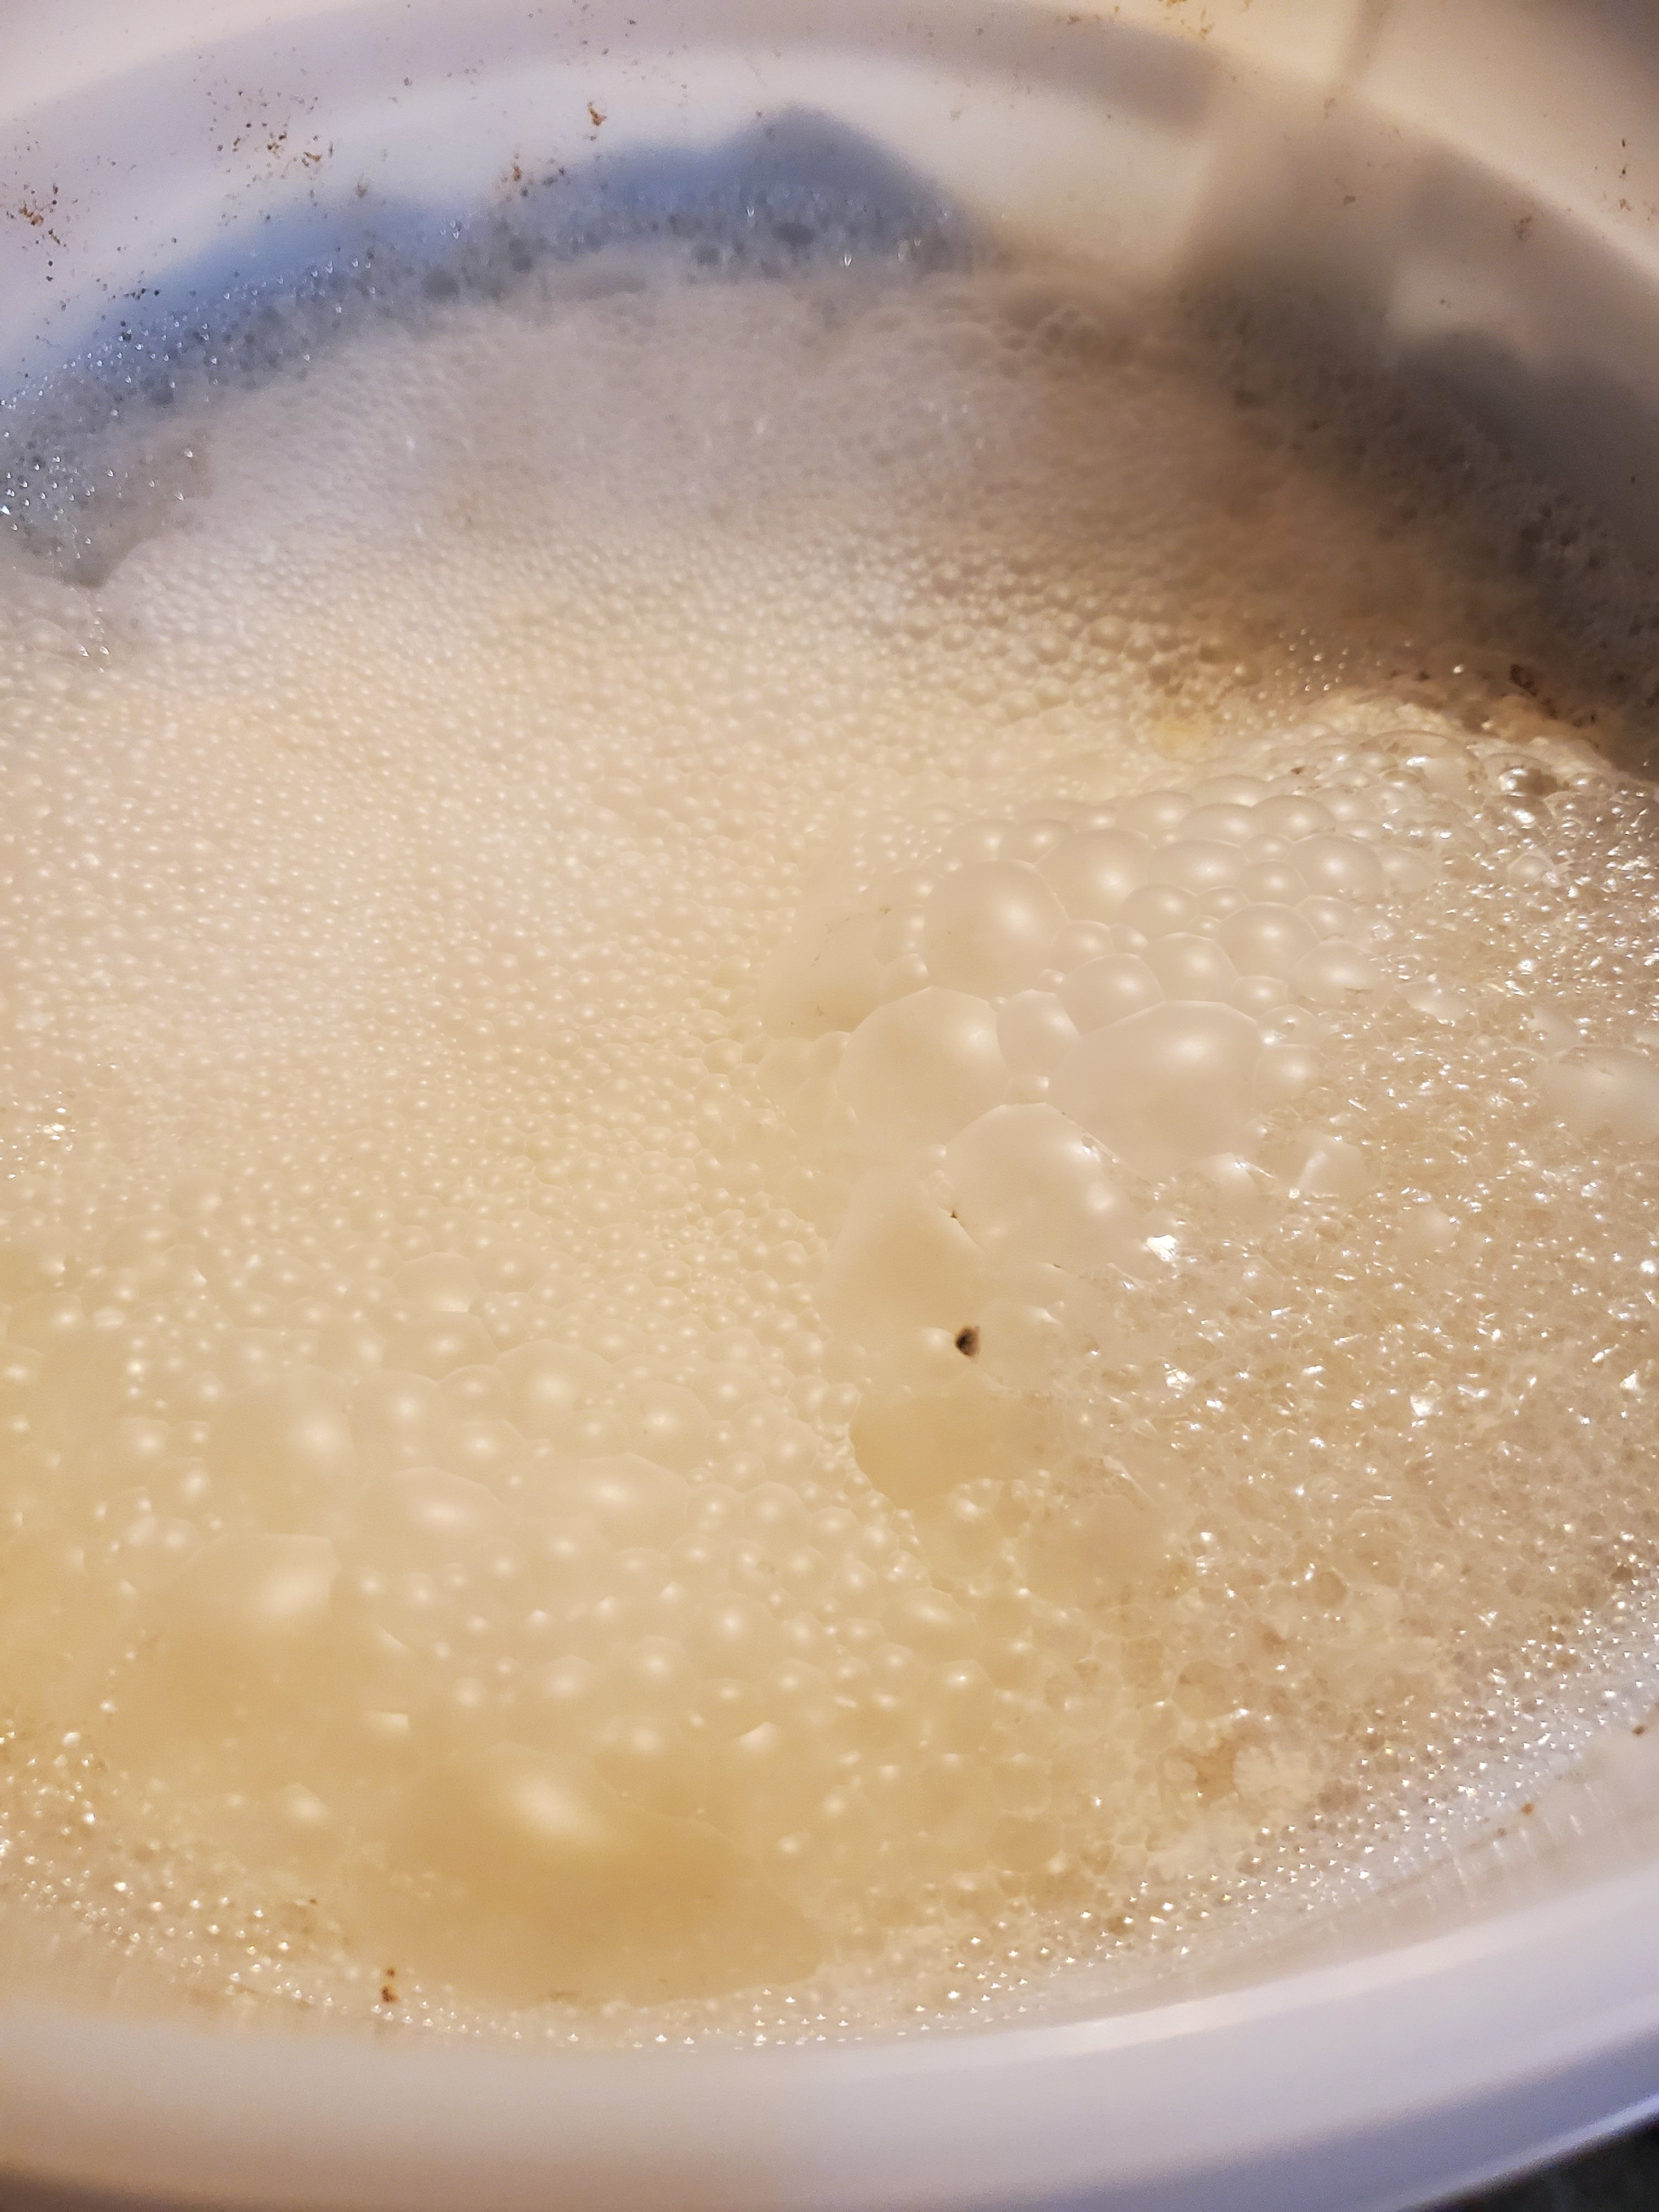
Poured the finished wort with yeast back and forth 4 time and now I have too much foam!
20220809_201910.jpg
20220809_192027.jpg
20220809_172612.jpg
 
Last edited:
So the kit came with a primer bucket. The spigot sits a little lower than the fermentation bucket spigot. Still not to sure why I'd need to put it in there for bottling? Read you can do a second fermentation with it?

Also, the trub that got transferred from the kettle. If I use the spigot to transfer to the primer or bottle, I feel like I'd always have trub, or maybe once it's settled, it should be below the spigot?
 
Still not to sure why I'd need to put it in there for bottling?
You'd rack your finished beer into that bottling bucket with priming sugar. Without splashing! You don't want to oxidize your beer.
When all beer has been transferred give it it very gentle stir to mix the priming sugar in evenly.
Then connect a bottling wand to the spigot with a piece of hose, and fill your cleaned and sanitized bottles.

You don't want to bottle directly from your fermentation bucket as the trub will mix back in when stirring in the priming sugar. That's why you transfer it.

Do not do secondaries, they're not needed! Leave the beer in the primary fermenter, until ready to bottle or keg.
 
So it's been a few days now. Should I open to check the fermentation? Should I see foam? What if I dont?
 
Yup, in bucket with air lock. First night I did hear something. It's by the bedside. Don't notice anything, really.
 
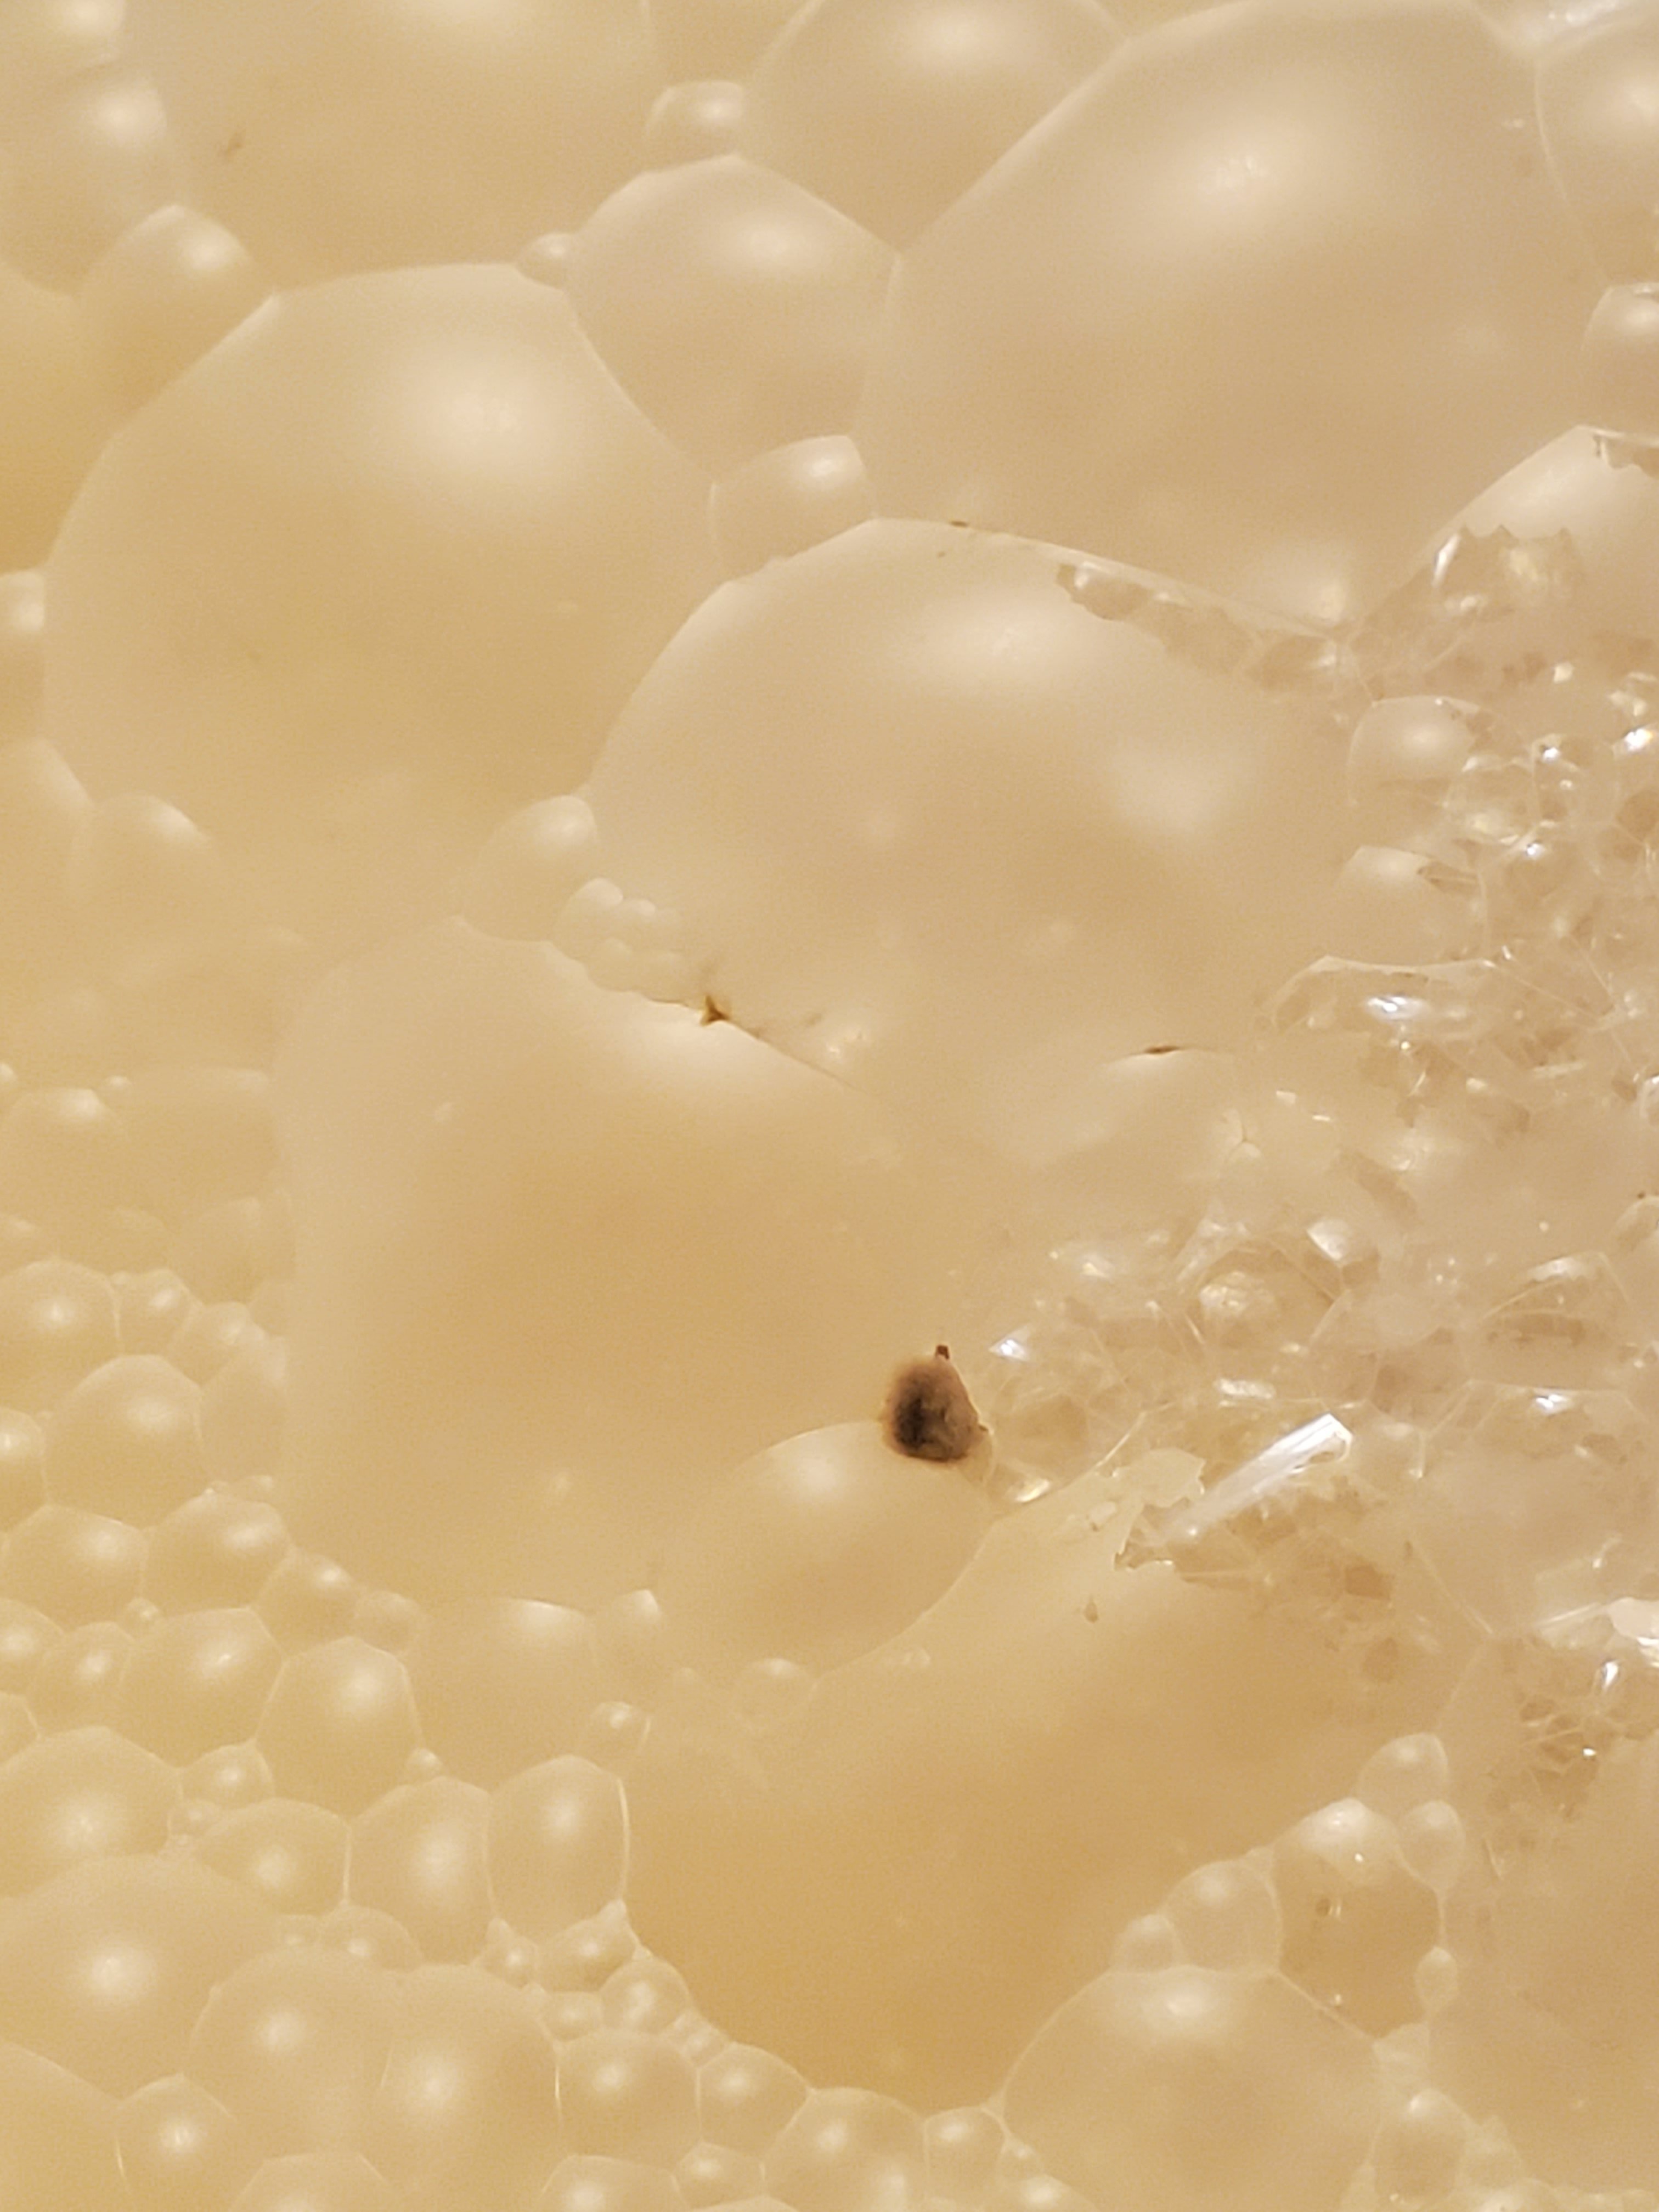
Brewed on the 9th and check today, 19 days later. The gravity shows 1.050, instructions call for 1.022 or less. I think I saw 1 mold spore! Lots of foam still. Something to be concerned about? I did some stirring and covered as instructed.
20220827_230620.jpg
20220827_230713.jpg
20220827_230608.jpg
20220827_230602.jpg
20220827_231900.jpg
 
Brewed on the 9th and check today, 19 days later. The gravity shows 1.050, instructions call for 1.022 or less.
Is your hydrometer perhaps resting on the bottom of the sample tube? It needs to float freely to get a correct reading!
That beer should be done by now.

And, uh, 1.022 is way too high to finish, for a 1.050 OG beer. Why would Williams say that in their instructions?
 
Last edited:
I think I saw 1 mold spore!
That's not mold, it's a flake of trub or so. I see more of those along the wall in the headspace and around the krausen line.

You can't see 1 mold spore unless you use a microscope. You could see a mold colony, but they're typically fuzzy and floating.
Or black dots along the side in the headspace, or bottom of the lid.

But... that's indeed very foamy for being 19 days in the fermenter. Your beer may be infected. Those big bubbles can be a telltale.
Have you tasted it?
 
I did some stirring and covered as instructed.
I just saw this. ^
Where in the instructions does it tell you stir (a finished beer)?

Did you stir it right before you took the pictures showing all the bubbles? Could be CO2 outgassing, instead of an infection.
But why did you stir it, what would that accomplish? That beer should be done by now.
 

Latest posts

Back
Top