Third keezer

Homebrew Talk - Beer, Wine, Mead, & Cider Brewing Discussion Forum

Help Support Homebrew Talk - Beer, Wine, Mead, & Cider Brewing Discussion Forum:

This site may earn a commission from merchant affiliate links, including eBay, Amazon, and others.

purplehaze

Well-Known Member
Joined
Mar 2, 2011
Messages
398
Reaction score
27
I started a third keezer for a friend of mine. Trying to keep the cost down as much as possible using lots of used parts. The freezer was sitting for five years with about three inches of water in it so it was cheap. It was covered with all kinds of nasty spills and mold that took some elbow grease and bleach but it cleaned up nicely.


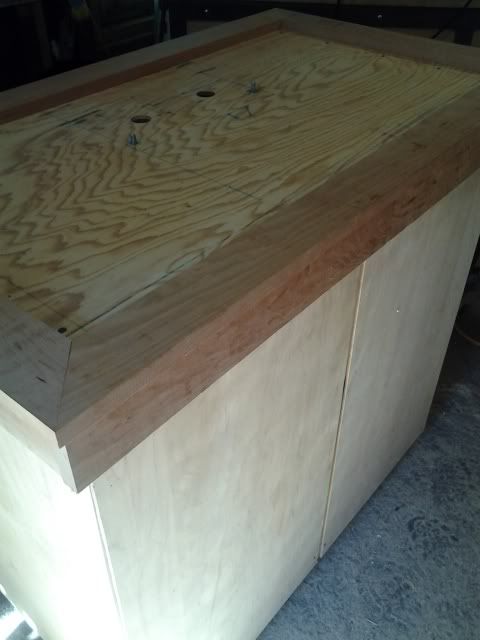
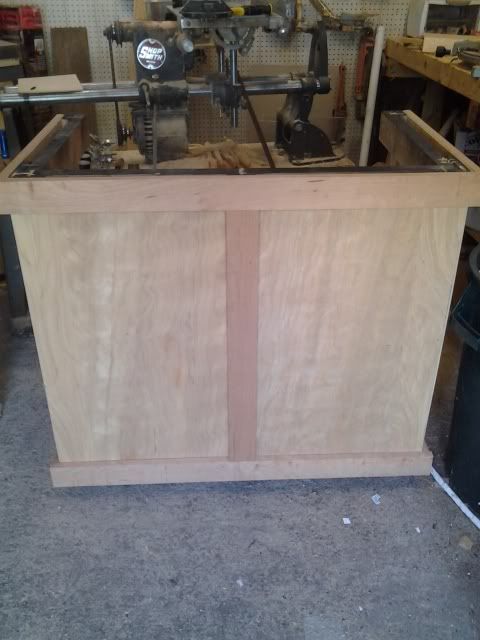
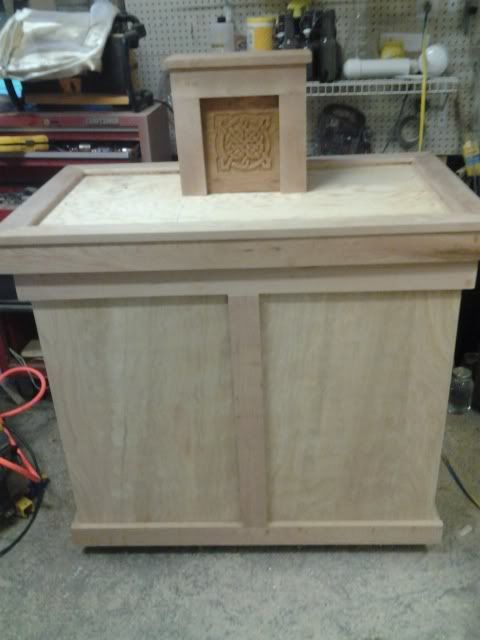
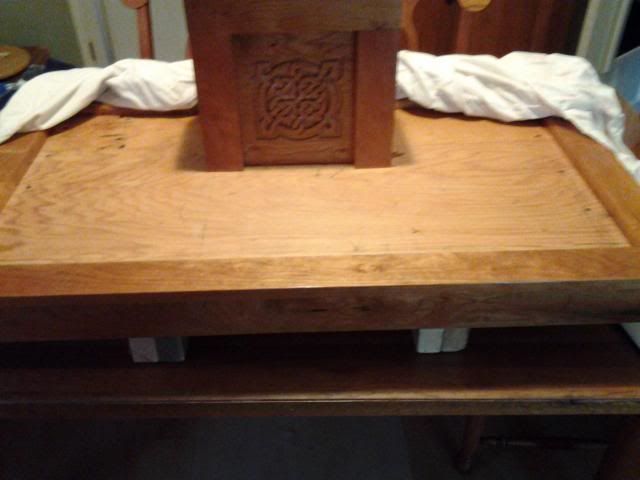
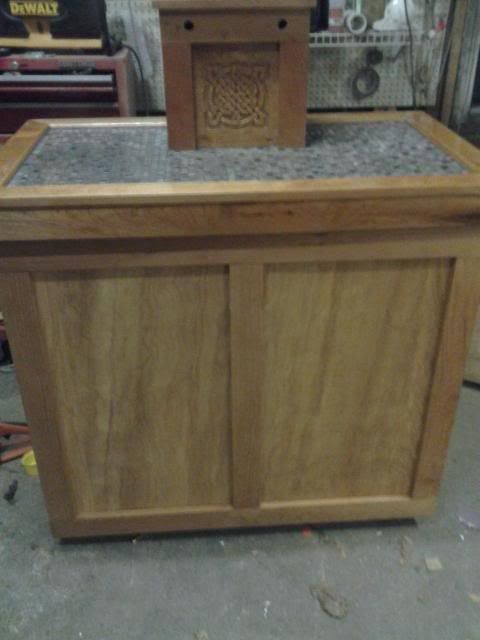
The base was built out of mostly re purposed wood.
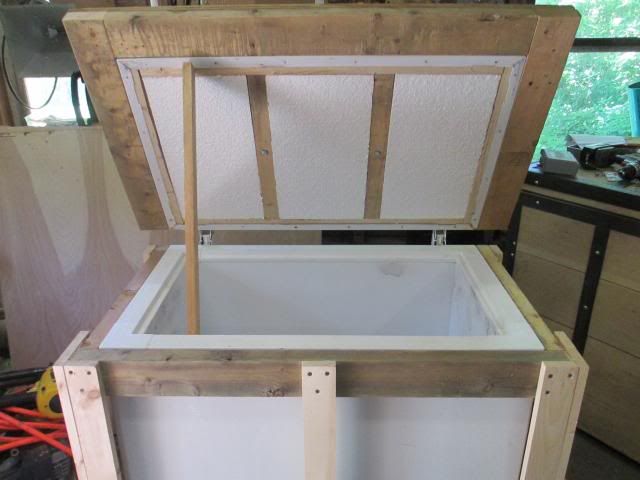


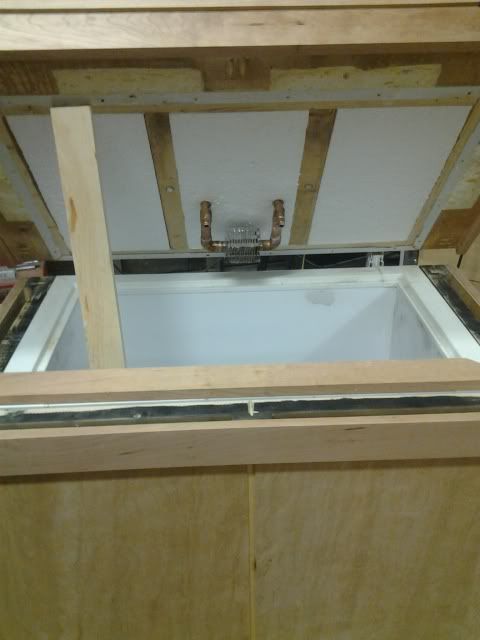
I will have to lighten the lid by cutting out some portions of the 2x4's, its way too heavy without the coffin. The freezer lid was very flimsy so I stiffened it up with some wood and insulated it.
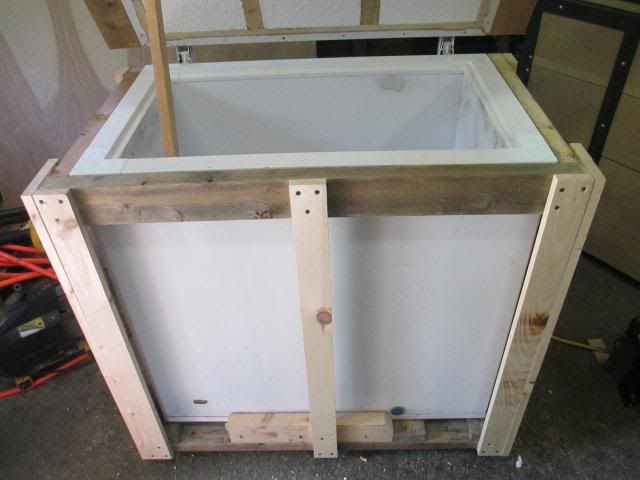


I will again be carving a backs plash with a different design and changing the way beer the lines are passively cooled but basically this keezer will be similar to my brothers.
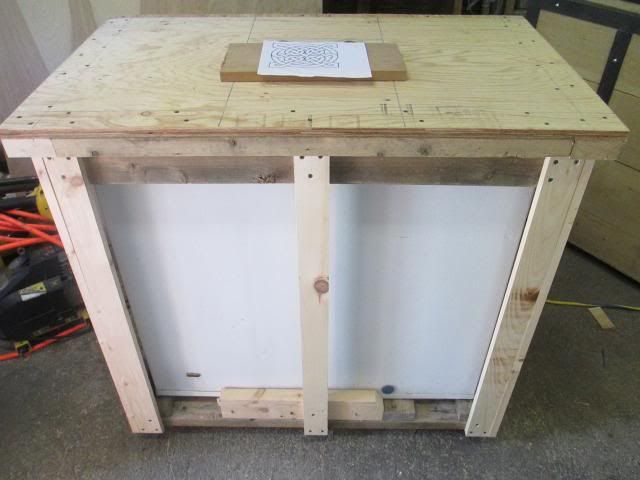


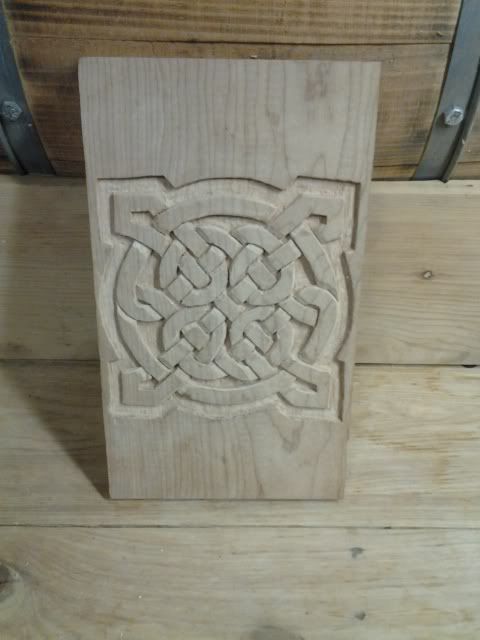
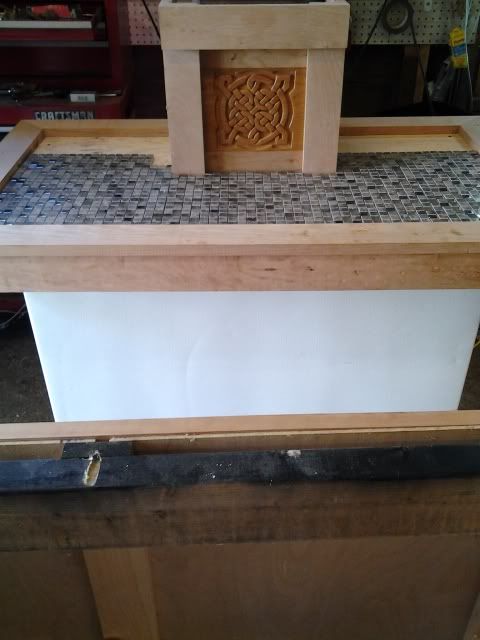
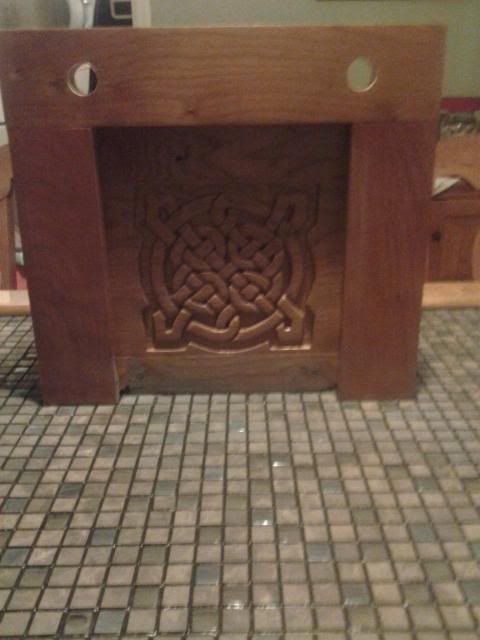
Here is a pic of the carving I will be attempting.
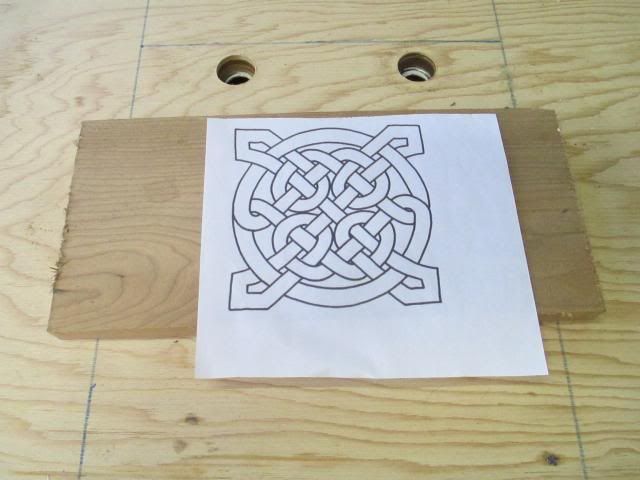
 
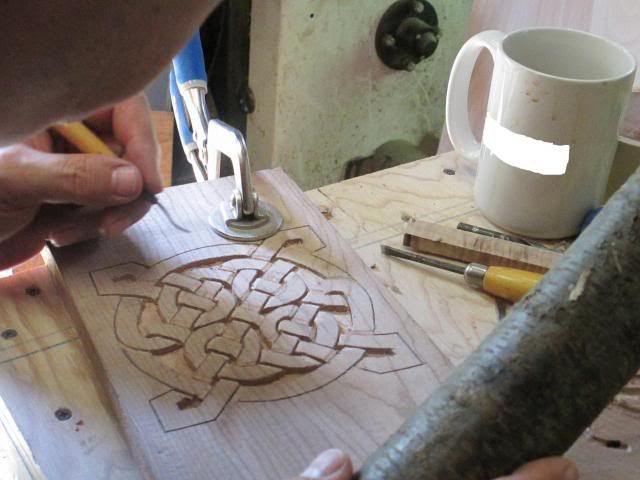
It's not much to look at but here are a couple pics of the carving in progress.
I went around the pattern several times with the chisels cutting deeper each time until I thought it was deep enough.


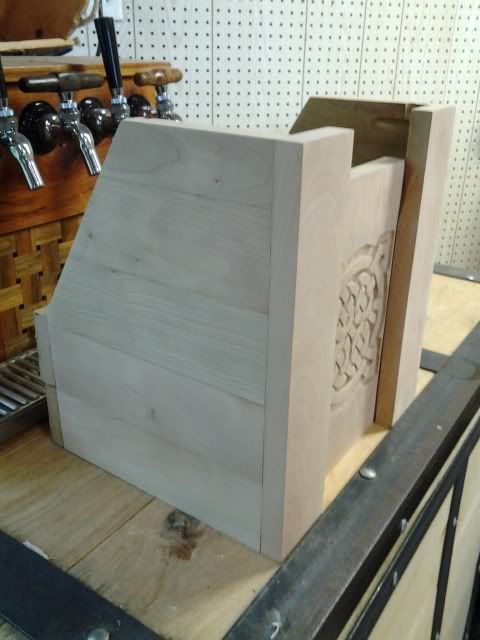
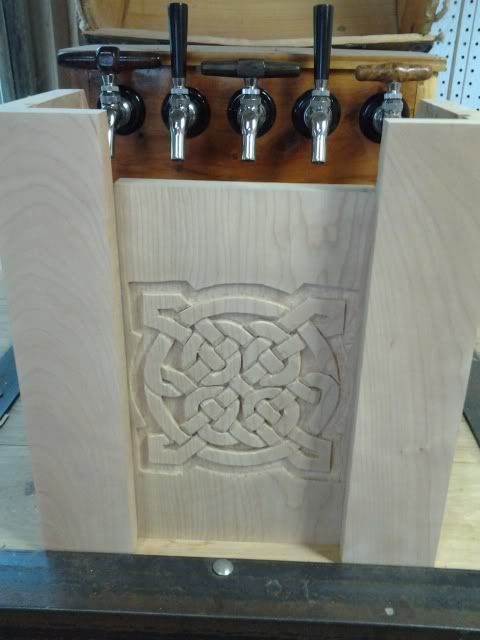
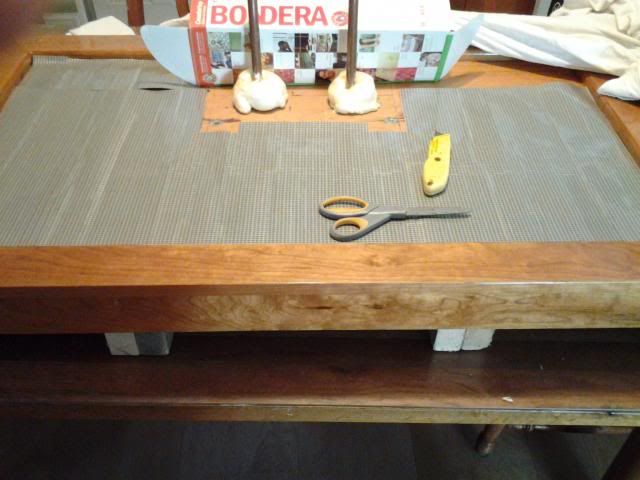
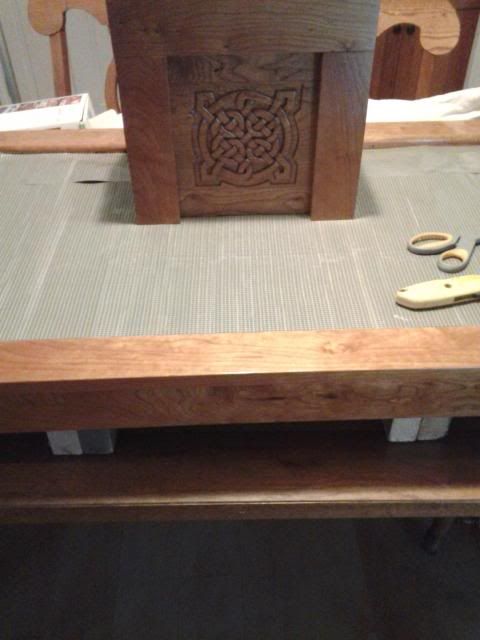
Thanks for the comments, here are a few more pics of the progress. The plywood I used is left over from the other keezer which is why its put on in pieces.


I did not want any finish nails showing so all of the trim is held on with pockets screws. Huge mistake to do it this way due to the additional time it took.


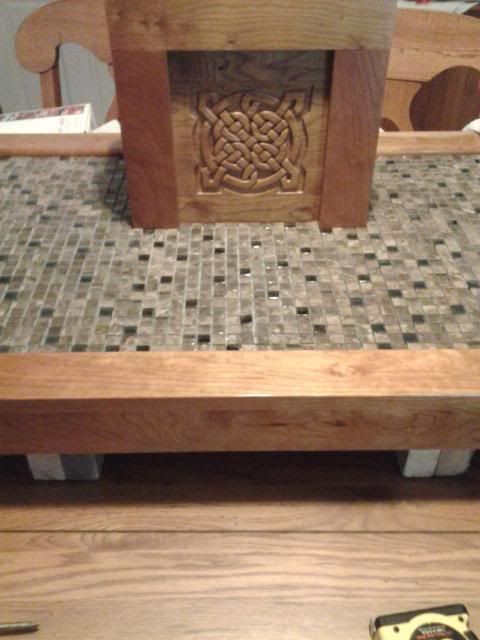
Ran out of cherry wood so I dry fitted the left over tile to see how much more I need.

 
Here are a few more pics.

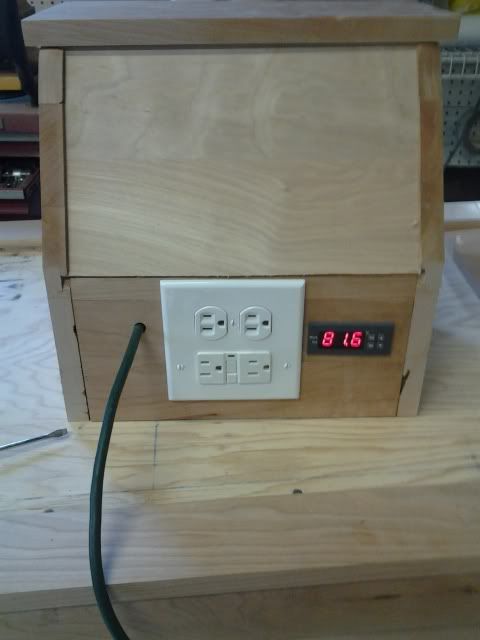
Got the farenheit controller single stage from e-bay for $13 shipped. I wired it up for one always hot GFI outlet and a second one for the freezer.


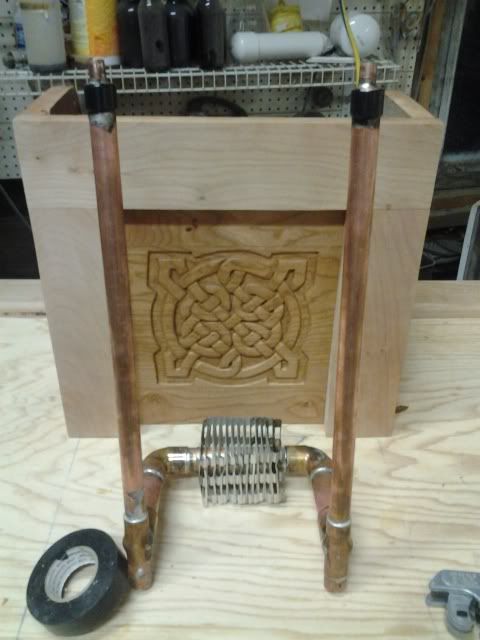
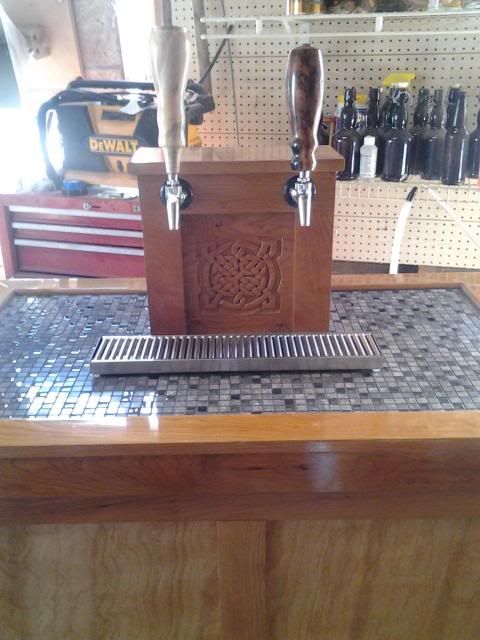
Here is the final configuration of the coffin.


Still have not put the rest of the trim on the base.

 
Thanks for the comments. That is my first attempt at hand carving. I attempted to cut the design out with a power tools but but I couldn't control the tool well with all of the curved lines.

I was given an old set of hand chisels a while back that were collecting dust, so I flipped the wood over and tried using them. It took a little longer carving it by hand than the one I did on my brothers keezer.
 
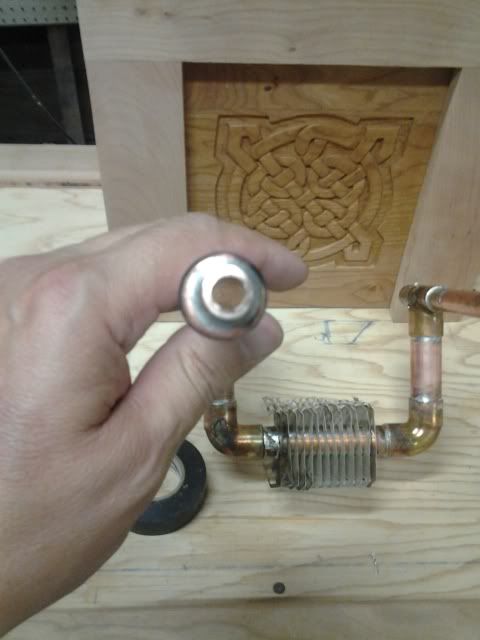
I have already upgraded my first keezer with this cooling setup due to a leak. This is cheaper and easier way to cool the beer lines without a fan than the first version.

I have not checked in a while but the temp difference is an average of 1.5 degrees difference between the keezer temp and beer poured into a glass.


The short version: There is a copper tube within a tube cooled by some left over base board heat element. It is kept cool without freezing (Keezer located in an unheated shop) by the glycol that surrounds the inner tube. The beer line runs up the inner tube and is cooled by the glycol/copper/fins.
 
It's been a while and I'm finally getting around to finishing this keezer. Just a few pics of the progress.


I just have to install the faucets, lines and couplings.
 
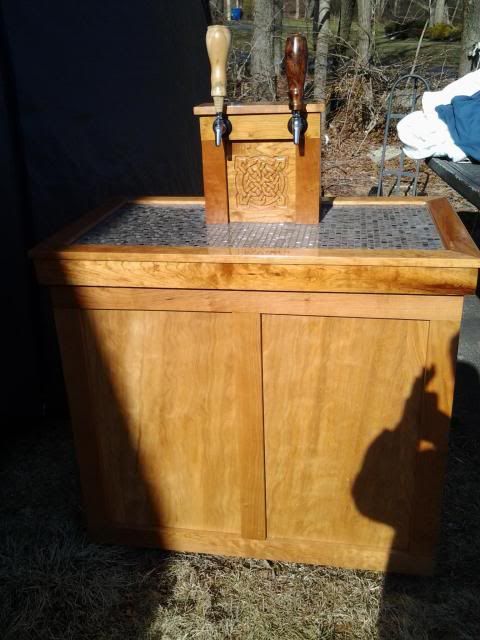
Finally finished with new perlick 630's installed. The base is somewhat lighter because the new owner opted to poly it himself. I only had time to snap some phone pics.


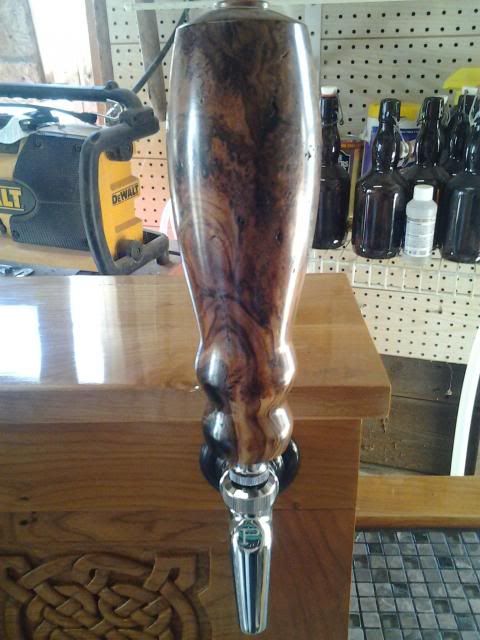
pic of the cherry burl tap handle


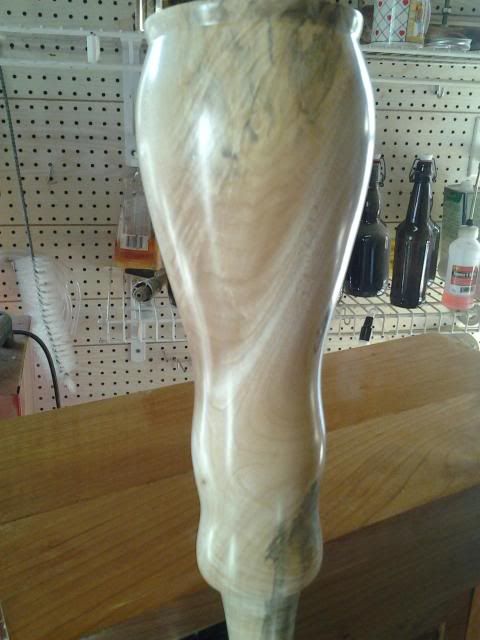
Pic of the Maple crotch tap handle

 
That's beautiful man! Love the carving & tap handles, gives it some serious character. Started my build recently & if it turns out nearly that nice, I'd be real pleased. Fun stuff! :tank:
 
Back
Top