Nagorg's First Keezer Build

Homebrew Talk - Beer, Wine, Mead, & Cider Brewing Discussion Forum

Help Support Homebrew Talk - Beer, Wine, Mead, & Cider Brewing Discussion Forum:

This site may earn a commission from merchant affiliate links, including eBay, Amazon, and others.

Nagorg

If a frog had wings...
HBT Supporter
Joined
Dec 19, 2011
Messages
2,230
Reaction score
1,282
Location
DFW
After a semi-successful attempt to nurse more life out of my old keezer, chronicled in this post, it finally died. So I built a new one and am posting some of this process here. I found various other posts helpful when looking for ideas, methods etc..

The Chest Freezer; I opted to buy a new one. I was able to pickup a 10.2 cubic foot Insignia from Best Buy on sale.

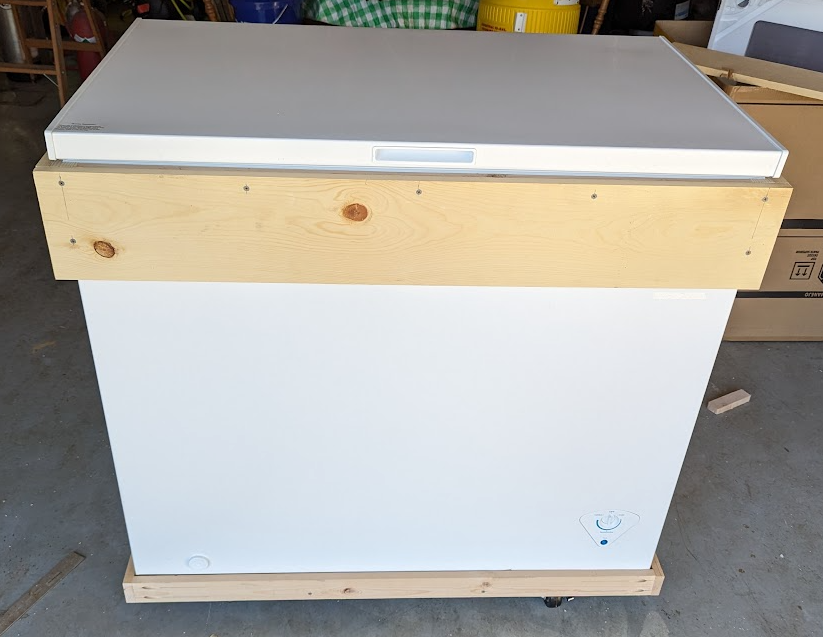
My old keezer was black but the new one was white. My wife often complained that it looked ugly. So I decided to surround my new one in wood. I understand that some chest freezers leverage the skin for heat dissipation so a goal was to allow at least some gap between the freezer skin and the wood I was surrounding it with.
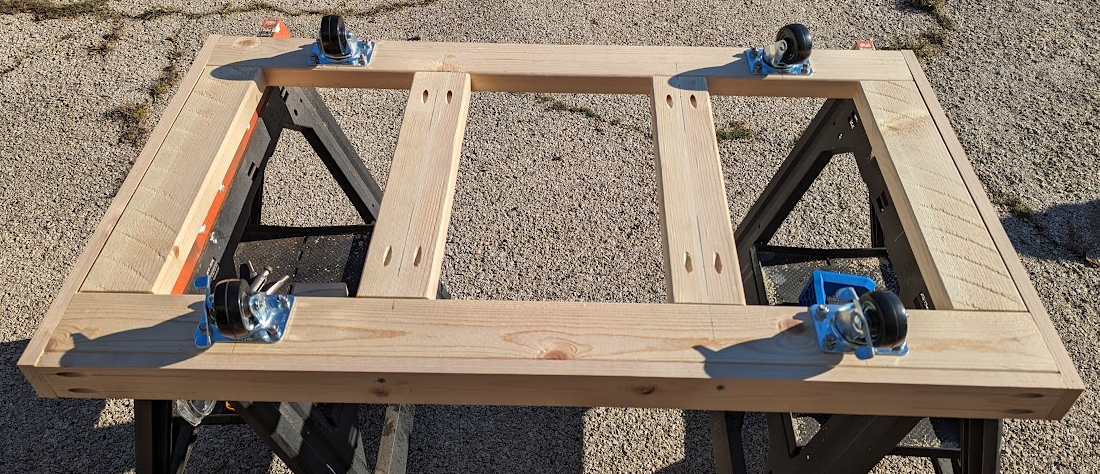
This resulted in me basically building an "exoskeleton" integrated into the collar that I would ultimately drop on top of the chest freezer prior to mounting the lid. I also wanted the new keezer to be easy to move around so I also built a dolly as a base for the chest freezer.

Even though I used wood, I opted to let my wife paint it whatever color she wanted as opposed to me staining it. I figured this was the least I could do since she "allows" me to keep my keezer in the house. :)
1707765962891.png


Various pics of the build process follow...

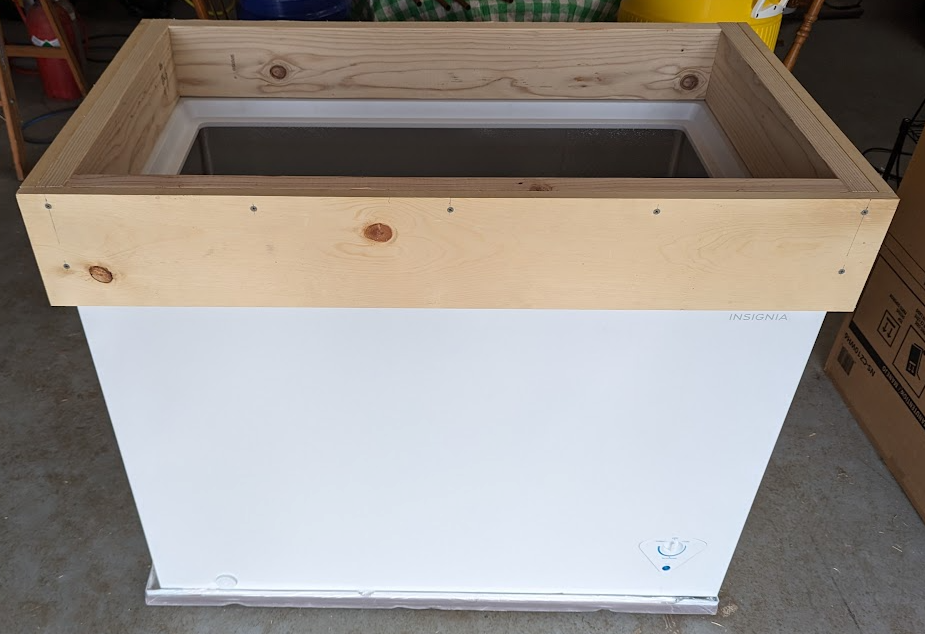
Pics of the collar prior to being integrated into the exoskeleton (more fun to say than "frame"...) and the dolly.
1707666143832.png

1707666167598.png


1707666220744.png

1707666250568.png

1707666279215.png
 
Last edited:
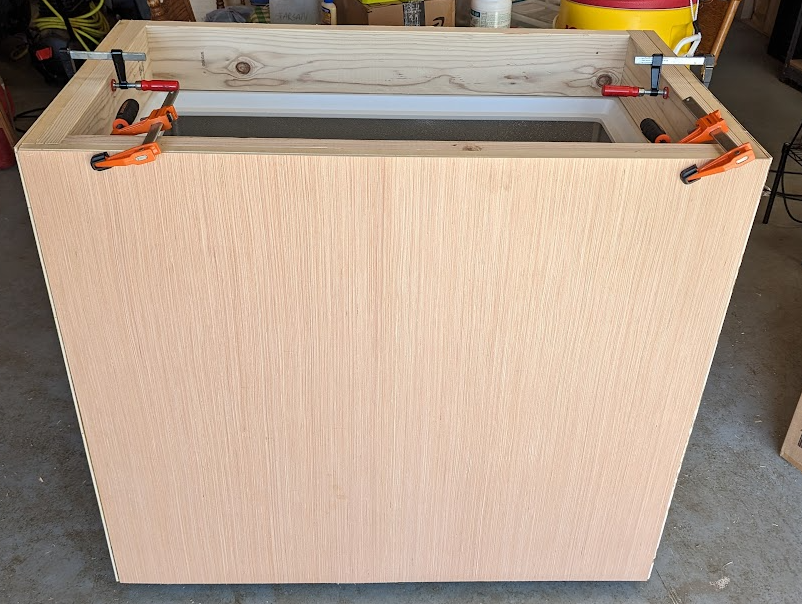
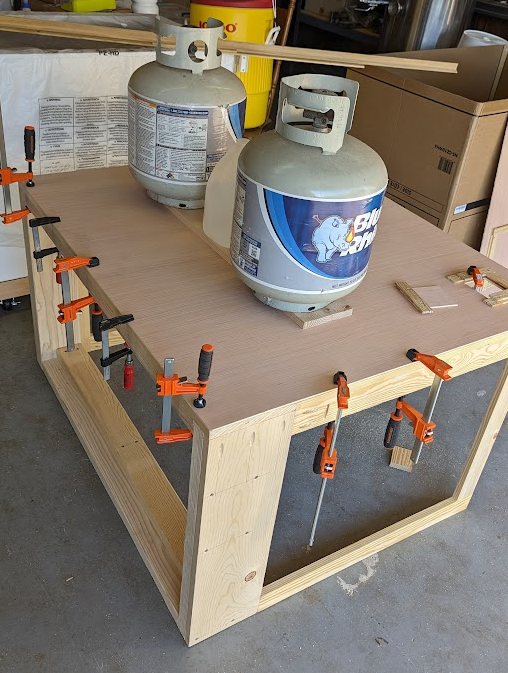
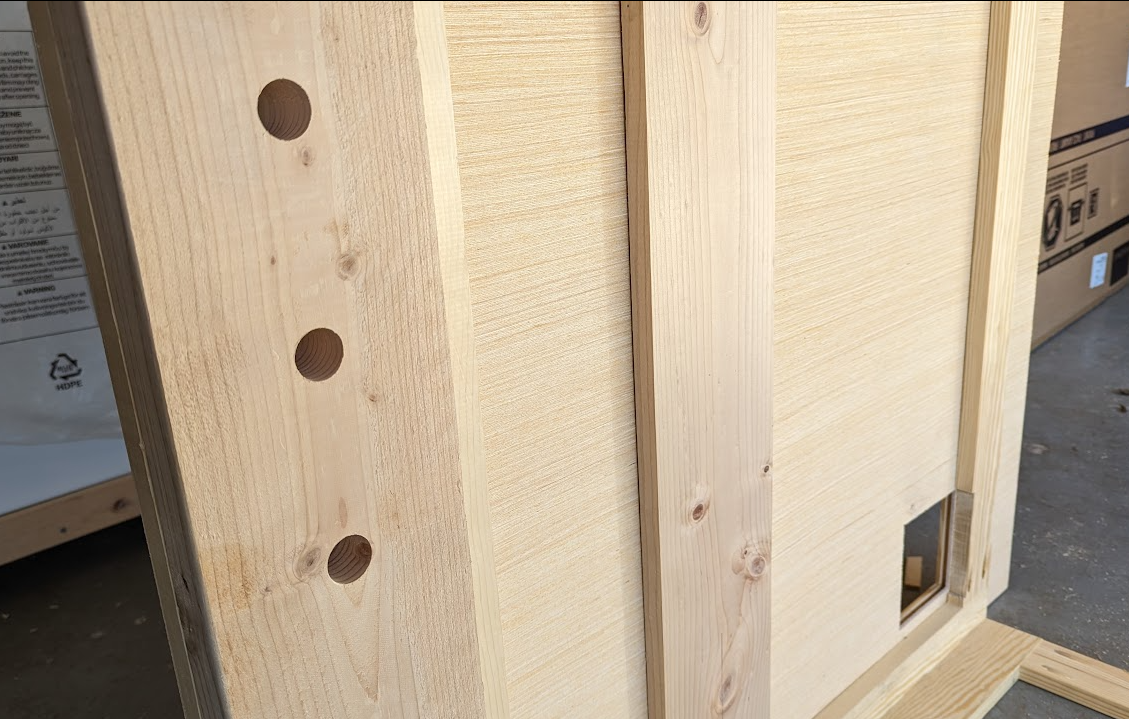
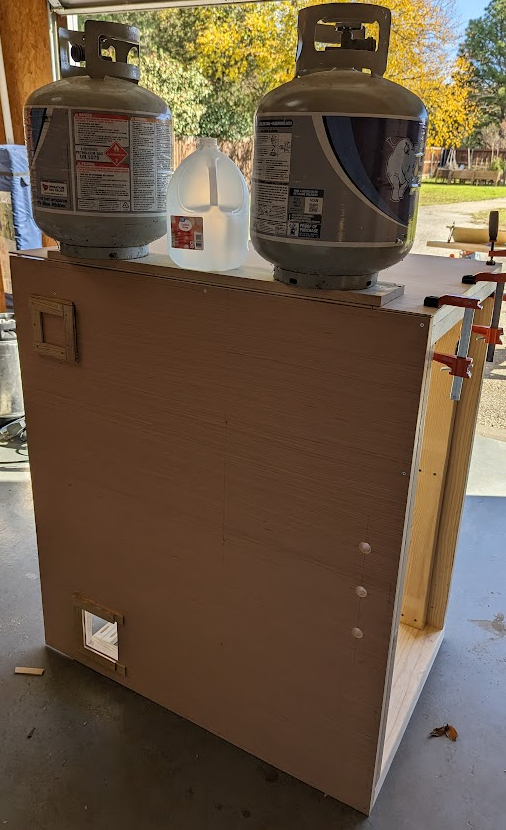
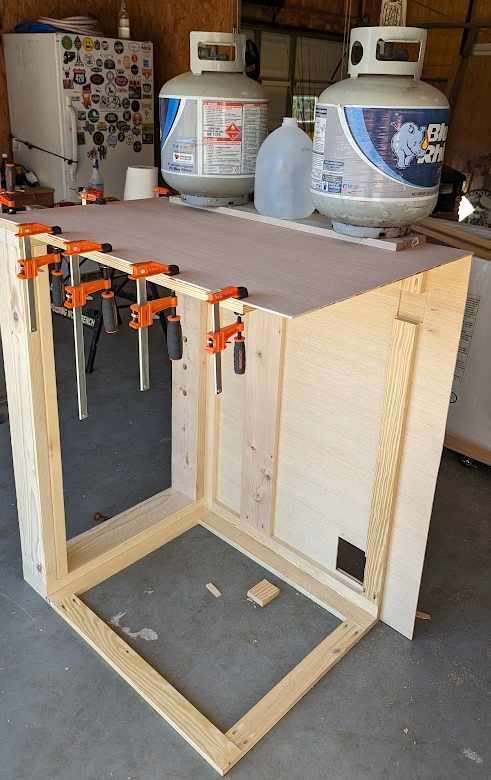
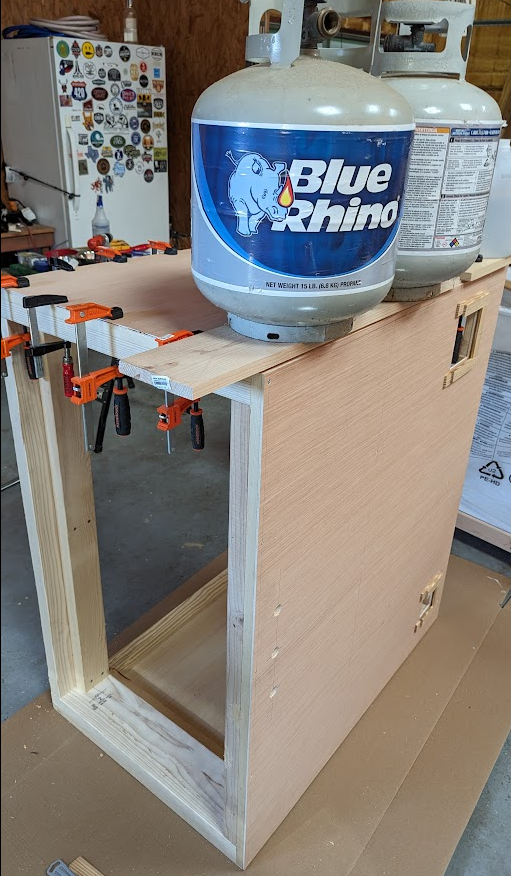
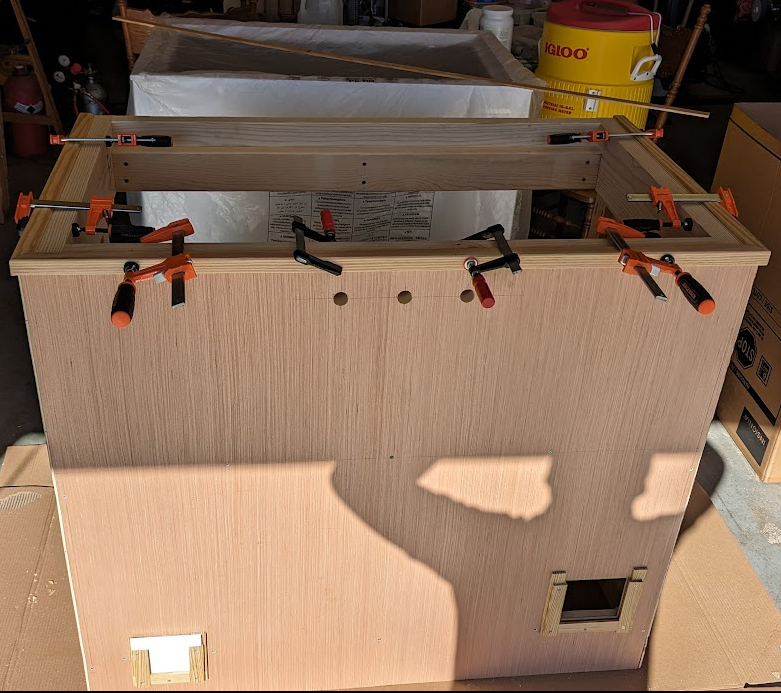
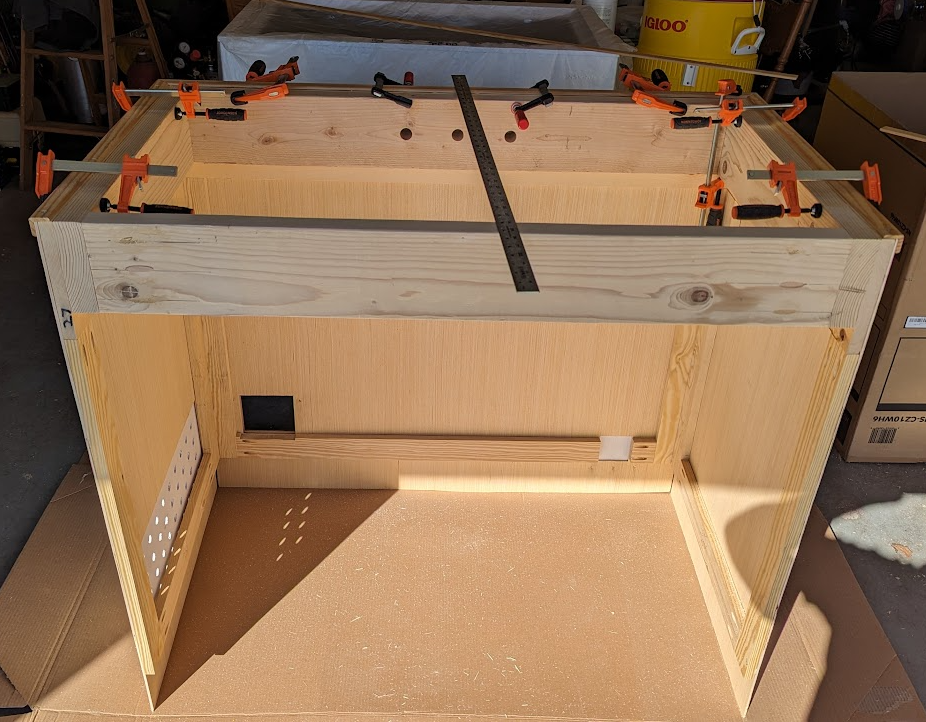
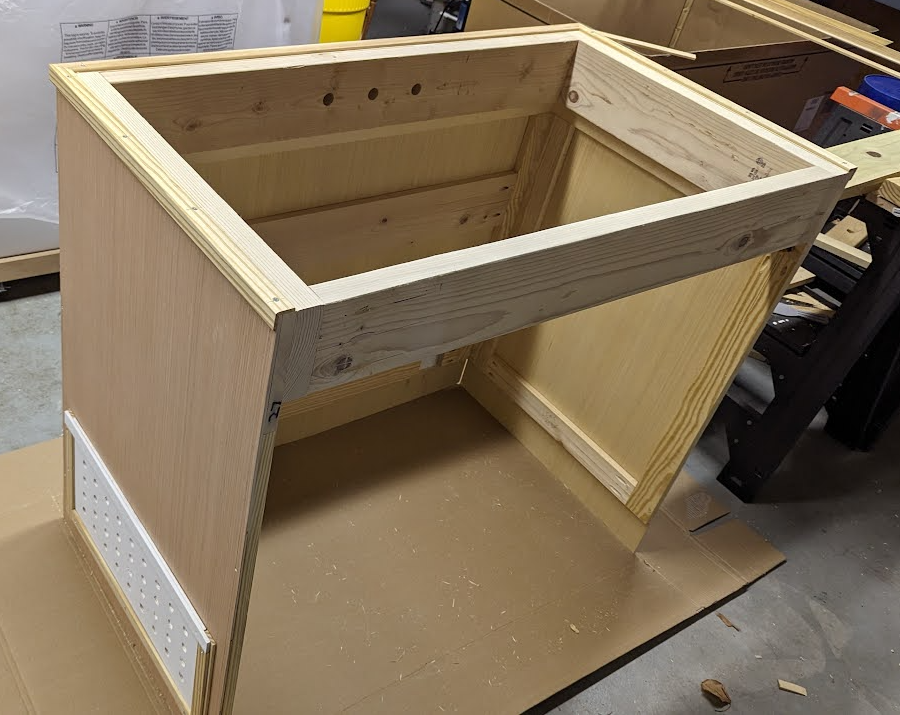
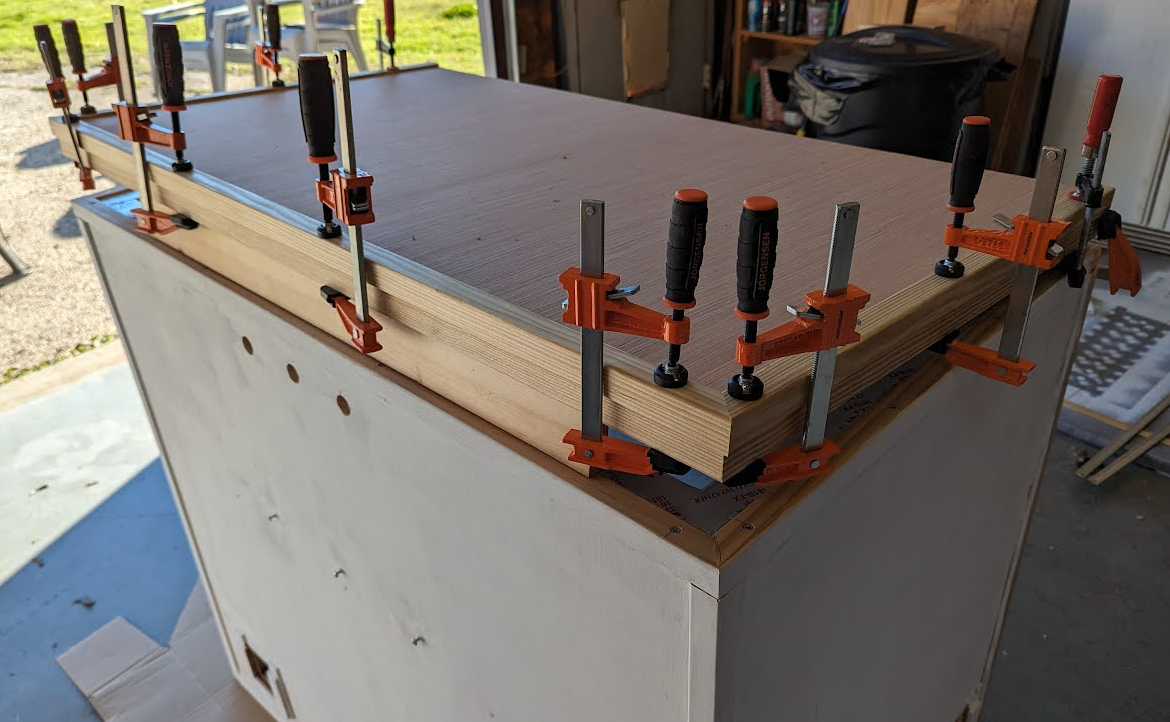
Next, and the hardest part, building the exoskeleton and attaching the paneling that would surround my new keezer. This required a lot of clamps and stages of drying time for the liquid nails that I used in addition to countersunk wood screws for strength.

1707666572664.png

1707666595345.png


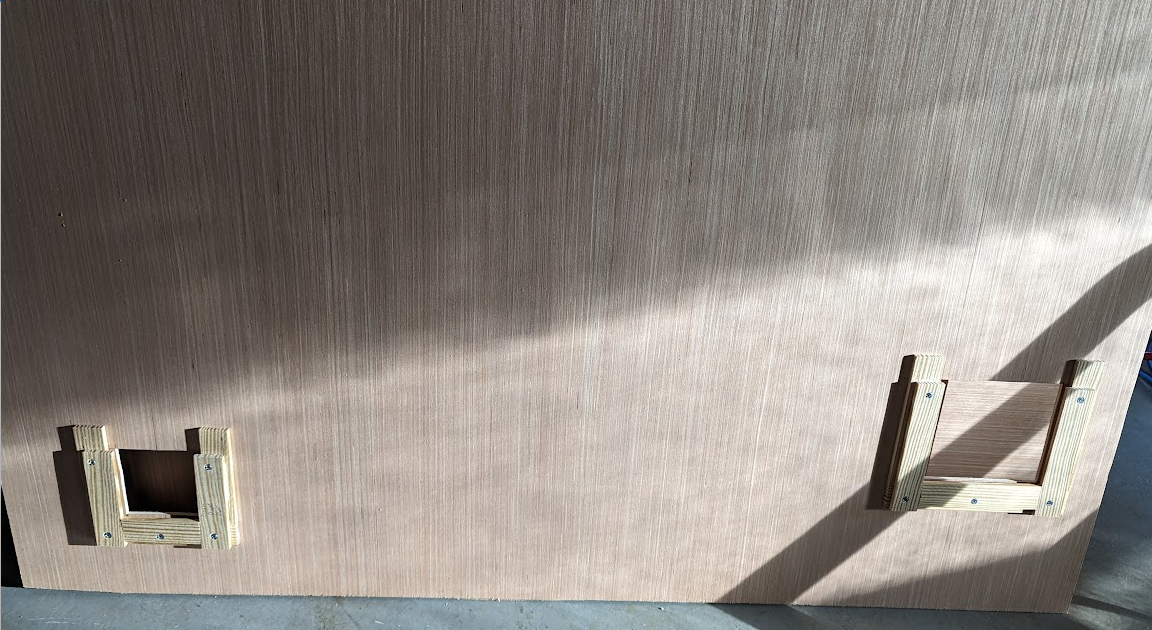
I also made some cutouts for the built-in temp controller and the drain plug. I fashioned removable panels for easy access as needed.

1707666687044.png

1707666711374.png


1707666753188.png


1707666777340.png


1707666807123.png


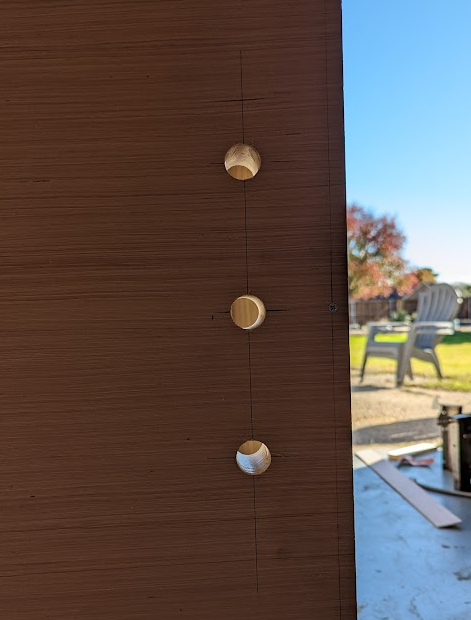
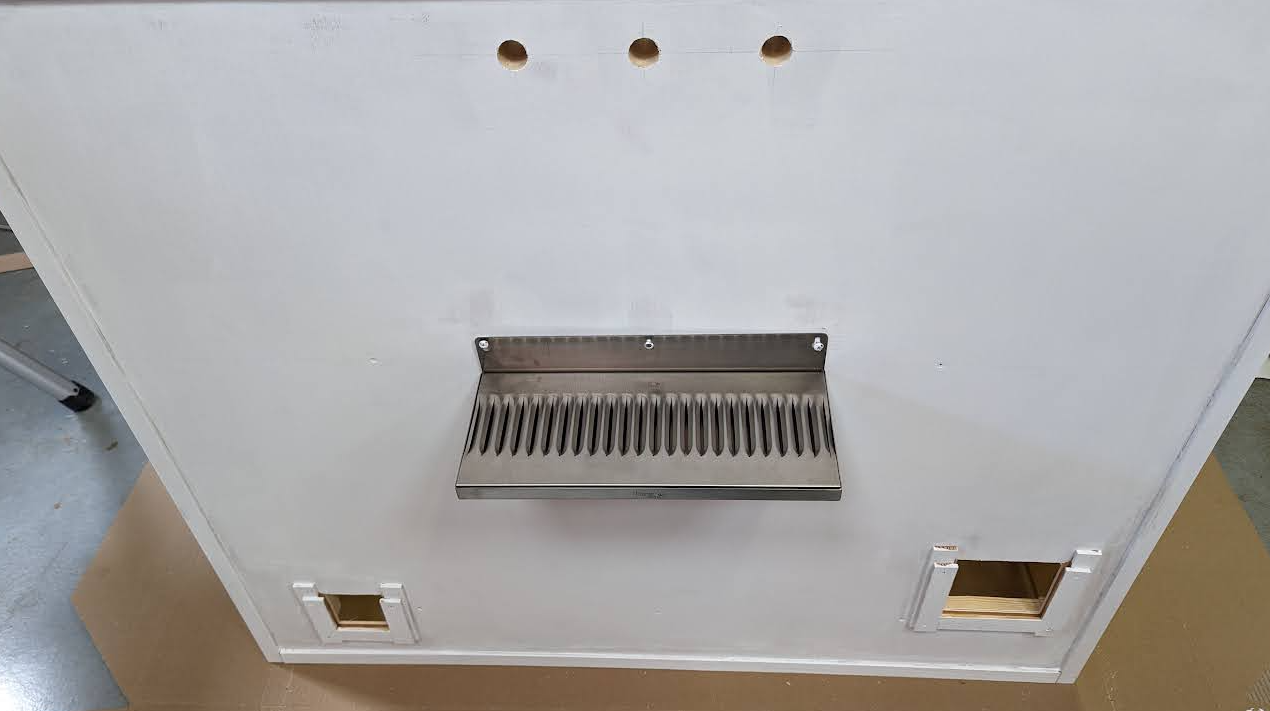
I managed to drill very straight holes for the beer shanks using a 15/16 spade bit and a portable drill press. This was the most unnerving part of the entire build. But it all worked out perfectly!

1707666911390.png


1707666943305.png


1707666971076.png


1707666992795.png
 
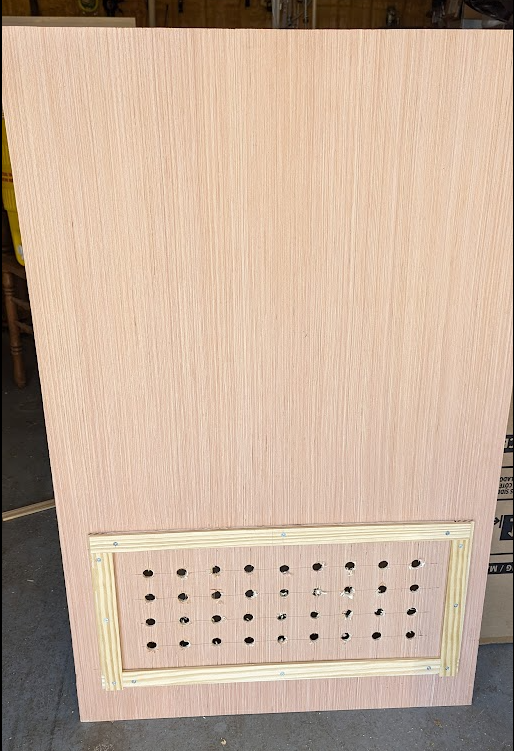
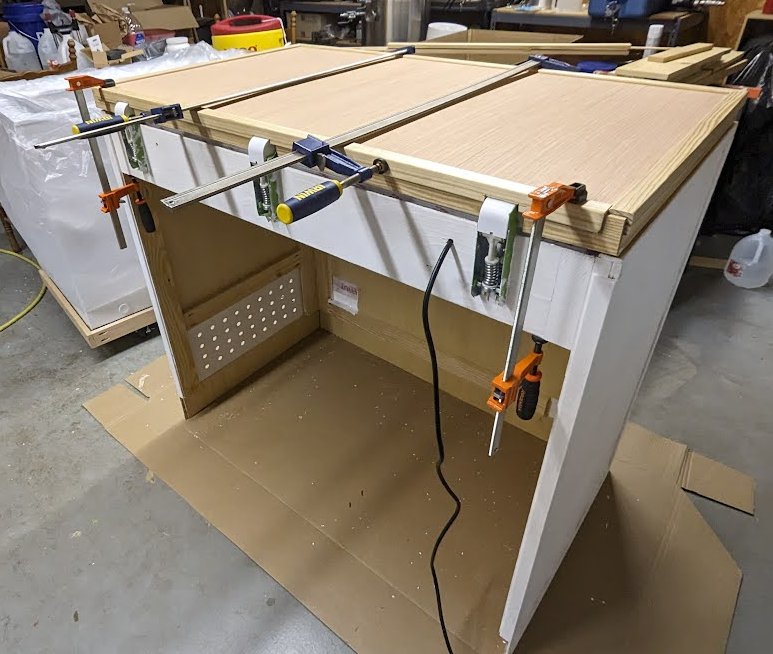
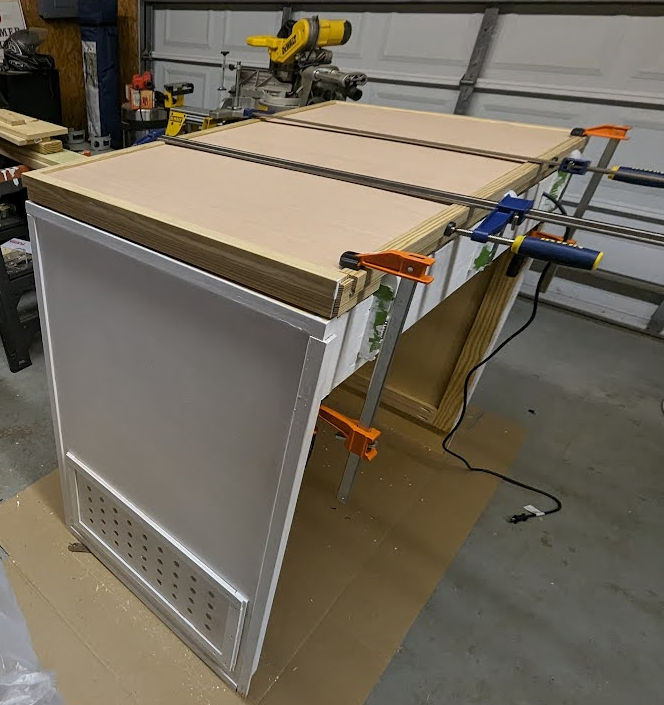
For the side of the keezer that has the compressor vent panel, I also created a removable door that I drilled multiple holes into.

1707667107125.png
 
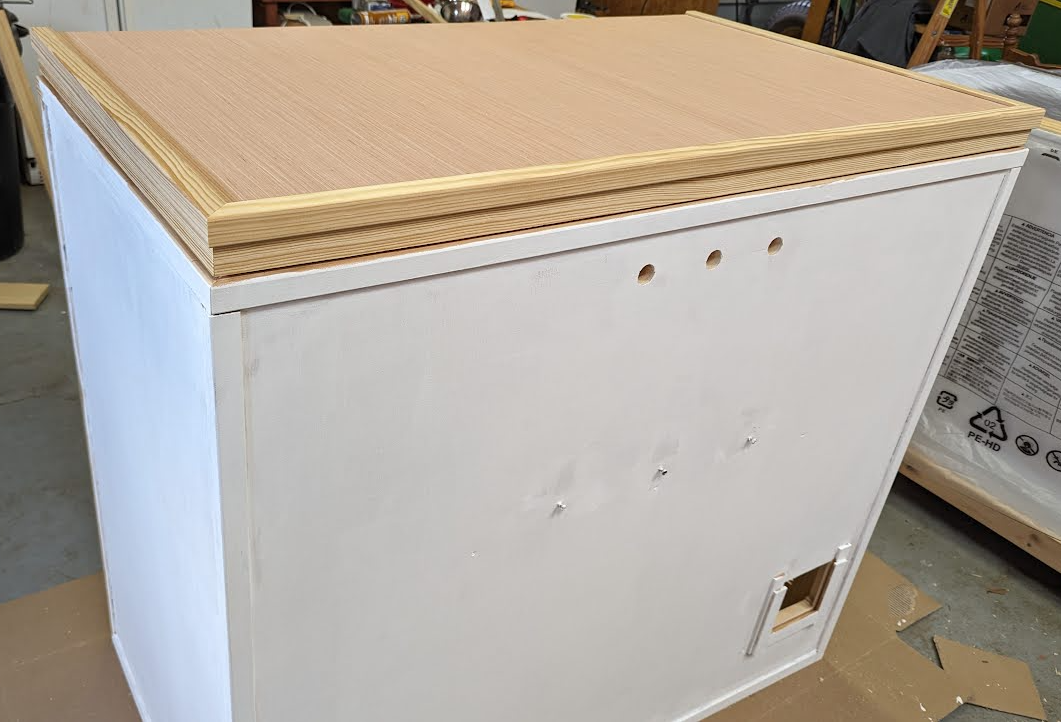
With the panels attached to the exoskeleton (sounds cooler than "frame", lol) Its time to trim everything out using 1x1 angle trim and 1" flat strips.

And more clamping and setting up time..

1707667345021.png

1707667369322.png

1707667396045.png


1707667424176.png
 
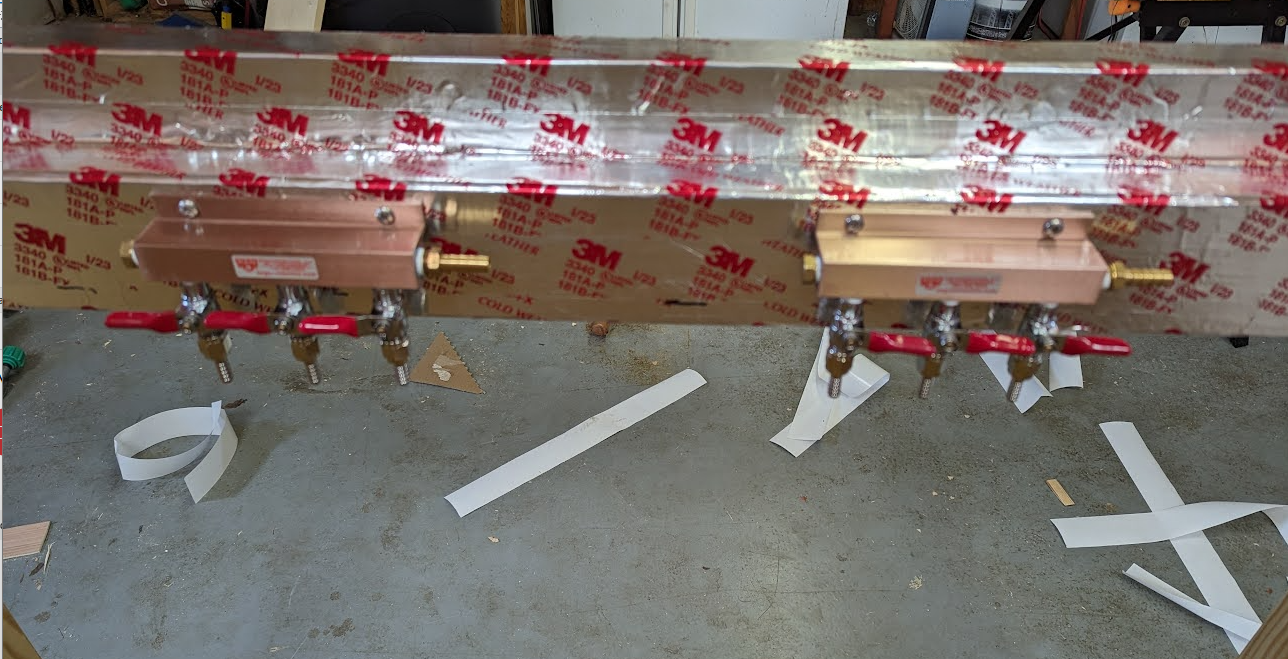
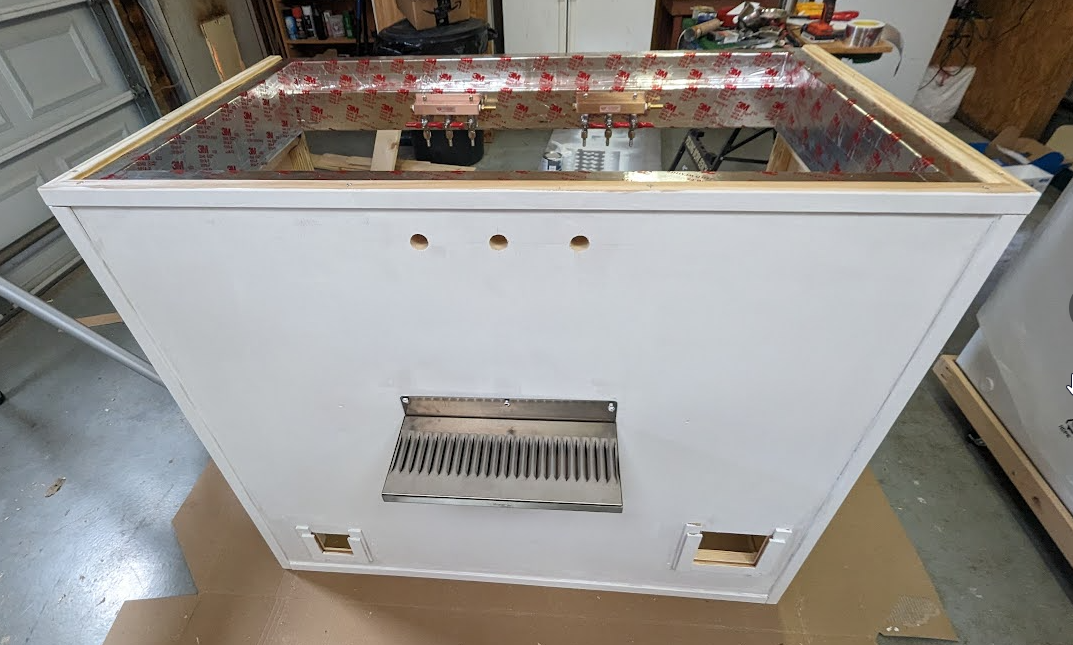
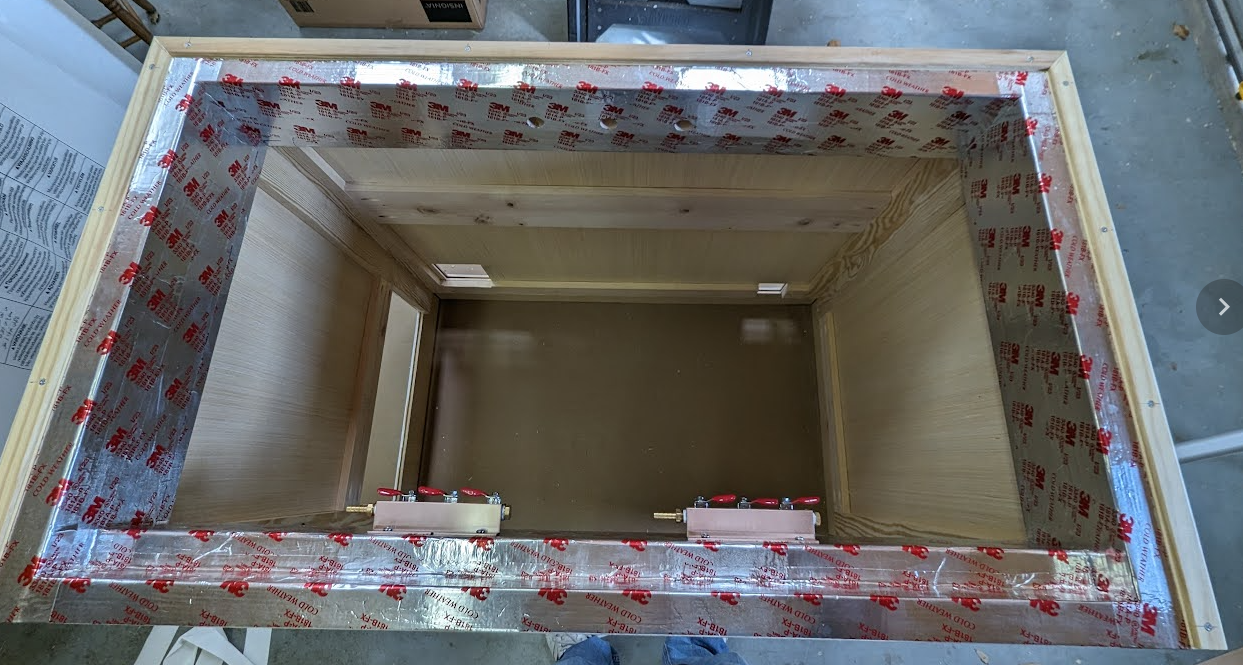
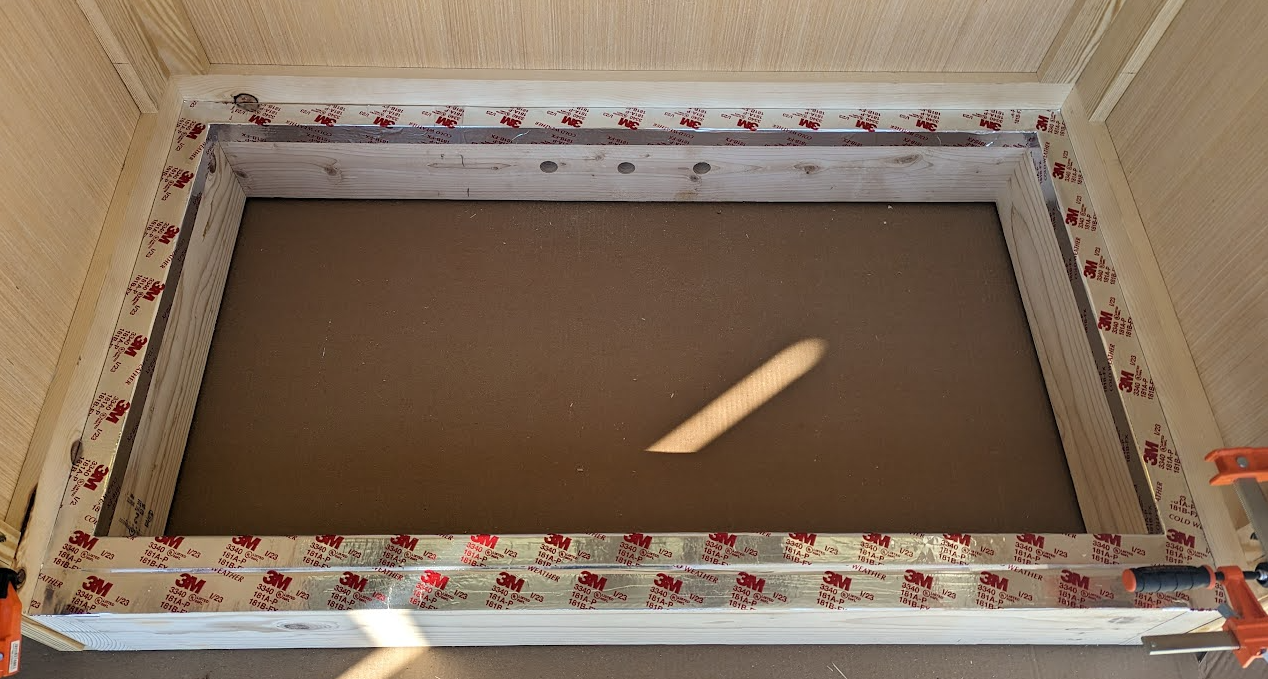
Now its time to give the collar some love before I get ready to attach the lid. I wanted to protect the wood from moisture using some 3M aluminum tape.

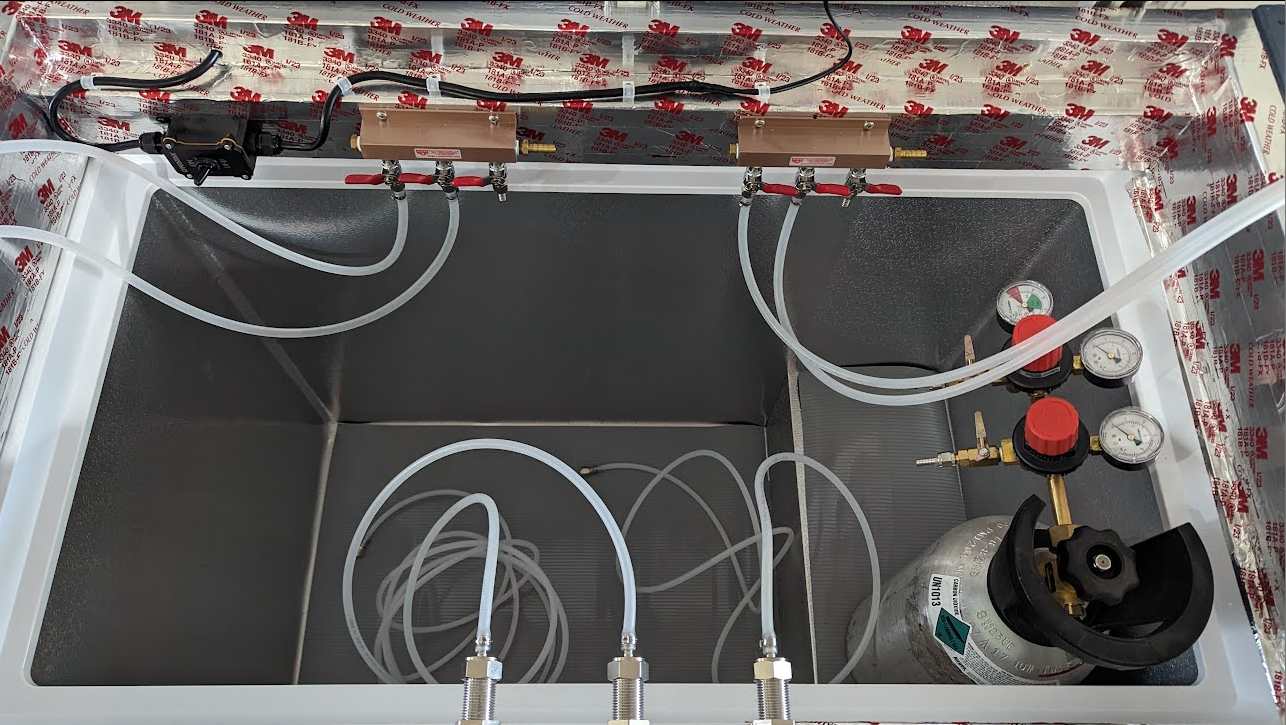
This was not a fun process but I'm happy with the end result. I also attached my air distributors after applying the aluminum tape.

1707667558369.png


1707667675520.png

1707667697789.png

1707667721748.png


And of course I had to mount the SS drip tray. Its removable for easy cleaning.

1707667776745.png
 
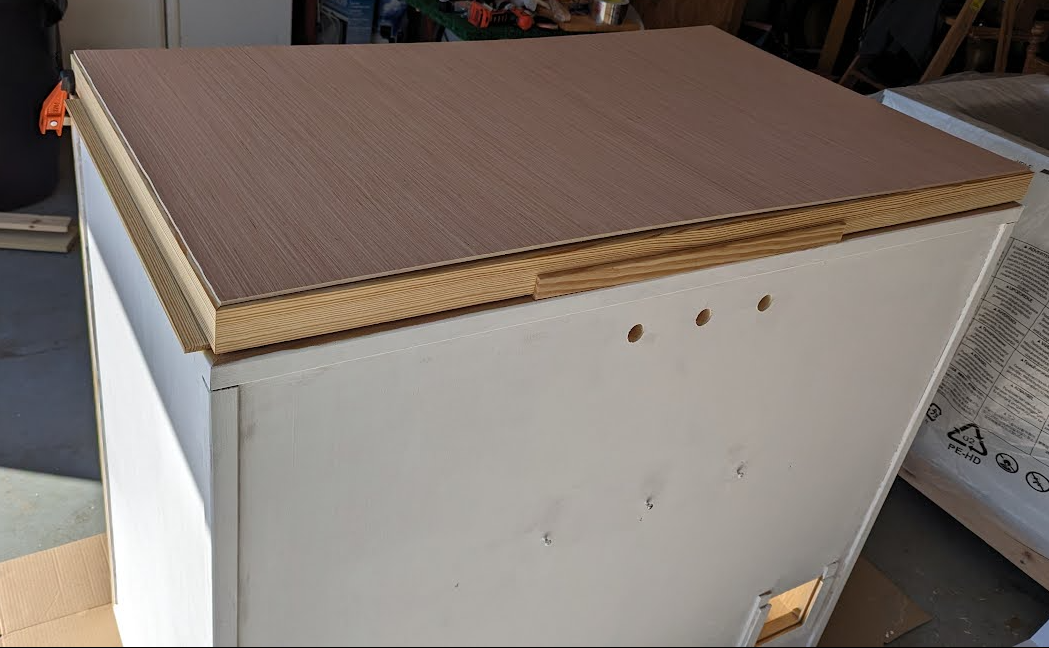
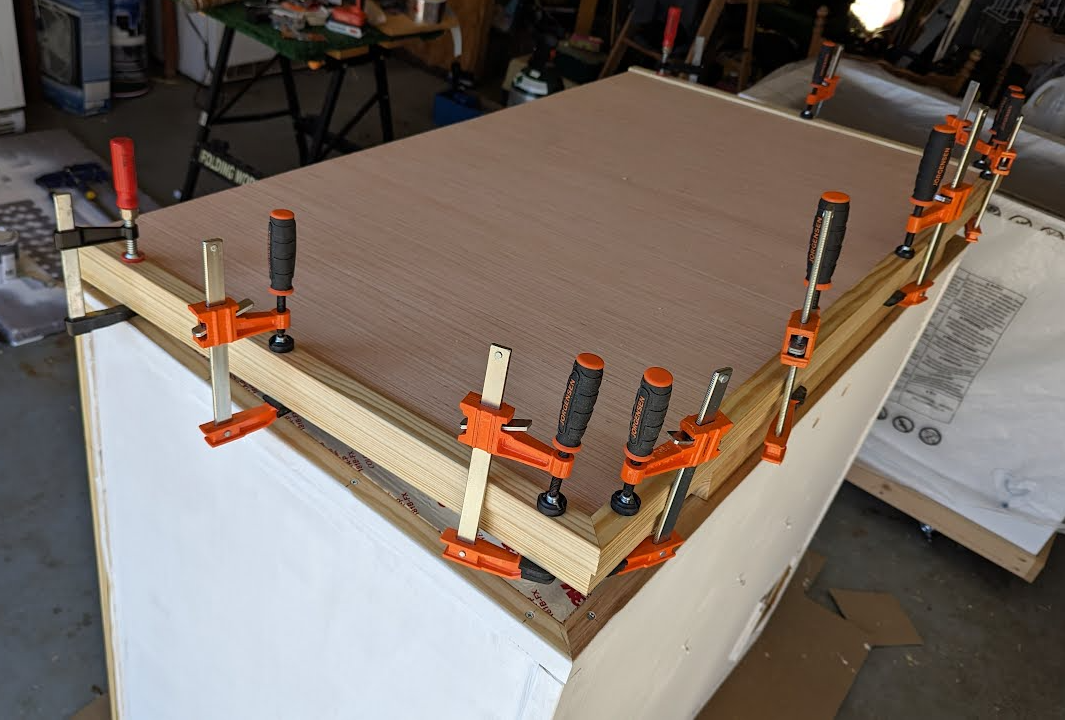
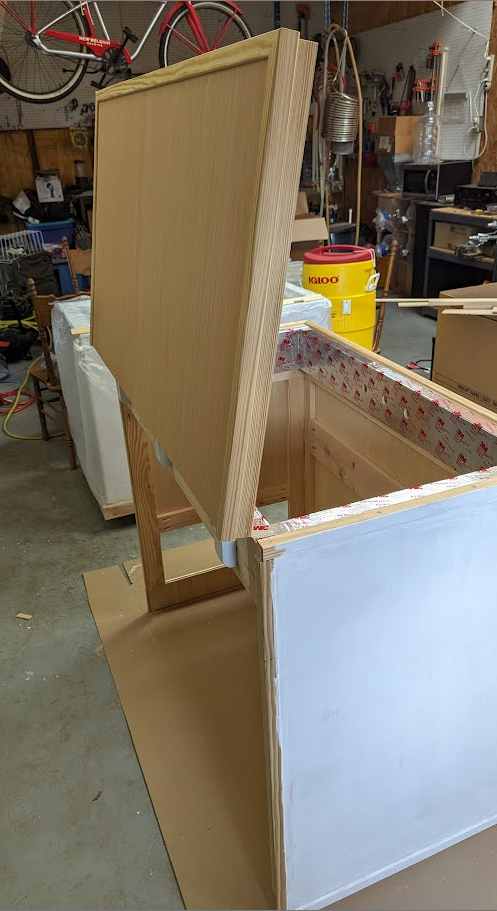
With the wood surrounding completed, I can now start on the lid. I used the same approach, I built a small frame that I attached to the freezer lid, installed paneling and trimmed it out.

1707667909983.png

1707667939224.png

1707667970529.png

1707667990264.png

1707668016699.png

1707668040742.png

1707668064376.png
 
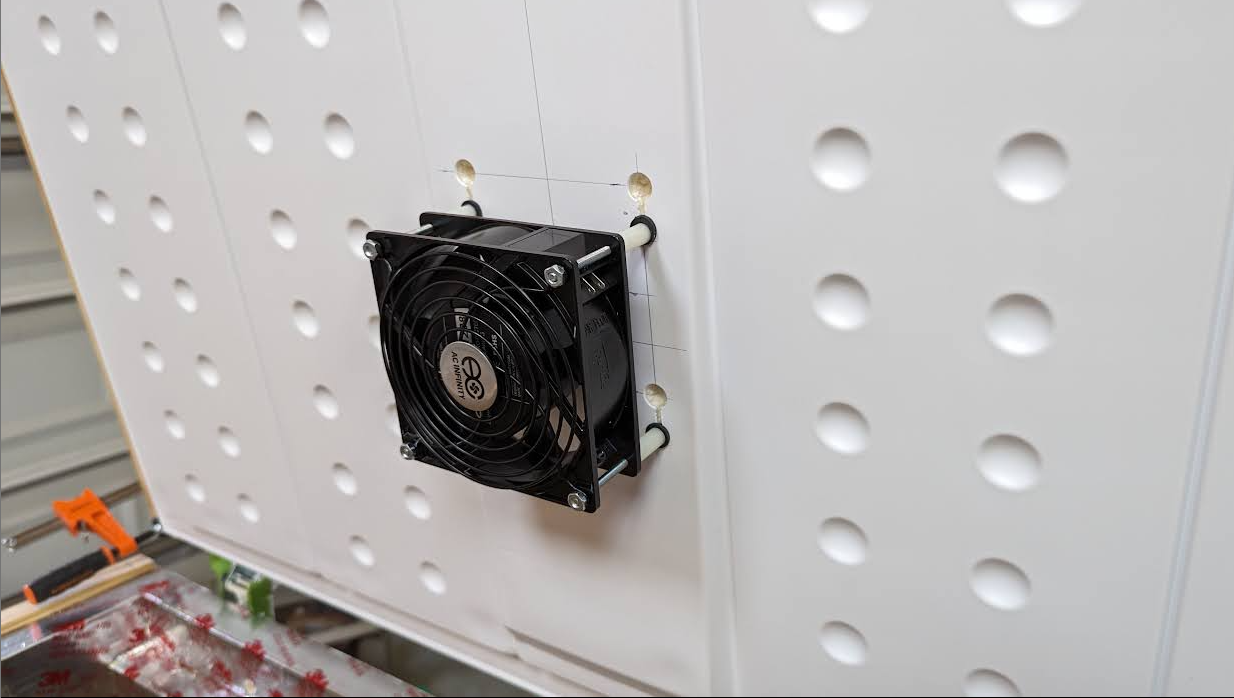
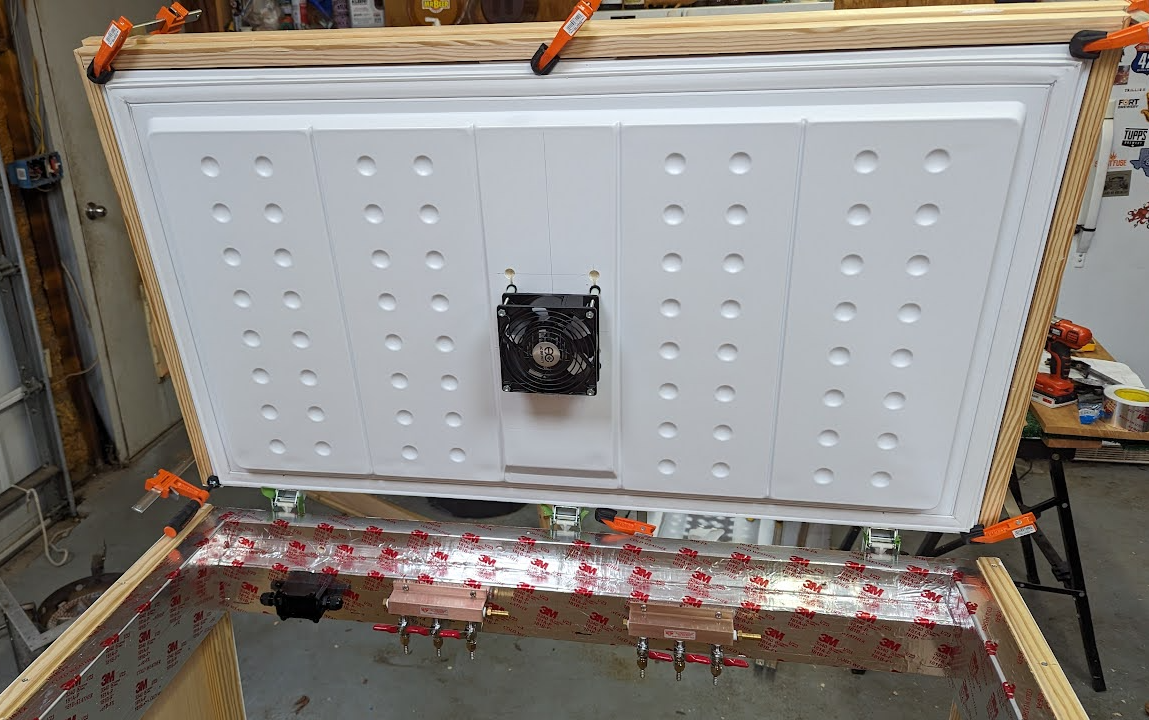
Now for the fan. I had a DC fan from a PC in my old keezer. For my new fan, I wanted to use an AC "Muffin Fan" and wire a switch so that I could easily turn it off when I have the lid open for keg swapping, line maintenance etc.
The choice of an AC fan may not have been the best idea due to the resulting heat produced by these things as compared to a DC fan. But the jury is still out on this..

Meanwhile, I mounted the fan to the underside of the lid. I fashioned some keyhole slots that allowed me to slip the screw heads with washers onto the inside of the plastic for a secure mount.

1707668433377.png


1707668455877.png


In the pic above, you should see a black switch box attached to the inside of the collar, to the left of the leftmost air distributor. That is a waterproof switch I picked up from Amazon.

Here is a video of everything in action:

 
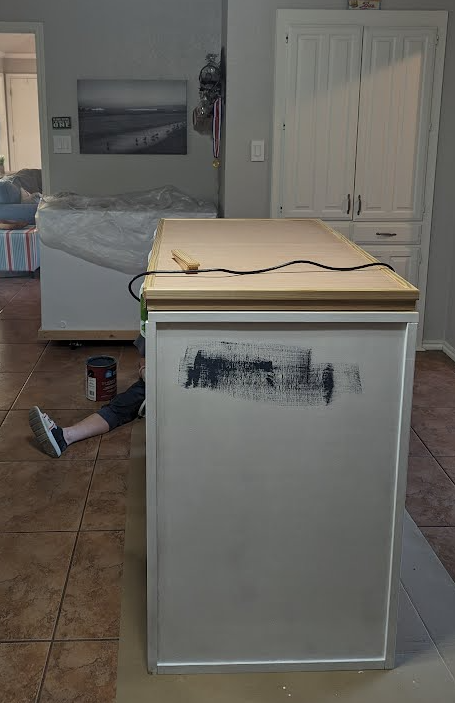
At this point its taken me about 2 months of working on it a few hours at a time when I could; over weekends, in the evenings etc. But I'm finally ready to bring all of this inside so that it can be painted and get closer to serving beer again!

1707668938469.png

1707668962427.png
 
With the paint applied and dried, I can now attach the exoskeleton to the chest freezer and start hooking up my co2 and beer lines.

This whole wood surrounding simply drops on top of the chest freezer. I used camper shell foam strips on the freezer rails to create a seal between the freezer and the bottom of the collar. So its not permanently attached but it is solidly in place.

For tubing, I used EVA barrier with the gas lines and beer lines. All connections are MFL and swivel nut and Oetiker clamps. No, I didn't use Duotight. While I've never used Duotight, there's something about them that I just don't trust. YMMV...

1707669331980.png


1707669444334.png


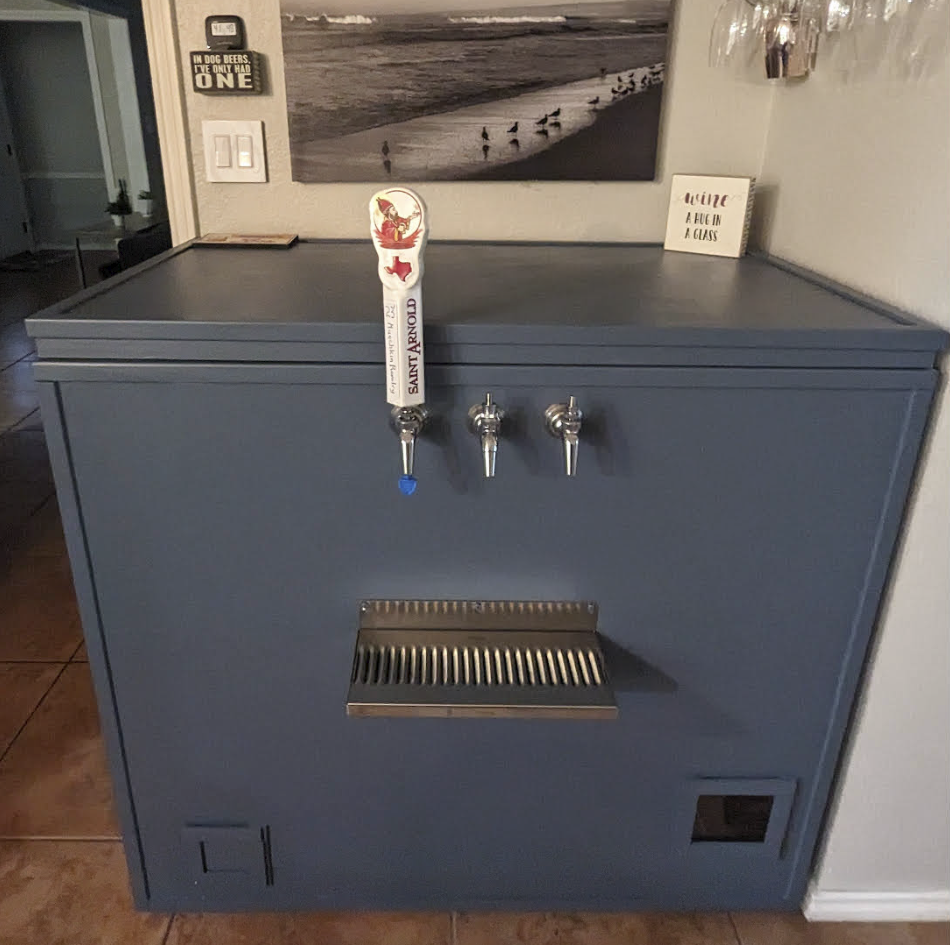
The finished (mostly) product:

1707669387266.png


1707766076090.png
 
Last edited:
OHH... I cant forget to mention what I did for temperature control.

I wanted to re-use the trusty Johnson A19 controller from my old keezer. But it was a bit to bulky for the space I have. So I picked up an Inkbird controller that so many on this forum seem to say good things about. So far, so good but I doubt it can really stand the test of time like the Johnson A19. Still, its a great solution for the time being.

It seems that the general consensus is that its best to attach the thermister probe to the side of a keg and insulate it from ambient air.
Having to deal with that on my kegs every-time I swapped one out sounded like a PITA. So I did what seemed like the next best thing.

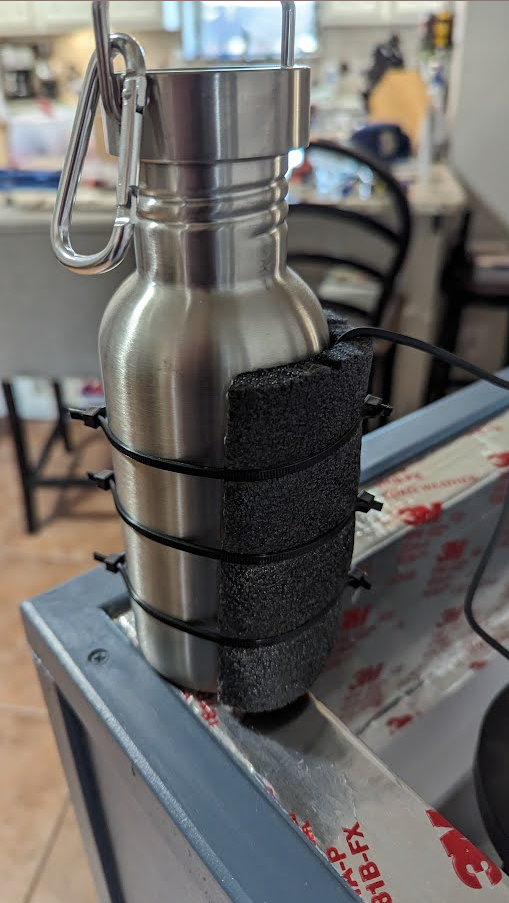
I picked up a single walled SS water bottle from Amazon. I filled it with water and then attached my thermister to it and used a piece of pipe insulation to cover it from ambient temps. Seems to work pretty well so far!

1707669939641.png
 
Last edited:
I initially wanted a thermowell type of solution. I think the water bottle responds faster to temp change than a keg would and my keezer cycles more often as a result. I'm using a 1 degree temp diff on the Inkbird controller and I may play with bumping that up to 2 degrees.

But I'm still tempted to try a thermowell in this bottle. Wouldn't be too hard to drill a hole in the lid and attach something like this:
1707786216310.png
 
Last edited:
I initially wanted a thermowell type of solution. I think my the water bottle responds faster to temp change than a keg would and my keezer cycles more often as a result. I'm using a 1 degree temp diff on the Inkbird controller and I may play with bumping that up to 2 degrees.

But I'm still tempted to try a thermowell in this bottle. Wouldn't be too hard to drill a hole in the lid and attach something like this:
View attachment 841657
Yup, I use an Inkbird too. I just checked and mine is set to a 3° temp diff.
Don’t exactly remember why I picked 3°, it’s been set up and running like that for years.
 
Last edited:
Latest posts

Back
Top