Oh, I have read all of the thoughts on step mashing from everyone on seperate threads. And I dont want to jack this thread.
I normally use a single infusion mash but sometimes a step mash becomes neccessary. When using continental pilsner malt, when using lots of wheat malt or unmalted wheat, when making a weizen, when making a sour are a few cases that come to mind. There is actually a great article in latest The New Brewer on the benefits of a multi stepping mash regime to making an excellent wiezen. You could even consider going between your saccharification rest and mash out as a step.
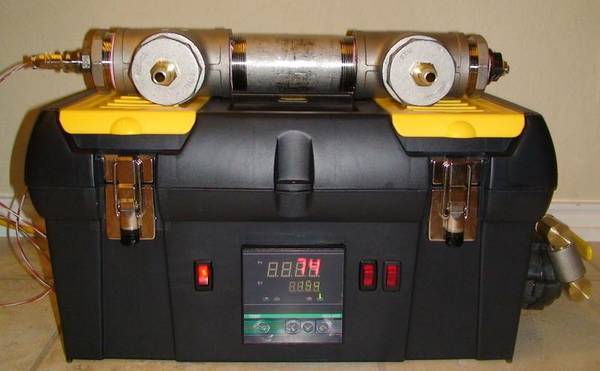
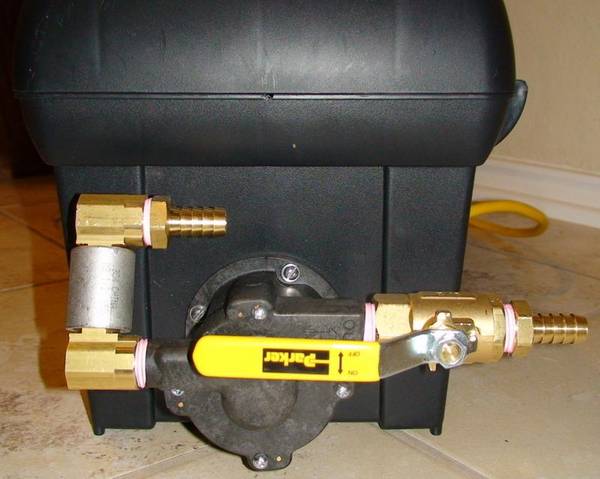
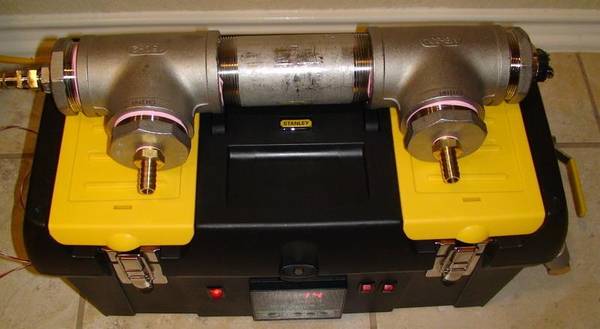
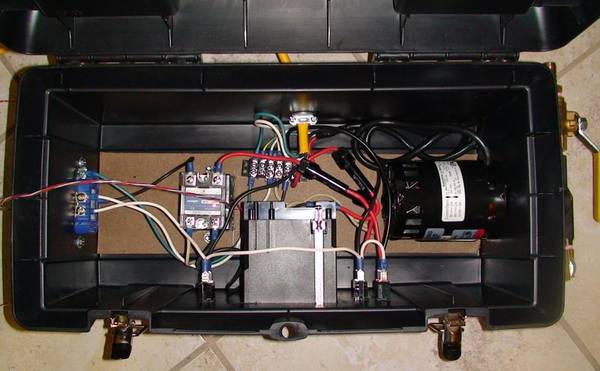
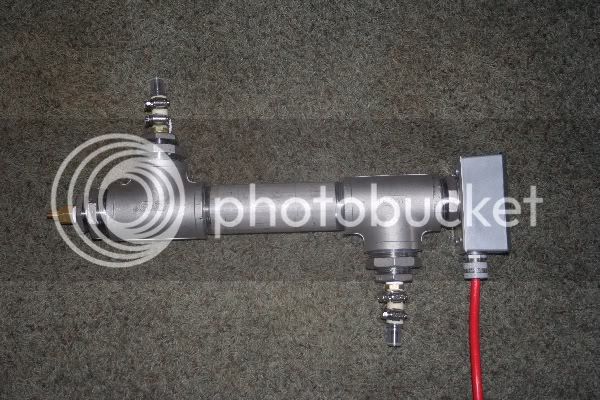
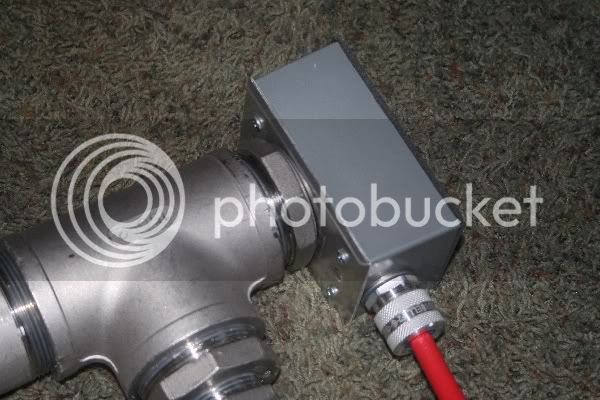
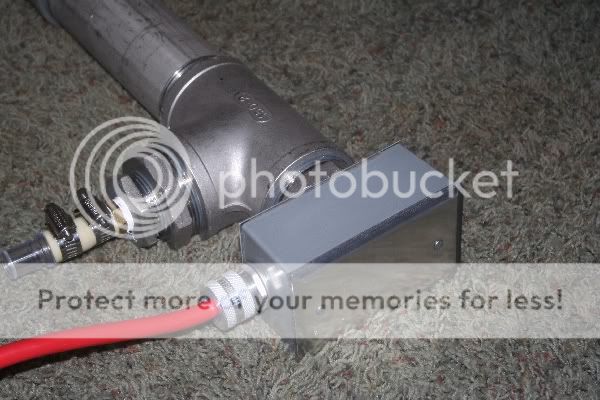
That said. I am following sawdustguys build and have all of the parts on order now, except I am using a BCS-460 as the controller. I plan on using the RIMS to hold individual mash temperatures and I will direct fire the mash tun in order to step mash. This is the same principal that the Brew Magic uses.
Thanks again for this thread. It inspired me, and showed me the benefits of a RIMS based brewery over a HERMS. Simplicity and tighter controller.