My Keezer Build

Homebrew Talk - Beer, Wine, Mead, & Cider Brewing Discussion Forum

Help Support Homebrew Talk - Beer, Wine, Mead, & Cider Brewing Discussion Forum:

This site may earn a commission from merchant affiliate links, including eBay, Amazon, and others.

Helgoes

Member
Joined
Jan 25, 2012
Messages
16
Reaction score
2
Location
West Hartford
I started home brewing two years ago, and in that short time I went from extract kits on a stove to full grain and now building my own keezer. I've read a lot of posts over the years on keezer builds and starting collecting ideas and then made my own. Overview pics first, then descriptions on the build.

4350Xew.jpg


ygyMxSo.jpg
 
SWMBO approved this build and approved the location in our new finished basement. With that, I had to make sure it looked classy. Of all the styles I looked at, the black keezers looked the sharpest and always more complete. After unsuccessfully trying to find a black freezer to buy, I found a white one, bought two cans of spray paint and went to work.

Once that was finished ... and the smell dissipated out of my garage, it was time to start building the collar. I started with a simple one the size of the top of the freezer and made it out of pressure treated 2x4 to help with insulation and condensation factors.

oai6IrQ.jpg


dxc06Zg.jpg
 
To have the fully finished look, I bought some 1x6 oak (splurged a little on the oak ... but we'll get to that in a bit). I mitre cut the corners for a nice seamless and flush look. I screwed this, from the inside, to the existing 2x4 collar. Then I applied some glue and dropped in some finishing nails to keep everything together.

cOm0RpI.jpg


qwDvdLt.jpg


Once the collar was completely finished and fit around the freezer, it was time to apply the stain. This is where the oak comes into play. Out of all of the pre-fab wood I could have used, oak really seems to soak up stain a lot better and have a much more true color. The wife and I are obsessed with everything walnut, so that's what we went with. Image here shows the oak before and during the stain process:

QG0TQ39.jpg


After 3-4 coats, it was time to start drilling holes for the shanks, temperature controller and my electrical cords in the back.

L66MBNI.jpg
 
Next step was to add some insulation and everything else that sits on the inside of the collar. I installed the CO2 distributor and then put the insulation around it.

rqGGlQL.jpg


I went with a STC-1000 PIC temperature controller. I took my fair share of EE classes in college, so it wasn't too bad at all to set everything up. However, I went a step further and dropped in a 120 fan that turns on when the freezer kicks on so I can push air around to keep everything at a constant temp.

9k26w7H.jpg


Once all of the electronic pieces were in place, I went through and put the rest of the insulation up.

0p1e31I.jpg
 
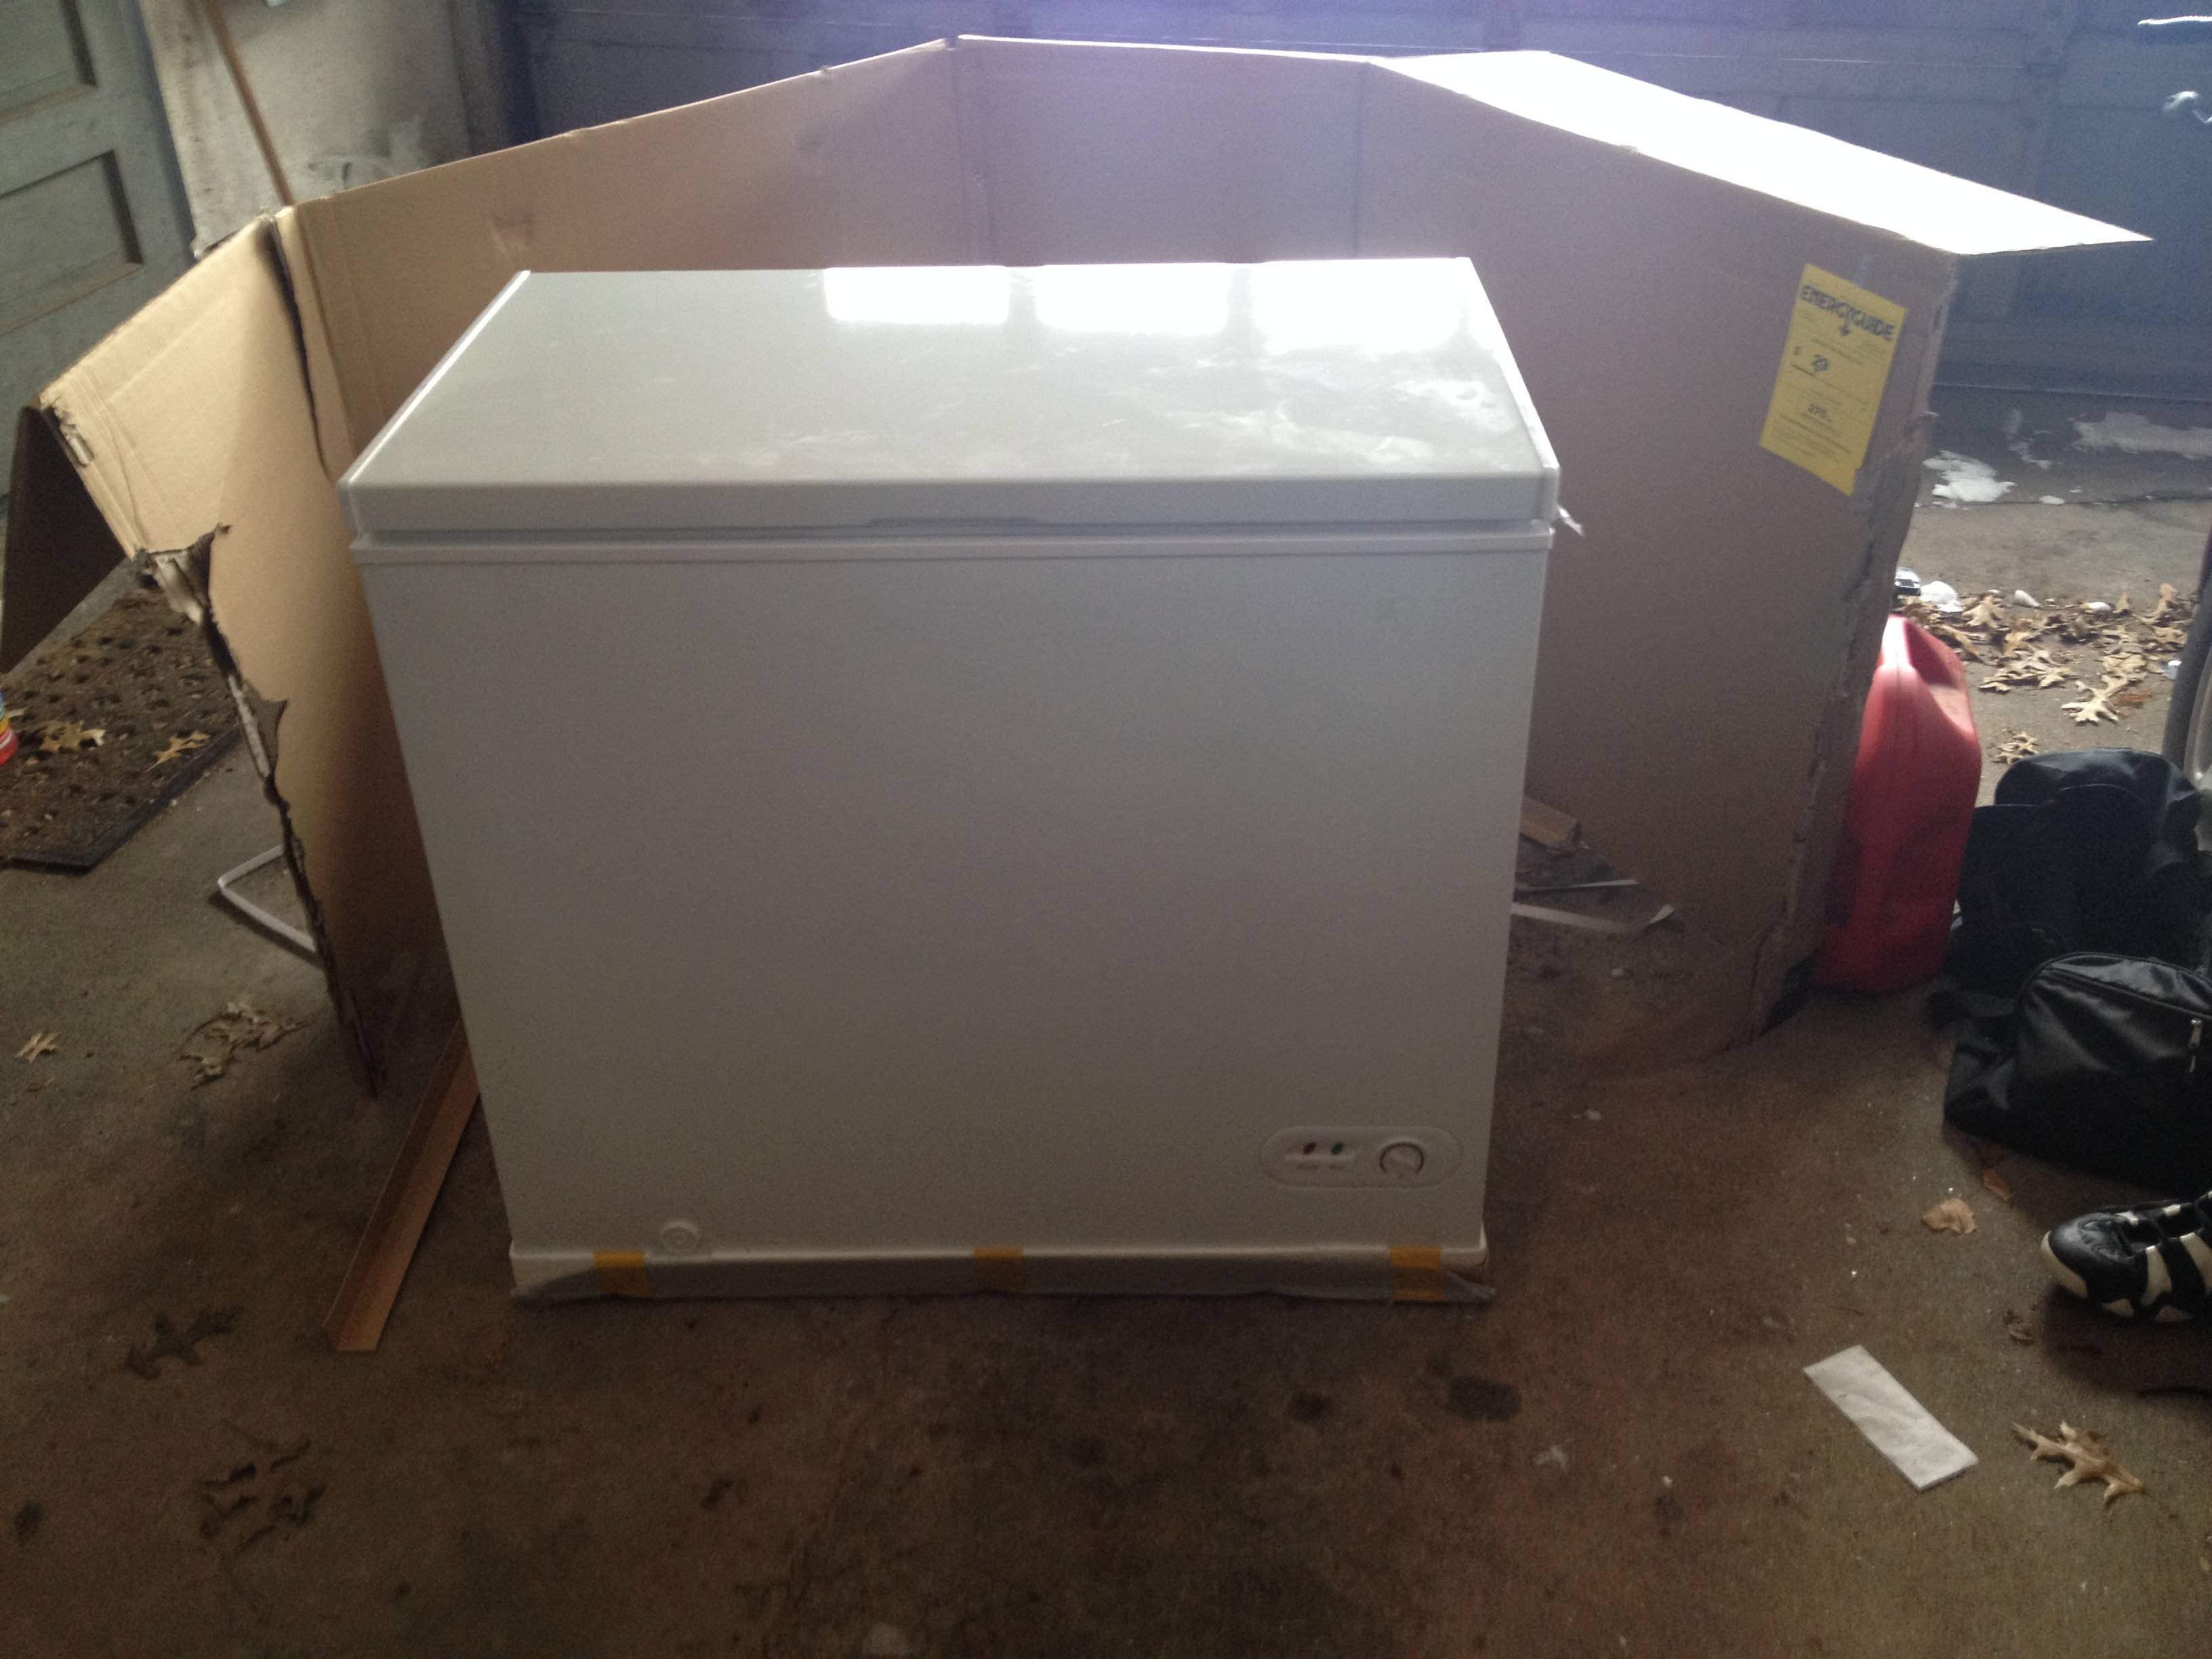
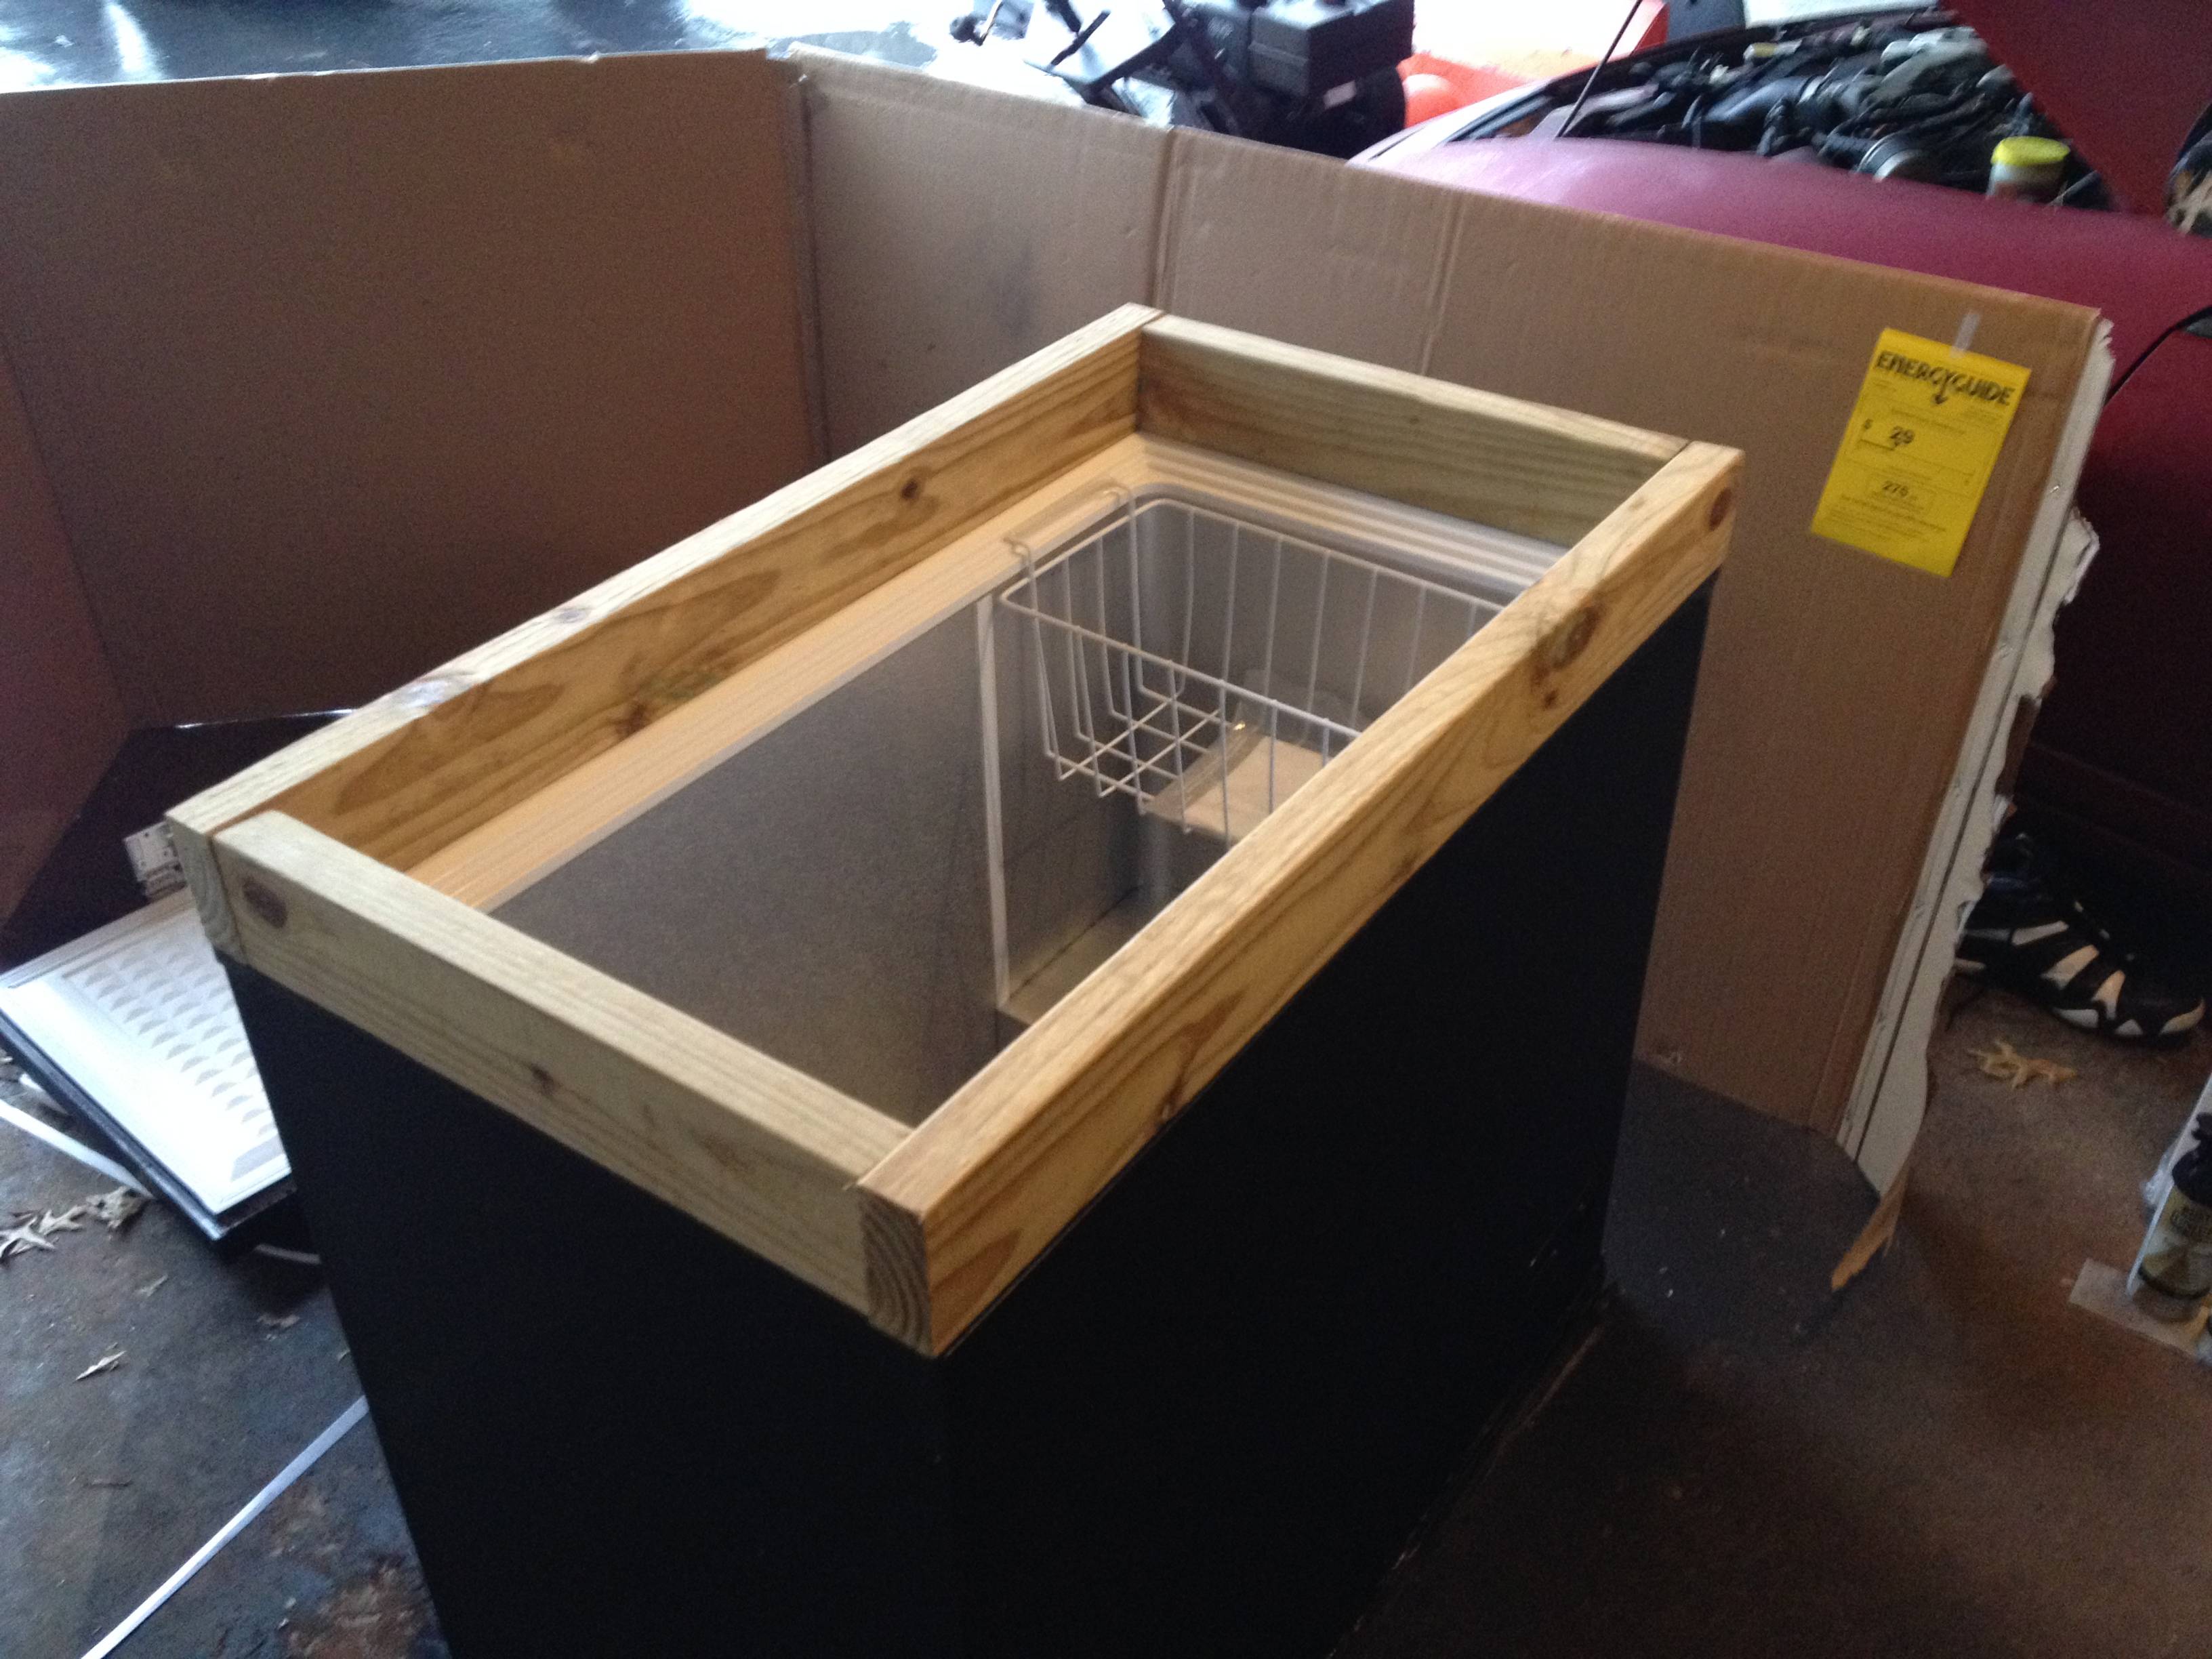
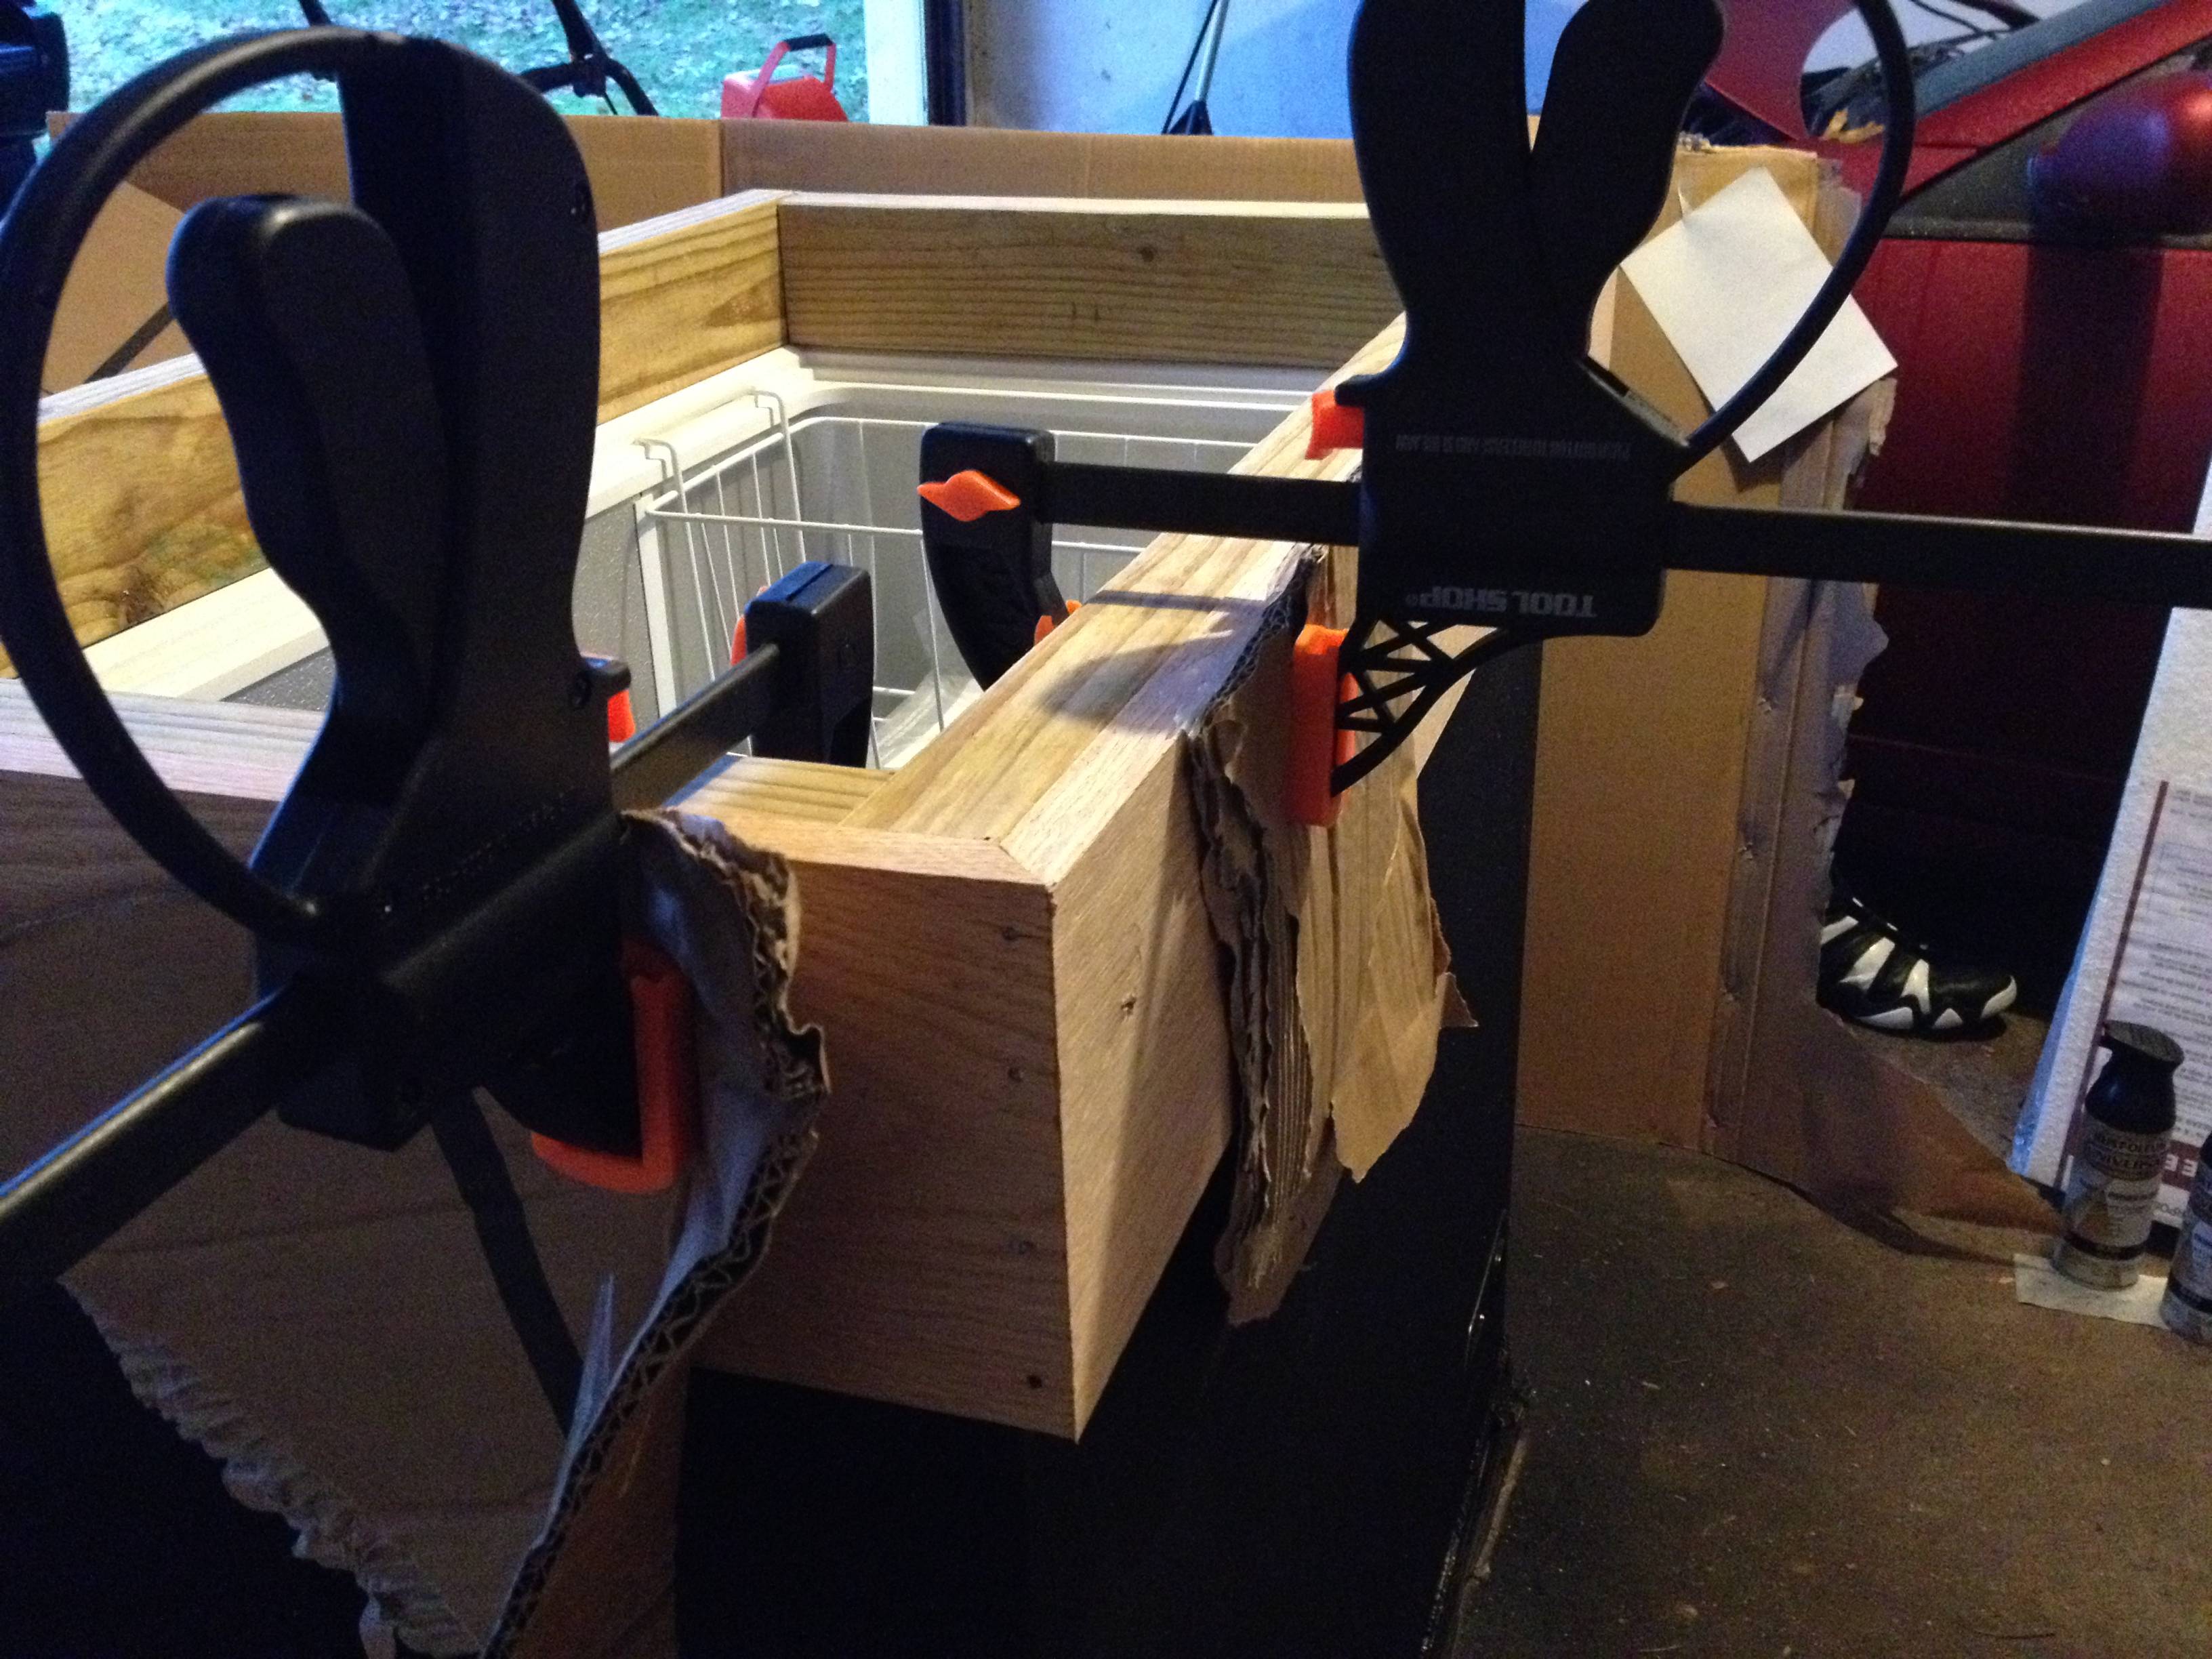
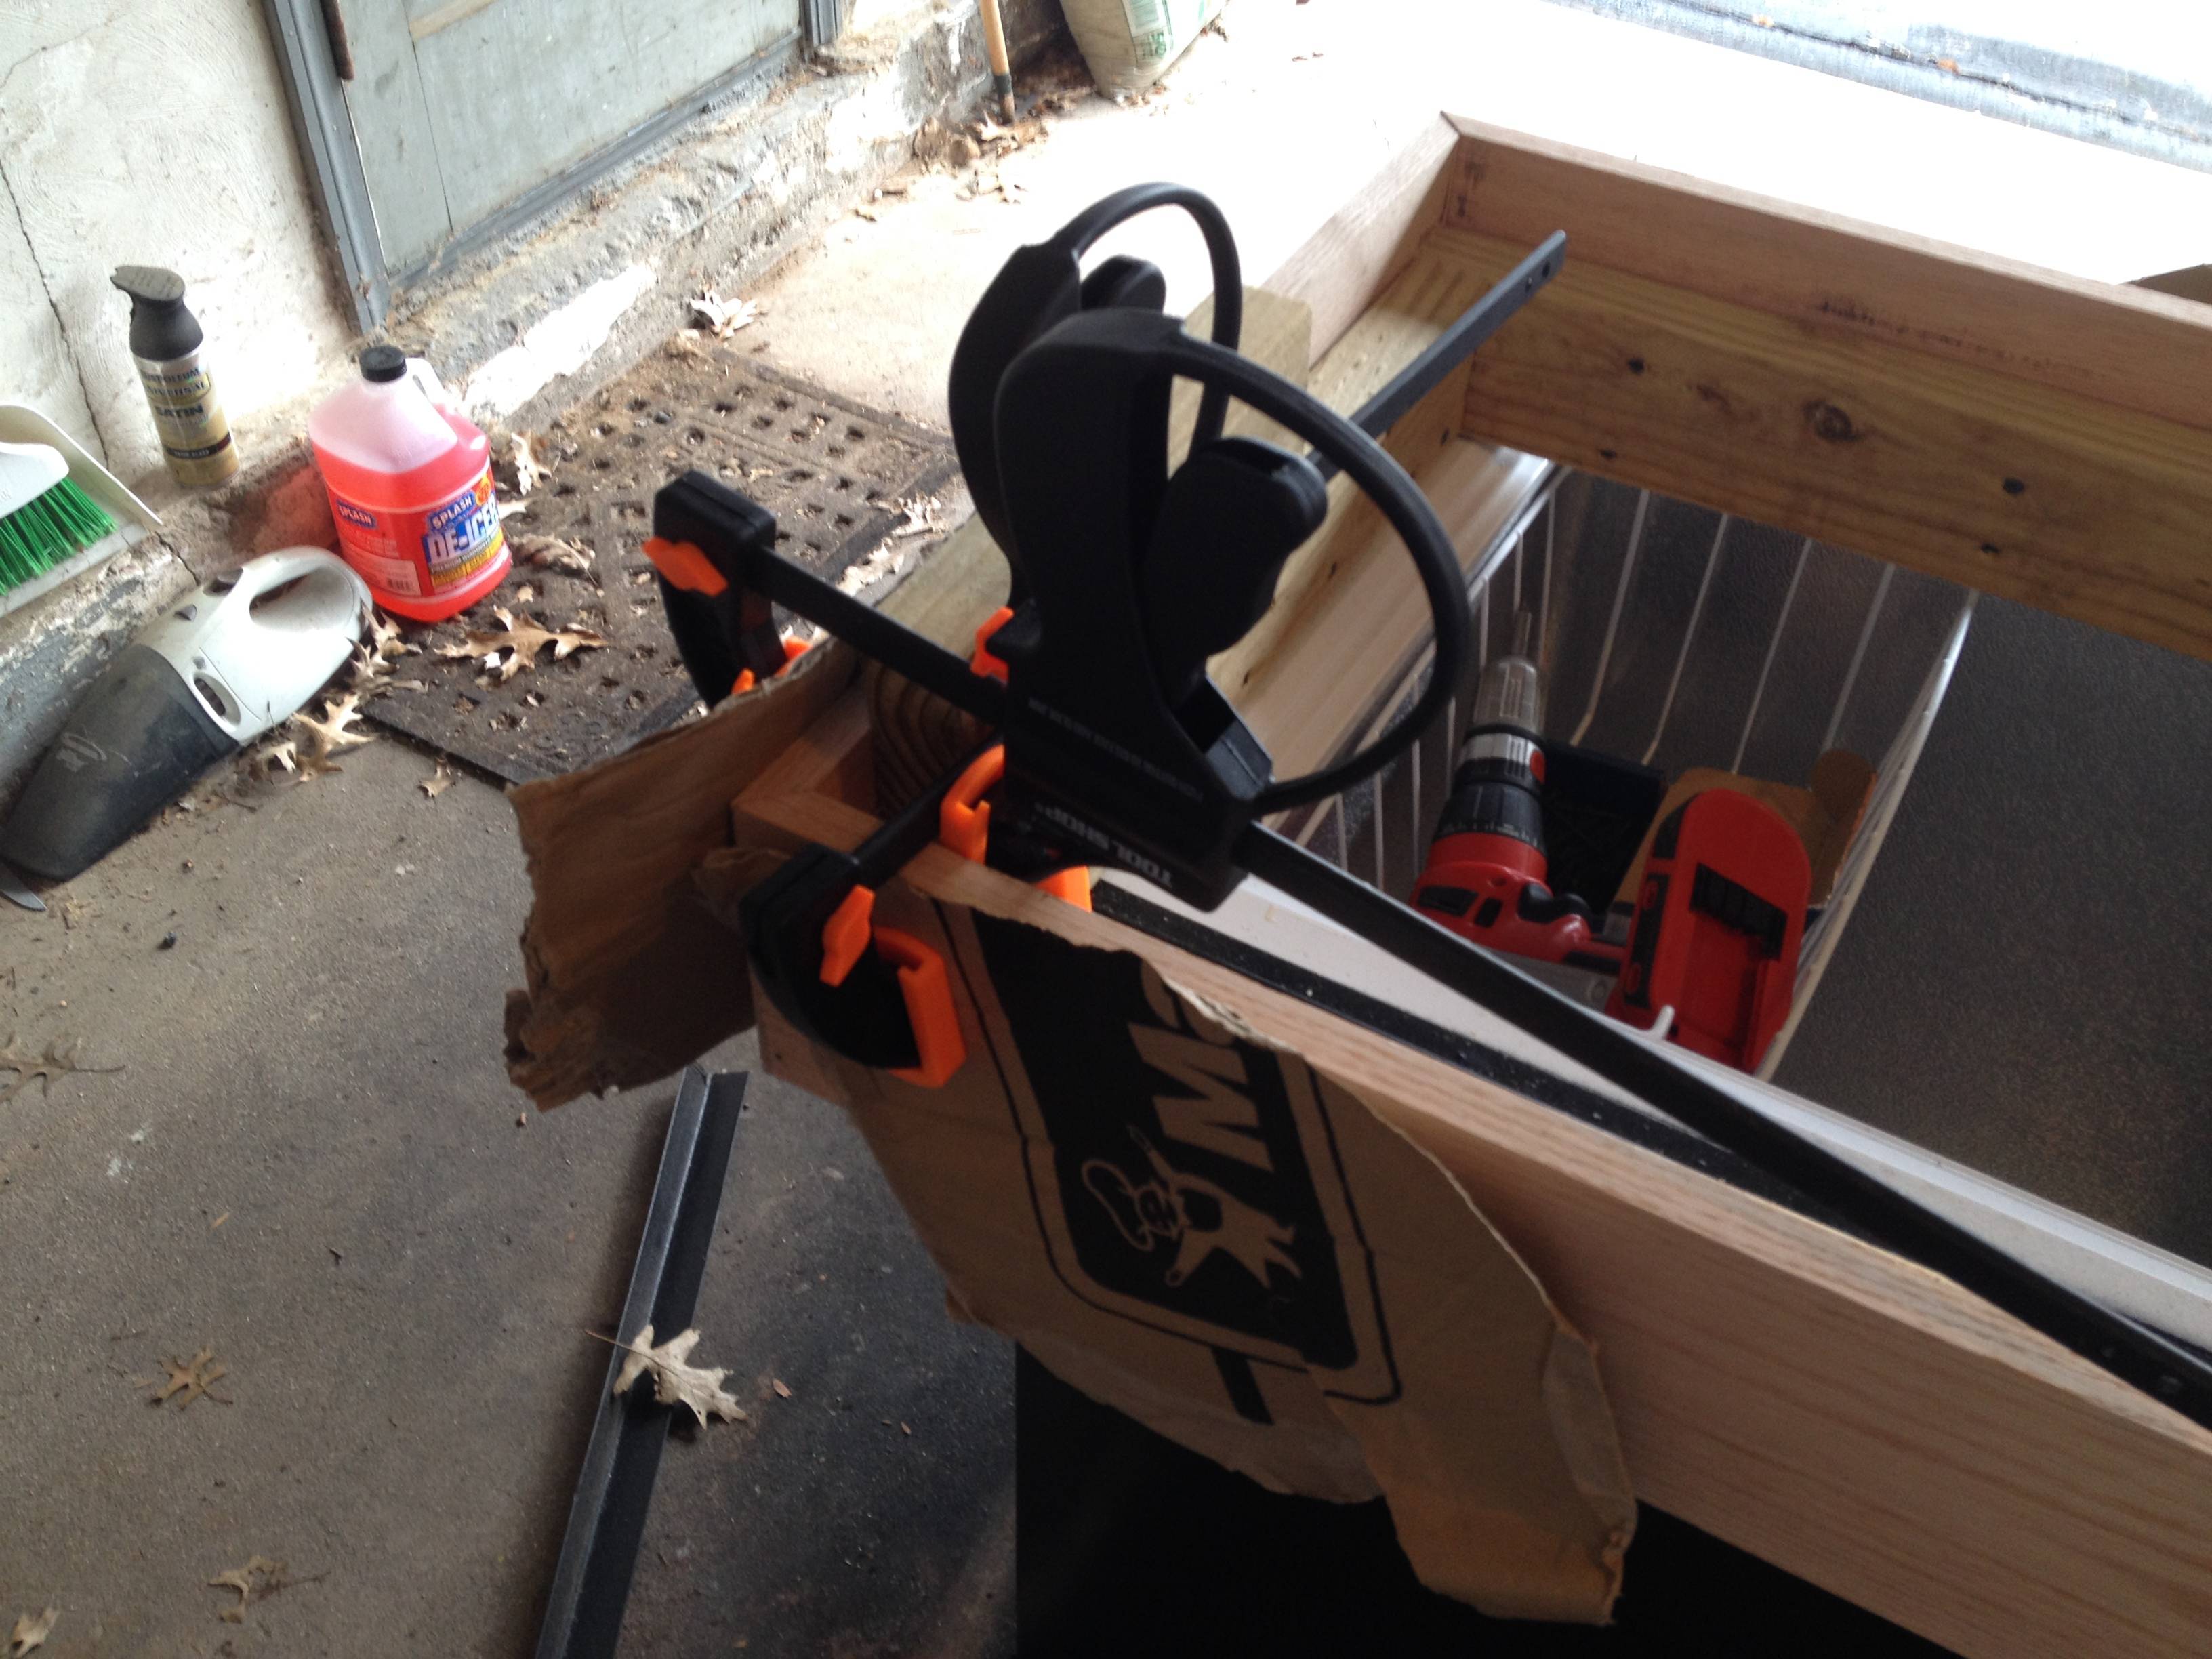
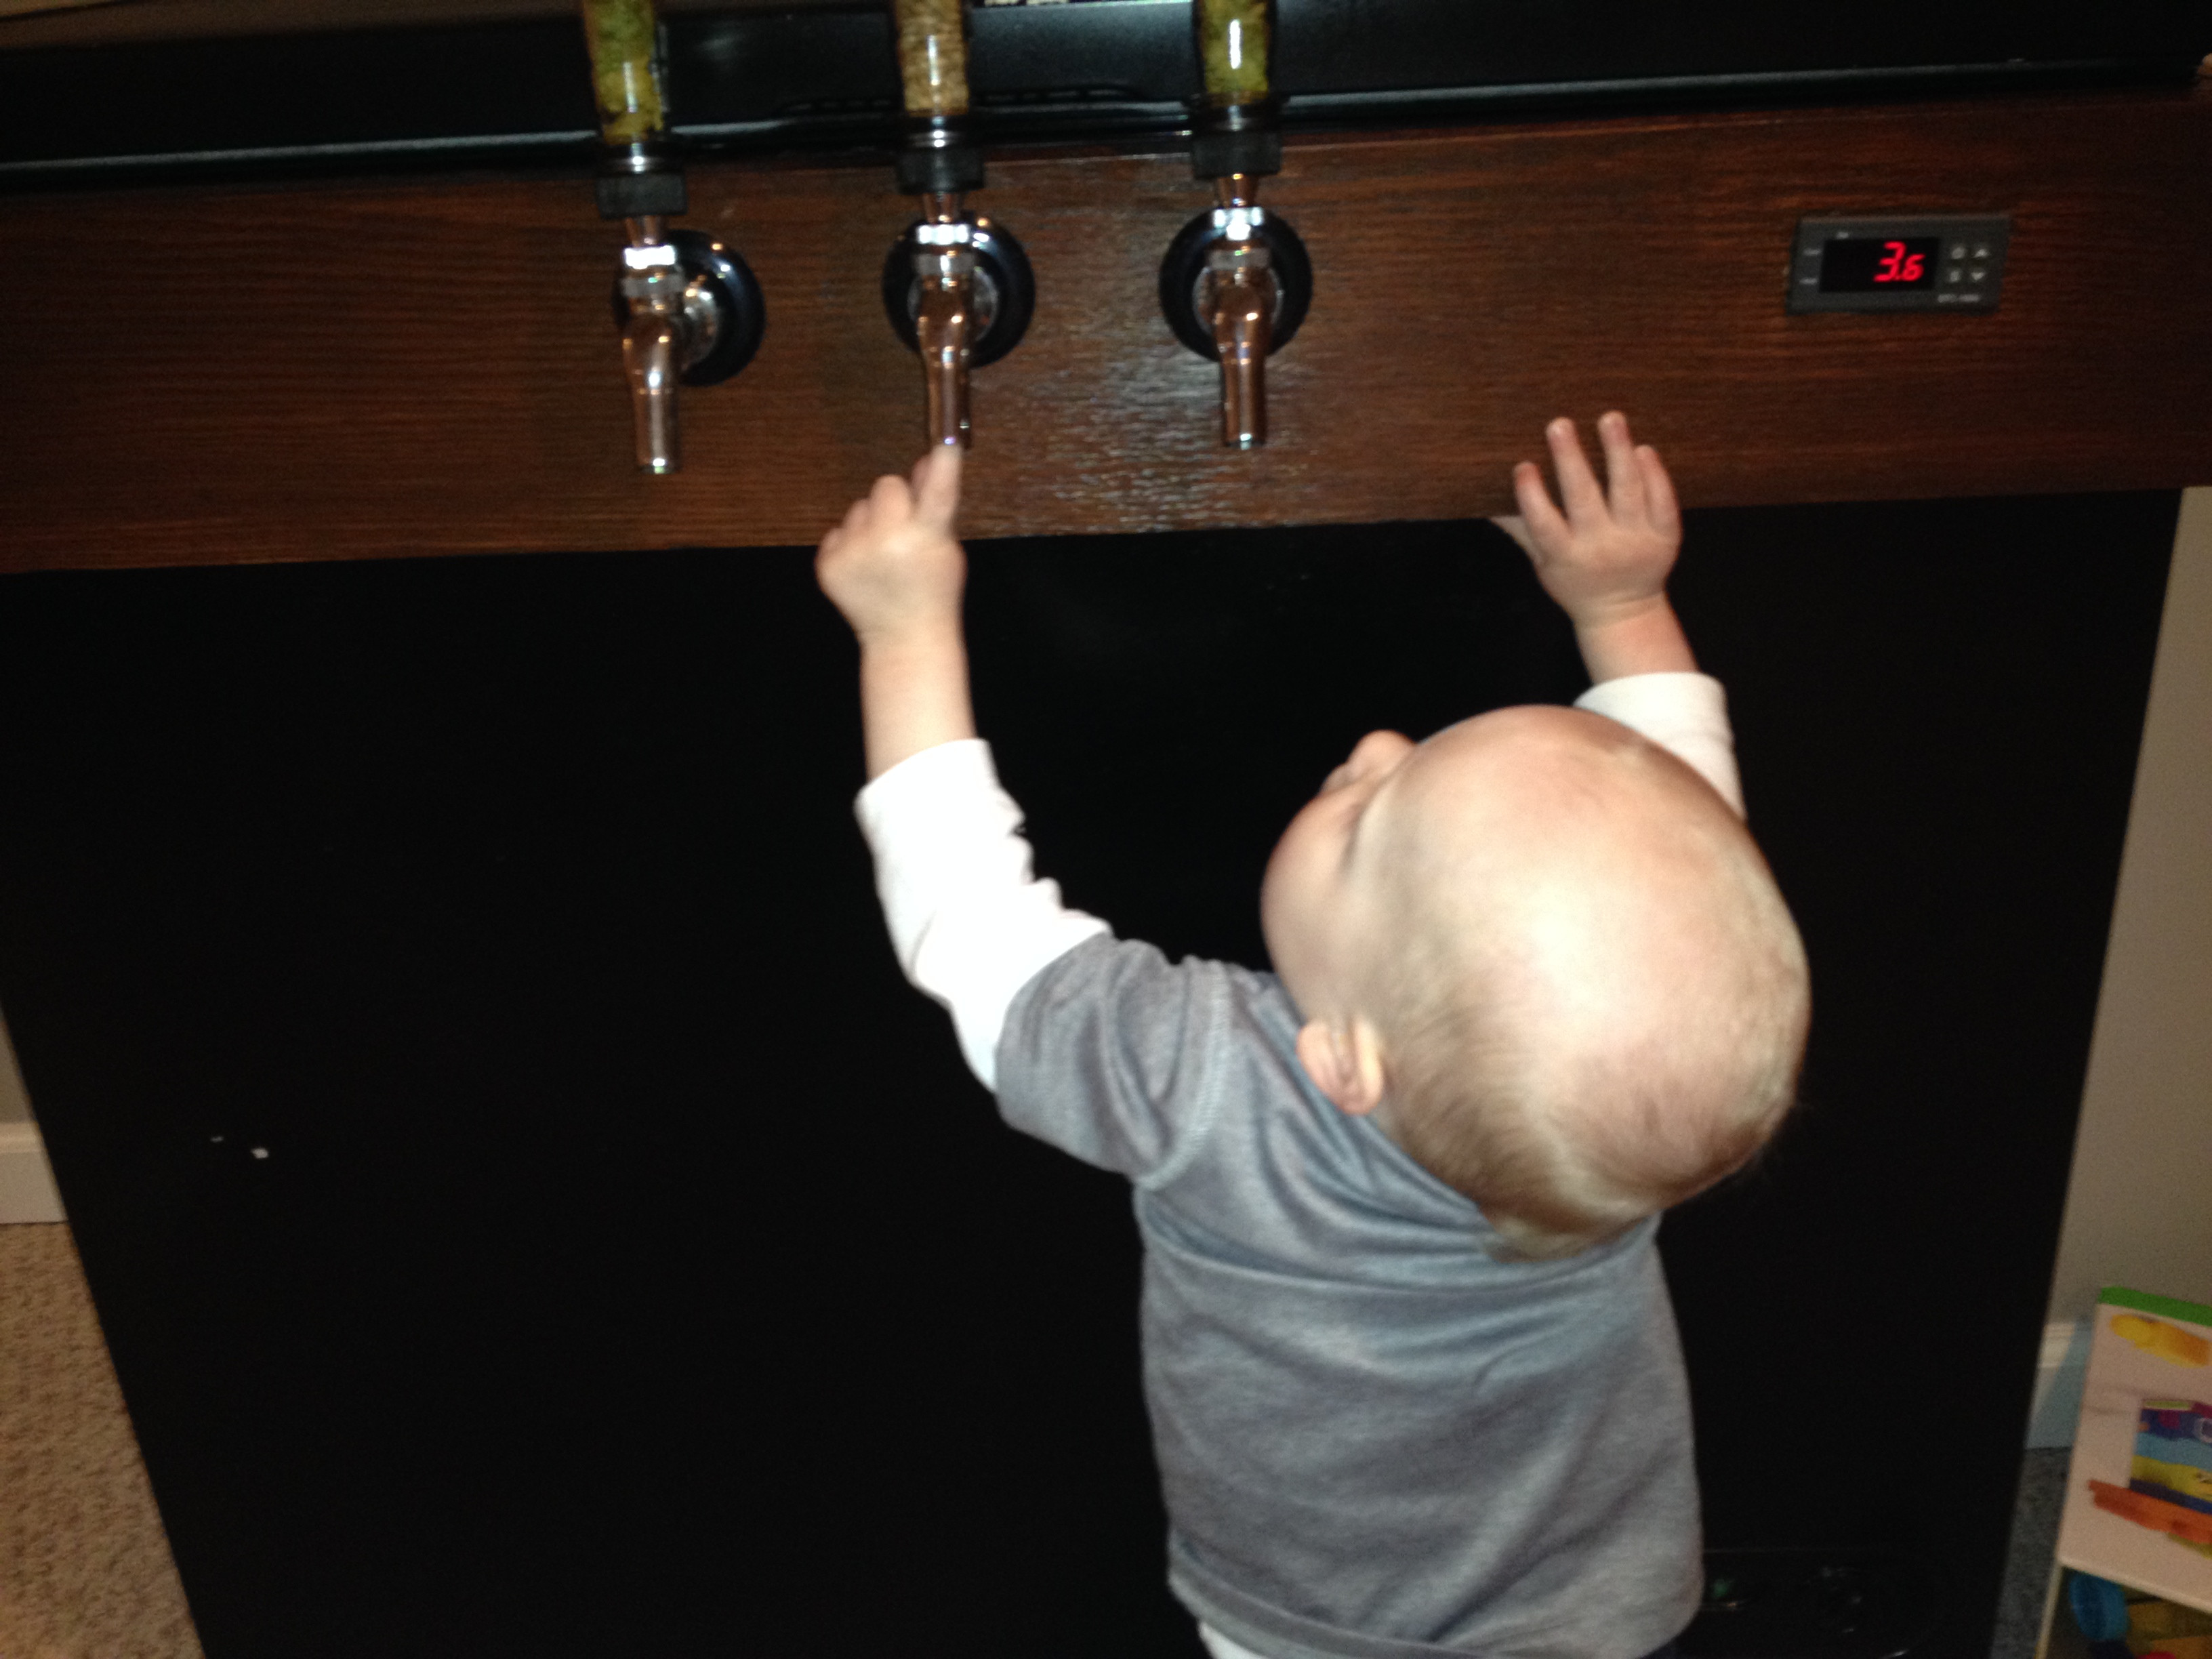
Basically after that, everything was done. The wife helped me drop it carry it into the basement, then I started assembling it down there. My kid was also very interested in it (who wouldn't be?).

qKiHjZL.jpg


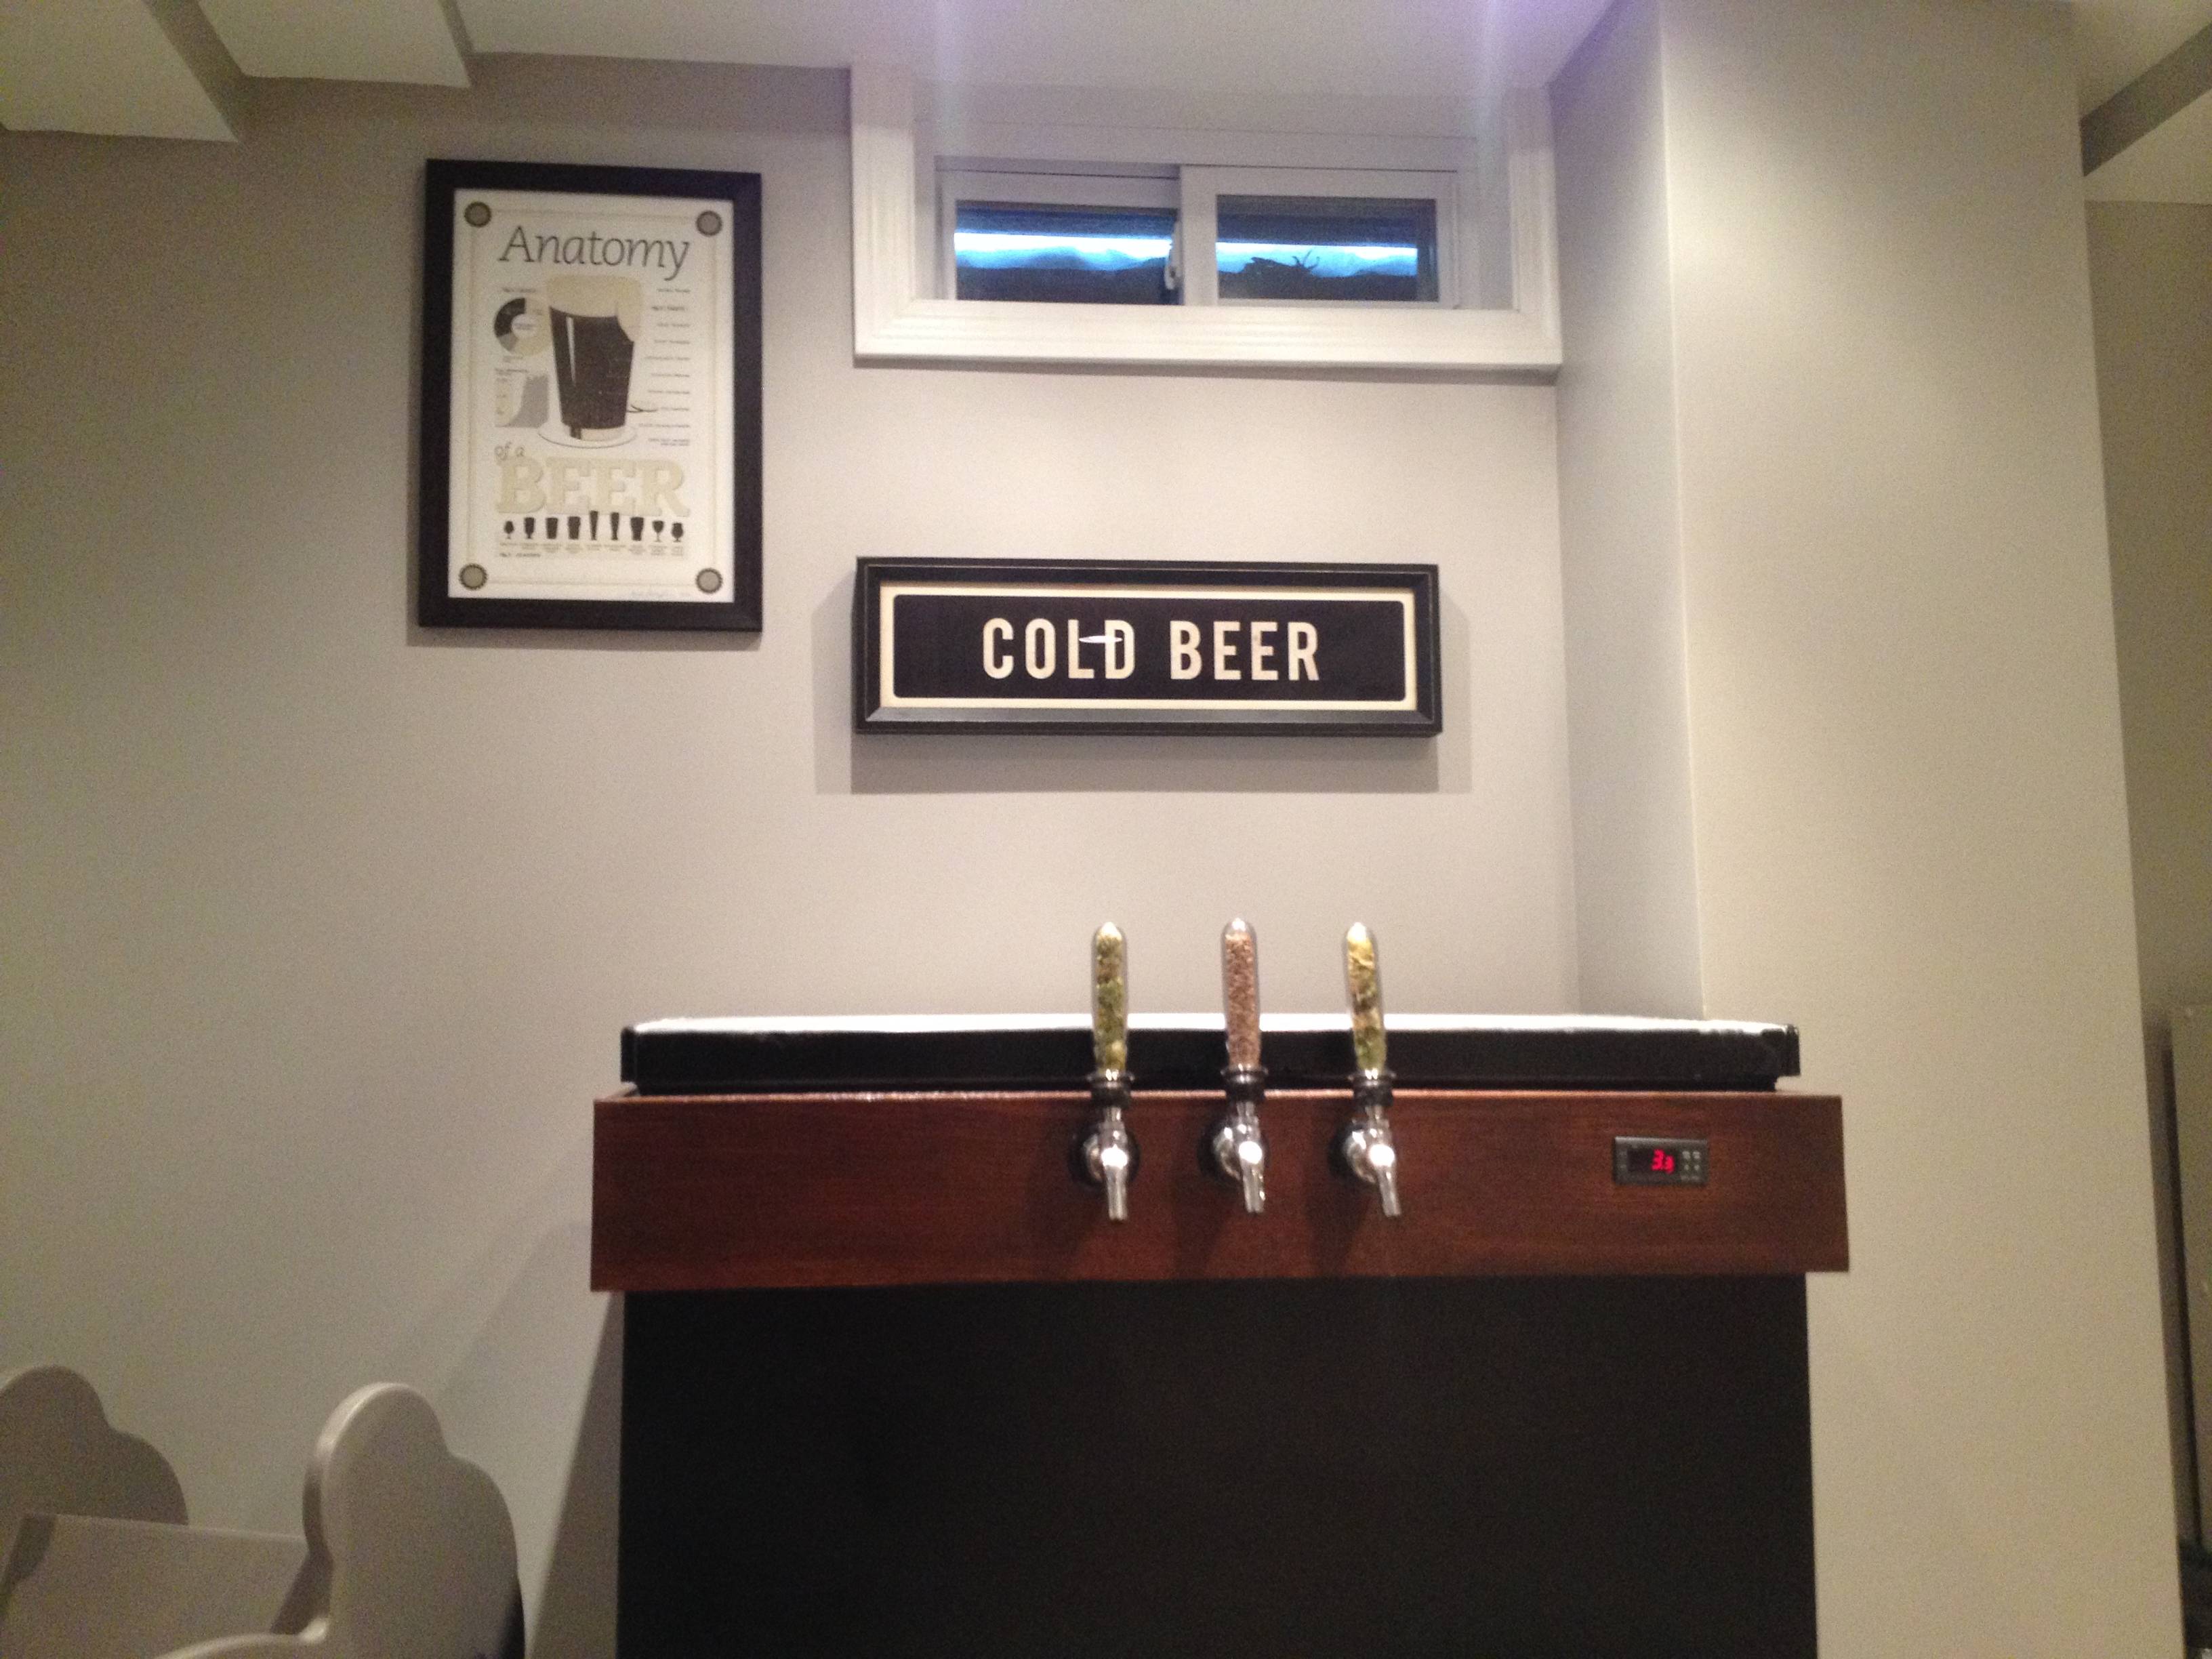
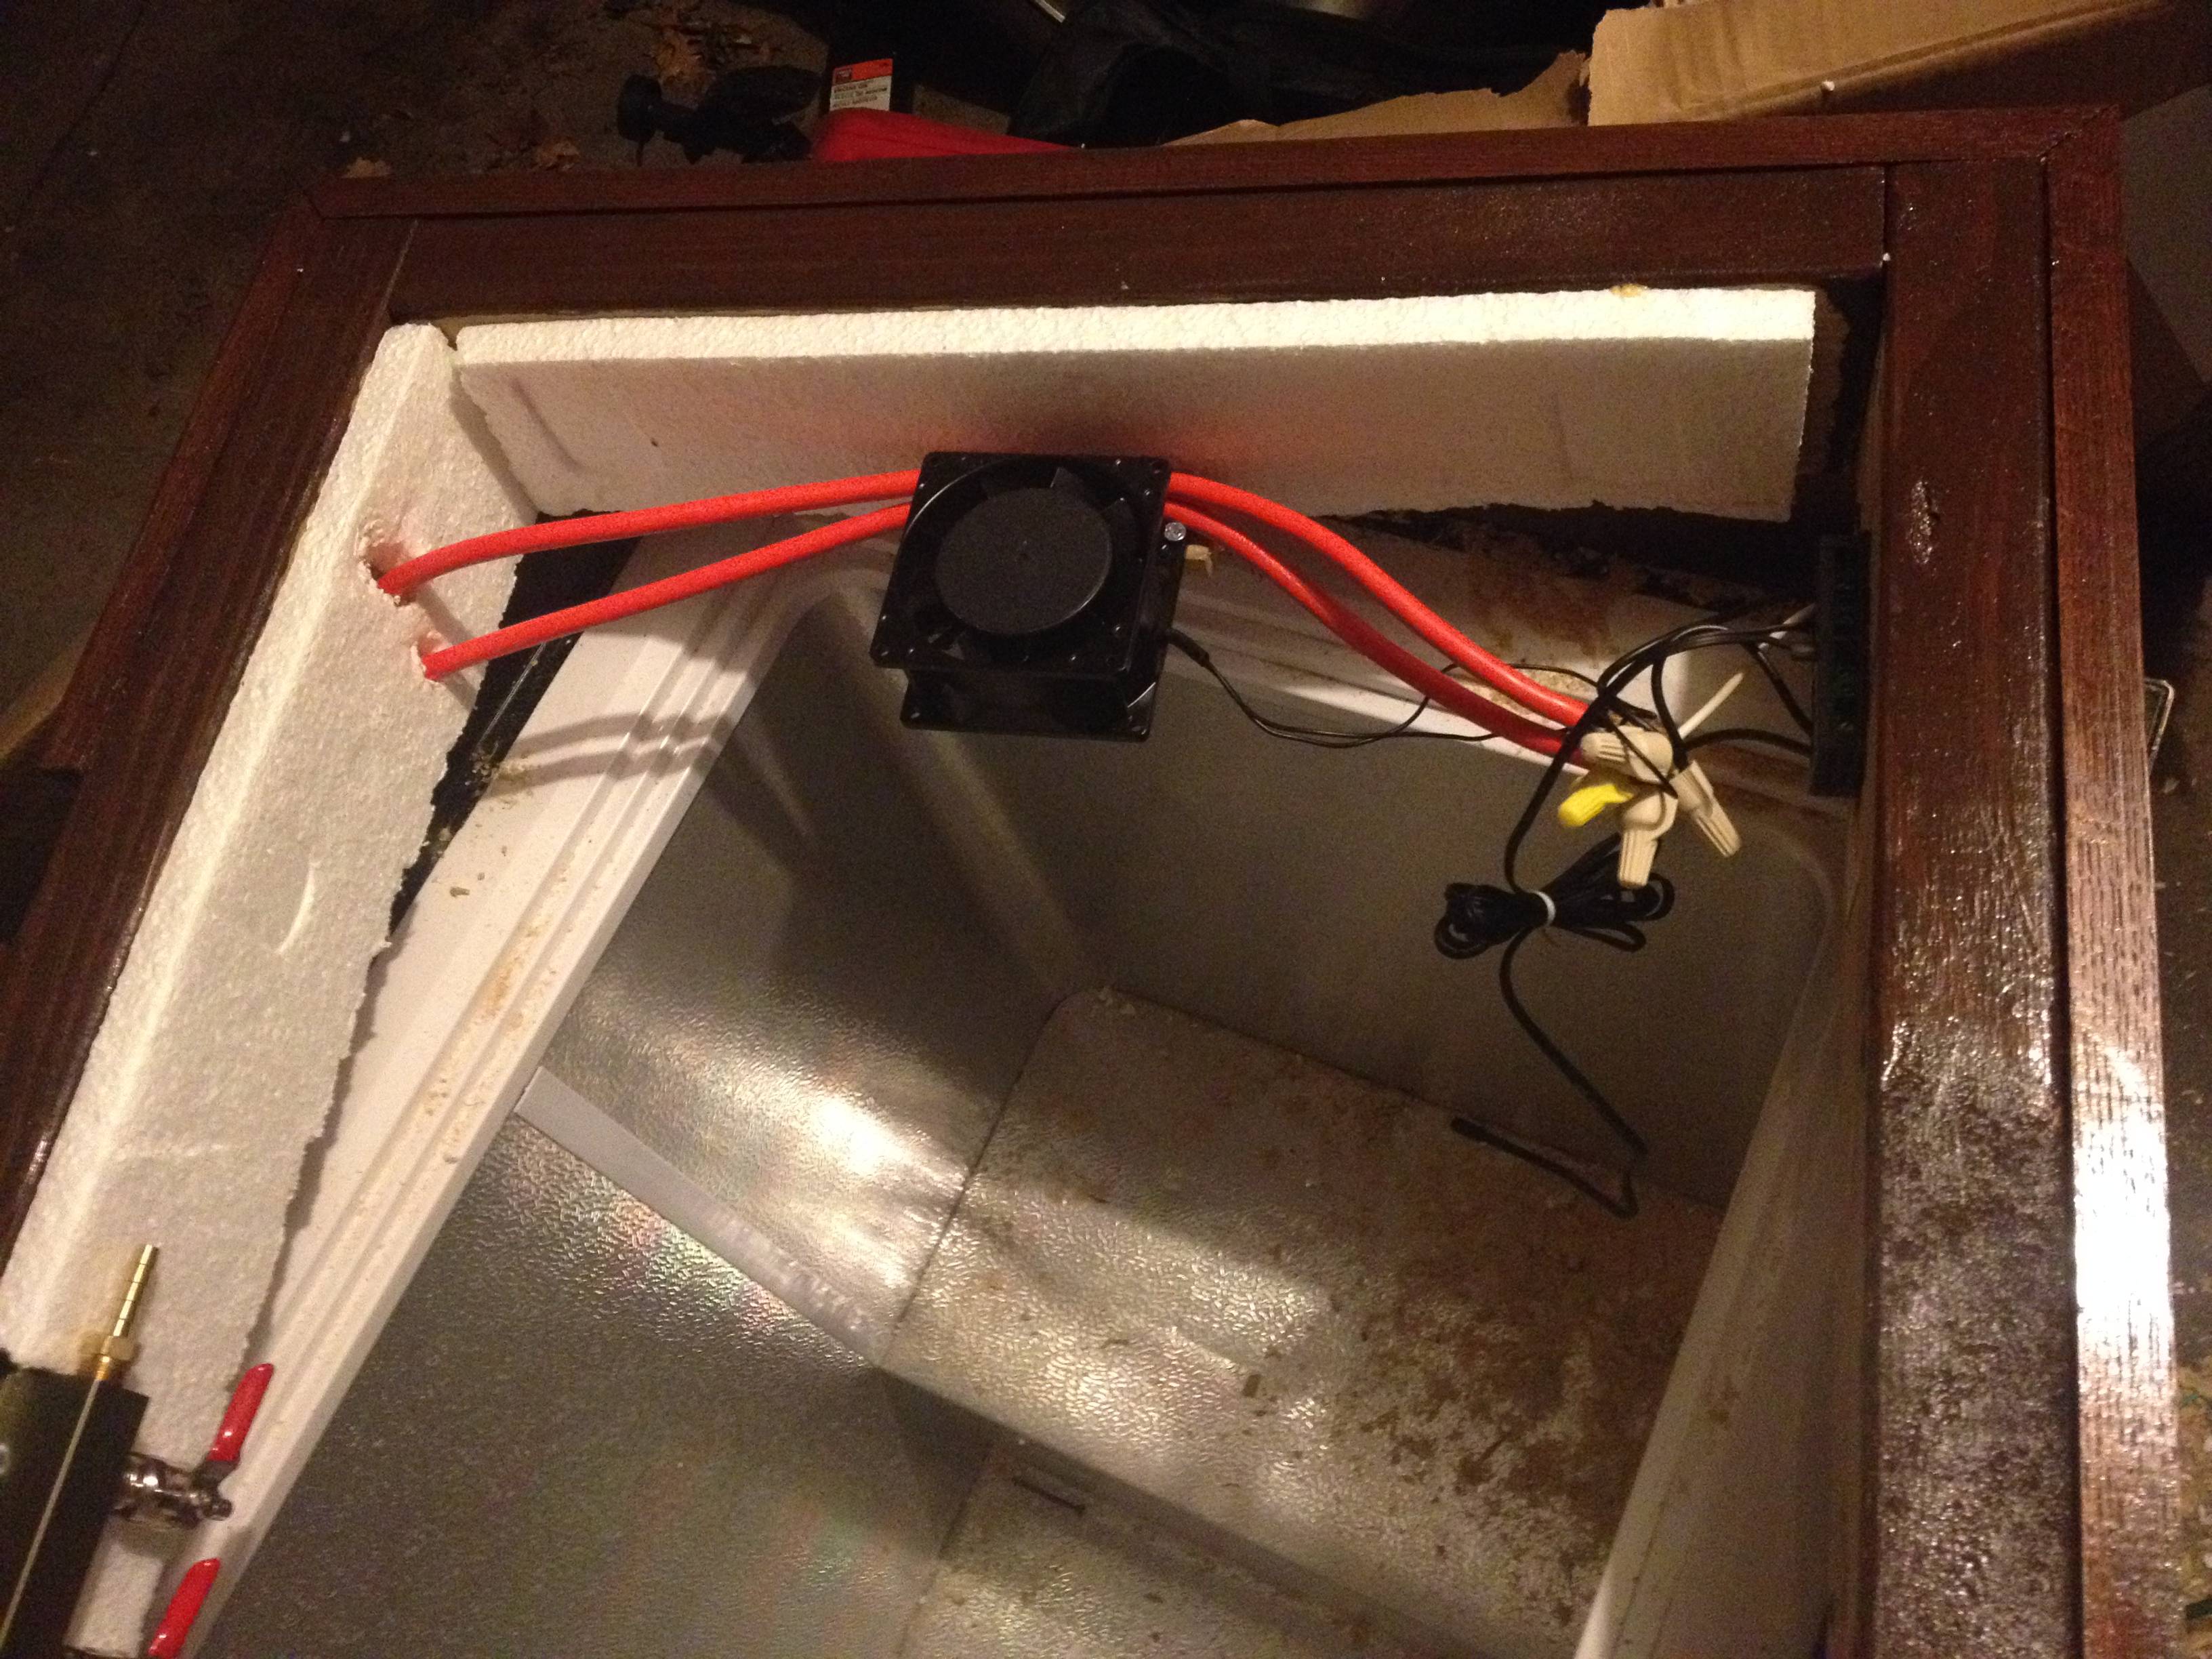
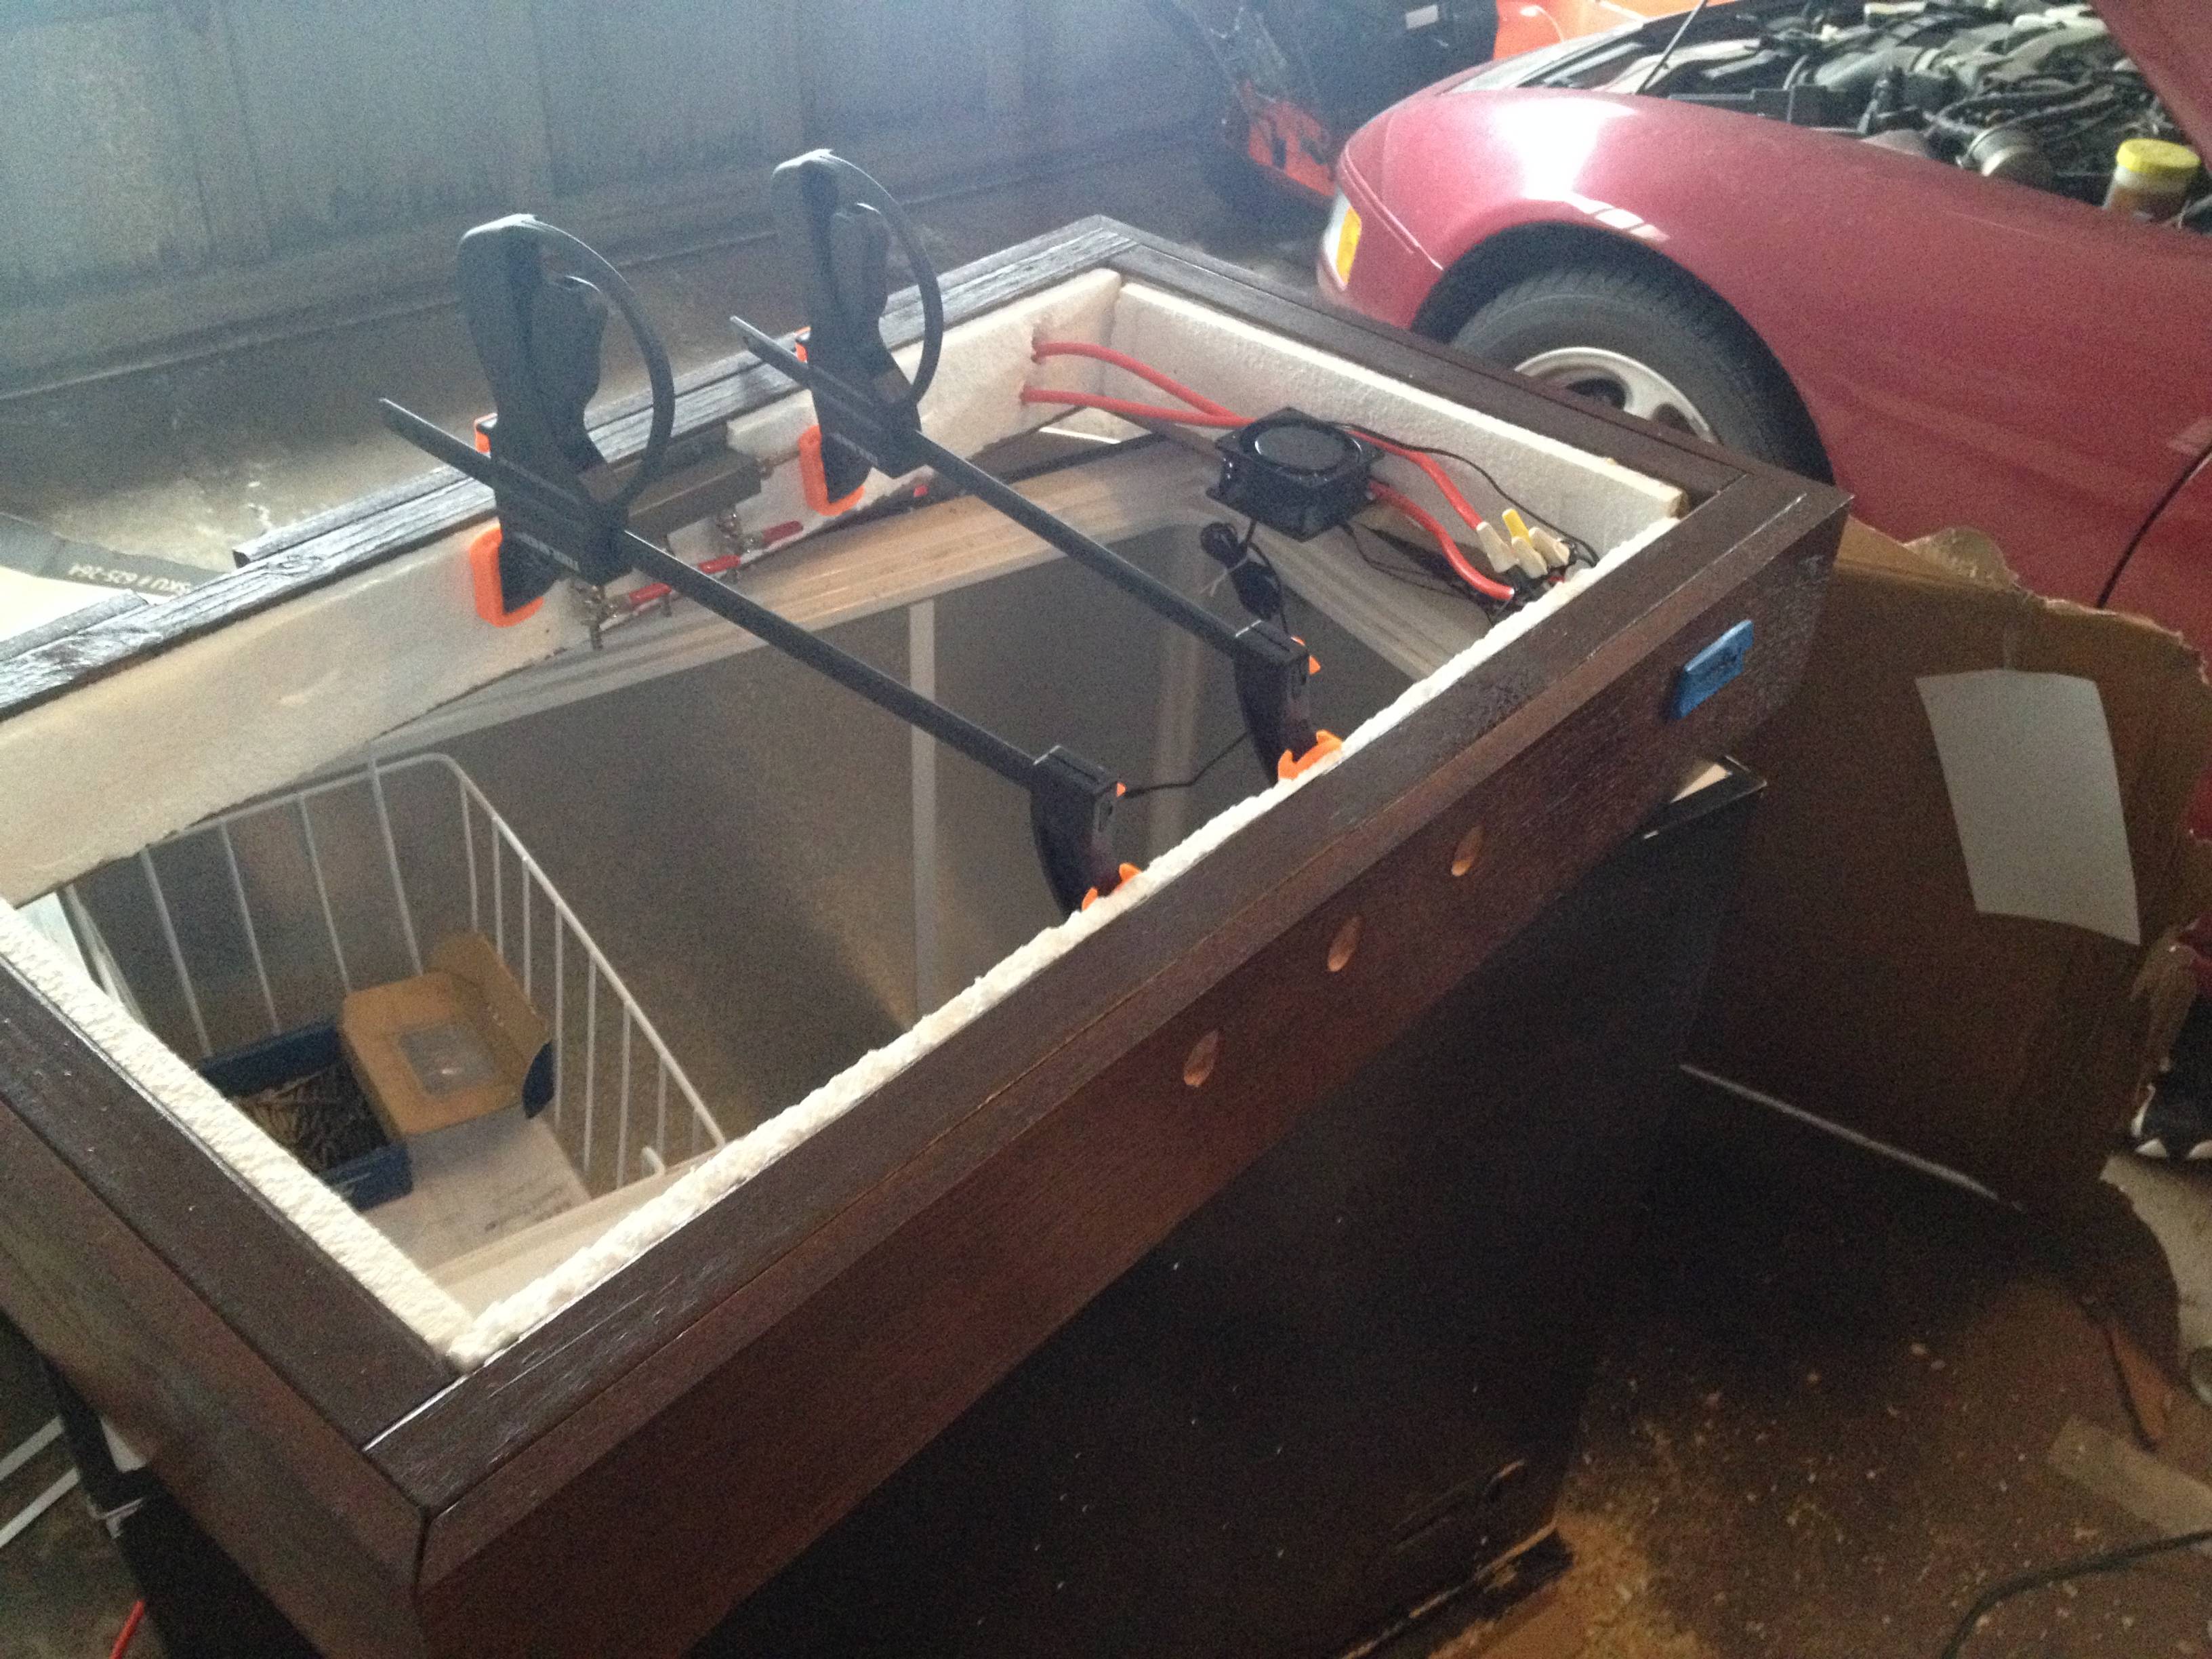
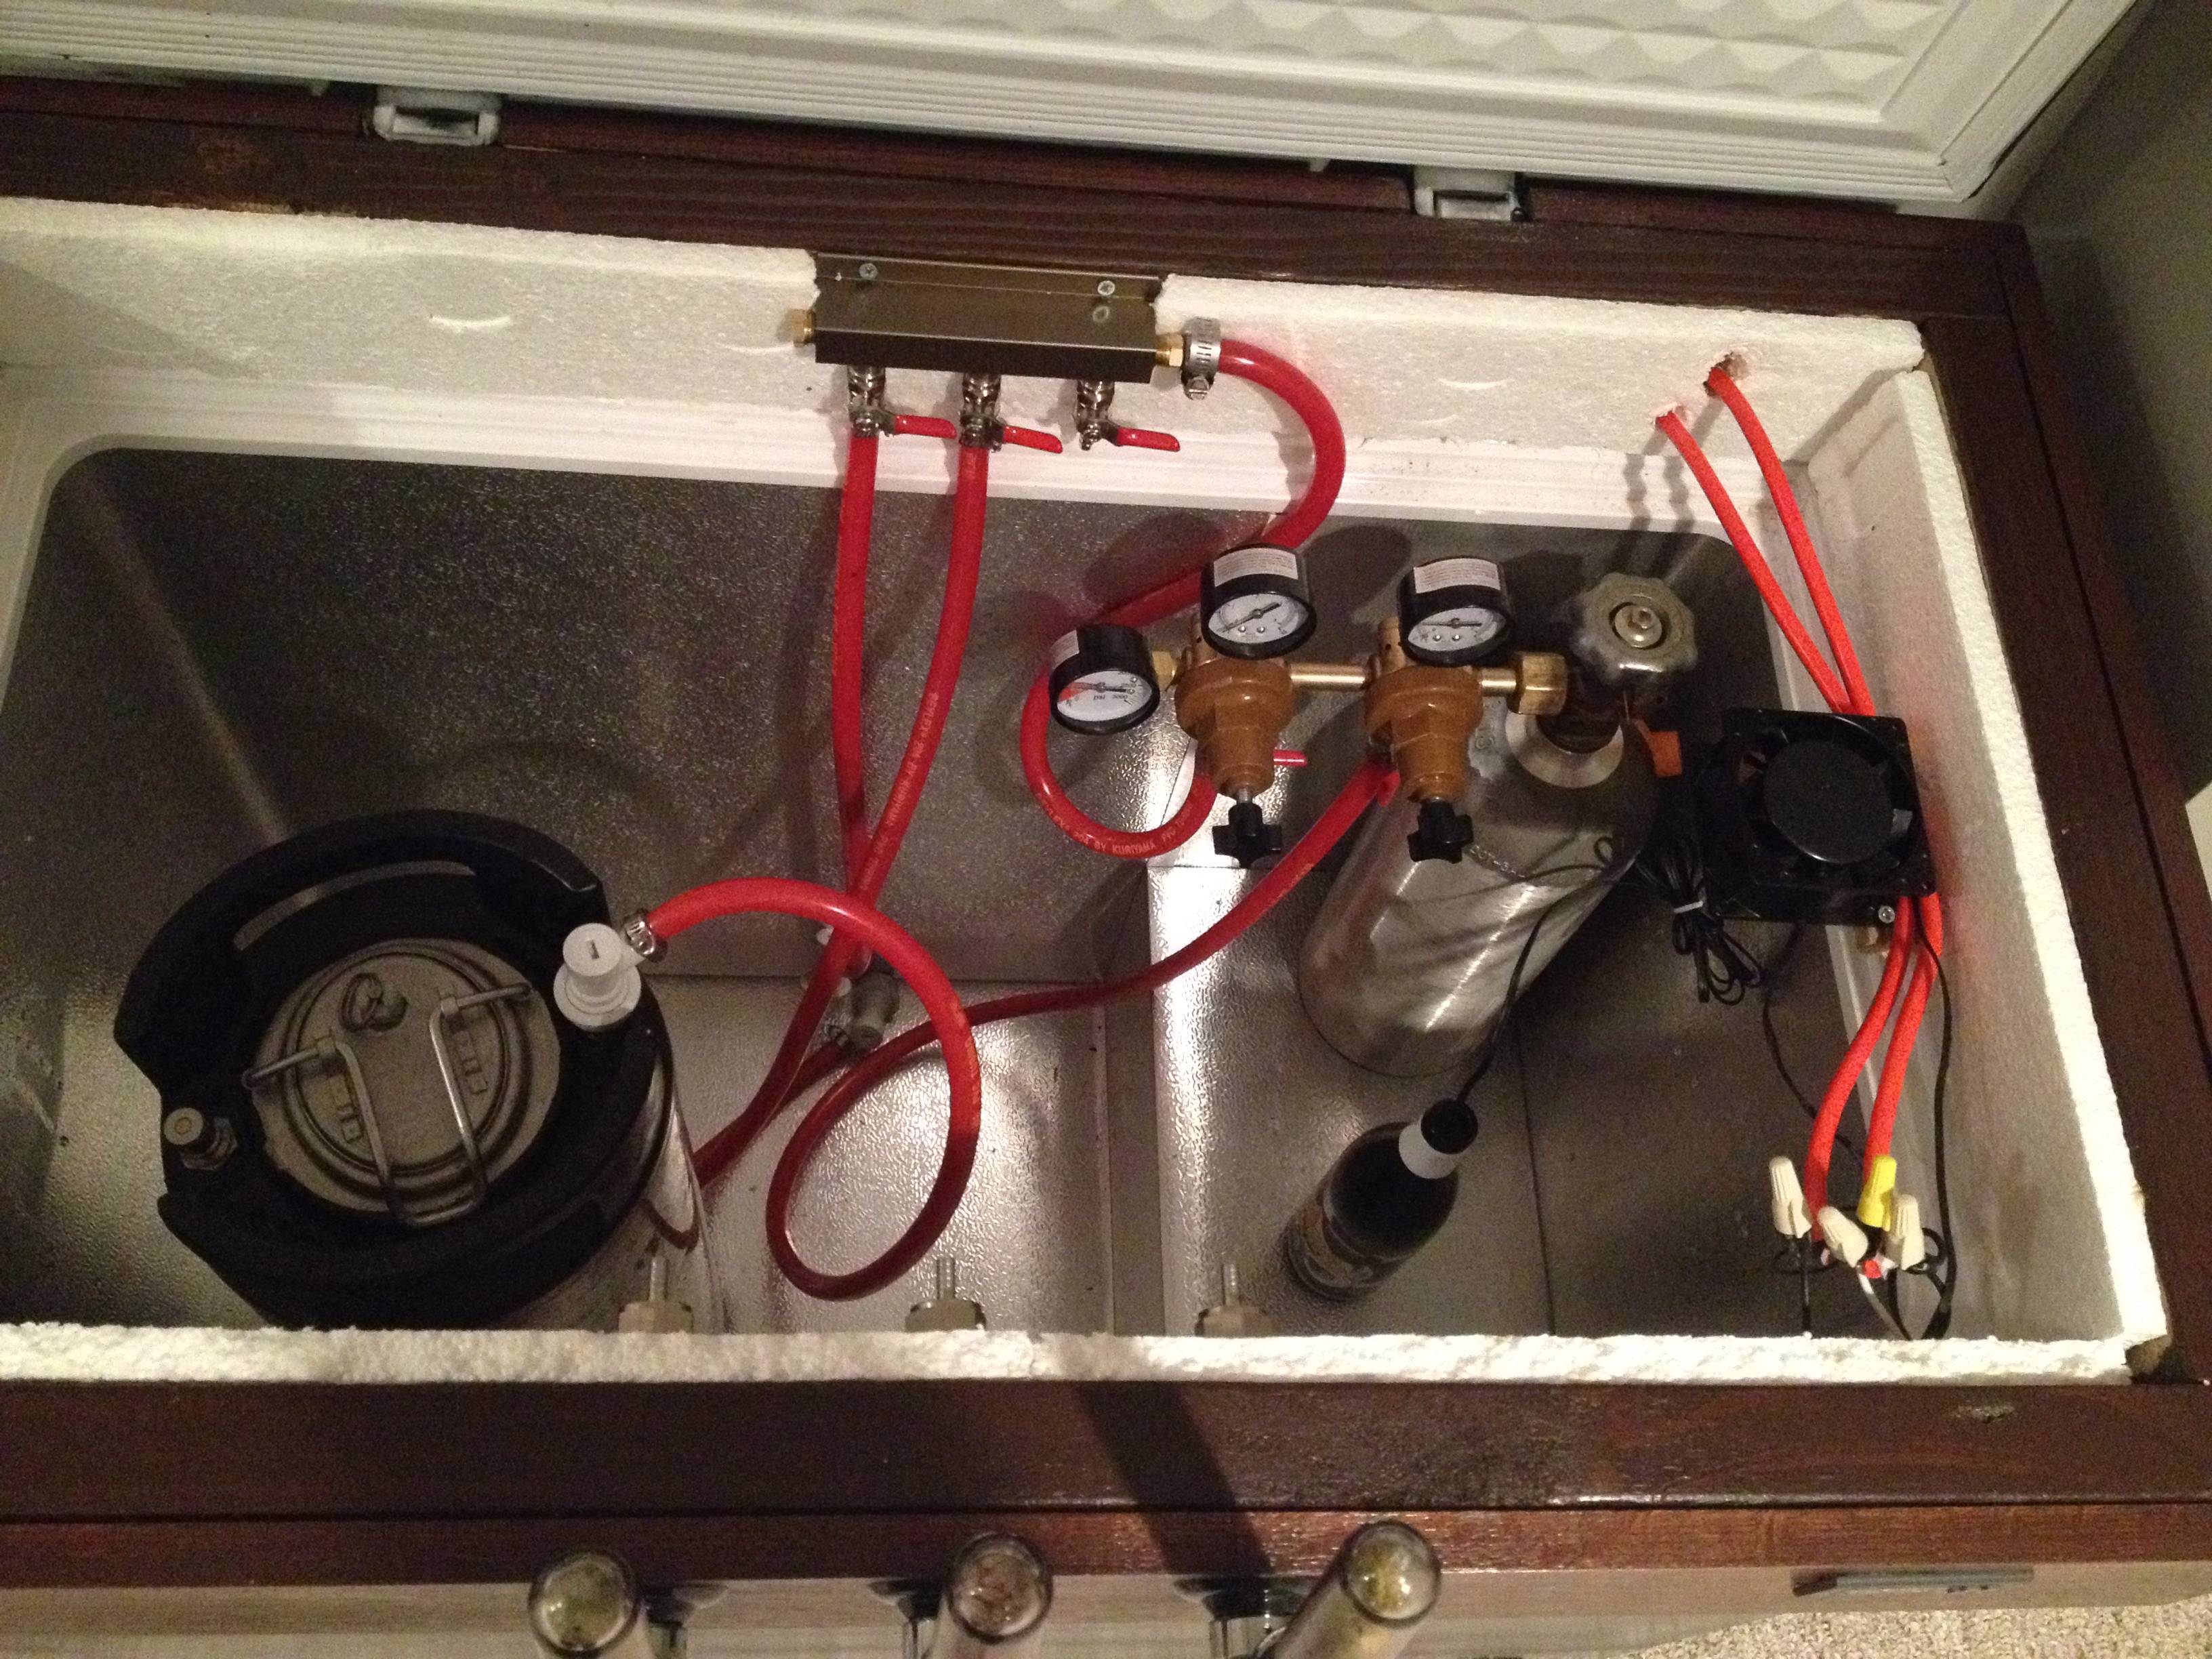
The inside shot shows everything hooked up. You can even see that I'm one keg short. Right now I have a Pliny clone and Yeti clone on tap. Had to go big for the first pours out of the keezer! I dropped my temperature probe in a bottle filled with water to keep the temp more stable. I also have a dual regulator off my CO2 tank, so I'm able to force carb a keg while keeping the rest on tap out of the same pressure.

WXKBoXg.jpg


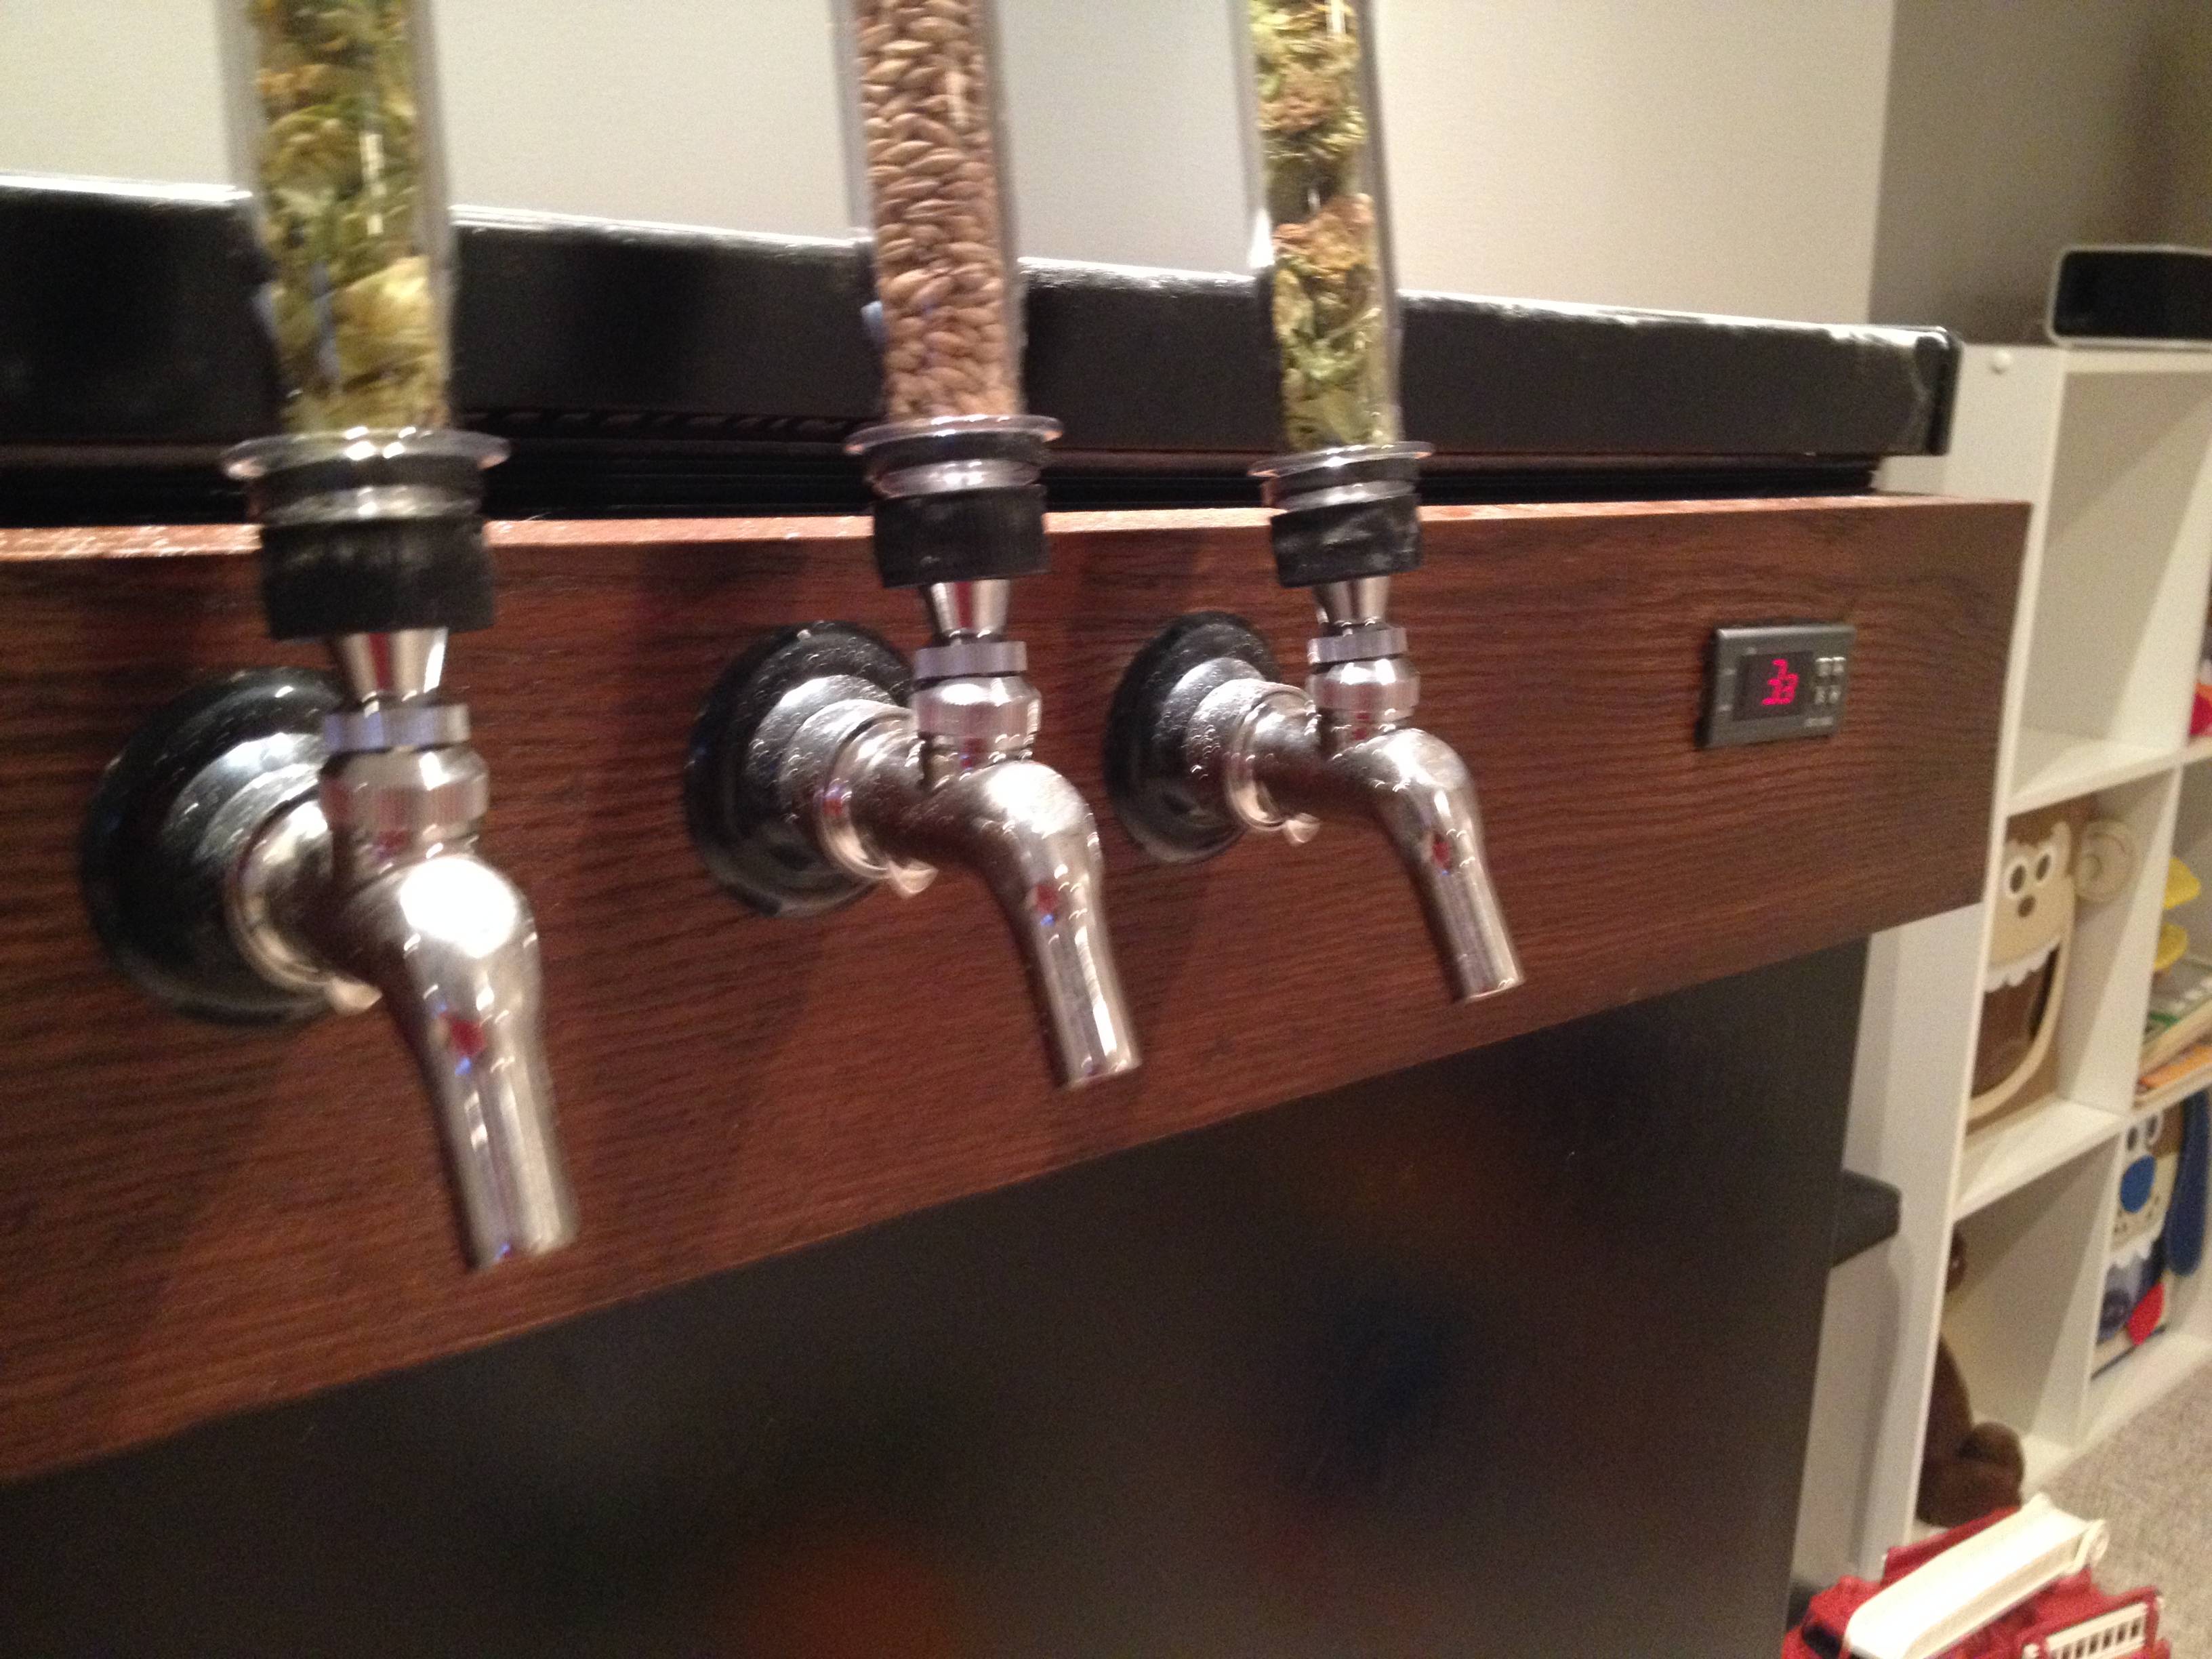
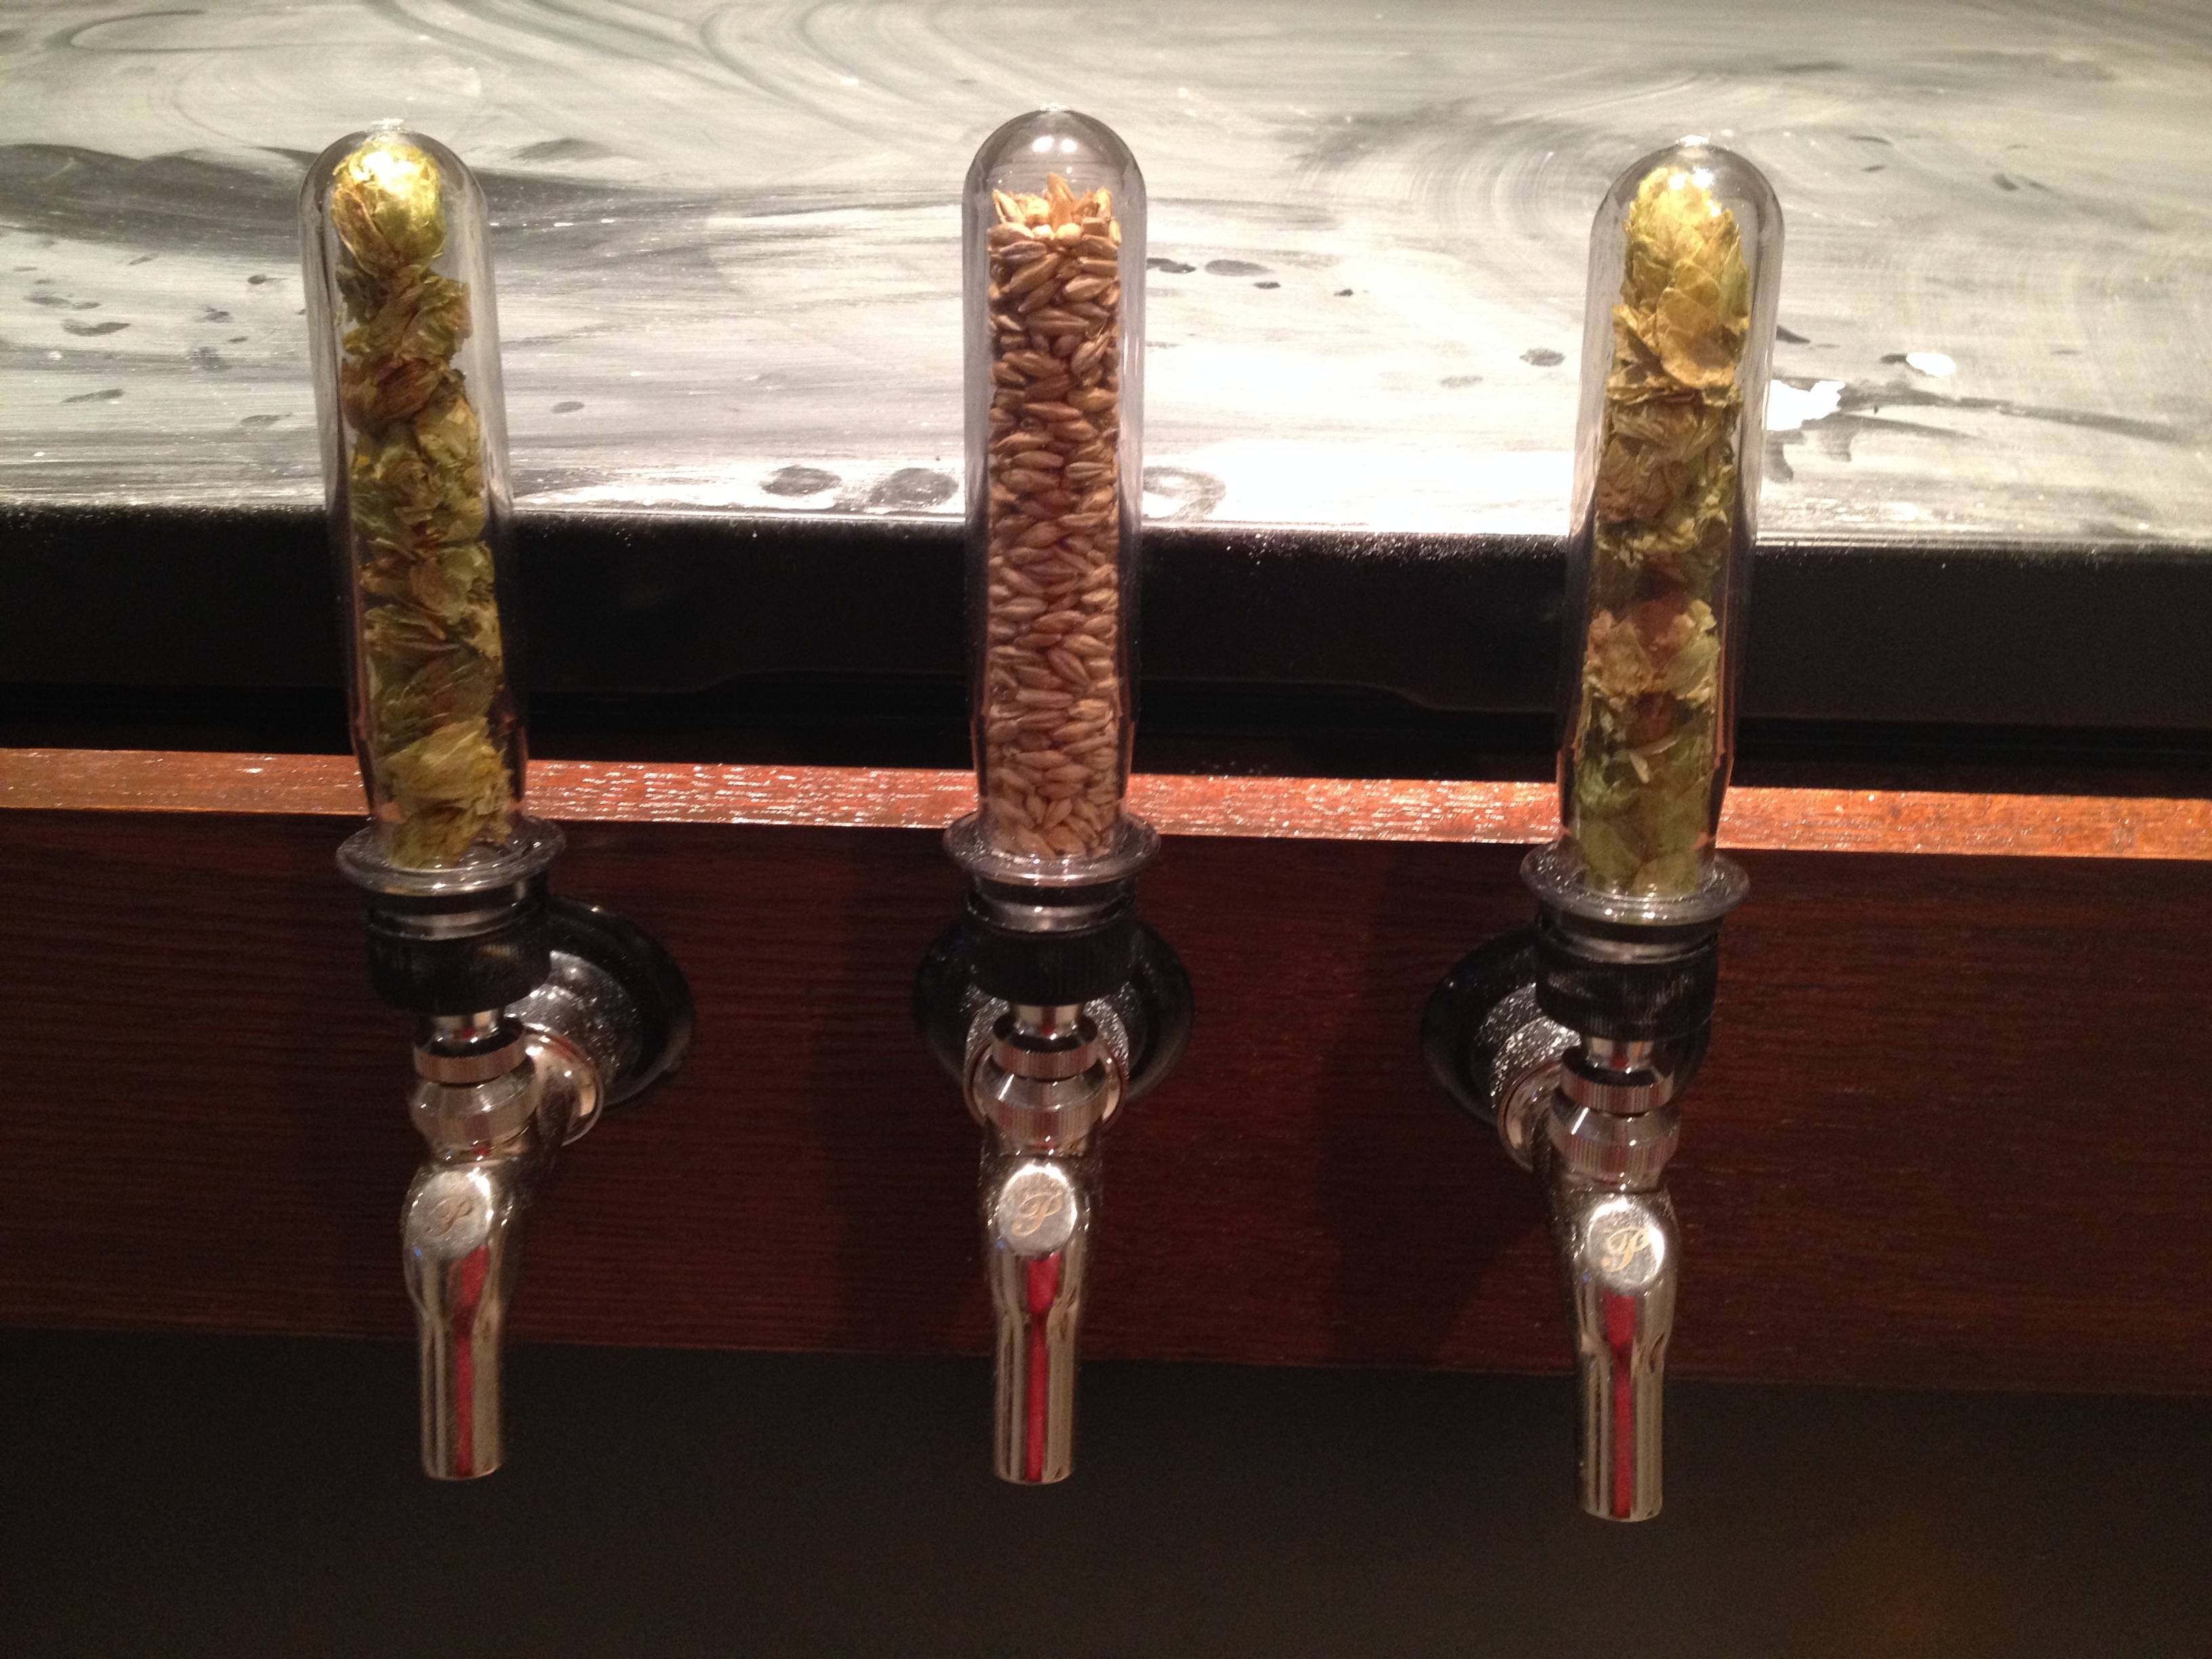
There was another HBT poster I found a year or two ago that creates metal inserts for the bottoms of yeast vials. I decided to use this and filled them with grain and hops for a nice look. The top of the lid is chalkboard paint, so I can draw on there to tell people which tap is which. I need to clean it up a little before posting a good pic of it.

G4yP8gv.jpg


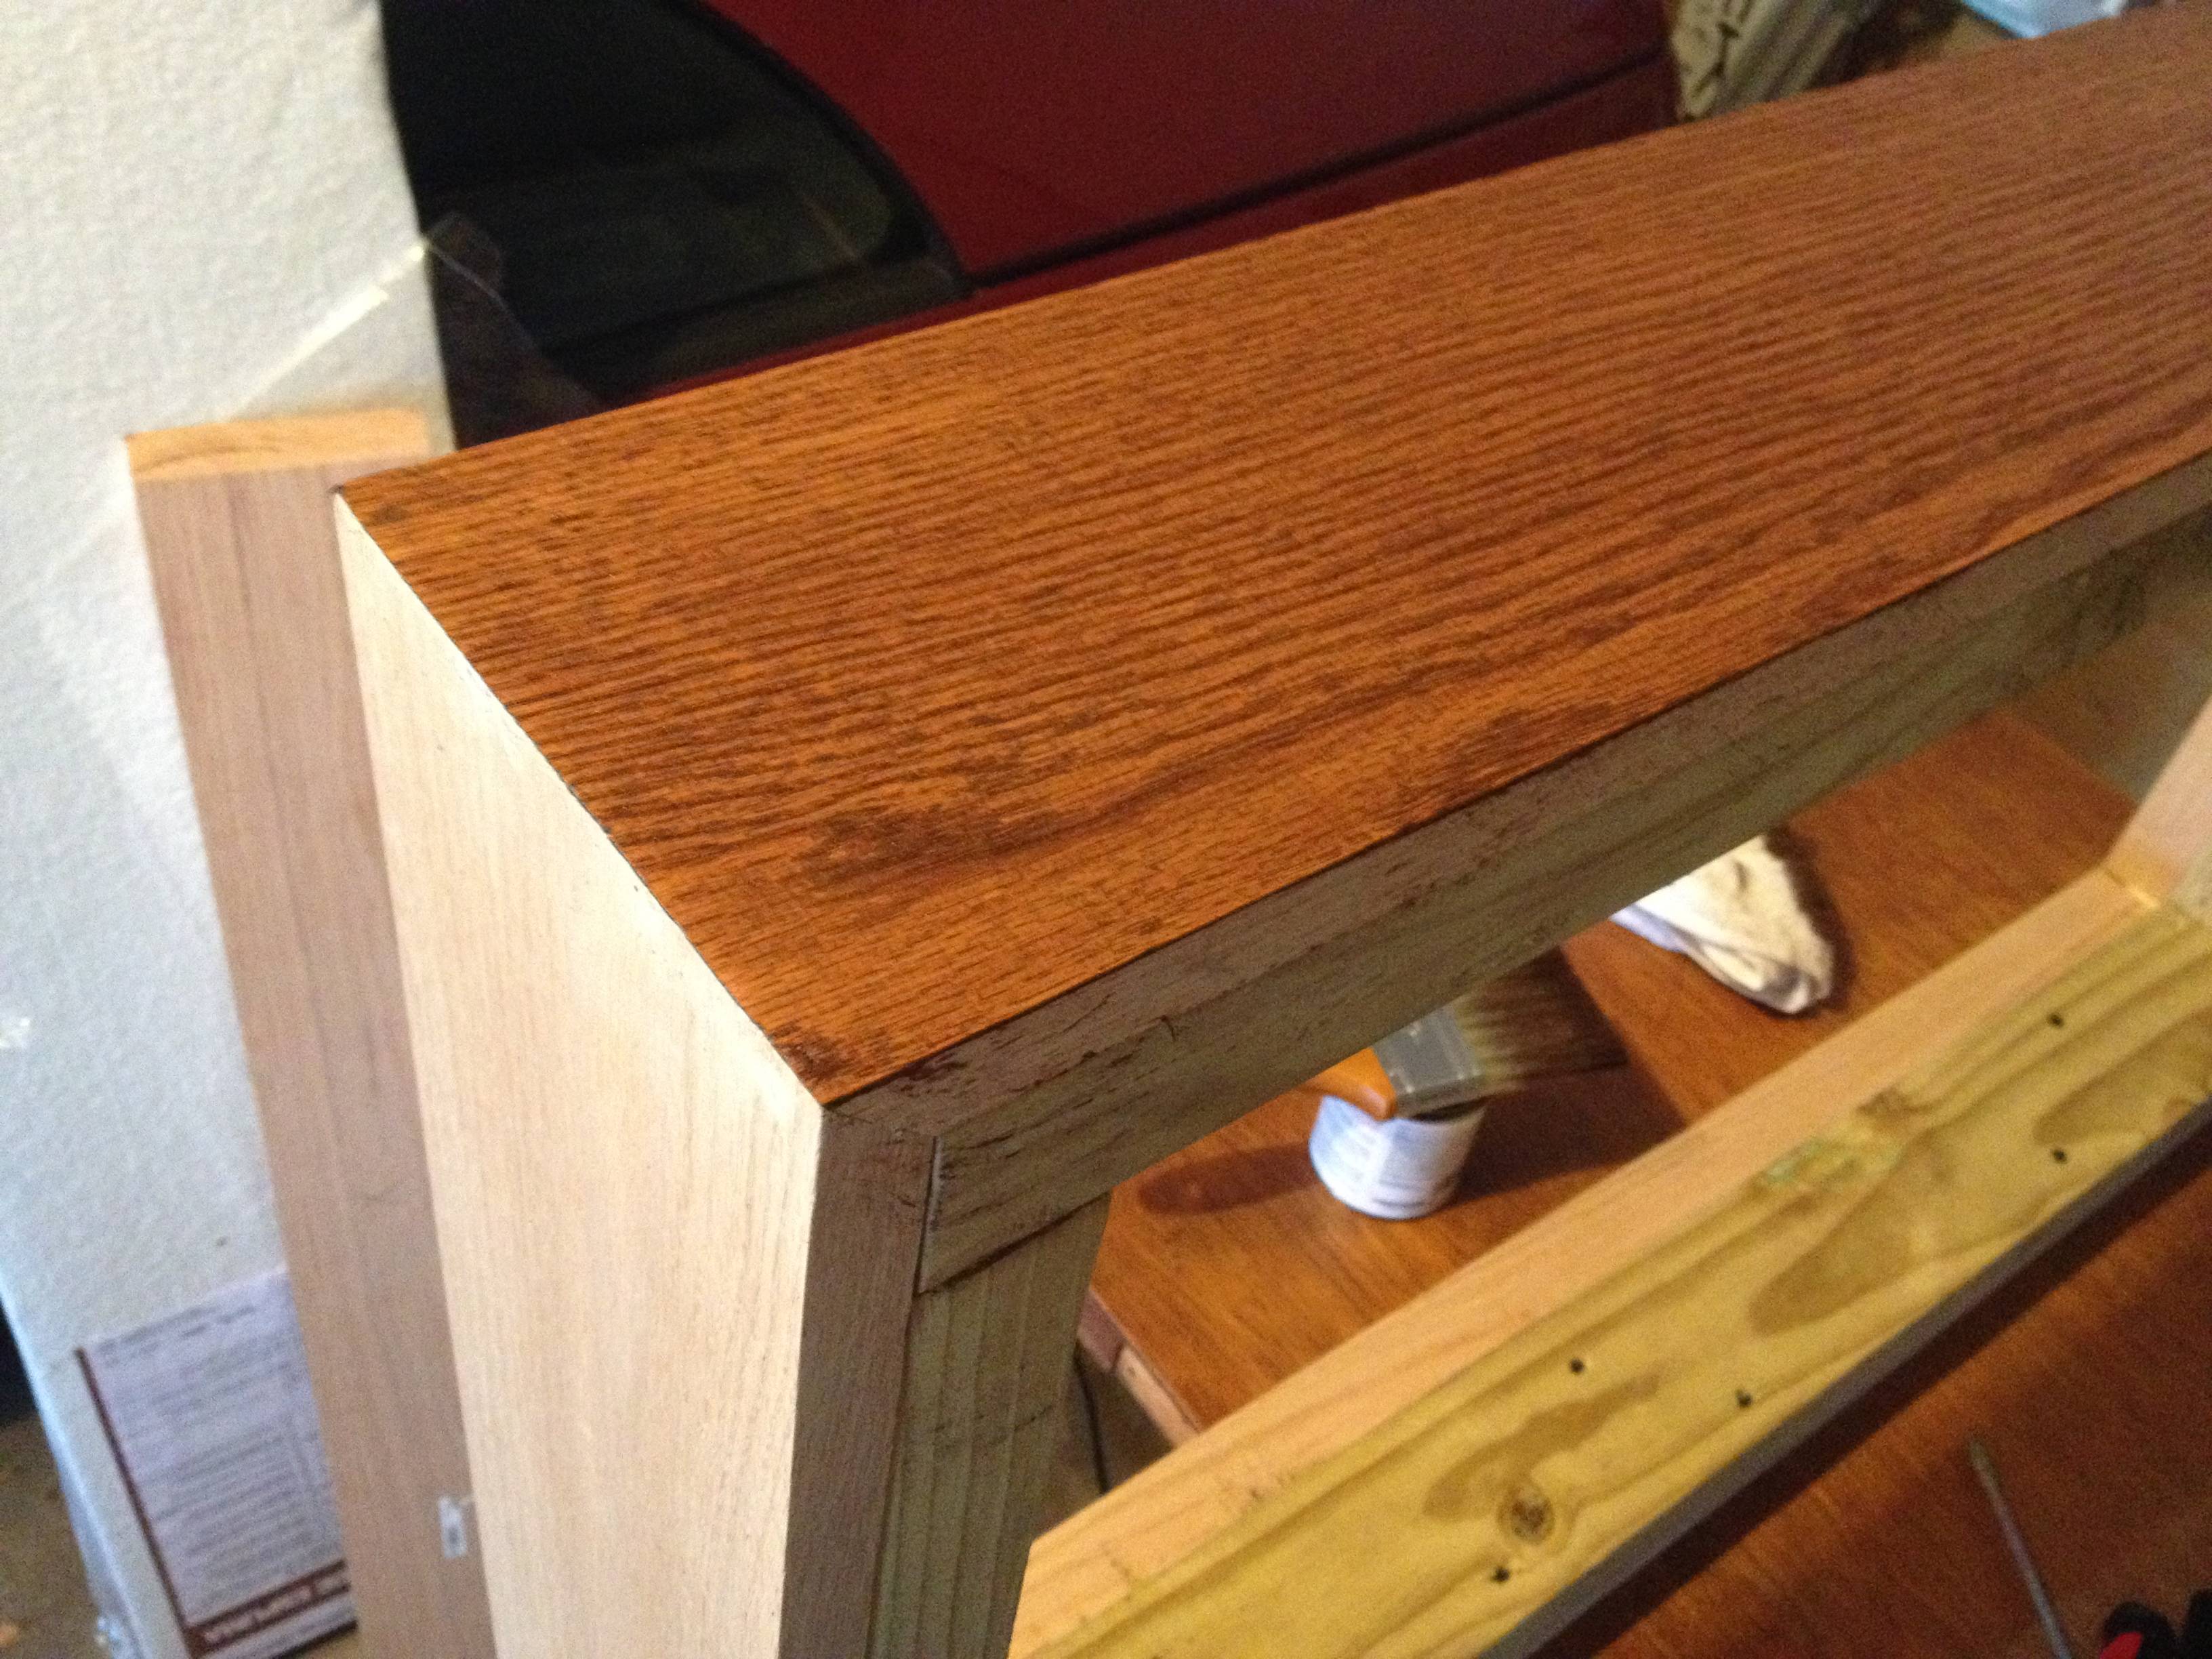
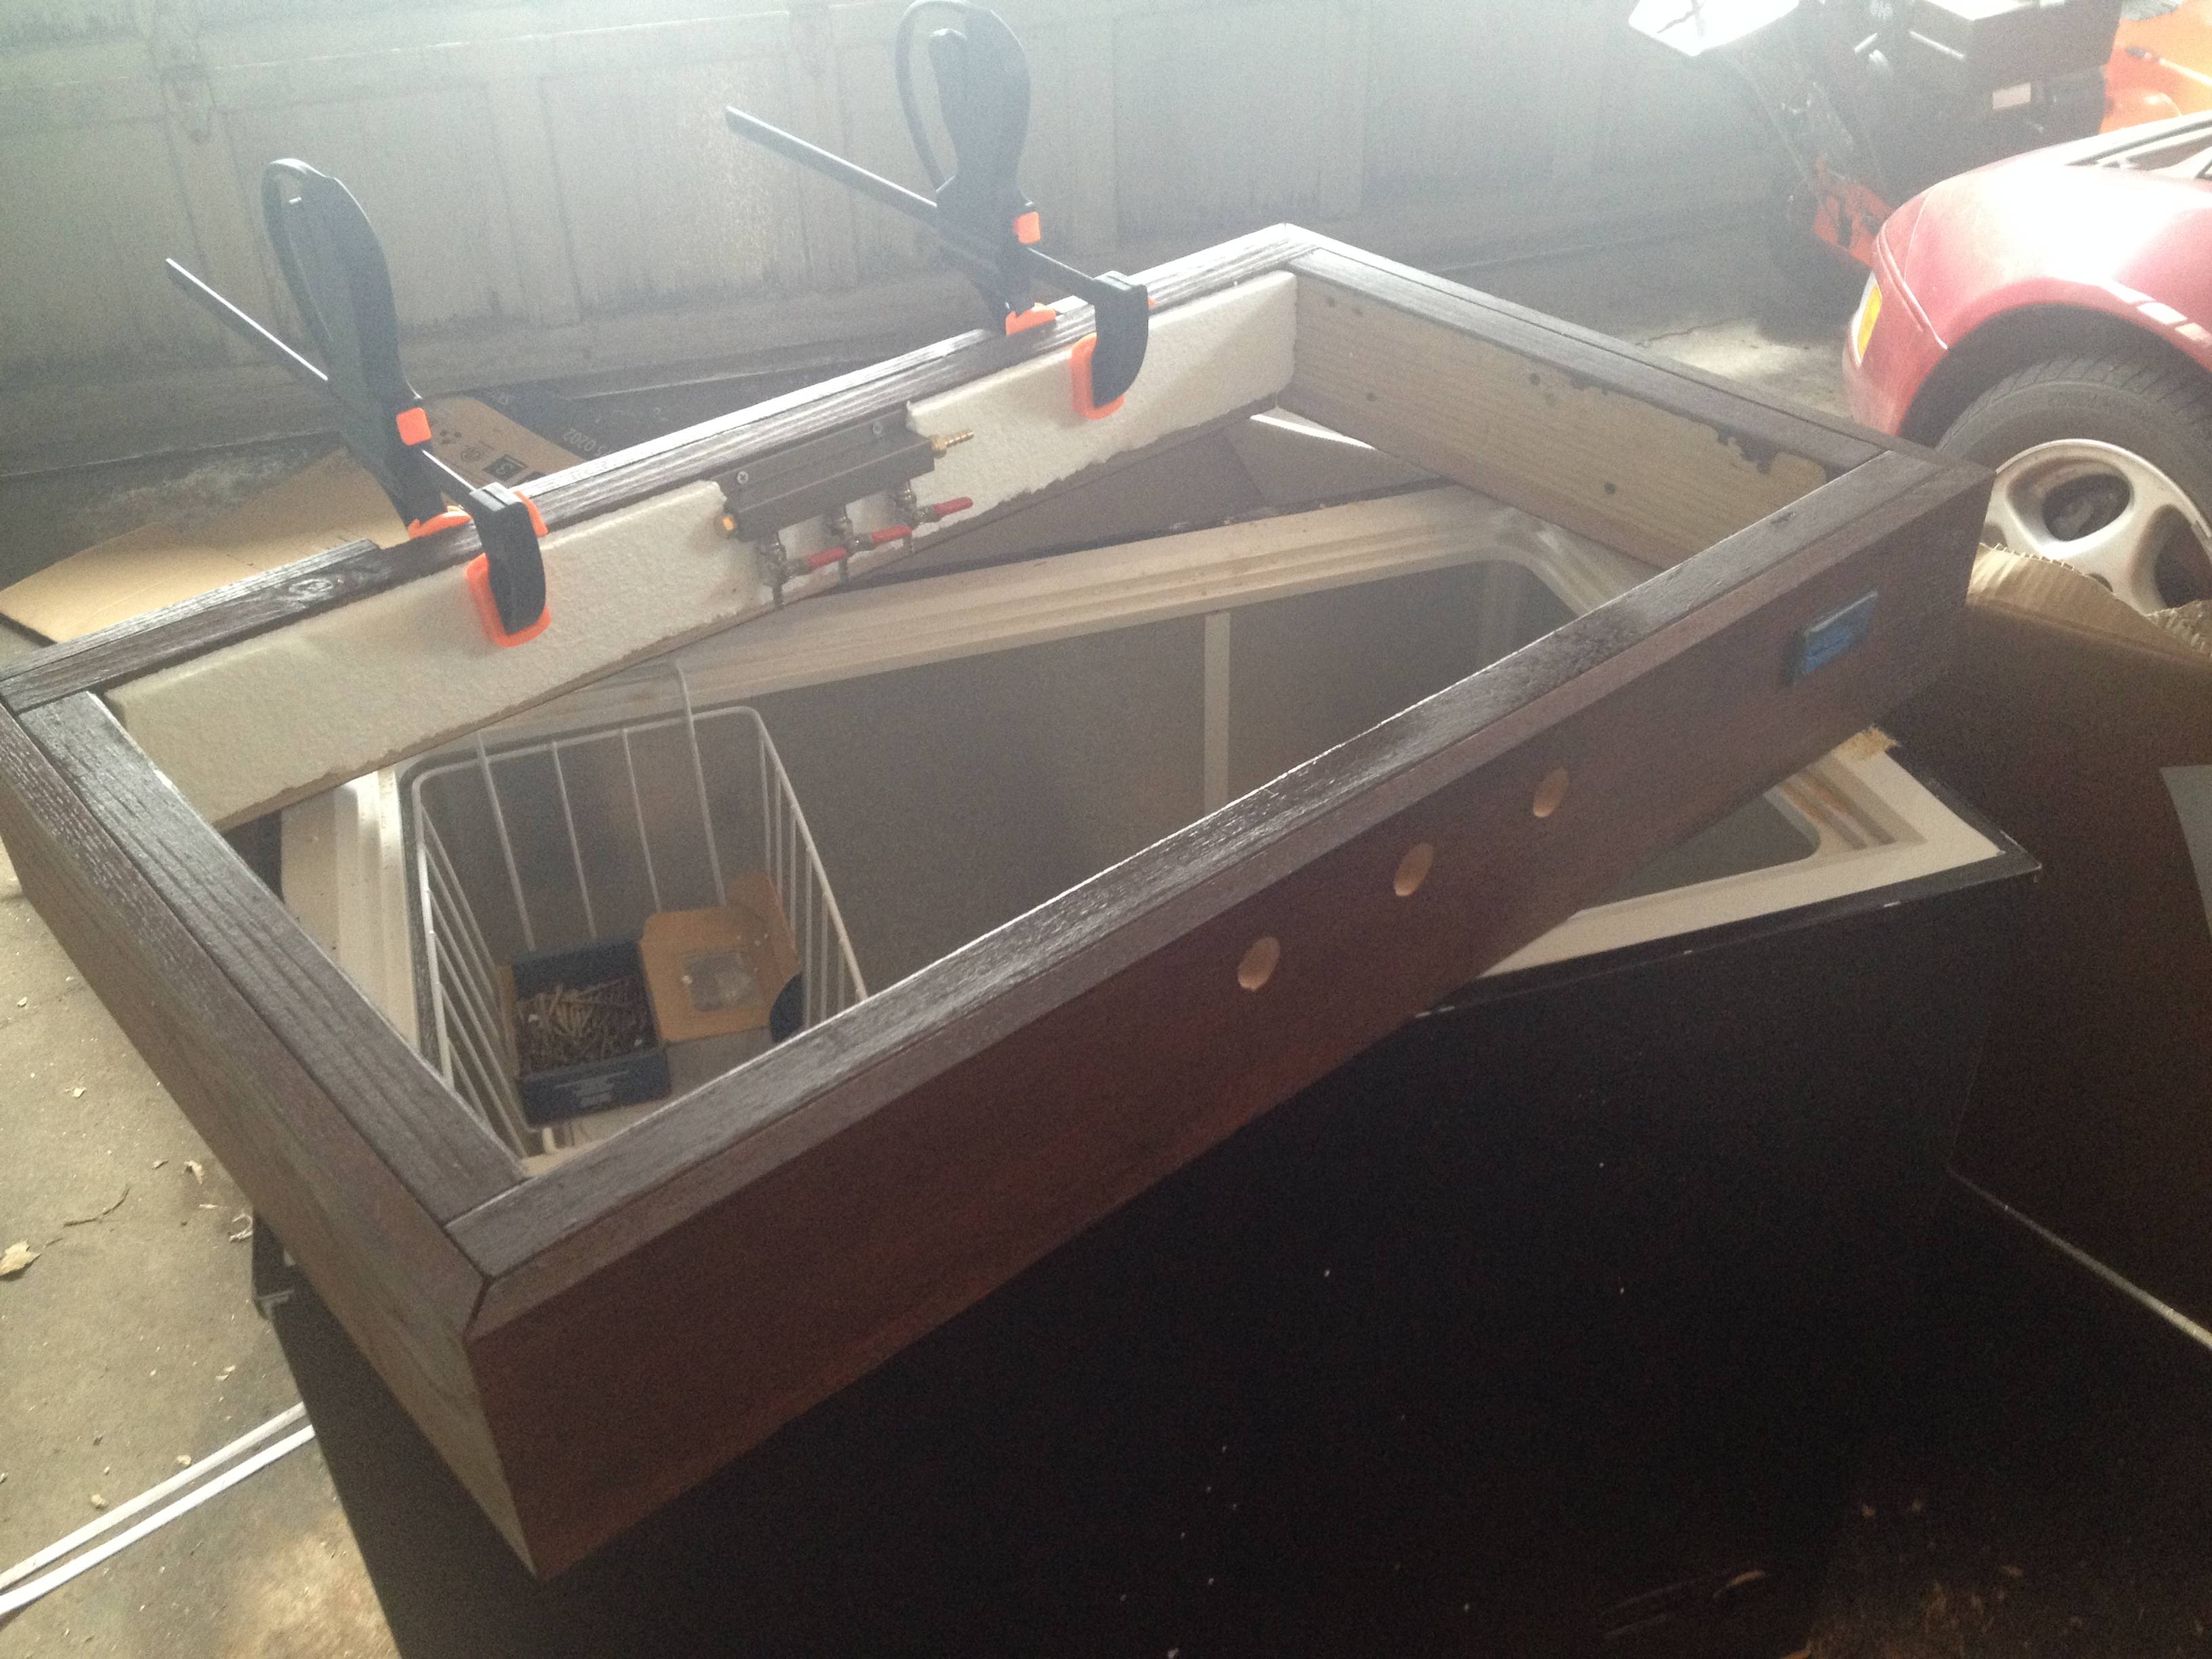
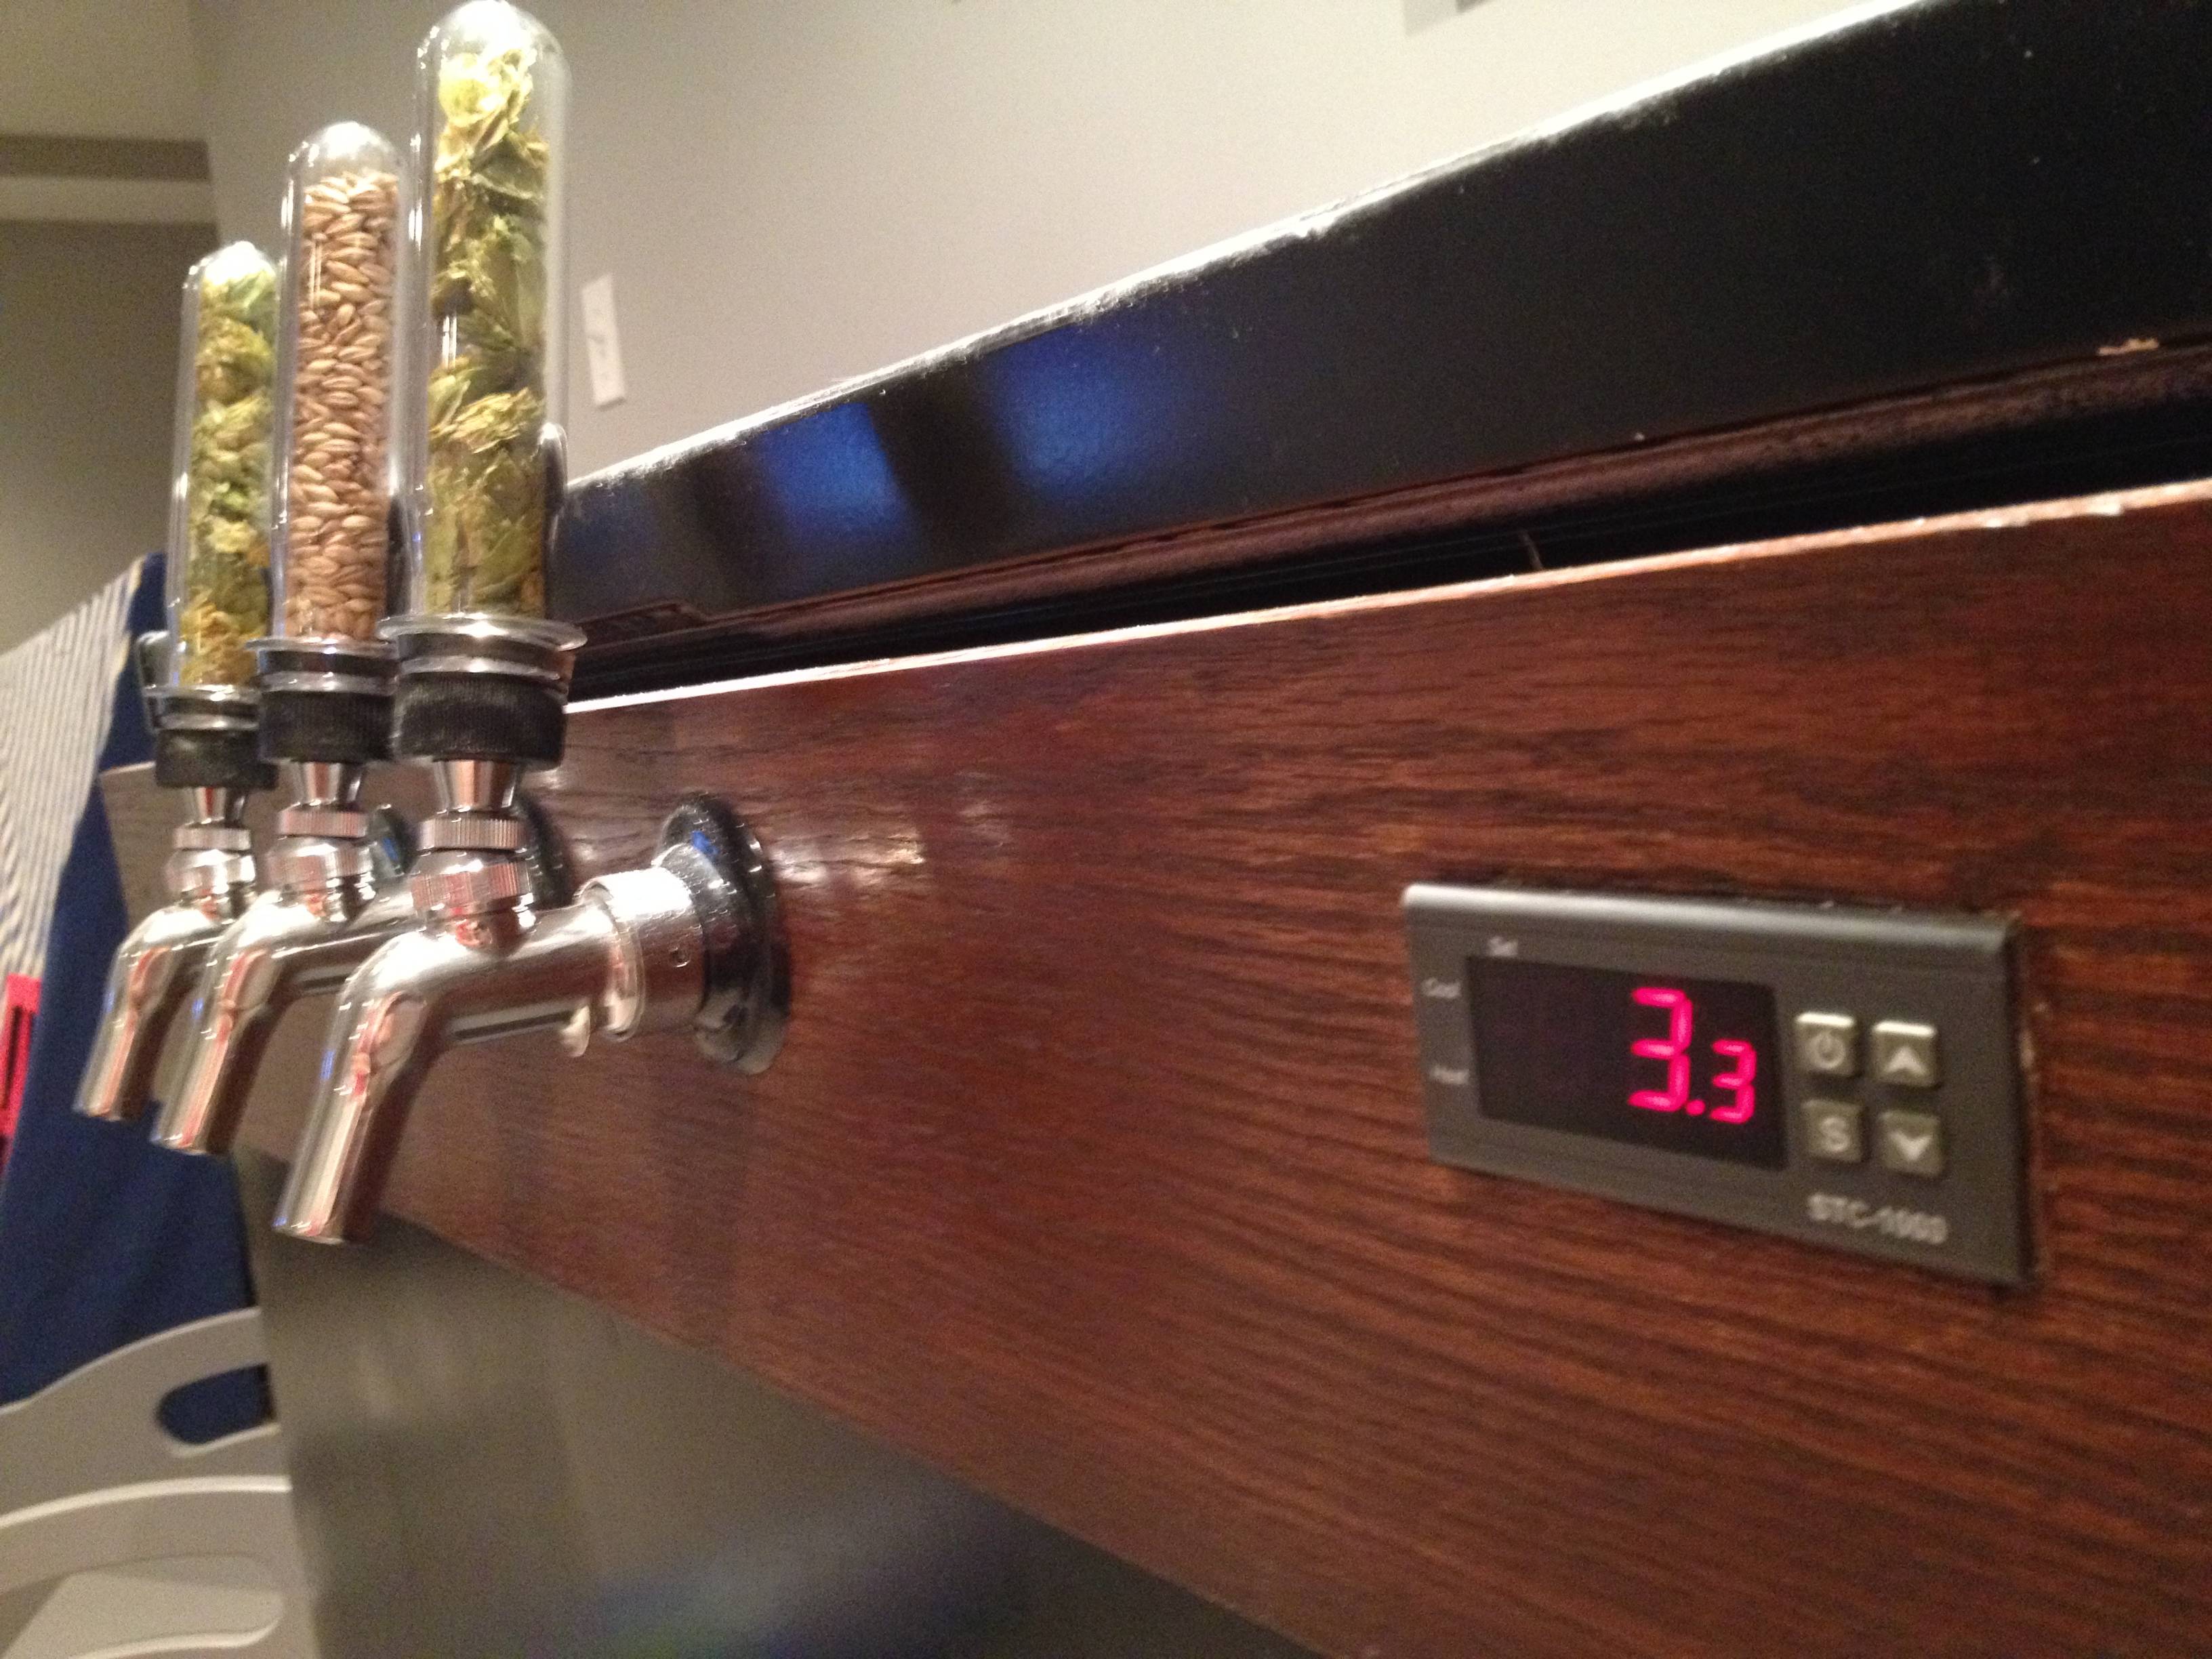
Last pic shows the temp controller (I didn't pony up the extra $5 to get it in Fahrenheit) and the taps next to each other. On the far left of the collar, I'm going to install a bottle opener. I found a cool one on kickstarter, but just waiting for it to ship before dropping it on there.

lZvn90N.jpg


If anyone has questions, I'll do my best to respond and update this thread. Thanks to all of the inspiration on this forum, and to SWMBO saying yes, or this would never have happened.
 
I'm not sure of all the part numbers that I used. Just make sure you have a freezer big enough to hold three cornies. I used perlick faucets and the STC-1000 temp controller. Everything else like the gas regulator is pretty standard that I either found online or at the LHBS for cheap. Let me know if I can be any more help and thanks for taking a look.
 
Thinking about using the same controller. I love how you can build it in makes it look really clean. How did you wire it? Ive seen some people run it to a surge protector on the back?
 
Back
Top