muhteeus
Well-Known Member


Decided to convert the old fermentation deep freeze from STC-1000 to a IoT web enabled thing.
I am using the BrewPi Remix firmware for the arduino and Fermentrack on the front-end for the pi. Most of the parts were leftovers from an old project, but I will still link what I used.
Parts:
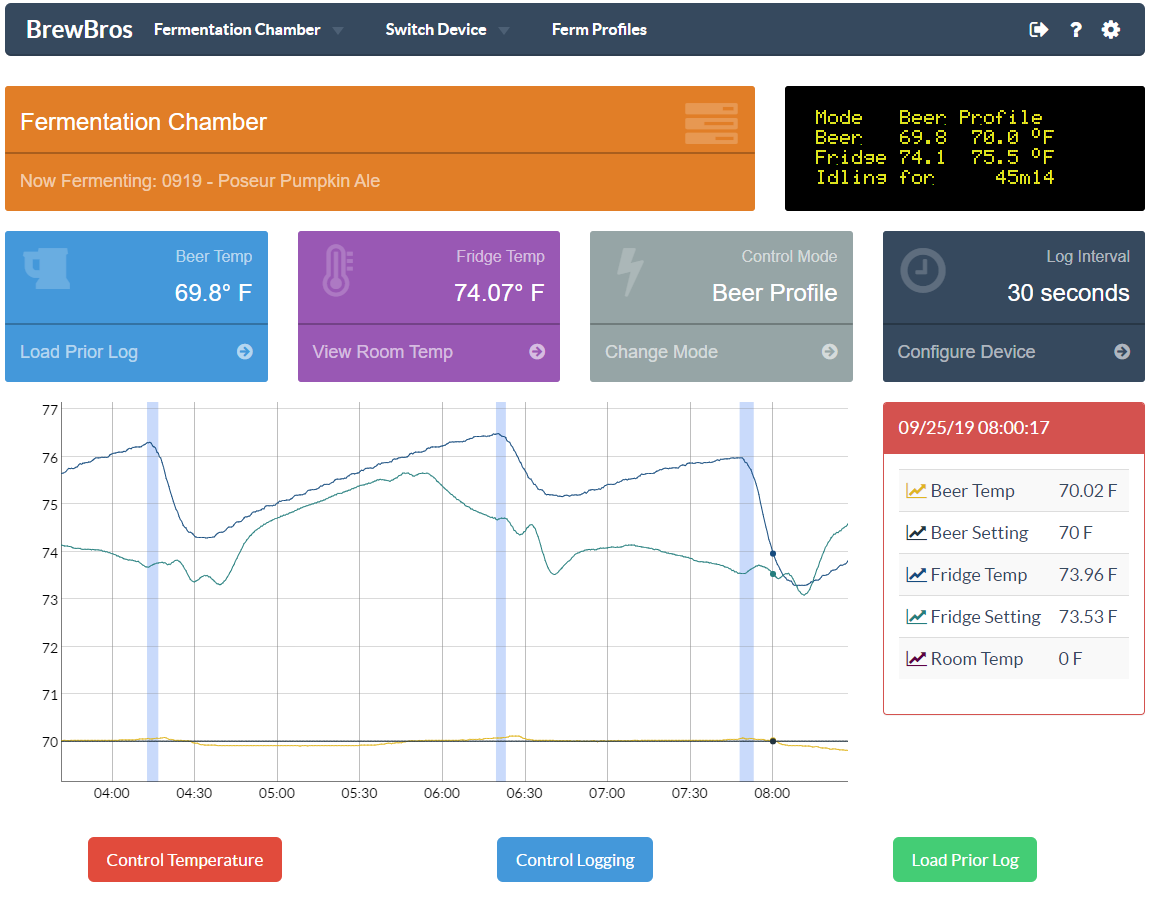
- 1 - Raspberry Pi 3B - headless install ft. Fermentrack
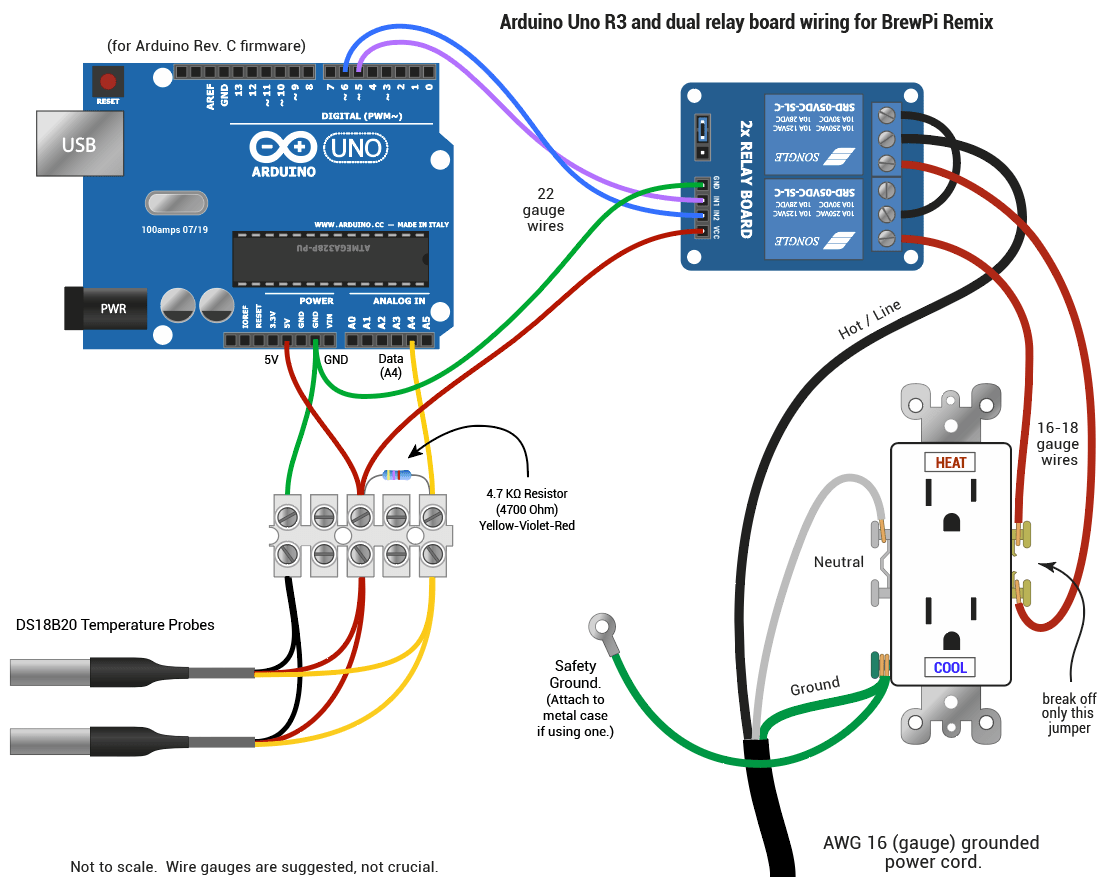
- 1 - Arduino Duo Equivalent - flashed with the BrewPi Remix Firmware
- 2 - DS18B20 Temperature Probes (with 4.7kohm resistor)
- 1 - 20A 8 Circuit Terminal Block
- 1 - 2ch 5V Relay (active low) - 125V 10A out
- 2 - 15A Rated Panel Mount Outlet
- 2 - 3.5mm TRS Panel Mount Female Jack
- 2 - 3.5mm TRS Male Plug
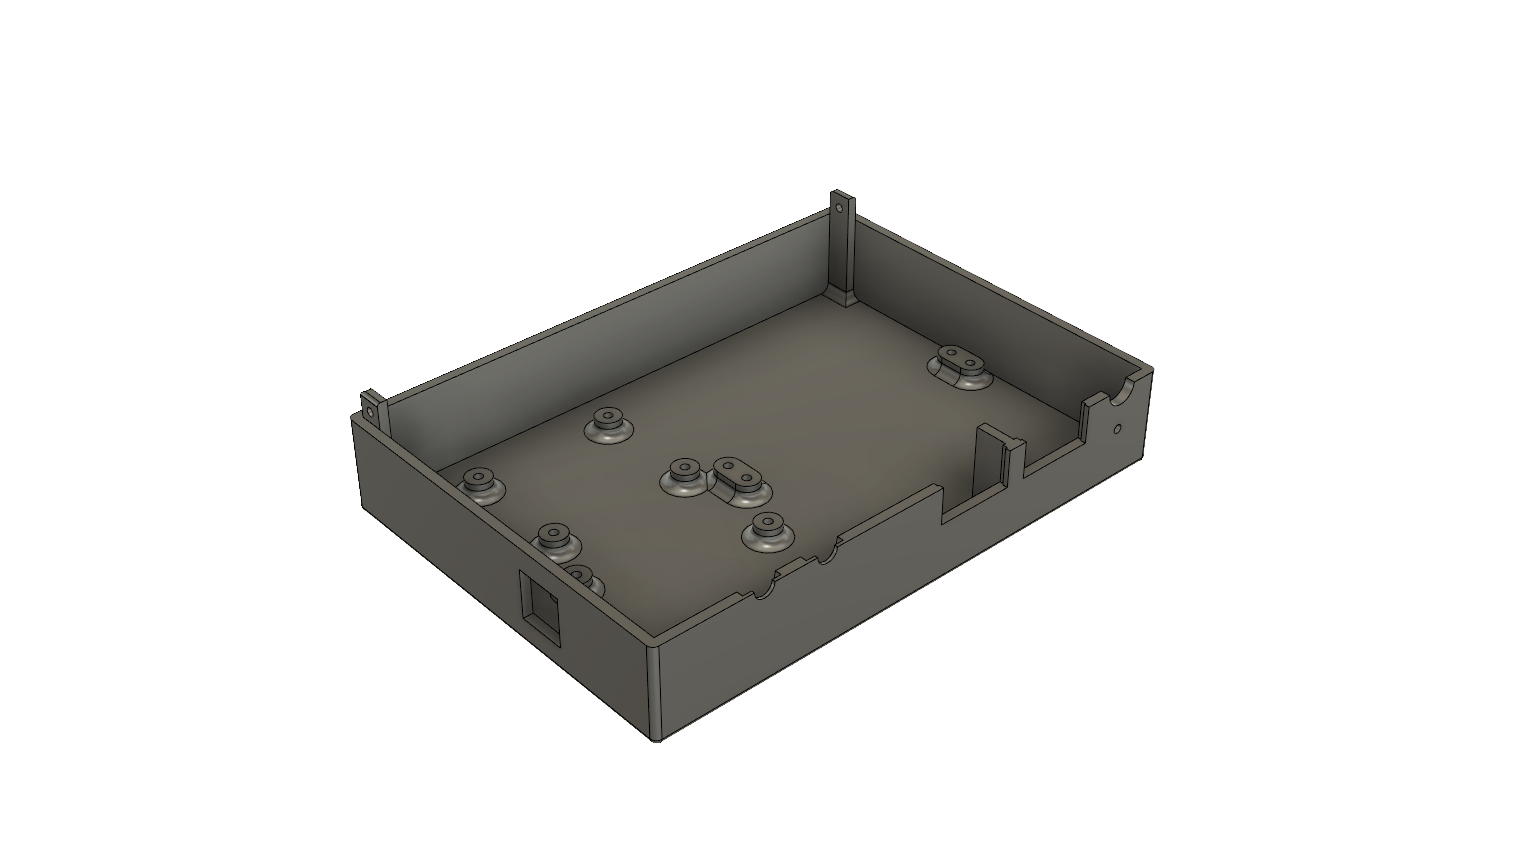
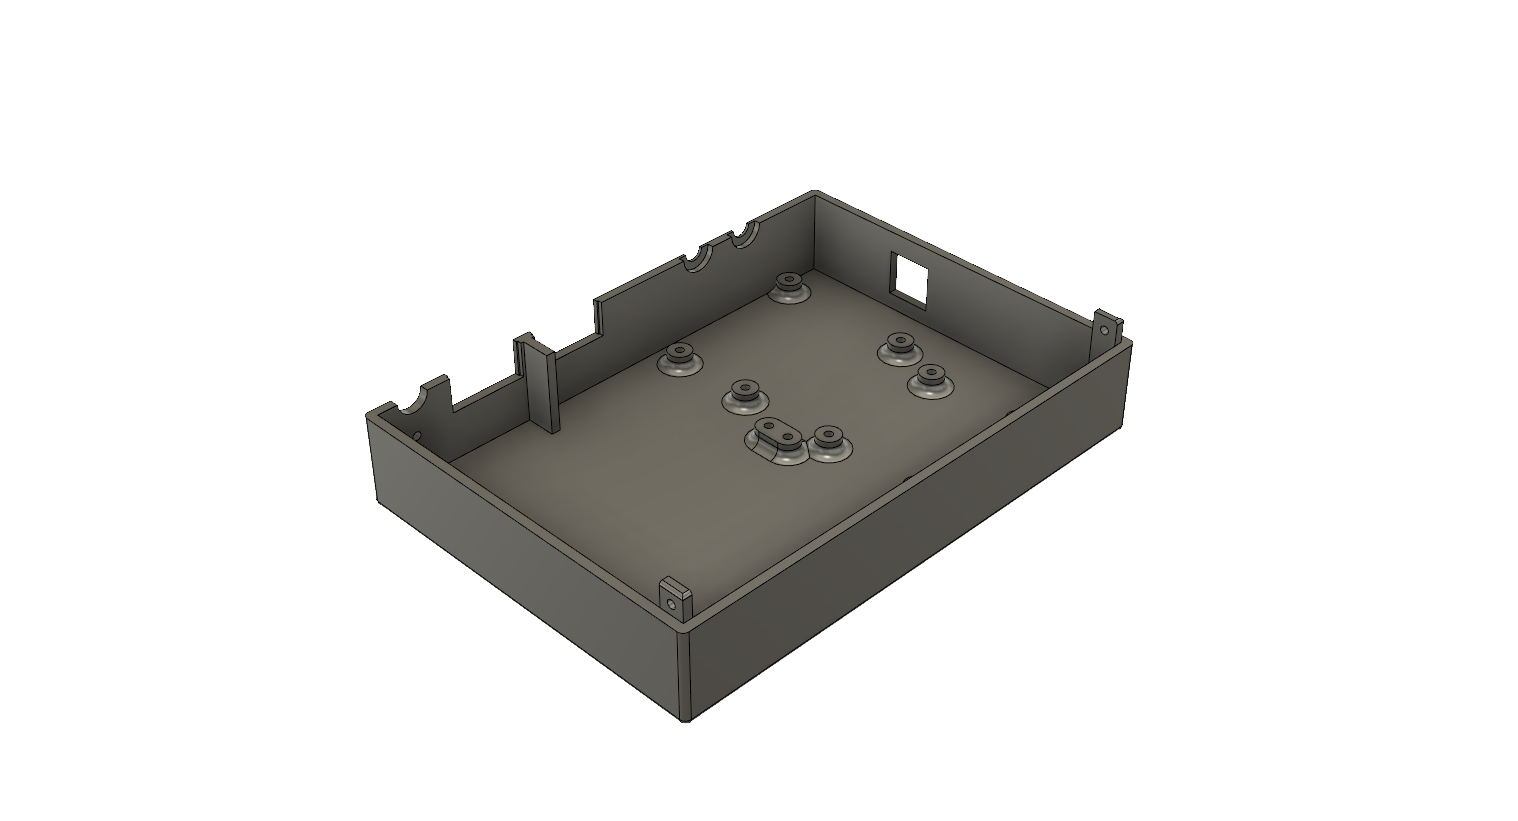
- Optional - 3D Printed PLA Case - If you want to use this case and not modify it, the terminal block, jacks, outlets, and likely the relay are not interchangeable.
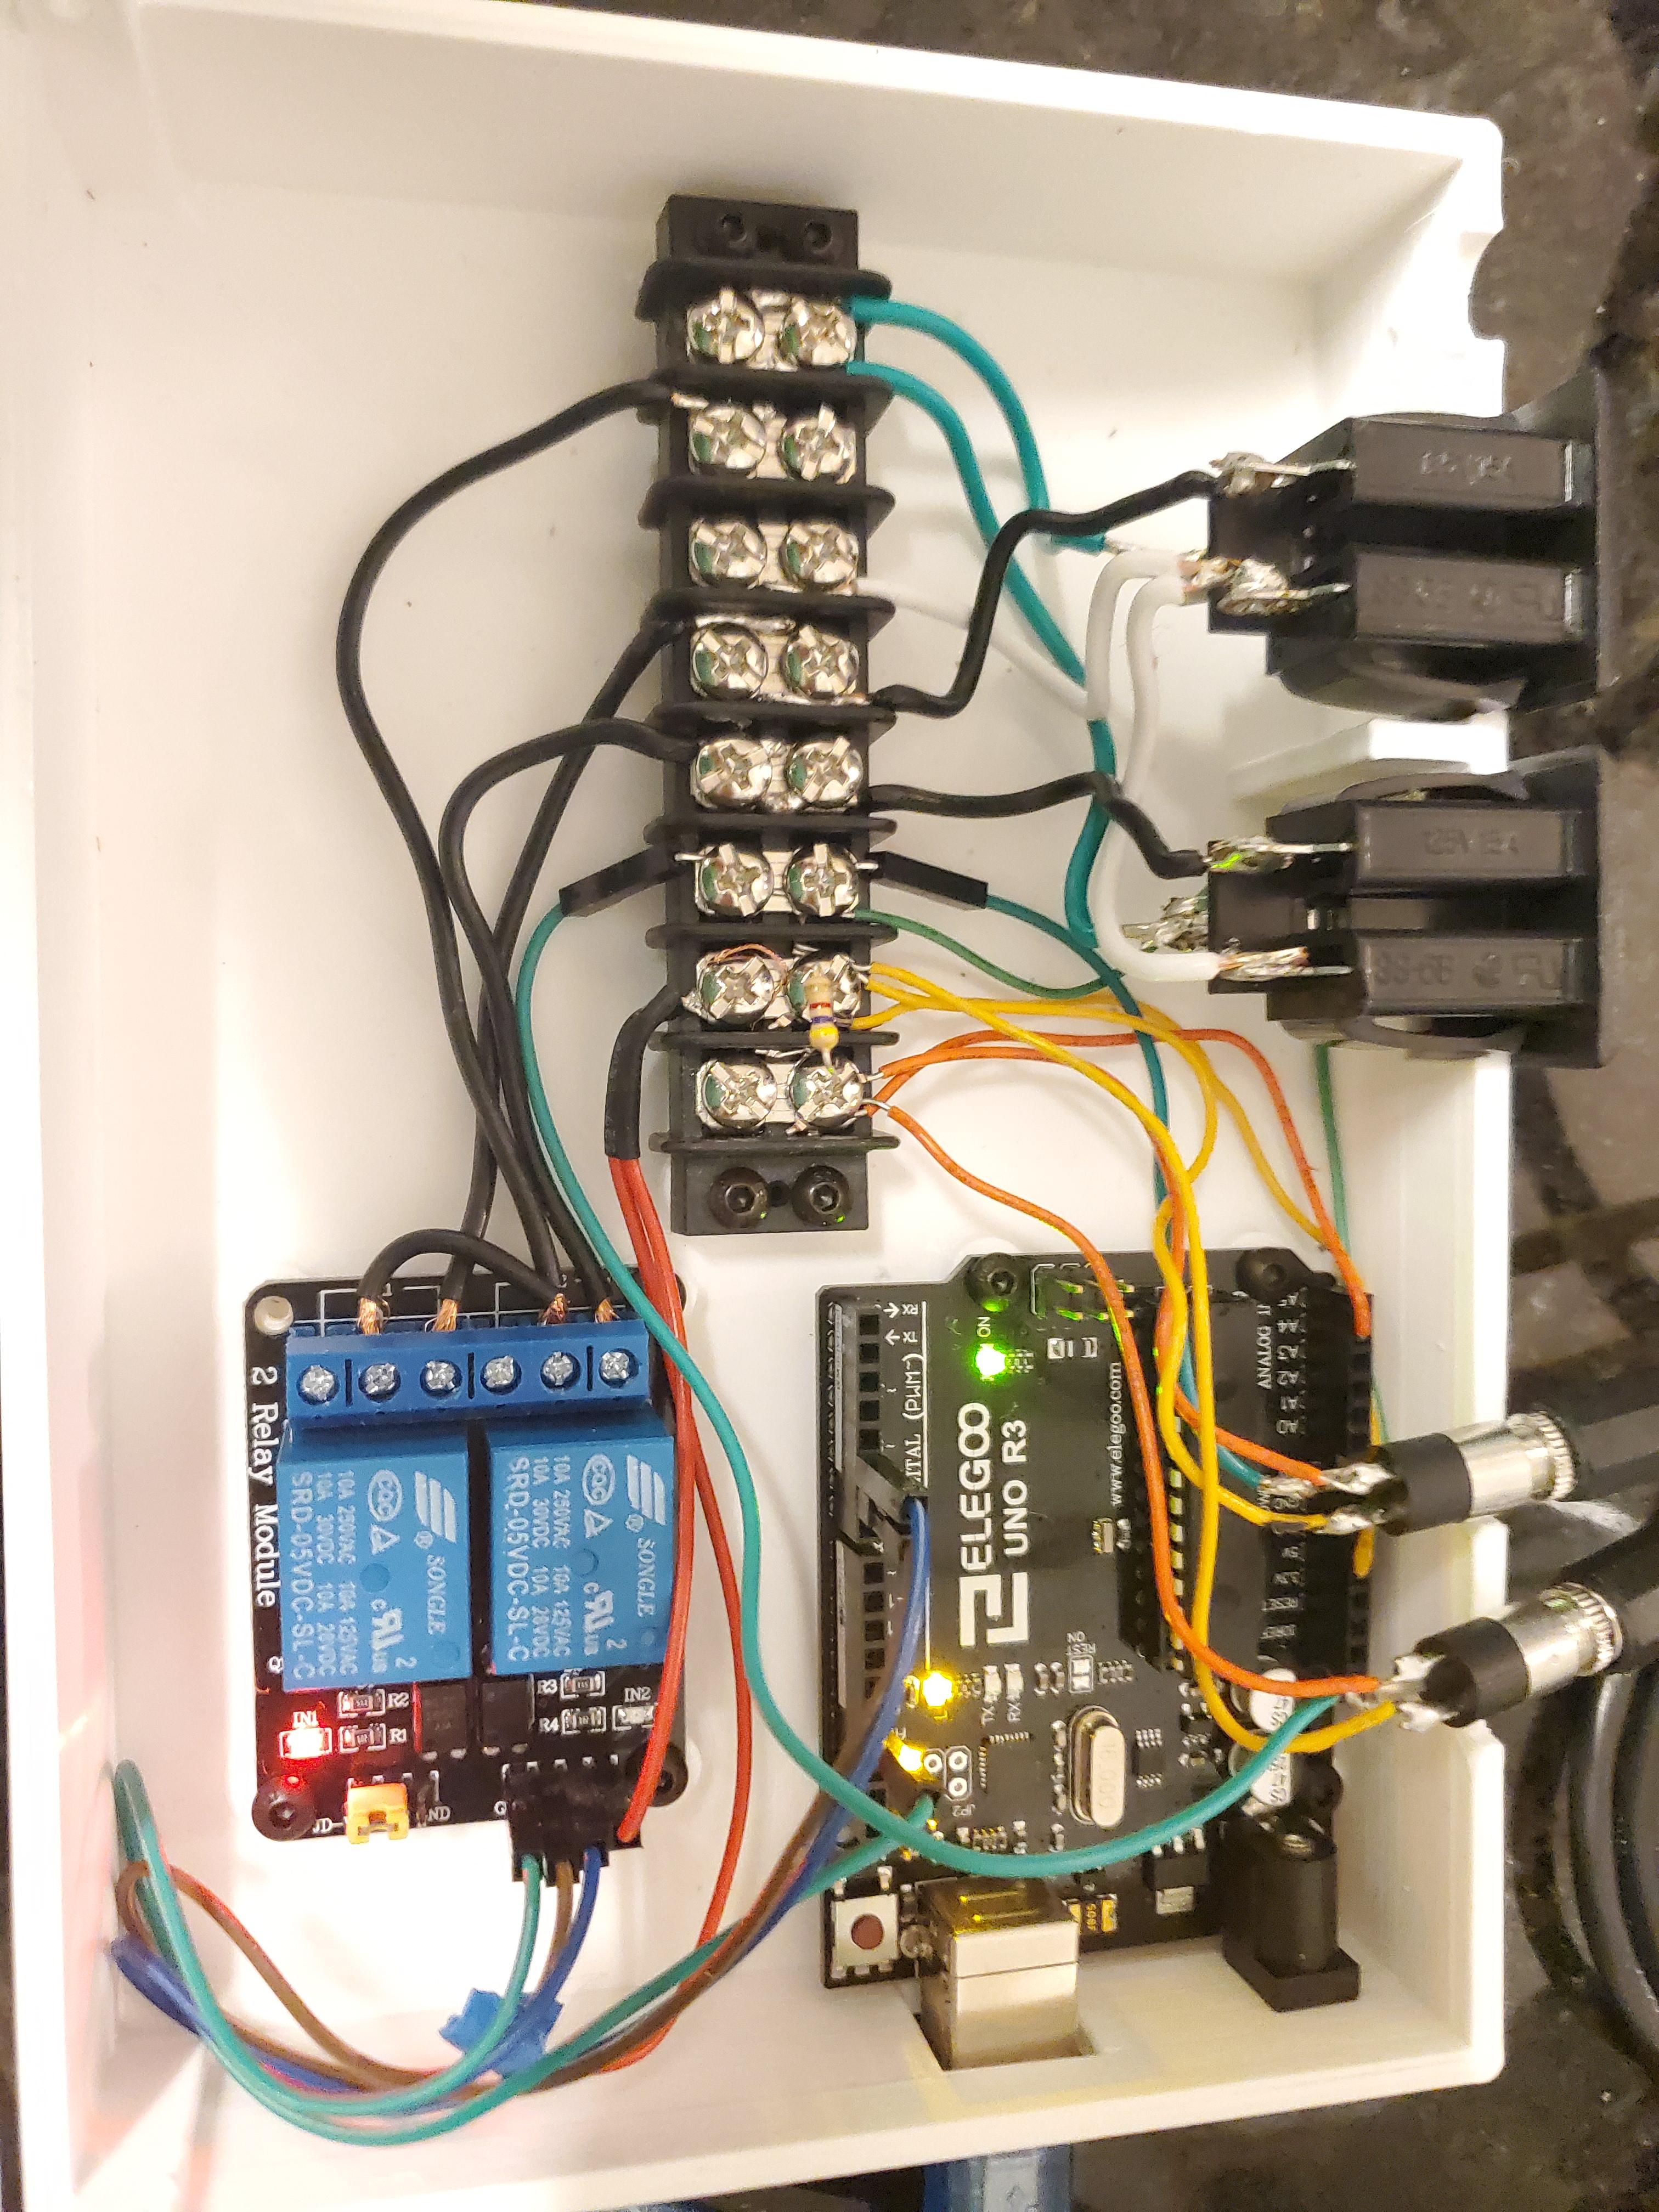
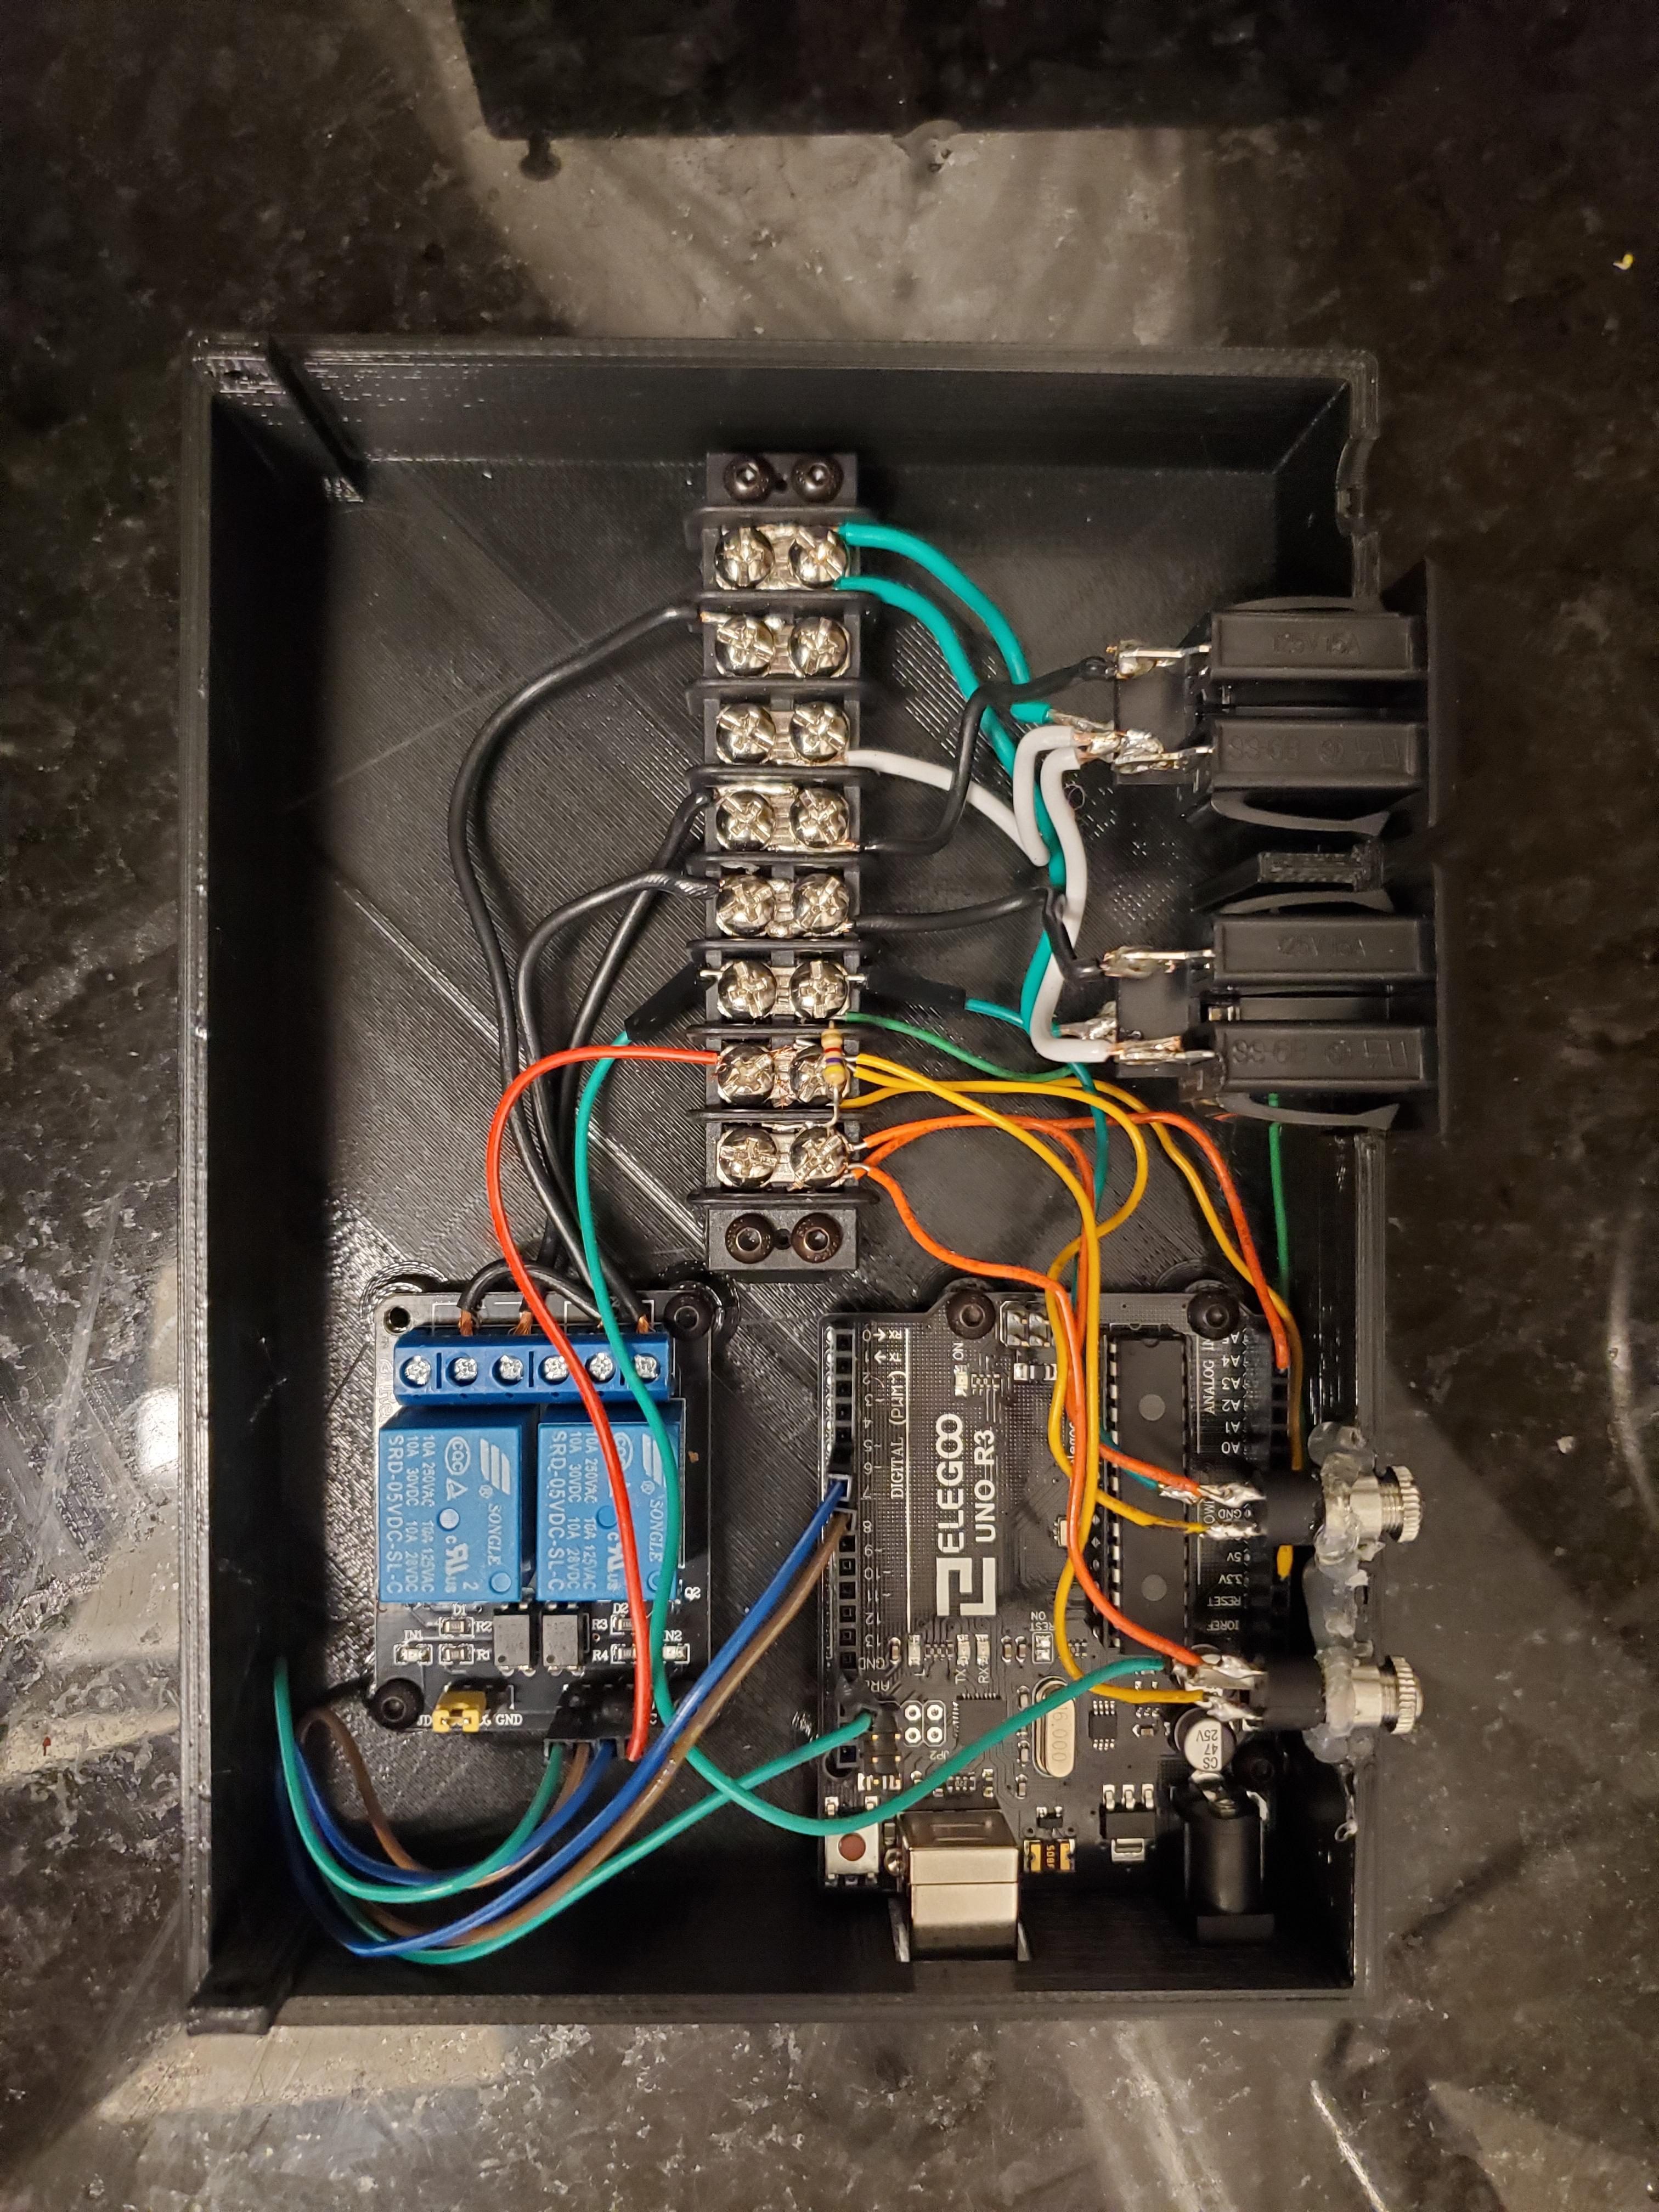
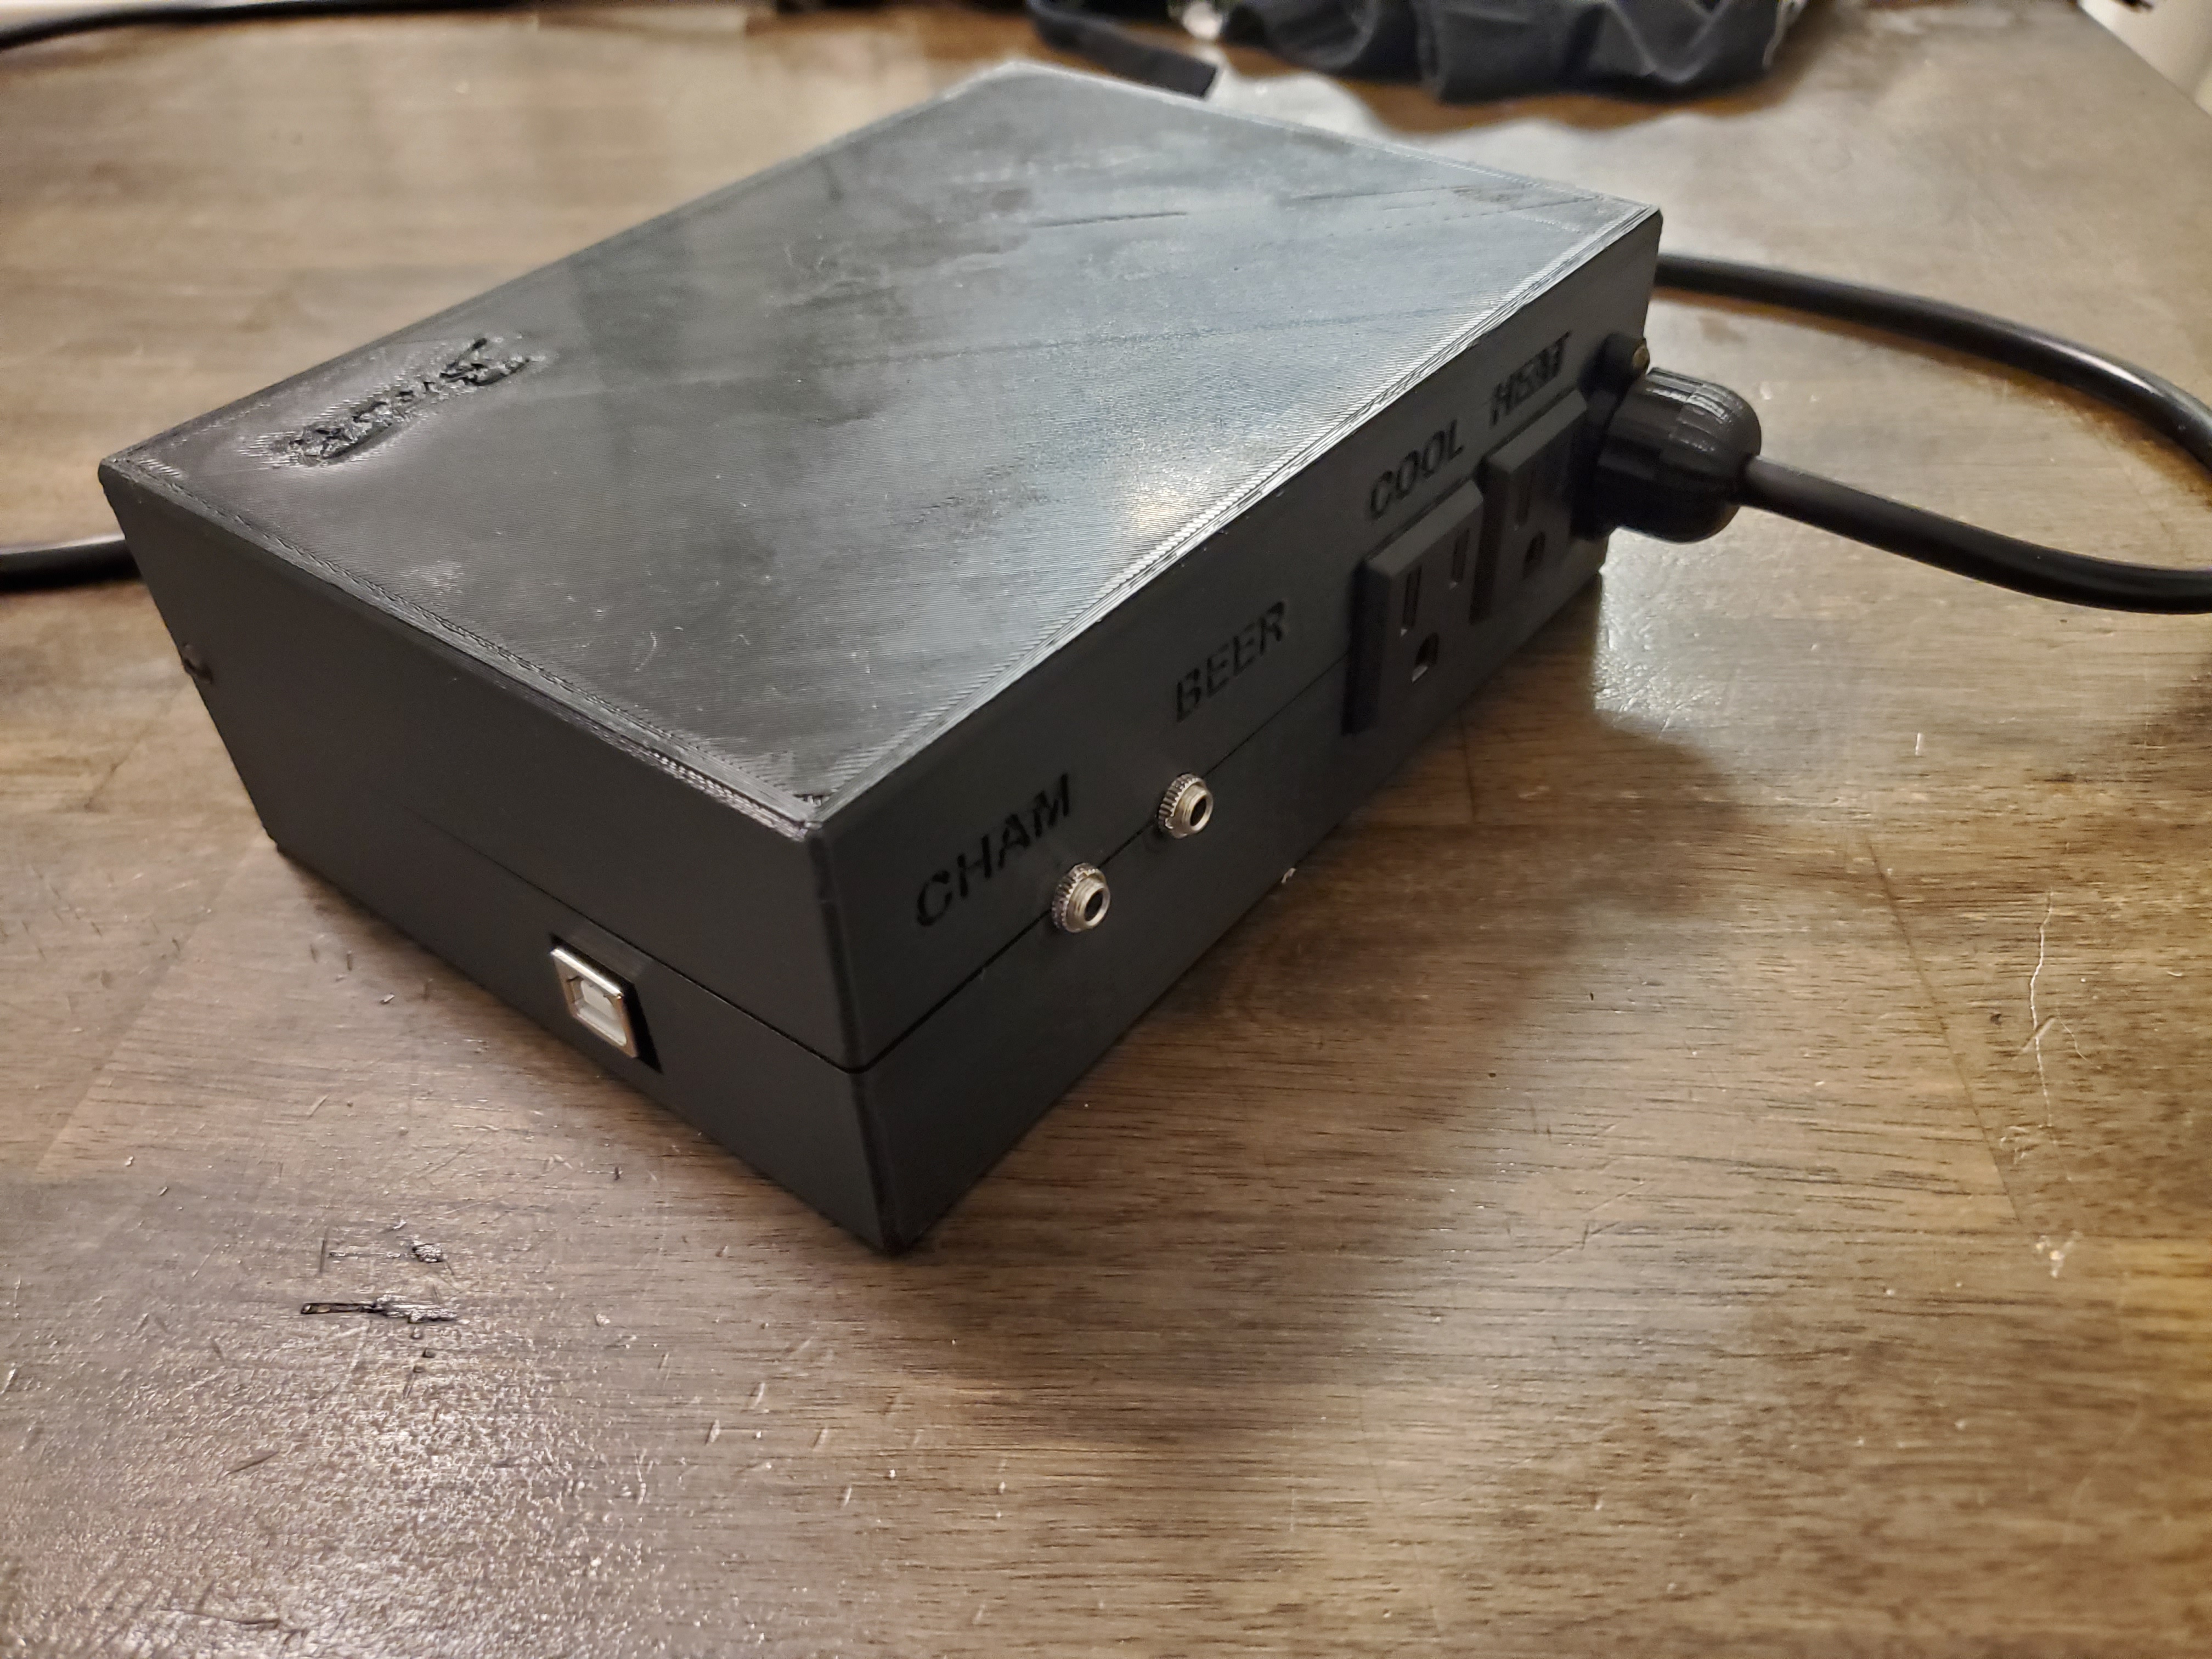
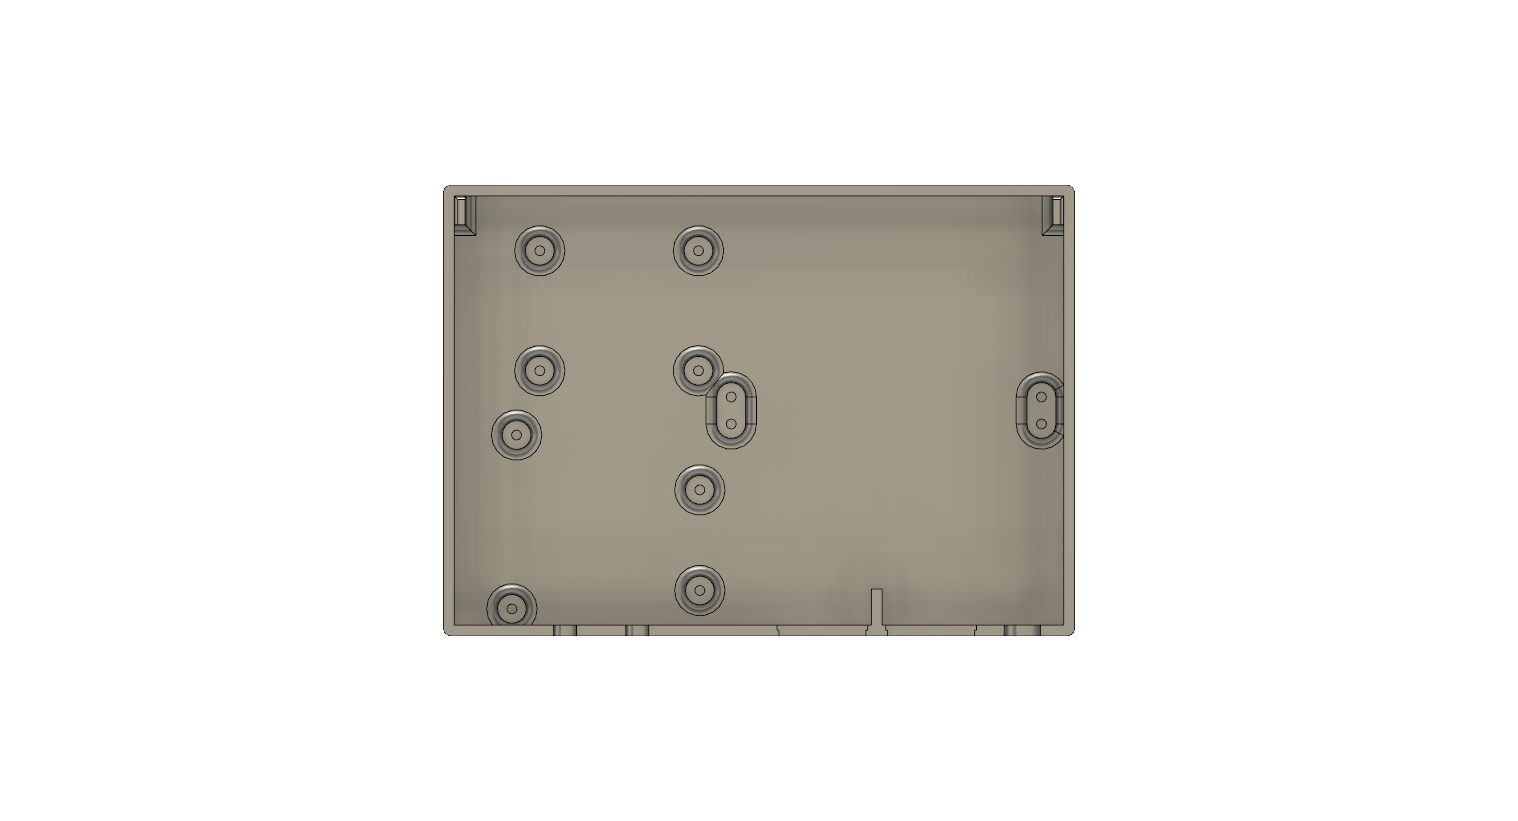
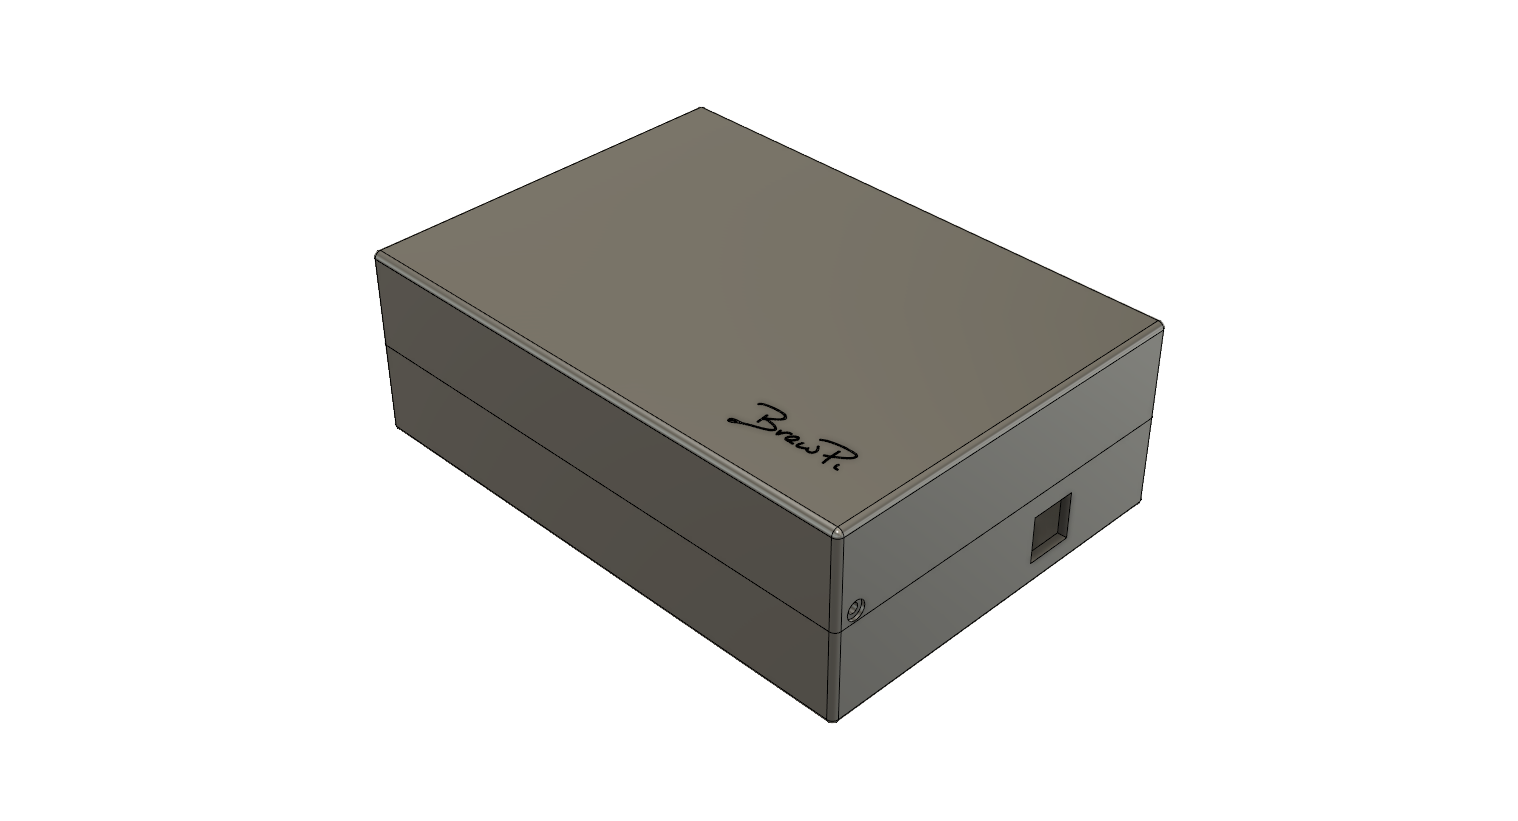
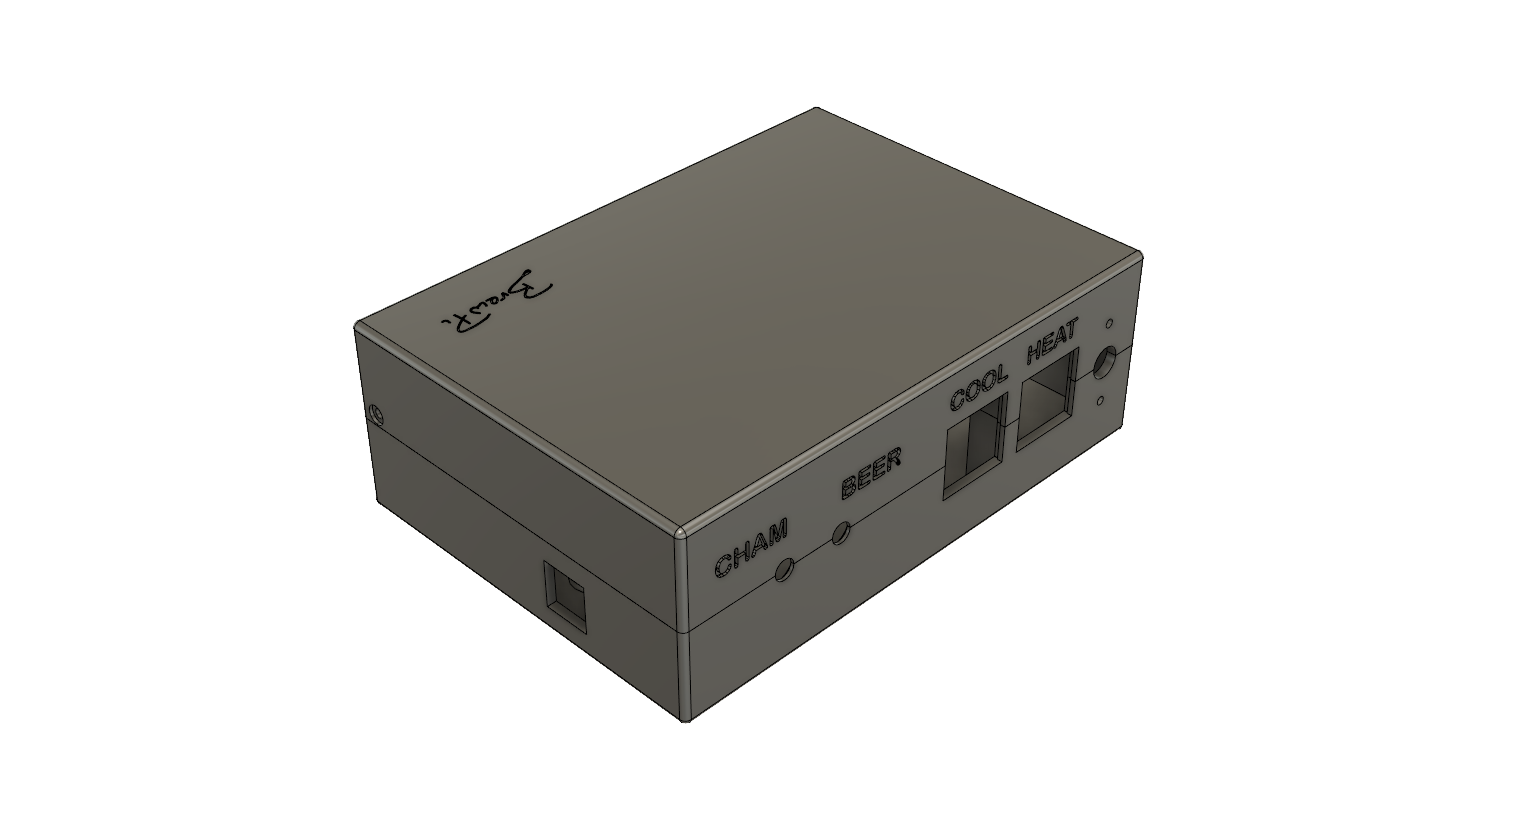
Here are some photos of the case design:
BOTTOM
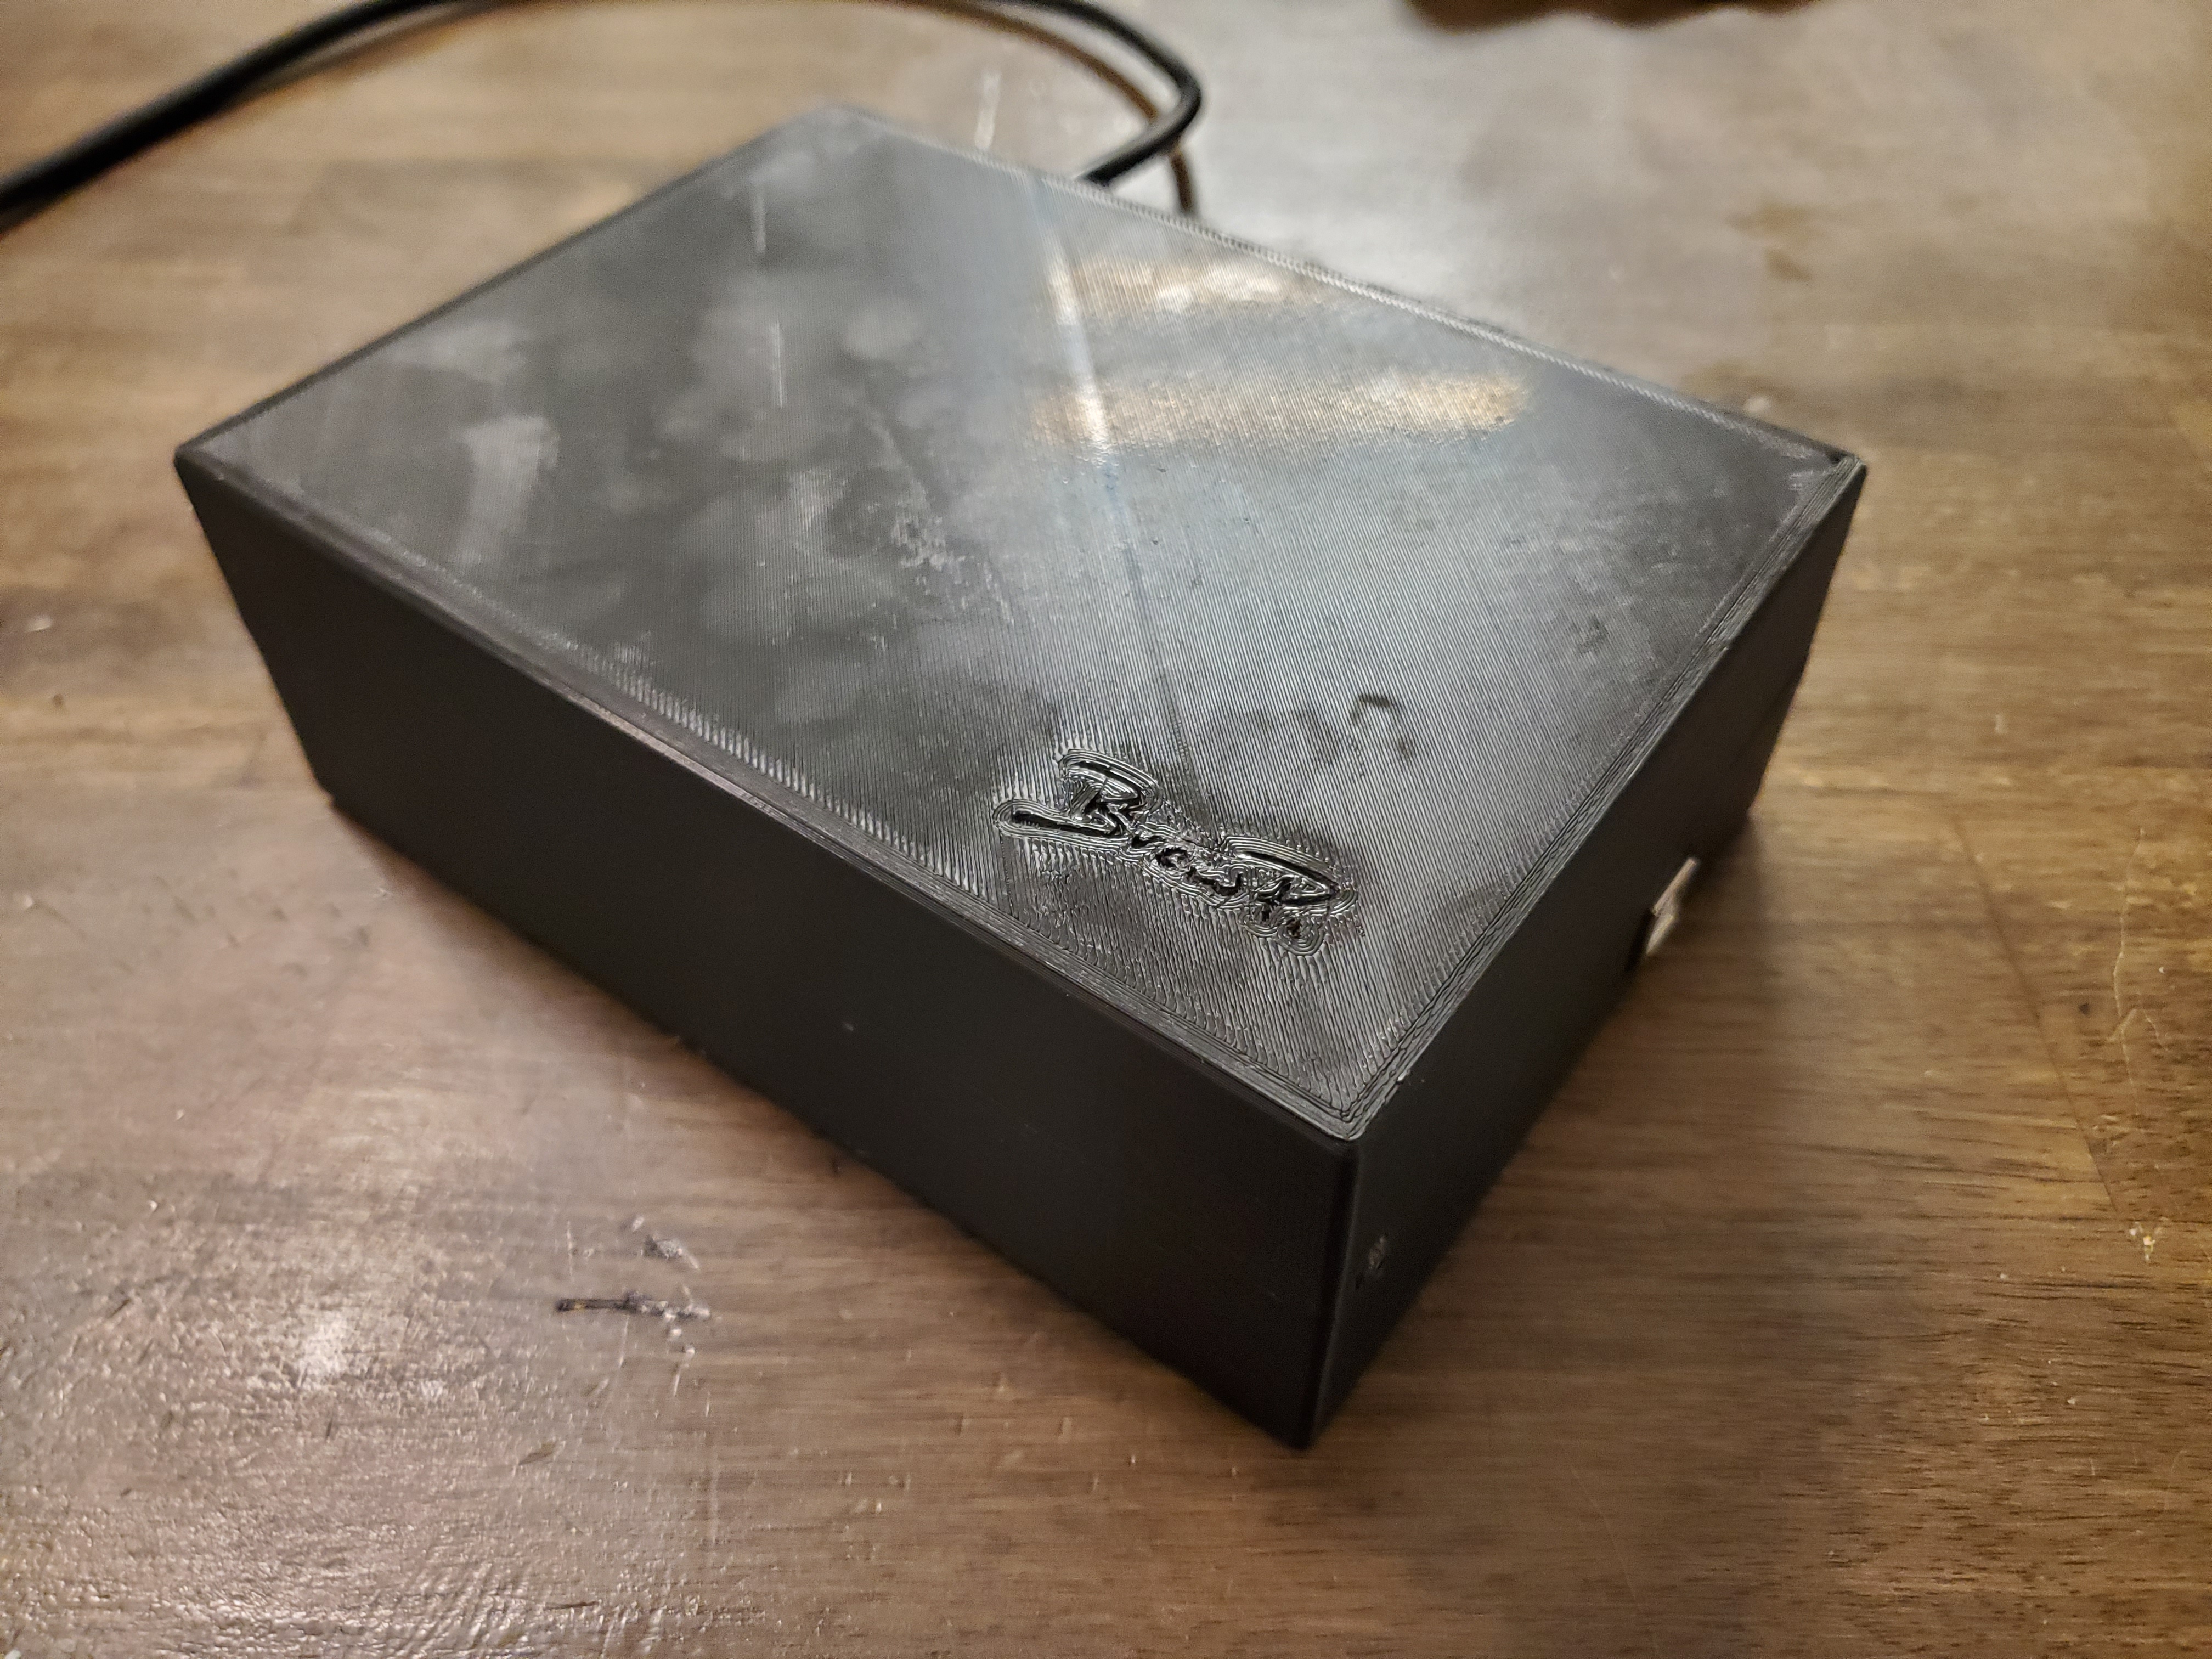
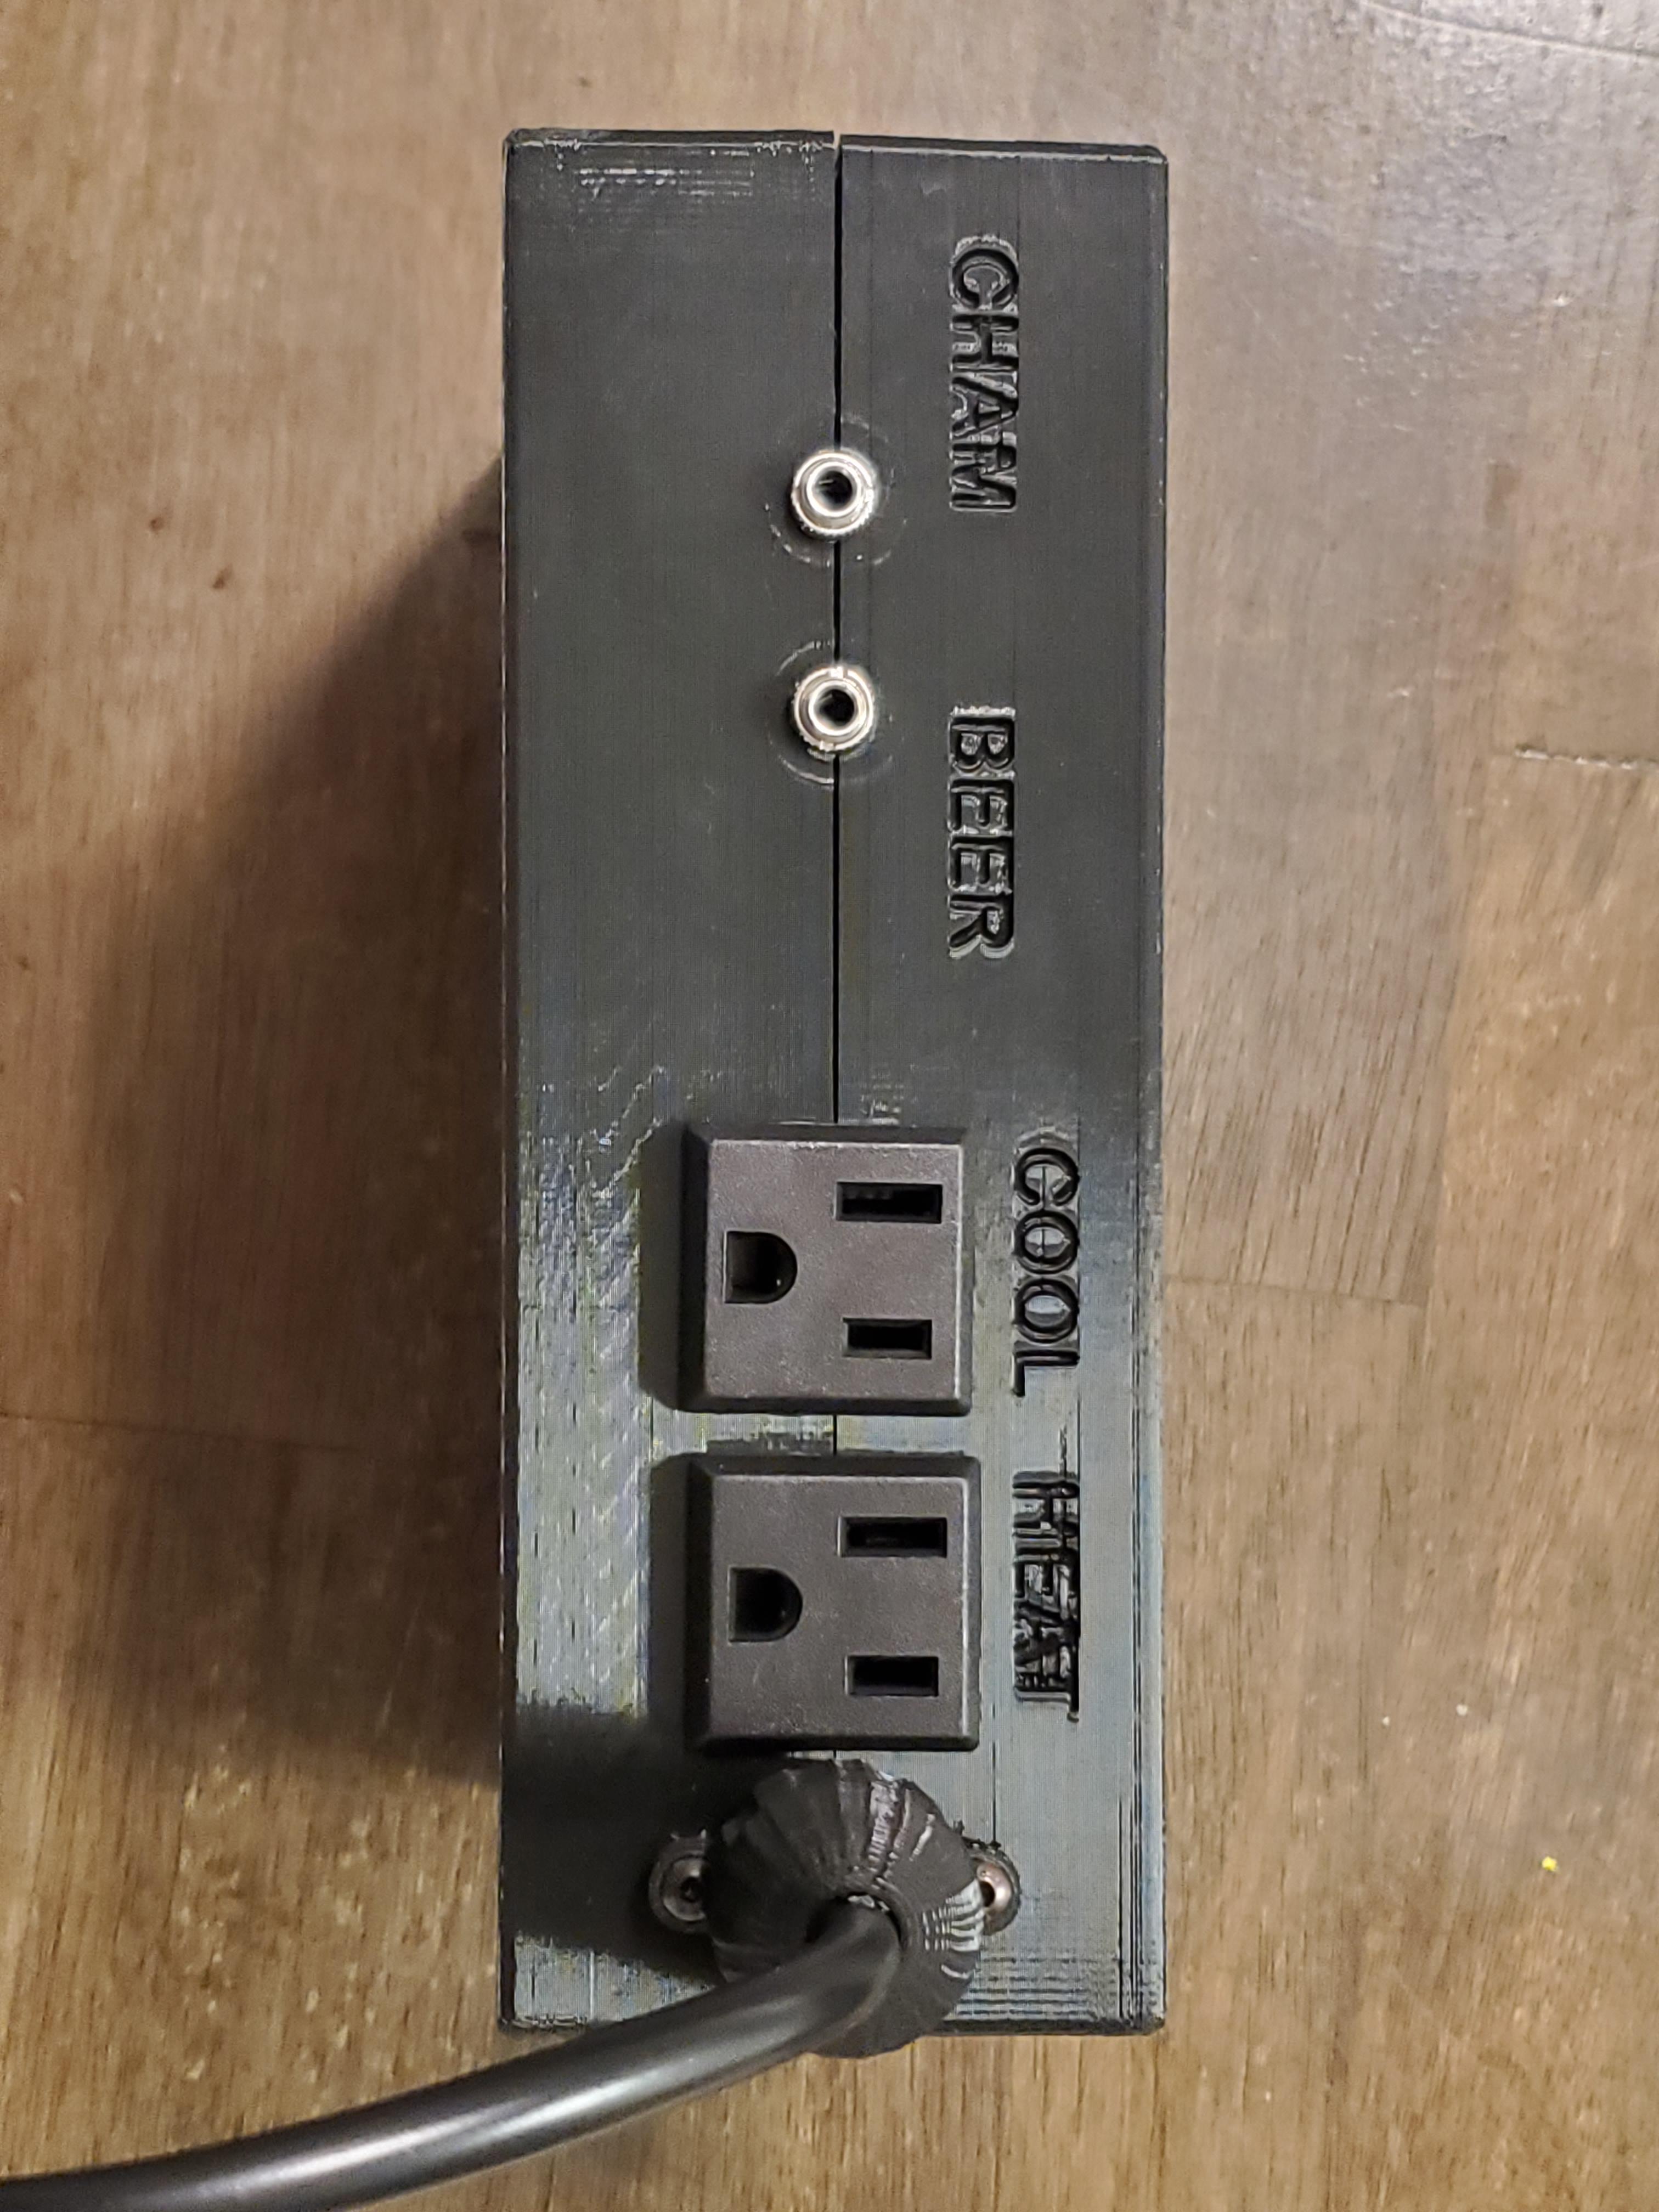
TOP
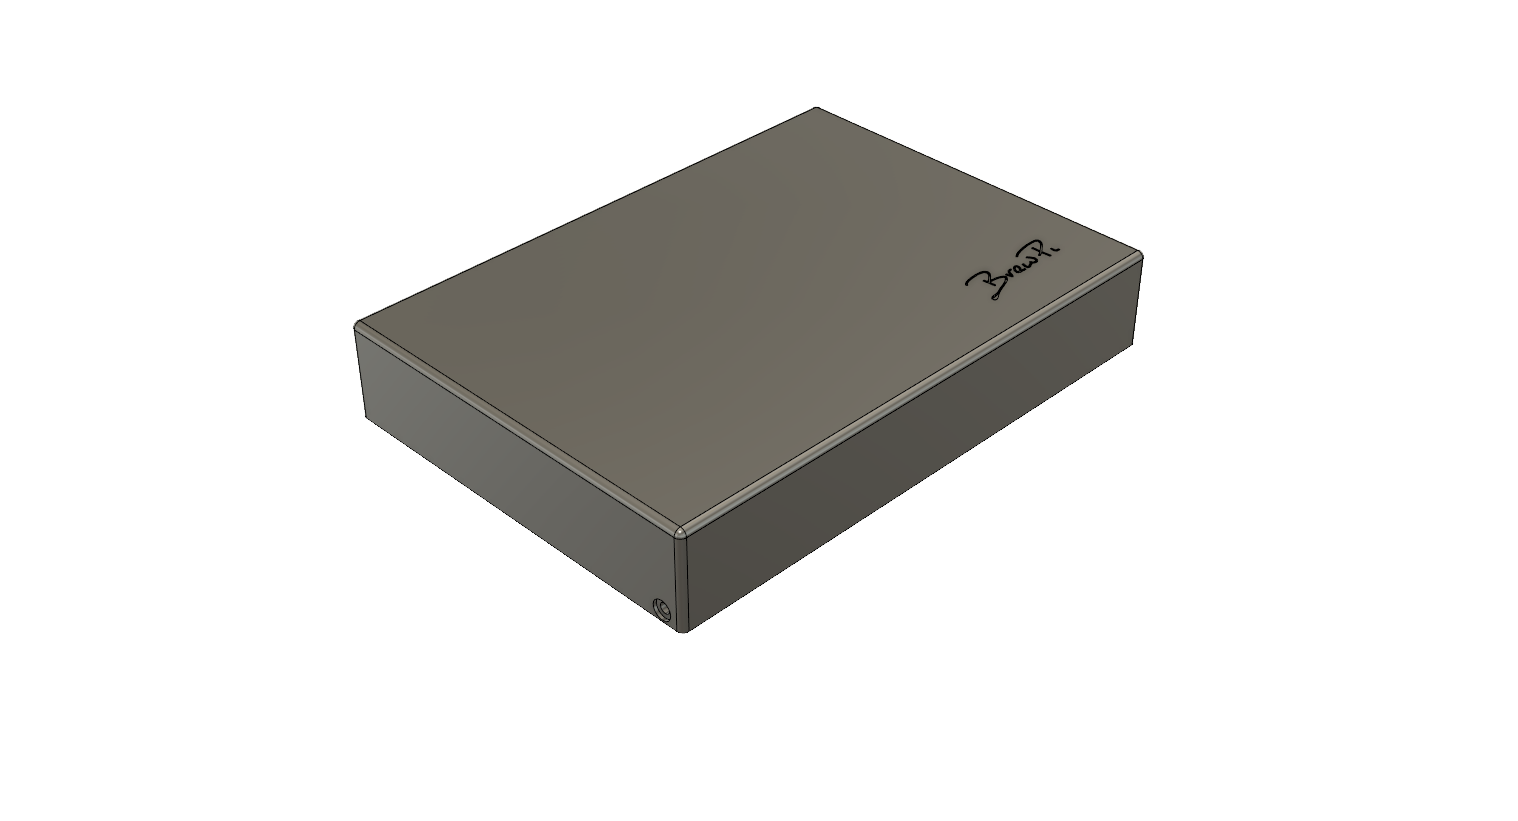
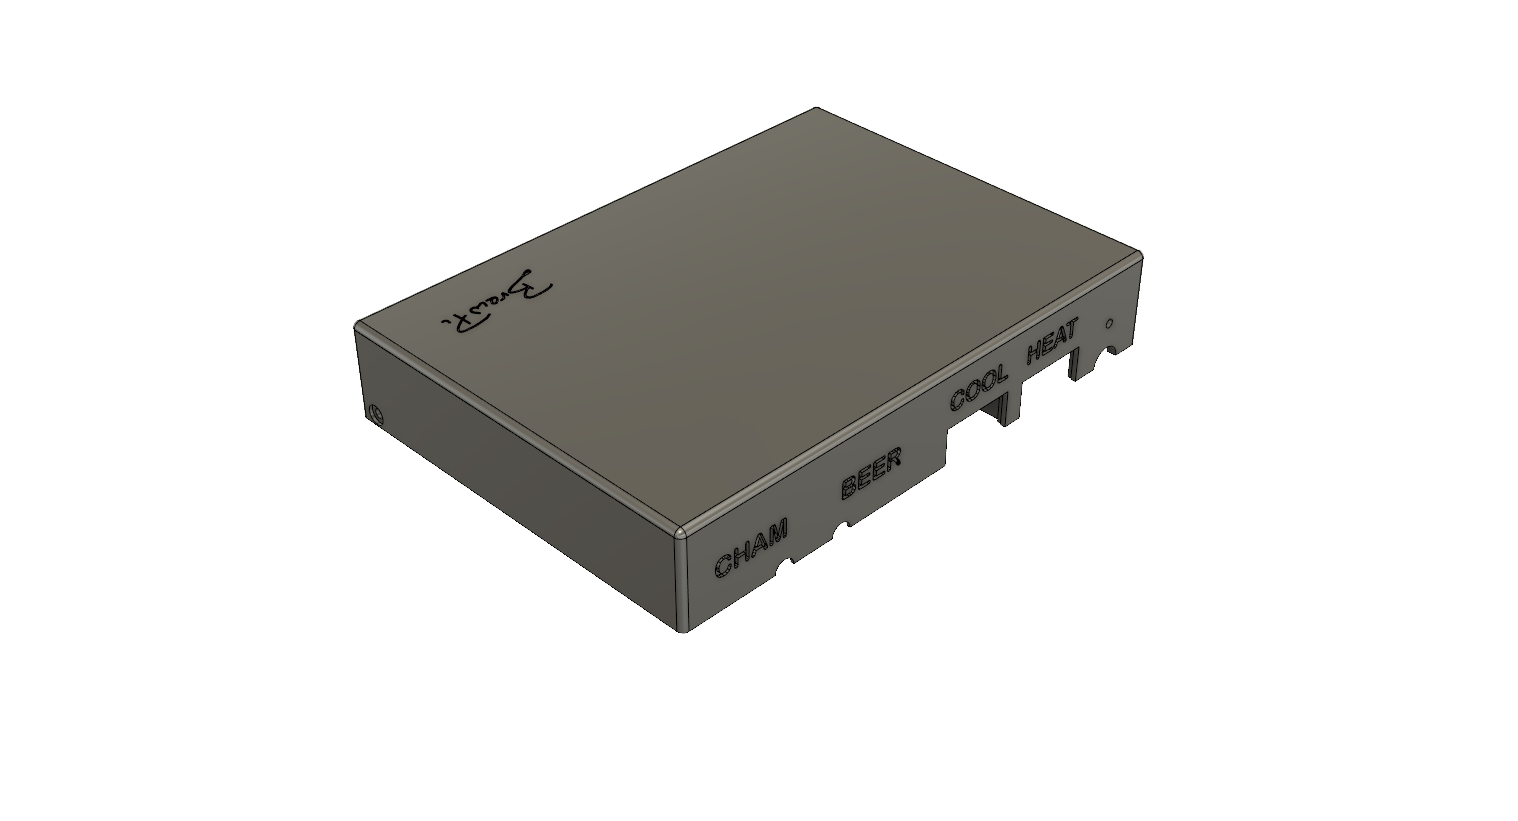
ASSEMBLED
Last edited: