You are using an out of date browser. It may not display this or other websites correctly.
You should upgrade or use an alternative browser.
You should upgrade or use an alternative browser.
Grainfather!!
- Thread starter BrewMeister49
- Start date

Help Support Homebrew Talk - Beer, Wine, Mead, & Cider Brewing Discussion Forum:
This site may earn a commission from merchant affiliate
links, including eBay, Amazon, and others.
gotbeer74
Well-Known Member
- Joined
- Dec 21, 2015
- Messages
- 281
- Reaction score
- 131
Ok just got the ebay mesh screen that showed up in the mail today. Im impressed. Very fine holes and this sucker has some weight to it. Should remain functional for quite some time. Excited to give this a try next batch.

Do you have a link to the screen you bought?
skraeling
Scientist Extraordinaire
- Joined
- Sep 26, 2013
- Messages
- 721
- Reaction score
- 285
Stainless Steel 304 Mesh 20 .016 Wire Cloth Screen 12x12Do you have a link to the screen you bought?
http://r.ebay.com/rEUd9f
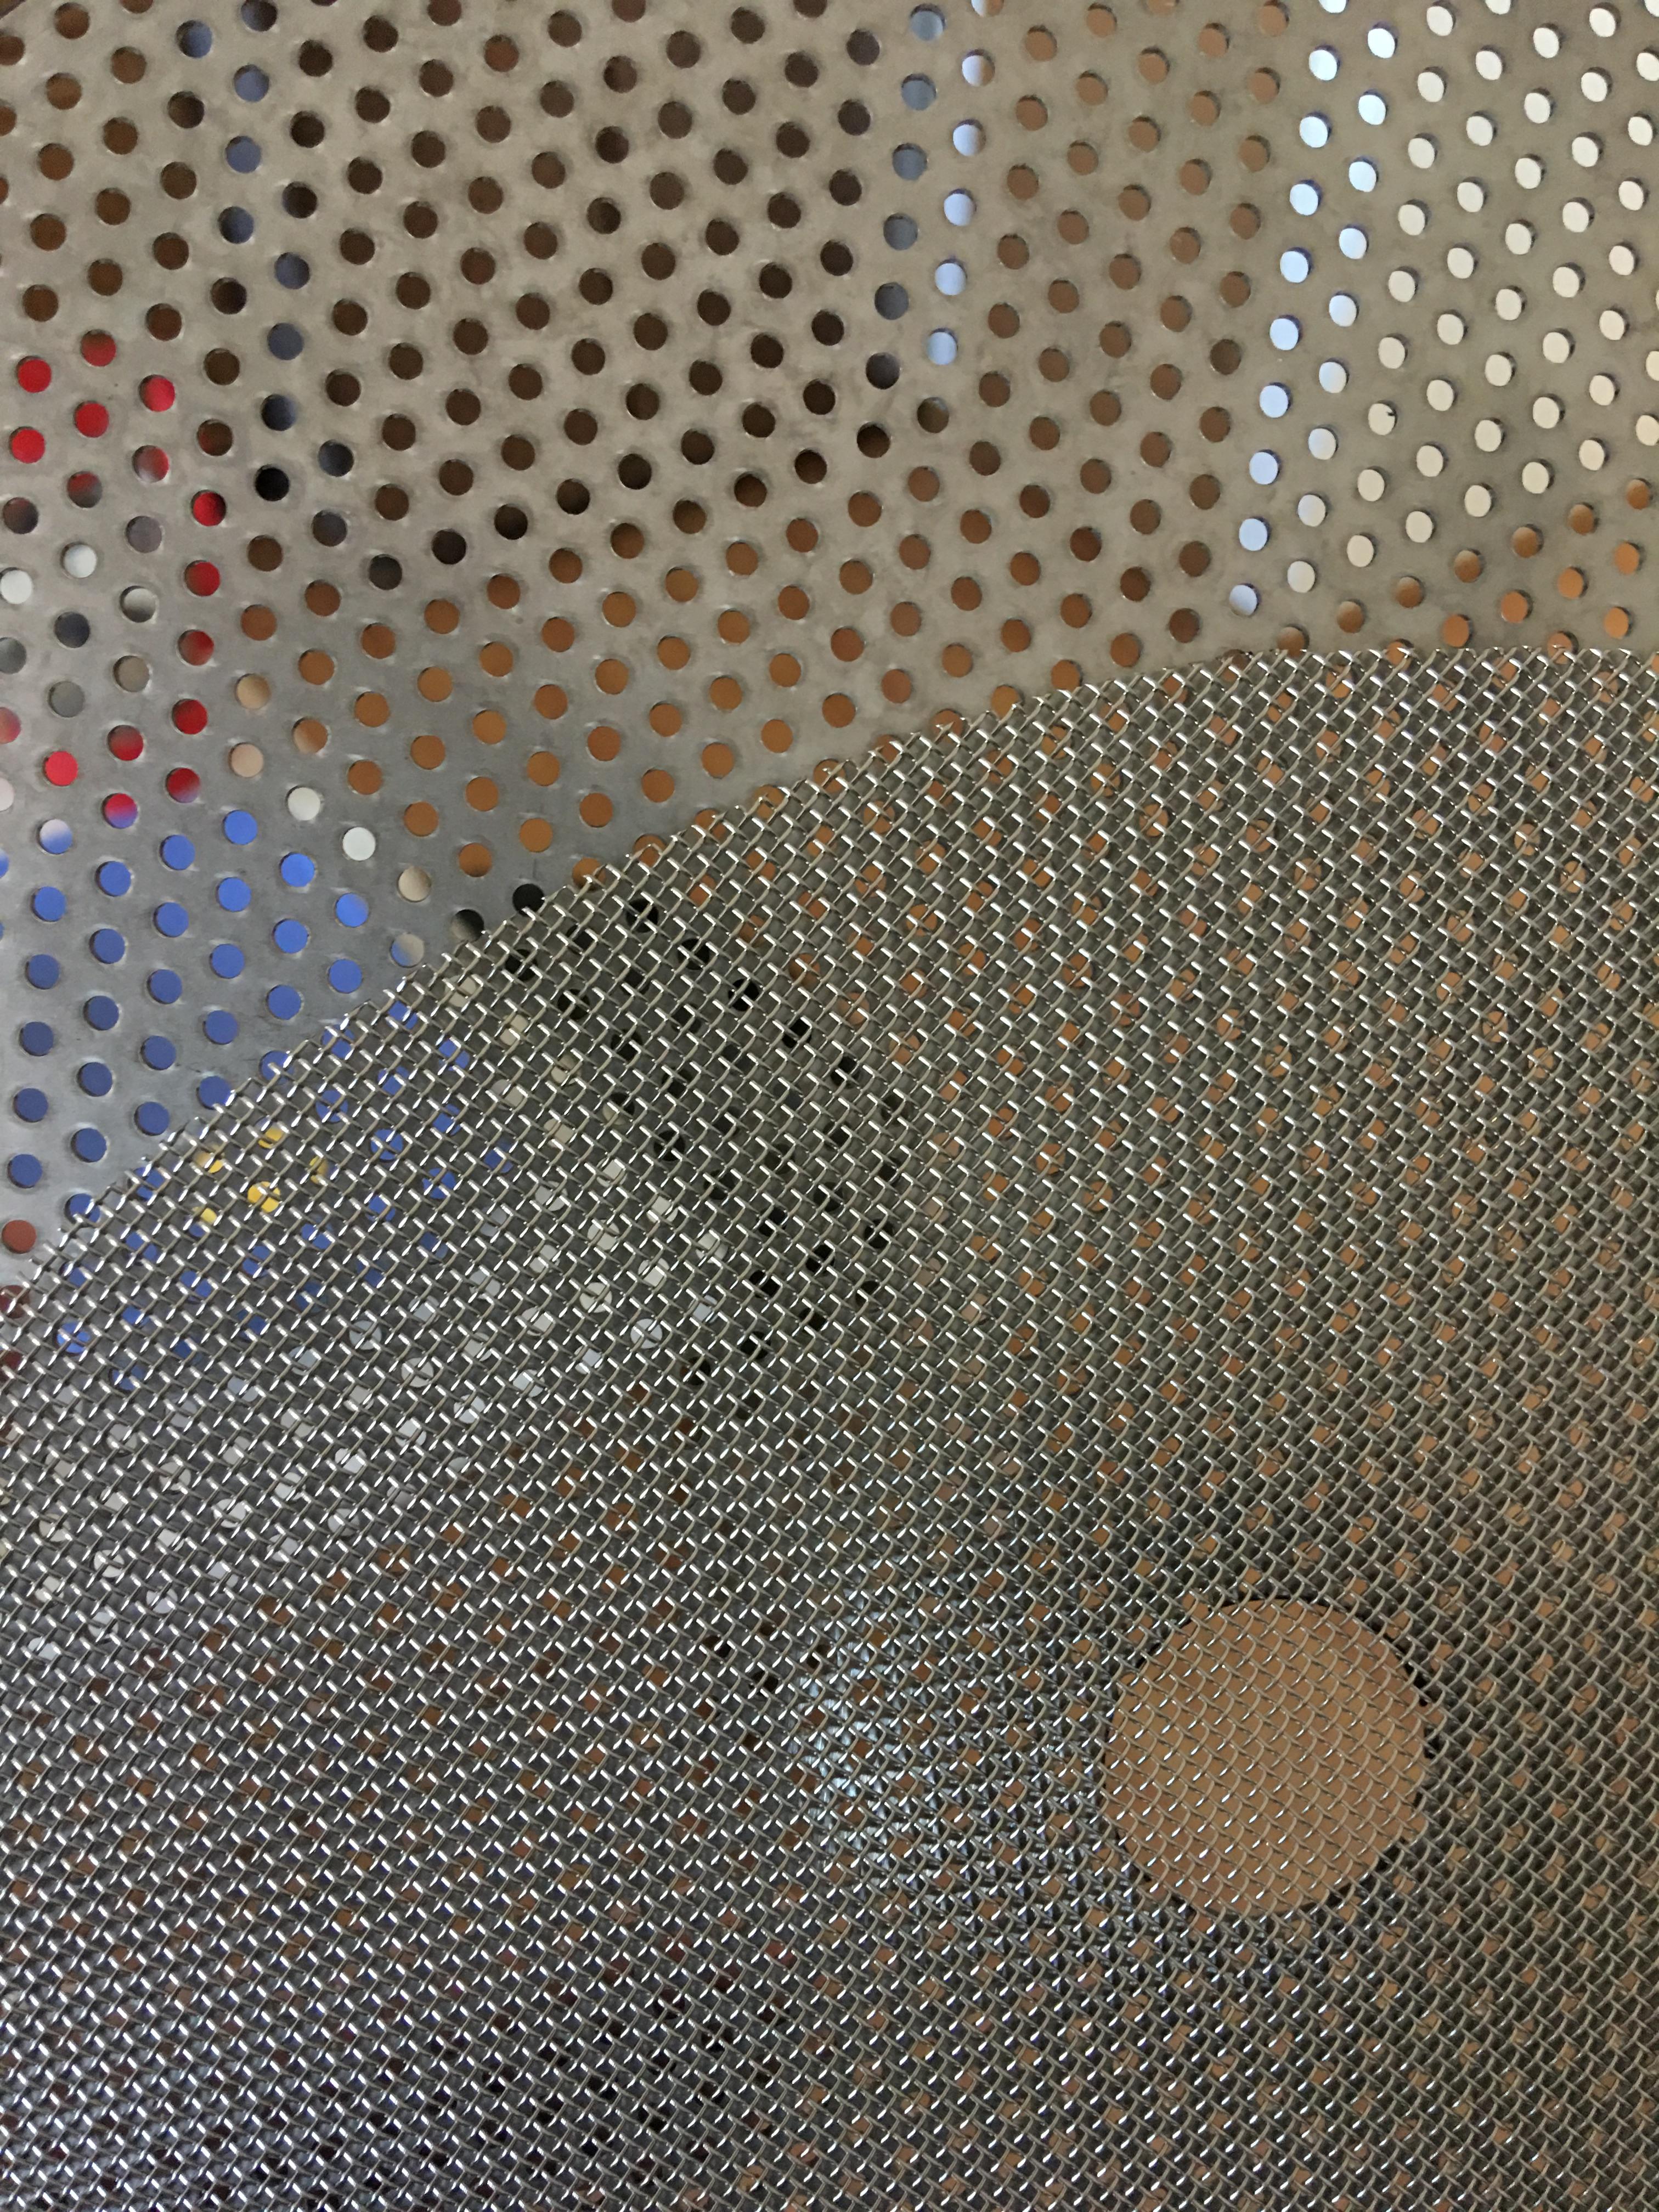
I'm totally putting a mesh bottom on! But one question, the #20 Mesh (1mm gap for the metric folk) seems to be the default.
Is there any reason not to go down to the next size at #30 and get a gap size nearly half as large? I feel like the wort shouldn't be restricted any more, and you could reduce grains and grain bits to literally zero with that size. Thoughts?
Is there any reason not to go down to the next size at #30 and get a gap size nearly half as large? I feel like the wort shouldn't be restricted any more, and you could reduce grains and grain bits to literally zero with that size. Thoughts?
skraeling
Scientist Extraordinaire
- Joined
- Sep 26, 2013
- Messages
- 721
- Reaction score
- 285
I'm totally putting a mesh bottom on! But one question, the #20 Mesh (1mm gap for the metric folk) seems to be the default.
Is there any reason not to go down to the next size at #30 and get a gap size nearly half as large? I feel like the wort shouldn't be restricted any more, and you could reduce grains and grain bits to literally zero with that size. Thoughts?
Any reason not to? No idea. I havnt used this one yet so it may be totally adequate actually. I feel this should cut out an amazing amount of grain, i may give it a quick test tomorrow. Have some grain that im doing nothing with.
Hi. In an earlier post, I said I used a splatter screen, which I think is a little smaller than the #20. I took a picture of mine, and compared it with the #30 on Ebay, and it looks like they're pretty similar. I can tell you mine works just fine, so I imagine the #30 would as well. I would caution, however, that if you grind your grain too fine, I think the finer screen would clog up on you pretty quickly. EdI'm totally putting a mesh bottom on! But one question, the #20 Mesh (1mm gap for the metric folk) seems to be the default.
Is there any reason not to go down to the next size at #30 and get a gap size nearly half as large? I feel like the wort shouldn't be restricted any more, and you could reduce grains and grain bits to literally zero with that size. Thoughts?


Thanks for doing this! Please keep us updated. The crappy filter has been the primary reason why I haven't been brewing.
I heard back about the hop stopper used in Kal's electric brewery. Here's part of the email:
"I'm sorry to say that I do not have a Hop Stopper to fit the Grainfather which is a very specialized piece of equipment. Without detailed schematics of the interior, I suspect from what little I have seen that the compact space does not lend itself to third party accessories like the Hop Stopper. I wish I had better news for you.*"
I am going to take some measurements and see if I can work with them to get something to fit. This isn't going to deter me. I love the idea. I just haven't had much time lately due to life getting in the way. I hope to get some free time next week to get some measurements.
blkandrust
Well-Known Member
Curious as to what the consensus is regarding water calculations. Do you prefer the GF app,website or instruction sheet for determining the mash and sparge volumes.
Hi. I don't know about the consensus, but I've noticed the difference using the formula from manual compared to the online formula. I've tried both, and TBH, I prefer the manual's formula because it results in a slightly wetter mash, and I seem to get better conversion and less problems sparging. I've tweaked the sparge part of the formula to account for different boil times as I think the standard manual formula assumes a 60 minute boil and a little higher boil off rate. I don't worry if I get a little extra wort from it because I can either boil a little longer, or have a little extra in the fermenter. Since the beer is for my consumption (not competition,) a couple of gravity points either way won't matter. EdCurious as to what the consensus is regarding water calculations. Do you prefer the GF app,website or instruction sheet for determining the mash and sparge volumes.
blkandrust
Well-Known Member
Thank you for the reply. I am going to brew a Brown today,I haven't brewed on the GF since last summer.IIRC I used the instructions and wound up with an extra gallon prior to boiling.Not a biggie as you have mentioned as a longer boil will remedy that.Cheers!
Just finished my 2nd brew in the Grainfather. I am new to all grain brewing and I have learned a lot in the first 2 batches. This brew was a hoppy Belgian triple with 12# of Weyerman Pilsner 6oz hops and finished with 2# corn sugar. After reaching mash temp I got all the grains in and stirred up real good. Once I started the pump,it did not seem like I was gaining much flow through the grain. I took the top screen off and gave it another good stir, especially on the bottom. This definitely helped, I could run the ump at nearly full flow from the beginning. Sparging went well with a good consistent flow until the after I had all the water in and was waiting for it to run through the grain. It seemed to be draining incredibly slow. There was no water on the top screen anymore so I removed it and stir a little to get the last water through the bottom screen. By the time it slowed my wort was already over 200 degrees. Did the steam make it slow? Started the boil with a 1.064 on about 6 gallons. Boiled for 15 minutes and then the wife called that she needed picked up! I was about to tell her she needs to wait 45 minutes, but I thought better of it! Shut it down and restarted after I got home. Added the corn sugar and the OG came in at 1.080 on 5.25 gallons(Added about half gallon of water to get there). Added 2 packs of T-58 yeast and it was bubbling within hours. Drying out some of the spent grains now! Only other concern was that the GrainFather had a 2 inch circle of scorched residue on the bottom. I hope that it has no impact on the flavor. The color in the test tube looked good. The wort was very sweet with no taste of scorch to it, but it was very sweet. Oh well, If it does have a little flavor from the scorch, I guess I just created a Smoked Hoppy Belgian Triple!
Oh well, If it does have a little flavor from the scorch, I guess I just created a Smoked Hoppy Belgian Triple!
If you did scorch it, it'll be more like a Wet Cigarette Hoppy Belgian Tripel. Pretty easy flavor to pick out.
doogster
Well-Known Member
Perfect.....All temperature probes match!
Where is the 2nd probe testing in this picture?
doogster
Well-Known Member
Testing is being done in centre of mash tun
Nice - that settles a long standing argument/question about the Grainfather.
What was your re-circulation flow rate? Do you run it full on, not caring what goes down the overflow? Or are you holding back the flow rate so no, to little, wort goes down the overflow pipe?
Nice - that settles a long standing argument/question about the Grainfather.
What was your re-circulation flow rate? Do you run it full on, not caring what goes down the overflow? Or are you holding back the flow rate so no, to little, wort goes down the overflow pipe?
I throttle the flow back so nothing goes down the drain, I think both ways will work, but the controlling the flow moves the temp up and down quicker. You can really see this if your doing a step mash.
Nice - that settles a long standing argument/question about the Grainfather.
What was your re-circulation flow rate? Do you run it full on, not caring what goes down the overflow? Or are you holding back the flow rate so no, to little, wort goes down the overflow pipe?
Have either of you seen the Grainfather Videos by David Heath? They're very good and contain a couple tips & tricks vid's as well as several brew day vids. I found they are almost essential to get the most out of using the Grainfather.
Diamonddave74
Active Member
- Joined
- Mar 27, 2016
- Messages
- 38
- Reaction score
- 10
David Heath is a great ambassador for the grainfather. Lots of good nuggets
mwayne112
Well-Known Member
Thinking about doing this to the main unit, got it real pretty on the HLT.

d-bone
Well-Known Member
- Joined
- Jul 19, 2015
- Messages
- 79
- Reaction score
- 15
Thinking about doing this to the main unit, got it real pretty on the HLT.
I have been planning on doing this for a while, except with a needle valve, but have been waiting for my warranty to expire first, which should be soon. what size is you valve there?
mwayne112
Well-Known Member
I have been planning on doing this for a while, except with a needle valve, but have been waiting for my warranty to expire first, which should be soon. what size is you valve there?
1/2" valve
elreplica
Well-Known Member
I have been planning on doing this for a while, except with a needle valve, but have been waiting for my warranty to expire first, which should be soon. what size is you valve there?
Food for thought: I use a piece of 1/2" silicone tubing and a butterfly clamp to hold tubing on to the GF sparge tank spigot. The 1/2" valve is on the end of the hose...haven't used it yet and if it doesn't work efficiently, I can try the valve on the tank and reverse it. I'll post a pic later when I can dig out my stuff.
BrewinSoldier
Well-Known Member
- Joined
- Jul 13, 2015
- Messages
- 471
- Reaction score
- 52
Food for thought: I use a piece of 1/2" silicone tubing and a butterfly clamp to hold tubing on to the GF sparge tank spigot. The 1/2" valve is on the end of the hose...haven't used it yet and if it doesn't work efficiently, I can try the valve on the tank and reverse it. I'll post a pic later when I can dig out my stuff.
I have tried that the past few times brewing. No matter how tight you put the clamp, because of the conical shape of the grainfather spigot, it slips off all the time. I'm just going to do what the others have done and throw a 1/2 valve onto the body of the GF Sparge body and call it a day.
BigCatBrewery
Well-Known Member
Can someone tell me what the electric frequency (hz) is of the pump on the US (110v) version. I live in Europe but will be back in the states in a couple of years and converters are great at converting voltage... not frequency.
I've seen a picture of pump on the 220v version that is 50/60hz, but nothing of the 110v.
I've seen a picture of pump on the 220v version that is 50/60hz, but nothing of the 110v.
elreplica
Well-Known Member
I have tried that the past few times brewing. No matter how tight you put the clamp, because of the conical shape of the grainfather spigot, it slips off all the time. I'm just going to do what the others have done and throw a 1/2 valve onto the body of the GF Sparge body and call it a day.
Good to know...but a tap shim/splice might work. Likely it's easier to go your route though. We shall see.
ratbastrd05
Active Member
- Joined
- Feb 17, 2013
- Messages
- 41
- Reaction score
- 8
How hard is that to do? I've been looking to buy the GF Sparge water heater but agree that a ball valve would be a lot better than what they have on there... already have an extra one lying around too.
I have tried that the past few times brewing. No matter how tight you put the clamp, because of the conical shape of the grainfather spigot, it slips off all the time. I'm just going to do what the others have done and throw a 1/2 valve onto the body of the GF Sparge body and call it a day.
Electricity in US is 110/60, but in actuality it is240/60. But here we split into two 110's. I actually have an electric dryer that is 240. Have to run it on a separate larger breaker and specific style of plug. When u get here u should be able to run your 240 as long as u run it in the correct manner to the outlet.
Yo y'all! New to this GF bidness here. Did my first batch yesterday. A Bavarian Dunkelweizen. The machine worked great. I put the AHS recipe in the GF app on my iPhone.
But I have a question. (I am up to page 77 here so forgive me if this has been answered.)
Mashout.
Popped up on my phone. I see in the vids one guy used the mashout to turn his temp up to what I assume is the sparge temp then lifted the grain basket and did the sparge. I saw other videos where various people called what was clearly a "sparge" a "mashout". What?!
What do I put in for timing and what would you do? I have another I wish to do today or tomorrow and I'm needin' me some knowledge! I'm a newby pretty much on all grain and I have been away for 5 years.
I used 10 minutes for the mashout per the GF instructions. After the mash I set the temp for 167F and once it reached that temp I held it for 10 minutes. After 10 minutes I sparged. Efficiency has been great so far.
Most excellent! Thank you.
d-bone
Well-Known Member
- Joined
- Jul 19, 2015
- Messages
- 79
- Reaction score
- 15
I'm totally putting a mesh bottom on! But one question, the #20 Mesh (1mm gap for the metric folk) seems to be the default.
Is there any reason not to go down to the next size at #30 and get a gap size nearly half as large? I feel like the wort shouldn't be restricted any more, and you could reduce grains and grain bits to literally zero with that size. Thoughts?
I dont think this would work and Ill tell you why: I bout a #20 mesh from another vendor, and turns out it was a smaller gauge wire than the one people have been posting. This did not work out for me at all. It was so flimsy that when I was stirring my mash, it easily got pushed up and a bunch of mash pushed underneath it. I think the #30 is probably going to be a smaller diameter wire and I would not suggest it. If not, then go for it.
d-bone
Well-Known Member
- Joined
- Jul 19, 2015
- Messages
- 79
- Reaction score
- 15
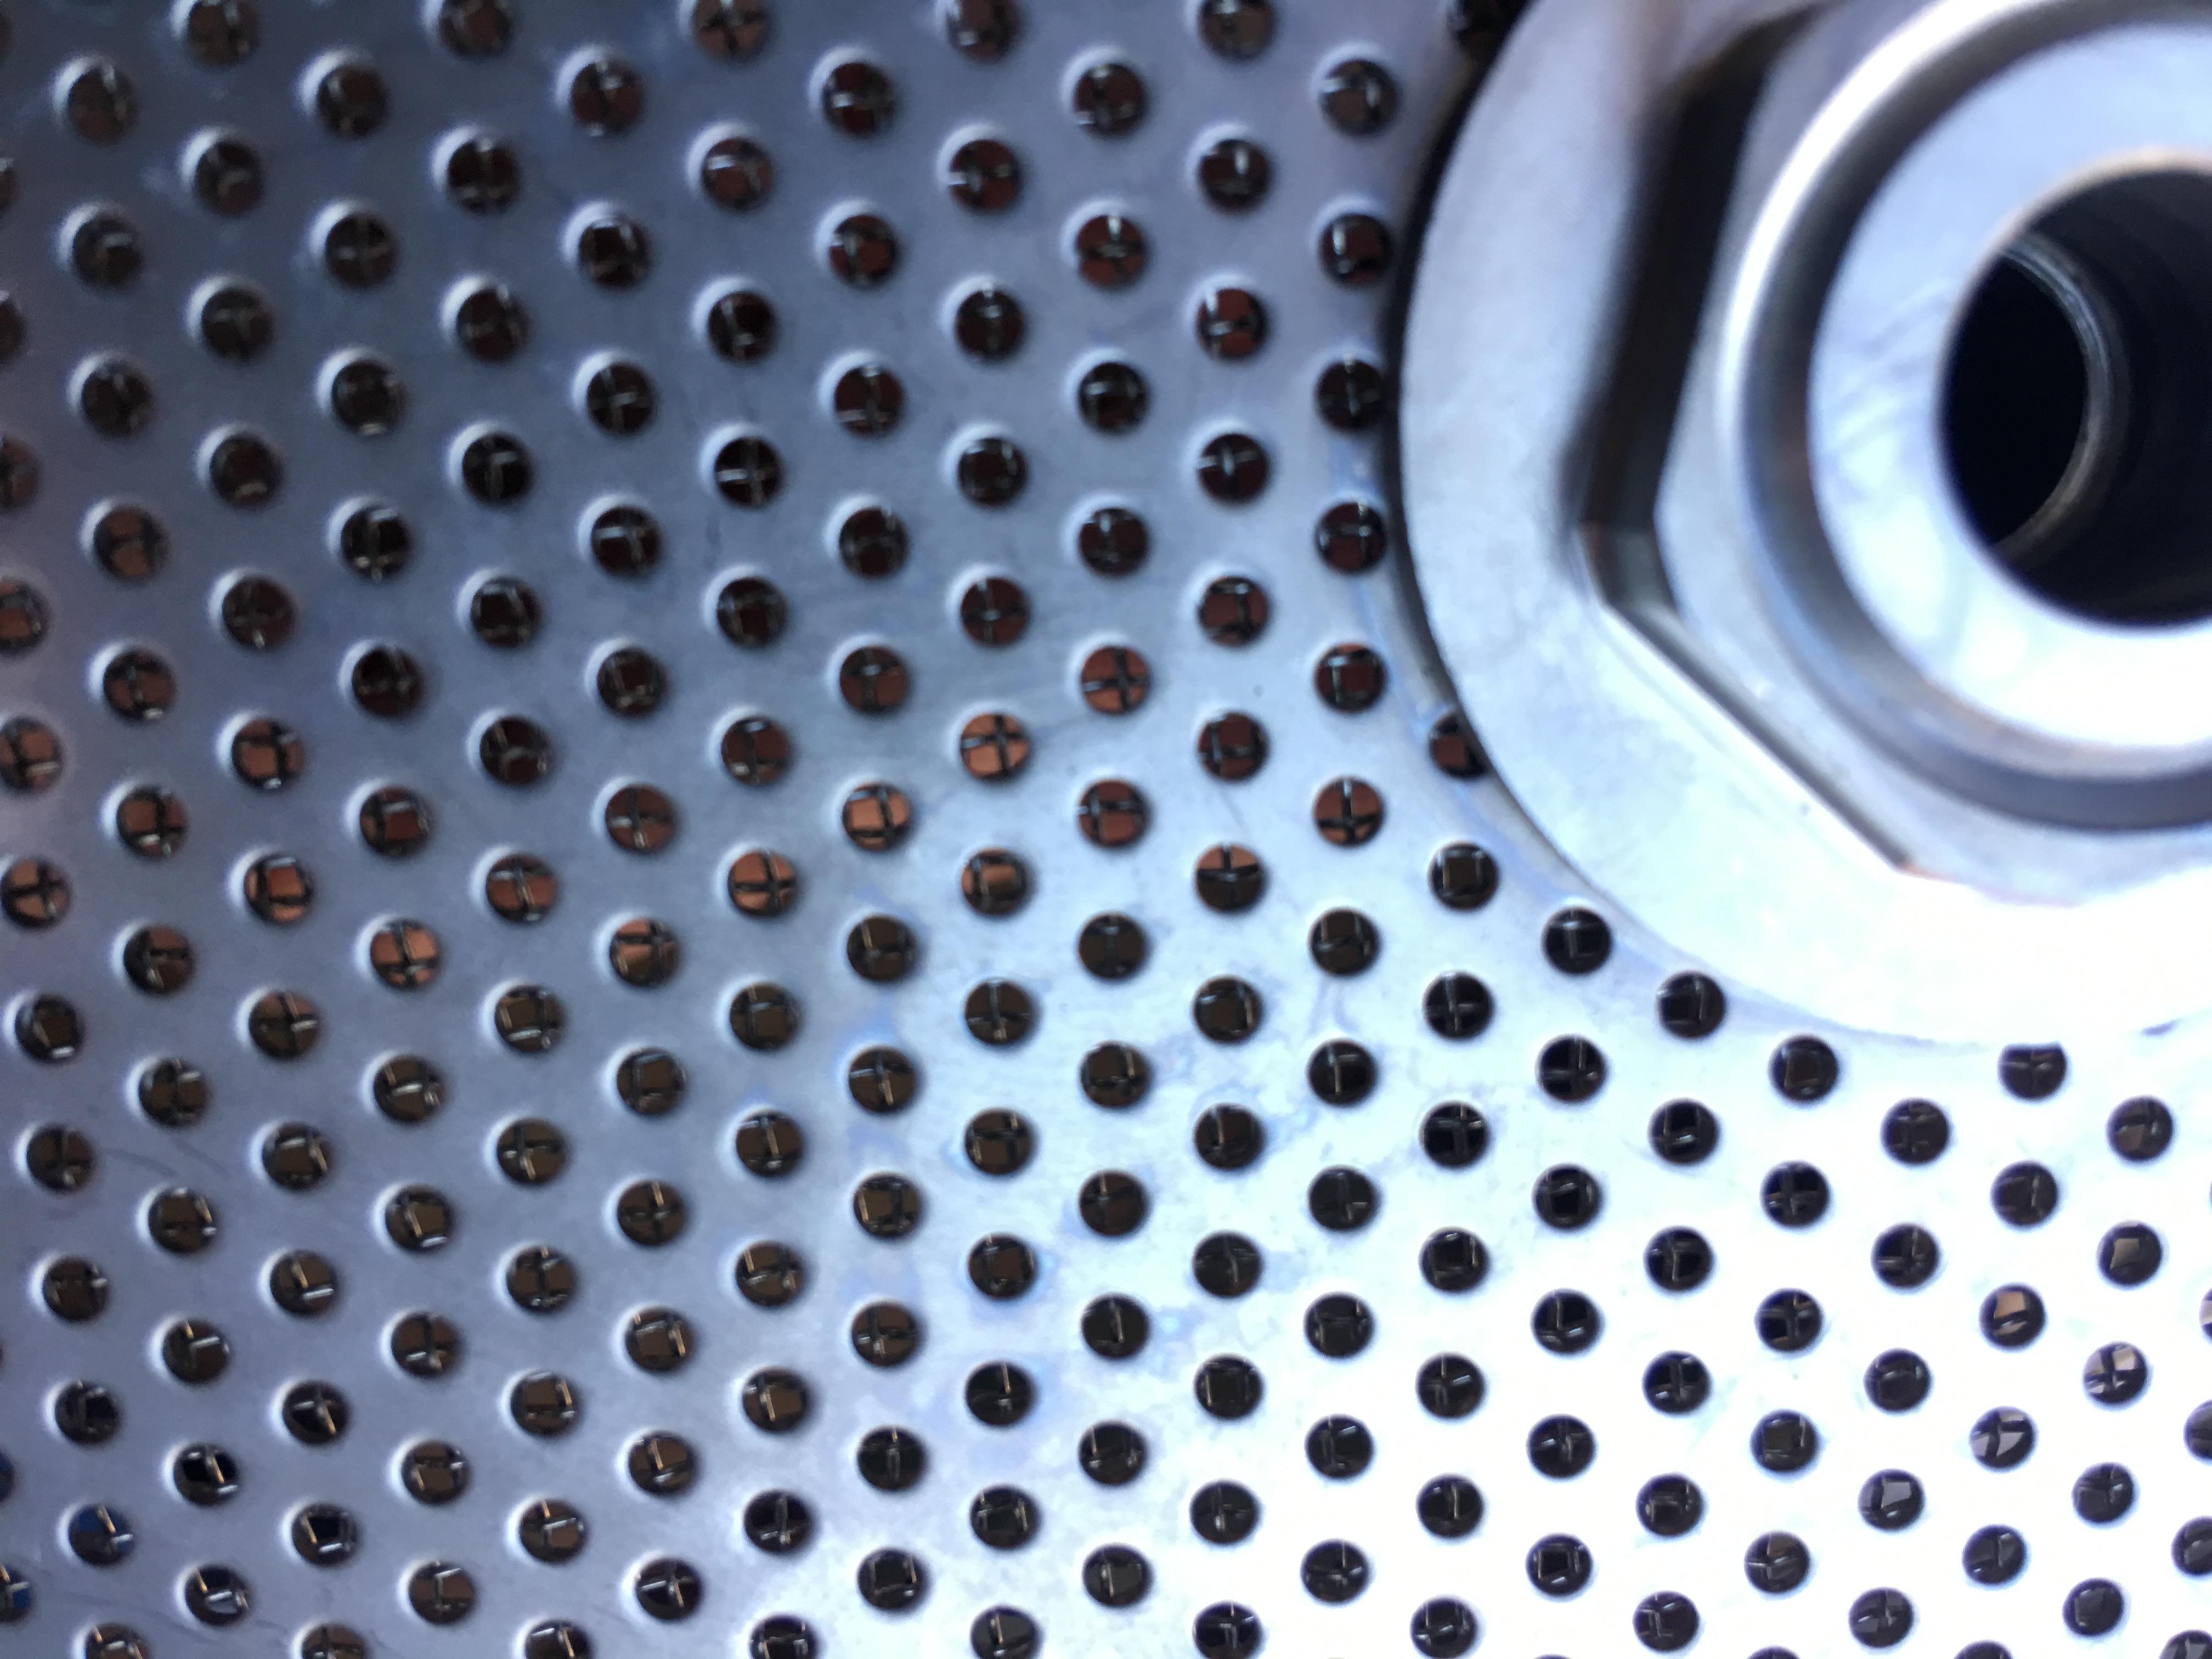
Ok just got the ebay mesh screen that showed up in the mail today. Im impressed. Very fine holes and this sucker has some weight to it. Should remain functional for quite some time. Excited to give this a try next batch.
if you dont mind my asking, what did you use to cut the inner circle out? I was thinking a jewelry cutter, but dont know if the mesh is too hard.
Hi. I used the tips of my kitchen shears and it worked fine. Just go slow and take a little at a time. Edif you dont mind my asking, what did you use to cut the inner circle out? I was thinking a jewelry cutter, but dont know if the mesh is too hard.
skraeling
Scientist Extraordinaire
- Joined
- Sep 26, 2013
- Messages
- 721
- Reaction score
- 285
if you dont mind my asking, what did you use to cut the inner circle out? I was thinking a jewelry cutter, but dont know if the mesh is too hard.
I punched a starter hole with a screwdriver. Then just worked the hole just wide enough to fit the pipework through (taken out of context this sentence is hilarious). Screwed it together and called it a day.
I used some REALLY beefy Tin snips to do all the work.
riisefrutti
Active Member
- Joined
- Jan 6, 2017
- Messages
- 30
- Reaction score
- 1
What kind of gap do you guys use on your 3-roller mills? I have a monster mill mm3 and a gap of 0.055" and get insanely slow sparge time(2 hours +). I have read about crush grades to 0.9mm, but that is a rater fine crush?


What kind of gap do you guys use on your 3-roller mills? I have a monster mill mm3 and a gap of 0.055" and get insanely slow sparge time(2 hours +). I have read about crush grades to 0.9mm, but that is a rater fine crush?
Try conditioning your malt with 1-2% by weight water. It should leave more of the husk in tact, thus creating a more free flowing sparge.
http://braukaiser.com/wiki/index.php?title=Malt_Conditioning
Similar threads
- Replies
- 7
- Views
- 595
- Replies
- 44
- Views
- 6K
