• Please visit and share your knowledge at our sister communities:
  • If you have not, please join our official Homebrewing Facebook Group!

    Homebrewing Facebook Group

Tube & Shell Heat Exchanger

Homebrew Talk

Help Support Homebrew Talk:

This site may earn a commission from merchant affiliate links, including eBay, Amazon, and others.
If you can find a cheap piece of steel plate, think about making a subplate so you can mount the vise perpendicular to the head. You'll find lots of advantage to having the capacity to face mill.

Something else worth mentioning....the head is a "duplex" style...it swivels down for vertical milling. The only current limitation is as you describe....being able to position the vise so I can use a flycutter/endmill on the "side" of an object.
 
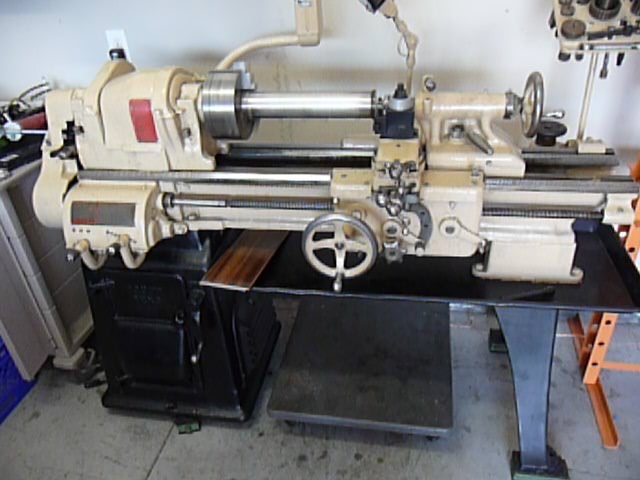
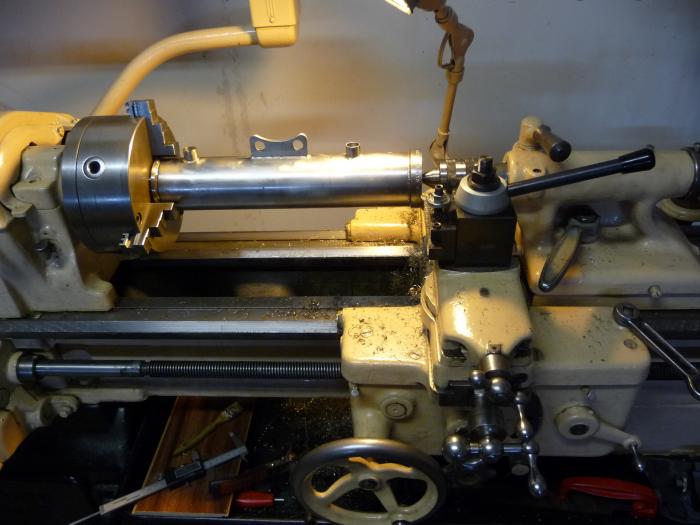
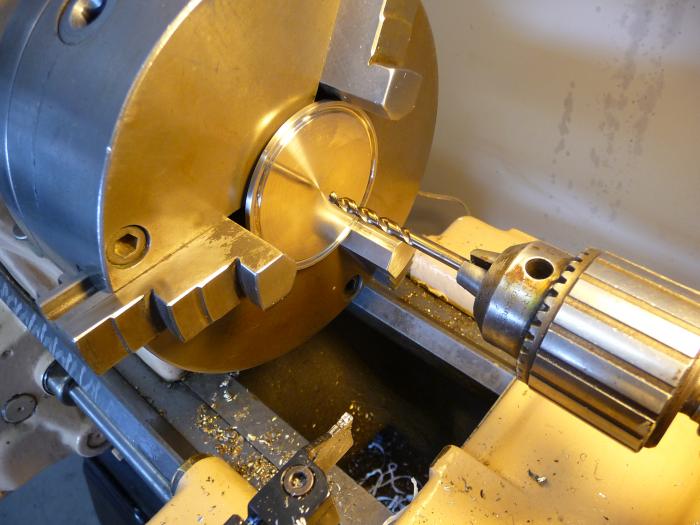
So here's the latest progress....I actually did stick it in the lathe (got a bigger lathe...not for this project, just cuz' it was an awesome deal). A little bit of runout, but not too bad.

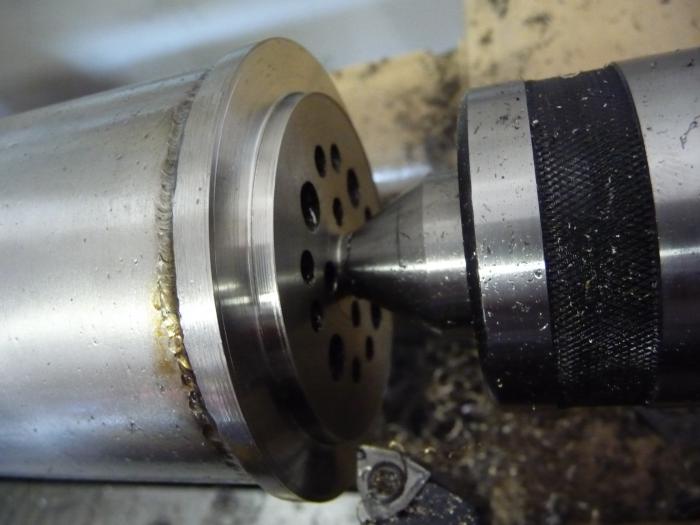
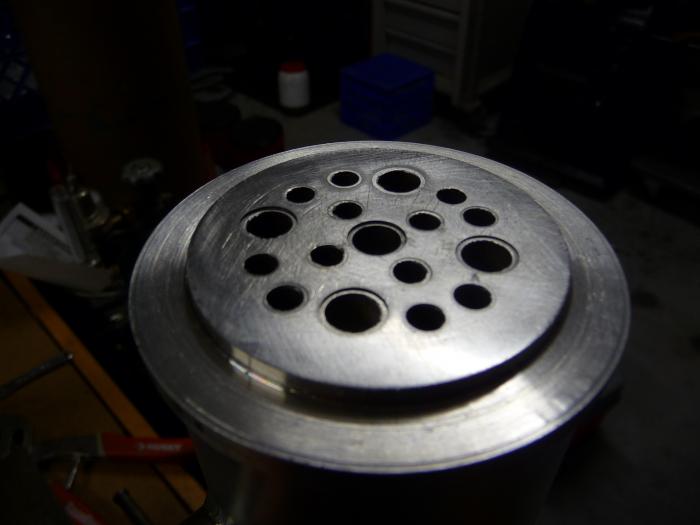
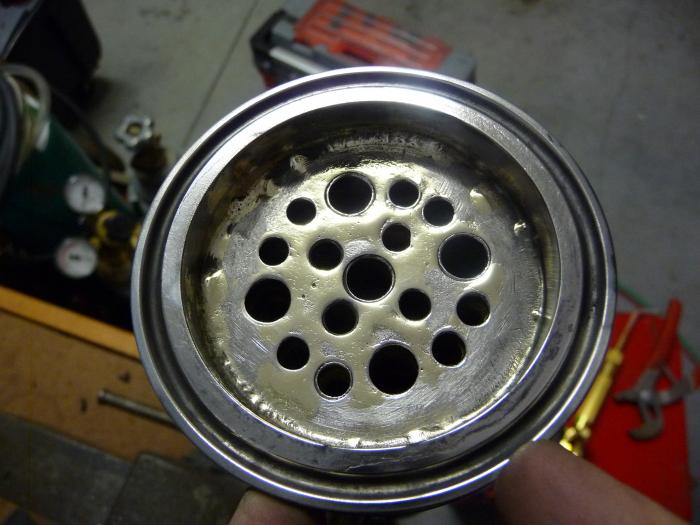
I faced the ends flat and machined a shoulder into the side that the triclover ferrule will slip onto. The plan is to silver braze it together...and re-braze the tubes into place.

And without further ado.....

P1050450.JPG


P1050458.jpg


P1050455.jpg


P1050459.JPG


P1050452.jpg
 
And here's some more progress...I brazed everything together....then polished everything up. Phew...lots of work! Next, I'll be working on the end caps and putting the water fittings on.

P1050467.jpg


P1050472.jpg


P1050474.jpg


P1050468.jpg
 
Looking really good! What filler material did you use for brazing?

It was Safety-Silv 45, with the black hi temp flux. I know I went a little overboard, but it is really difficult to see what you're doing when the flux is crusty, etc. The perfectionist in me wants to keep messing with it, but it is pretty smooth, and the few nooks and crannies that are there can be scrubbed out.

I used a short ferrule this time, and I think that's going to make it even easier to clean. It should also reduce the volume of wort that can pool in the ends...AND, I think it will allow me to use the chiller in a horizontal position. This will solve the problem with the water completely immersing all the tubes when in a vertical position.
 
Much purdier this time. I am jealous of your tools, materials and skill.

Thanks! It was a real learning experience. I just knew I couldn't live with the crusty, rusty mess I had before.

No need to be jealous, lol. Most of this stuff I came upon by chance and snatched it up at a really good price...tools included. The lathe and mill cost far less than a B3 sculpture, and they can do many things...including making/saving money on custom parts, repairs, etc.

Not too many skills to be jealous of here....I am a DIY'er because I want to learn. I'll probably hop to something totally different after this project, which makes it hard to get really good at any one thing.
 
It was Safety-Silv 45, with the black hi temp flux. I know I went a little overboard, but it is really difficult to see what you're doing when the flux is crusty, etc. The perfectionist in me wants to keep messing with it, but it is pretty smooth, and the few nooks and crannies that are there can be scrubbed out.

I used a short ferrule this time, and I think that's going to make it even easier to clean. It should also reduce the volume of wort that can pool in the ends...AND, I think it will allow me to use the chiller in a horizontal position. This will solve the problem with the water completely immersing all the tubes when in a vertical position.

Throw it back in the lathe and face the braze off if you want it really nice or have any concern of the nooks harboring anything. Looks great though and will be nice that you will have a cleanable chiller.
 
I used safety-Silv 56 on my projects but the price is outrageous now. I'll get safety-Silv 45 for the next project, a little less silver should make a bit of difference in price. I wasn't sure how well it worked on stainless but obviously is works just fine. Great work all around!
 
It sure is expensive! I got the uncoated wire in small amounts from Ebay, and that's probably cheaper for the small stuff. I have also used the coated stuff and it is a major PITA.

As far as the nooks and crannies, the pics you see are right after polishing and there is some grit in there. Once I scrubbed everything out with dish soap (cleaned the tubes with a beer line brush) it is clean as a whistle.

Can't wait for the weekend, where I will hopefully be finishing this thing off.
 
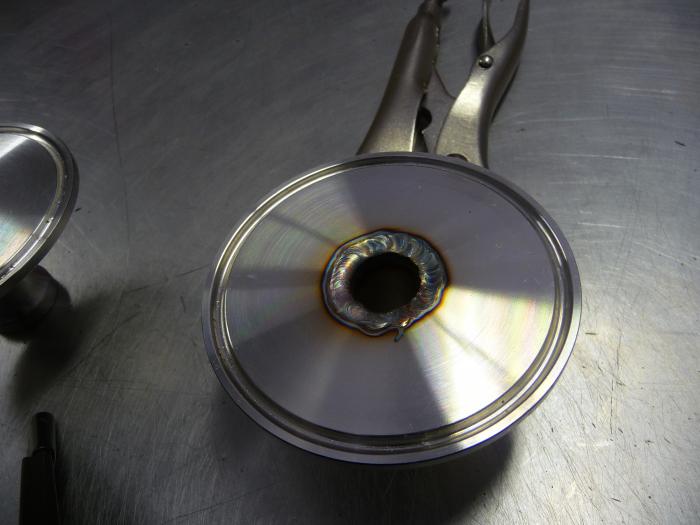
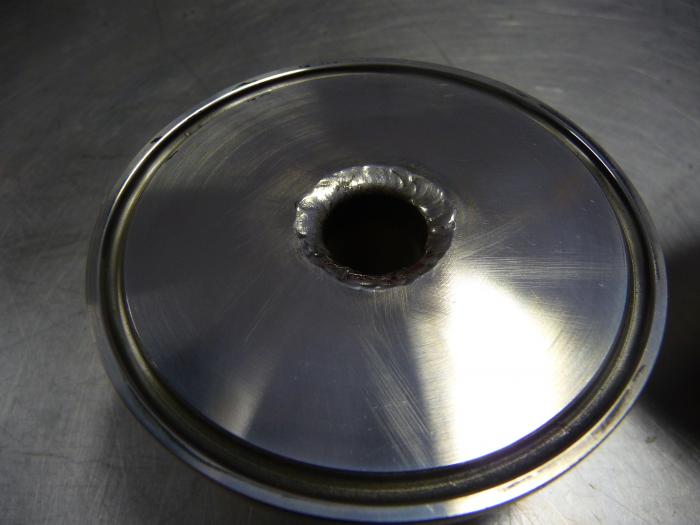
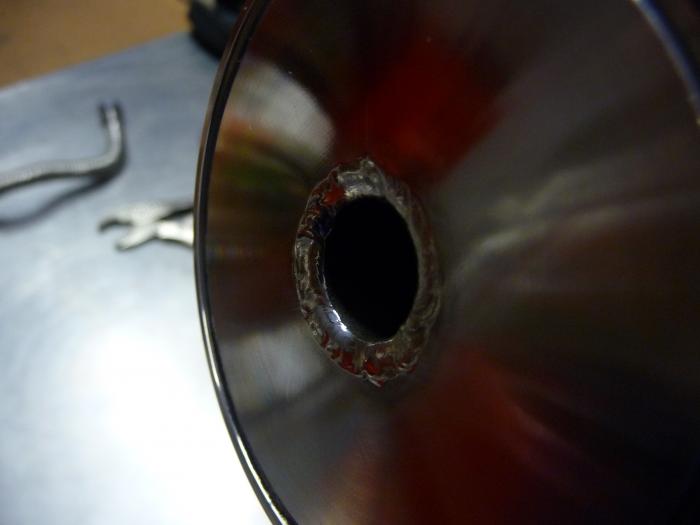
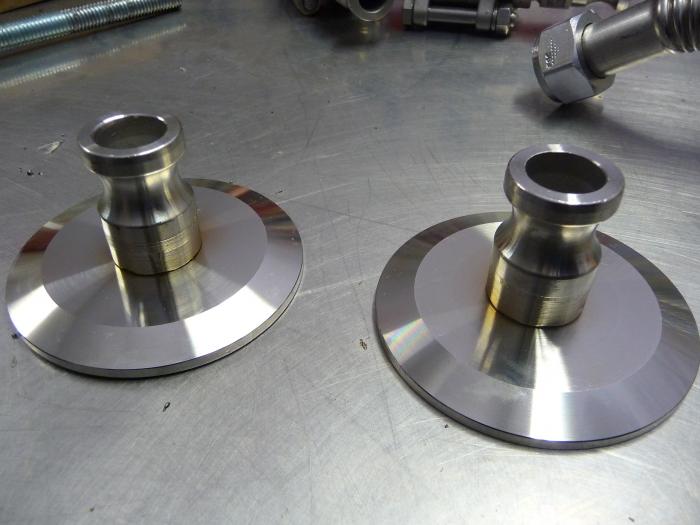
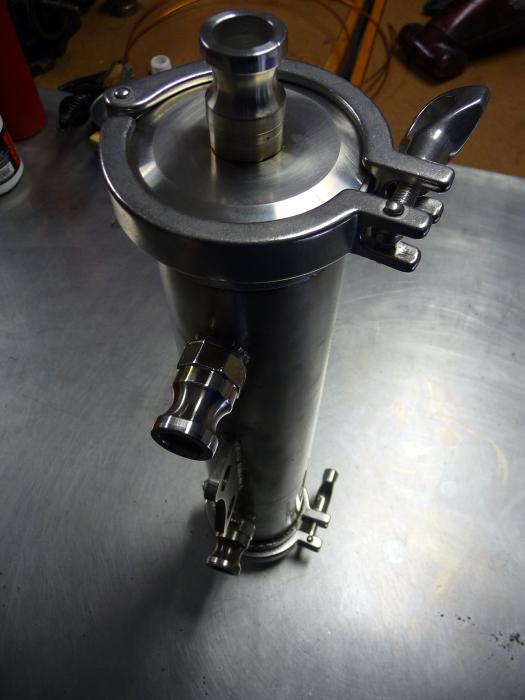
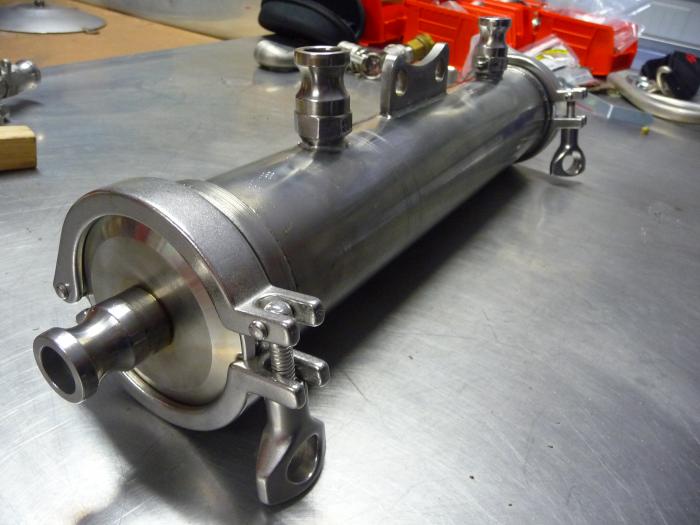
All right brewers...hold onto your beers! It is complete!!!! Just gotta test it, which will happen in the next few weeks when I brew. In these pics, you can see that I machined down the camlocks and left a shoulder on them which I inserted into a hole in the endcap. It was a nice snug fit which made it perfect for doing a sanitary fusion weld on the inside of each cap.

P1050475.jpg


P1050477.jpg


P1050478.jpg


P1050504.jpg


P1050510.jpg
 
And some more closeups. I actually soldered the water fittings on just because it would be too hard to weld.

P1050496.jpg


P1050520.jpg


P1050514.jpg


P1050513.jpg


P1050526.jpg
 
Nice build. I would love to do something similar if I had the tooling you do. I'd like to hear an update when you have put it to use.

ps. You should make a simple base for it to sit in. That may be more handy than one would initially think.
 
Hadn't considered a base, I was just thinking about mounting it to my brewing rig, which is made from strut and has all sorts of possibilities. But I have seen those convoluted cfc chiller "caddies" that B3 sells:

8316.jpg


They look nice! You can mount your pump on it as well. Thanks for the idea!
 
Nice job! It too am not the greatest welder. But crappy welds are beautiful if they hold and it's your own work. I'd love to have that mill. Don't have the slightest idea what to do with it, but it would be fun to learn. I'm very interested to see how this performs.
 
Nice job! I too am not the greatest welder. But crappy welds are beautiful if they hold and it's your own work.

It takes a LOT of practice and dedication to learning from your mistakes...especially TIG. I am betting pretty comfortable with fusion welding and was really happy with how the endcaps turned out...very close to being professional quality. Two handed tig in awkward positions, etc. is a whole 'nother story.

I am also finding that brazing and soldering are really useful tools for when welding just isn't possible. No way was I going to try and TIG all those thin tubes in place!

I haven't done any TIG. There's a local shop that does a fine job for fair pay. Amazes me how perfect their welds are. It truly is an art that takes skill.
 
Sorry guys, I guess I kind of dropped off the map! I tried it out a few times and it didn't really blow my hair back...IIRC it took 15-20 mins to chill about 6 gallons of wort from boiling to ~100F...constantly recirculating because the output was too hot to go right into the fermenter. I ended up chopping it apart thinking I would weld new endcaps on and rebuild it with more and smaller tubes. I kinda shelved the whole project though. Don't let my lack of progress discourage you...I think it's probably still worth doing. BTW, have any of you seen THESE ?
 
Sorry guys, I guess I kind of dropped off the map! I tried it out a few times and it didn't really blow my hair back...IIRC it took 15-20 mins to chill about 6 gallons of wort from boiling to ~100F...constantly recirculating because the output was too hot to go right into the fermenter. I ended up chopping it apart thinking I would weld new endcaps on and rebuild it with more and smaller tubes. I kinda shelved the whole project though. Don't let my lack of progress discourage you...I think it's probably still worth doing. BTW, have any of you seen THESE ?

I actually saw one of those not to long ago. my biggest worry is how sanitary it would be. Most likely its garbage. Have you seen this? http://stilldragon.com/index.php/2-long-product-shotgun.html
 
My approach to this has been to build one of these but I am having trouble finding some parts and may have to resort to some fabrication myself.
 
Wow, that StillDragon looks like what I was trying to build....I still think the tubes should be smaller and more numerous. As a condenser it just needs to take ethanol gas and return it to liquid, right? Not sure about the delta or temp change required.....but I do know we are asking quite a bit of our other chillers to return boiling high gravity wort to about 90F.....
 
Wow, that StillDragon looks like what I was trying to build....I still think the tubes should be smaller and more numerous. As a condenser it just needs to take ethanol gas and return it to liquid, right? Not sure about the delta or temp change required.....but I do know we are asking quite a bit of our other chillers to return boiling high gravity wort to about 90F.....

I was thinking about removing my counterflow and building one using 3/8 straight tubing, and 2"x 3 ft stainless spool. I did the math and I can get about 13 rods in a 2" spool. giving me 39' of chilling capacity. But it also seems like a pain in the ass. The one thing I am worried about is how much waste I will have left in the chiller after I pump to my fermenter.
 
If the hex is vertical and you have the wort enter from the top, you will have almost zero waste left in chiller. You'd need to "fill" the hex before chilling, then flow at a rate that would not evacuate the tubes, otherwise you'd lose your surface area. Alternatively, flow wort up from the bottom but have a valve so you can disconnect tubing at the end and dump the rest in the fermenter by opening the valve. Hope that makes sense....its the same concept with a plate or chillzilla.
 

Latest posts

Back
Top