Tiny Brew House. Ultimate BIAB 110v System Build

Homebrew Talk - Beer, Wine, Mead, & Cider Brewing Discussion Forum

Help Support Homebrew Talk - Beer, Wine, Mead, & Cider Brewing Discussion Forum:

This site may earn a commission from merchant affiliate links, including eBay, Amazon, and others.
I wanted to do something like that with the whirlpool return but it would block the outlet for steam on my system since lid only has one hole.

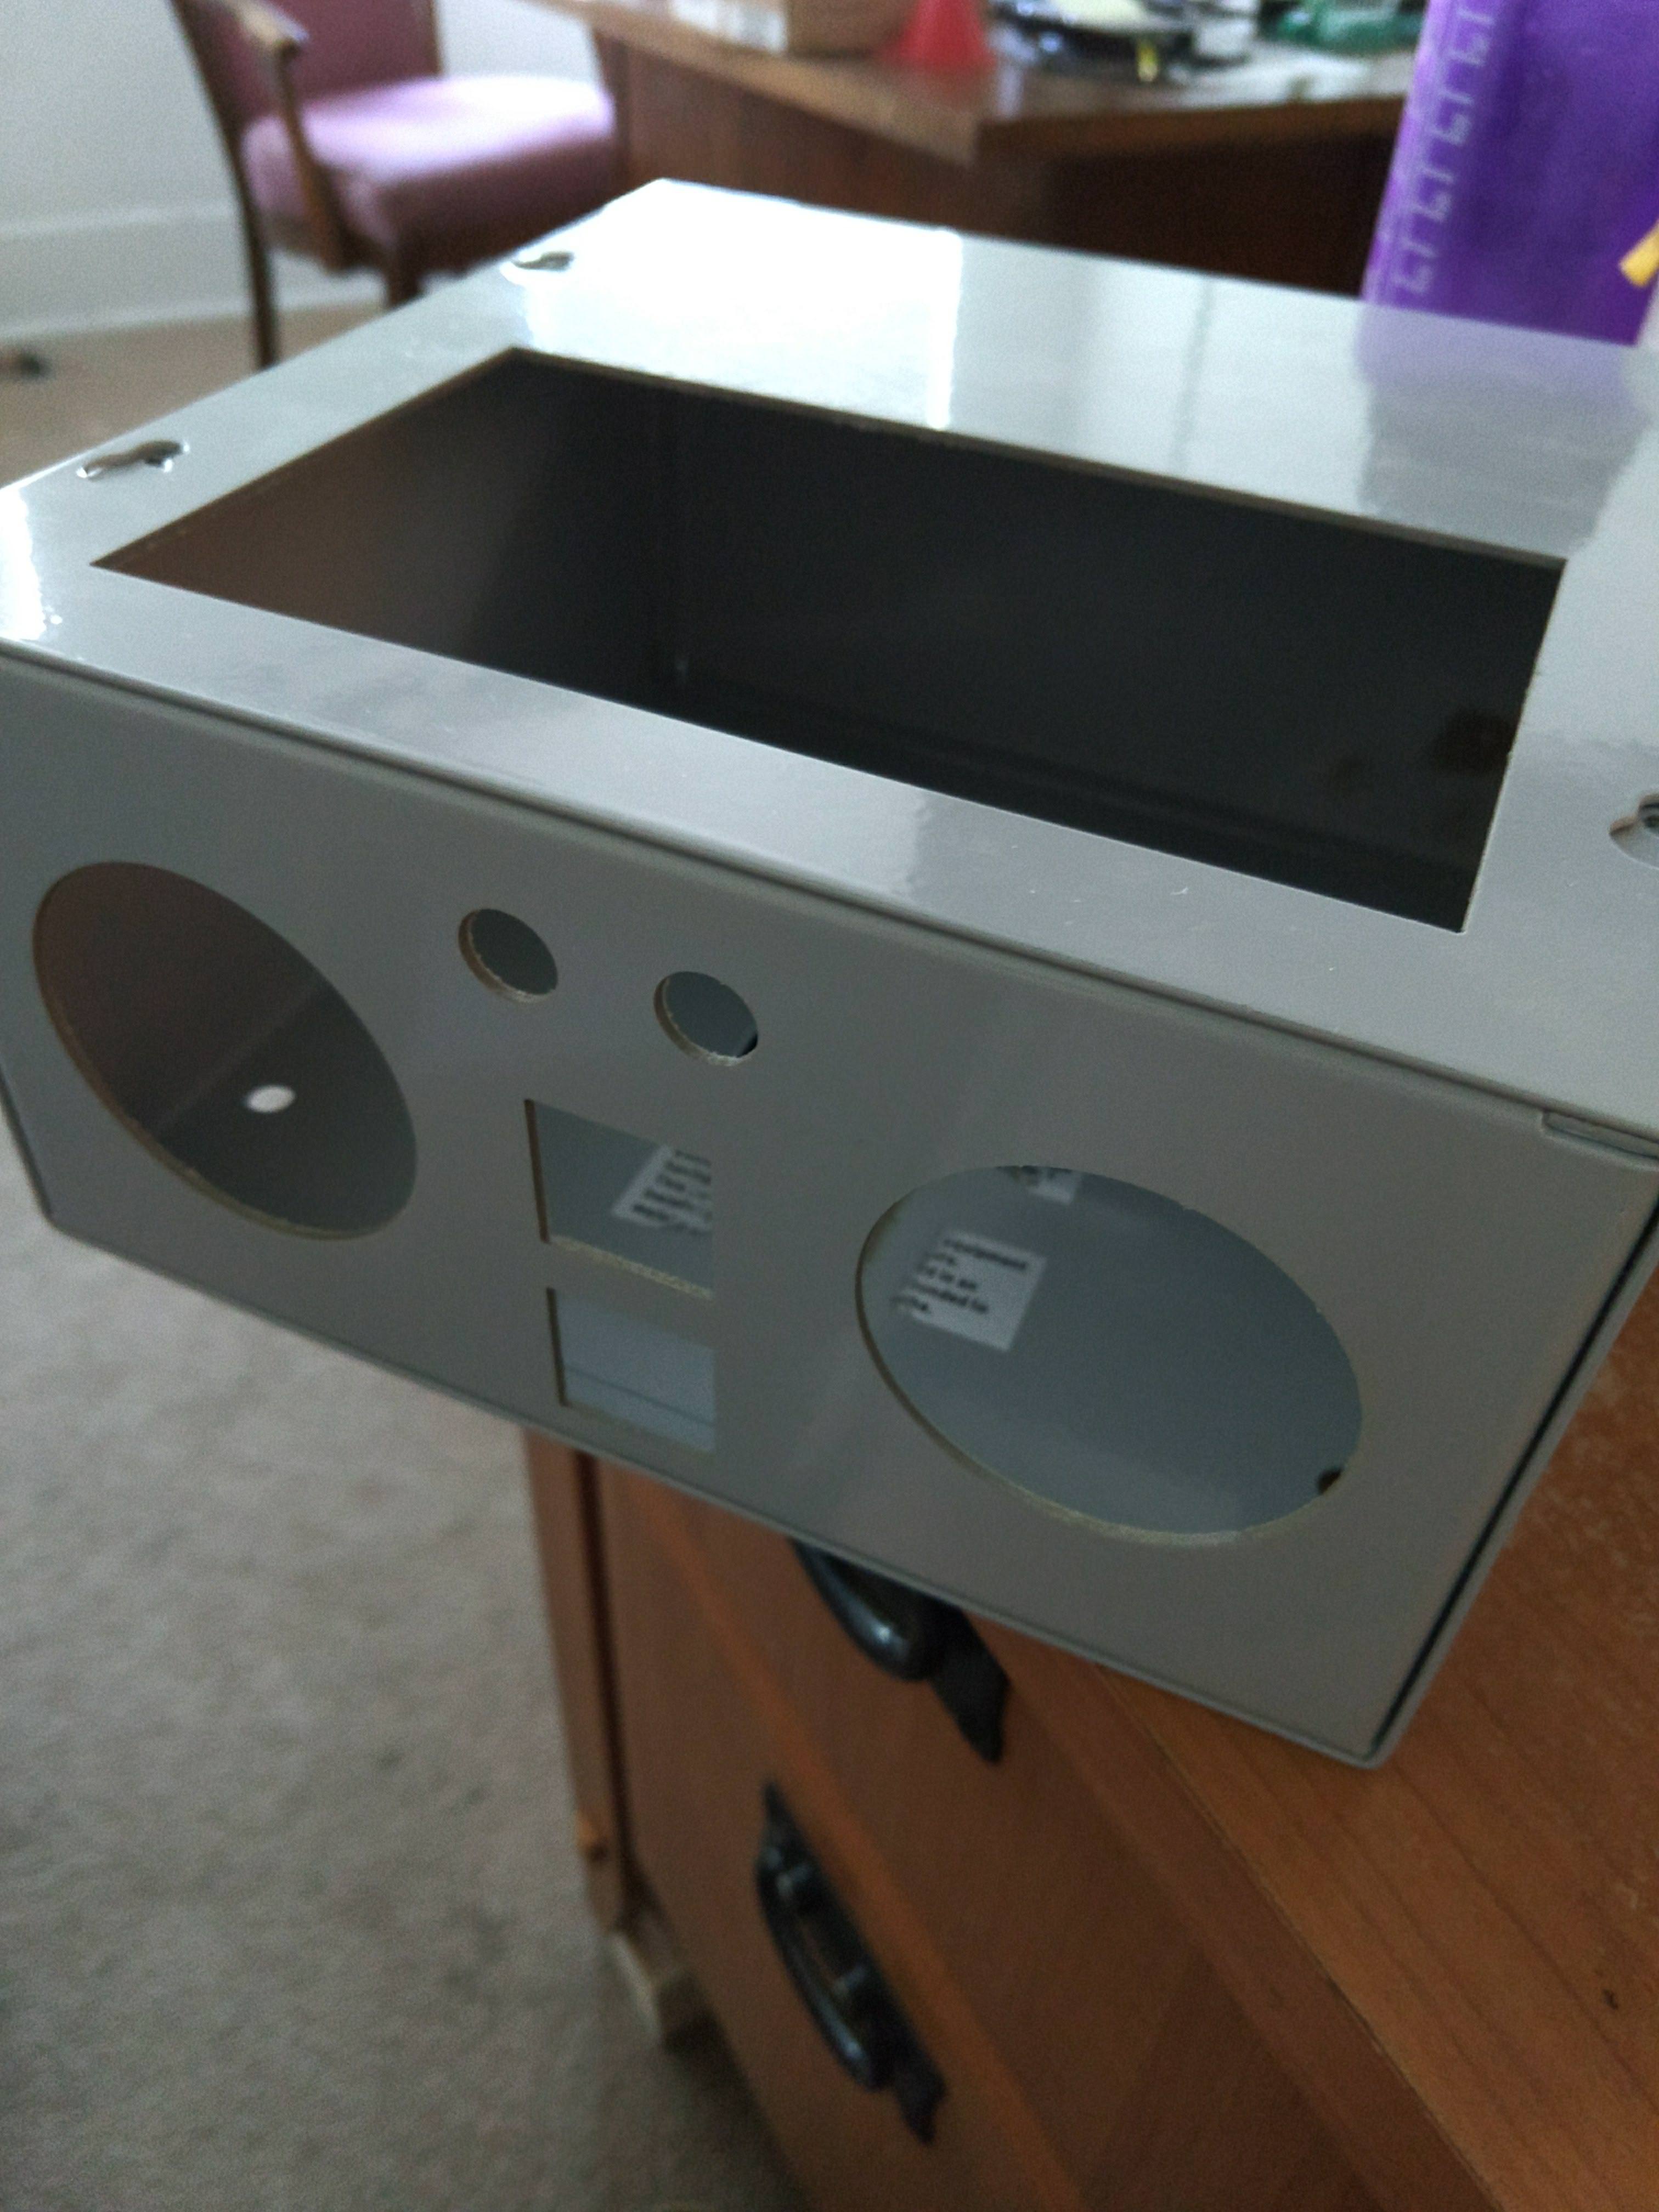
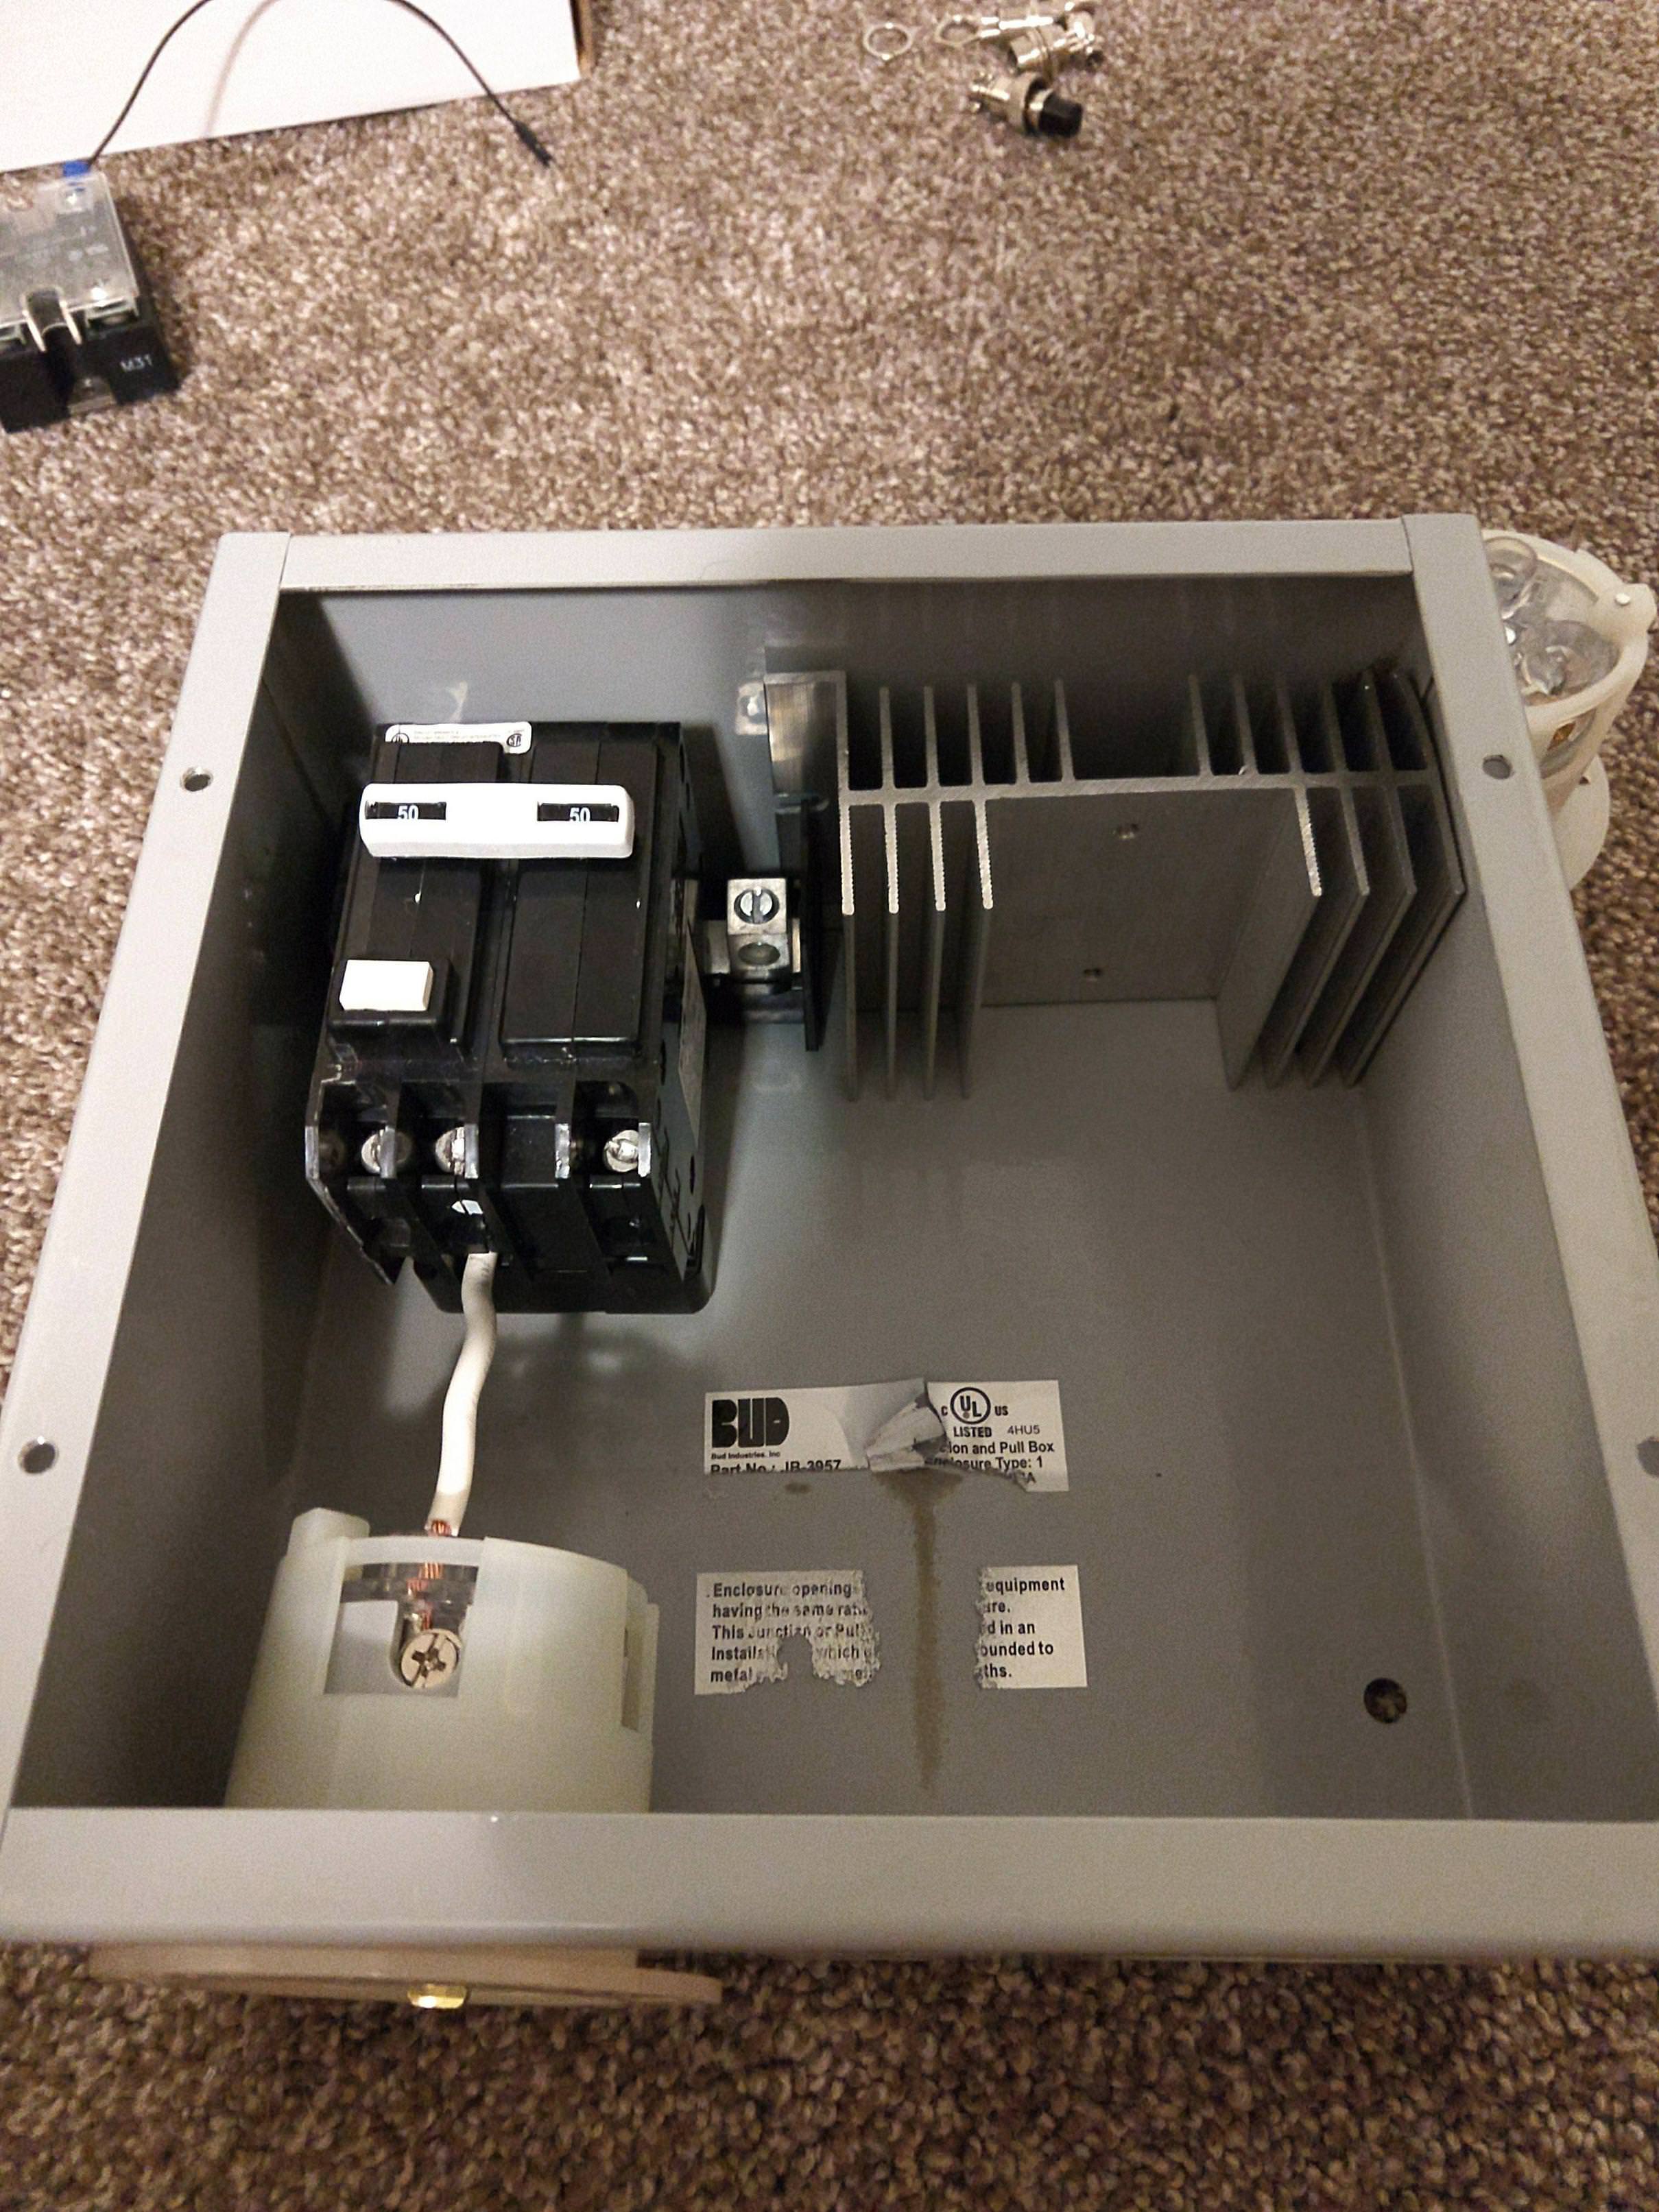
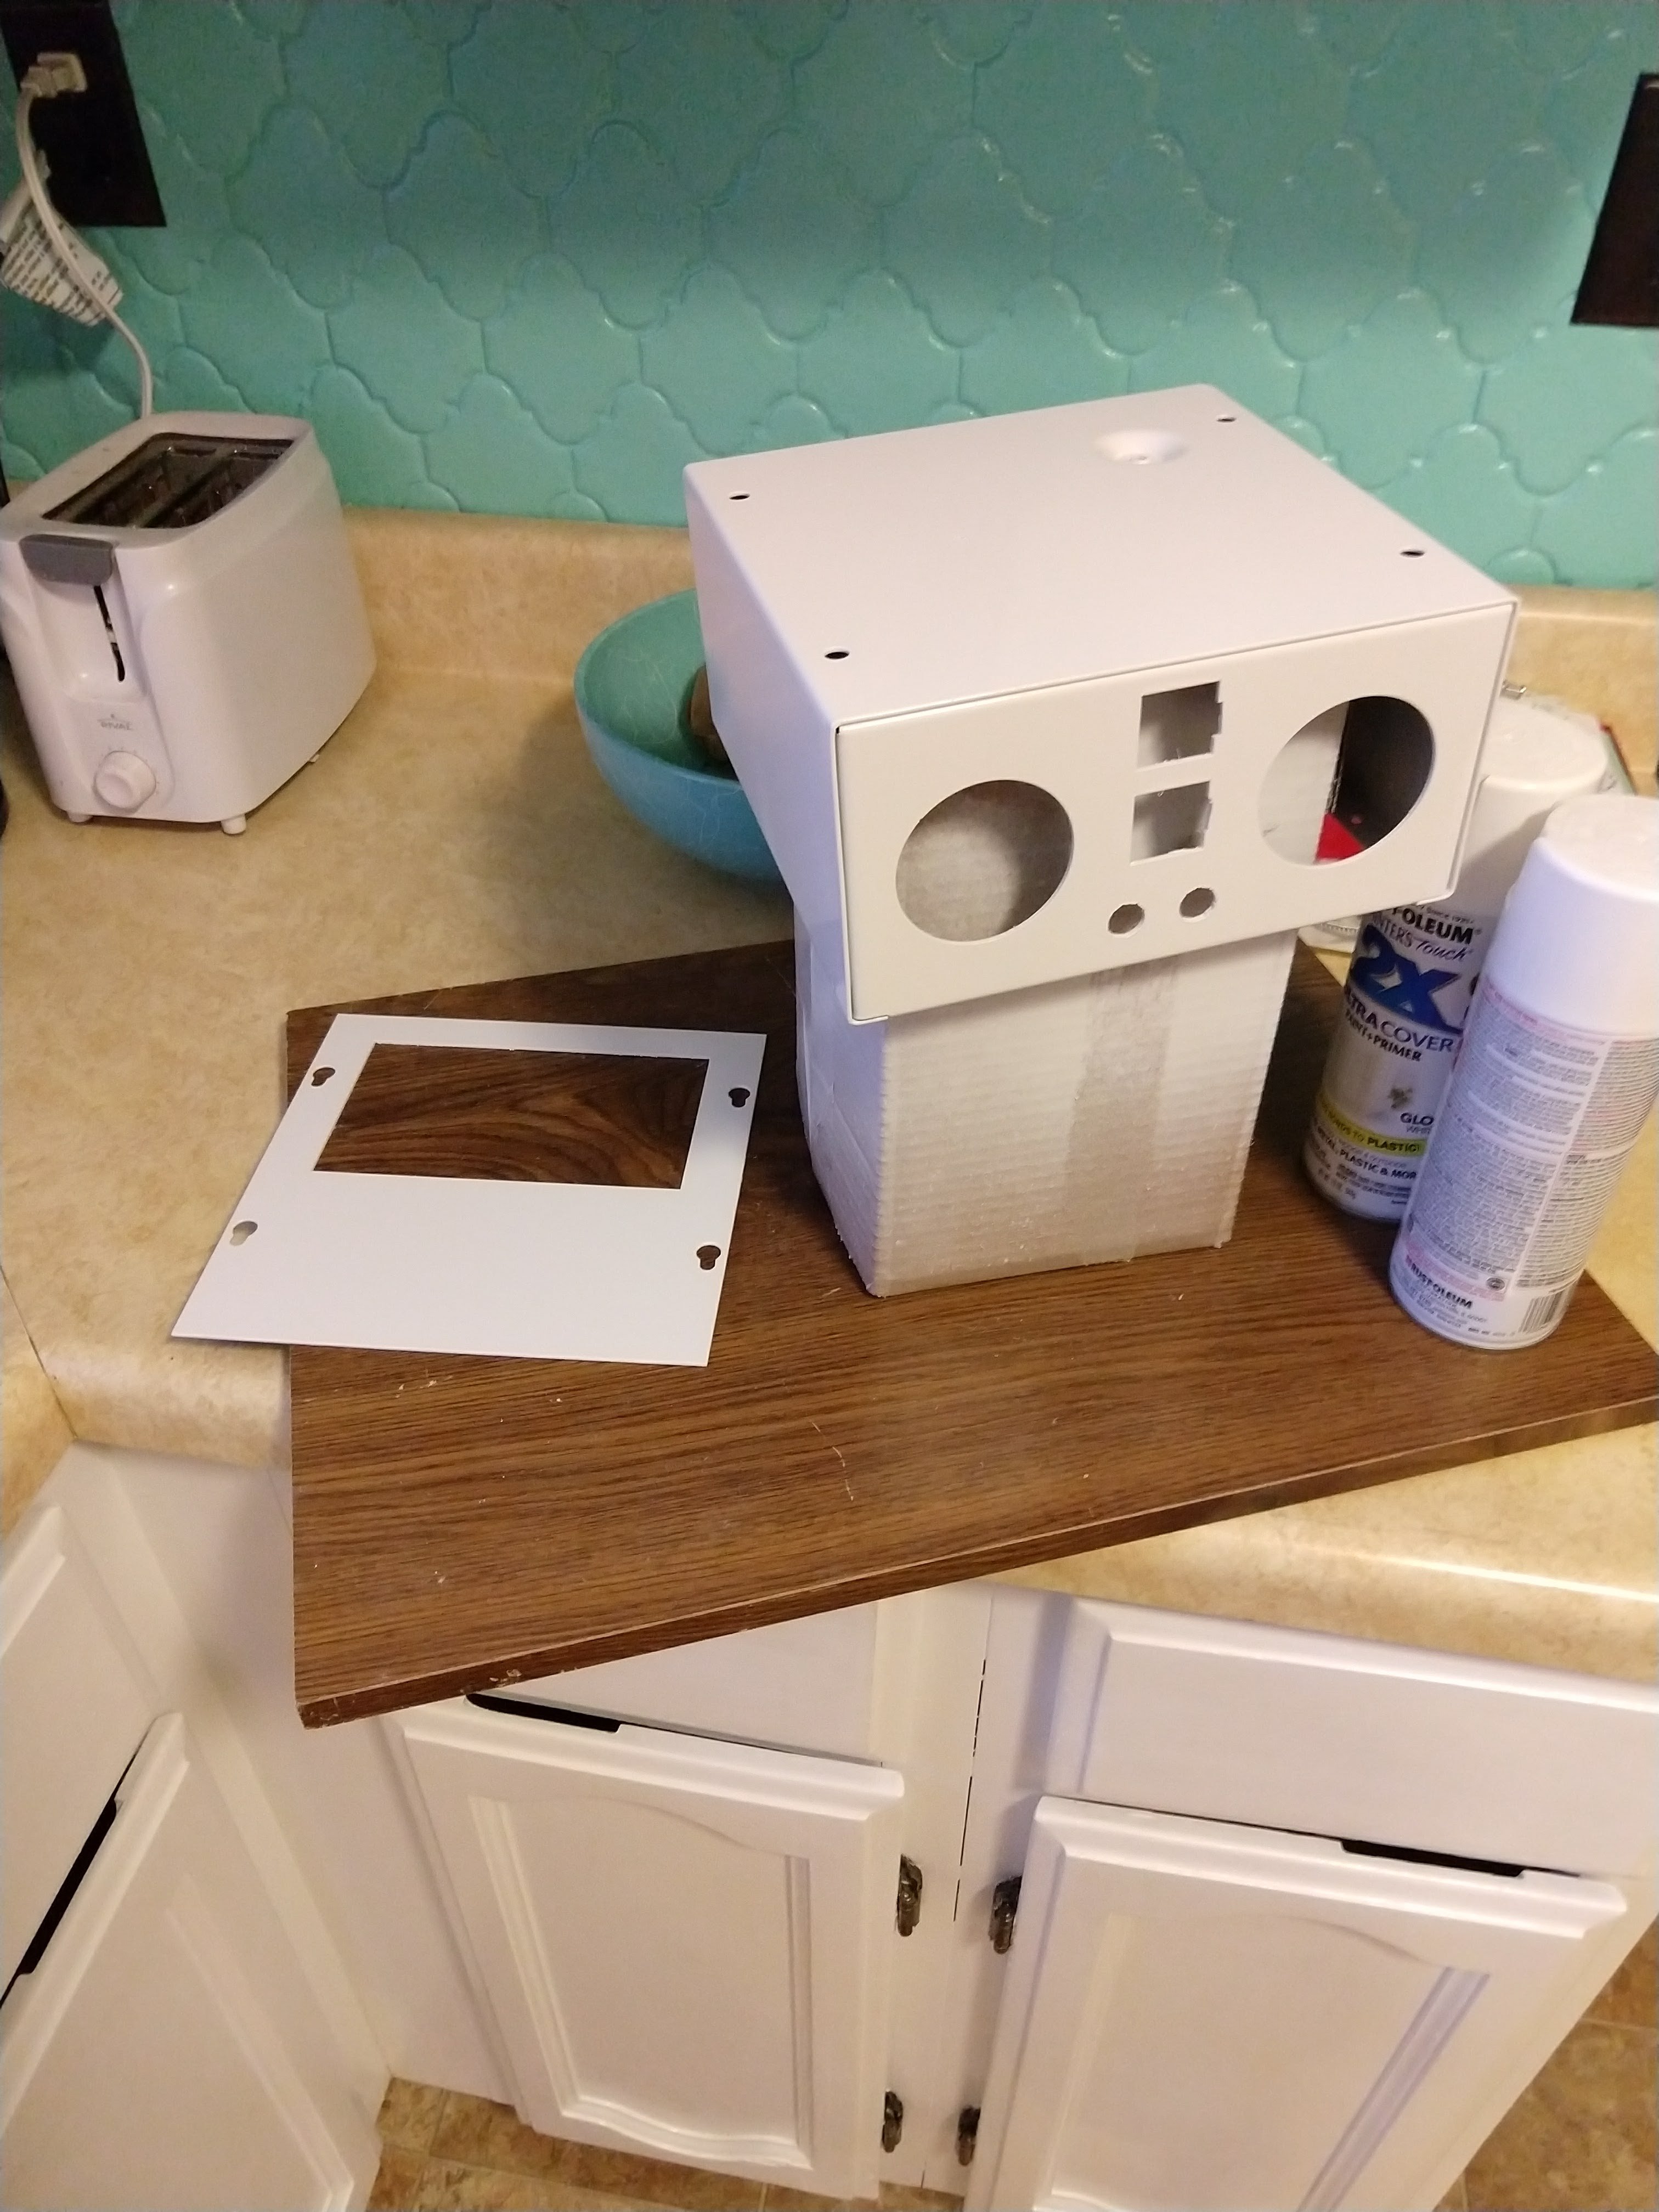
Bought panel supplies. We are going 220v :)
 
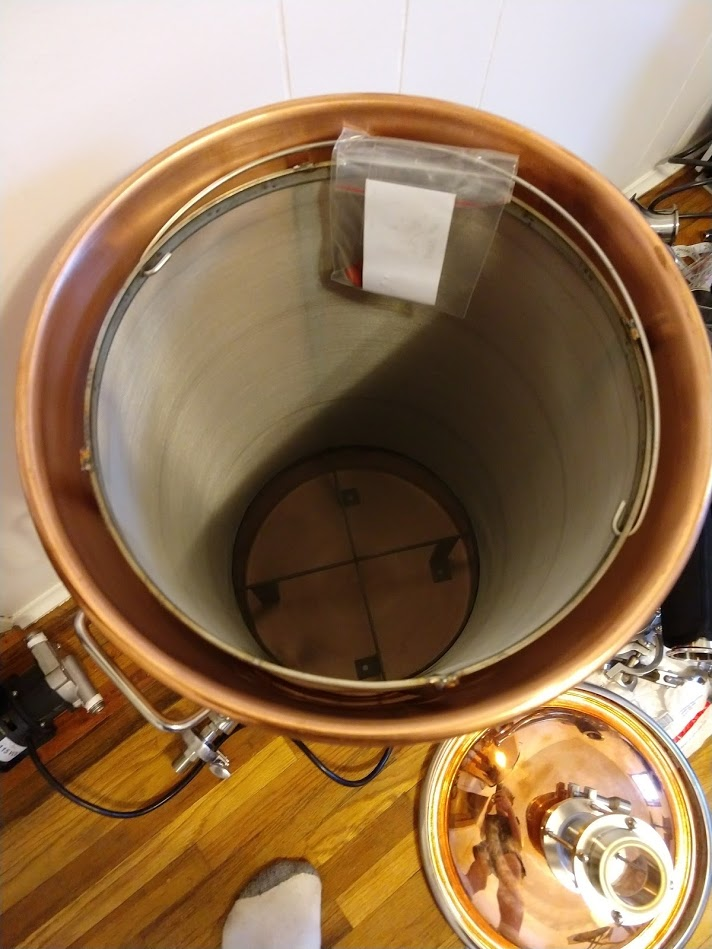
- I don’t like the U bar I have for draining my the basket. Too much finesse required to position the U bar while holding a heavy basket. I am either going to use J hooks or build small supports that hang from the pot handles and swing up to form a support on which the draining hooks on the basket can rest (hard to describe but I’ll draw something out and post it). This way I can pull the basket out and just flip up the supports on both sides with a quick flick of my finger


Today I constructed the steel supports attached to my pot handles to hold my basket. I still want to “spring load” them so that they are more stable. They work well as-is, but if the basket bumps it too hard, the support may swing down against the side of the pot. By adding a spring, the support would push against the side of the basket when at the top position and should make it that much easier to setup (literally just a flick of your finger). I’ll align the spring so that when you push the support beneath the pot handle it’ll toggle and pull it against the side of the pot instead.

View attachment IMG_0020.jpg

View attachment IMG_0024.jpg

View attachment IMG_0027.jpg

View attachment IMG_0029.jpg

View attachment IMG_0030.jpg

View attachment IMG_0018.jpg

View attachment IMG_0019.jpg
 
I, for one, think this is ingenious! Most other solutions are attached directly to the basket or the top rim of the kettle. This is great for keeping the supports out of the way.
 
I had a dream about swing out hooks on the basket to where when you pick up the basket they would just grab the rim at the top, should allow for hands free action so I can use both hands to pick up basket. I dig your solution though, looks clean and easy to use.
xBfGrNW.png

give or take something like this... Probably made out of some SS or Aluminum Rod and pipe.
5TidPtO.png
 
Progress Update:
Got some fittings from Brewhardware and started working on the hardware and software for control panel.
AAuq7Vn.jpg

paIAd2g.jpg
 
I had a dream about swing out hooks on the basket to where when you pick up the basket they would just grab the rim at the top, should allow for hands free action so I can use both hands to pick up basket. I dig your solution though, looks clean and easy to use.
xBfGrNW.png

give or take something like this... Probably made out of some SS or Aluminum Rod and pipe.
5TidPtO.png


Excellent idea. Looking forward to seeing your dream become reality. Cheers.
 
More bling and some more panel parts showed up. Im continuing work on software for panel. Pretty sure everything is shipped and on the way at this point.
J9oUIRh.jpg

j0NgCZg.jpg
 
Sorry to the OP for this.....but trying to help Metzen


Put a female QD on the TC fitting on your lid with a TC to 1/2" NPT hole http://www.beveragefactory.com/home...-equipment/brewing-pump/tc105-cap-12-npt.html w/ a 1/2" NPT nipple. Then put 1 male QD on to the line loc (or sprayhead) and another to your whirlpool fitting, then you can easily switch from one to the other from the bottom side of your lid and not have to thread anything through the TC port.


Similar to what I did in pics below.


Also, if you need more flow from your pump, angle the pick up tube some, on mine the flow was greatly reduced until I turned it 45degrees to allow the pick up some more "breathing room"


Took your advice. Cheers!

View attachment IMG_2759.jpg

View attachment IMG_2757.jpg
 
Nice, I would go that route if I didnt need to have the TC fitting open during boil for steam.

Got PWM and temp probes up and running on my panel, next up coding PID logic.
dwZACem.jpg
 
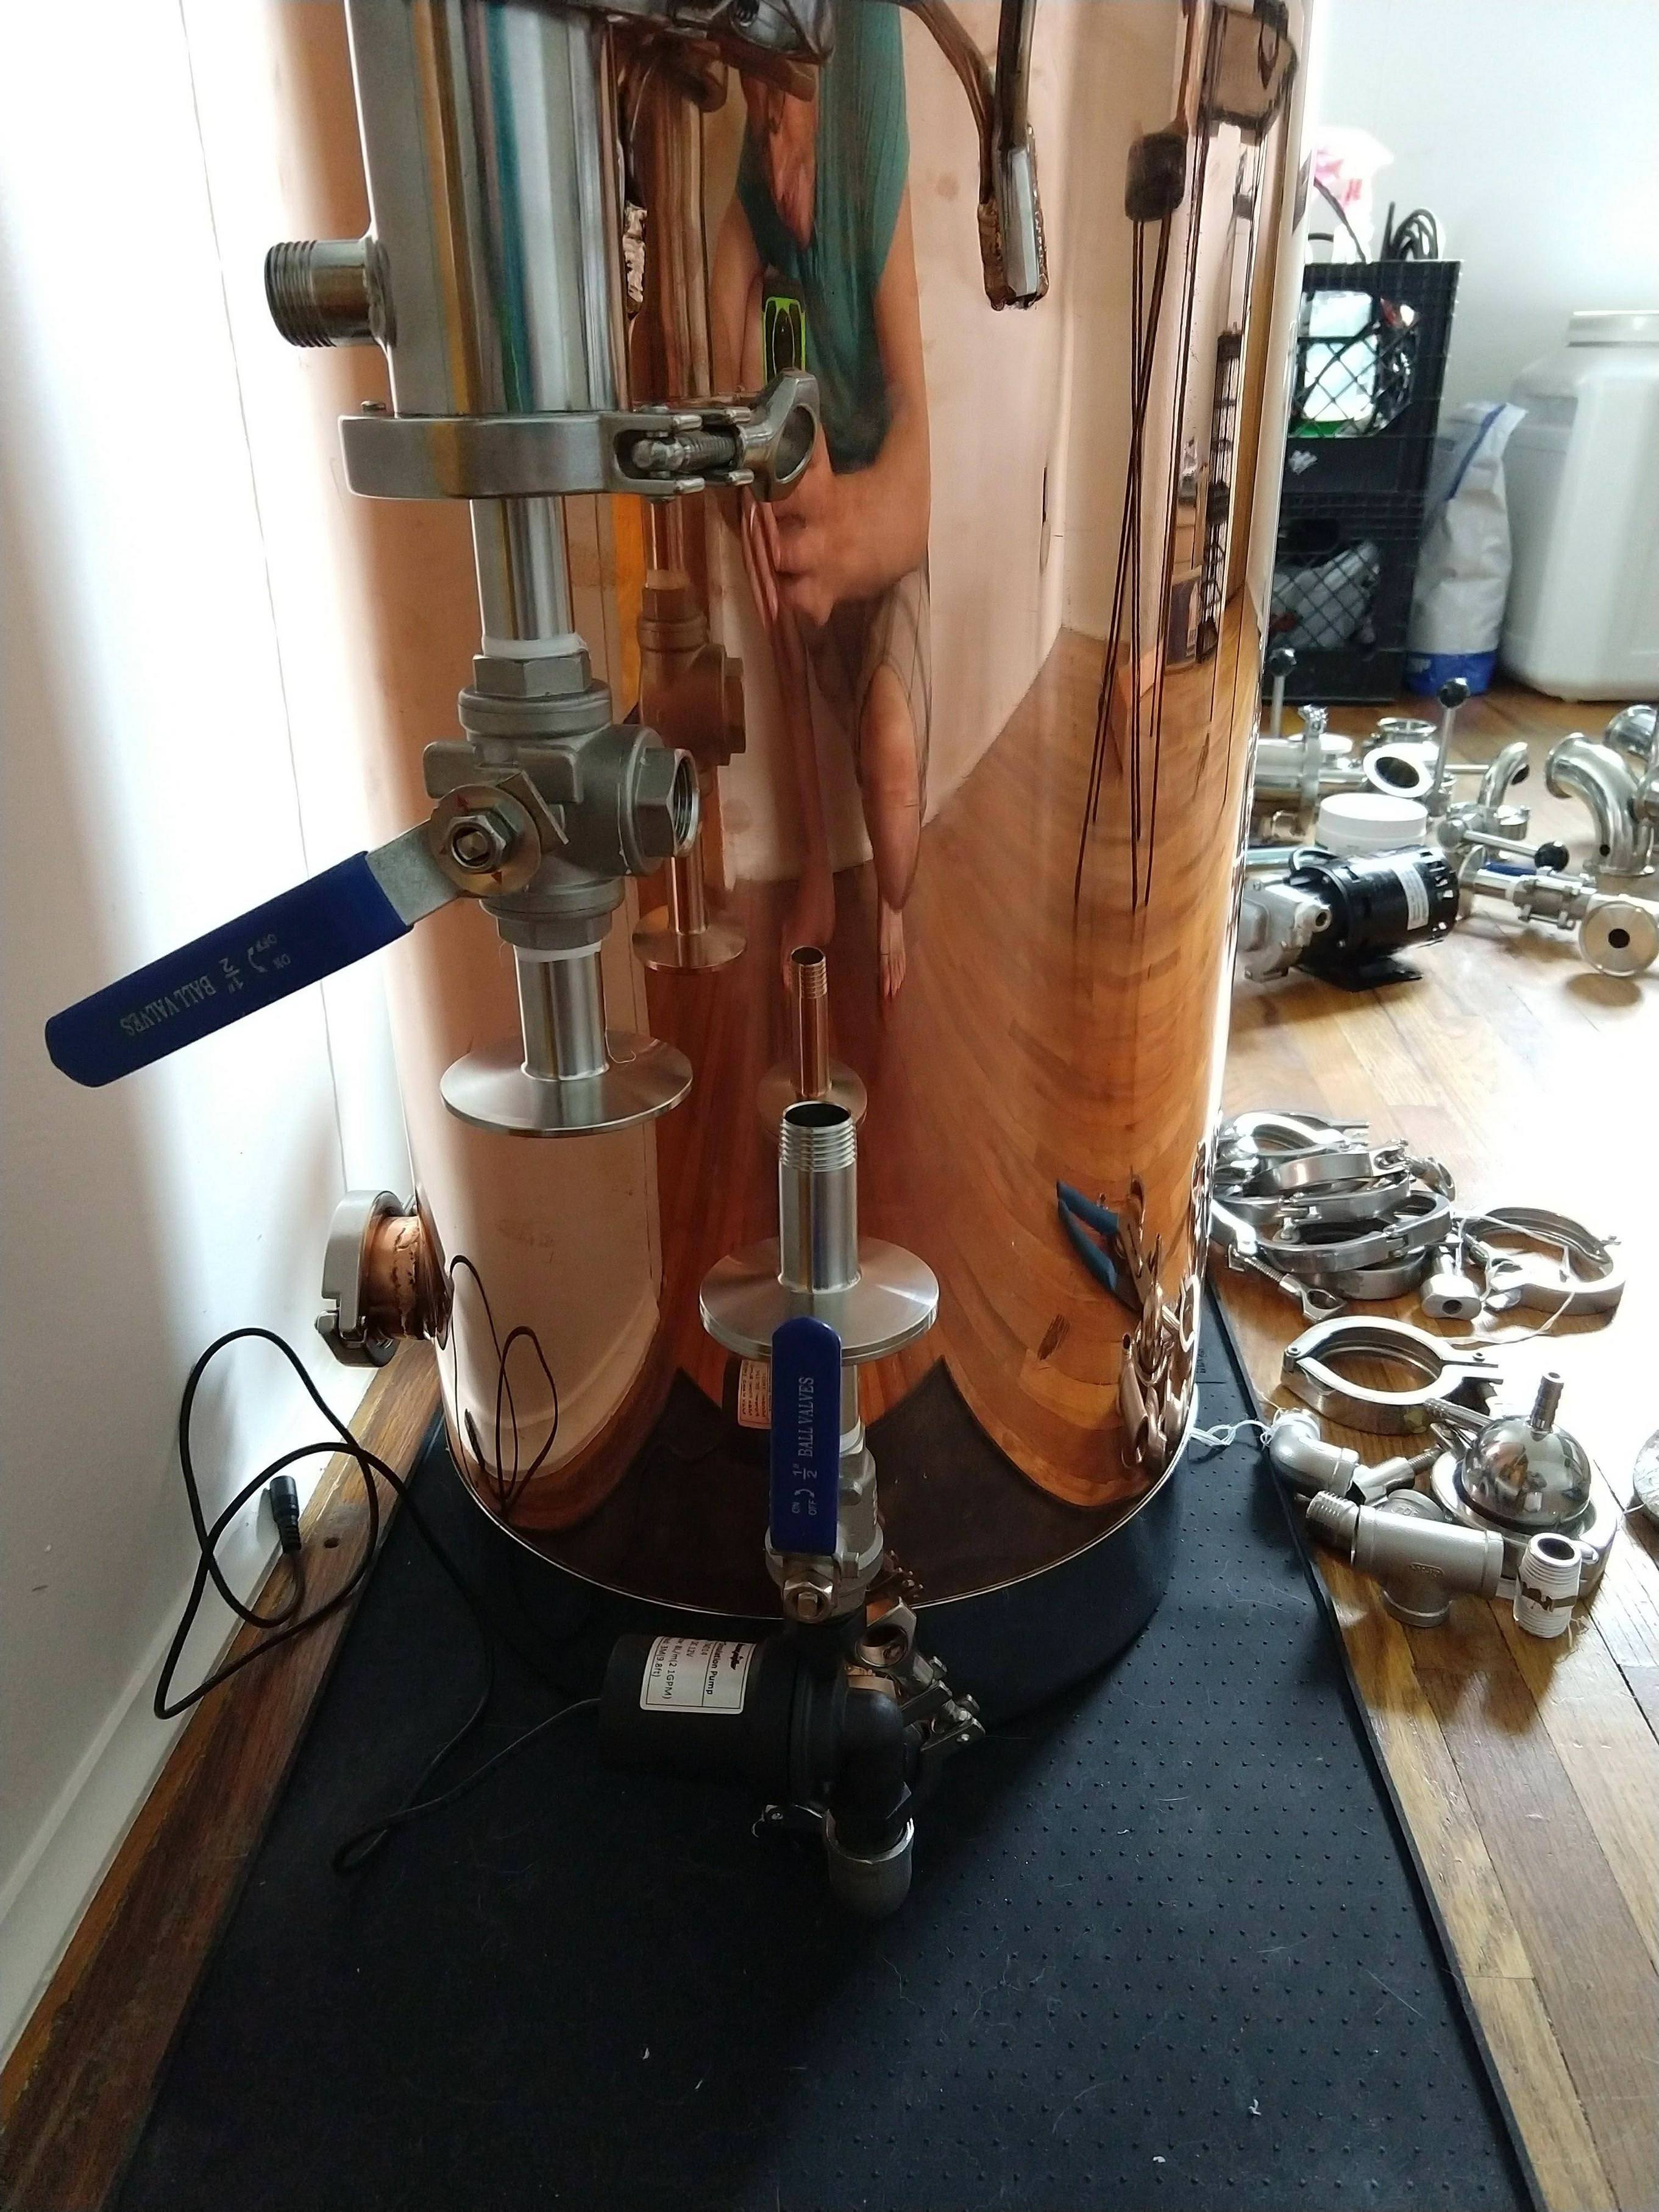
More parts showed up. So running into a little design help question. So this whole assembly hangs off the lid and I'm a little worried about stress on the lid TC fitting and overall lid clamp stress over time especially when this whole thing is filled with wort during chilling and recirc. I found a super simple solution that works perfect is bracing the condenser unit on the handle with a TC clamp but its not 100% fancy looking so looking if anyone has any easy to attach remove cleaner looking ways to do this.
Bm0Tl0E.jpg

4i3xTbi.jpg

HpQeIRZ.jpg
 
...if anyone has any easy to attach remove cleaner looking ways to do this.

What about a sanitary pipe hanger? Something like this:
round-pipe-hanger-tube-holder-tube-supports-sanitary-fittings-wellgreen.jpg


Then use something like the little clips you're using for the basket spring attachments. Attach one to the handle and thread through that into the pipe hanger. Something like that?
 
Rather than have the assembly supported from the lid and the side of the kettle, you could also build an adjustable height foot to support it from the bottom (if the bottom of the assembly will be close to the floor - can’t tell yet). I’m not exactly sure what the bottom of the assembly will look like but perhaps you could combine a pipe hanger and threaded, adjustable rubber foot to give it support. Not sure it’s that much more elegant, but maybe it would look more “intentional”
 
Rather than have the assembly supported from the lid and the side of the kettle, you could also build an adjustable height foot to support it from the bottom (if the bottom of the assembly will be close to the floor - can’t tell yet). I’m not exactly sure what the bottom of the assembly will look like but perhaps you could combine a pipe hanger and threaded, adjustable rubber foot to give it support. Not sure it’s that much more elegant, but maybe it would look more “intentional”

Yea Im leaning toward some pipe clamp hanger supporting the bottom. I think I will have a 90 bend before that tee valve so that should work pretty easy then I wouldn't have to have it attach to the kettle at all.
 
Man, that’s an impressive build right there. I might be wrong here, but could you Brew and distill out of this thing? (With a few small adjustments)
 
Man, that’s an impressive build right there. I might be wrong here, but could you Brew and distill out of this thing? (With a few small adjustments)
Yes, the boil kettle is a still in fact. However if im not mistaken they dont want us talking about that hobby on this site.
 
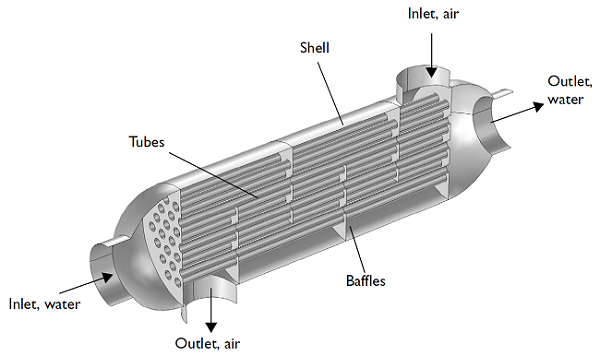
So if I understand correctly, the boil off condenses as the steam flows through to the chiller unit and then you can dump the condensate. Then, when you want to chill, you reverse the flow out the bottom of the kettle, up through the tube sheets with cold water applied and back in through the top? Also, it seems the stress point would likely be the sight glass given how much it elevates the piping over the lid.
 
So if I understand correctly, the boil off condenses as the steam flows through to the chiller unit and then you can dump the condensate. Then, when you want to chill, you reverse the flow out the bottom of the kettle, up through the tube sheets with cold water applied and back in through the top? Also, it seems the stress point would likely be the sight glass given how much it elevates the piping over the lid.
Yep thats how it will work. Honestly I think the weak point is the weld of the TC fitting on to the lid of the pot. That sight glass is insane heavy duty. But this is solved with hard plumbing and or the clamp to handle on the kettle. Waiting on one bloody part still and Ill get some pictures of it all fitted out.
 
Awesome. This is very much how a single unit in a chain of multiple effect vacuum evaporators work. It's a great concept! I know from personal experience.
 
Dggw3Om.png

Still waiting on some small stupid parts from the slow boat but chipping away at the control panel software. Getting the panel cut soon so I can start updating this thread with more actual progress.
 
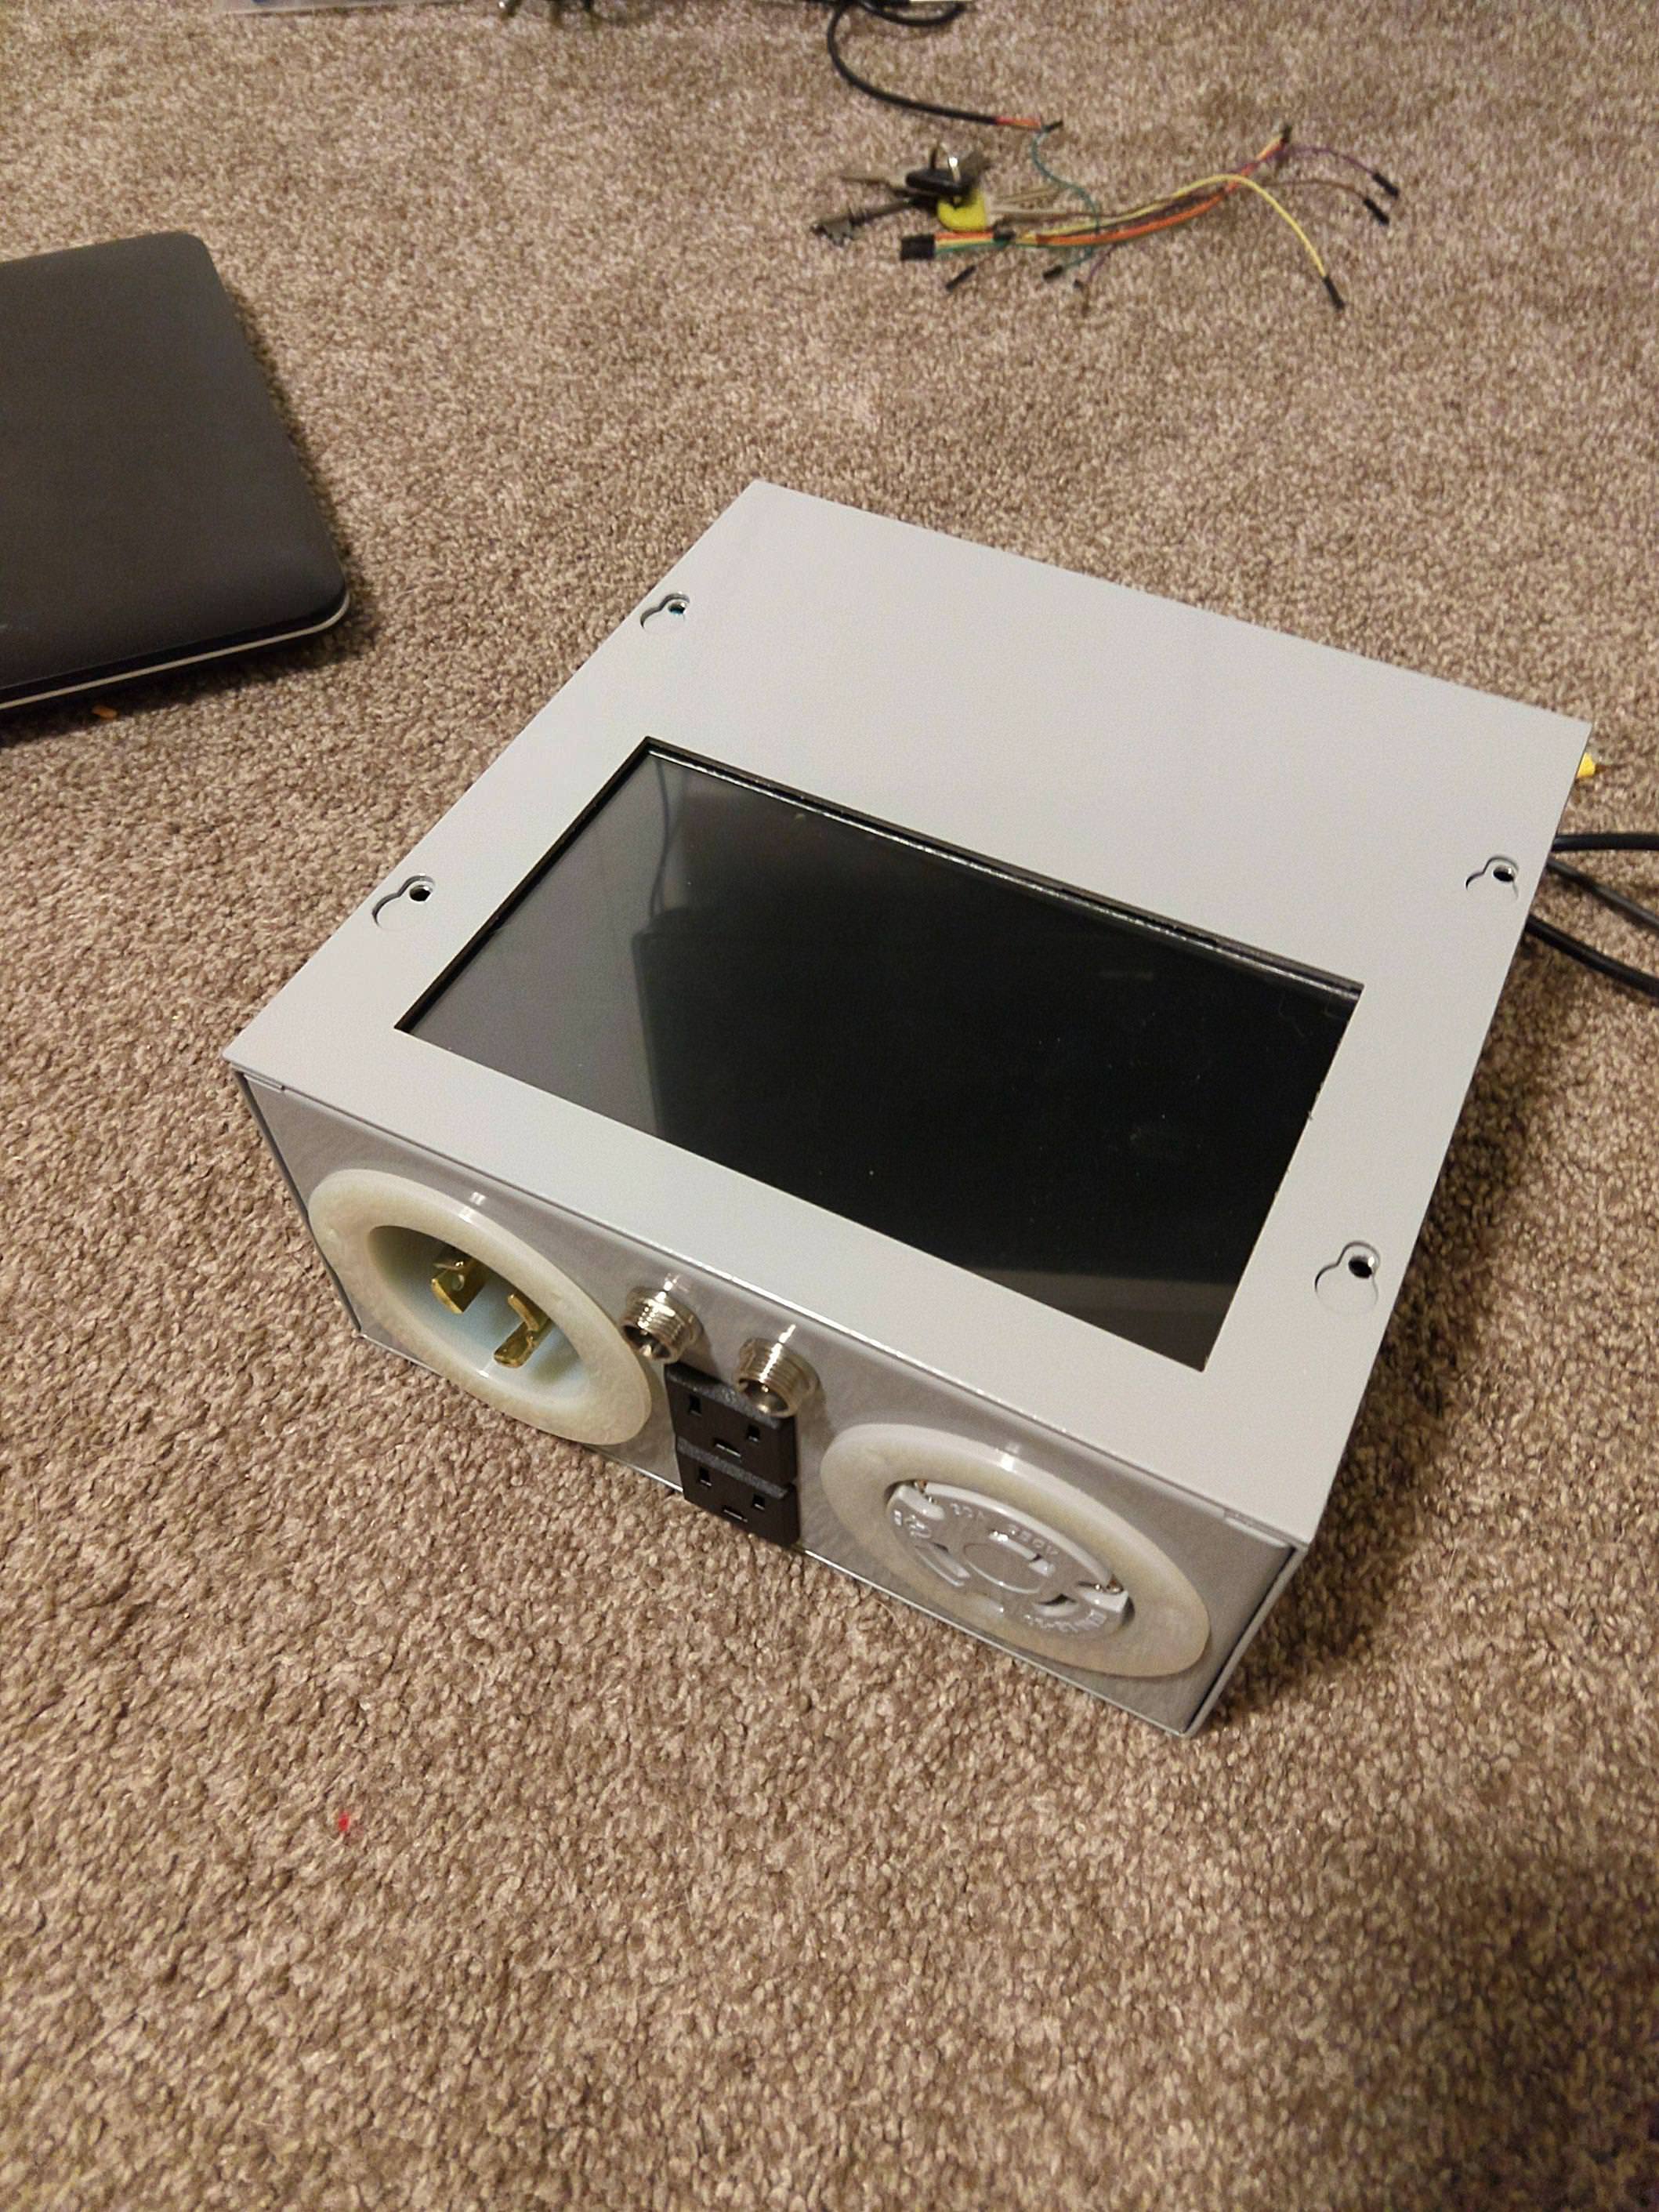
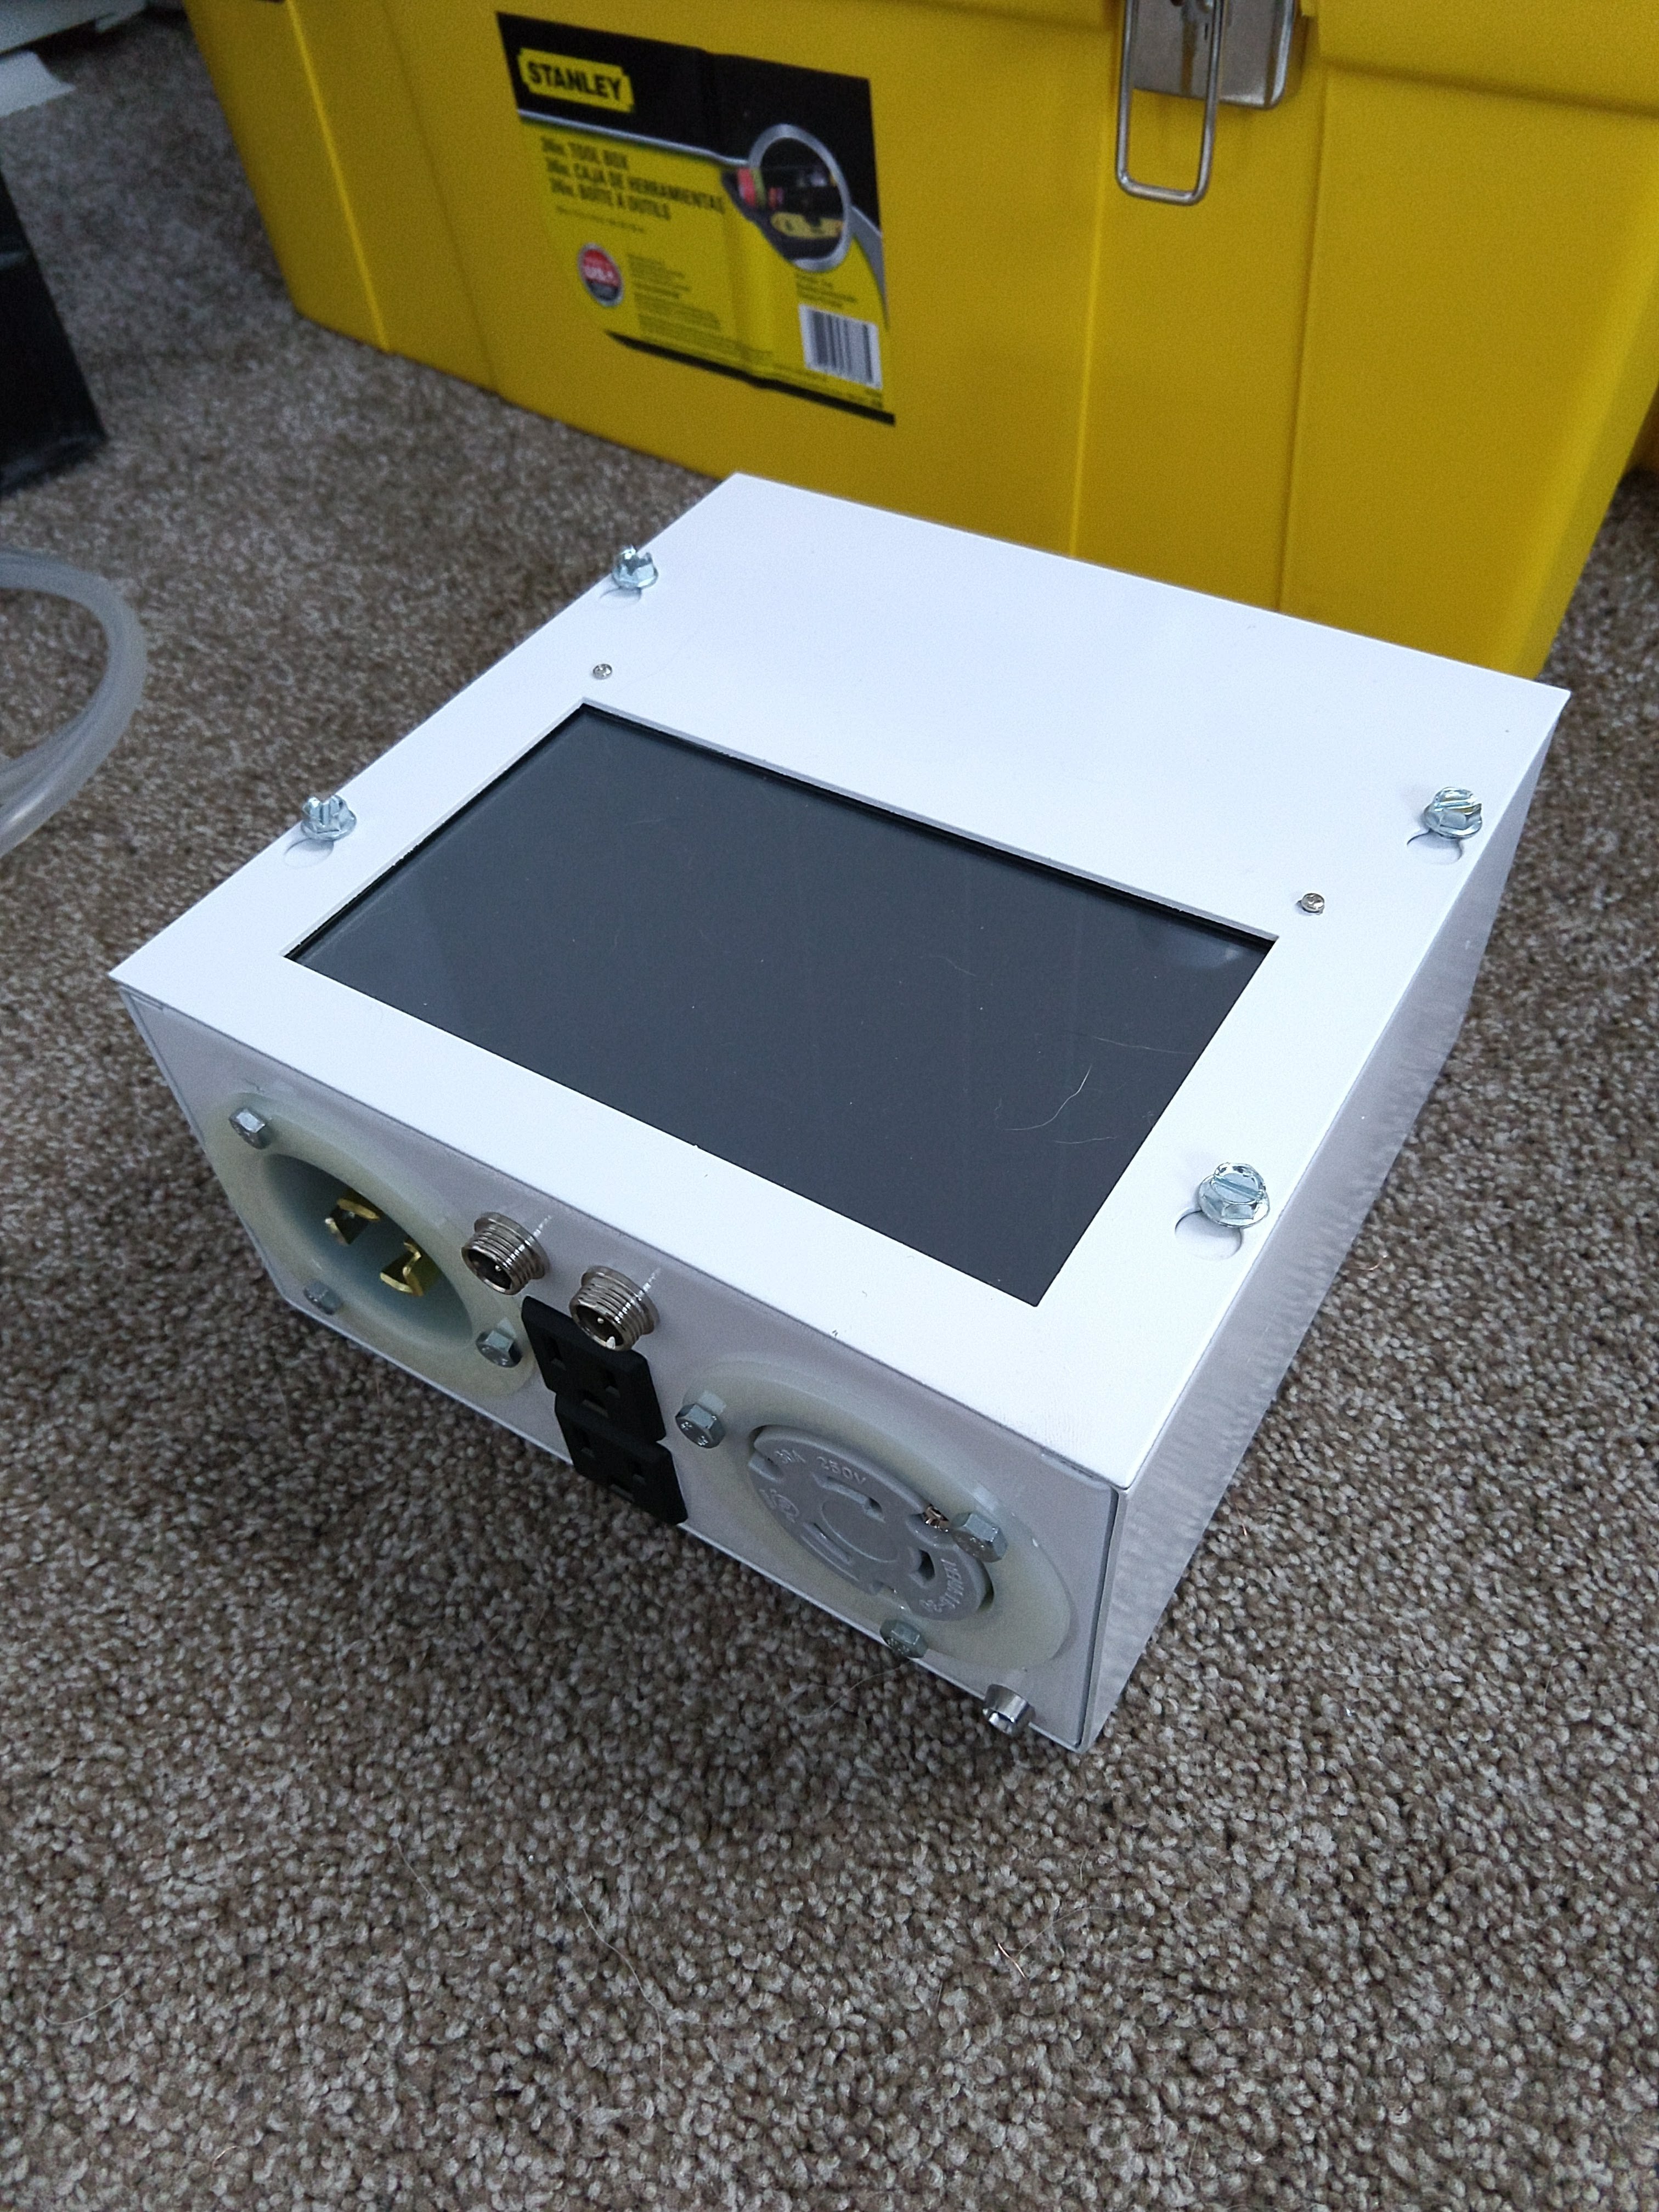
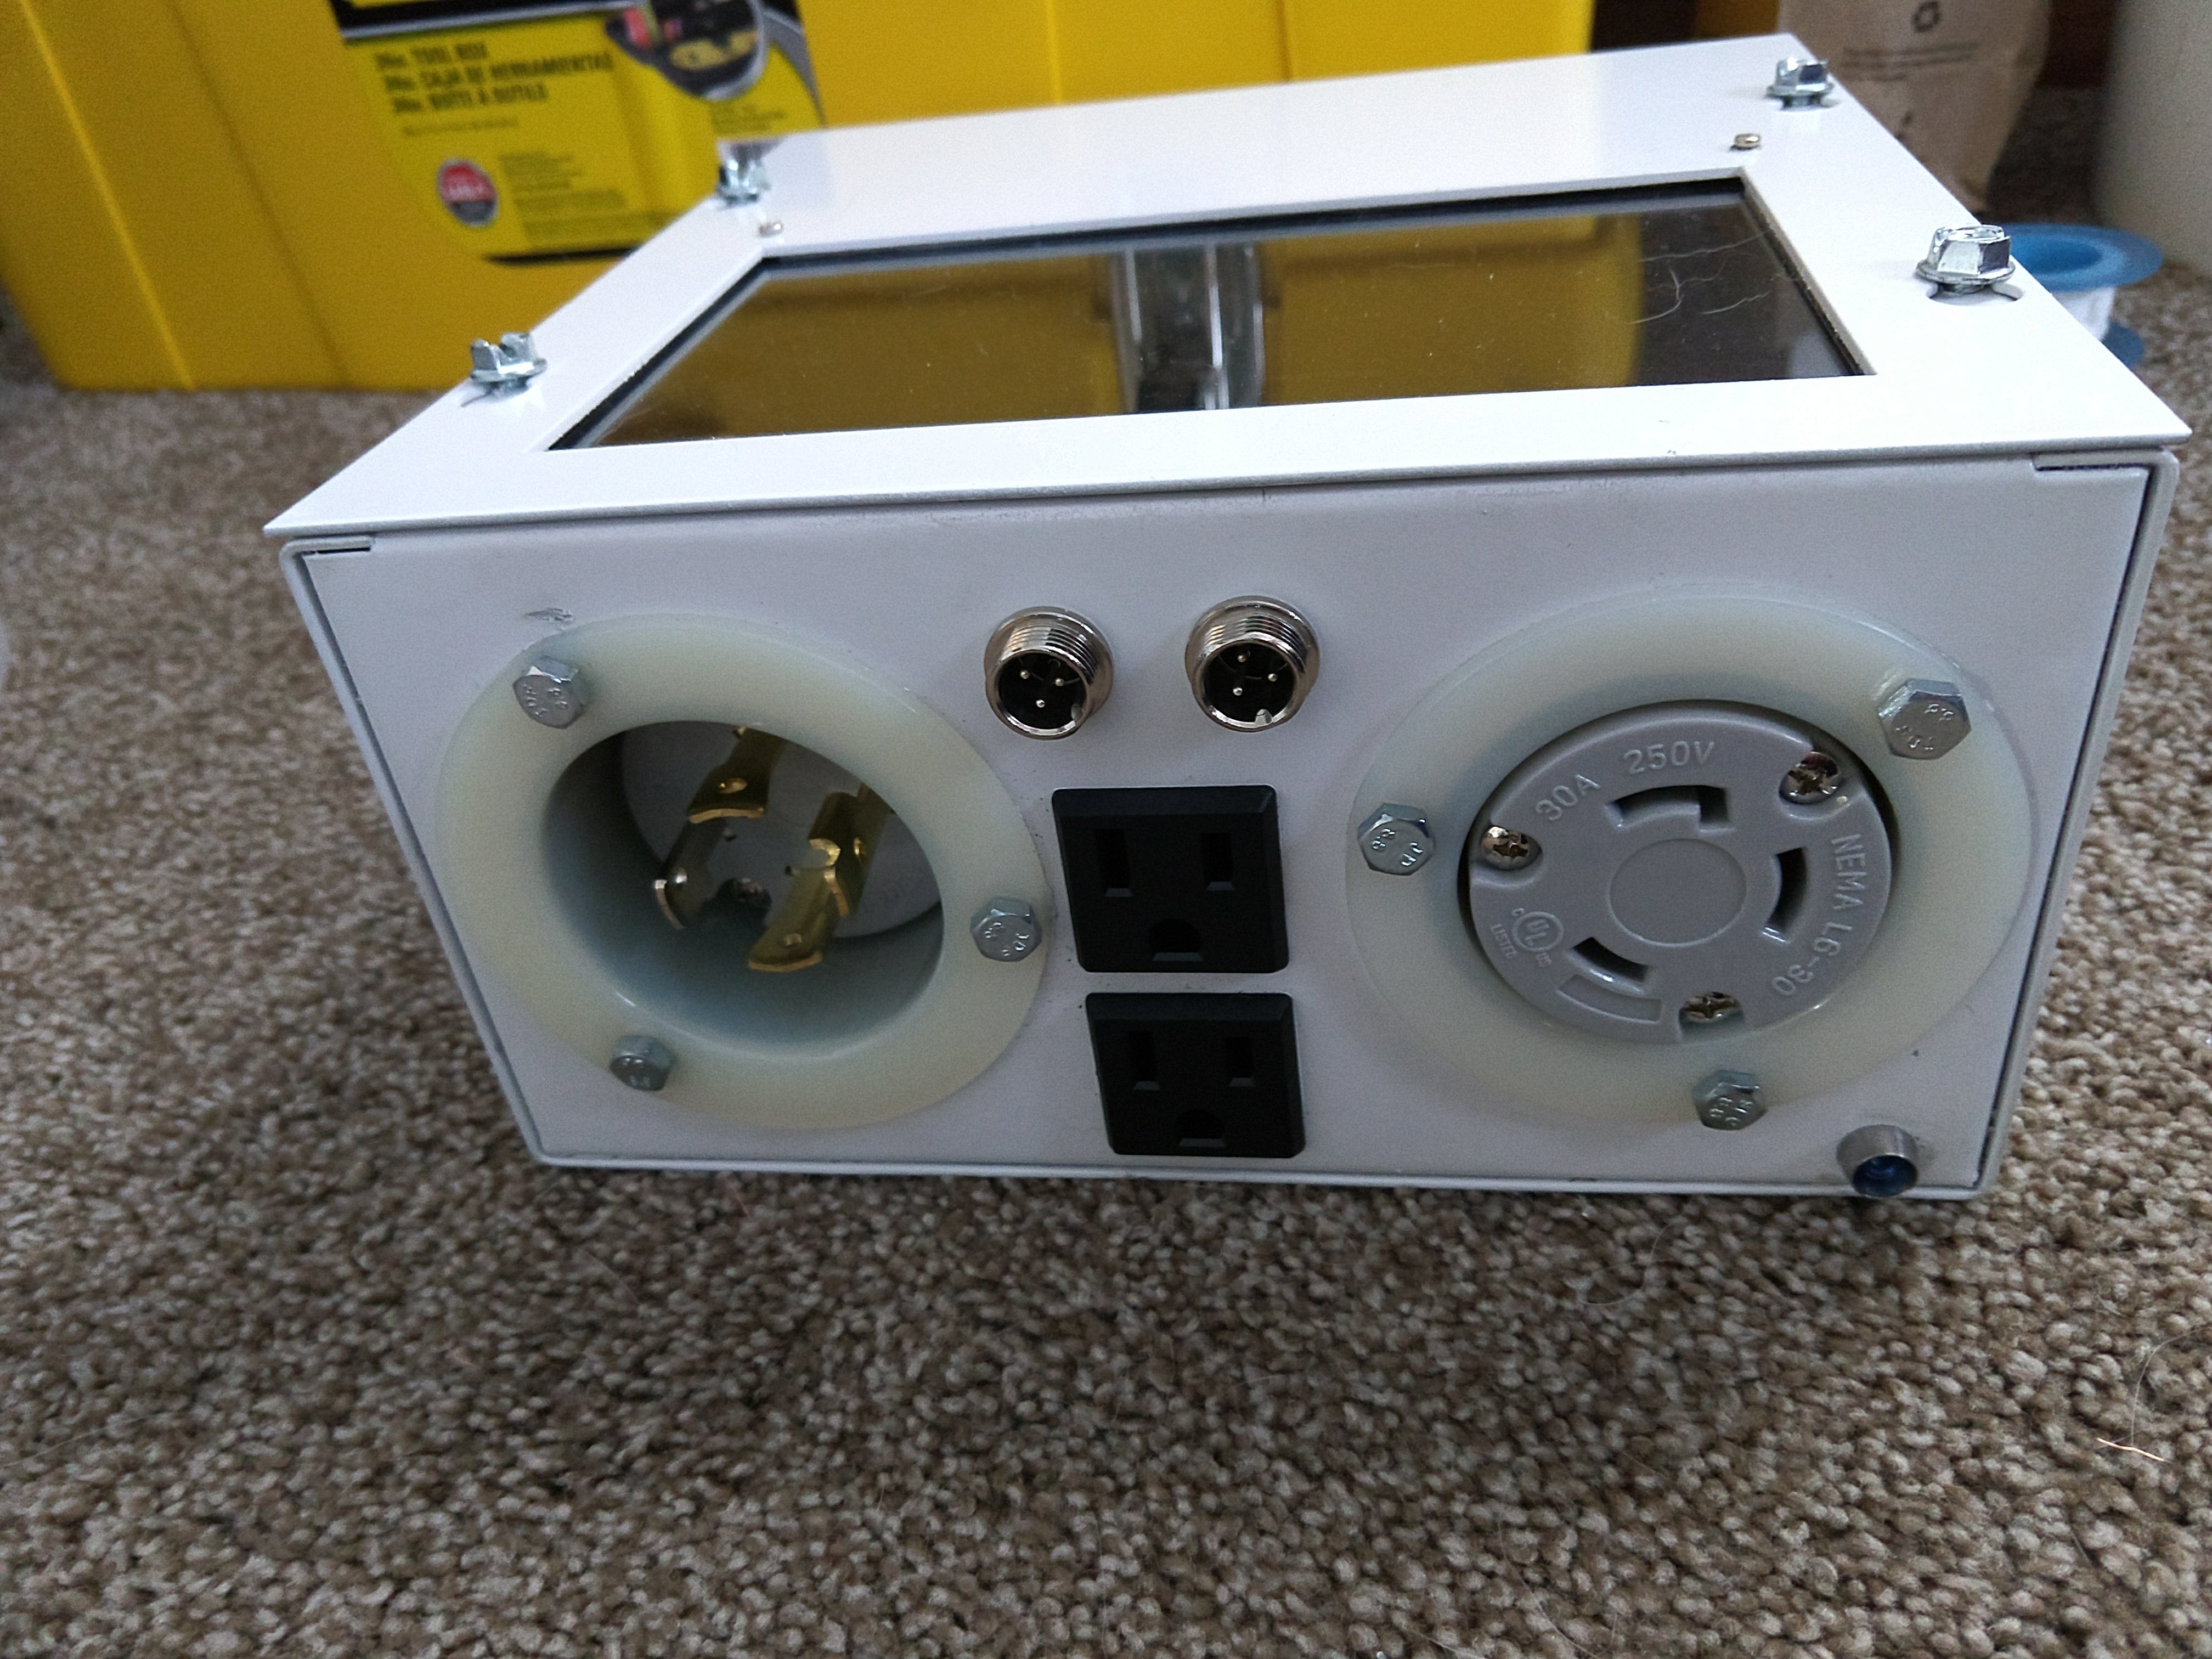
Got my panel cut and am working on assembling it now. Still waiting on relay board but I should be able to get it mostly assembled up without that in place.


rTaexTV.jpg


qA97myn.jpg

2TwMine.jpg
 
Playing around with pump configurations too, leaning toward the small one and selling my chugger if it holds up.

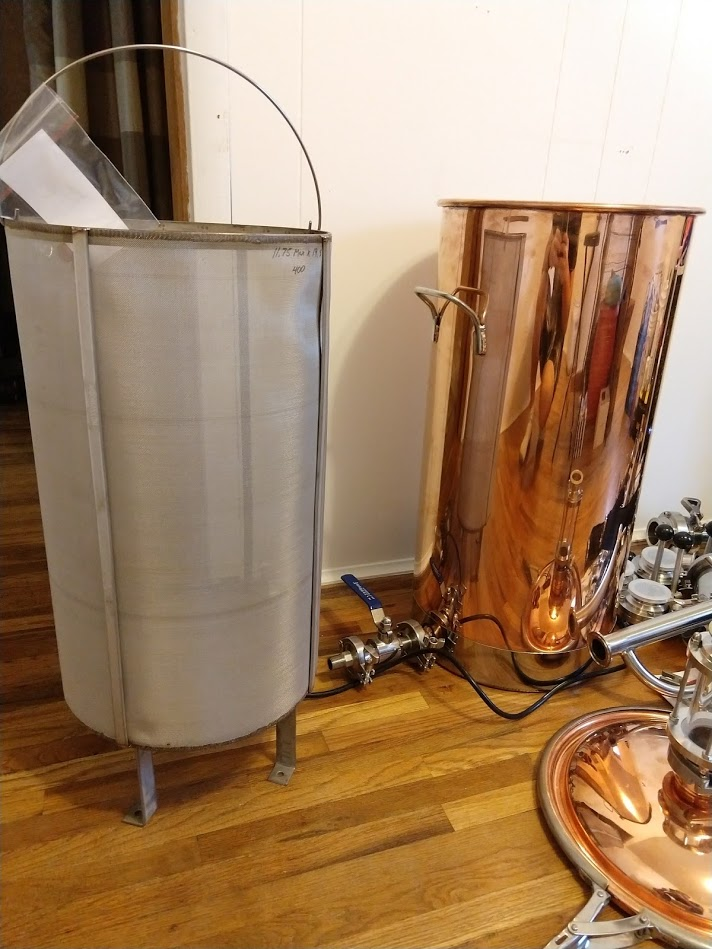
oh Yea! Basket showed, forgot to post these!

I switched my kettle from the chugger over to the little 24v dc pump and haven't had any real issues. I love how quiet it is. I don't think you'll miss the 1-2 gallons per minute difference.

Also, basket looks great!
 
I use one of those little pumps (12v, not 24v, but similar). They work great, unless you get some grains that escape the basket. I had that recently where a bunch of grains got out of my bag and I spent the mash stopping the RIMS system every 10 minutes to take the pump apart and remove grains from the clogged wheel. my recommendation is make sure you have something like a bazooka tube on the pickup, or a good screen of some kind to prevent that.

otherwise looks really cool, keep the updates coming.
 
I cant wait to see your control box done. that thing looks like it will be amazing all by itself. watching this build from the edge of my seat. keep it up!
 
Where is everyone getting the 12v pumps? I bought one before but had issues with it locking up during long periods of use. Are you controlling the pump via PID or a potentiostat?
 
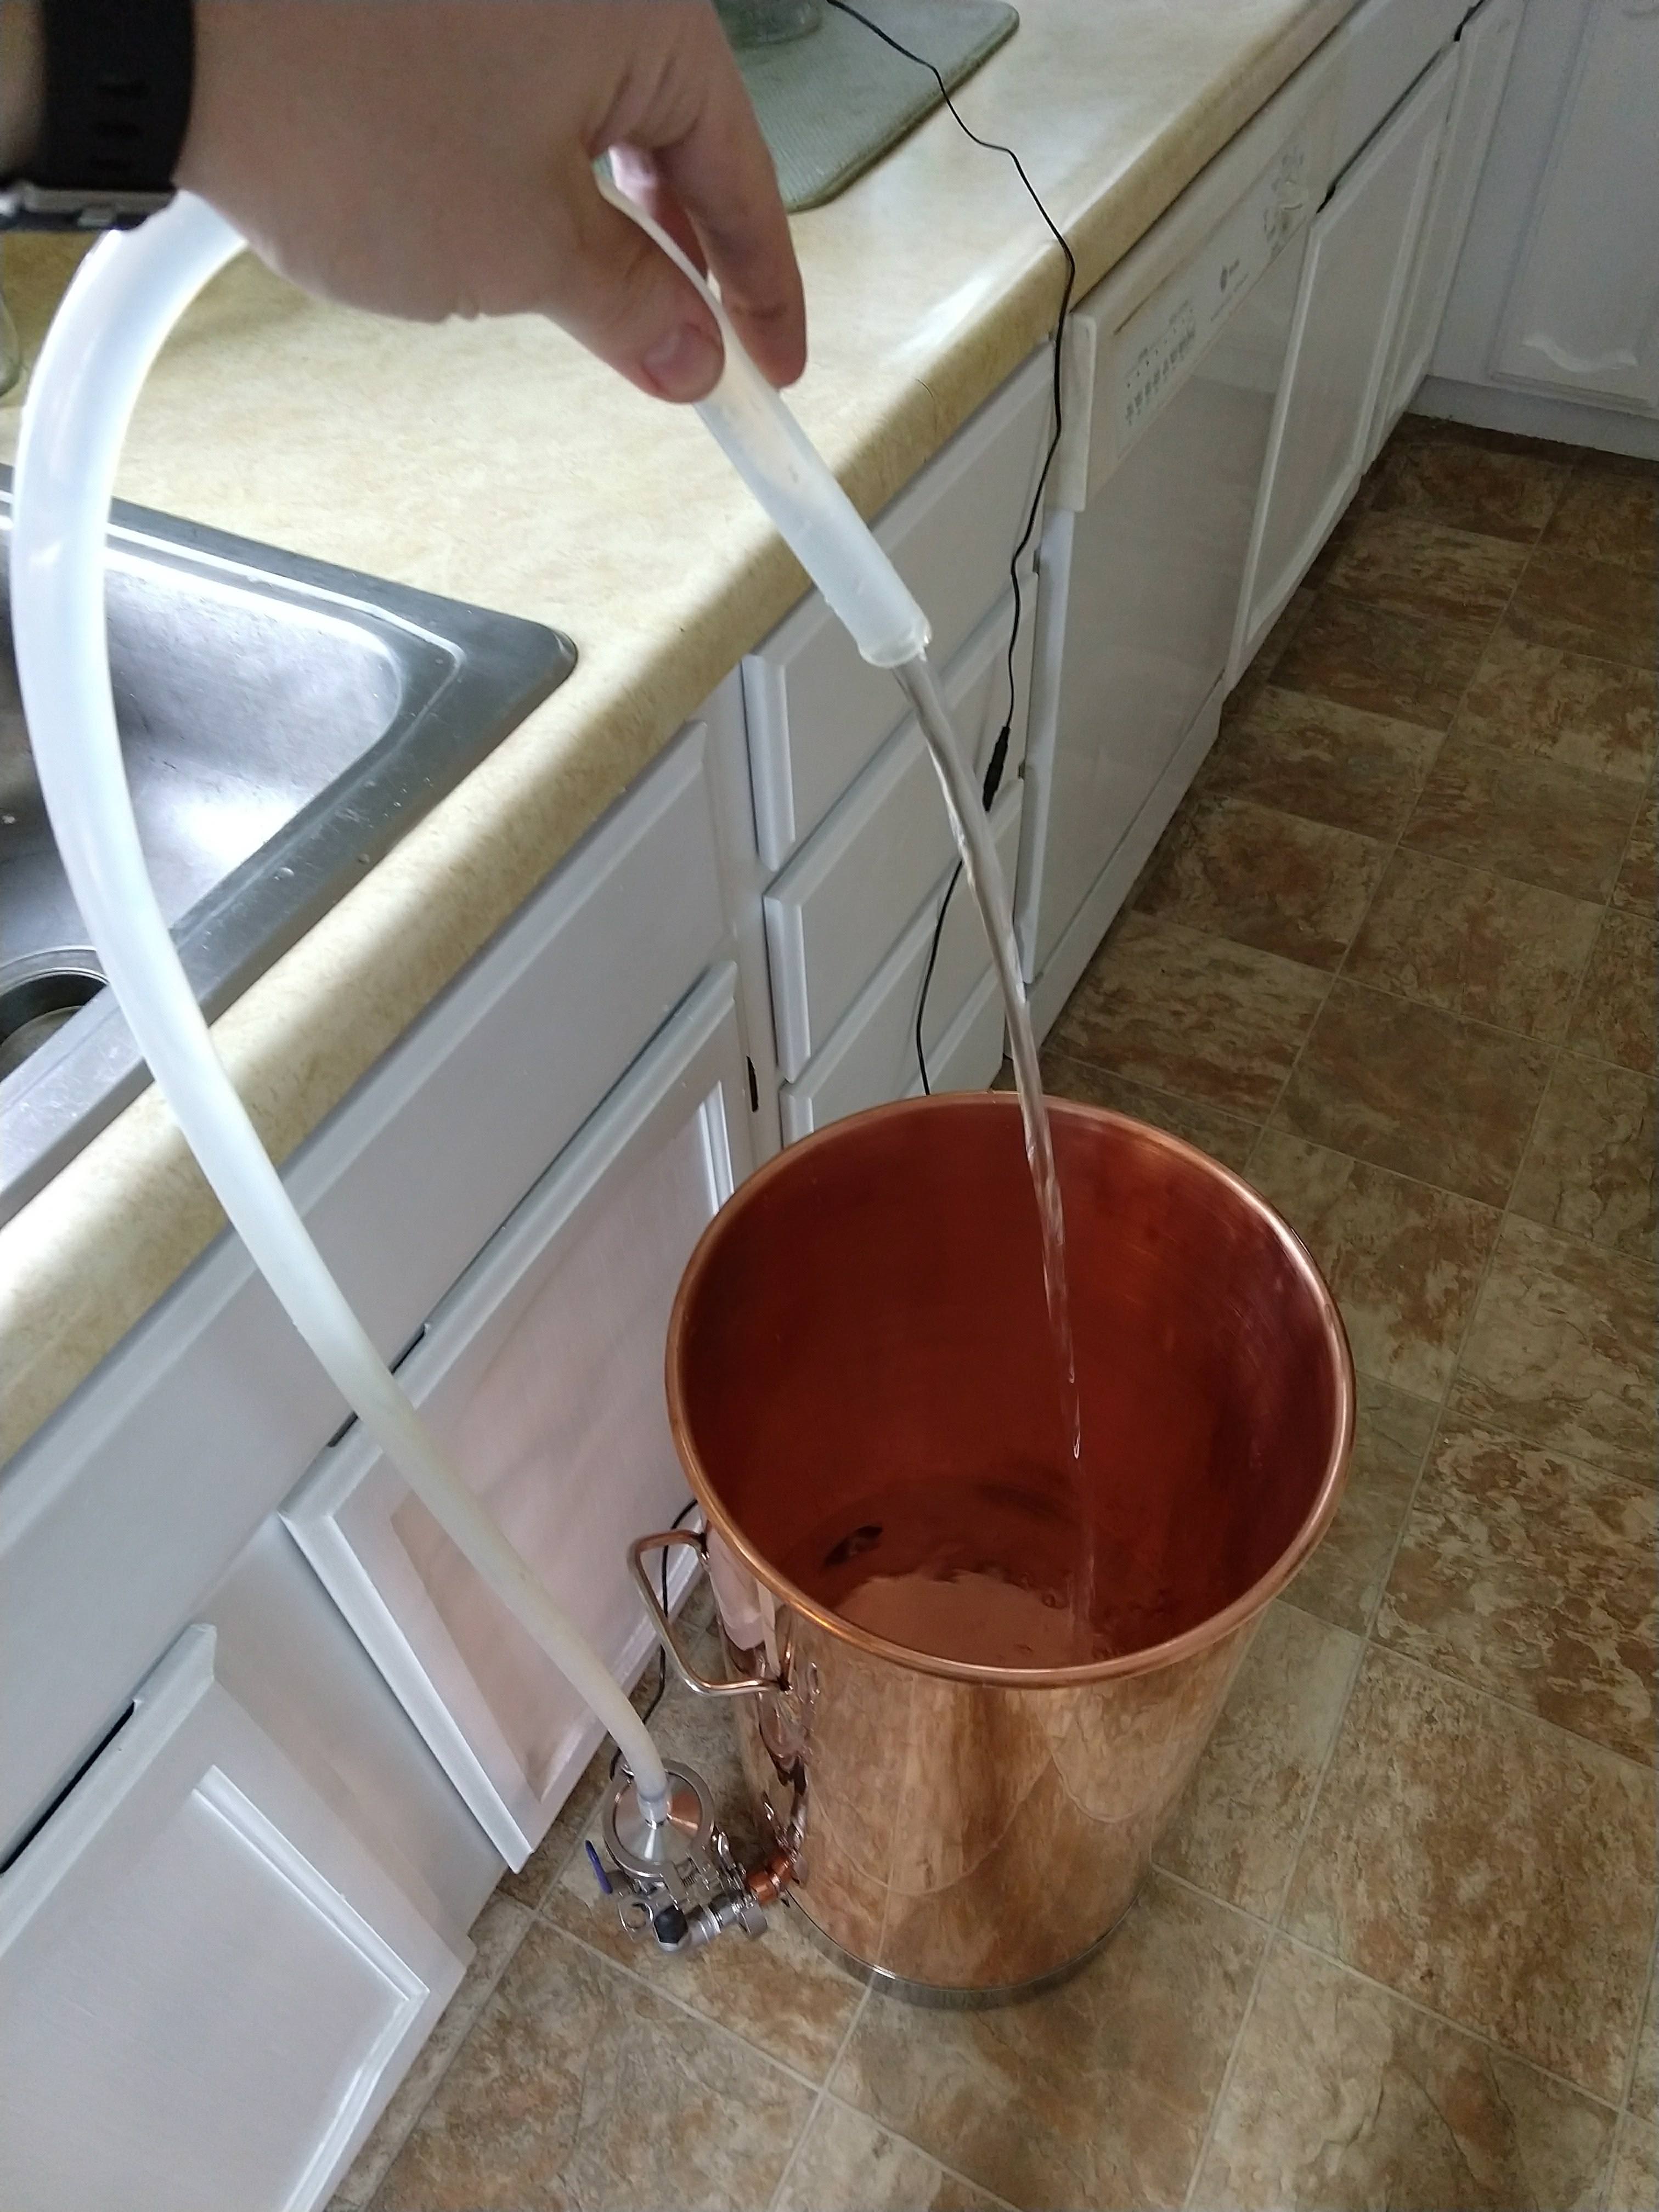
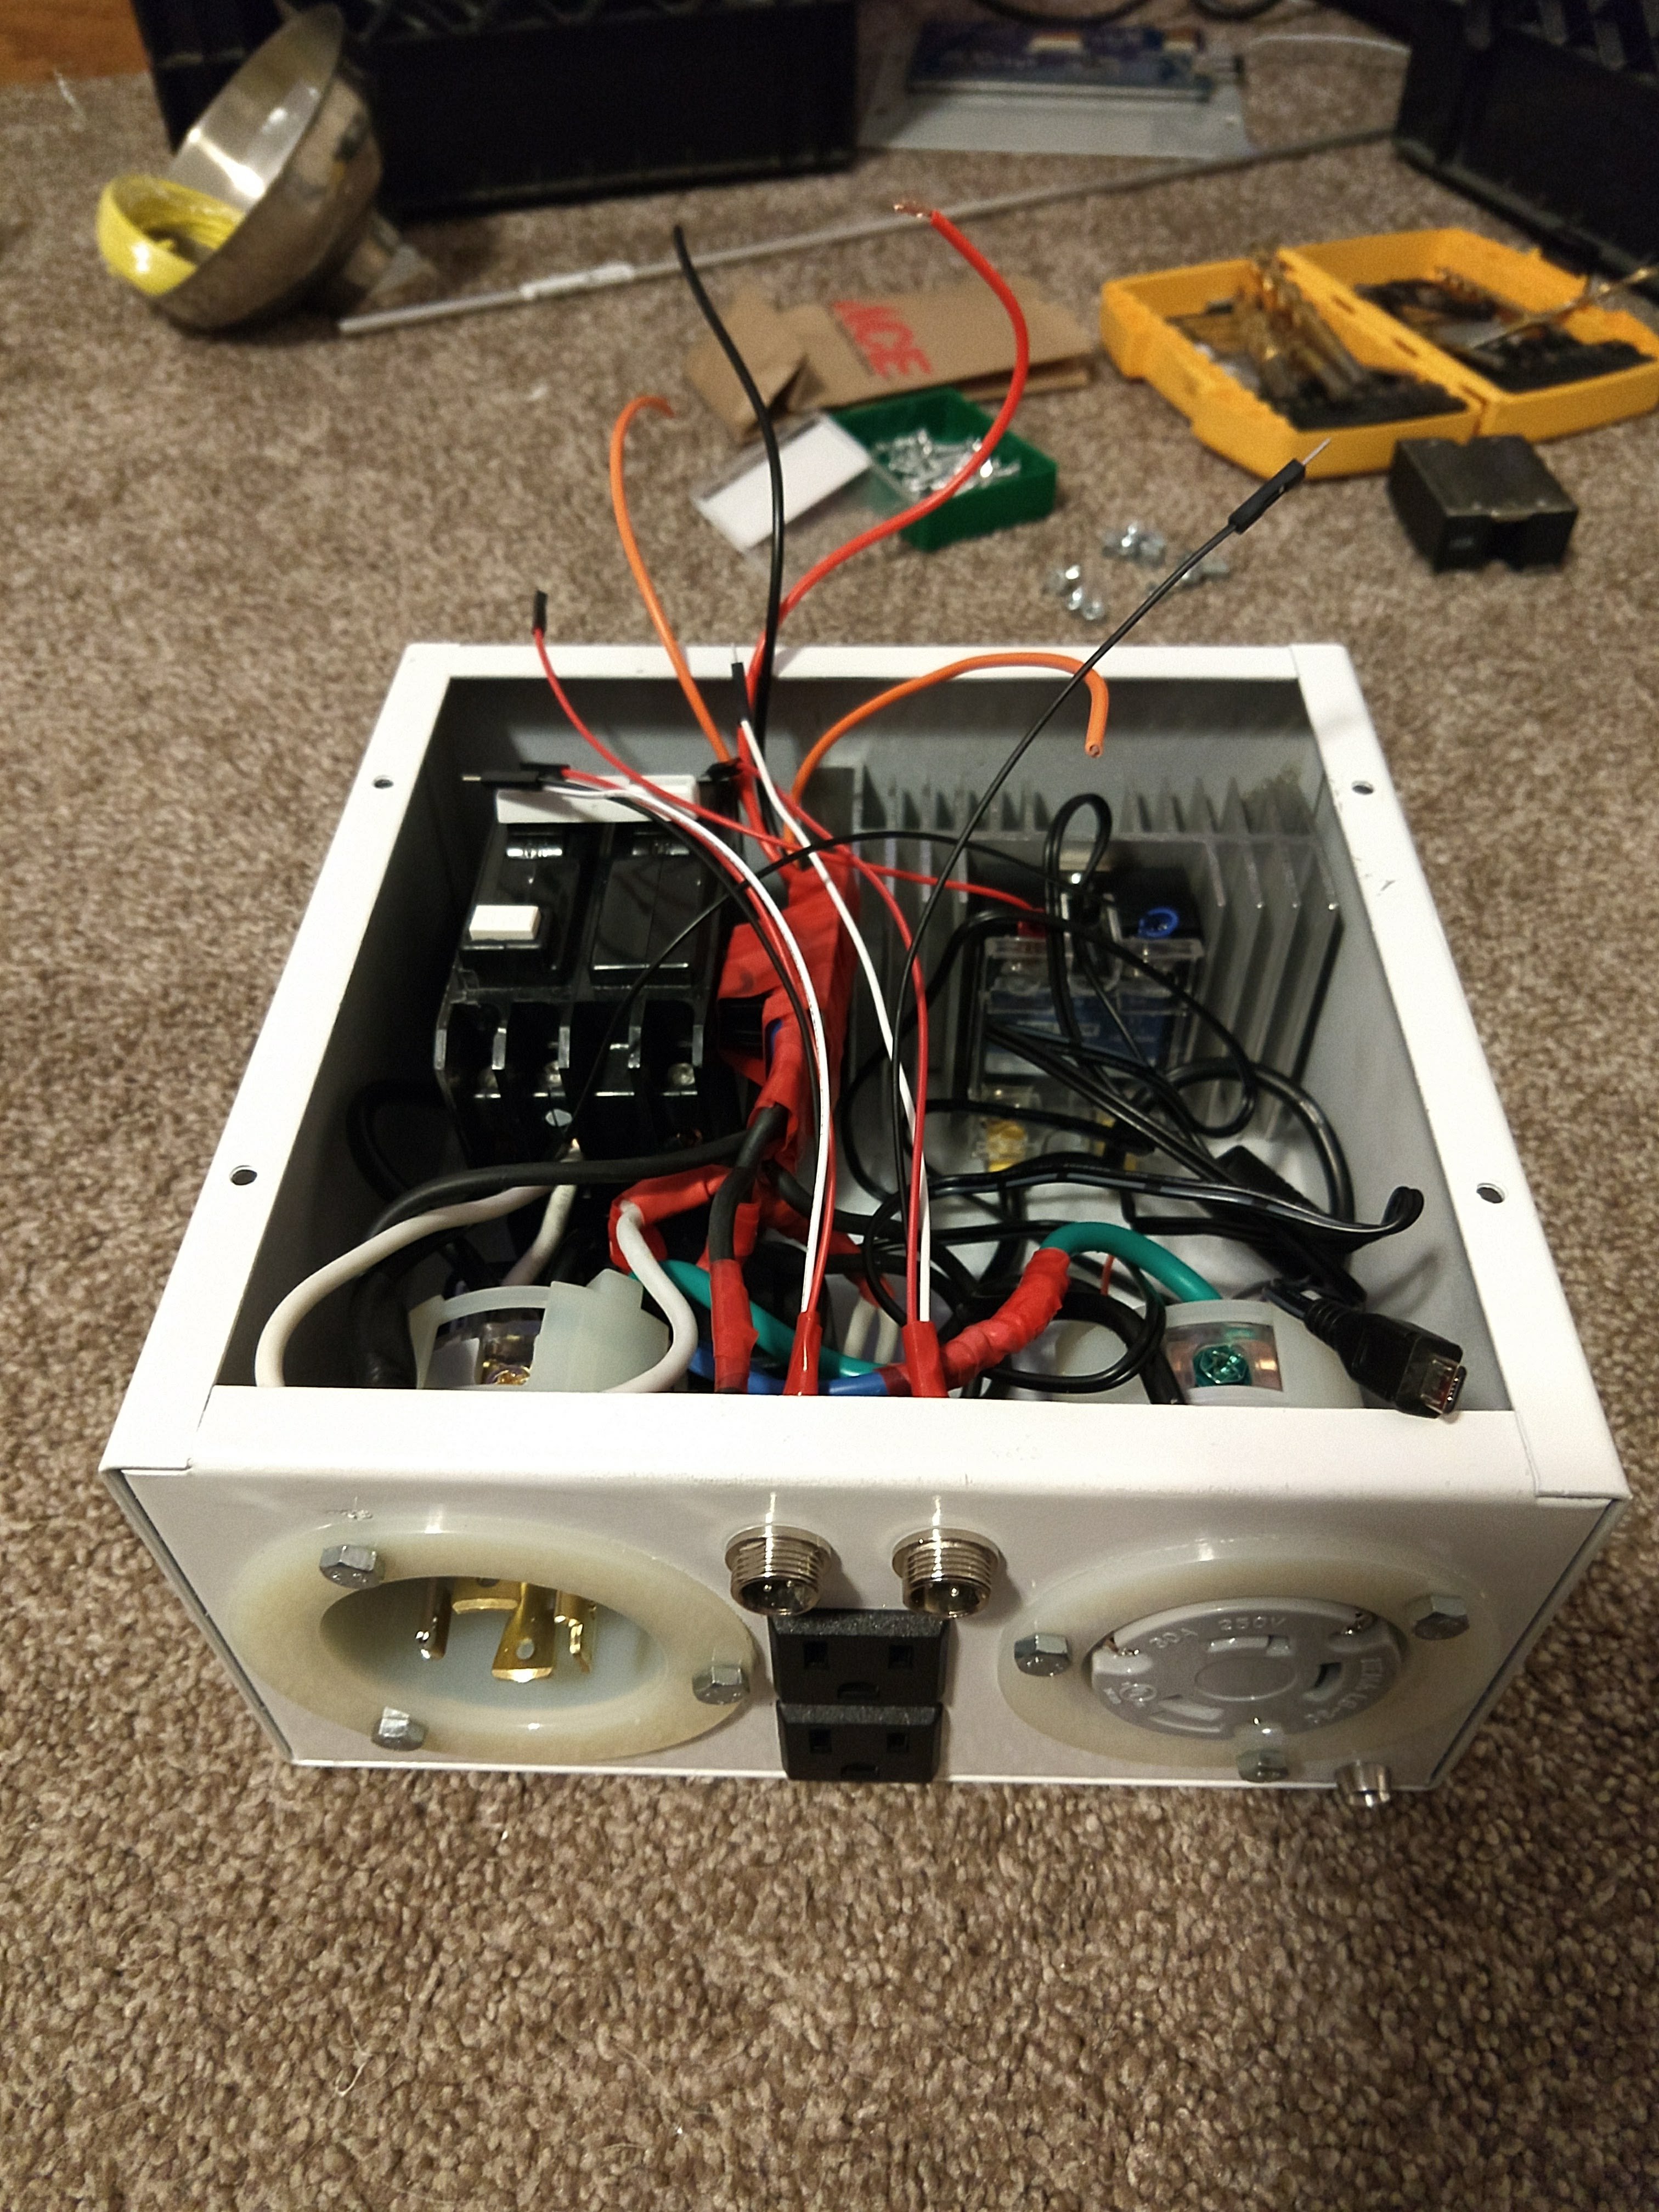
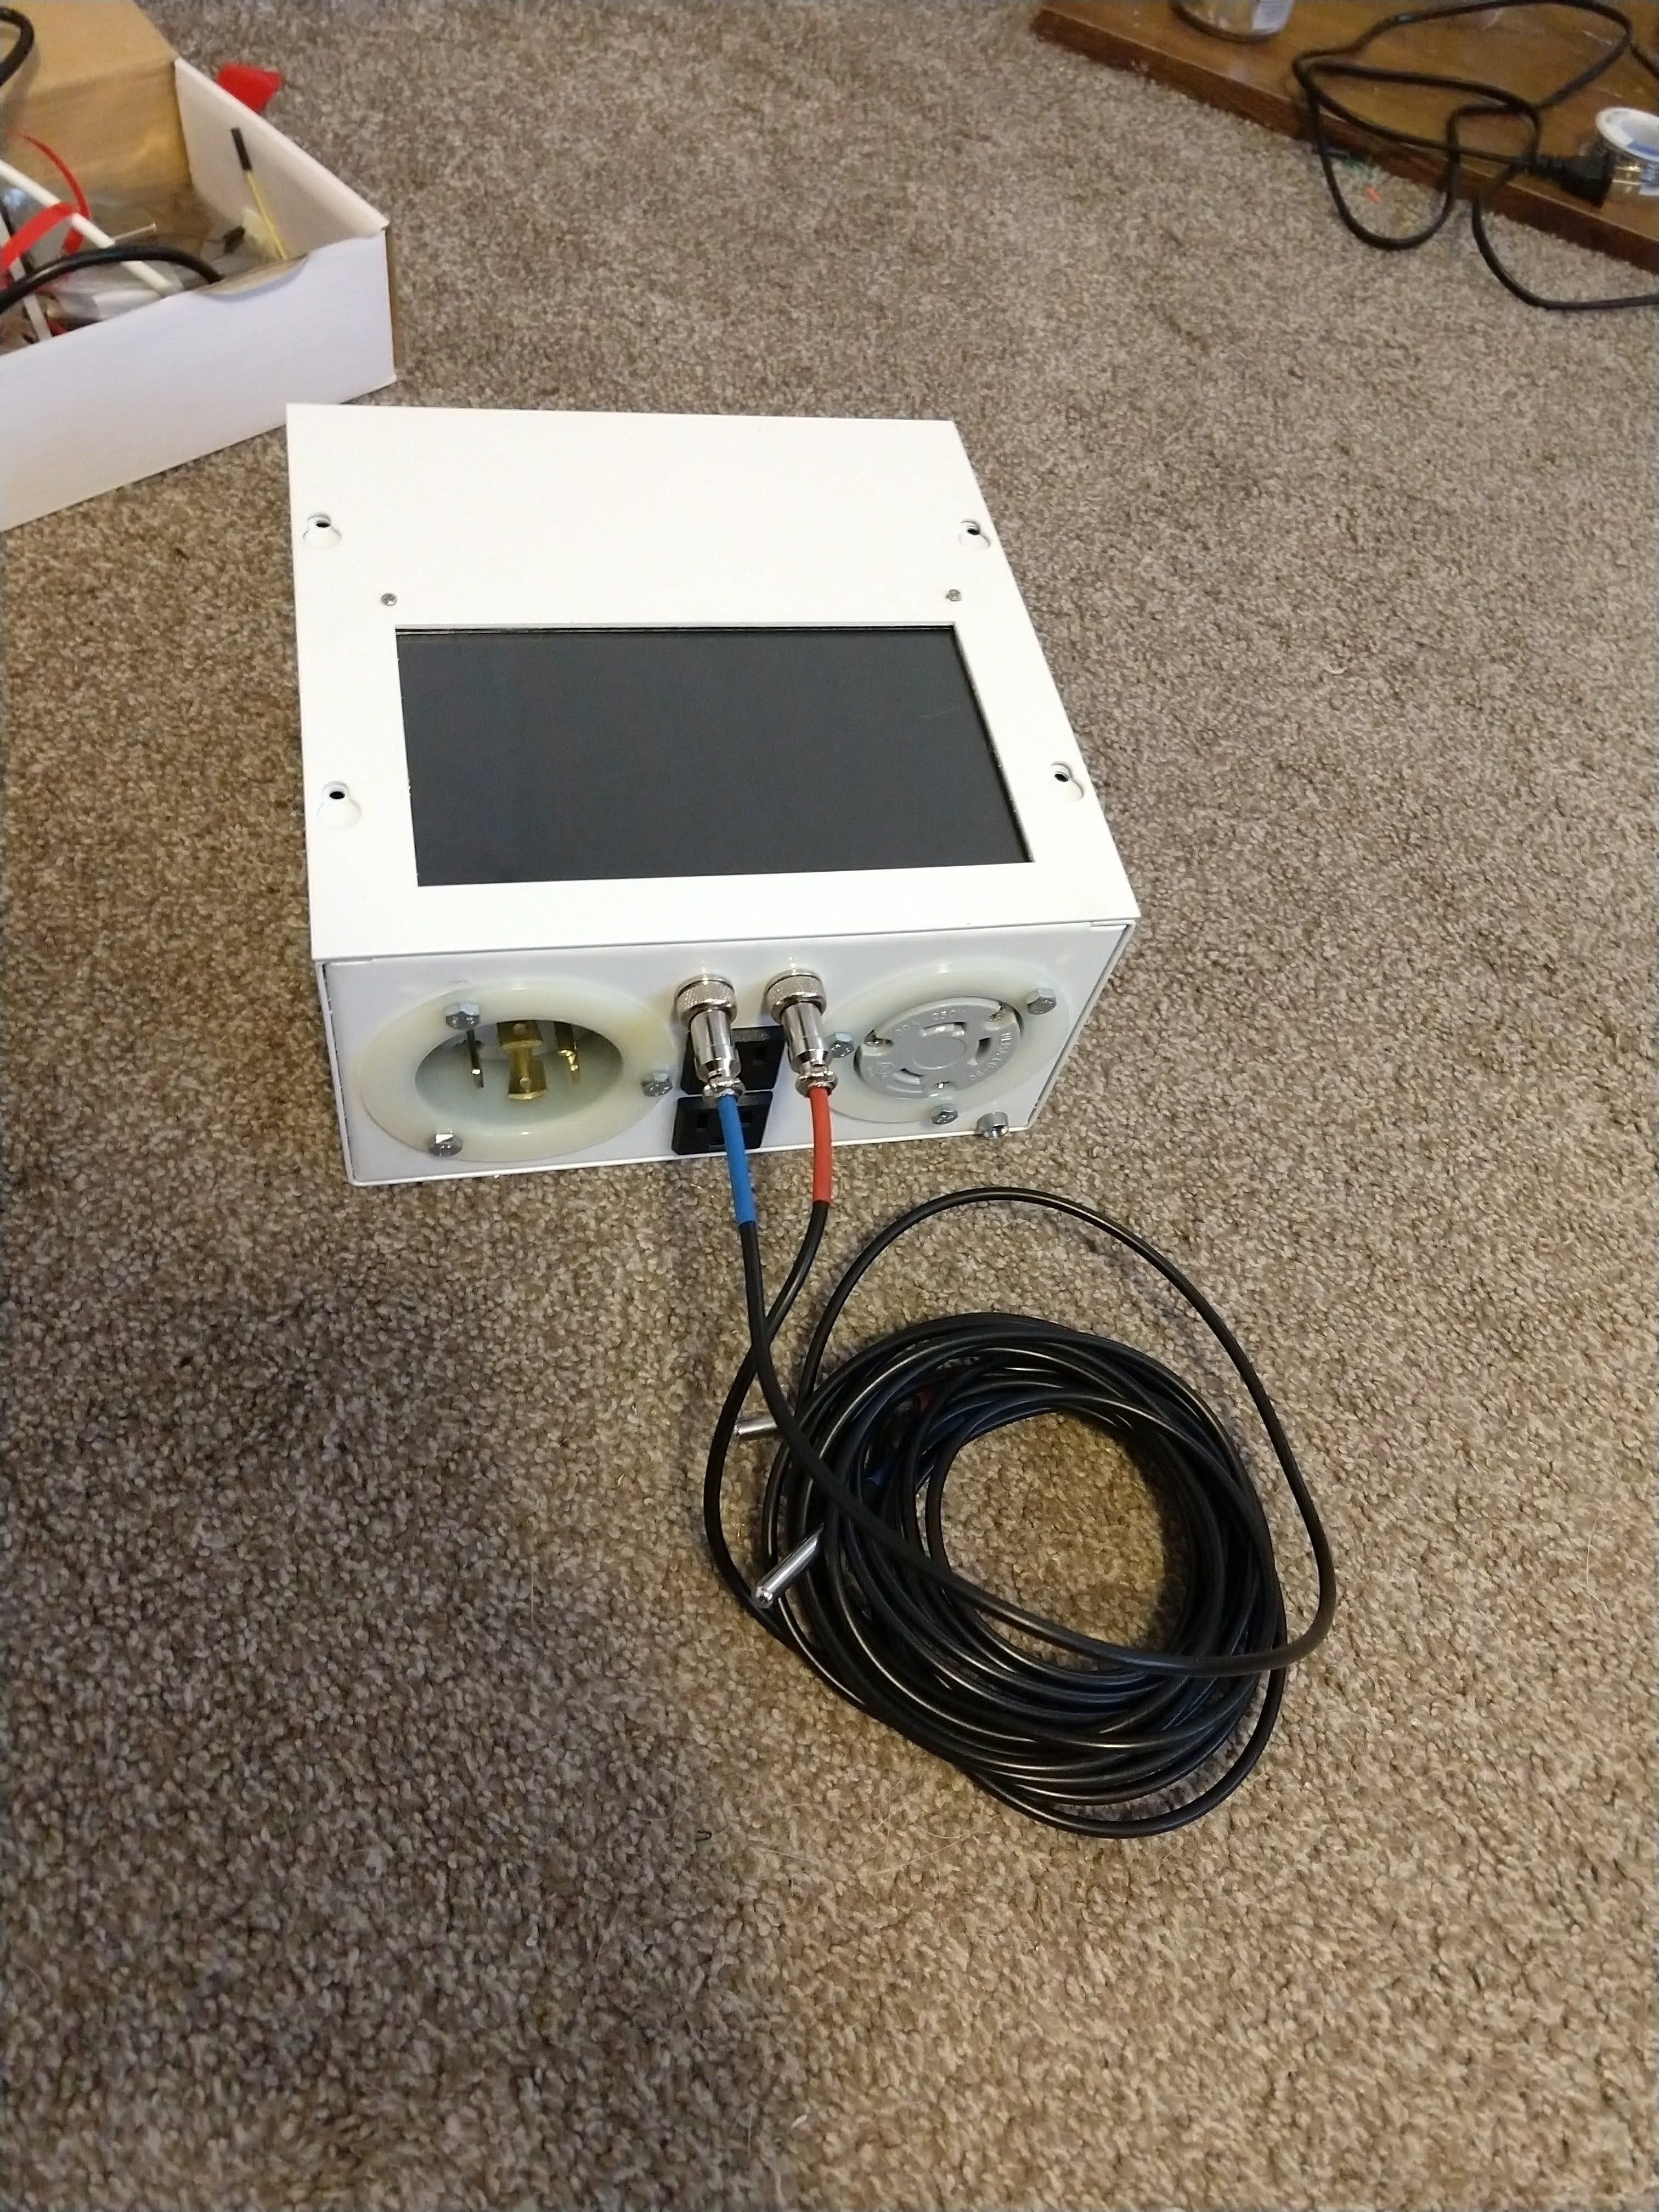
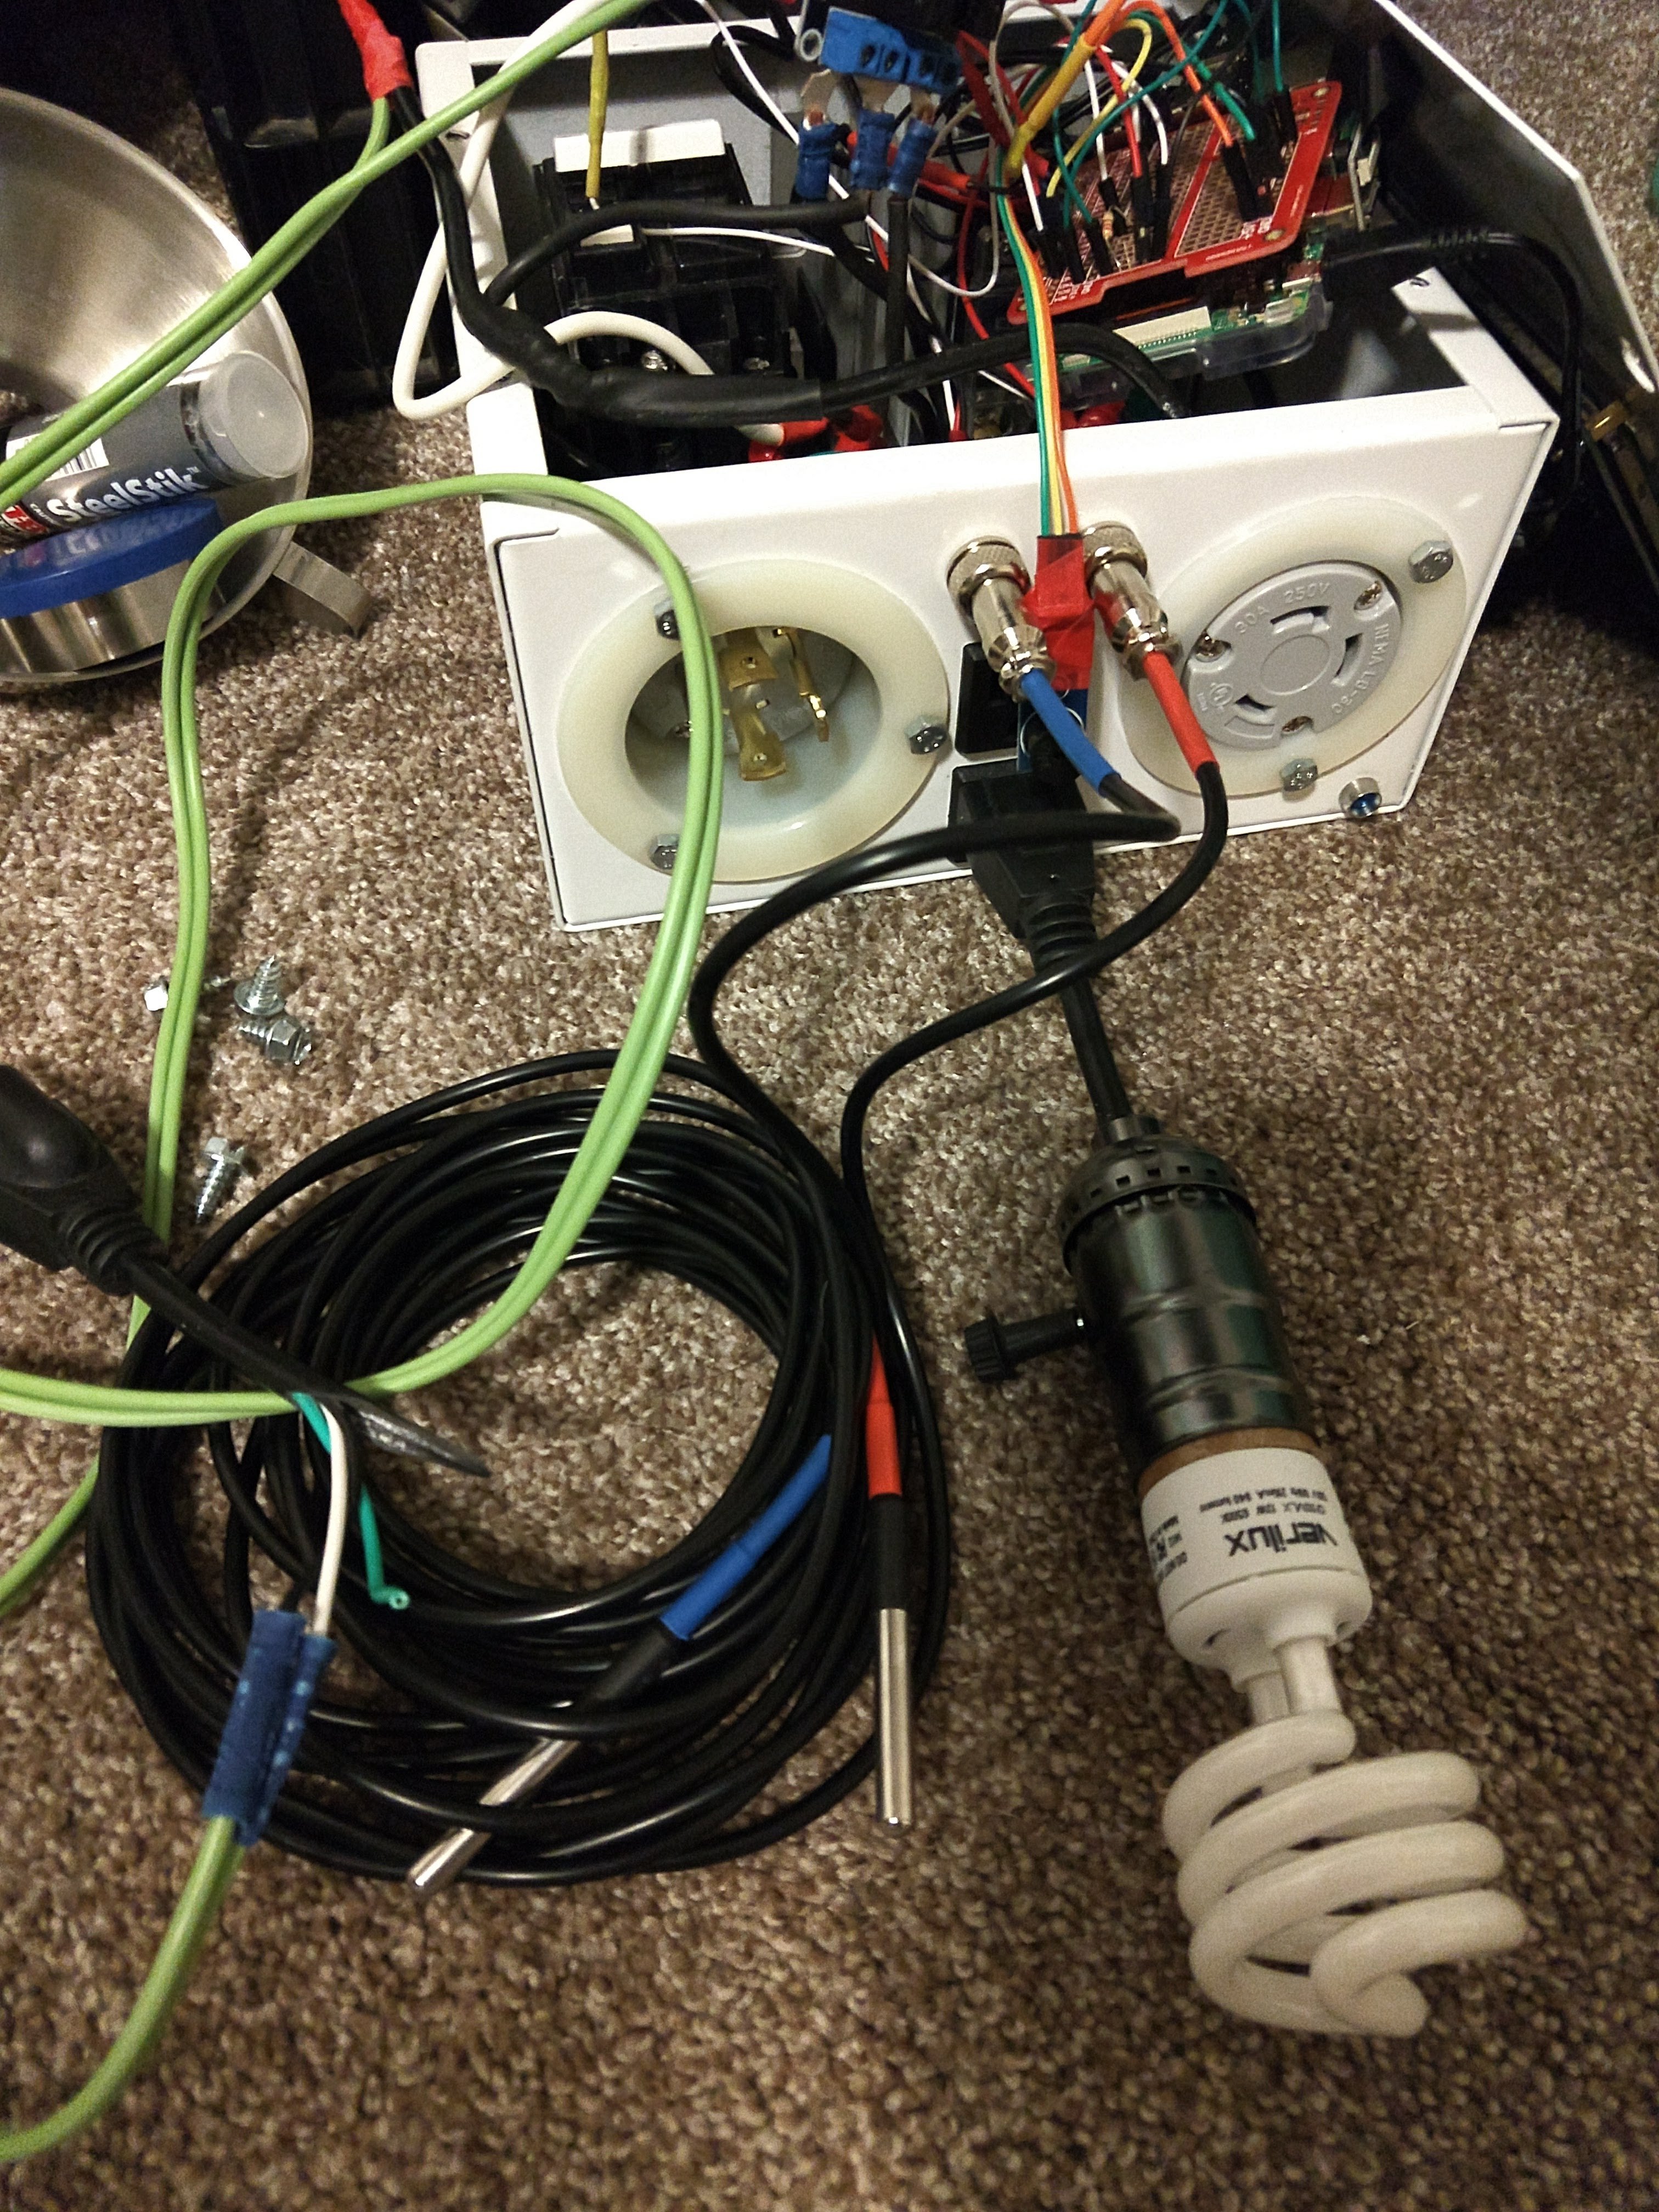
Busted out some progress over the 3 day weekend. Testing this morning revealed my 2 110v outlets are not working so either I messed up wiring the relay or its broken, sadly I never tested it before installing so tonight I have to figure out whats going on with that. Everything somehow fits in my panel, not sure how. Had to order some special ribbon style HDMI cable for the monitor that should be here today so I can actually start turning that on and making sure its working as expected.
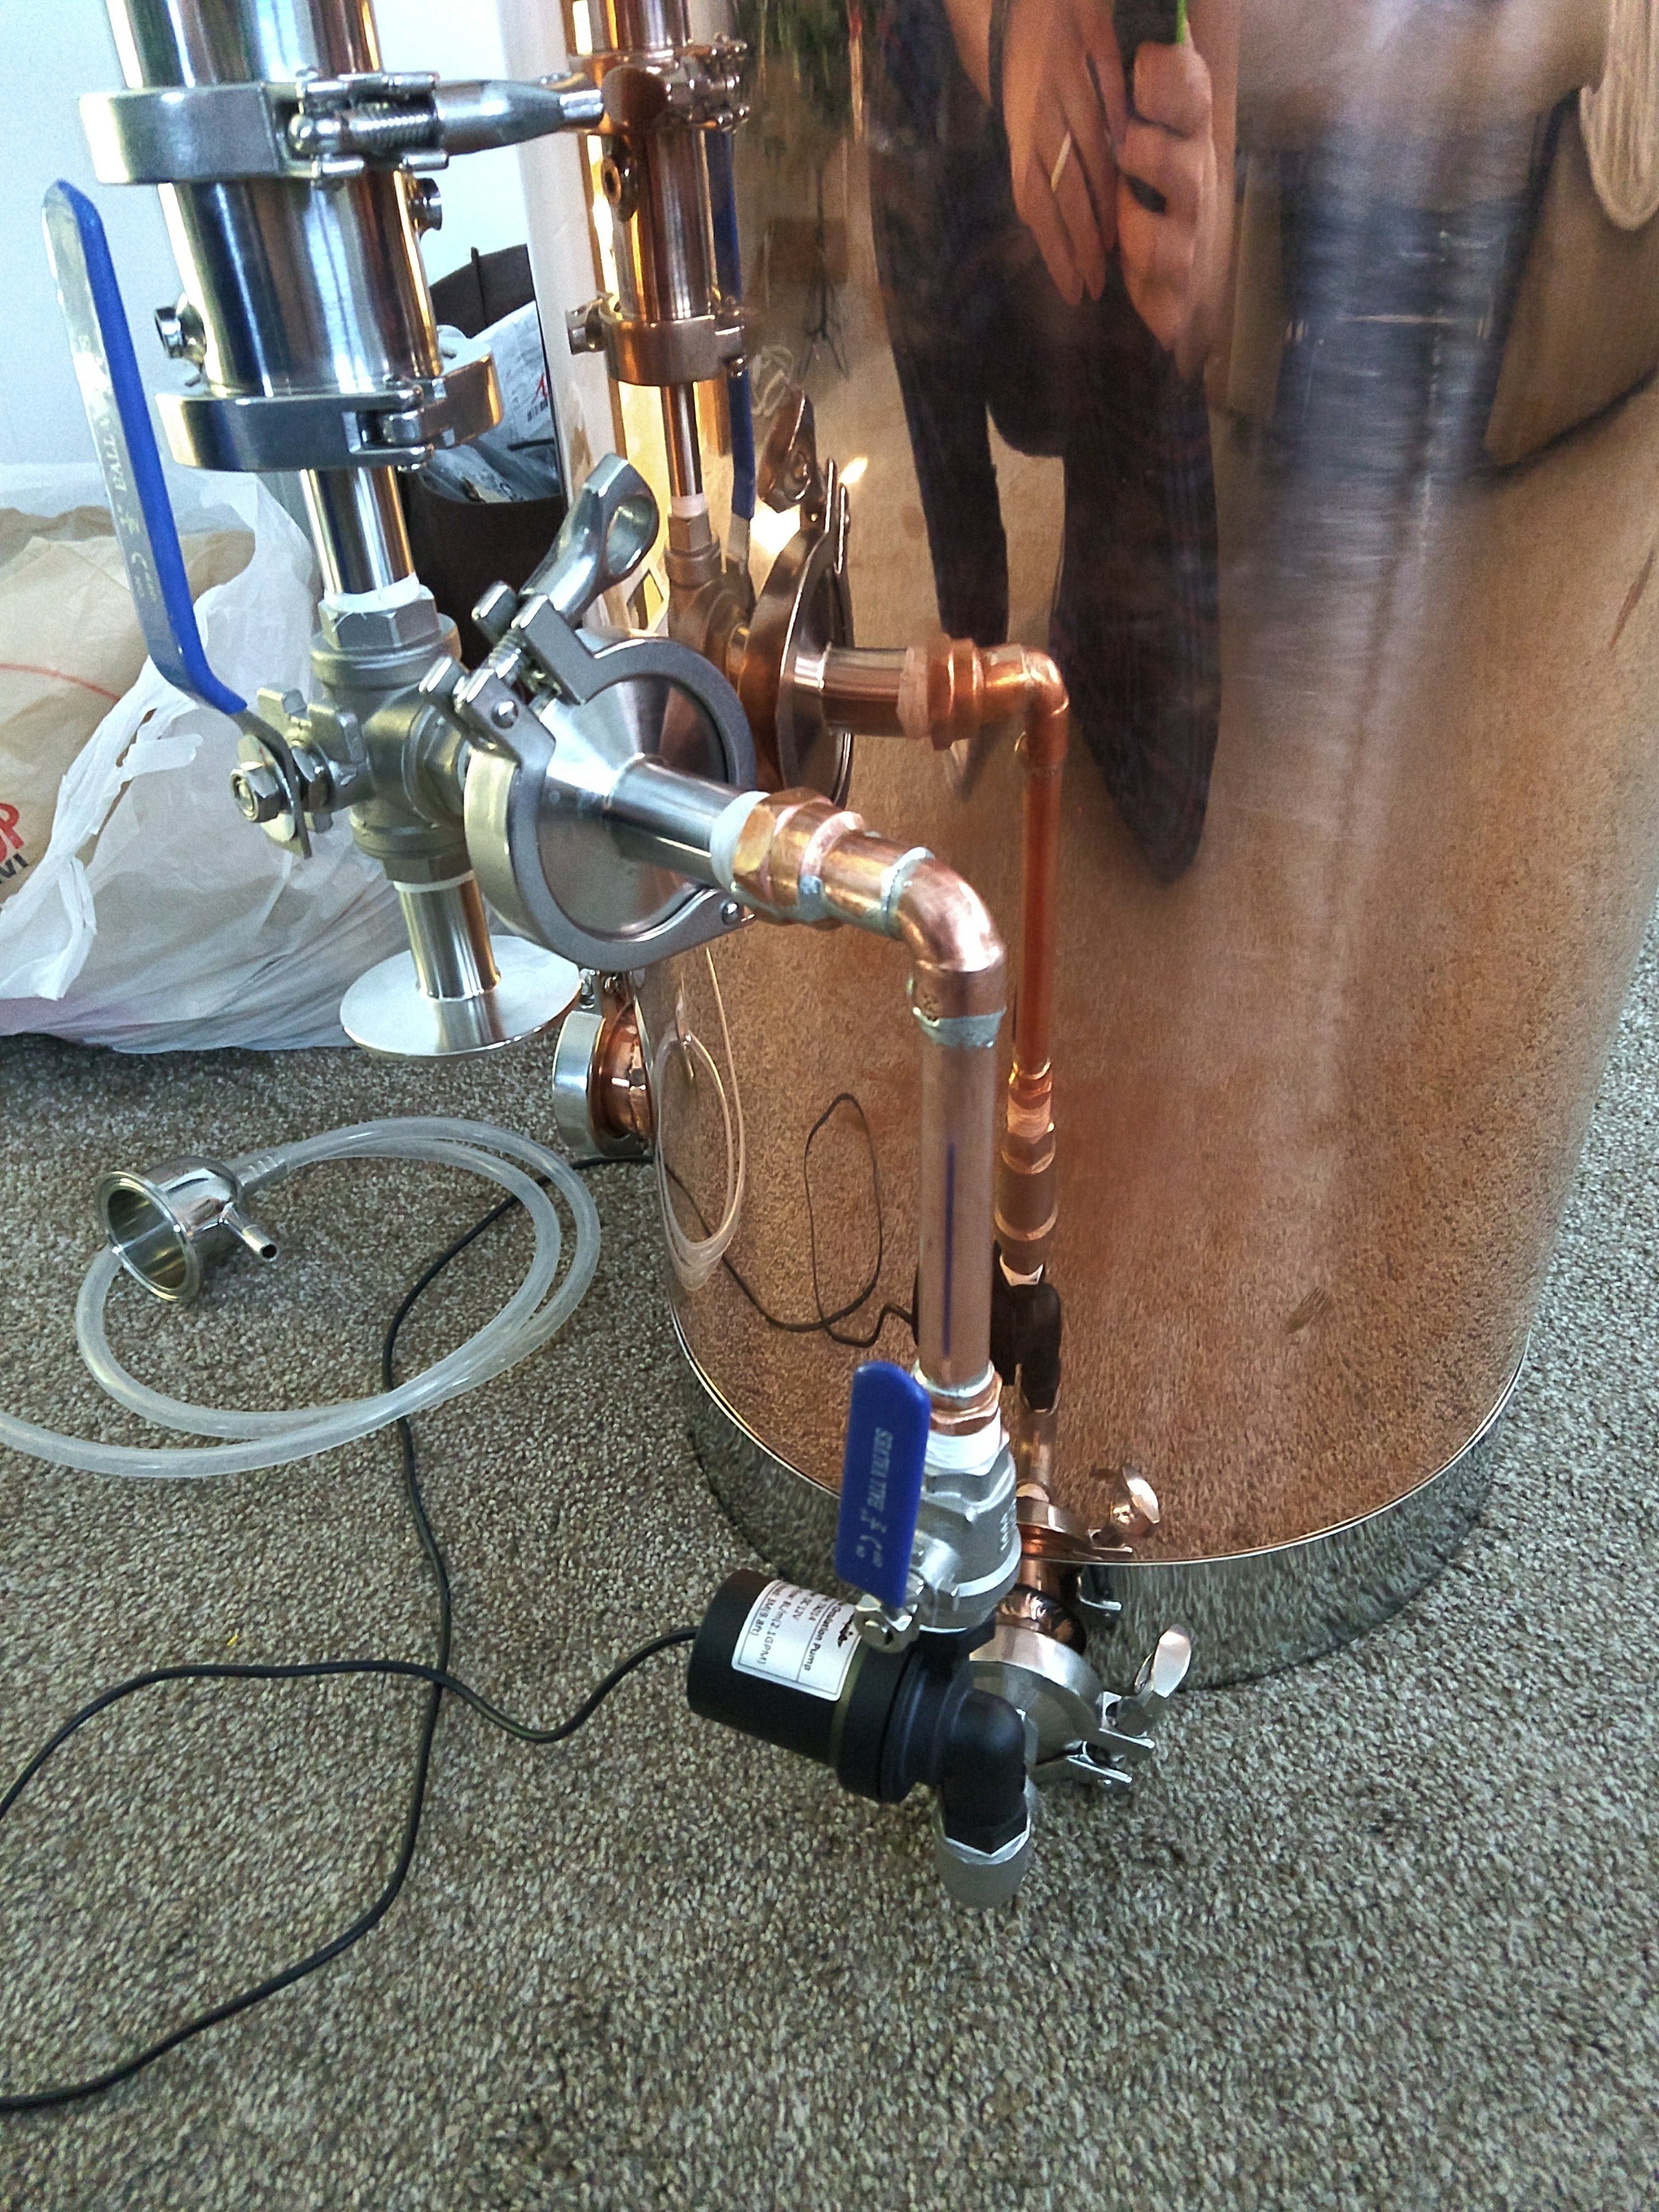
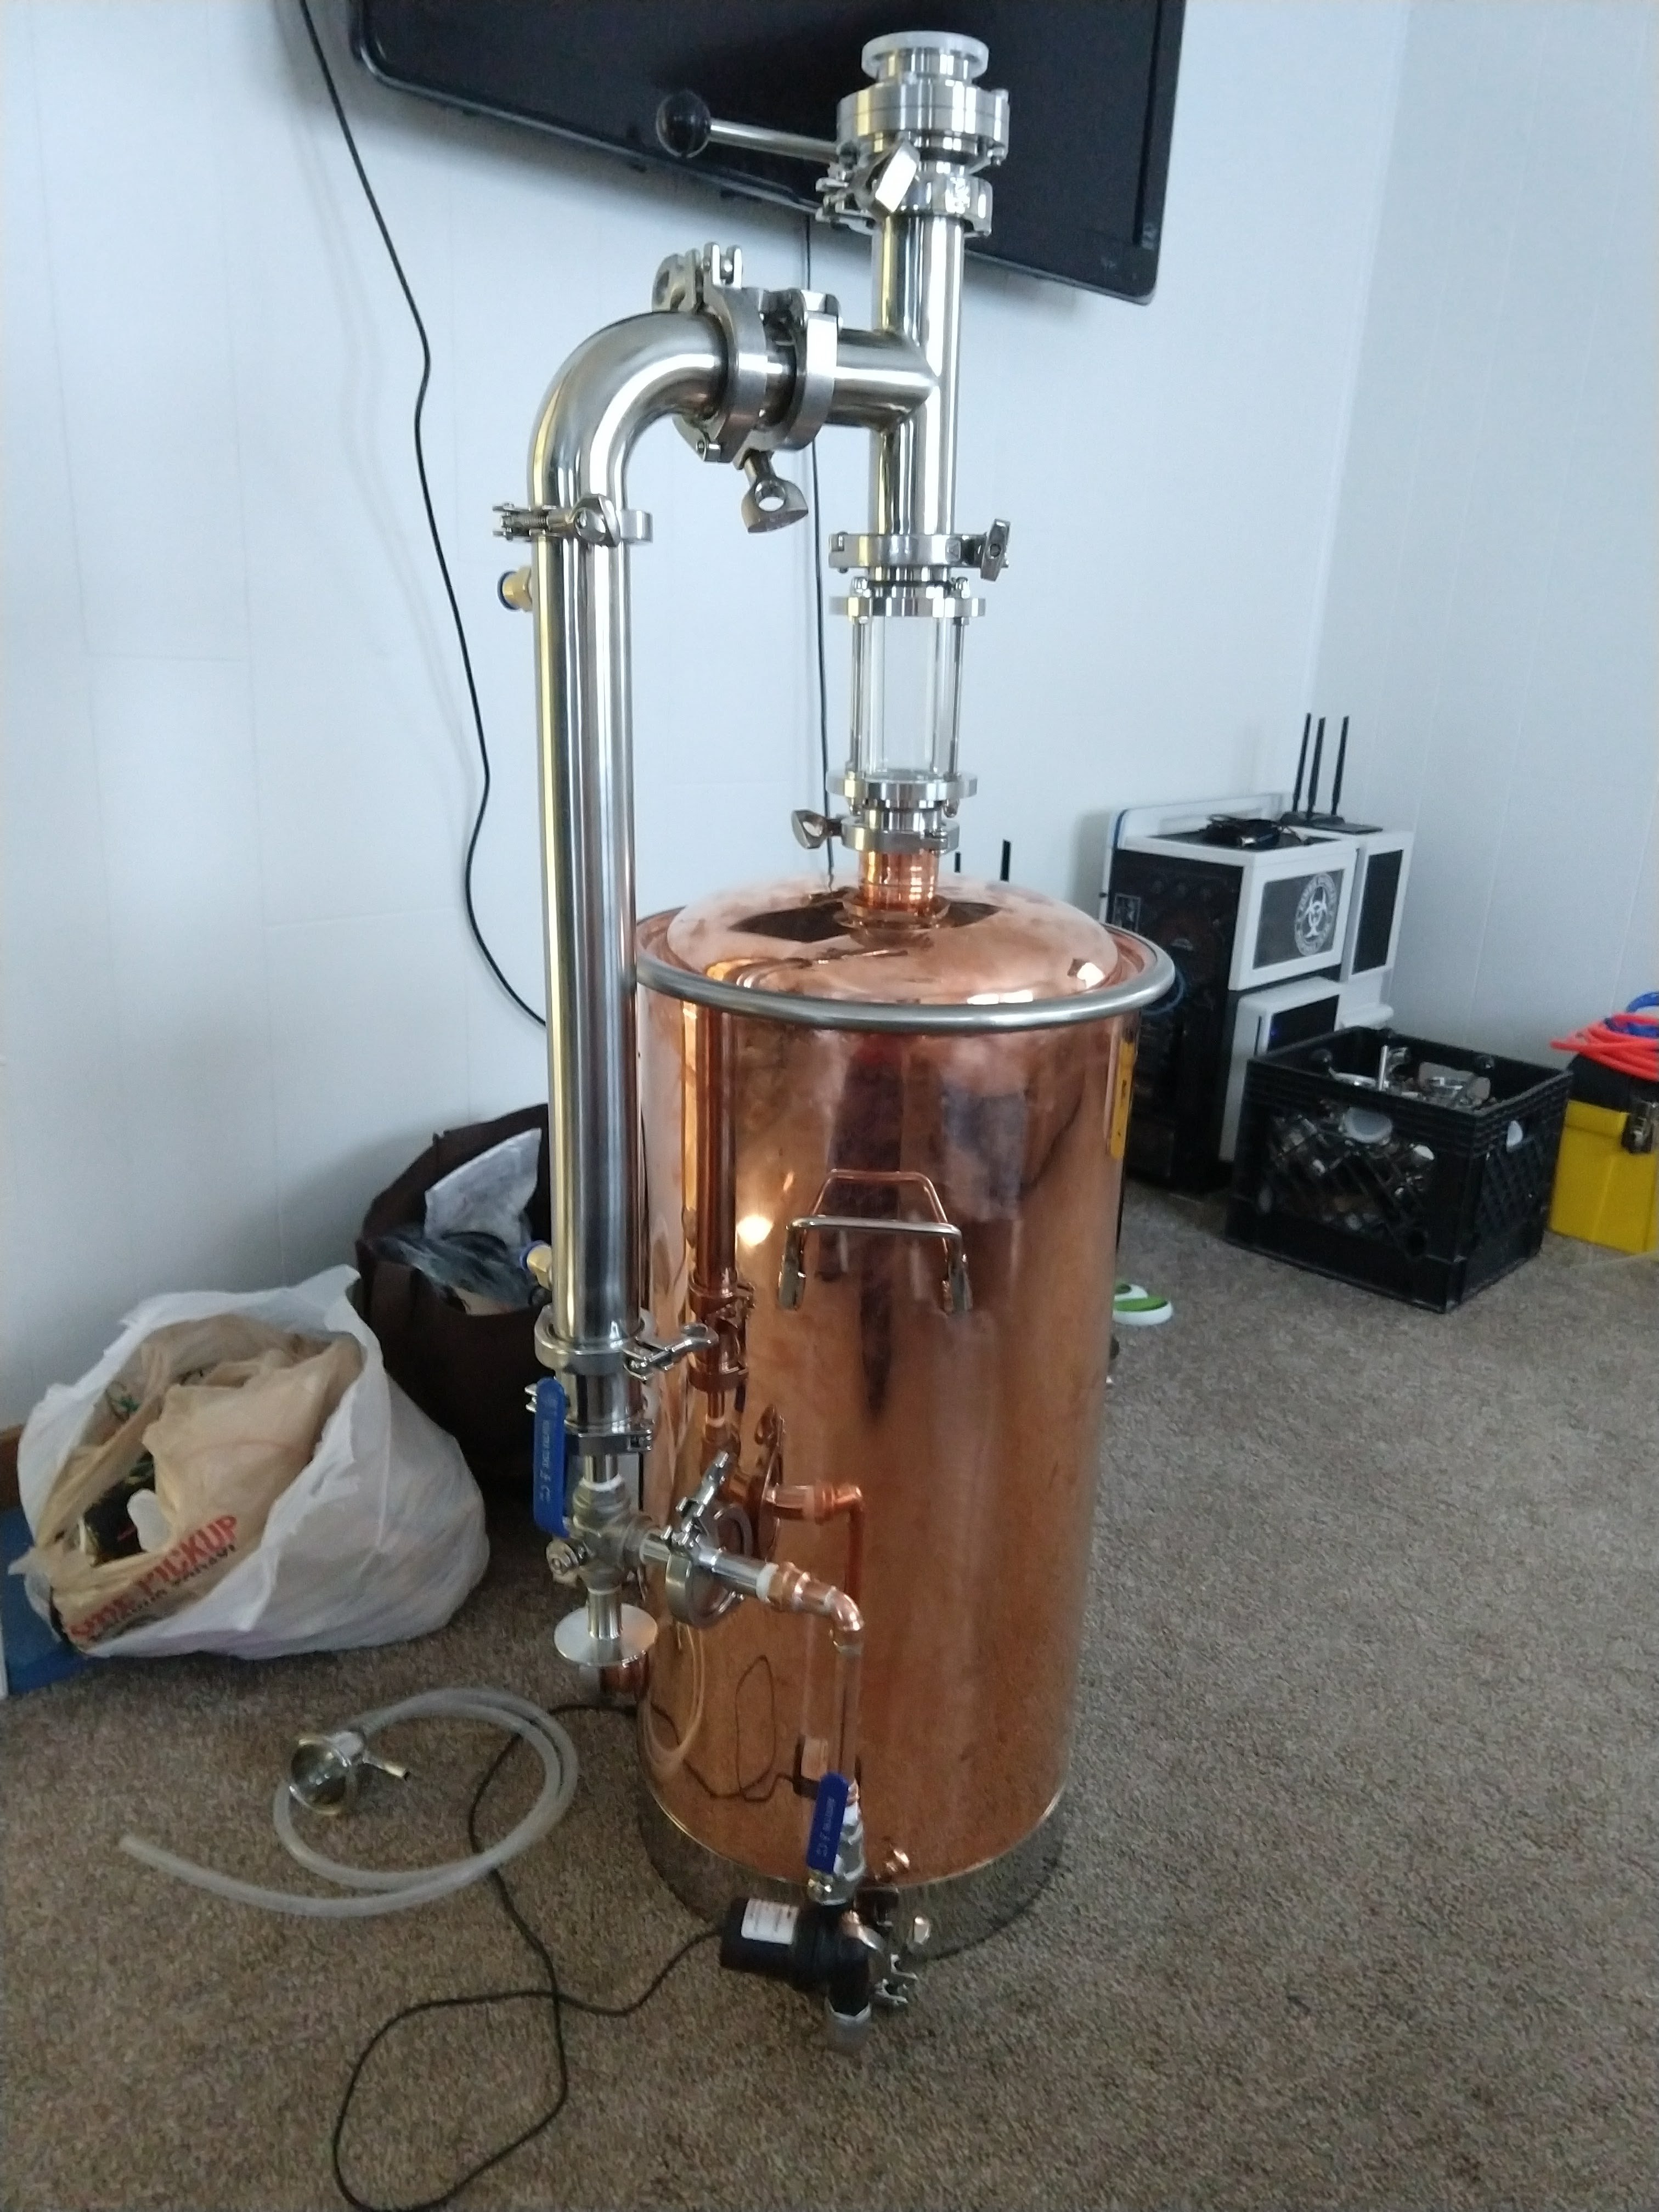
Went with hard plumbing for the condenser, it not only looks awesome but it adds the support I was needing! If, i can figure out this relay board, I should be able to get to work on brewing a batch of water this weekend and running it through the paces before my first brew. But as it sits now, the software has a couple bugs I can work around / patch up this week but I think the basics and Process/State automation phases are functioning as expected.
IMG_20171222_073818832.jpg
IMG_20171223_124614563_LL.jpg
IMG_20171223_160250092_LL.jpg
IMG_20171223_181711014_LL.jpg
IMG_20171224_114210128.jpg
IMG_20171225_085808190.jpg
IMG_20171226_142723335_LL.jpg
IMG_20171226_142734350.jpg
IMG_20171226_143916109_LL.jpg
IMG_20171226_143923389_LL.jpg
 
Where is everyone getting the 12v pumps? I bought one before but had issues with it locking up during long periods of use. Are you controlling the pump via PID or a potentiostat?
I just got it off ebay. I will control the pump with the relayed 110v outlets, no need for PWM on it I can't imagine I would want anything besides on and off. I haven't tested it too much so I cant comment on the locking up after long runs. I still have my chugger pump because I have doubts as well on its reliability.
 
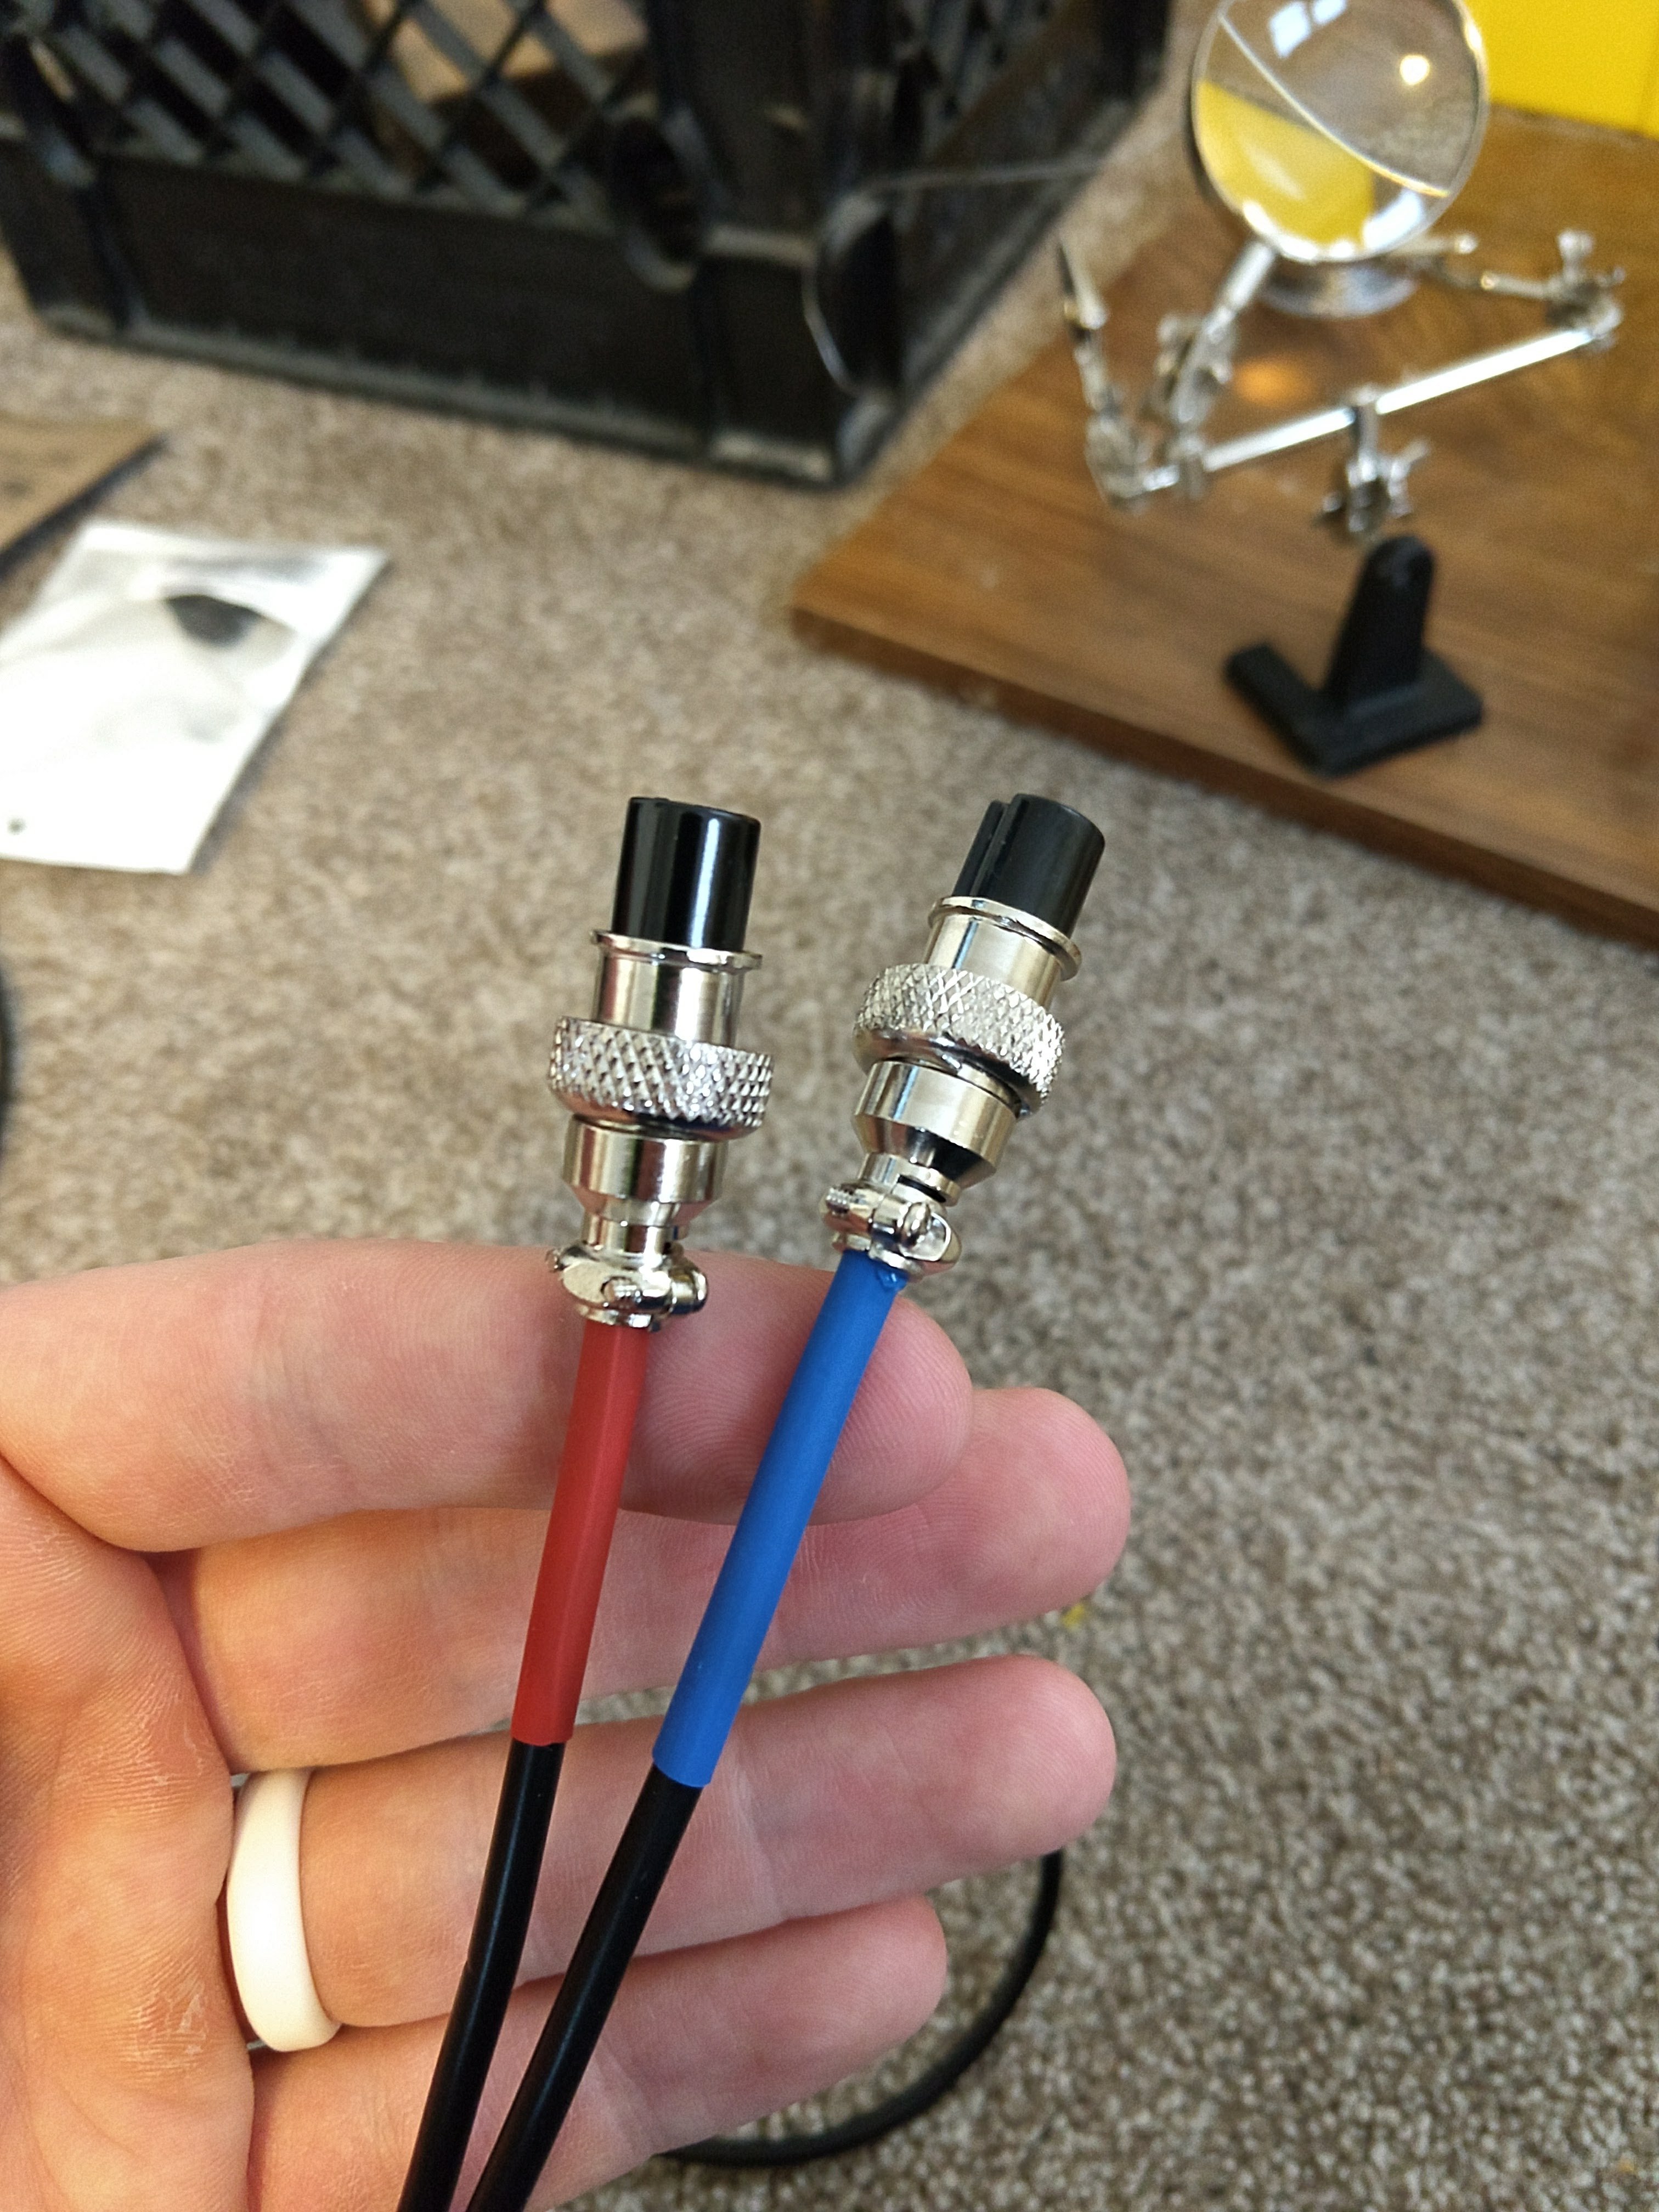
forgive my ignorance, but what are these blue and red tagged wires?
img_20171223_124614563_ll-jpg.551291


also what OS are you running and what system are you using in the control box? or are you running all this from your laptop and just showing the display on the control box display panel? I am very interested in seeing how you have this setup.
 
forgive my ignorance, but what are these blue and red tagged wires?

also what OS are you running and what system are you using in the control box? or are you running all this from your laptop and just showing the display on the control box display panel? I am very interested in seeing how you have this setup.
They are my temp probes, I colored them so I could label them in the software "Red Probe" "Blue Probe" to make it easy since they are just going into thermowells and designed to be moved around.


IMG_20171228_193554221_LL.jpg


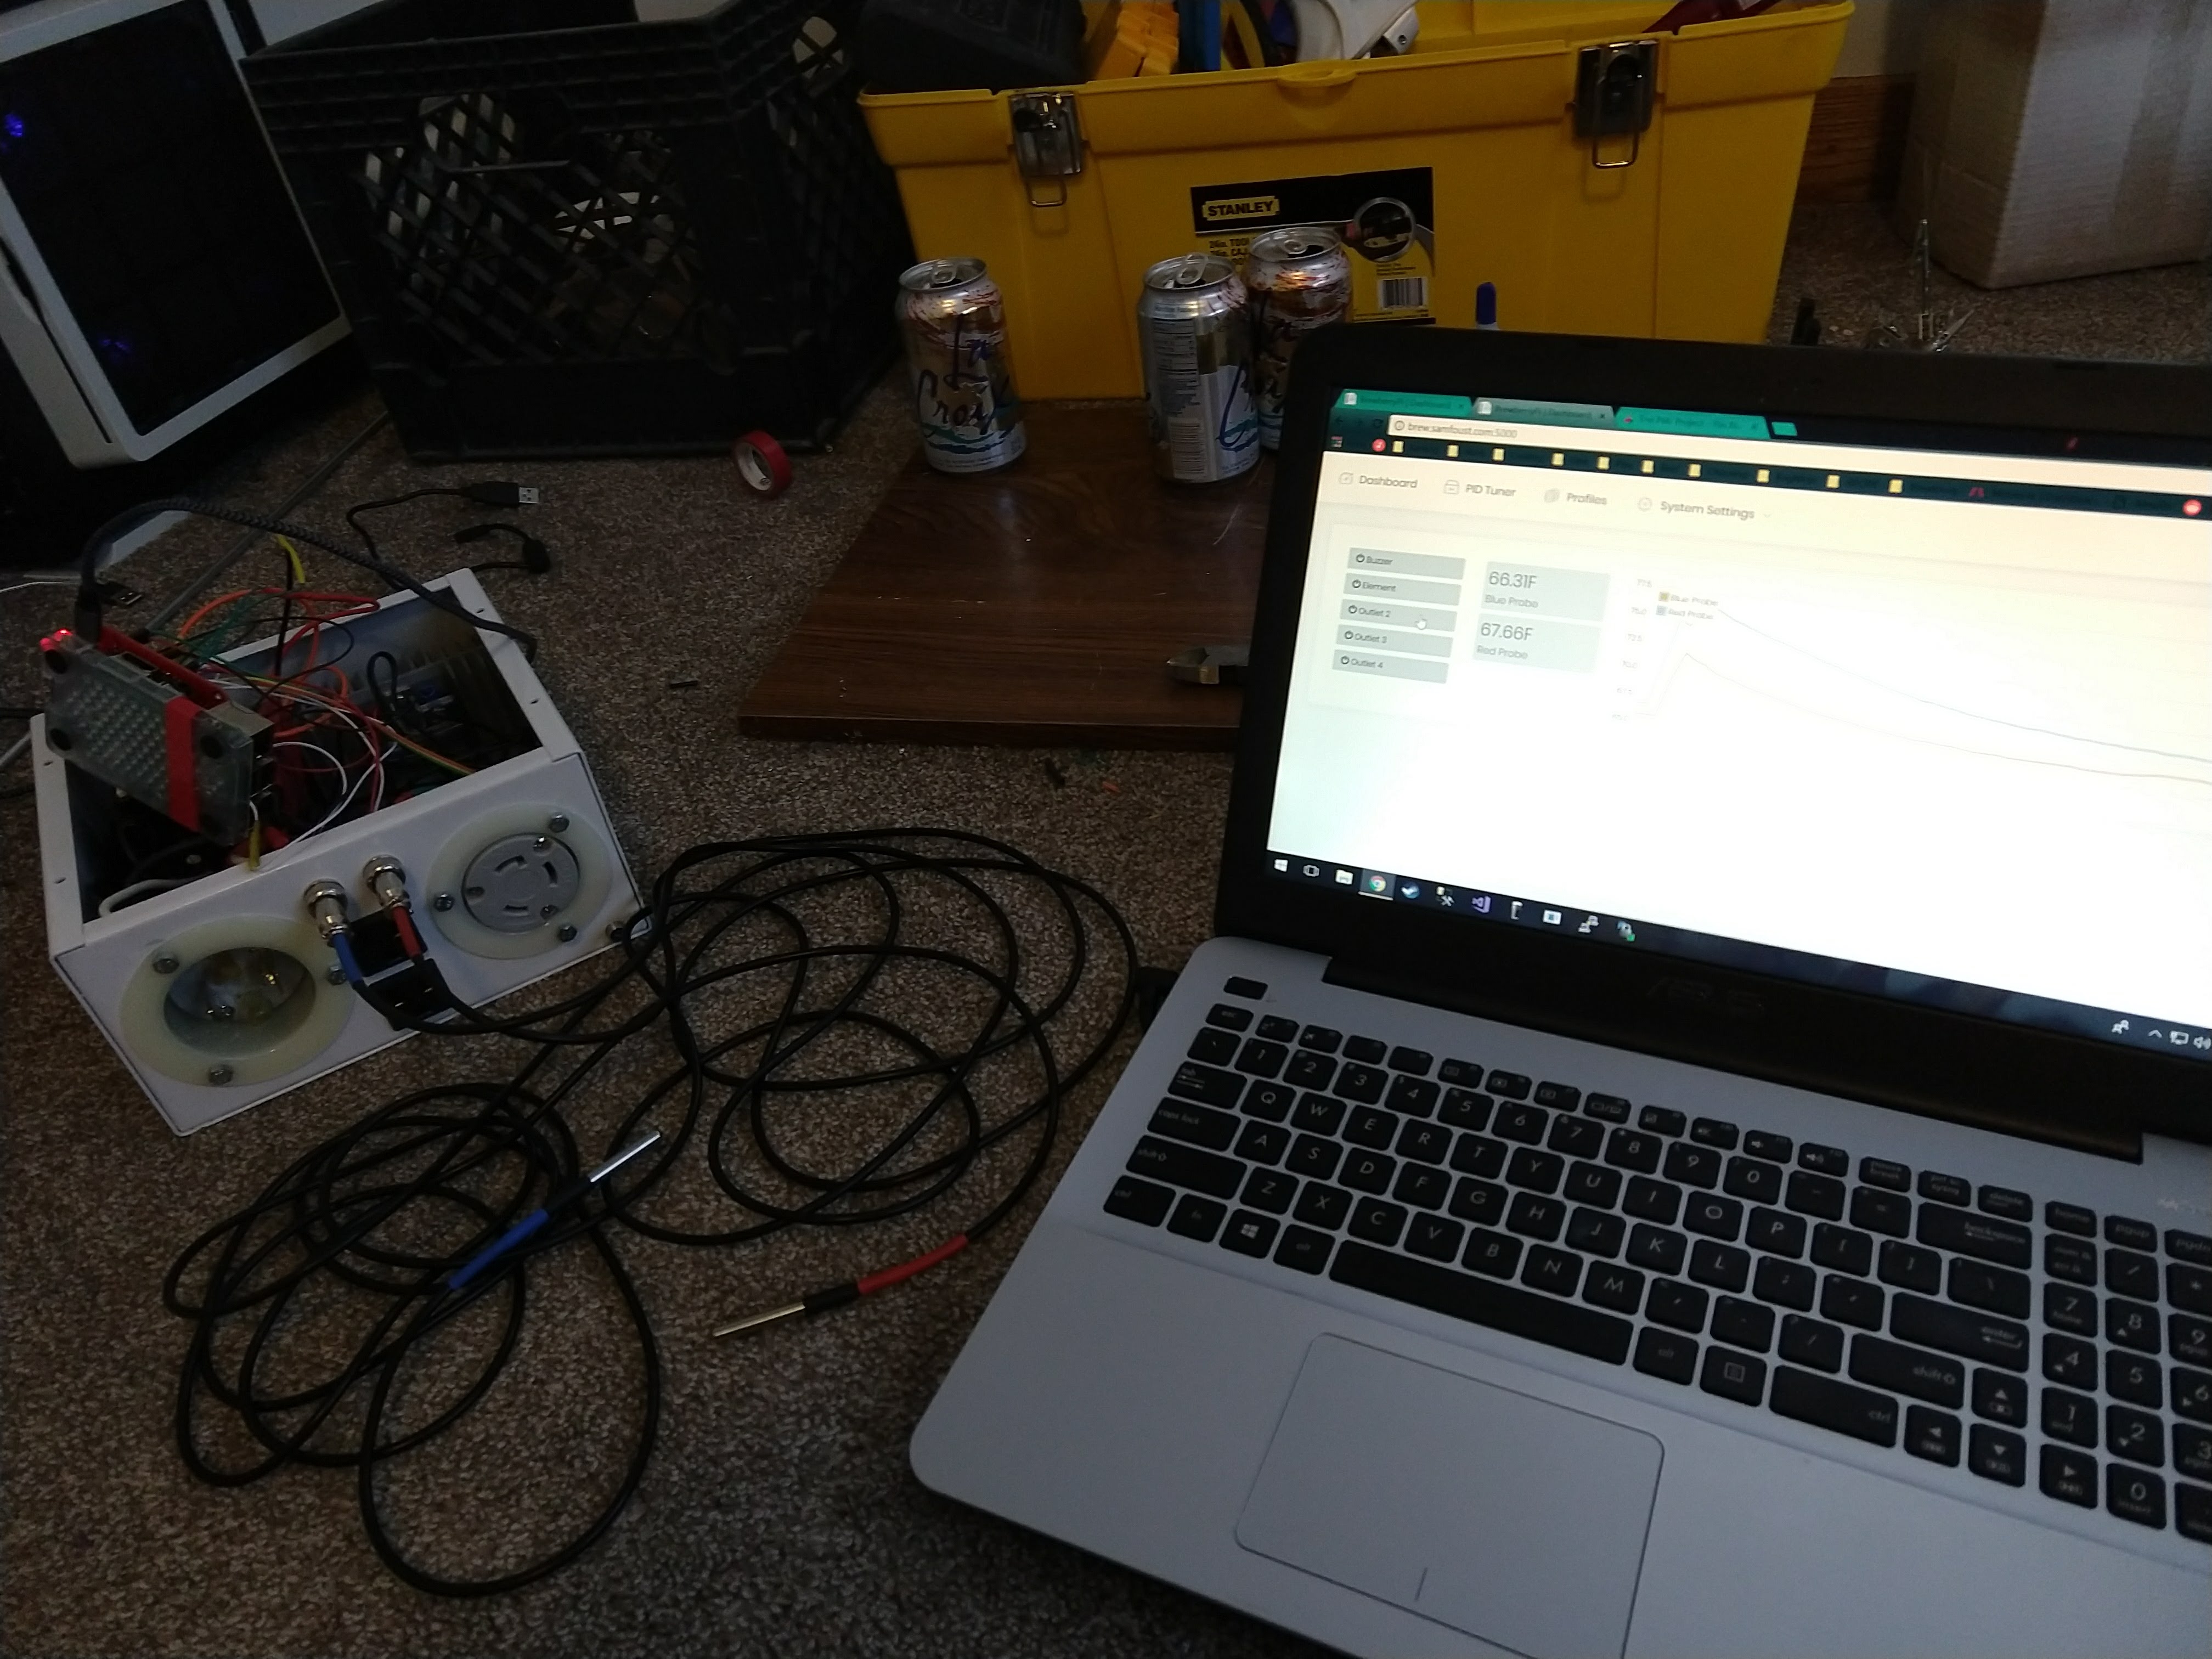
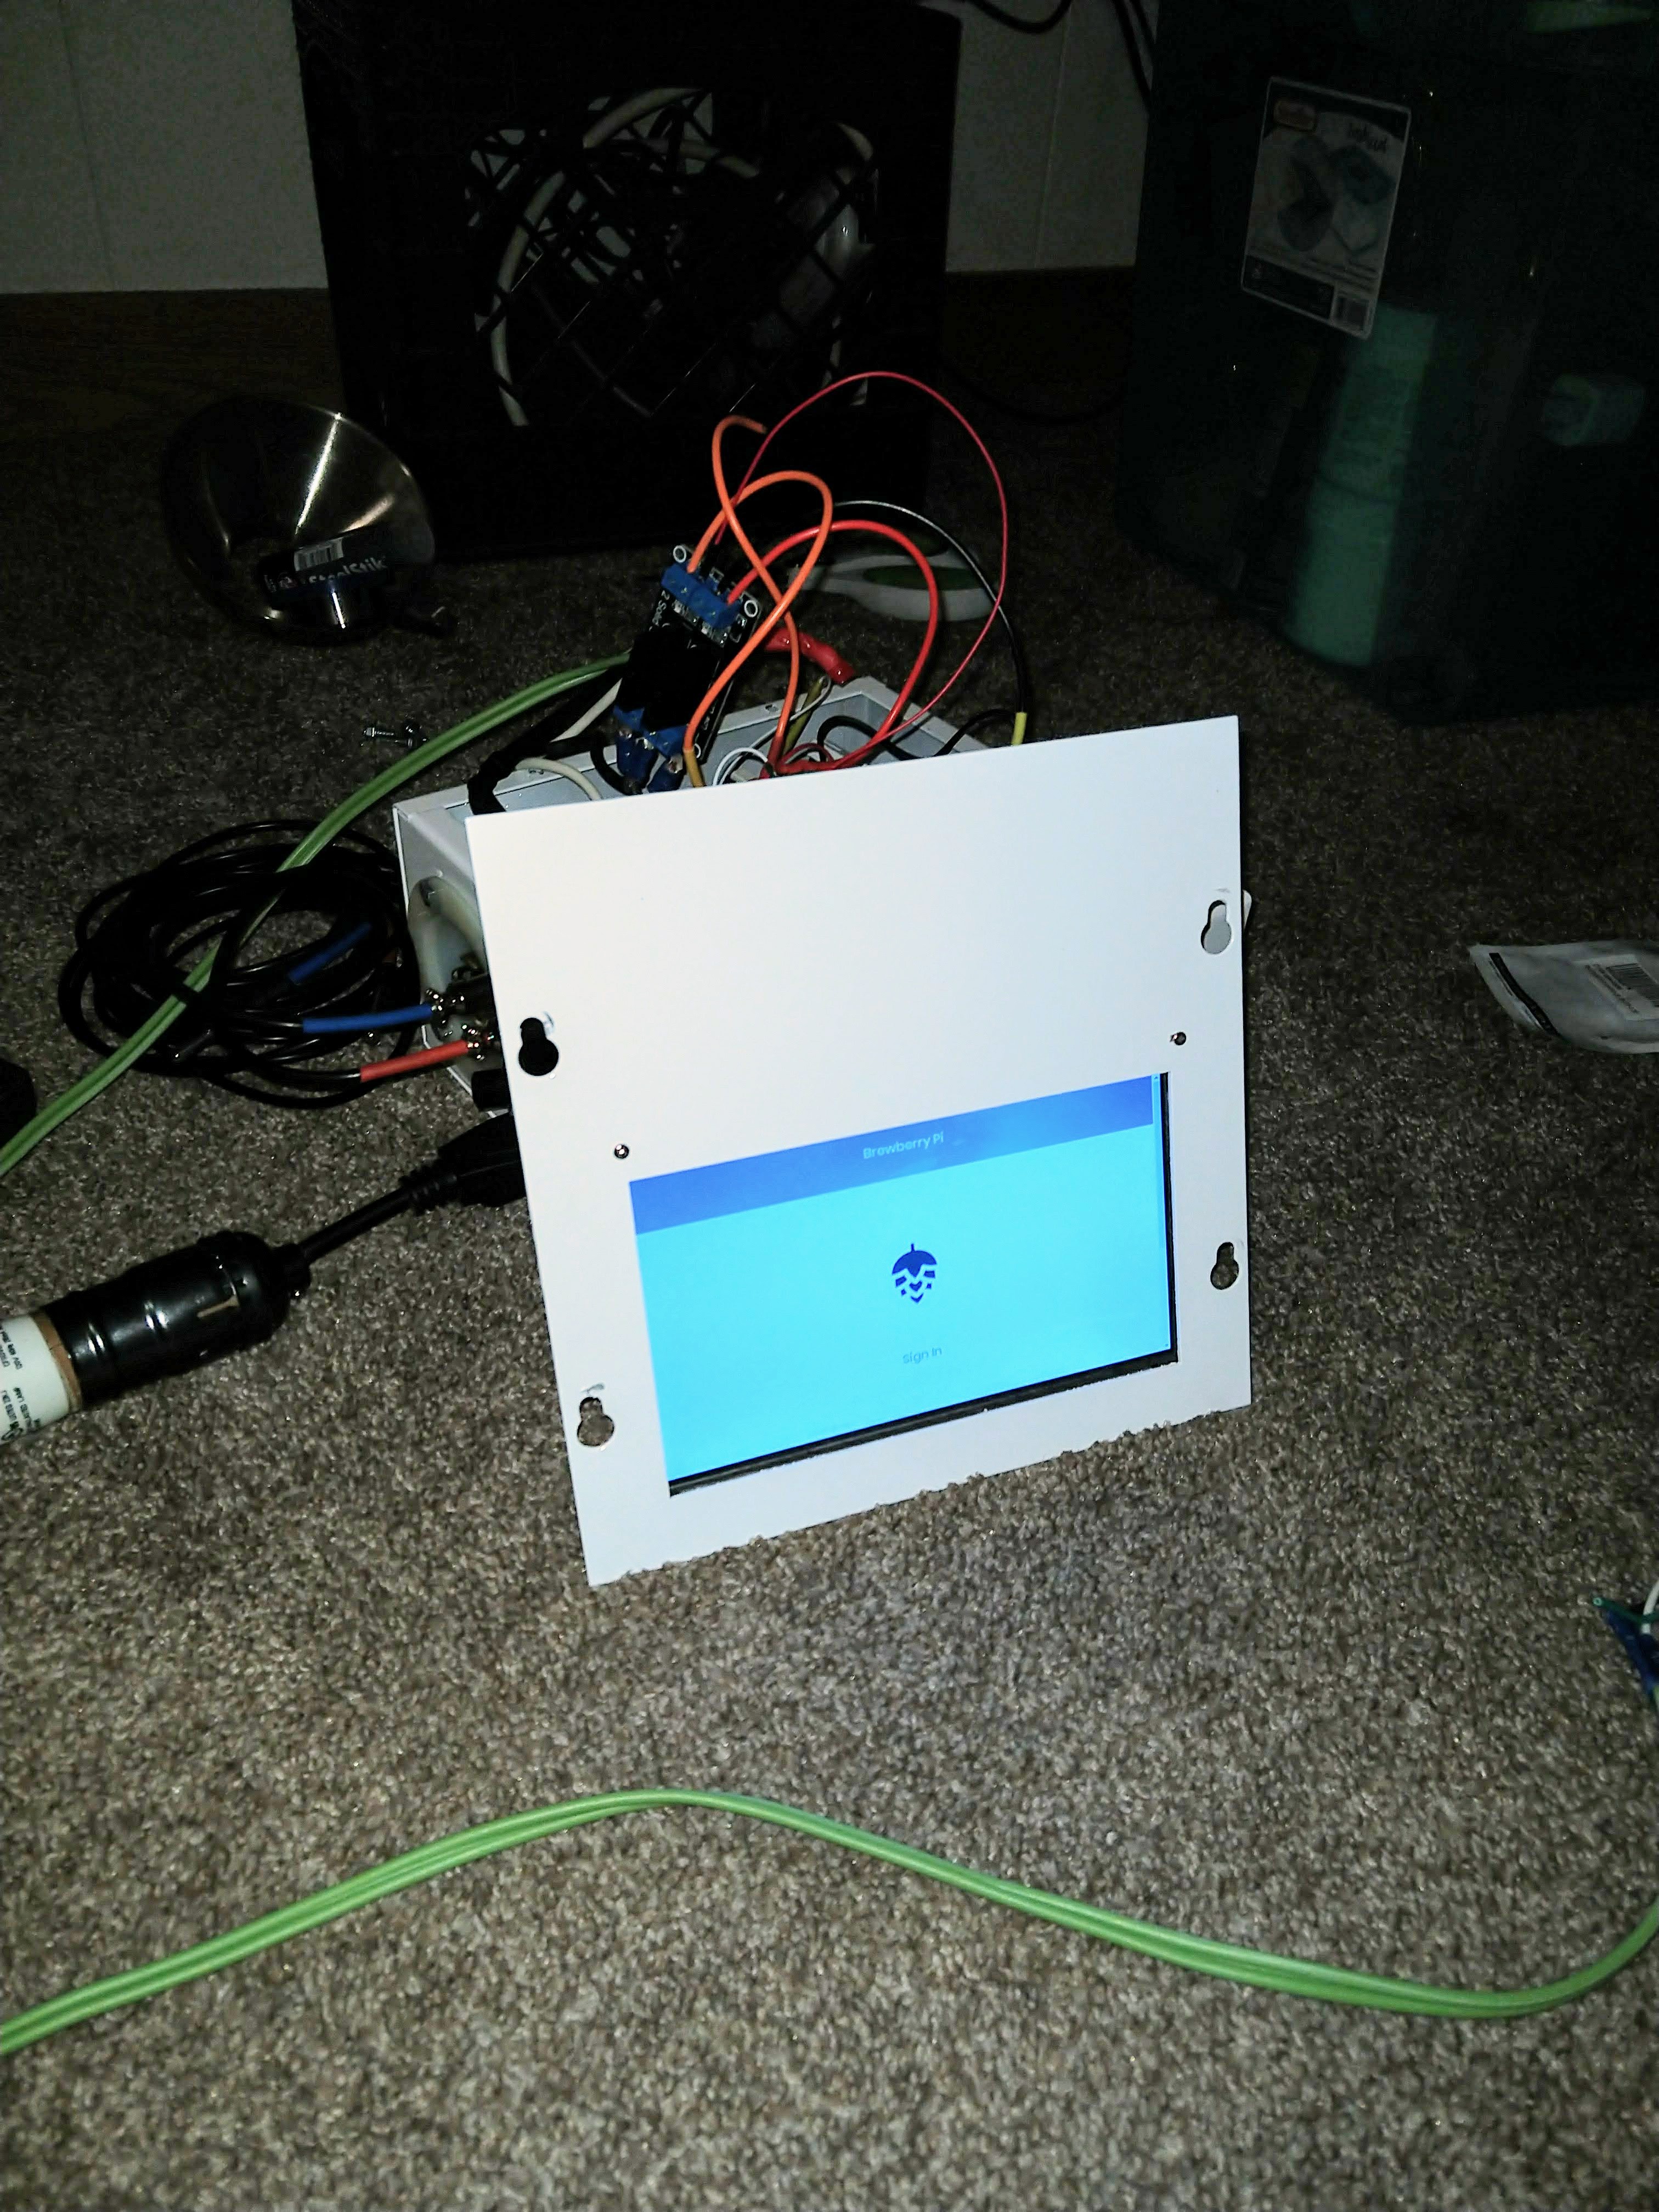
As for software... Im building this whole system using a raspberry pi, you can see it in the photo there with the red prototyping hat on top of it. The pi is running raspbian for an OS, pretty much the standard these days for most. The software for the panel I'm coding completely from scratch, I call it Brewberry Pi because its awesome :p
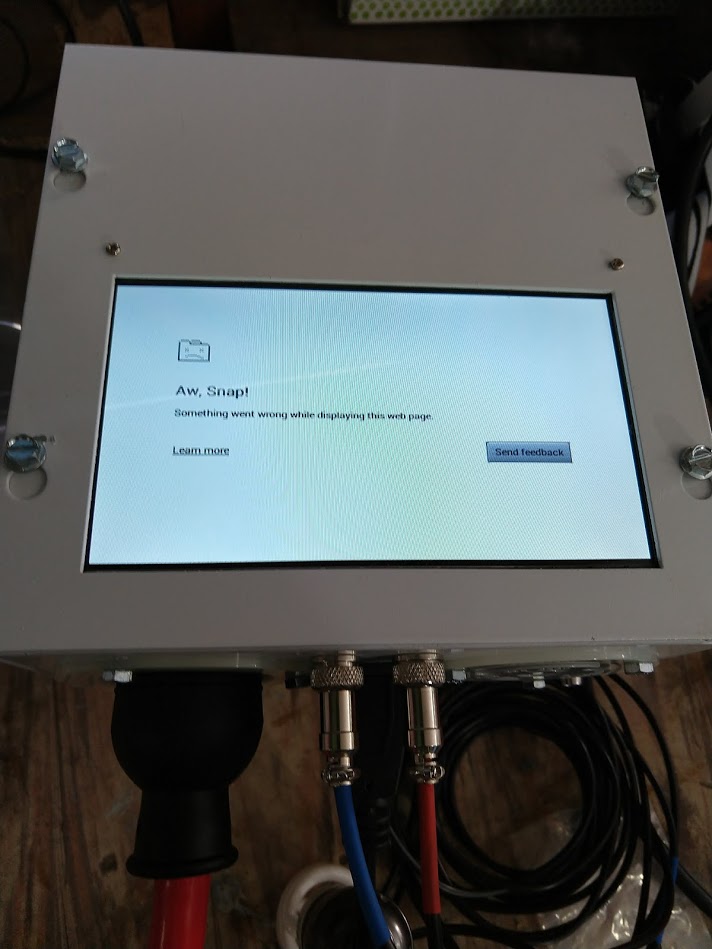
The plan that seems to be working so far is the Pi will host my software on a website it is hosting, the monitor simply is just running Chrome and points to that website, I can also hit the website from my phone, tablet, laptop w/e to allow for remote monitoring and control.
IMG_20171228_185942525.jpg

I got my monitor all hooked up yesterday and had the slight oversight of not having a keyboard to log into the website so I will need to figure out a way to get on screen keyboard up and running but shouldn't be too hard... I have no idea what i'm doing honestly this is my first RPI project.
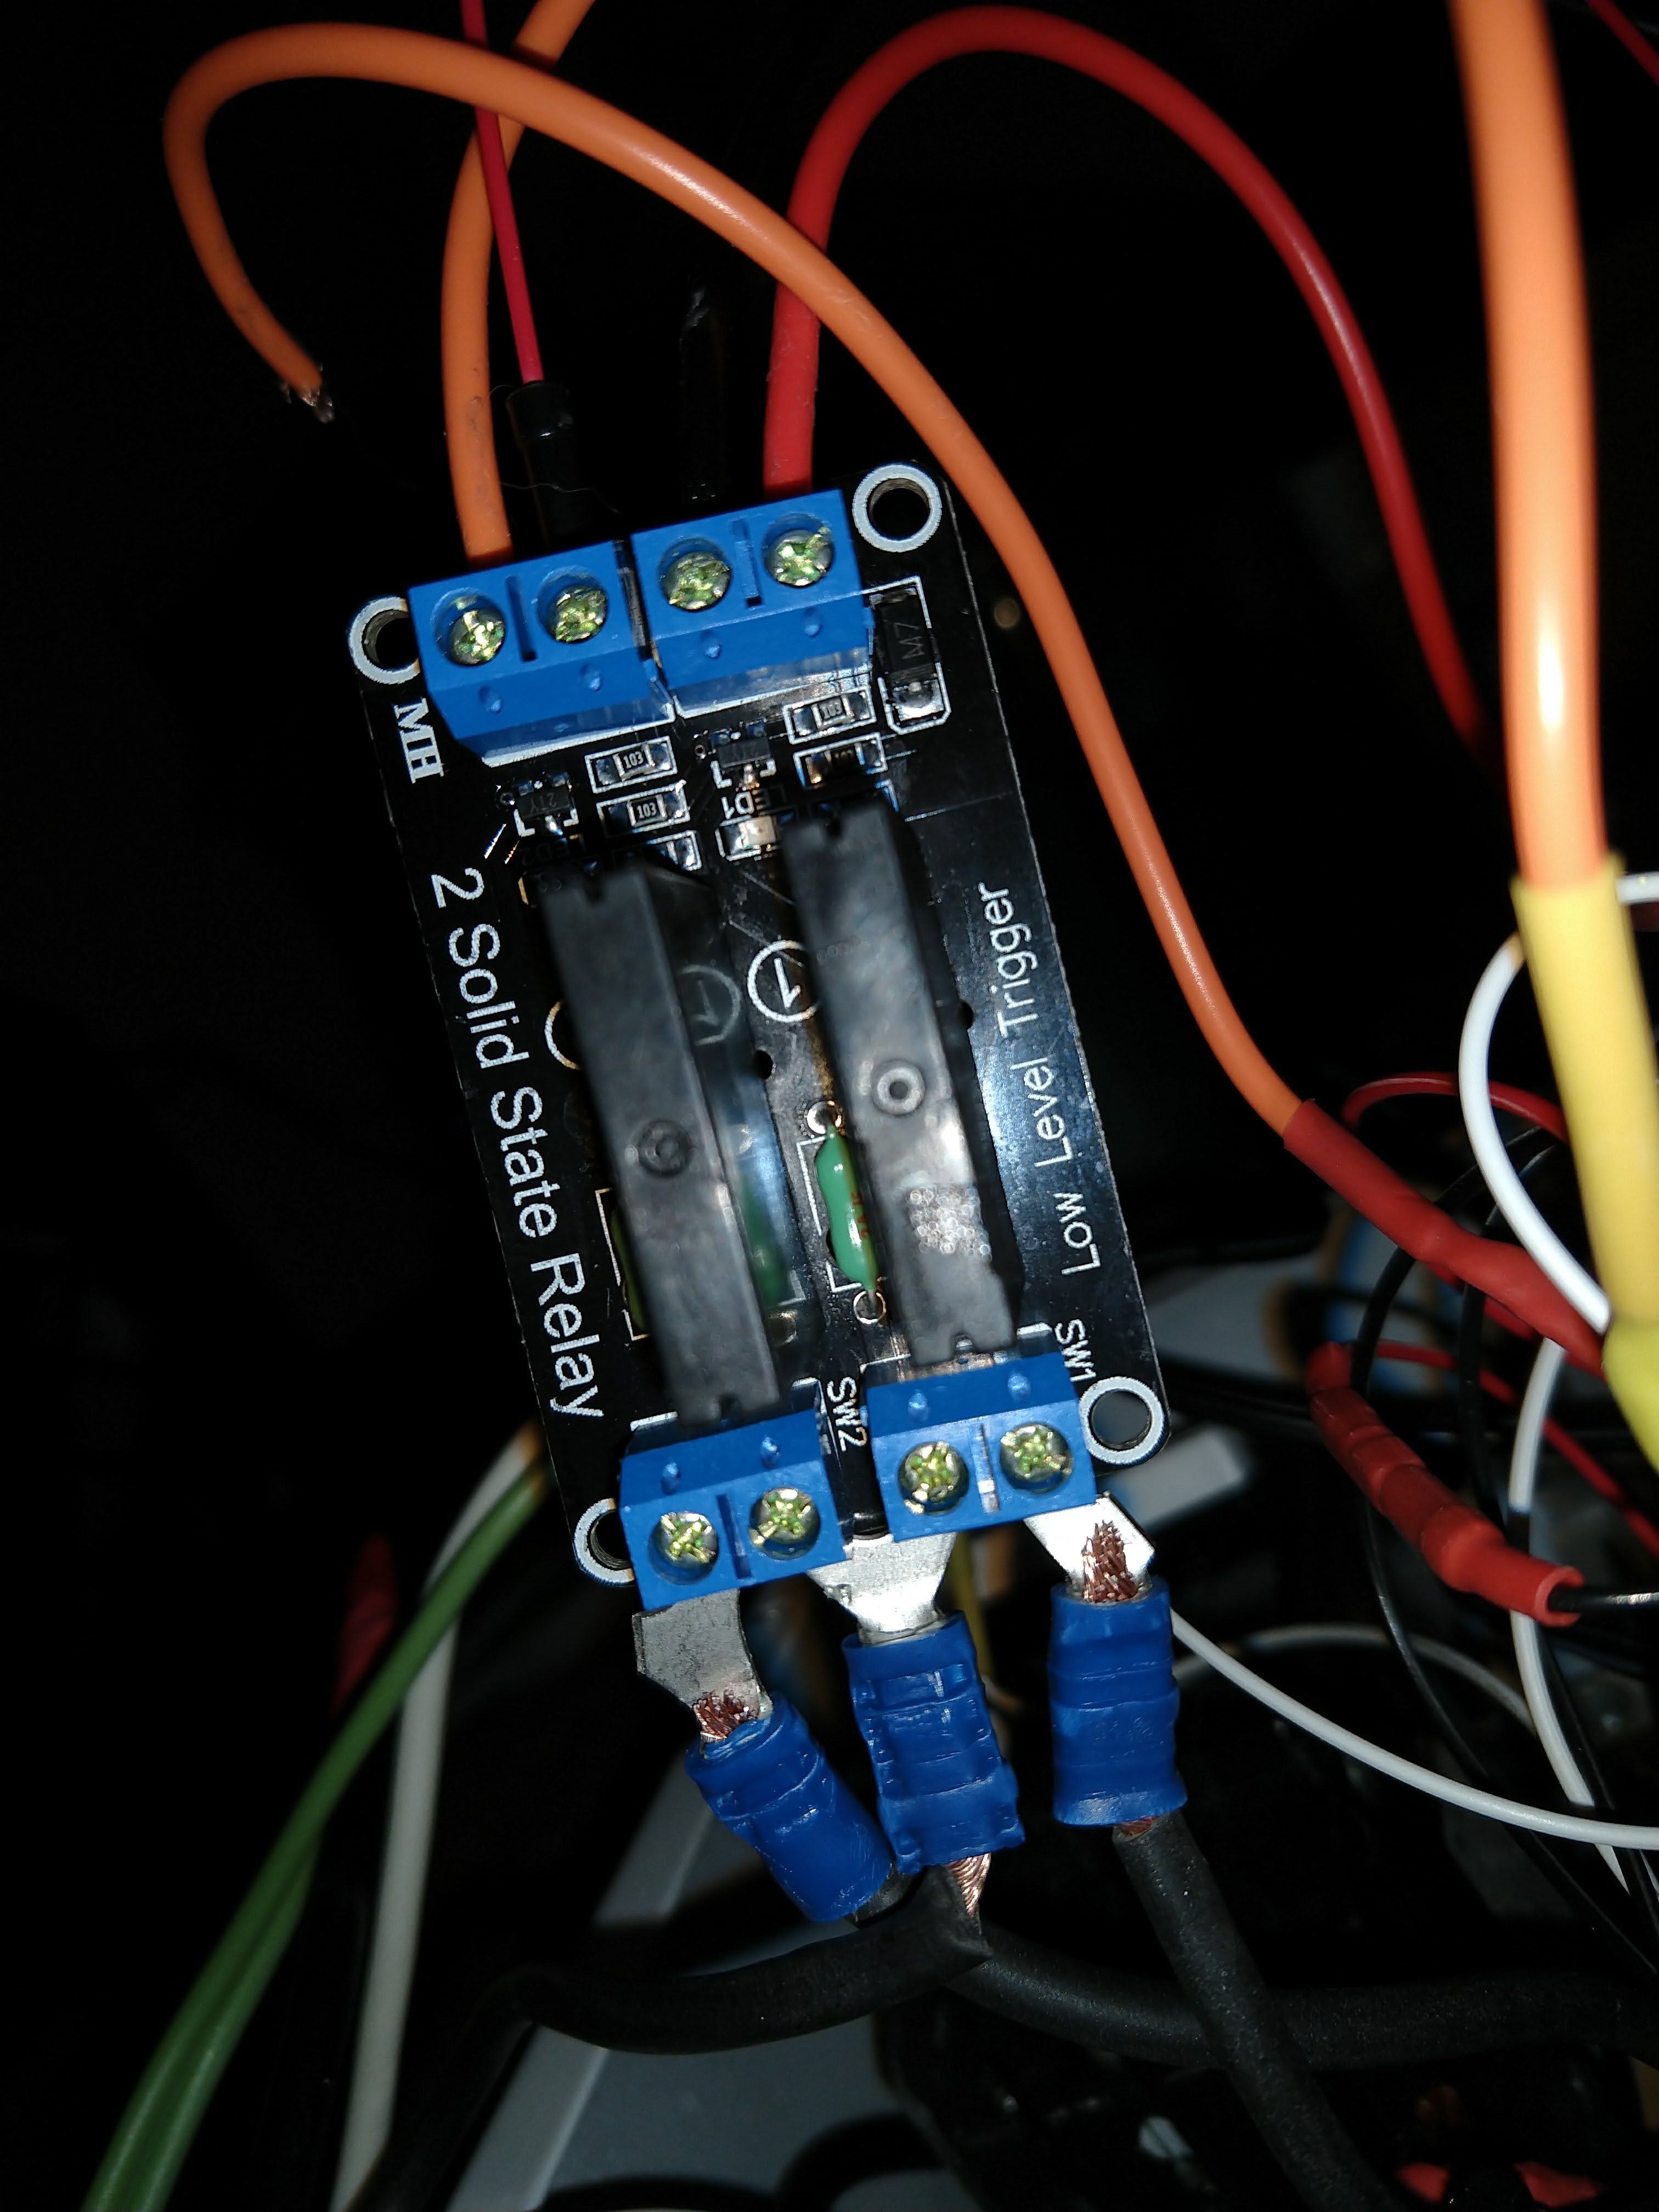
In other news, My relay is low level not high level so thats why its not working.... new one is on the way from amazon this time, and you are in the presence of a prime member so hopefully this weekend. (the wires dont normally look all mangled and shitty like this btw, this was after an intensive debugging session)
IMG_20171228_185924996.jpg

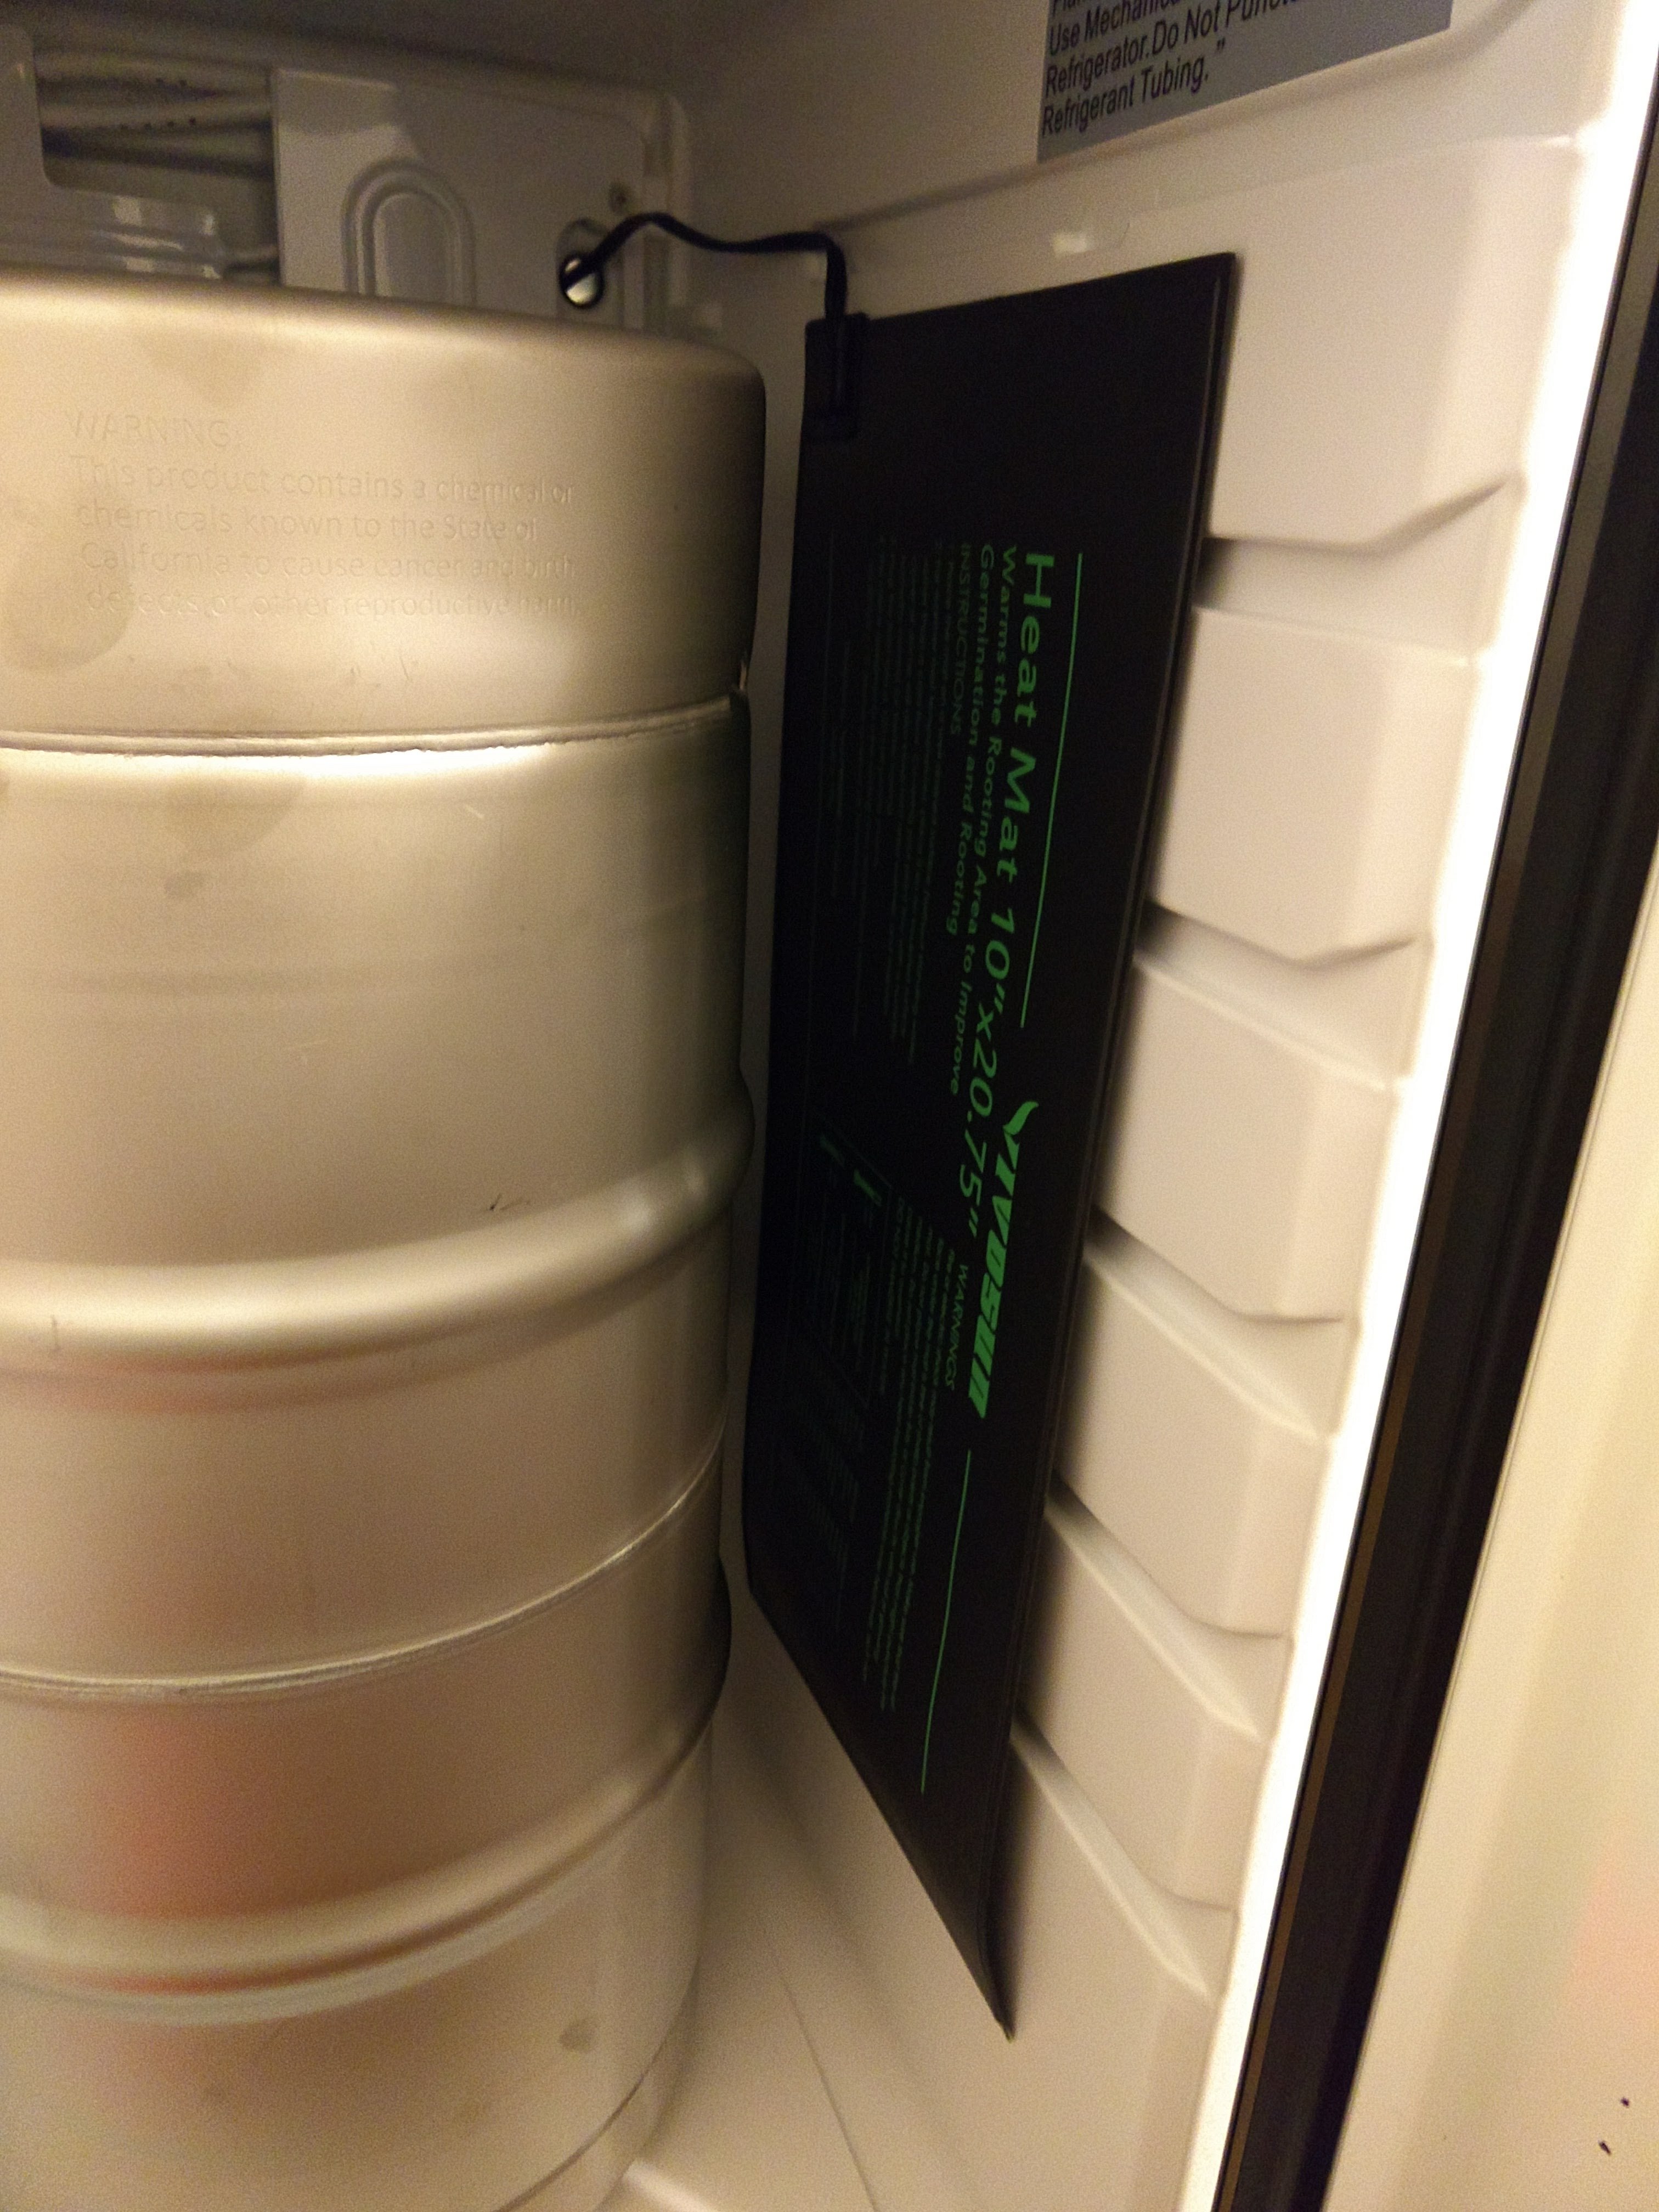
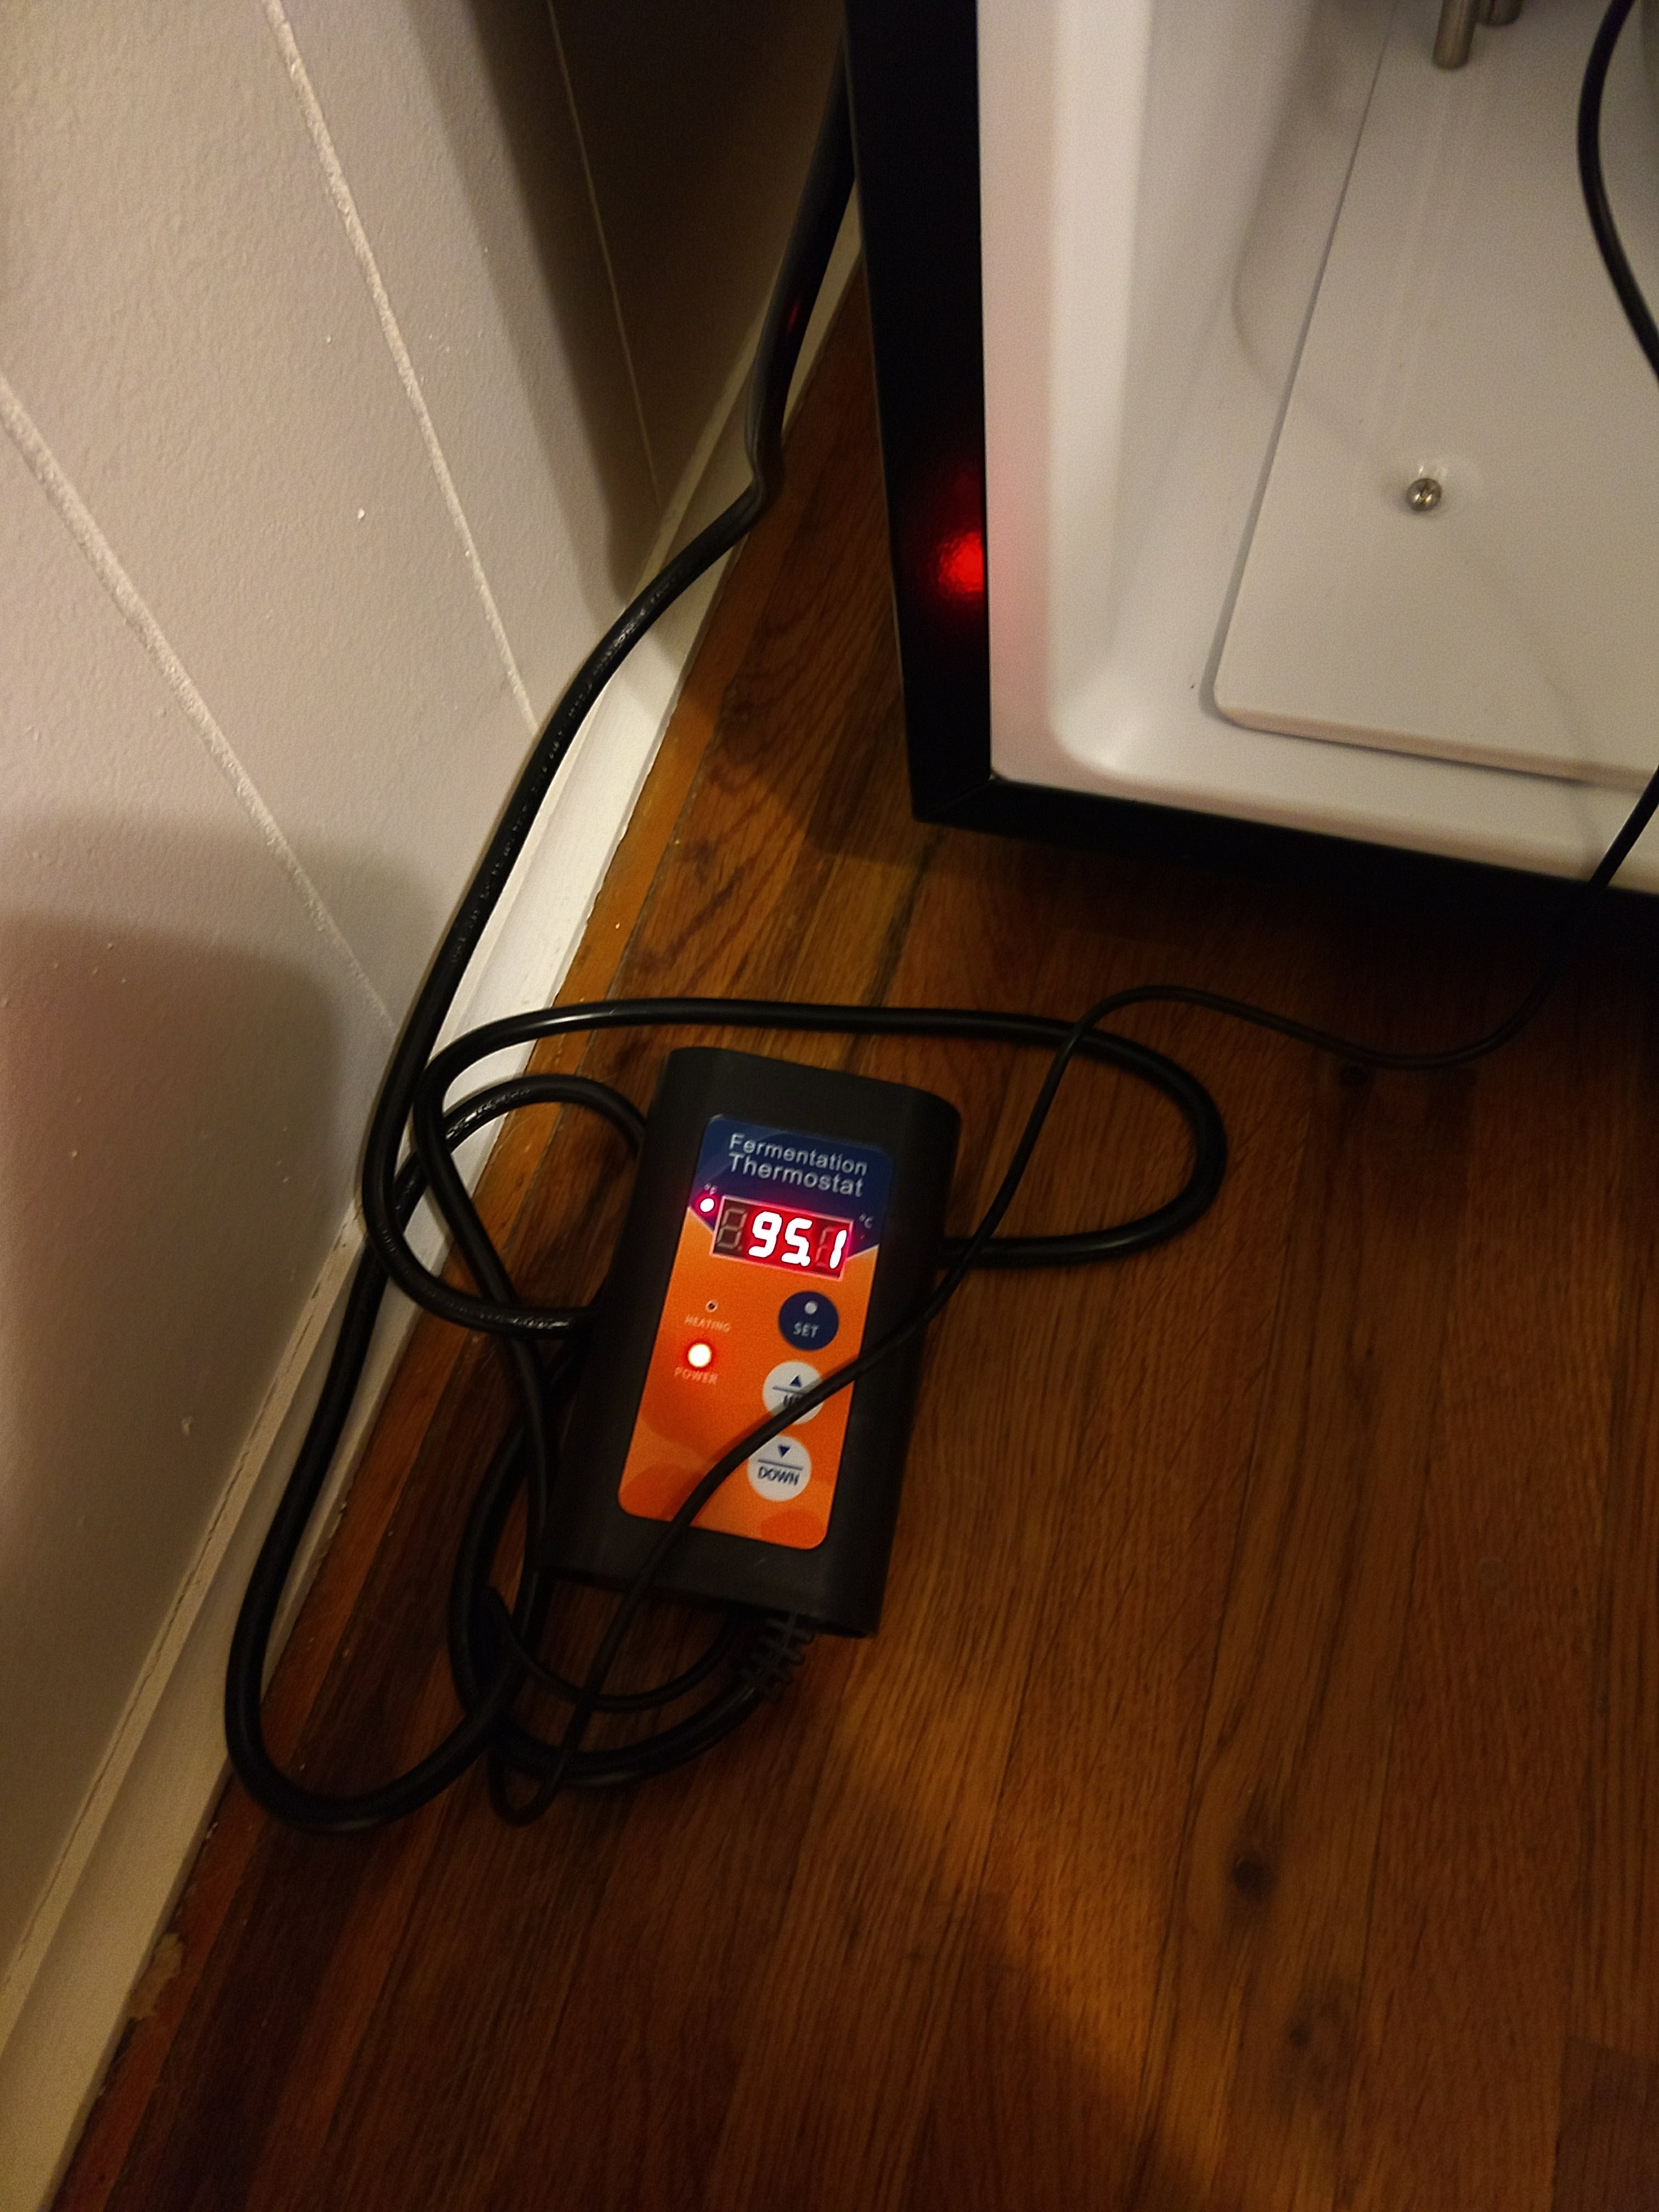
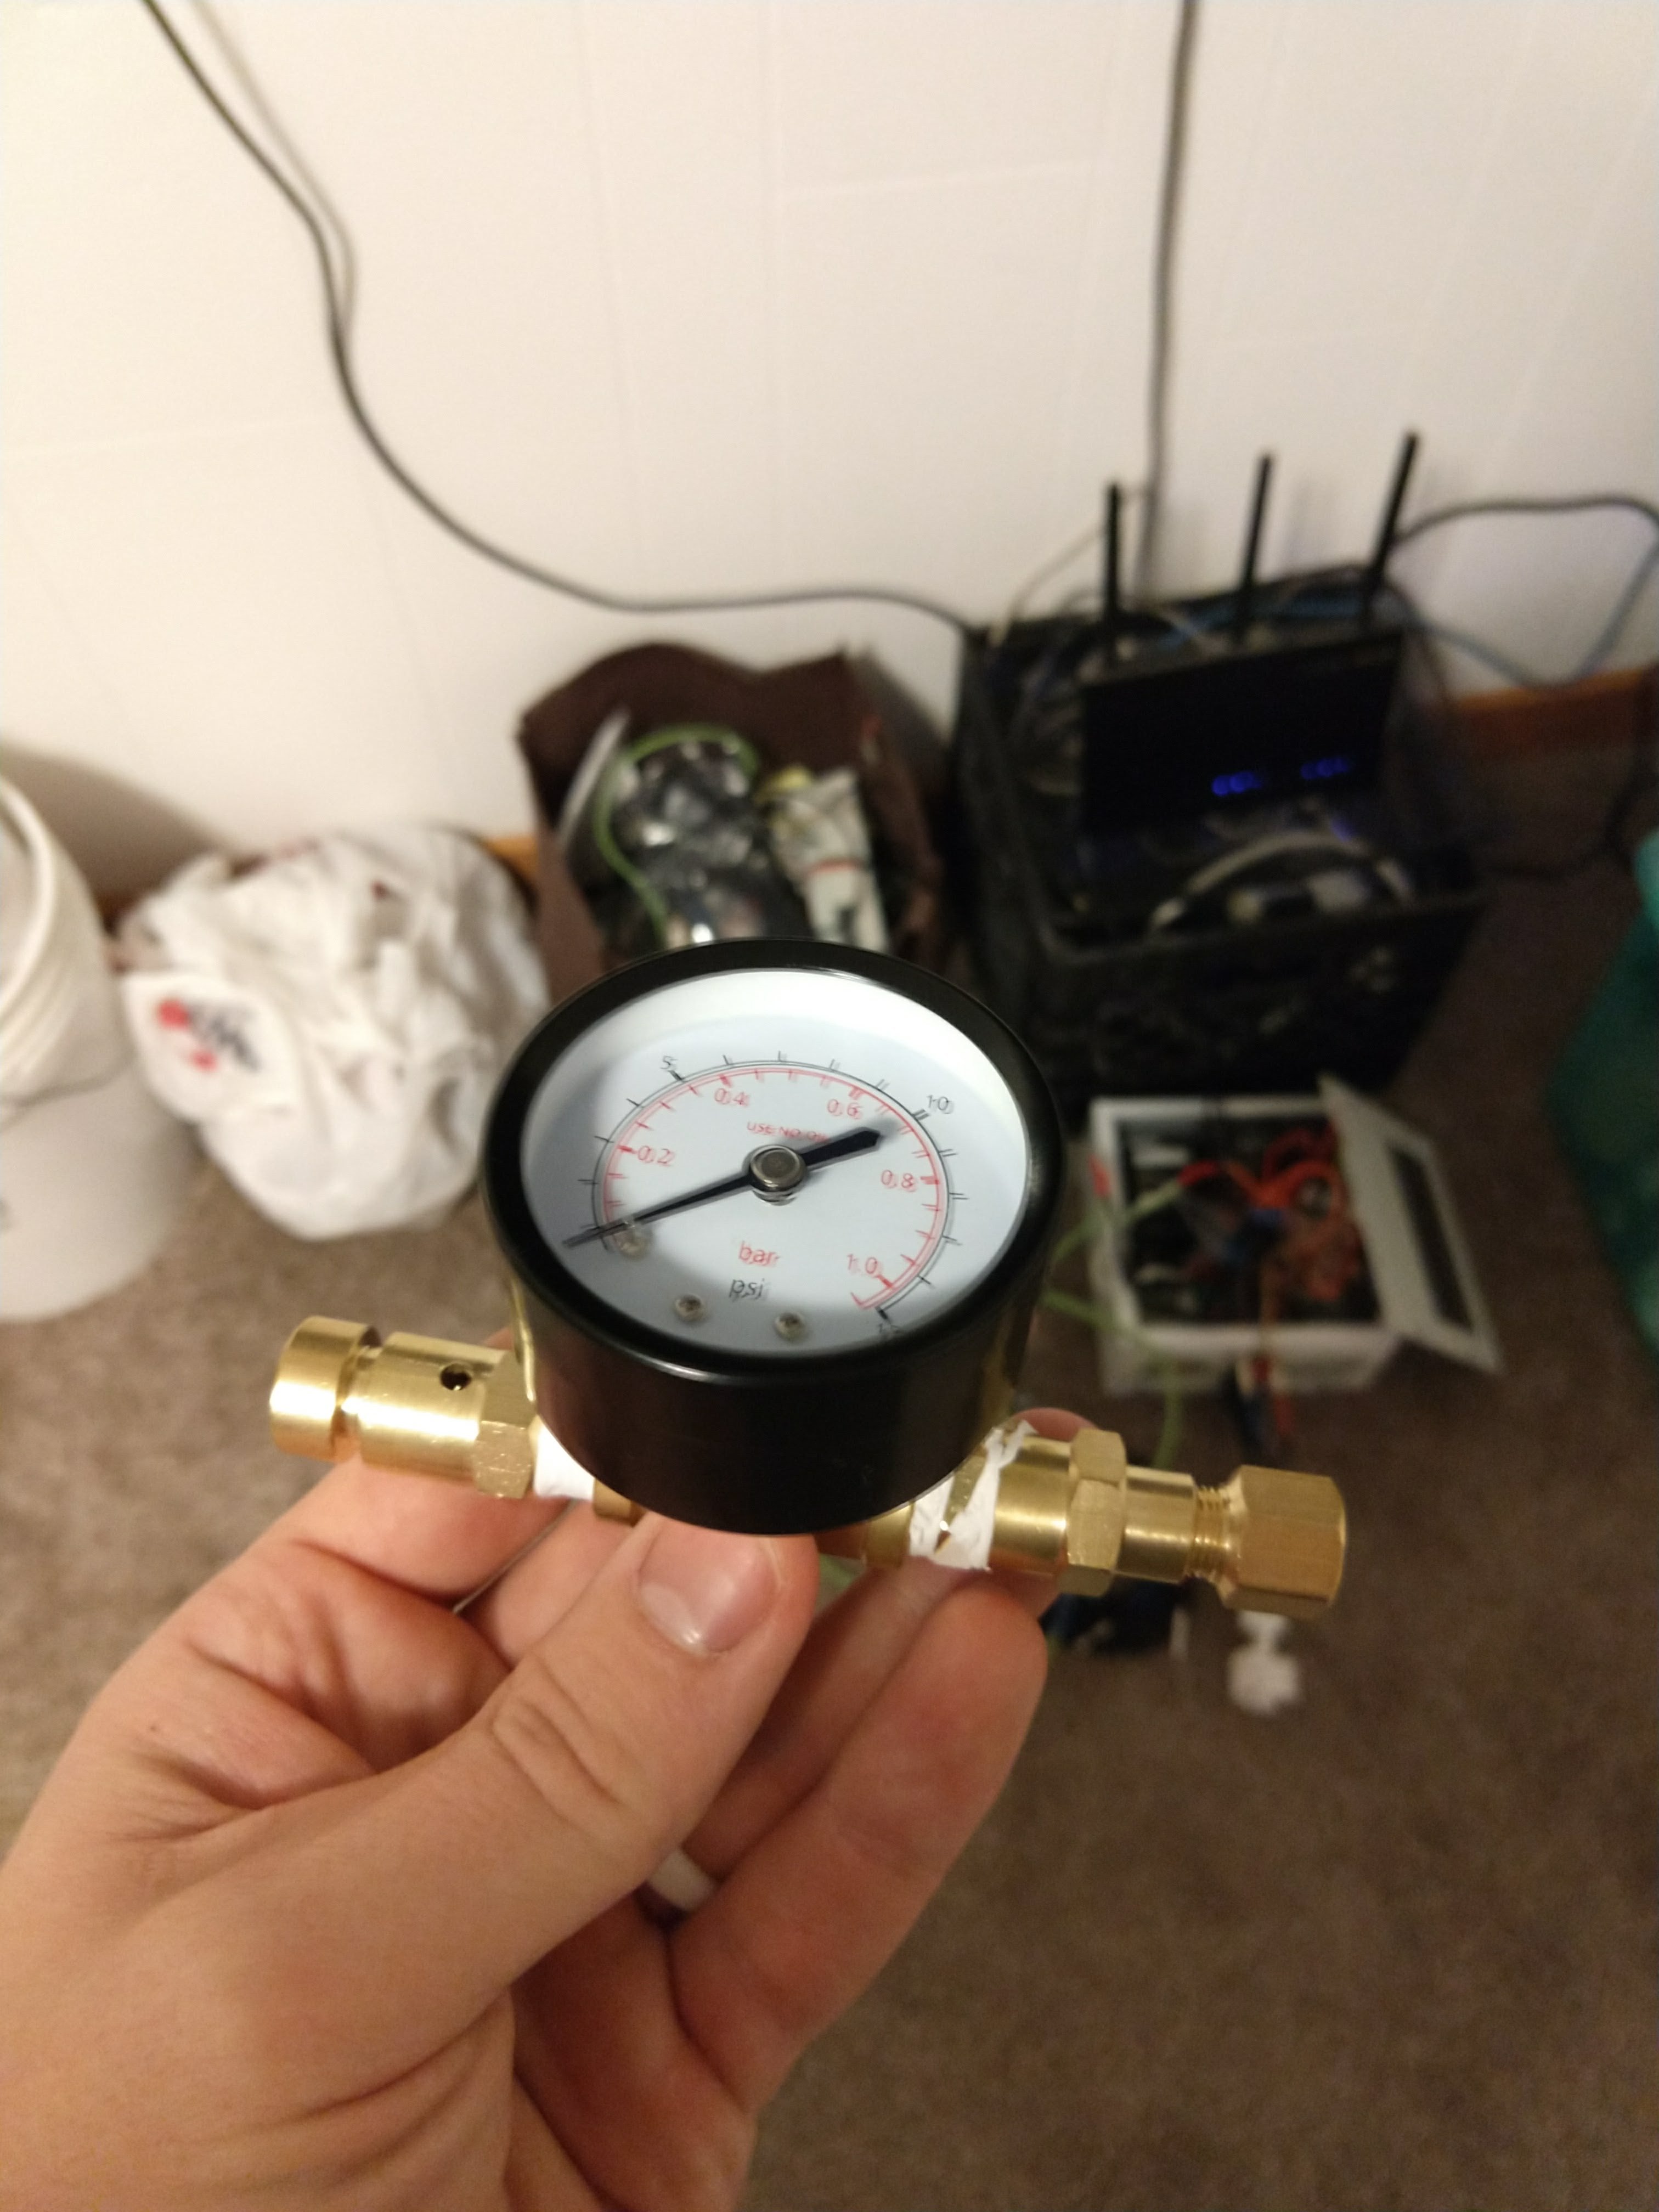
Ferm chamber updates though! Got my quarter keg, 'ultimate' racking cane system thing from nor cal, its pretty bad ass. And for heating im rolling with a low wattage waterproof seeding mat that is just going to be taped to the side of the chamber. Ran a test last night and the remote probe I had was reading 99.9F (cant go higher) so it definitely has the juice to heat up the chamber! Basically waiting on my angled USB for the monitor and now my second attempt at a realy before testing can begin! Oh and i got my spunding valve from china, pretty awesome for $20

IMG_20171229_065725344_LL.jpg
IMG_20171229_065738487_LL.jpg
IMG_20171229_070843463.jpg
IMG_20171229_071929832_LL.jpg
 
They are my temp probes, I colored them so I could label them in the software "Red Probe" "Blue Probe" to make it easy since they are just going into thermowells and designed to be moved around.

They are DS18B20s on Micro XLR connections (that sucked to solder)....

That is exactly the info i was looking for.... Thanks

I got my monitor all hooked up yesterday and had the slight oversight of not having a keyboard to log into the website so I will need to figure out a way to get on screen keyboard up and running but shouldn't be too hard...

Why couldnt you use one of them handy USB wireless keyboard/mouse combos that has the little tiny USB receivers? then you could just plug it in to the Pi and leave that portion INSIDE the control box.

Like this thing:
615ovOZOa0L._SL1336_.jpg
 
Back
Top