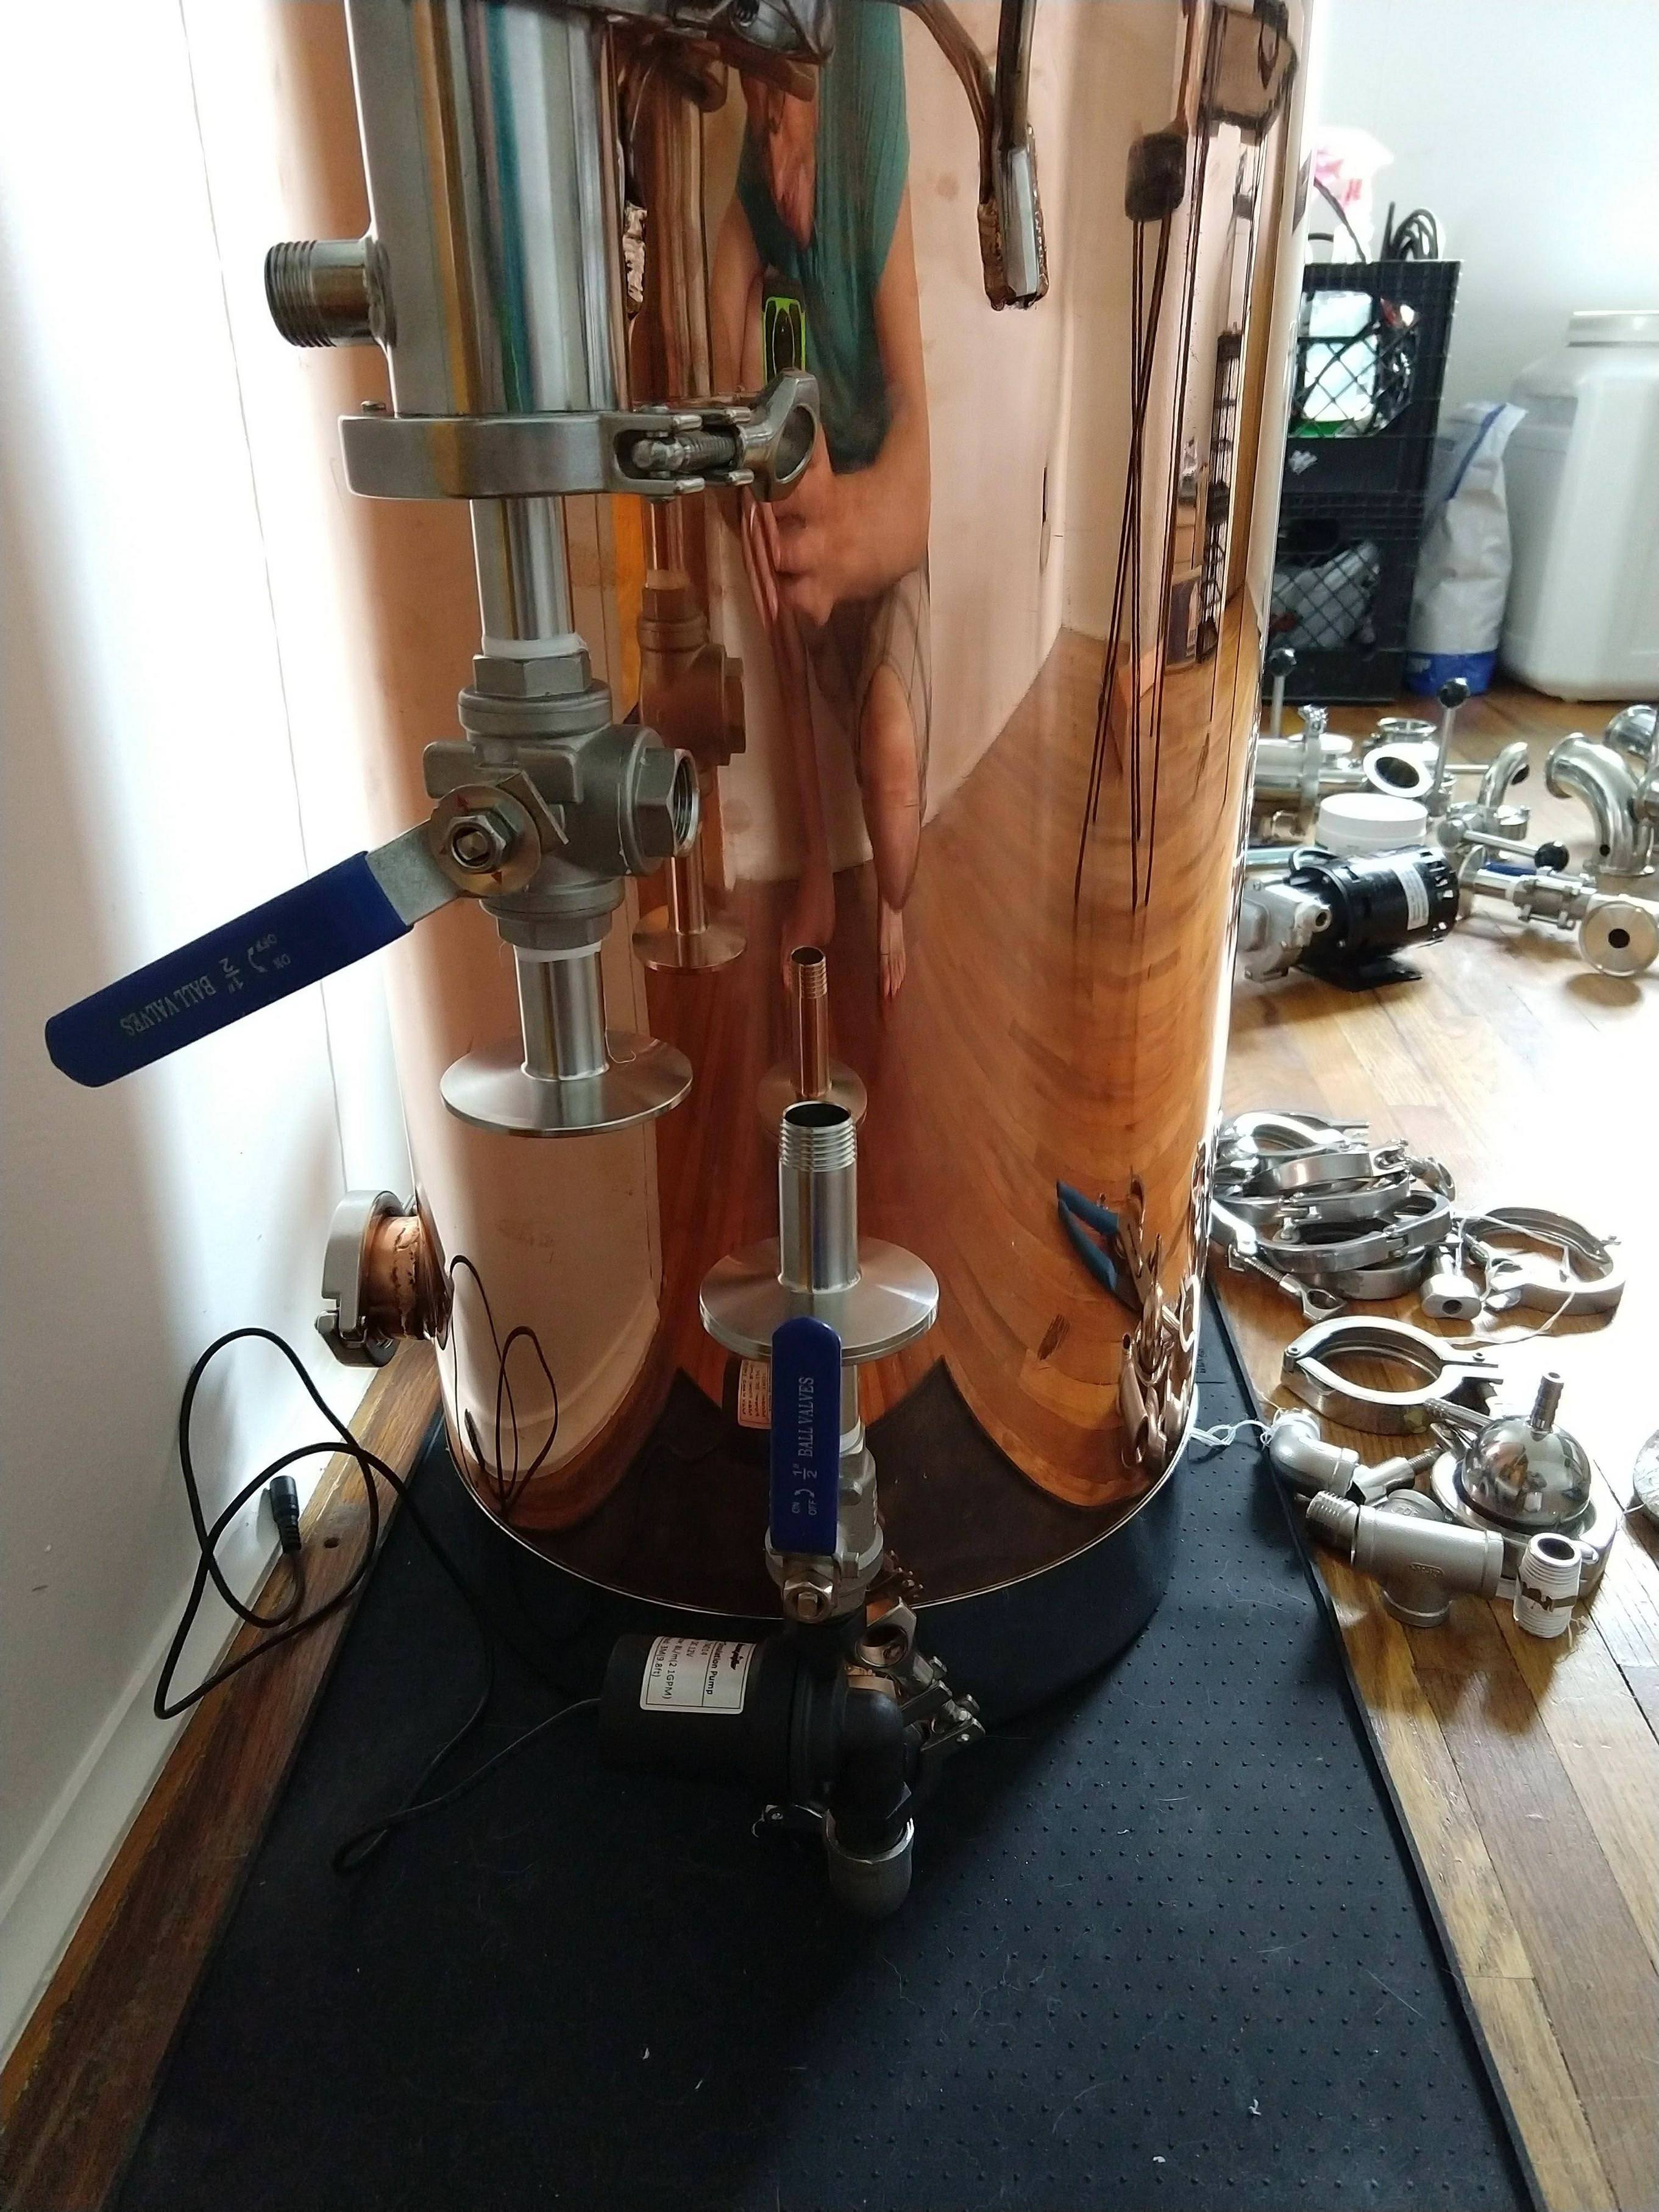
forgive my ignorance, but what are these blue and red tagged wires?
also what OS are you running and what system are you using in the control box? or are you running all this from your laptop and just showing the display on the control box display panel? I am very interested in seeing how you have this setup.
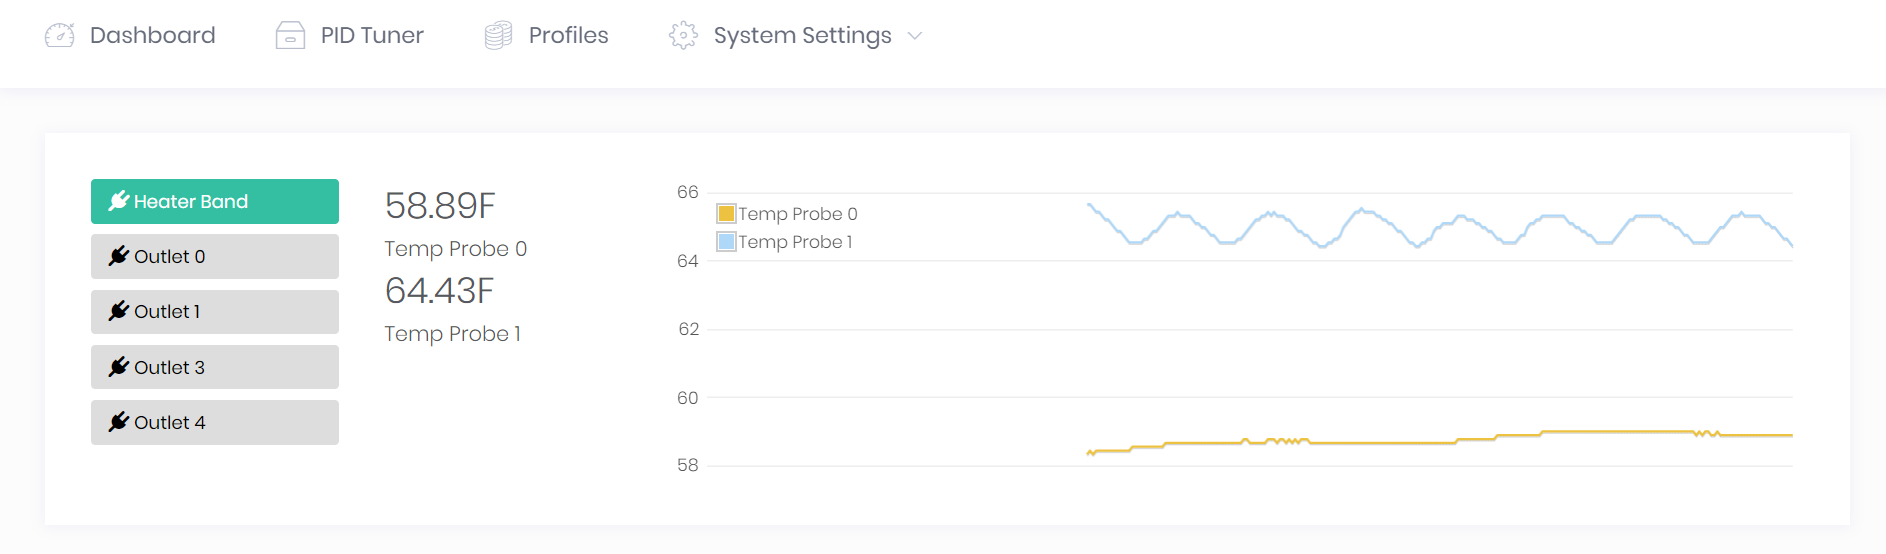
They are my temp probes, I colored them so I could label them in the software "Red Probe" "Blue Probe" to make it easy since they are just going into thermowells and designed to be moved around.
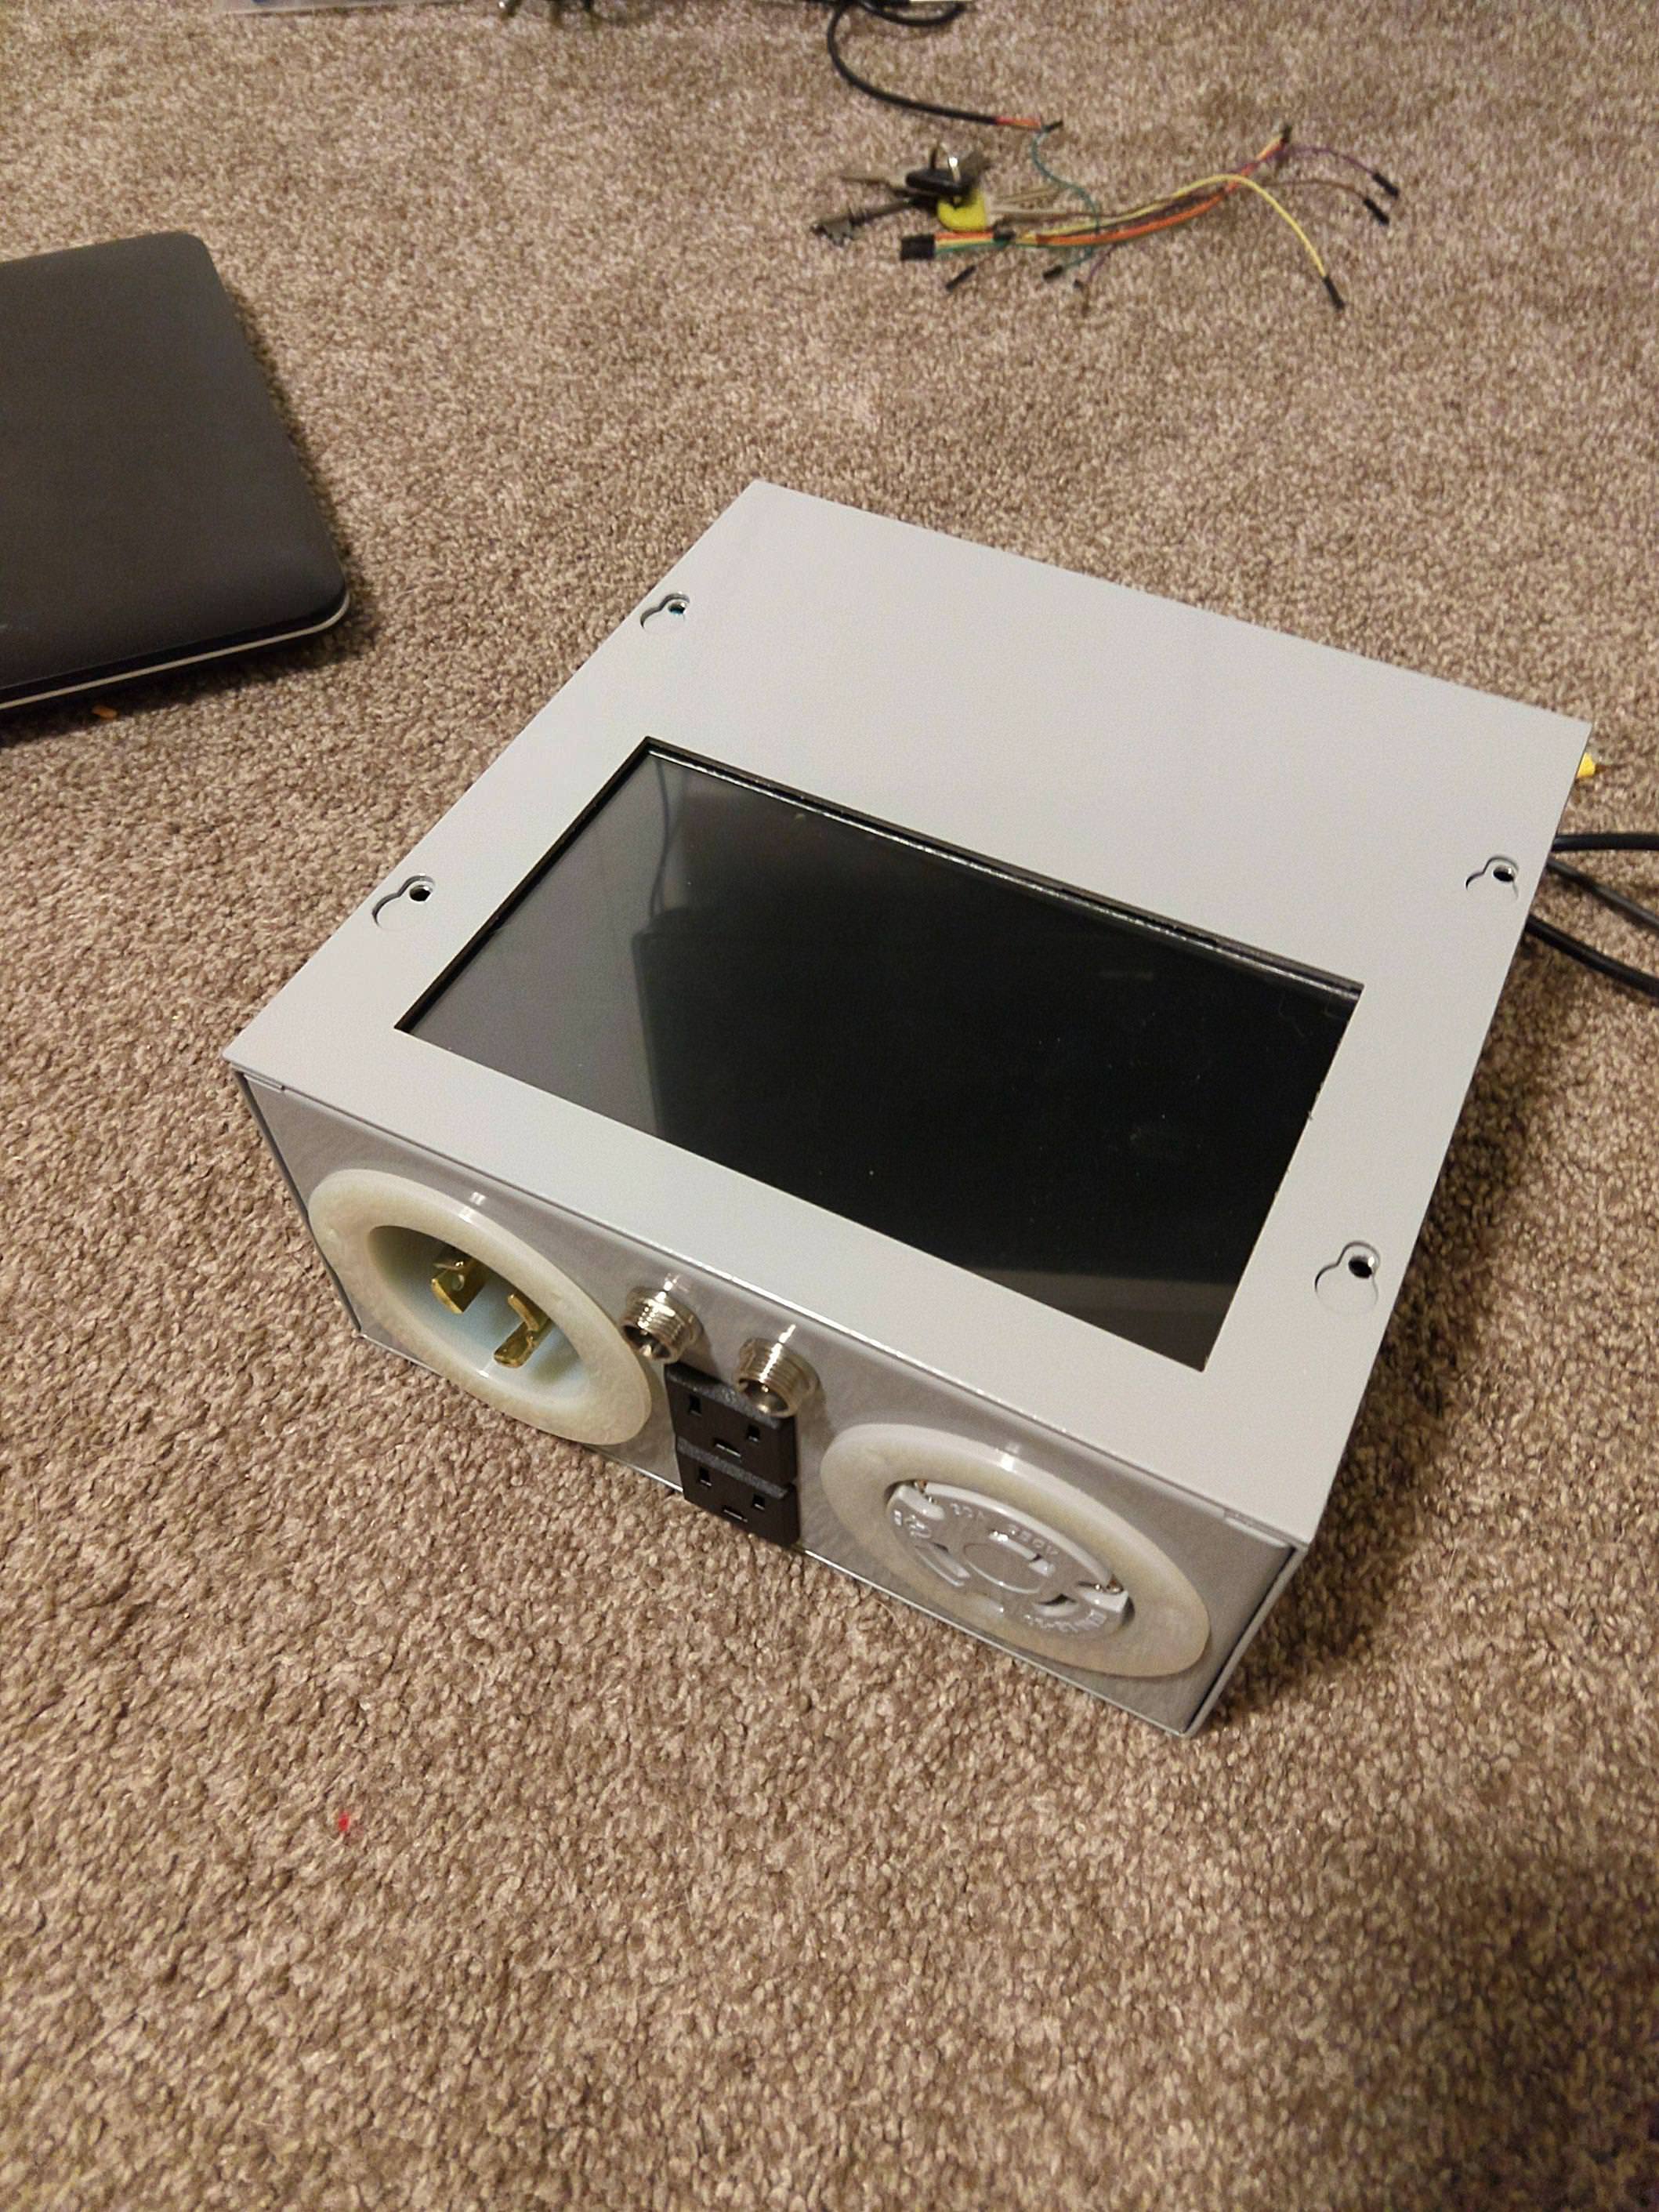
As for software... Im building this whole system using a raspberry pi, you can see it in the photo there with the red prototyping hat on top of it. The pi is running raspbian for an OS, pretty much the standard these days for most. The software for the panel I'm coding completely from scratch, I call it Brewberry Pi because its awesome

The plan that seems to be working so far is the Pi will host my software on a website it is hosting, the monitor simply is just running Chrome and points to that website, I can also hit the website from my phone, tablet, laptop w/e to allow for remote monitoring and control.
I got my monitor all hooked up yesterday and had the slight oversight of not having a keyboard to log into the website so I will need to figure out a way to get on screen keyboard up and running but shouldn't be too hard... I have no idea what i'm doing honestly this is my first RPI project.
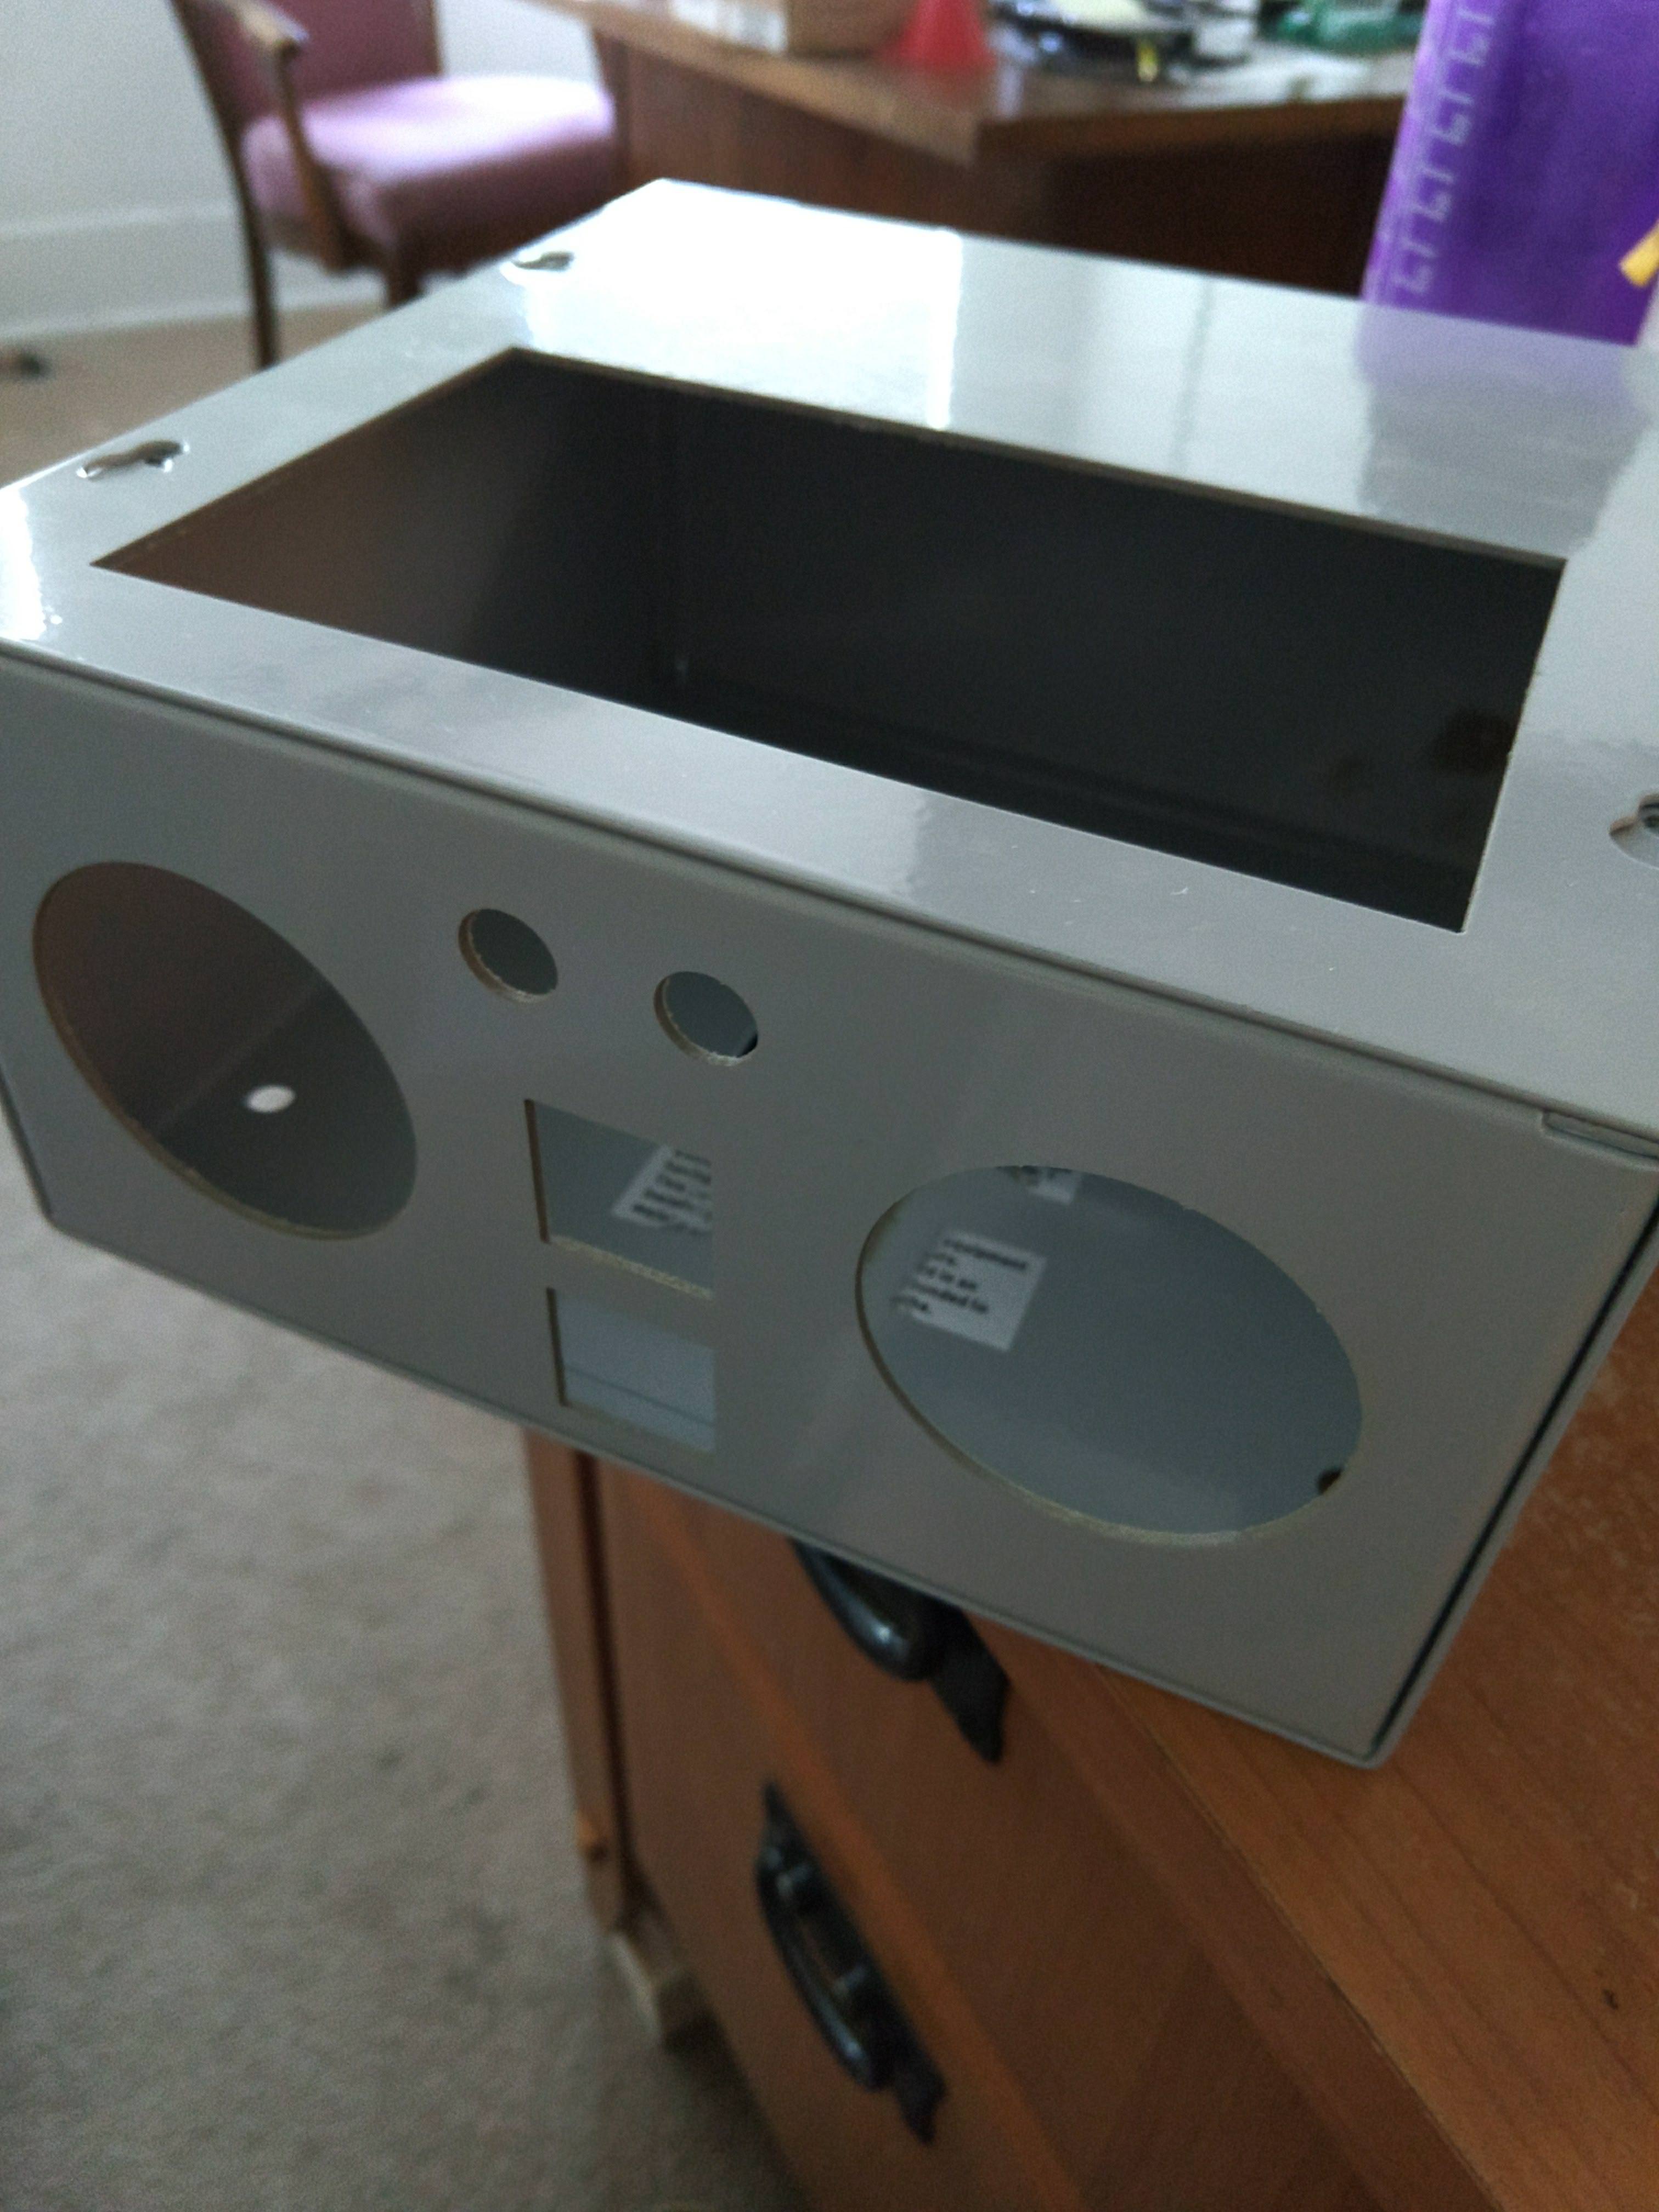
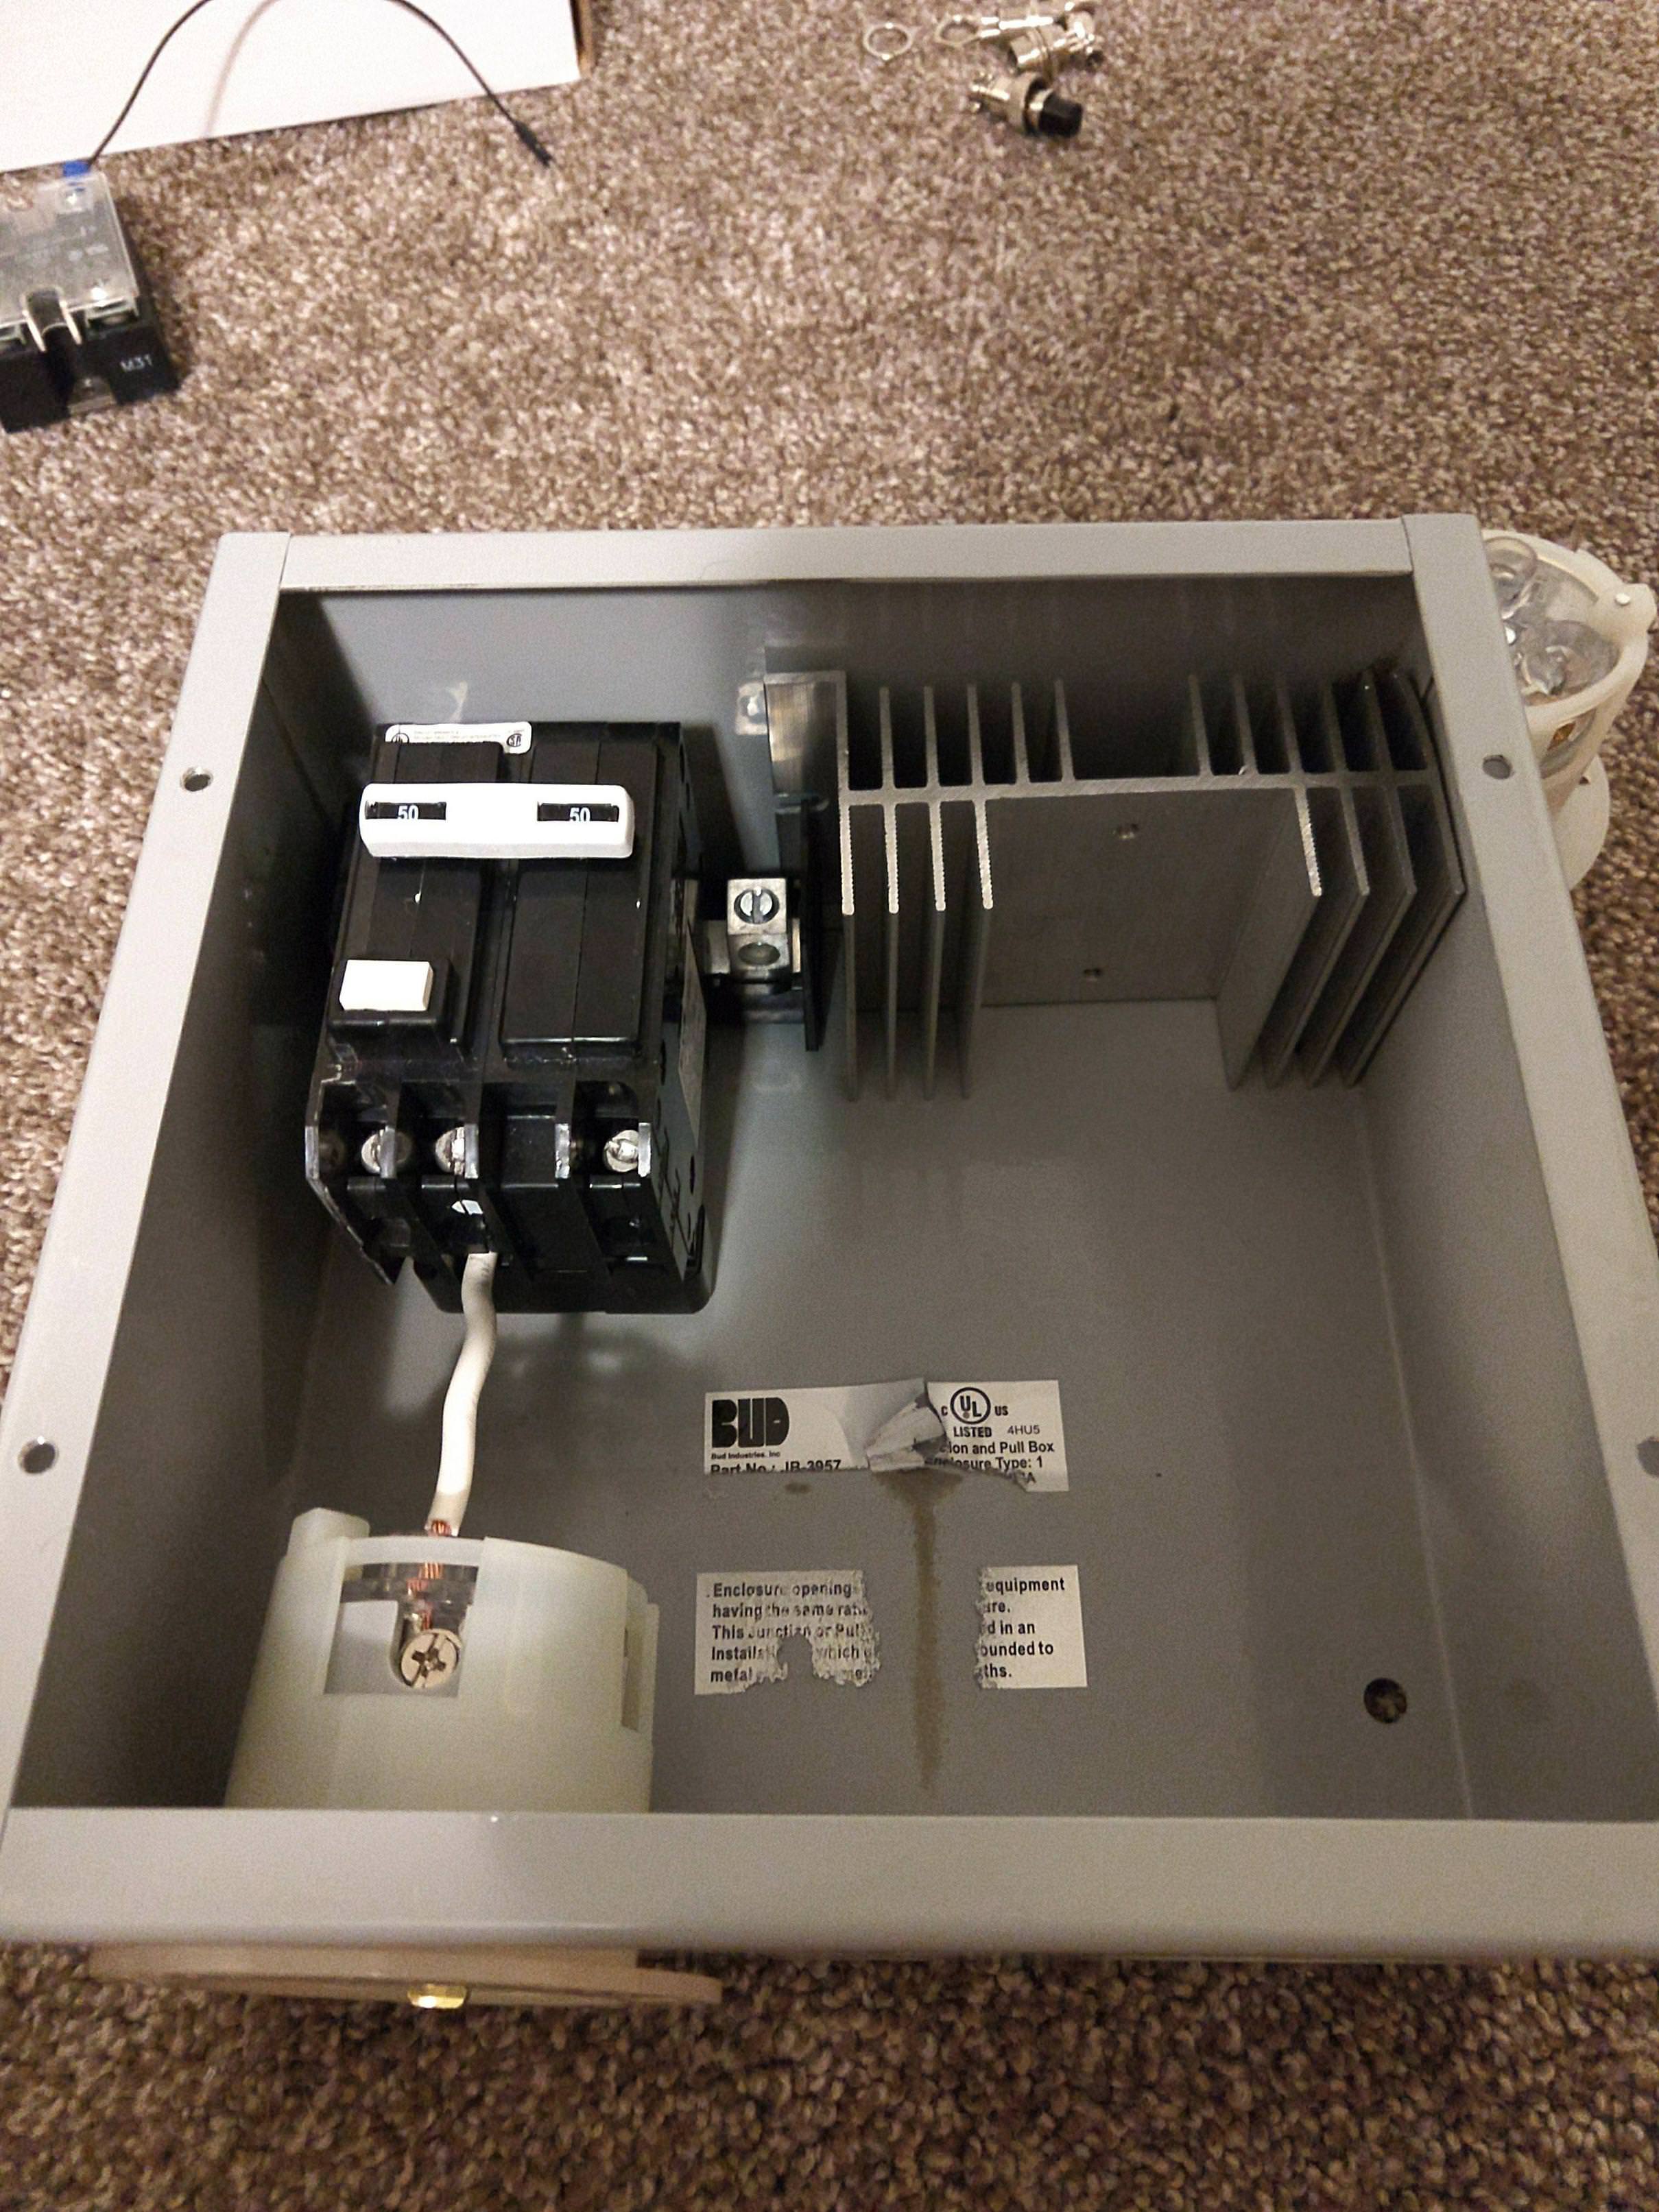
In other news, My relay is low level not high level so thats why its not working.... new one is on the way from amazon this time, and you are in the presence of a prime member so hopefully this weekend. (the wires dont normally look all mangled and ****** like this btw, this was after an intensive debugging session)
Ferm chamber updates though! Got my quarter keg, 'ultimate' racking cane system thing from nor cal, its pretty bad ass. And for heating im rolling with a low wattage waterproof seeding mat that is just going to be taped to the side of the chamber. Ran a test last night and the remote probe I had was reading 99.9F (cant go higher) so it definitely has the juice to heat up the chamber! Basically waiting on my angled USB for the monitor and now my second attempt at a realy before testing can begin! Oh and i got my spunding valve from china, pretty awesome for $20


![Craft A Brew - Safale BE-256 Yeast - Fermentis - Belgian Ale Dry Yeast - For Belgian & Strong Ales - Ingredients for Home Brewing - Beer Making Supplies - [3 Pack]](https://m.media-amazon.com/images/I/51bcKEwQmWL._SL500_.jpg)