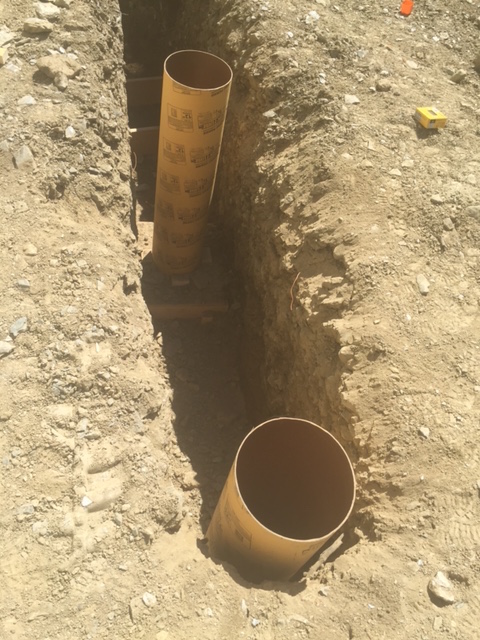
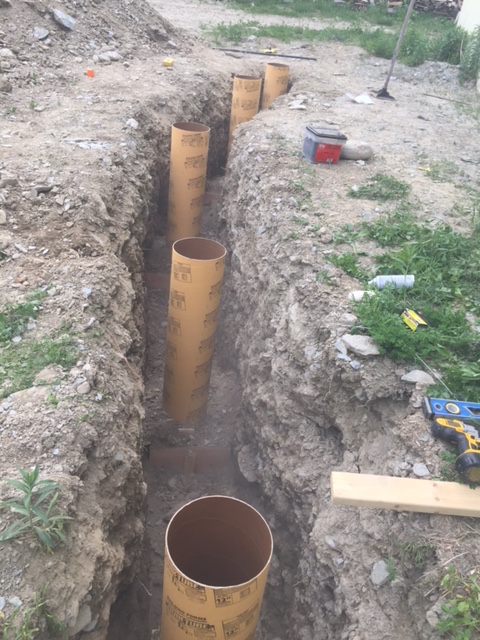
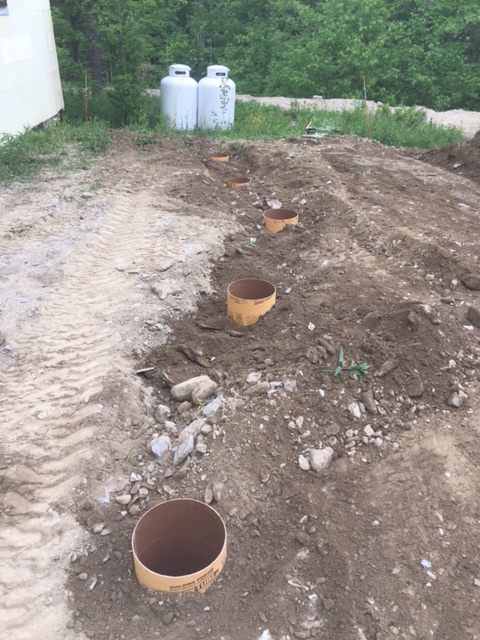
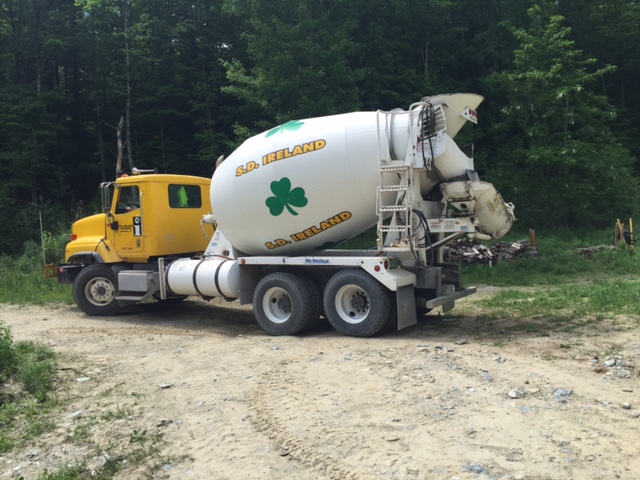
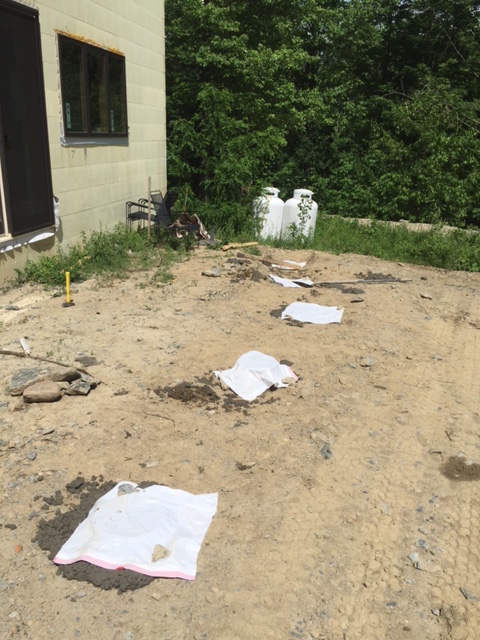
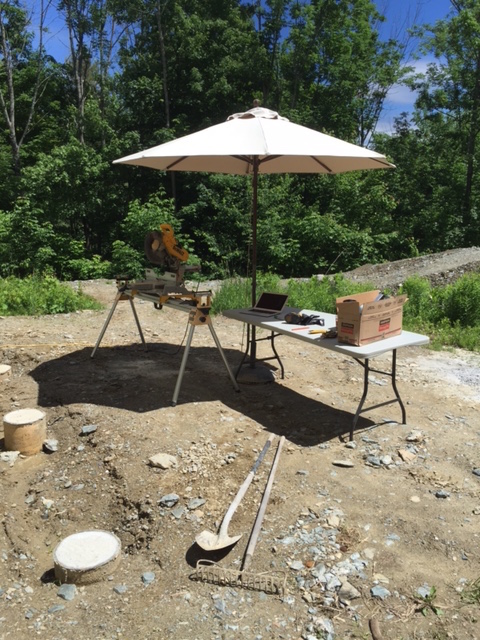
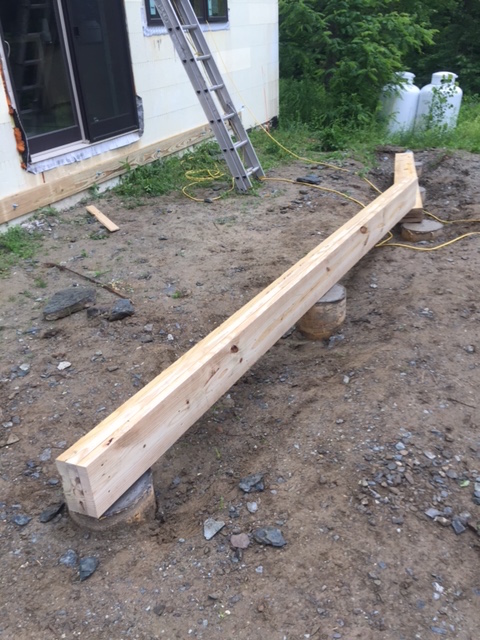
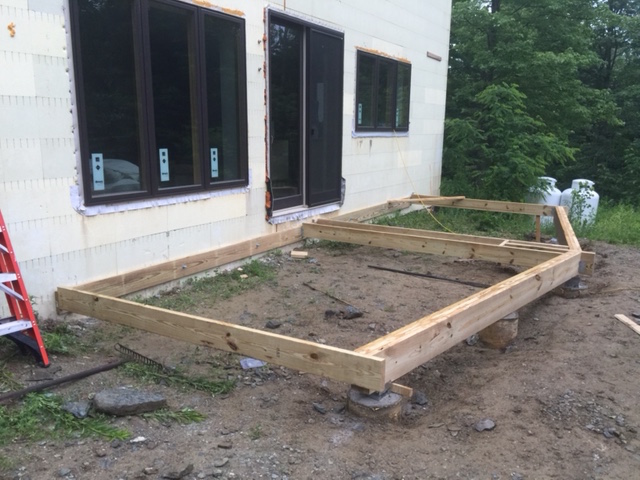
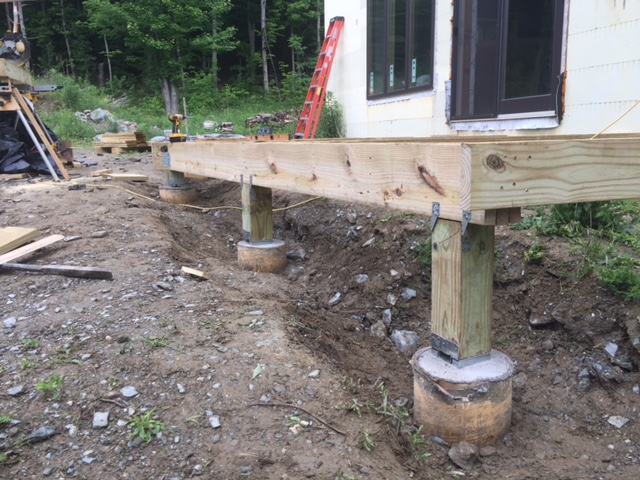
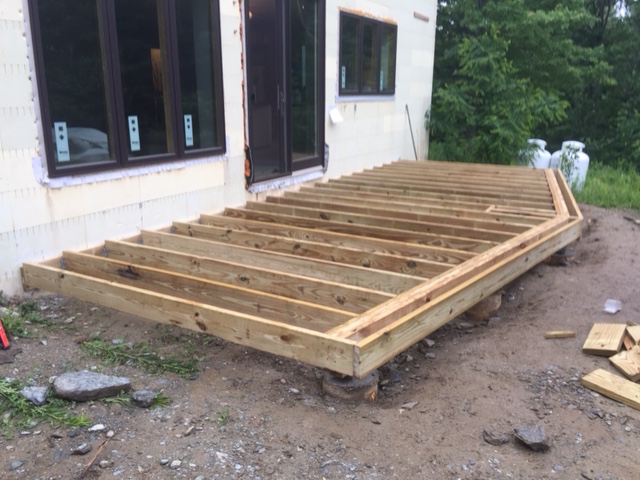
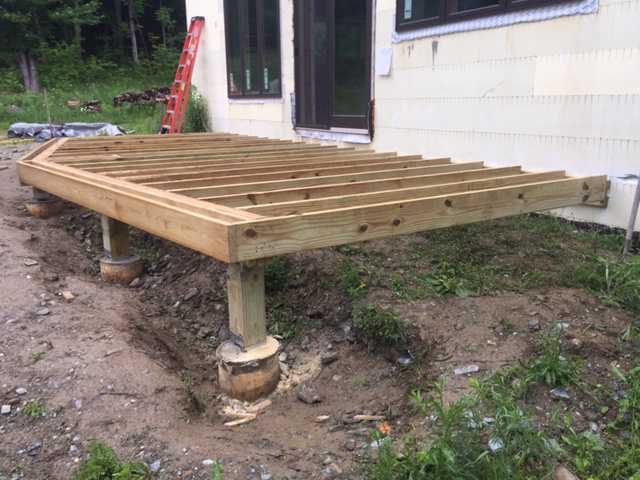
Still alive - just tackling a HUGE DIY

Homebrew Talk - Beer, Wine, Mead, & Cider Brewing Discussion Forum

Help Support Homebrew Talk - Beer, Wine, Mead, & Cider Brewing Discussion Forum:

This site may earn a commission from merchant affiliate links, including eBay, Amazon, and others.
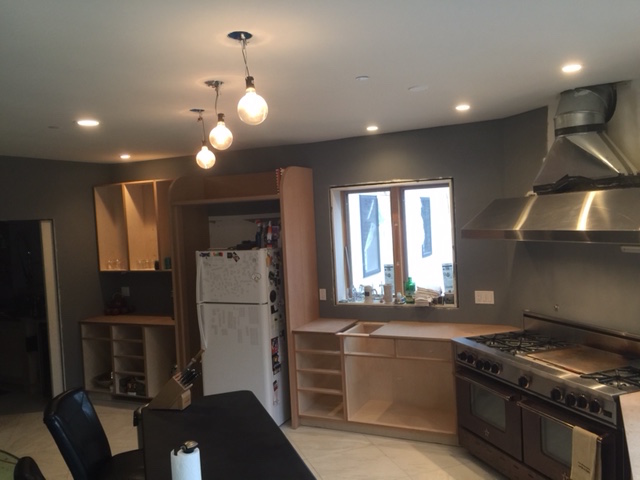
Question..Is there a cook top going in this? Just wondering if you gave yourself enough rear lip to get backslash in and still set in the stove top. Nice work regardless.

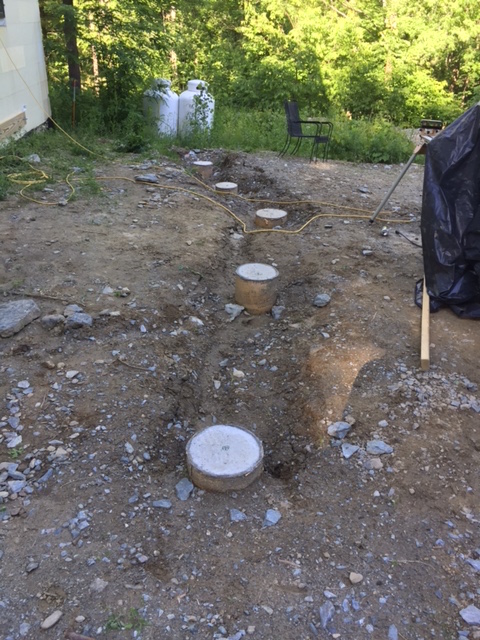
No, there is range on the outside wall. The island will go where the black table is in this photo:
The full lineup on that wall
FullWall.JPG
 
I've been using a Kreg jig - thing works like a champ. The only caveat is that you really have to make sure to clamp the two pieces being joined firmly, or the joint will shift slightly when you screw them together.
 
I've been using a Kreg jig - thing works like a champ. The only caveat is that you really have to make sure to clamp the two pieces being joined firmly, or the joint will shift slightly when you screw them together.

Just bought one of these for making some custom cabinets for out bathroom remodel. I was thinking, "I wonder if Jester built his cabinets with this thing!"

AND...

Yes, the joints will shift on you. My trial run had a couple of small problems. one being the table saw needs to be set up properly, and also that the screw will pull the other board upward when you screw the two together.

That said, once the saw is aligned and I get one or two jigs made for accurate cuts, and once I plan for the shifting of the boards, the Kreg Jig is really amazing! It's simple and really fast to create those pocket hole joints.

Yeah, I spent an hour or two doing a full tuneup on my tablesaw before starting the cabinets, and it was time well spent. I went from acceptable, but not perfect cuts, to mirror smooth cuts. Getting the fence aligned properly was like magic to the quality.

As for planning for the shifting, you may be better off eliminating the shifting altogether. Get yourself a couple of the kreg 90 degree clamps: http://www.amazon.com/Kreg-KHC-RAC-Right-Angle-Clamp/dp/B001DCE79O You can cinch it down so there is zero shift. A little trick I found was at the ends to drill two pockets close together (holes A and B or B and C on the jig) and to use one hole for the clamp while putting the screw in the other. By the end I was getting to where I could set the boards close enough that I couldn't even feel the transition with my fingertip - felt like one piece of wood.
 
Last edited by a moderator:
Did you follow any special instructions for tuning your saw? Did it recently and am always interested in seeing what others do to make sure I'm not missing something or doing it the hard way.
 
While my grain was milling last night I measured the blade to slot distance and it was off by a fair amount front to back. Looks like I should just do a full clean up and retune on it. Also want to make a nice Crosscut sled and a Fence jig.

My saw is some fairly old contractor saw (or hybrid). I can't find any identification for it. Maybe when I get to cleaning it up something will show.

I think the blade not being parallel with the slots is what caused my test box to be crooked. The saw cuts well, but in addition to the crooked crosscuts, I have to jimmy the fence on one end to get it aligned with the blade.

I think on this saw I can loosen the motor mounts and tweak the position a bit.
 
I've been using a Kreg jig - thing works like a champ. The only caveat is that you really have to make sure to clamp the two pieces being joined firmly, or the joint will shift slightly when you screw them together.

Kreg jigs are awesome. I never thought a plastic piece of crap could be so useful... Just came across this thread so will have to go back and check out your build. Good luck on getting this most awesome DIY project complete!
 
While my grain was milling last night I measured the blade to slot distance and it was off by a fair amount front to back. Looks like I should just do a full clean up and retune on it. Also want to make a nice Crosscut sled and a Fence jig.

My saw is some fairly old contractor saw (or hybrid). I can't find any identification for it. Maybe when I get to cleaning it up something will show.

I think the blade not being parallel with the slots is what caused my test box to be crooked. The saw cuts well, but in addition to the crooked crosscuts, I have to jimmy the fence on one end to get it aligned with the blade.

I think on this saw I can loosen the motor mounts and tweak the position a bit.

Usually you loosen 3 of 4 trunion mount bolts to tweak blade/miter square and distance. On some, (usually cabinet style saws) you actually have to loosen the table top itself.
 
I need to find some Baltic Birch to make some jig out of. The plywood I am looking at in the big box stores look like garbage.

I could go MDF, but I like the BB ply better.
 
I need to find some Baltic Birch to make some jig out of. The plywood I am looking at in the big box stores look like garbage.

I could go MDF, but I like the BB ply better.


Rockler sells BB in various sizes and thicknesses...mine were nice pieces, arrived safely by UPS
 
I need to find some Baltic Birch to make some jig out of. The plywood I am looking at in the big box stores look like garbage.

I could go MDF, but I like the BB ply better.

Call up a few local cabinet shops and ask where they get their plywood. They might put on a good plywood/lumber source.

That's how I found the one I use. It's about an hour one way but well worth it. I can get various species of furniture grade hardwoods for less than i can buy crappy old pine at HD. I usually go by there once or twice a year to stock up and keep lumber on hand when the spirit moves me.

Last year, I bought sheets of 3/4" Baltic Birch ply for $24 sheet.

Also got the curly cherry I used to make my coffin top from there...

20150413_151424.jpg
 
Woodcraft in Grand Rapids sells BB. It's just over an hour away.

I almost hate to go down there, though. The temptation to buy a bunch of stuff will be too great.
 
Woodcraft in Grand Rapids sells BB. It's just over an hour away.

I almost hate to go down there, though. The temptation to buy a bunch of stuff will be too great.

All I have ever seen at Woodcraft are 4'x4' sheets. IIRC, they will get 4'x8' on special order but $$$$.

Better to find a local lumber wholesaler that does sell to the public and order through them. Woodcraft is awesome! But overpriced.
 
Now that Easter has past and another weekend is here, maybe @Jester369 with have another update soon?? Looking forward to seeing that island and those kitchen cabinets come together!
 
Now that Easter has past and another weekend is here, maybe @Jester369 with have another update soon?? Looking forward to seeing that island and those kitchen cabinets come together!

The house has been on hold for the last few weeks - I am active with the local theater community, and I have been building special effects set pieces for a show and it's been eating up all my spare time. Hopefully I'll be getting rolling again soon! I did get the island installed, although it still needs all the veneer work applied - I'll see about getting a couple of photos. Also, now that the weather is warming up, I'm probably going to be trying to get to some of the outside projects - screen porch, front door, soffits and trim and whatnot. :mug:
 
A few new pics...

Rented this for a day
Excavator.JPG


To dig this (about 25' long, 5' deep)
Trench.JPG


Here are a few of the five footing forms that will go in there
Footings.JPG


Concrete tubes will go on top of the footings, and are supports for the screened porch.
 
I like working wood, but Now your talking my language :)

We had to make a slight repair on one of ours the other day.

I know you had fun...com'on admit it!

490-1.jpg
 
The house has been on hold for the last few weeks - I am active with the local theater community, and I have been building special effects set pieces for a show and it's been eating up all my spare time. Hopefully I'll be getting rolling again soon! I did get the island installed, although it still needs all the veneer work applied - I'll see about getting a couple of photos. Also, now that the weather is warming up, I'm probably going to be trying to get to some of the outside projects - screen porch, front door, soffits and trim and whatnot. :mug:

Will you finish the house already! :)

Looking good my man! Looking good!

Cheers
Jay
 
Now, remember where I said to note the two pieces of plywood covering the stairway hole to the basement? Well, when you go to move one, and your foot slips and you step out into empty air, things like this happen:

Oops.JPG


I ended up not falling the 10' to the concrete, but I did manage to mess up my neck and shoulder pretty well, as well as scare the sh*t out of myself.

Dang!


My wife designed a house with the "Lego" style - full exterior walls for a guy who worked at a supply house where he could get a discount. He had trouble getting a bank loan because they didn't know how to value it Vs a standard construction home. That confounded me. When you get done its almost a bomb shelter. He was doing exterior brick and precast plank floors too.

Barring the fall, the rest of this looks like fun.
 
Footings and tubes

FootTube.JPG


All five set

FiveFoot.JPG


Backfilled

TubeBackfill.JPG


Delivery

ConcreteTruck.JPG


Bagged up

Bagged.JPG


I didn't grab a shot the next day when I cleaned up all the stuff around the piers, but you get the idea.
 
A nice sunny Friday to start the screened porch project

SunnyDay.JPG


Piers, ready for something to support

Piers.JPG


Didn't have a lot of time available that day, so I only got as far as mounting the ledger to the house. Had to drill 7 anchors into the concrete - always a fun proposition.

Ledger.JPG
 
Saturday and Sunday weren't quite so nice weather wise, but it had to get done. What's a little rain, anyway?

Built the beams first

Beam.JPG


Framed the perimeter, with temp supports

Perim.JPG


Brought everything to, well, not level - it's slightly pitched away from the house - but flat and to the level I was looking for, and added the support posts

Legs.JPG


At the end of the day yesterday, I had the framing pretty much buttoned up

Done1.JPG

Done2.JPG


RainyDay.JPG


Next up, decking it
 
I'm in the process of building a deck, and have only gotten the post holes dug (big problem, rocky soil with bedrock between 16 and 36 inches below grade, and a code depth of 48 inches for footings). i'm glad to see that once the posts are finished that it goes together pretty quick.
 
I'm in the process of building a deck, and have only gotten the post holes dug (big problem, rocky soil with bedrock between 16 and 36 inches below grade, and a code depth of 48 inches for footings). i'm glad to see that once the posts are finished that it goes together pretty quick.

Is code really a hard 48? Not "48 or bedrock, whichever you hit first"? The whole point of 48 is frost depth, and frost obviously can't get under bedrock. And yes, MUCH faster once the piers are in :D
 
Is code really a hard 48? Not "48 or bedrock, whichever you hit first"? The whole point of 48 is frost depth, and frost obviously can't get under bedrock. And yes, MUCH faster once the piers are in :D
Actually, most jurisdictions it would be hard number without a "stamped, engineered solution" or at least a written variance...particularly for piers instead of a continuous foundation. This is based on my experiences in the Midwest. That variance can be as simple as showing the inspector the fact that every hole hit solid rock and having him jot it on the signed inspection report.

Piers are a pain for anything connected to a house but there are often wonderful exceptions for "free standing" decks.
 
2009 International Residential Code

R403.1.4 - All exterior footings shall be placed at least 12 inches below the undisturbed ground surface. Where applicable, the depth of footings shall also conform to section R403.1.4.1.

R403.1.4.1 - Except where otherwise protected from frost, foundation walls, piers, and other permanent supports of buildings and structures shall be protected from frost by one or more of the following methods;

1. Extend below the tabular frost line R301.2(1).
2. Constructed in accordance with R403.3
3. Constructed in accordance with ASCE 32
4. Erected on solid rock

Exceptions:

3. Decks not supported by a dwelling need not be provided with footings that extend below the frost line.


So, prove that you are on solid rock (Geotech Eval) or, get rid of the ledger attachment and "float" the deck.
 
Back
Top