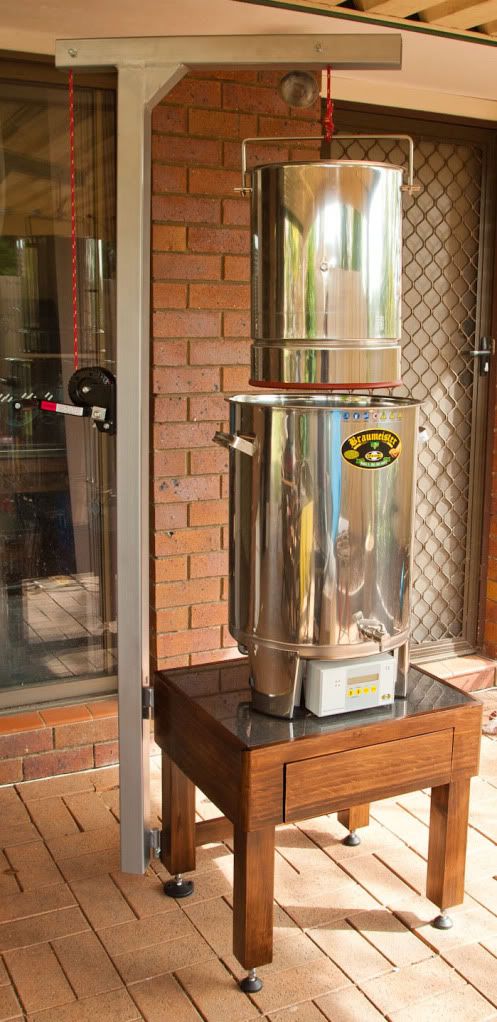
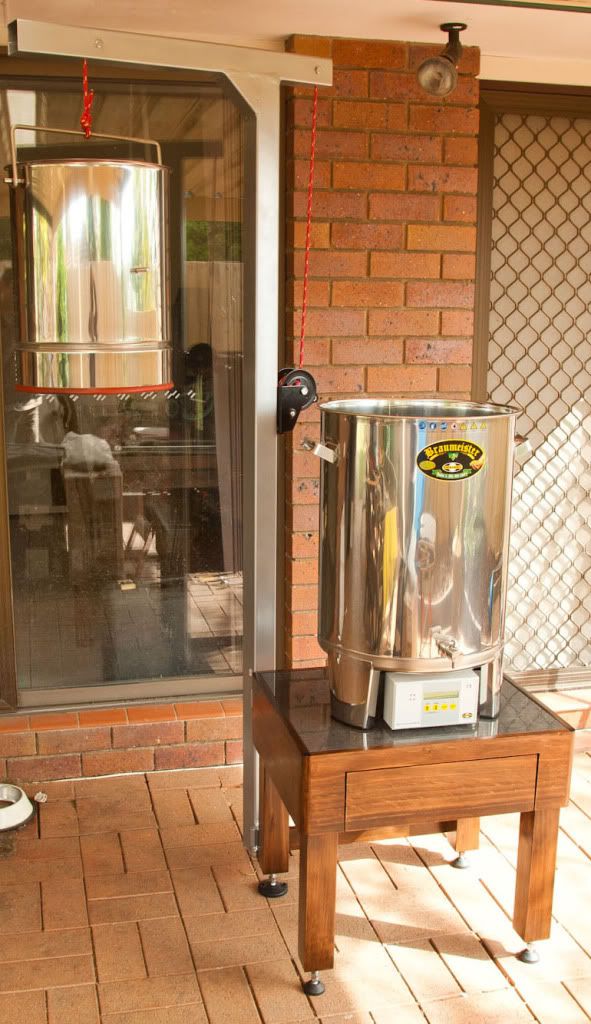
I had a half inch or so before the top would have plate hit the hold-down bar. I didn't have to pack or otherwise compact the grain. I did keep a close eye on it during the mash and could tell the pump was working harder than normal through a good bit of the process.
This was my seventh batch with the SBM. I've been tweaking my process and have settled in on the following which seems to work well for me.
- Add filtered water to the top post marking (25.6L on my 20L SBM)
- Mash per recipe
- Lift malt pipe and pour in xL of 76C water (using a 1kg to 1L absorption rate - i.e. 6.5kg grain, add 6.5L water)
- Boil for 90 minutes adding hops per recipe
I use a diptube that leaves around 2.5L in the kettle and after cooling shrinkage I get right at 20L of wort in the fermenter.
-Chris


![Craft A Brew - Safale BE-256 Yeast - Fermentis - Belgian Ale Dry Yeast - For Belgian & Strong Ales - Ingredients for Home Brewing - Beer Making Supplies - [3 Pack]](https://m.media-amazon.com/images/I/51bcKEwQmWL._SL500_.jpg)


")
