• Please visit and share your knowledge at our sister communities:
  • If you have not, please join our official Homebrewing Facebook Group!

    Homebrewing Facebook Group

Soldering Stainless steel

Homebrew Talk

Help Support Homebrew Talk:

This site may earn a commission from merchant affiliate links, including eBay, Amazon, and others.
Very nice job nostalgia. Do you think you'll need more btus on your torch with the stainless coupler?
I don't know. The solder has a fairly low melting point, so I may not. I'll probably use my MAPP torch anyway, since it's got a remote handle and is easier to jockey around.

-Joe
 
Ok one more test solder. This one came out pretty darn nice, if I do say so myself ;) Things I learned: set the coupler a little lower than the surrounding area so you can blend the solder in properly - note I'm doing a bottom drain here, not a full coupler, so being flush or a bit below is where I want it.

Also make sure the entire area is very clean, and you've got flux everywhere you want solder to stick. You'll notice I didn't go up high enough in the top right sections to get a nice blend. Structurally it probably doesn't matter, though, since there's plenty of fluxed surface below it.

dimple_test2_inside.jpg


dimple_test2_outside.jpg


I'm leak testing now, but I don't expect any issues.

-Joe
 
That looks really good! I can't wait to see how your stainless pieces turn out.

On the other hand, now I have to upgrade my whole system... :)

Any idea how to do this with a tri clamp weld ferrule? You wouldn't be able to push it through like a coupler.
 
What solder and flux did you use? Looks very professional! Thanks for documenting your procedure so well. I might just have to emulate it.
 
That's a great idea; wrapping the solder around beforehand. I wish I would have thought of that! Strong work! :mug:
 
This may have already been asked but, do you always pull the keg tool/coupling from inside the keg to the outside or can you reverse it and pull the tool/coupling from outside the keg in? Does it matter which way? Seems it would be easier to solder the outside of the keg.
 
This may have already been asked but, do you always pull the keg tool/coupling from inside the keg to the outside or can you reverse it and pull the tool/coupling from outside the keg in? Does it matter which way? Seems it would be easier to solder the outside of the keg.

You'd be pulling against the natural curve in the keg that way, not sure if it would work or not.
 
Yeah, I kinda noticed that too. No need to use silver solder (in which case you'd be brazing). I used lead free plumbing solder and it worked awesome. Strong as hell!
 
I was going to say, there's a difference between the stay-brite solder that as a little silver in it, and actual silver solder.
AFAIK, the solder with a "little" silver in it is actual silver solder - it's just "soft" silver solder. Once you get up past 5% Ag, it becomes "hard" silver soldering.

After about 40% silver, you're into brazing and over 840F temperatures.

McMaster-Carr doesn't even list any solders higher than 4% Ag. Their silver brazing alloys start at 35% Ag.

-Joe
 
You'd be pulling against the natural curve in the keg that way, not sure if it would work or not.
I'm going to give this a shot tomorrow, just for giggles. If you're doing a full coupler and don't care what side the dimple is on, it shouldn't matter which way you go.

Although since you want to heat the fitting and not the solder, it's actually easier pulling the fitting as I did in the pictures, since you'll be heating the outside of the kettle.

-Joe
 
I guess with the pull through coupler it might be strong enough, but with a ball valve and a camlock, I'm wondering how much force it would take to shear the joint with all that leverage.
 
I'm going to give this a shot tomorrow, just for giggles. If you're doing a full coupler and don't care what side the dimple is on, it shouldn't matter which way you go.

Although since you want to heat the fitting and not the solder, it's actually easier pulling the fitting as I did in the pictures, since you'll be heating the outside of the kettle.

-Joe

If you were going to solder in a tri-clover fitting things get a bit more complicated. You definately have to pull from the outside in. You did a great job on the soldering, BTW.
 
I guess with the pull through coupler it might be strong enough, but with a ball valve and a camlock, I'm wondering how much force it would take to shear the joint with all that leverage.
That was my initial concern, too. I beat the fitting with a hammer (leaving a terrific ringing in my ears :p) and it didn't budge. So that's a good start ;)

What sort of solder did you have in mind? I'm game to try something stronger, but not quite brazing strong.

-Joe
 
An interesting tidbit from the Harris website (emphasis mine):

Stay-Brite
Silver-bearing solders often used throughout the refrigeration/air conditioning industry instead of brazing alloys. Both Stay-Brite and Stay-Brite 8 produce an overall component with greater strength than a brazed component whose base metals are weakened by annealment from high brazing heat. Stay-Brite solders bond with all of the ferrous and nonferrous alloys. Joints soldered with Stay- Brite solders exhibit considerably higher than nescessay elongation for sound, dissimilar metal joints and vibration applications. Stay-Brite 8 is especially effective in filling loosely fitted couplings.
 
I have used the Stay Brite 8 on my system and it is incredibly strong. I do not worry about it at all, even with valves and everything else on the fittings.
 
See here I was thinking I'd have to go out and buy a MAPP torch or dig out the oxy acetylene rig, and the solder and propane torch that I already used on my RIMS tube, and mash tun manifold will work just fine. Now I've really run out of excuses.
 
Ok guys, my tri-clamp fitting arrived today from StPat's. My idea was to pull it through from the inside, pop it out, then pull it through from the outside after the dimple was already formed.

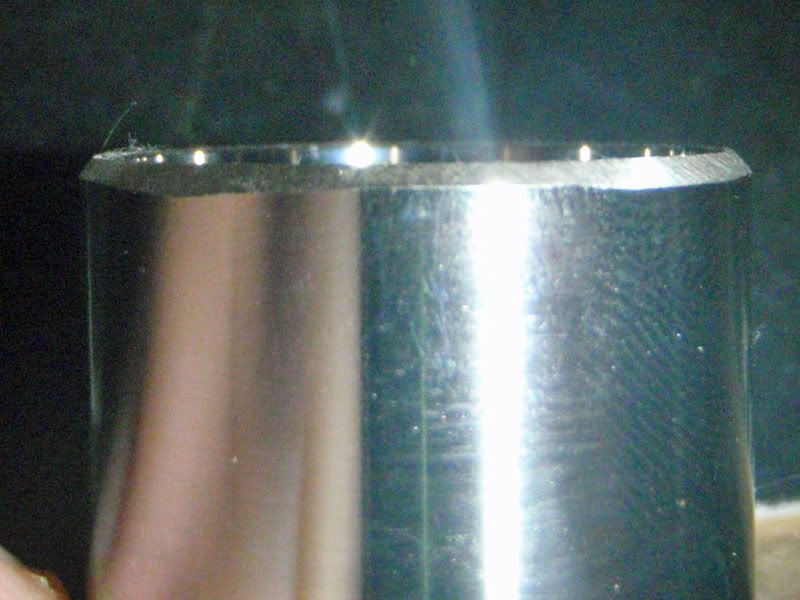
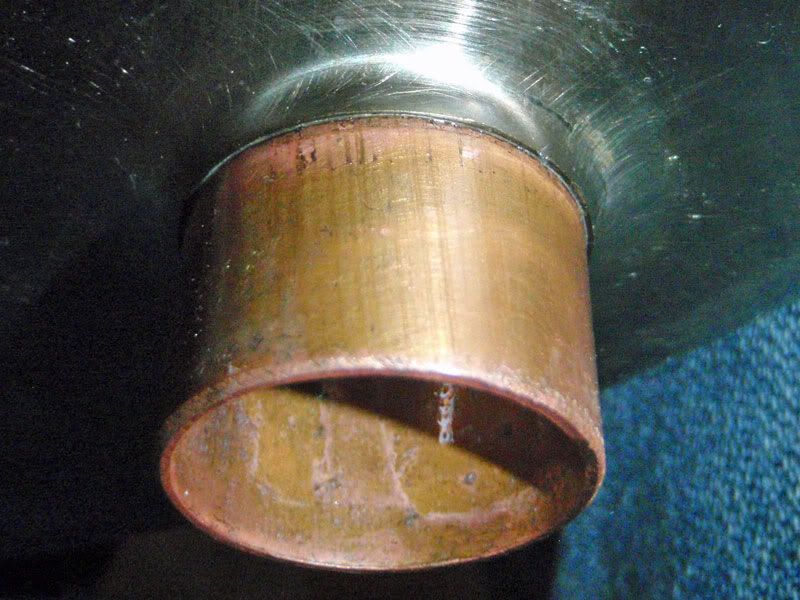
Step 1 was to ease the edges of the fitting. They're very sharp. A quick run on my 120 grit belt fixed that.

dimple_tri_eased.jpg


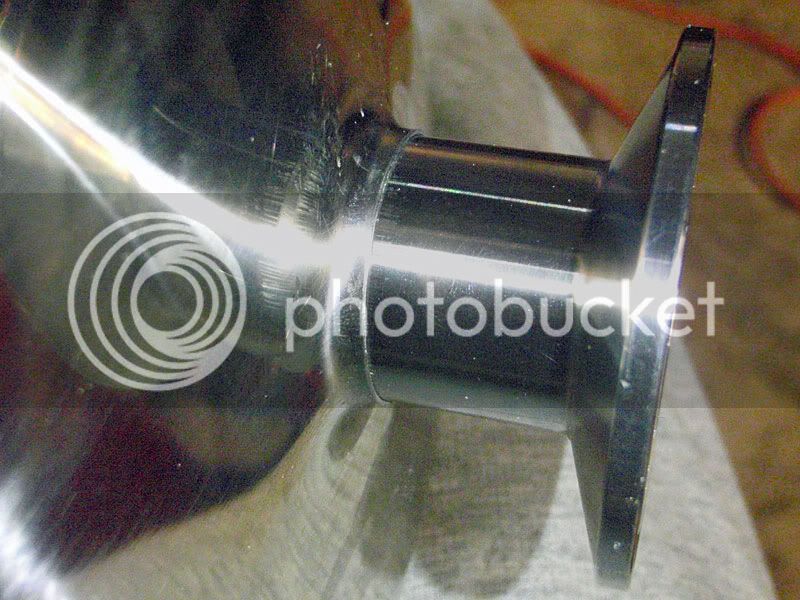
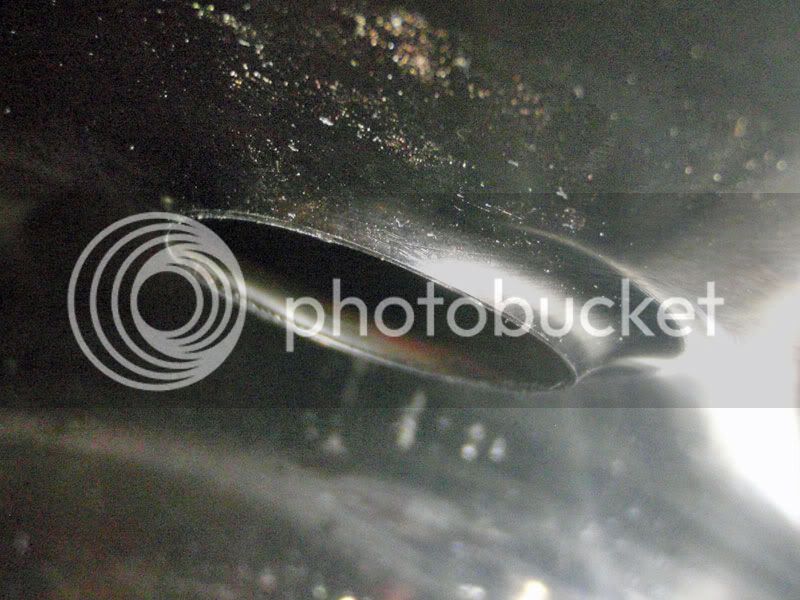
Step 2: pull the fitting through on the inside until it just exits the other side. Be careful here, as the 1" tri-clamp is smaller than the 1/2" NPT coupling. I started with a 3/4" hole instead of 7/8". You also have to stop before pulling the stainless reducing coupler all the way through. A little at a time.

dimple_tri_pullthru.jpg


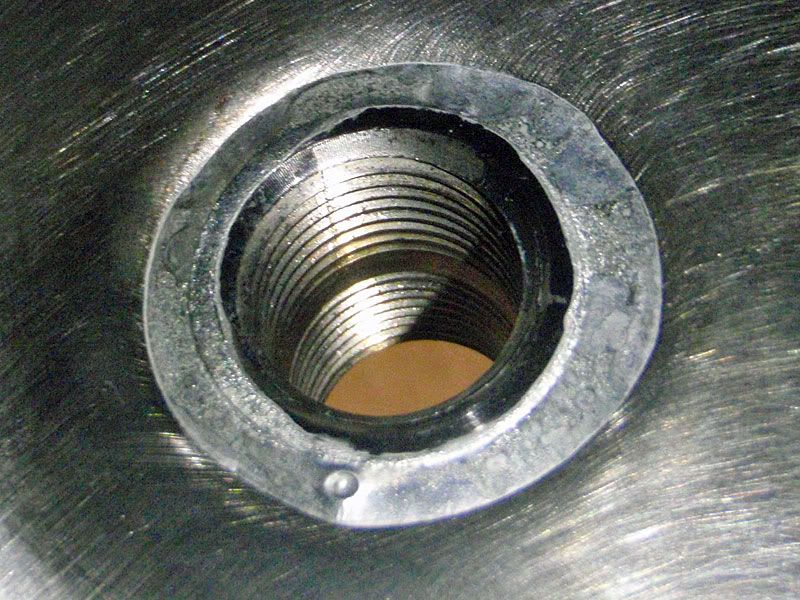
Step 3: remove the fitting. Hahahahahaha. When I said "tight fit" earlier, I was not kidding. I ended up putting a block of wood on the outside and beating it with a hammer to get it out - which, incidentally, worked a treat.

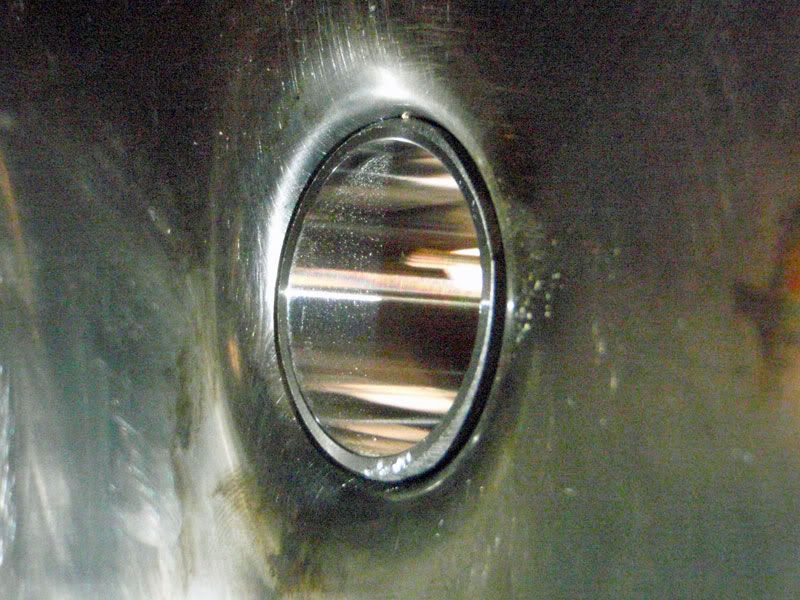
Step 4: push it back in from the outside. This is where easing the edges came in. It slid right in and was still tight enough that I had to whack it with the aforementioned block of wood to get it out.

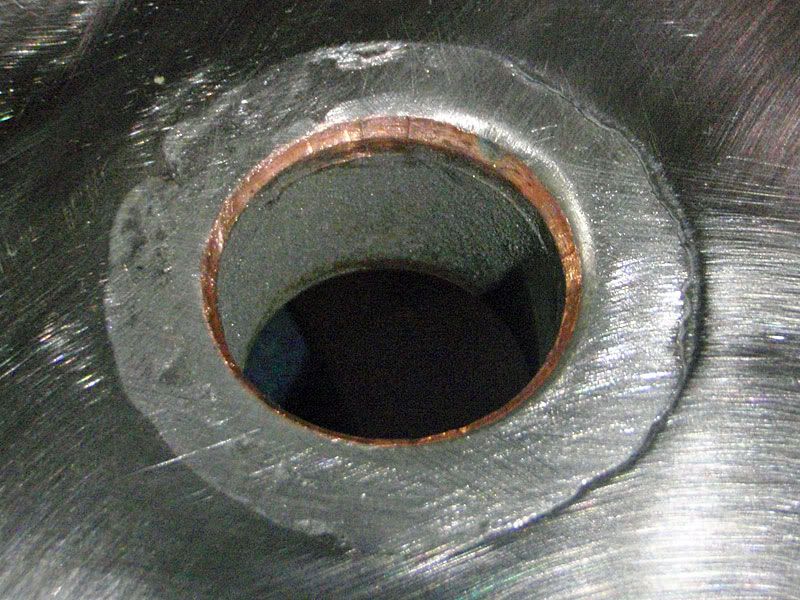
But does this look pro, or what? ;)

dimple_tri_outside.jpg


dimple_tri_inside.jpg


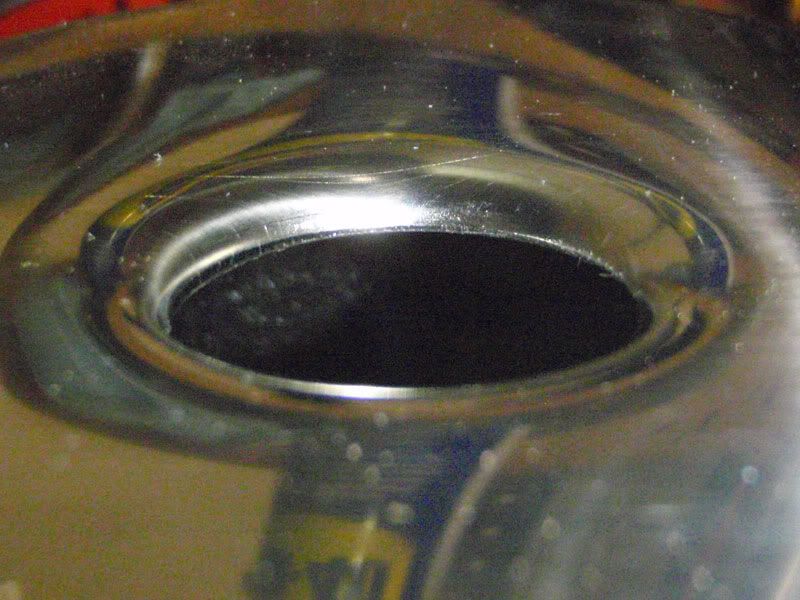
Also, for the person who asked, I tried making a dimple from the outside in. As expected, it was no problem at all.

dimple_outsidein.jpg


dimple_outsidein_inside.jpg


I was thinking of putting this stuff in a separate thread, since it's not all about soldering. Could a mod weigh in on that? I don't want to make a mess of the boards.

-Joe
 
Further interesting reading from Harris - the specs for Stay Brite and Stay Brite 8 solders.

Stay-Brite:
Silver 3.6 - 4.4%
Tin Remainder
Solidus 430°F (221°C)
Liquidus 430°F (221°C)
Tensile Strength 14,000 psi
Shear Strength 10,600 psi
Color Bright Silver

Stay-Brite 8:
Silver 5.5 – 6.0 %
Tin Remainder
Solidus 430°F (221°C)
Liquidus 535°F (279°C)
Tensile Strength (Cu to Cu) 14,000 psi
Shear Strength 10,600 psi
Color Bright Shinny Silver

So even though the 8 has more silver, the strength remains the same. It is, however, more "shinny" :)

-Joe
 
I have run mine in through the reverse way before. No issues. Its no fun doing the welding on the inside but that's not really an issue here no is it?;)

As I mentioned before, very nice work nostalgia. I'm glad your thinking and using this in so many ways. At least as many as I have.:) Keep up the good work. That's also some fancy solder work, far better then I can do.
 
Then we're even, because I looked at the welds in your original thread with more than a little envy ;) I'm lucky to run a straight bead with a MIG.

Thanks for the kind words,

-Joe

Ha,Ha. If you were closer to me I would ask for a lesson and a cold one.

Soldering or brazing is just not my gig. I wish I knew why.

Take care.:mug:
 
Hey all! Since I've actually started soldering up my system, I decided to continue posting in my main build thread instead of here. If you want to follow along, clicky clicky to get to the thread.

And since it's on topic, here's my first stainless-to-stainless solder. I used three rounds of 1/16" silver solder. I could not be more happy. I didn't even dress this joint, just wiped it down after it cooled.

whirlpool_inside-1.jpg


-Joe

Joe,

I wanted to thank you for posting all of this and adding to the thread. I started this thread but you've done a great service helping others with your posts.

Your documentation of the keg tool and part numbers are really helpful.

Wayne.
 
I wanted to thank you for posting all of this and adding to the thread. I started this thread but you've done a great service helping others with your posts.

Your documentation of the keg tool and part numbers are really helpful
Really, I should be thanking you. If I hadn't found this thread, I'd be paying $50 per weld for a local welder (weldor).

Posting my experiences is the least I can do, and I'm glad it's helpful :mug:

-Joe
 

Latest posts

Back
Top