• Please visit and share your knowledge at our sister communities:
  • If you have not, please join our official Homebrewing Facebook Group!

    Homebrewing Facebook Group

Single Vessel, All Electric, NS, NC Brewery

Homebrew Talk

Help Support Homebrew Talk:

This site may earn a commission from merchant affiliate links, including eBay, Amazon, and others.
This might be off topic, but why the switch to fermenting in cornies? I thought about doing it myself so I could pressure transfer into a secondary and then into the final keg, but couldn't really justify it. Are there other advantages?

I thought it would be a PITA until I tried it....it's super easy and clean. Once you get your system down, it's awesome. Honestly, it's about time for me to buy a new bucket or 2, and the cornies are just a bit more. They can be used for many other things, so it's a win-win. I split a 5.5 gal batch into 2 cornies....it worked great because I split the batch with a buddy. Otherwise, adjust your recipe for 4.75 gals and use fermcap.

Other advantages include being able to bleed the yeast into a separate container for an instant starter, and if you want you can make a "spunding valve" and carbonate the beer under controlled pressure in the late stages of fermentation. You can also scrub the cornies without worry of scratching, though I've been soaking in oxyclean lately.
 
Other advantages include being able to bleed the yeast into a separate container for an instant starter, and if you want you can make a "spunding valve" and carbonate the beer under controlled pressure in the late stages of fermentation. You can also scrub the cornies without worry of scratching, though I've been soaking in oxyclean lately.

So when you rack it, do you use co2 and run it until yeast quits coming out? Or siphon through the top?

I really like the idea of using cornies. Seems like it would have an advantage over both glass and plastic, not worrying about it breaking if dropped or getting scratches/bacteria. :rockin: And like you said, the cost is about the same, but then you have a much more useful piece of equipment. I think I have seen the light.

Nice job on the build too. I just read it over and you've given me yet another design to consider in planning mine. I'm liking yours quite a bit, seems both space & cost efficient versus a 3 vessel setup. Keep the pics coming!

:mug:

Here's a great thread to get you going: https://www.homebrewtalk.com/f13/primary-fermenting-corny-keg-138178/

And another: https://www.homebrewtalk.com/f13/closed-system-pressurized-fermentation-technique-44344/

That'll keep you busy :mug:
 
And you are selling these for how much ??? :)

Ha...if I could ever finish it....:D

The truth is, there's so many ways to go with this. I've REALLY been contemplating spending what little I have on a small setup...like a single vessel CB20...but the awesome industrial parts I have are just too burly for something like that. I guess I gotta keep pushing forward.....I plan on getting the plumbing done and moving on to electric.
 
:) you could probably push out maybe 2 or 3 of these systems a year if you keep this pace. So you likely only need to charge 20-25k each to turn this into a career. :D

But seriously, it looks really cool. You'll have to have an open house brew day so us locals can stop by and go "ooooh" and "ahhhh" while you brew.
 
Subscribing. Getting it into my head to make a smaller, cheaper version of this at some point, or at least implementing an SS basket instead of a bag for BIAB.
 
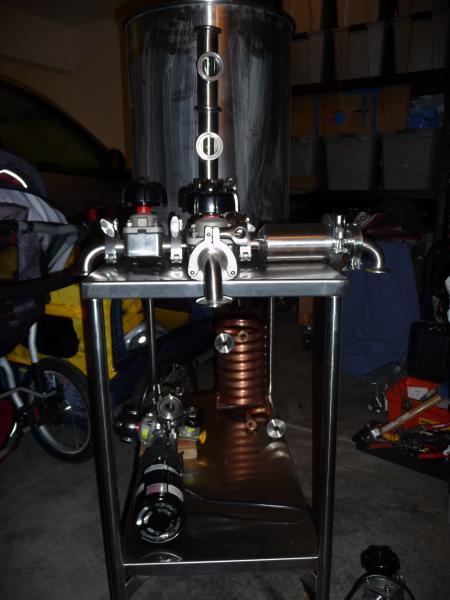
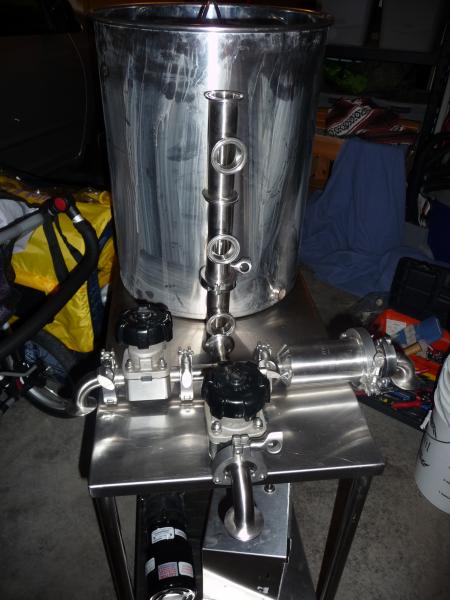
Okay, so I got a hold of a stainless cart, it fits the kettle and gear perfectly. Sorry if the vessel still has bkf residue....don't want to taint your brew pron :)

P1030081.jpg


P1030079.jpg


P1030080.jpg
 
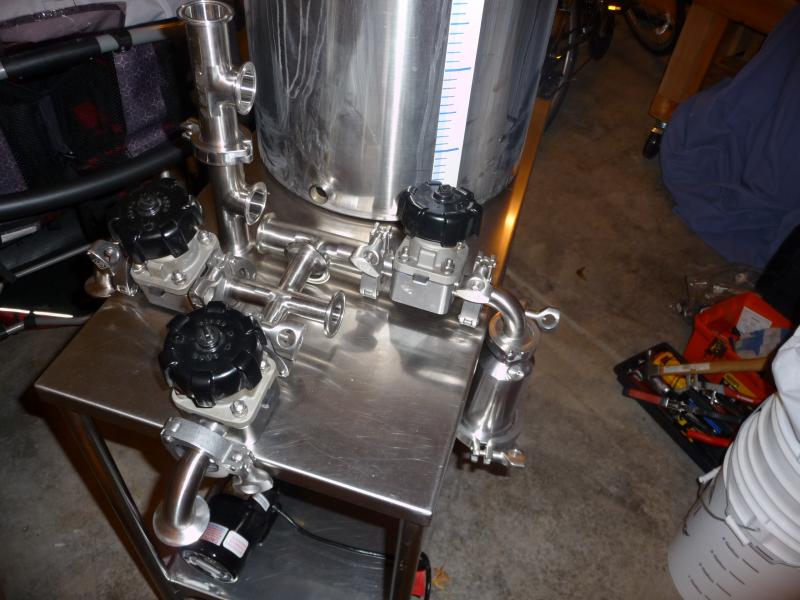
You'll notice a few different valve configurations, I'm still figuring out how to make it work. DO you guys like the wood stand or the SS one?

P1030082.jpg


P1030085.jpg
 
You'll notice a few different valve configurations, I'm still figuring out how to make it work. DO you guys like the wood stand or the SS one?

Man, those are some sweet pics. Don't get me wrong... the wood stand was great, but there is a nice allure to an all-metal rig.
 
One issue that i'm going to have is that on the underside of the table there is a solid spine of SS. It means I'll have to offset the rims, which isn't a huge deal. Drilling this is going to be a real PITA!
 
I'm a cabinetmaker, so i'm partial to wood in most cases. However, the stainless cart is definately my choice!
 
Stainless all the way!!! Just think of how easy the cart will be to clean, spray it down with the hose and let it air dry!

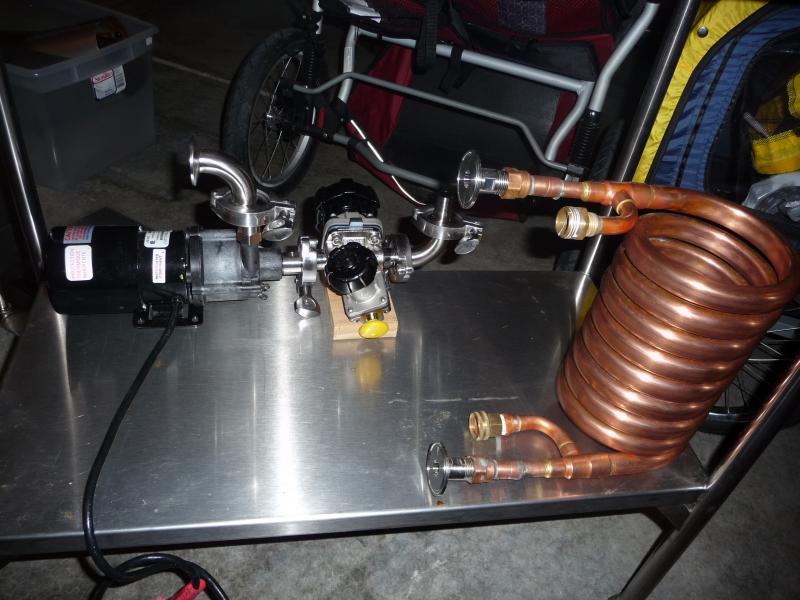
P.S. A Plate Chiller from DudaDiesel would get rid of that funny looking copper snake on the bottom tier... ...I'm just sayin...
 
Stainless all the way!!! Just think of how easy the cart will be to clean, spray it down with the hose and let it air dry!

P.S. A Plate Chiller from DudaDiesel would get rid of that funny looking copper snake on the bottom tier... ...I'm just sayin...

I've been thinking real hard about this, actually. It would probably clean the build up a bunch. I just can't get over the extra filtration it's going to require, etc. That capsule you see to the right in the above pics is an inline hopback. It could also be a decent filter if I put the right gaskets in there. I guess it'd work.

I'm not SO paranoid about trapped particles, but I'd hate to ruin a good plate chiller. Another big concern I have is properly draining the thing without having to detach it. I guess I'd have to put it upside down on the underside of the table. As it stands, the CFC will pass large particles with ease and will drain pretty completely.

I agree, it does kind of stand out. :p
 
You just need a bit of copper somewhere else for visual balance. Bang out a copper lid for the pot or put copper pipe over the handle for the cart. (in your spare time) :)
 
I've been thinking real hard about this, actually. It would probably clean the build up a bunch. I just can't get over the extra filtration it's going to require, etc. That capsule you see to the right in the above pics is an inline hopback. It could also be a decent filter if I put the right gaskets in there. I guess it'd work.

I'm not SO paranoid about trapped particles, but I'd hate to ruin a good plate chiller. Another big concern I have is properly draining the thing without having to detach it. I guess I'd have to put it upside down on the underside of the table. As it stands, the CFC will pass large particles with ease and will drain pretty completely.

I agree, it does kind of stand out. :p

FWIW - I use a plate chiller (sometimes gravity fed) with the Lil Sparky hop bag and haven't had an issue. And I use pellets almost exclusively because they are cheaper in bulk.
 
You just need a bit of copper somewhere else for visual balance. Bang out a copper lid for the pot or put copper pipe over the handle for the cart. (in your spare time) :)

Well, a copper sheet can be had for cheap....maybe I could put that under the valves and create some contrast.....:confused:
 
Throw a SS casing around the chillzilla? You wouldn't see the coils that way, but you wouldn't see the copper either. Sheet metal is cheap, I don't know about sheet SS though
 
I actually like the copper....but I do realize it sticks out. I gotta figure everything else out, then I can come back to this.
 
Chillzilla's look badass! I say go with stainless cart and keep the Chillzilla visible, just as it is in the photo. It looks awesome!
 
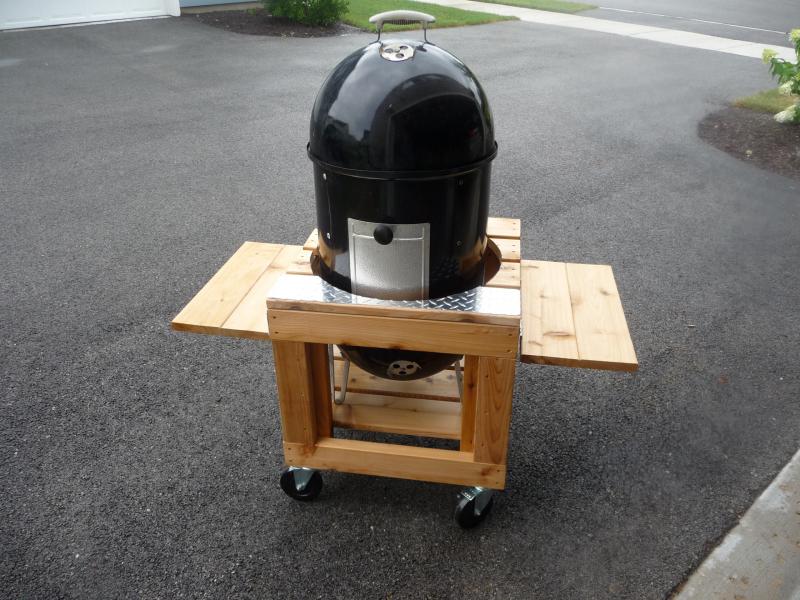
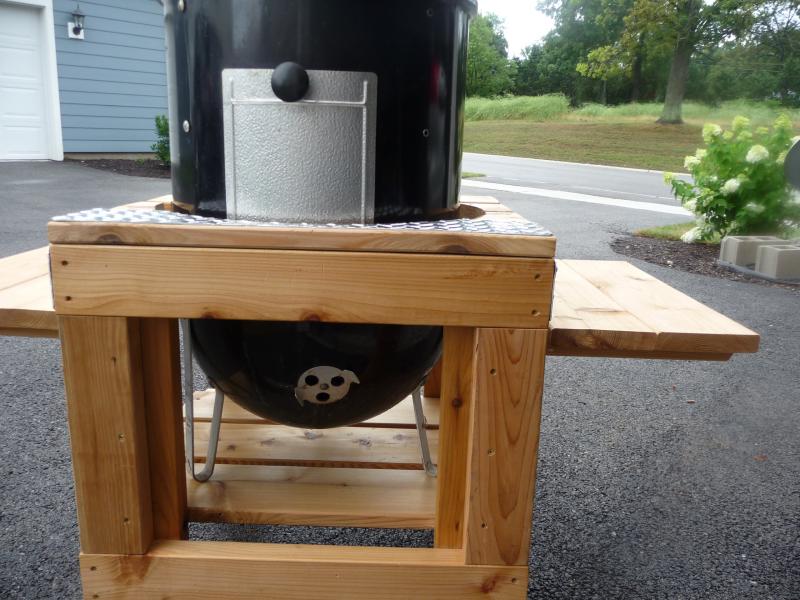
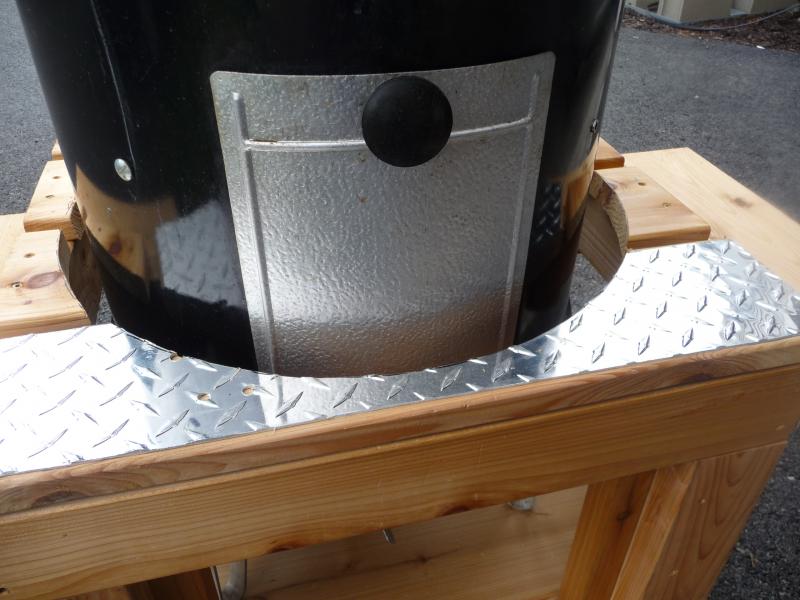
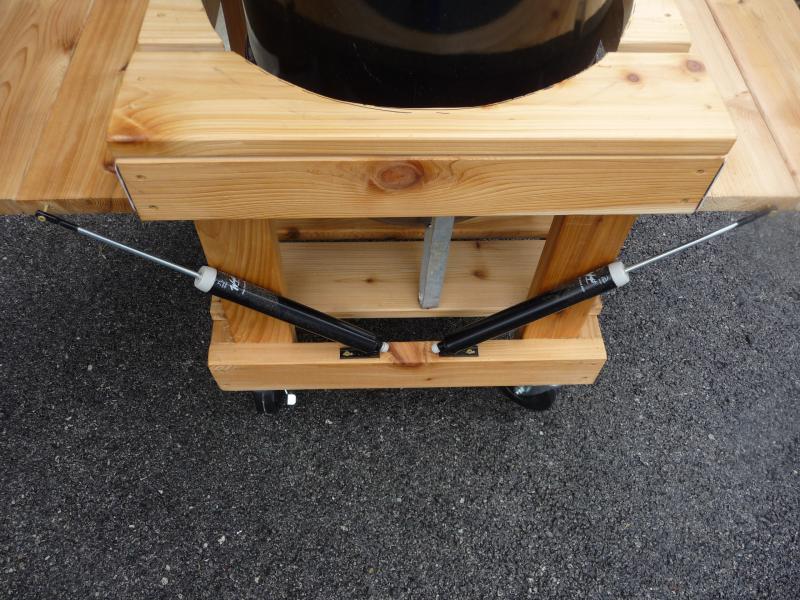
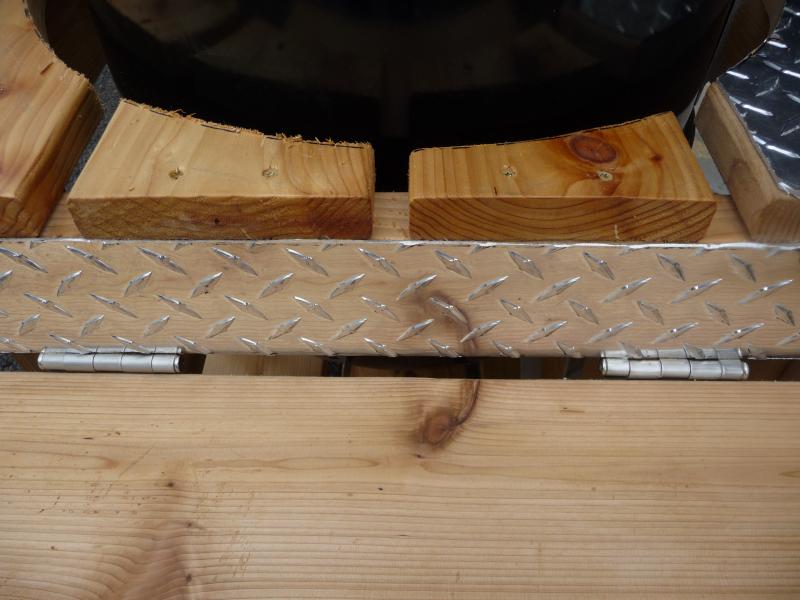
So since I now have the SS stand, I had the original wood stand just sitting in the garage. I didn't want to waste the money and time I put into it, so I found another purpose. It fits my smoker perfectly! Maybe a little reflectix here and there, and I'll be set!

P1030120.jpg


P1030121.jpg


P1030122.jpg
 
That's pretty slick, kinda resembles the big green egg.

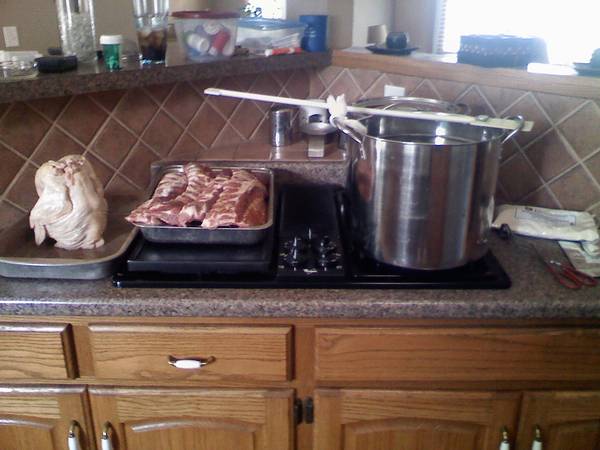
Yeah, I'm into bbq. Here's yesterday's "work". That's the start of brew #3 for the weekend steeping on the stove, and 4 slabs of baby backs and a beer but chicken ready to become dinner.

brewnribs1.jpg


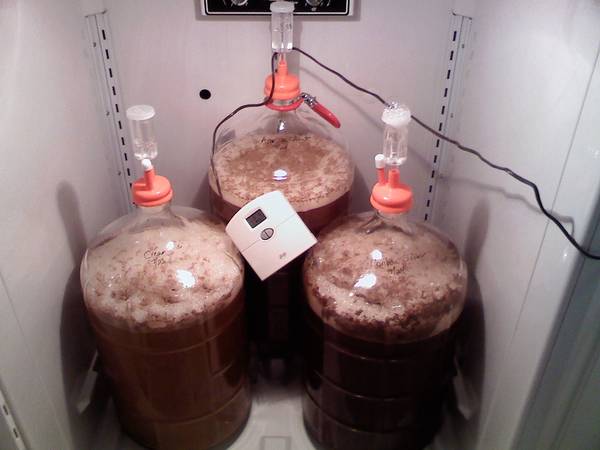
And this morning I awoke to this....

brewday2-7-24-10.jpg


It doesn't get much better for me. :mug:
 
I used to feel that way about EdWort when he'd show pics of his Big Green Eggs, Brew House, Nice Back 40, etc. :D
 
Okay, so I've been buying up the last of the plumbing stuff (probably the most $$$ in the build) and I made some decent progress today. I drilled out the kettle with a step bit; I made holes for the element, drain, and an optional whirlpool return port.

P1030127.jpg


P1030129.jpg
 

Latest posts

Back
Top