OP
OP
ScubaSteve
Well-Known Member
- Joined
- May 21, 2007
- Messages
- 3,673
- Reaction score
- 91
This might be off topic, but why the switch to fermenting in cornies? I thought about doing it myself so I could pressure transfer into a secondary and then into the final keg, but couldn't really justify it. Are there other advantages?
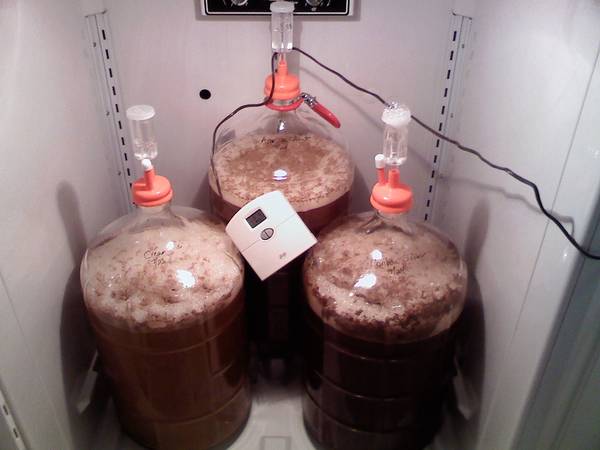
I thought it would be a PITA until I tried it....it's super easy and clean. Once you get your system down, it's awesome. Honestly, it's about time for me to buy a new bucket or 2, and the cornies are just a bit more. They can be used for many other things, so it's a win-win. I split a 5.5 gal batch into 2 cornies....it worked great because I split the batch with a buddy. Otherwise, adjust your recipe for 4.75 gals and use fermcap.
Other advantages include being able to bleed the yeast into a separate container for an instant starter, and if you want you can make a "spunding valve" and carbonate the beer under controlled pressure in the late stages of fermentation. You can also scrub the cornies without worry of scratching, though I've been soaking in oxyclean lately.

")


![Craft A Brew - Safale BE-256 Yeast - Fermentis - Belgian Ale Dry Yeast - For Belgian & Strong Ales - Ingredients for Home Brewing - Beer Making Supplies - [3 Pack]](https://m.media-amazon.com/images/I/51bcKEwQmWL._SL500_.jpg)